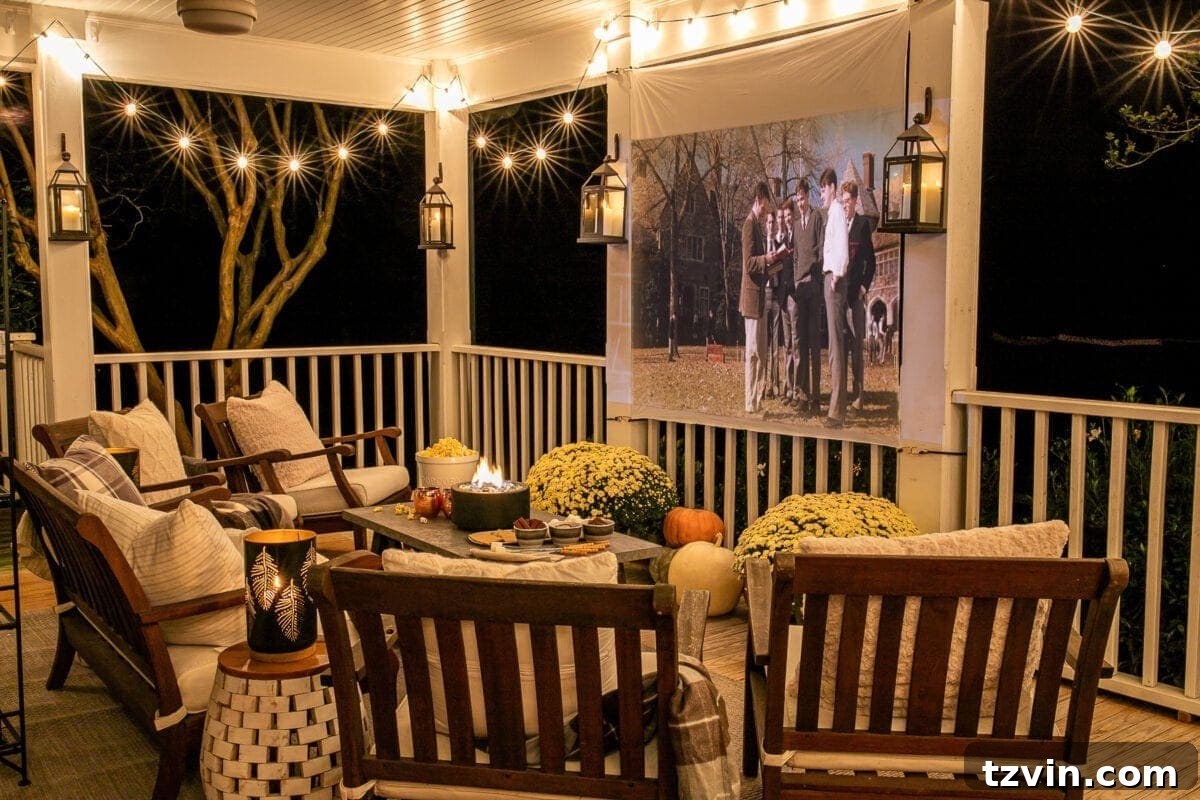
Transform your backyard into an enchanting fall oasis with our step-by-step tutorials for a DIY outdoor movie theater and a charming s’mores station crafted from a coffee table. Discover inspiring fall outdoor decorating ideas to complete your cozy autumn retreat.
In recent times, our homes and personal spaces have become the epicenter of creativity and innovation. This year, more than ever, has challenged us to find joy and entertainment within our own surroundings. Instead of lamenting the inability to go out, many of us have embraced the opportunity to transform our living spaces, turning everyday moments into extraordinary experiences. Whether it’s painting a room for a fresh look, orchestrating a heartwarming drive-by birthday parade, or, as we’re about to explore, building a personalized movie theater right in your own backyard – the possibilities for home-based adventures are endless.
While the past few months have presented unique challenges, they have also fostered an incredible surge in inventive DIY projects and imaginative ideas. We’ve seen communities come together in new ways, and individuals discover latent talents and passions. This spirit of creative adaptation is what inspired our latest project, designed to bring cinematic magic and delectable treats to your very own outdoor haven.
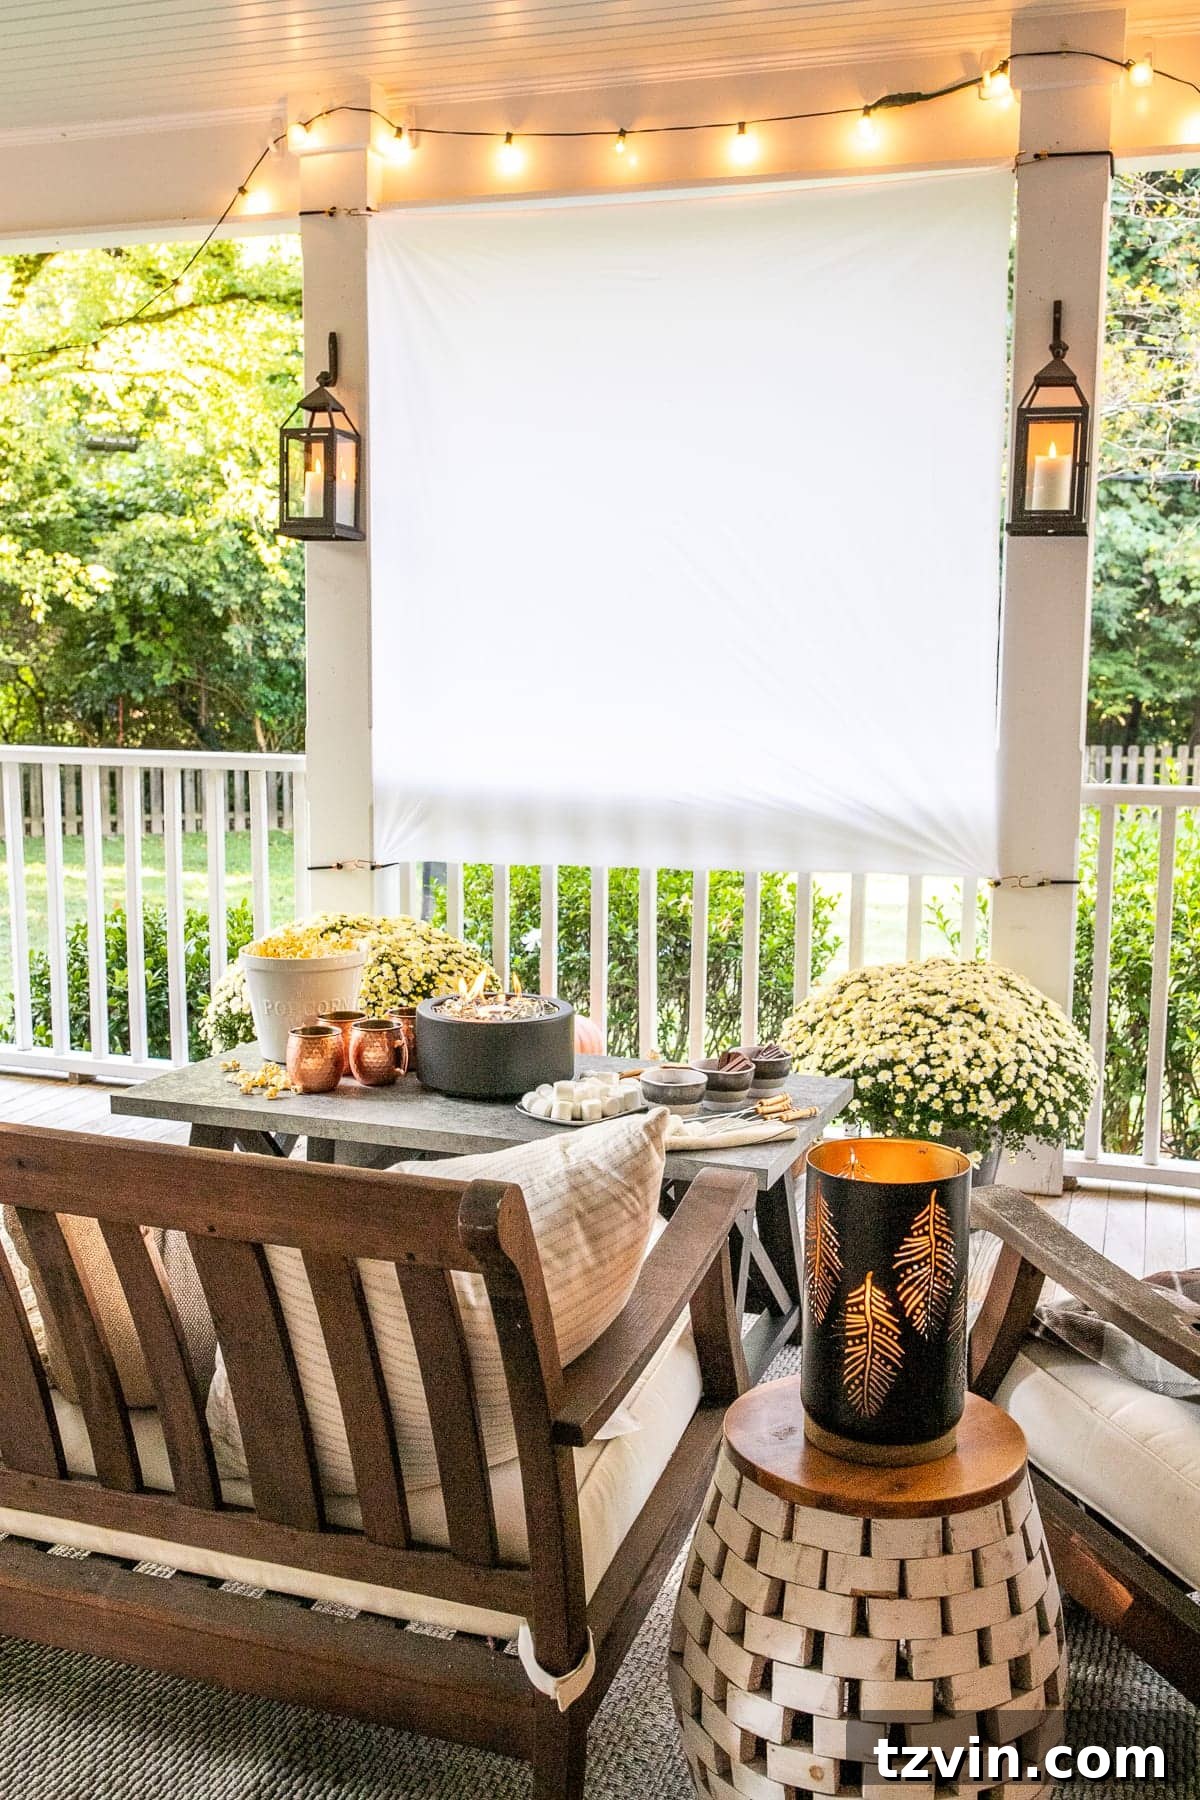
My partner, Robert, and I found ourselves profoundly missing the classic movie theater experience. With the arrival of crisp, gorgeous fall weather and the days gracefully shortening, we realized it was the perfect season to create our own cinematic escape. Our back porch, with its sheltered charm, became the ideal setting. By creatively combining a few versatile items, primarily from the Better Homes & Gardens line at Walmart, we embarked on building a fantastic DIY outdoor movie screen and a delightful DIY s’mores table. This transformation not only brought the big screen to our home but also added an element of cozy fall charm to our back porch, perfect for unforgettable autumn evenings under the stars.

Crafting Your Ultimate DIY S’mores Table for Fall Evenings
Imagine gathering around a warm, flickering flame, toasting marshmallows to golden perfection, and assembling gooey s’mores right in your backyard. Our DIY s’mores table transforms a simple coffee table into a functional and inviting centerpiece for any outdoor gathering. This project is surprisingly straightforward, requiring minimal tools and effort, but delivering maximum enjoyment. It’s perfect for family nights, entertaining friends, or simply enjoying a quiet evening outdoors with a sweet treat.
Supplies Needed for Your S’mores Coffee Table:
- Outdoor Coffee Table: While any sturdy wooden outdoor coffee table will work beautifully, even an indoor one can be adapted if kept under a covered porch, protecting it from the elements. Choose a table with enough surface area for your fire bowl and s’mores ingredients.
- Tape measure and pencil: Essential for accurate marking and ensuring your fire bowl is perfectly centered.
- Propane Fire Bowl: The heart of your s’mores station, providing a safe and controllable flame. Look for a compact size that fits comfortably within your coffee table’s dimensions.
- Drill with appropriate hole bit: The bit size should match the diameter of the fire bowl’s base or propane line connector for a snug fit.
- 1-gallon propane tank: A small, portable tank is ideal for this setup, providing hours of s’mores-making fun. Always ensure it’s securely connected and stored safely.
- Roasting skewers & your favorite s’mores ingredients: Don’t forget the graham crackers, chocolate bars, and marshmallows! Experiment with different types of chocolate or gourmet marshmallows for an elevated experience.
Step-by-Step Guide to Building Your S’mores Table:
1. Measure and Mark the Center: Begin by carefully using your tape measure to find the exact center of your coffee table’s surface. Mark this spot clearly with a pencil. This precision ensures your fire bowl is aesthetically pleasing and balanced.
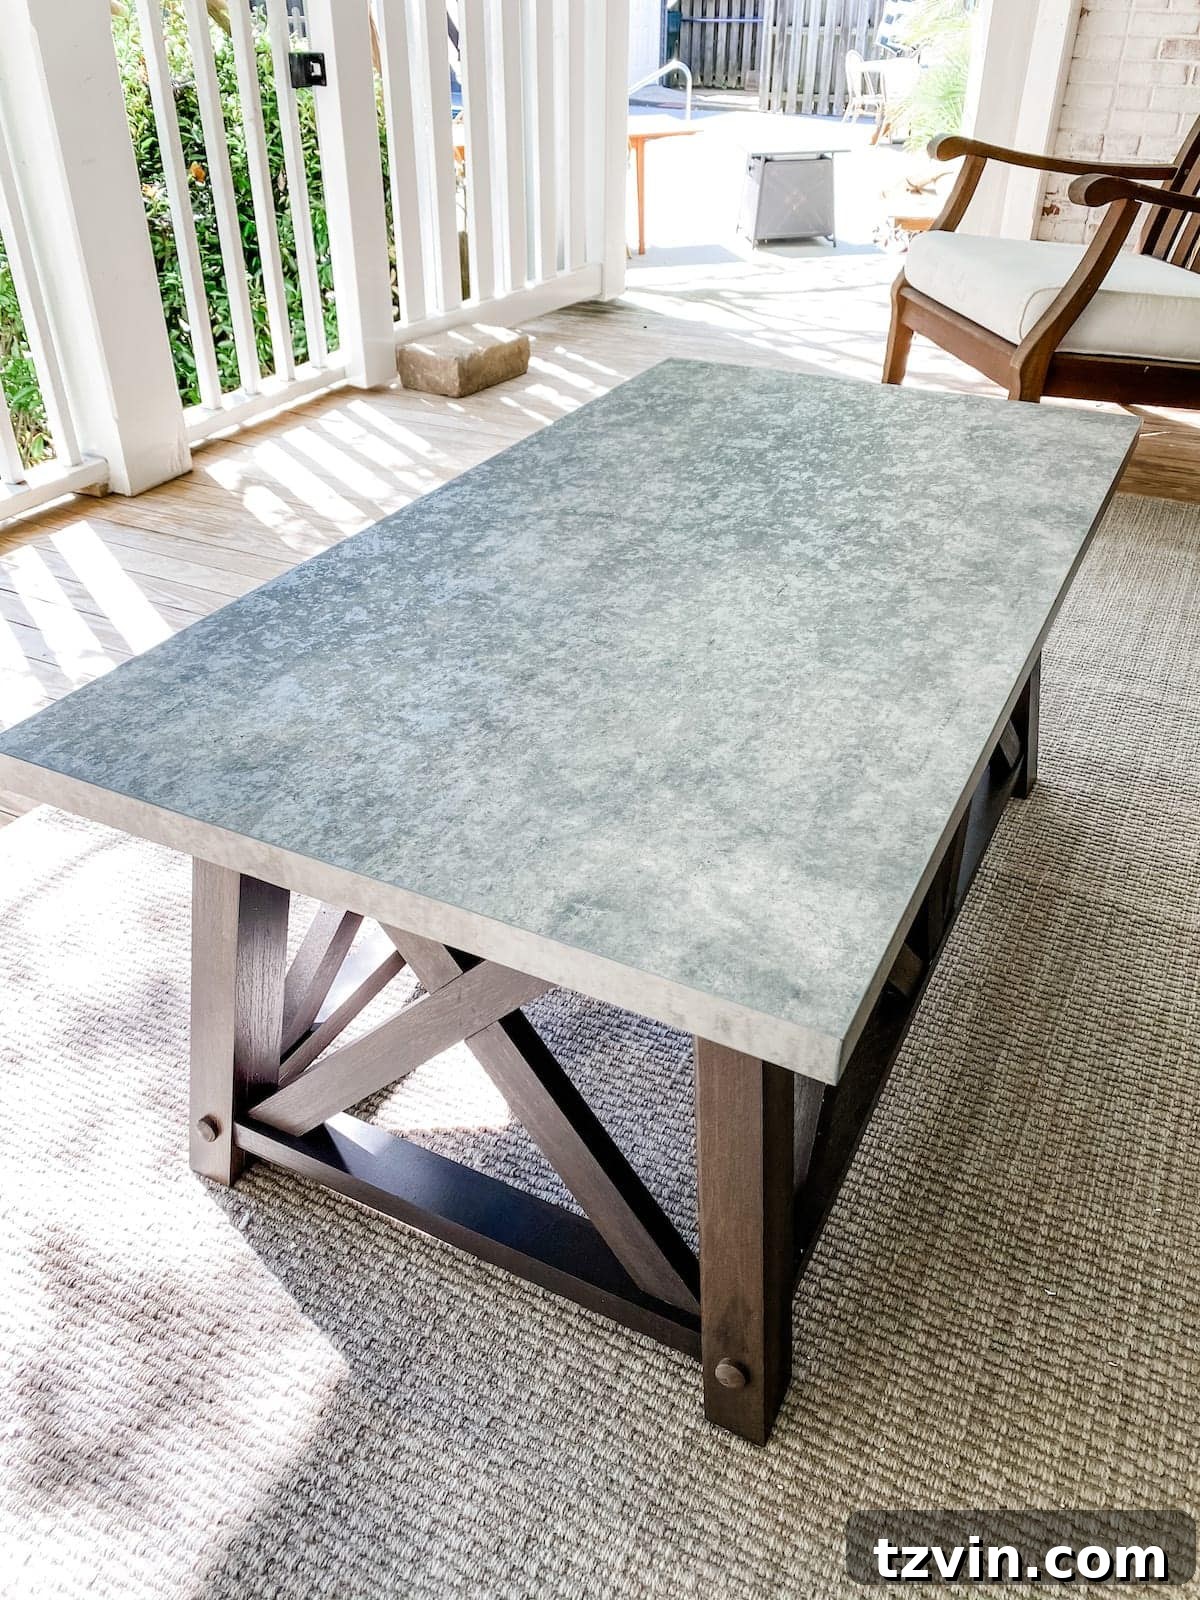
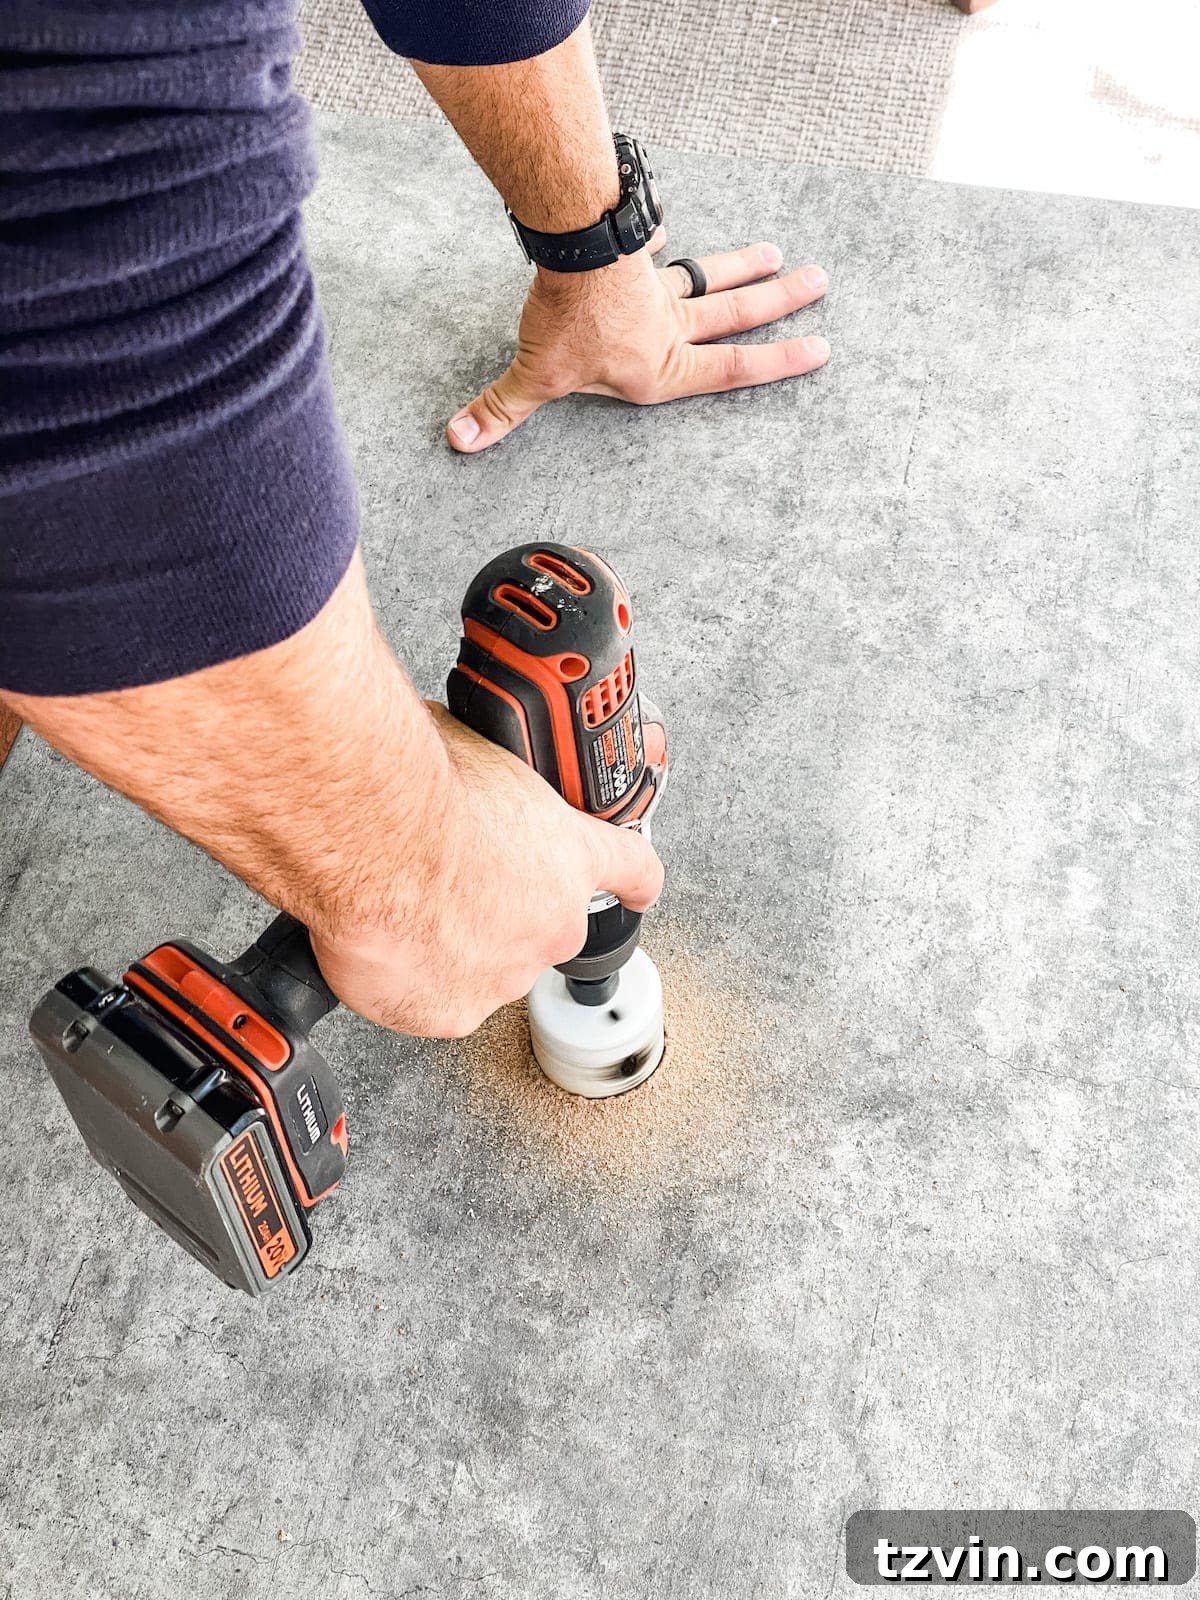
2. Drill the Opening: Select a drill bit that matches the circumference of the fire bowl’s base or the propane hose. Carefully drill a hole through the marked center of the table. Take your time to create a clean cut, which will ensure a professional finish and a secure fit for the fire bowl.
3. Position the Fire Bowl: Gently place the base of your fire bowl into the newly drilled hole. It should sit snugly, with the top of the fire bowl flush or slightly elevated from the table surface, ready to provide a safe and inviting flame.
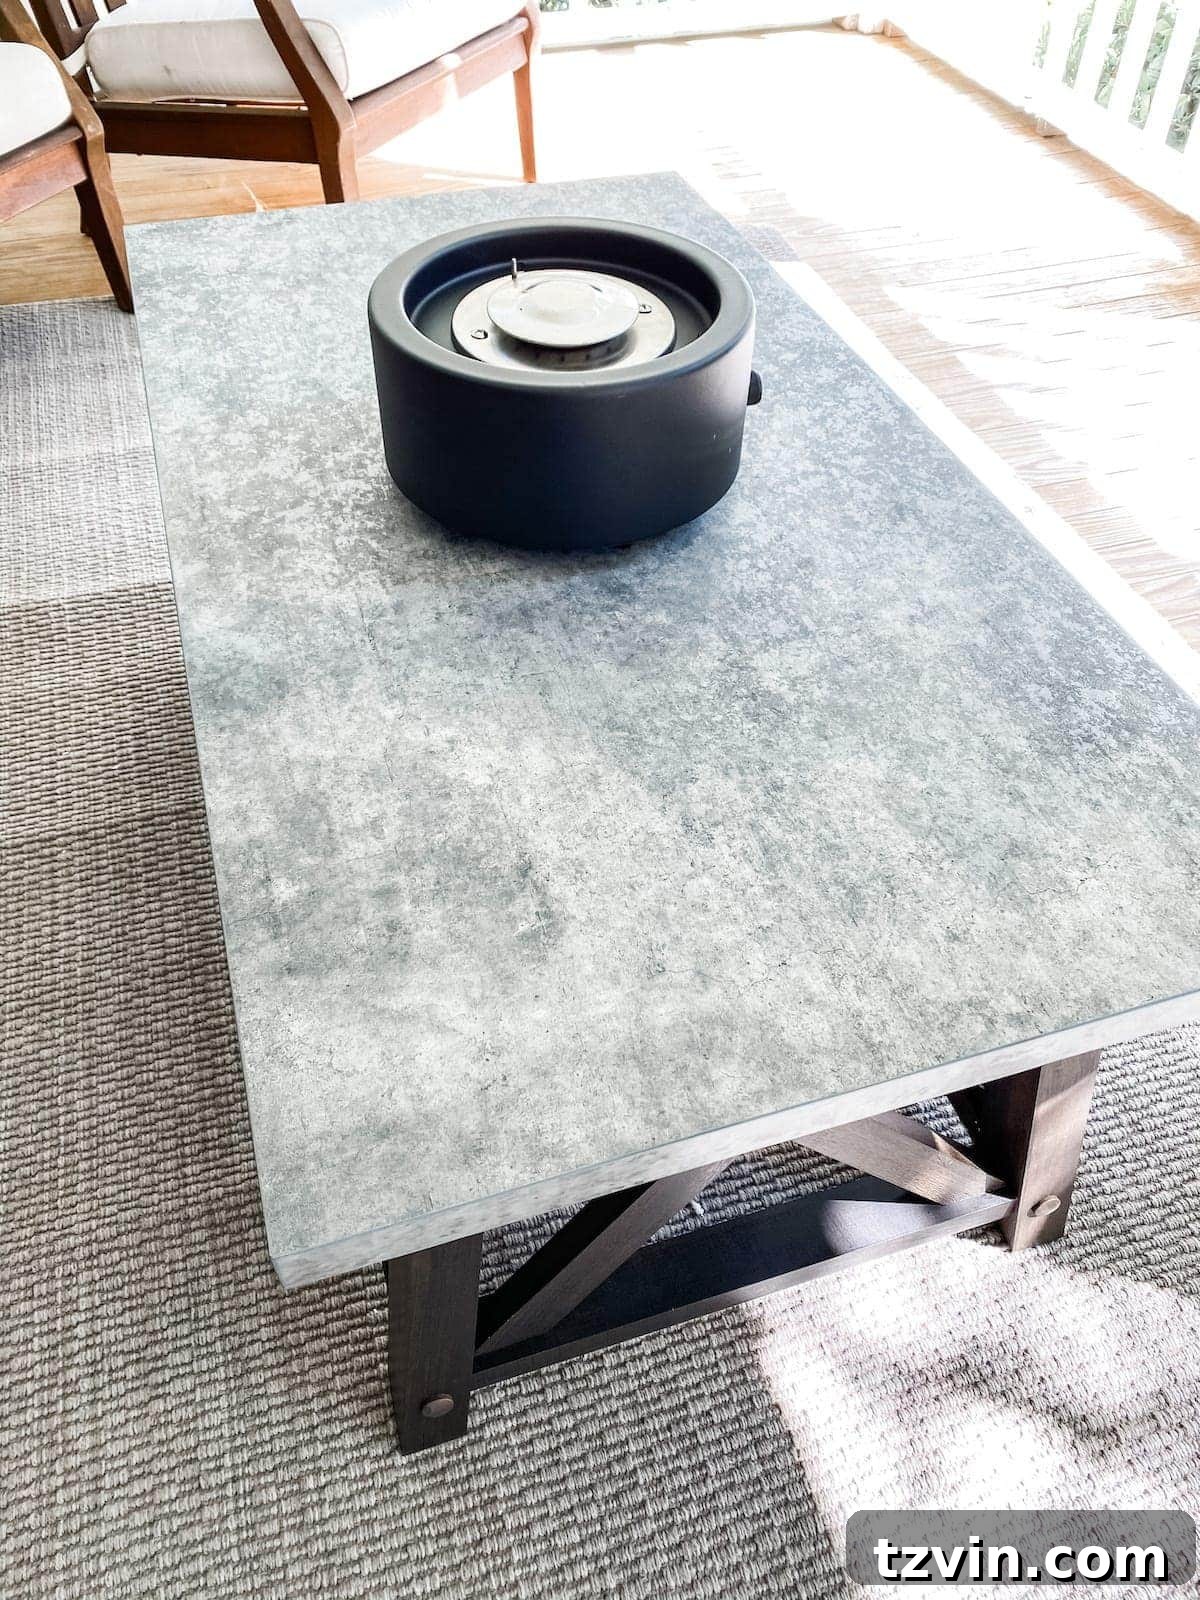
4. Connect the Propane Tank: From underneath the coffee table, securely screw in the 1-gallon propane tank to the fire bowl’s connection point. Always double-check for a tight seal and no leaks before igniting. Once connected, your DIY s’mores station is complete and ready for delicious use!
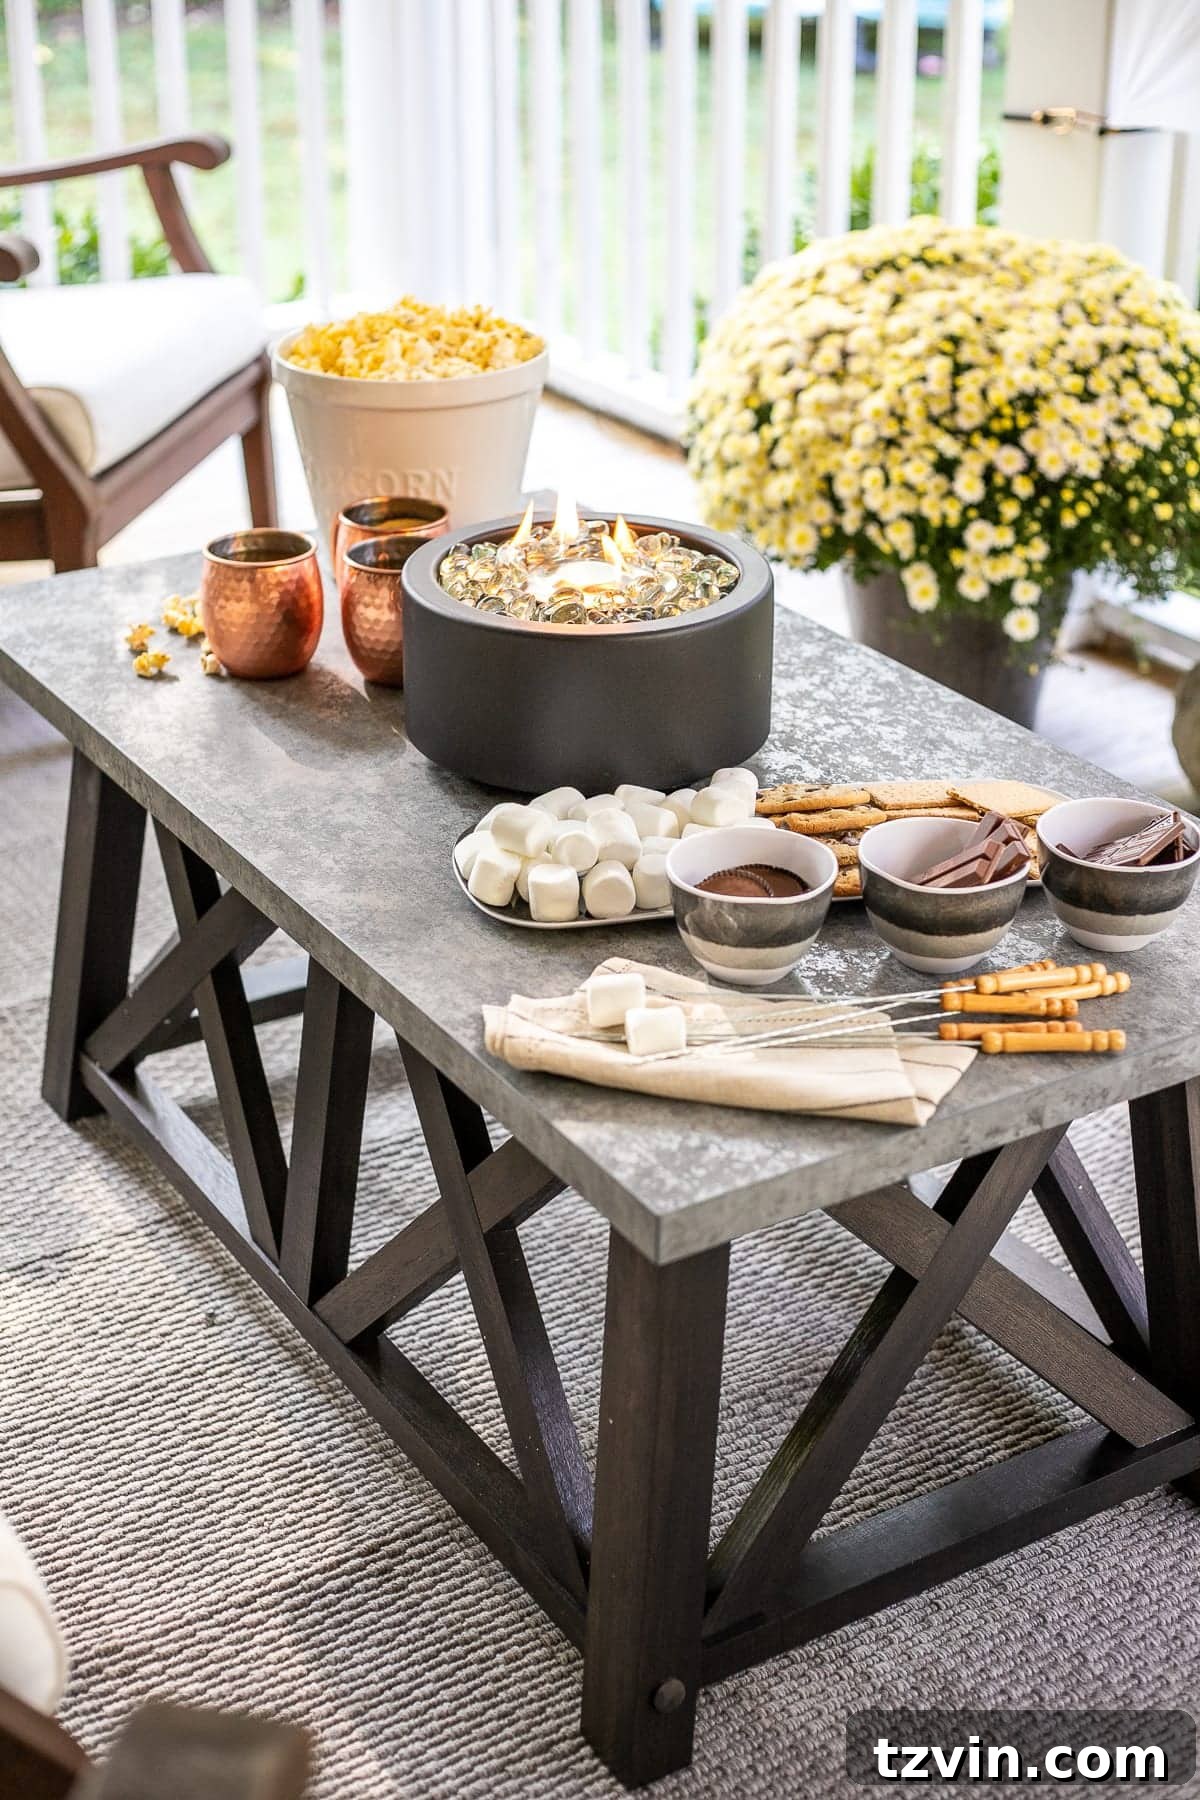
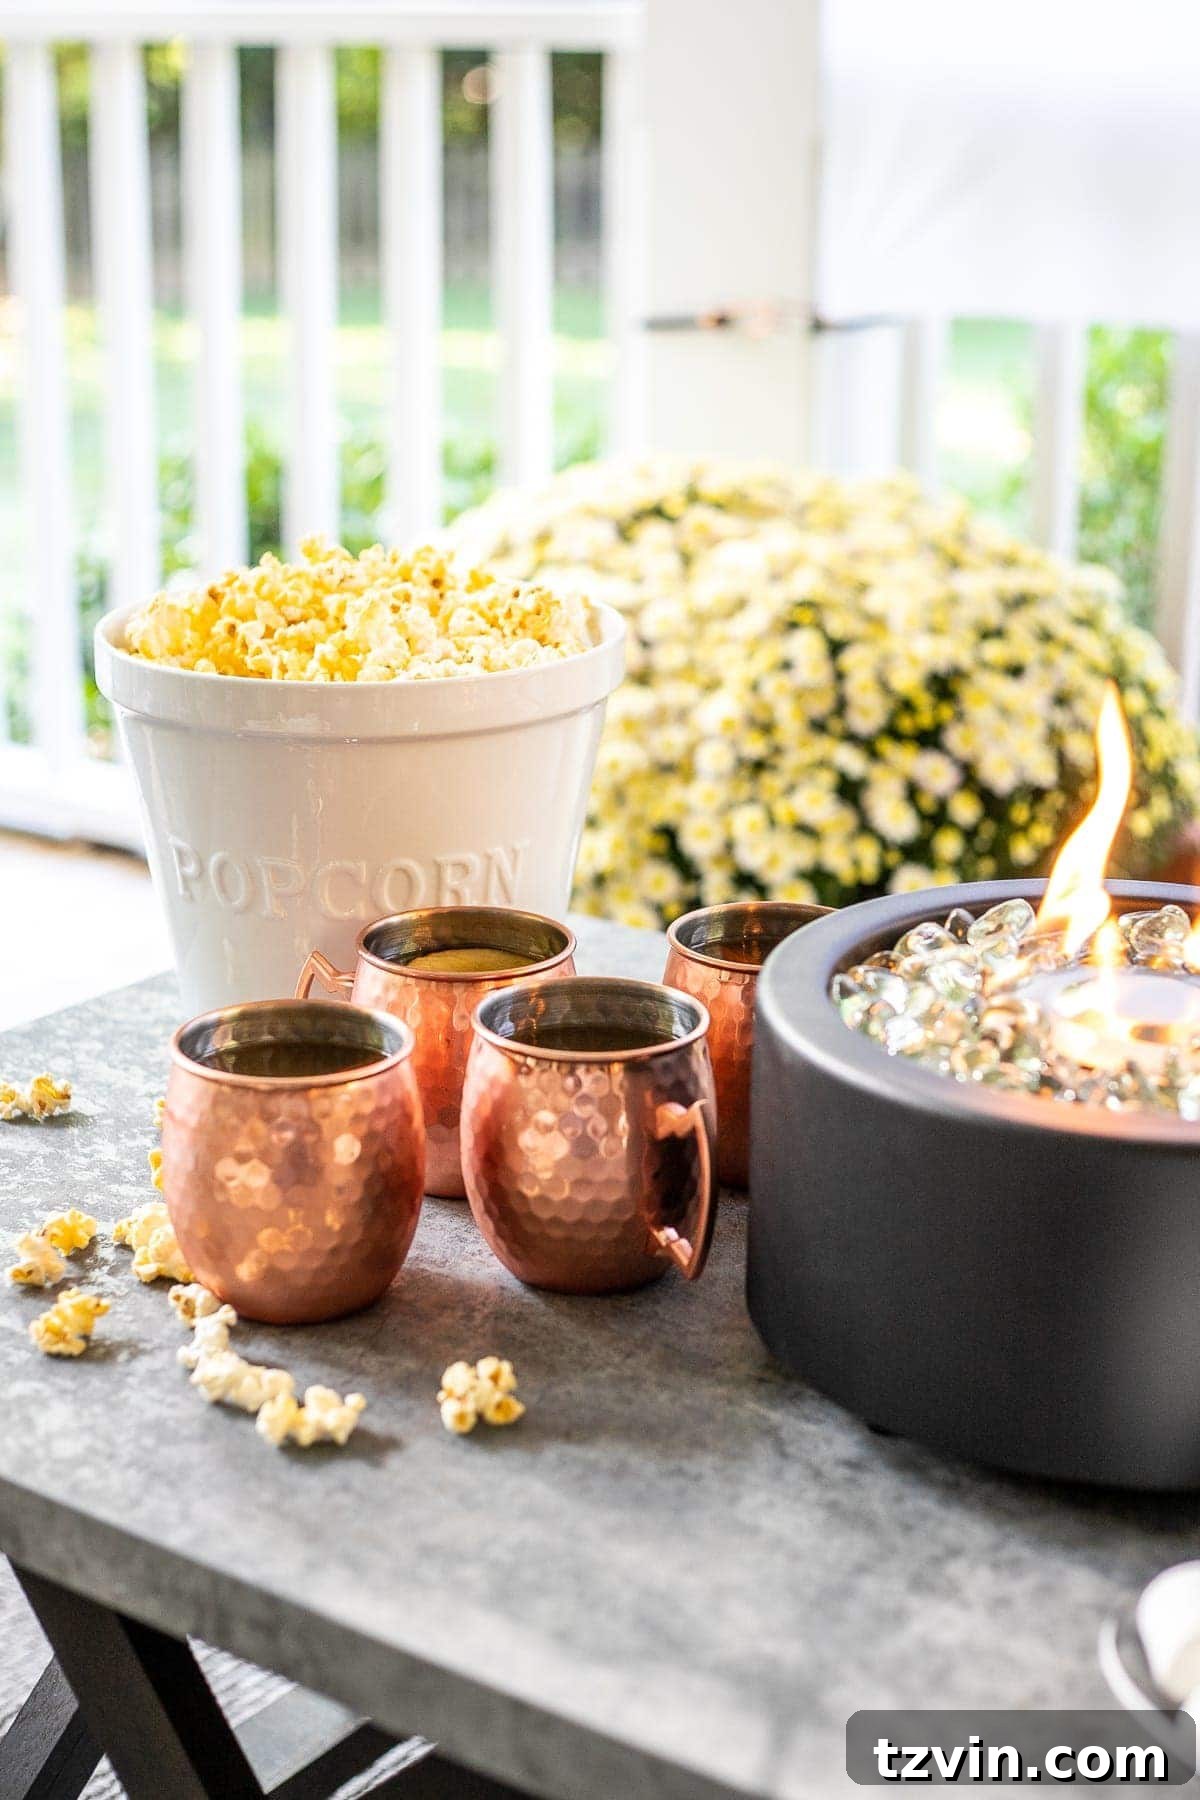
To enhance the s’mores experience, consider adding some thoughtful touches to your tabletop. We used these elegant copper mugs, perfect for serving warm local cider – a quintessential fall beverage. And for popcorn, a movie night staple, this spacious white ceramic popcorn bowl is a fantastic choice, easily accommodating two standard-sized microwave popcorn bags.
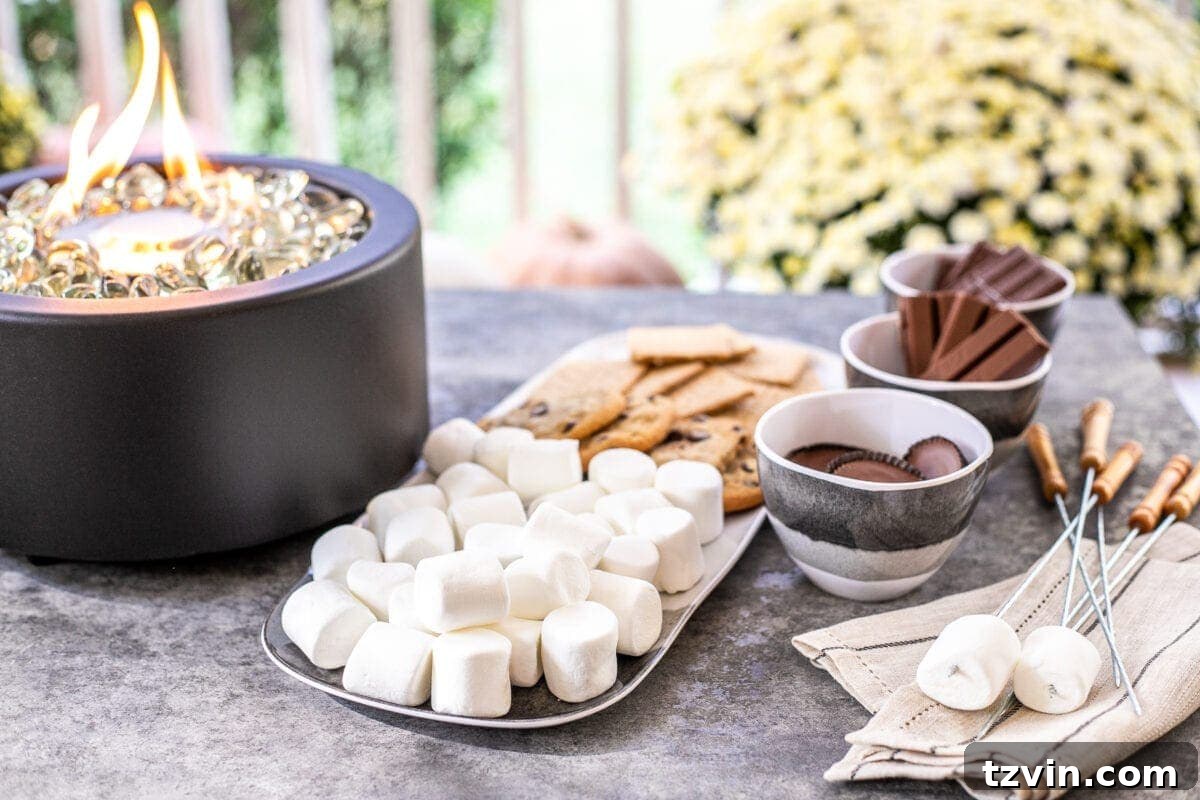
For organizing your s’mores ingredients, a divided serving tray works wonders. While this melamine tray with bowls might be designed for chips and dip, its compartments make it ideal for separating marshmallows, chocolate bars, and graham crackers, keeping everything tidy and accessible for your guests.
Create Your Own DIY Outdoor Movie Theater Screen
Why pay for tickets and concession stand prices when you can have a private cinema experience in your own backyard? Building a DIY outdoor movie screen is surprisingly simple and cost-effective, allowing you to enjoy blockbusters, classics, or family favorites under the open sky. The key is finding the right material that’s both durable and provides a good projection surface. Our method uses a common household item, making it incredibly accessible.
Materials Required for Your Outdoor Projector Screen:
- White Shower Curtain Liner: This is our secret weapon! It’s inexpensive, readily available, provides a smooth white surface perfect for projection, and is naturally waterproof. Choose a liner that is large enough for your desired screen size.
- 4 Eyelets & Eyelet Kit: These sturdy metal rings reinforce the corners of your screen, preventing tears and allowing for secure attachment. A kit typically includes the eyelets and the tools to install them.
- 4 Small Bungee Cords: These provide the necessary tension to keep your screen taut and wrinkle-free, ensuring a clear picture. The elasticity helps absorb minor movements from wind.
- Hammer: For securely setting the eyelets into the shower curtain.
- Sharp Fabric Scissors: Essential for clean, straight cuts when sizing your screen.
- Tape measure & marker: For accurately measuring and marking the screen dimensions.
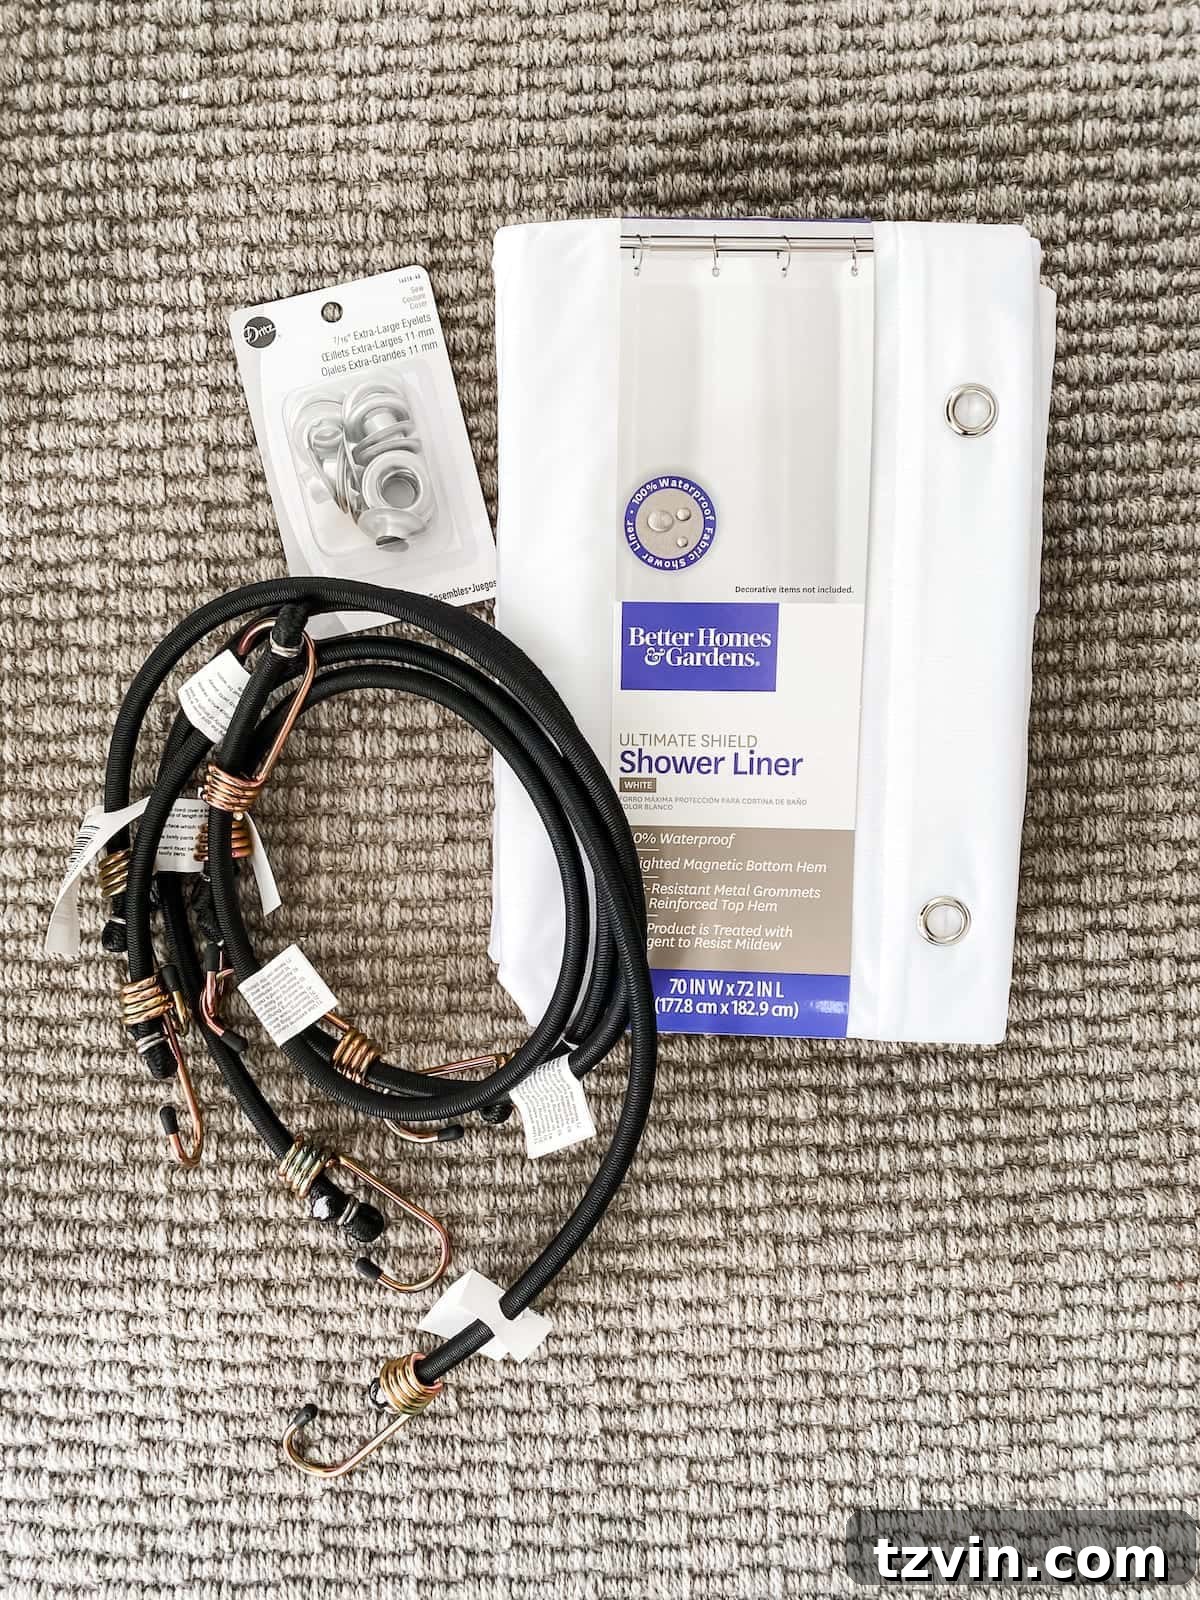
Simple Steps to Assemble Your Outdoor Movie Screen:
1. Measure and Mark Your Screen Dimensions: Lay the white shower curtain liner flat on a clean floor or surface. Using a tape measure and marker, carefully outline the desired dimensions for your movie screen. Consider the aspect ratio of your projector (typically 16:9 for widescreen) to avoid distorted images.
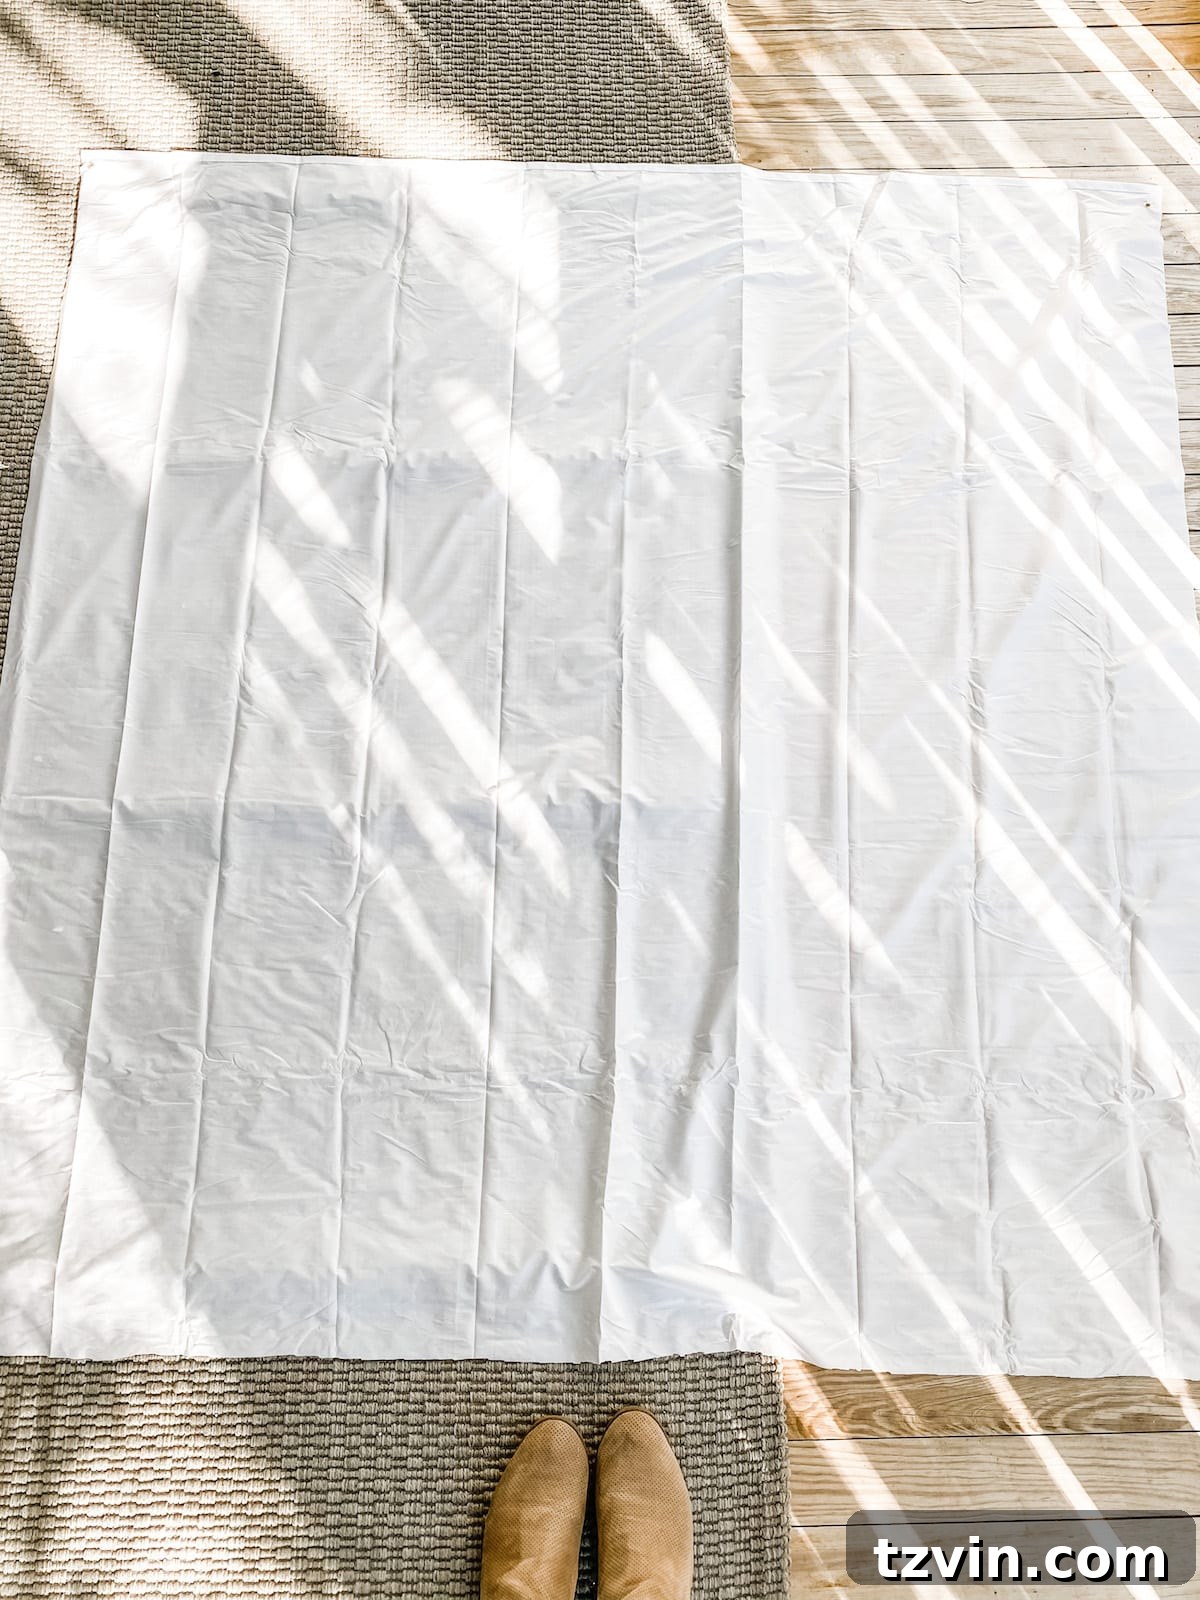
2. Trim the Shower Curtain: With your sharp fabric scissors, carefully cut along the marked lines to trim the shower curtain to your desired screen size. A clean cut will provide a crisp edge for your screen.
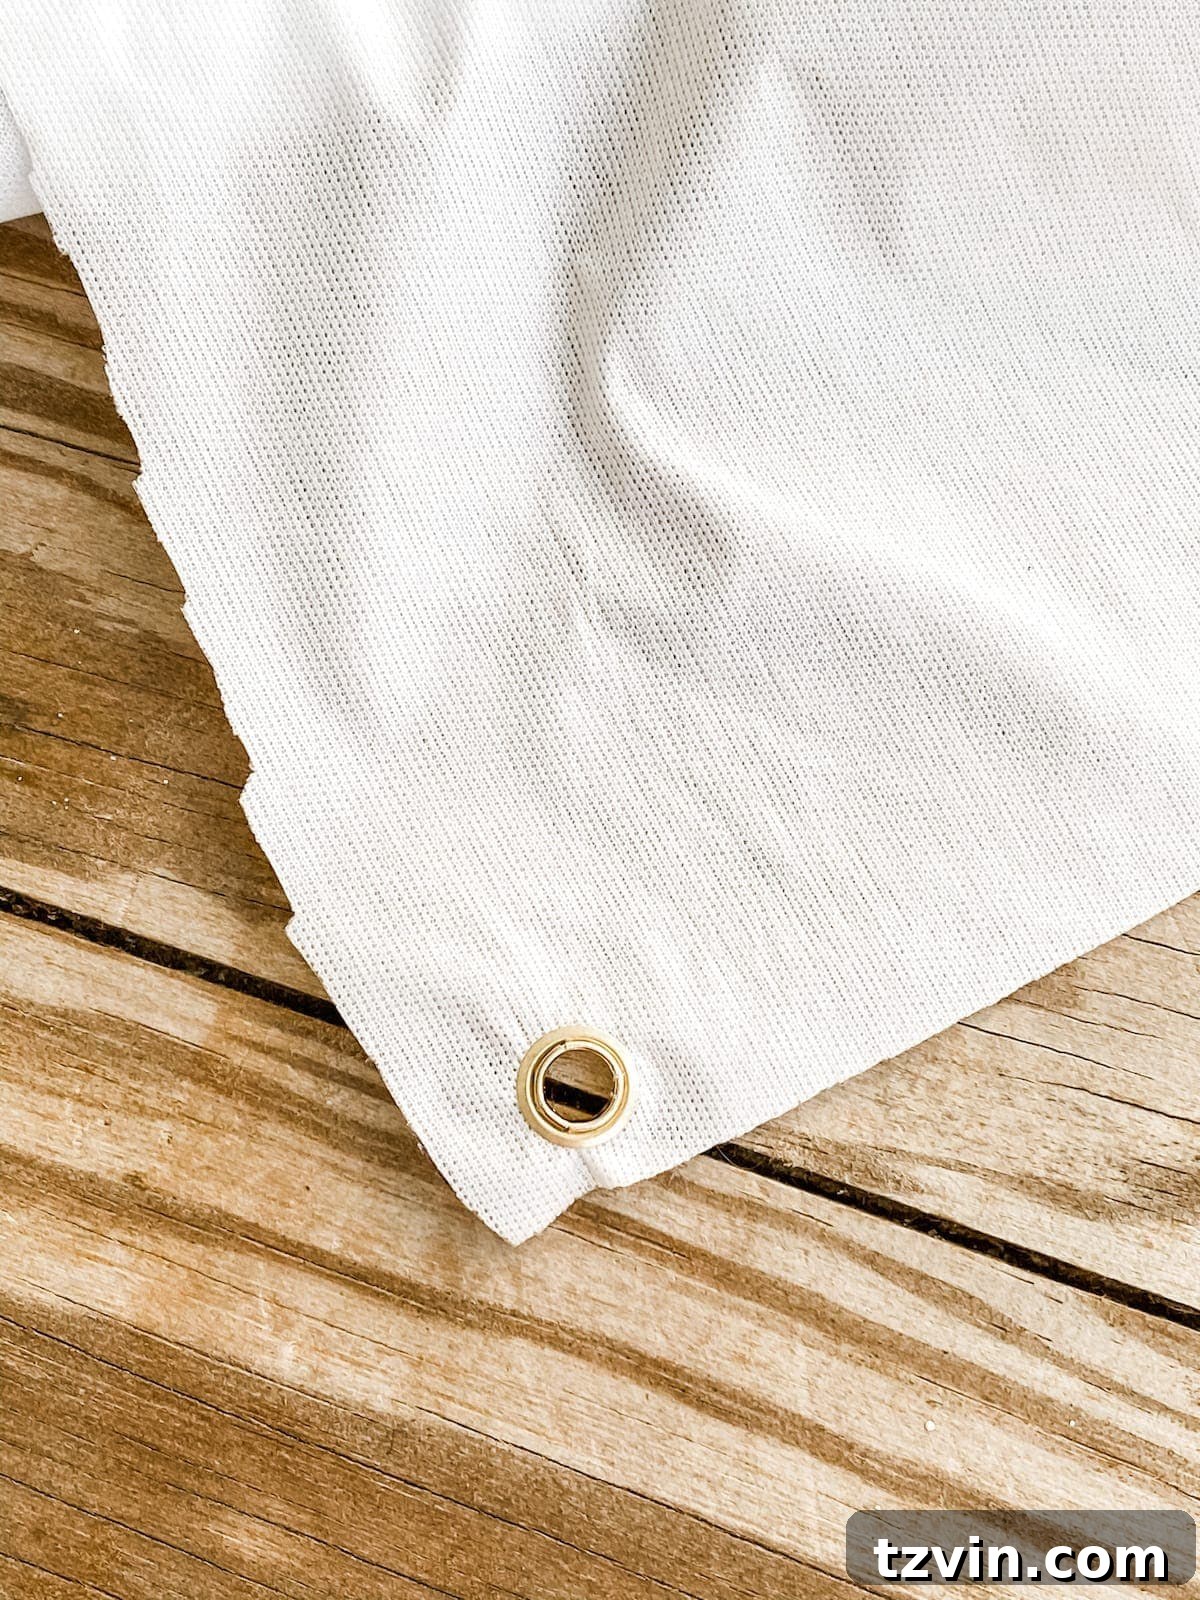
3. Install the Eyelets: Following the instructions in your eyelet kit, drive an eyelet into each of the four corners of your trimmed shower curtain using a hammer and the provided anvil. These eyelets will serve as reinforced attachment points for your bungee cords, preventing the screen from tearing.
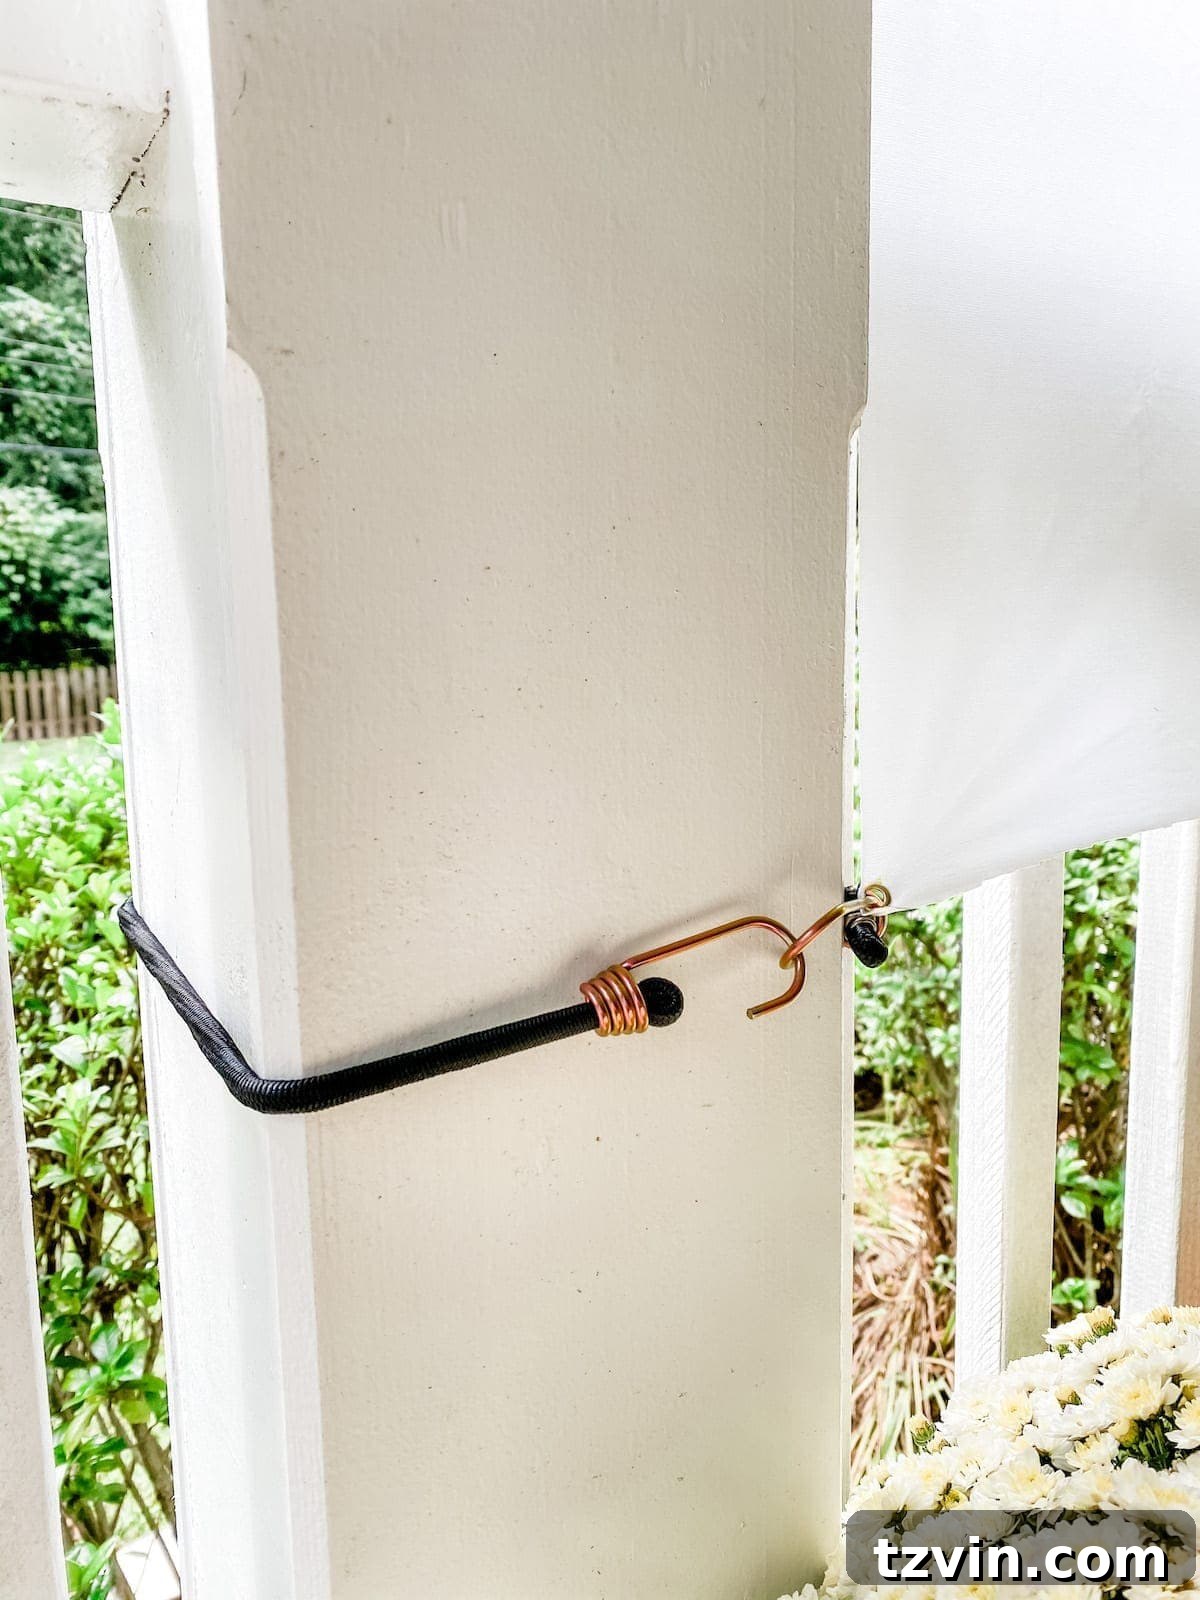
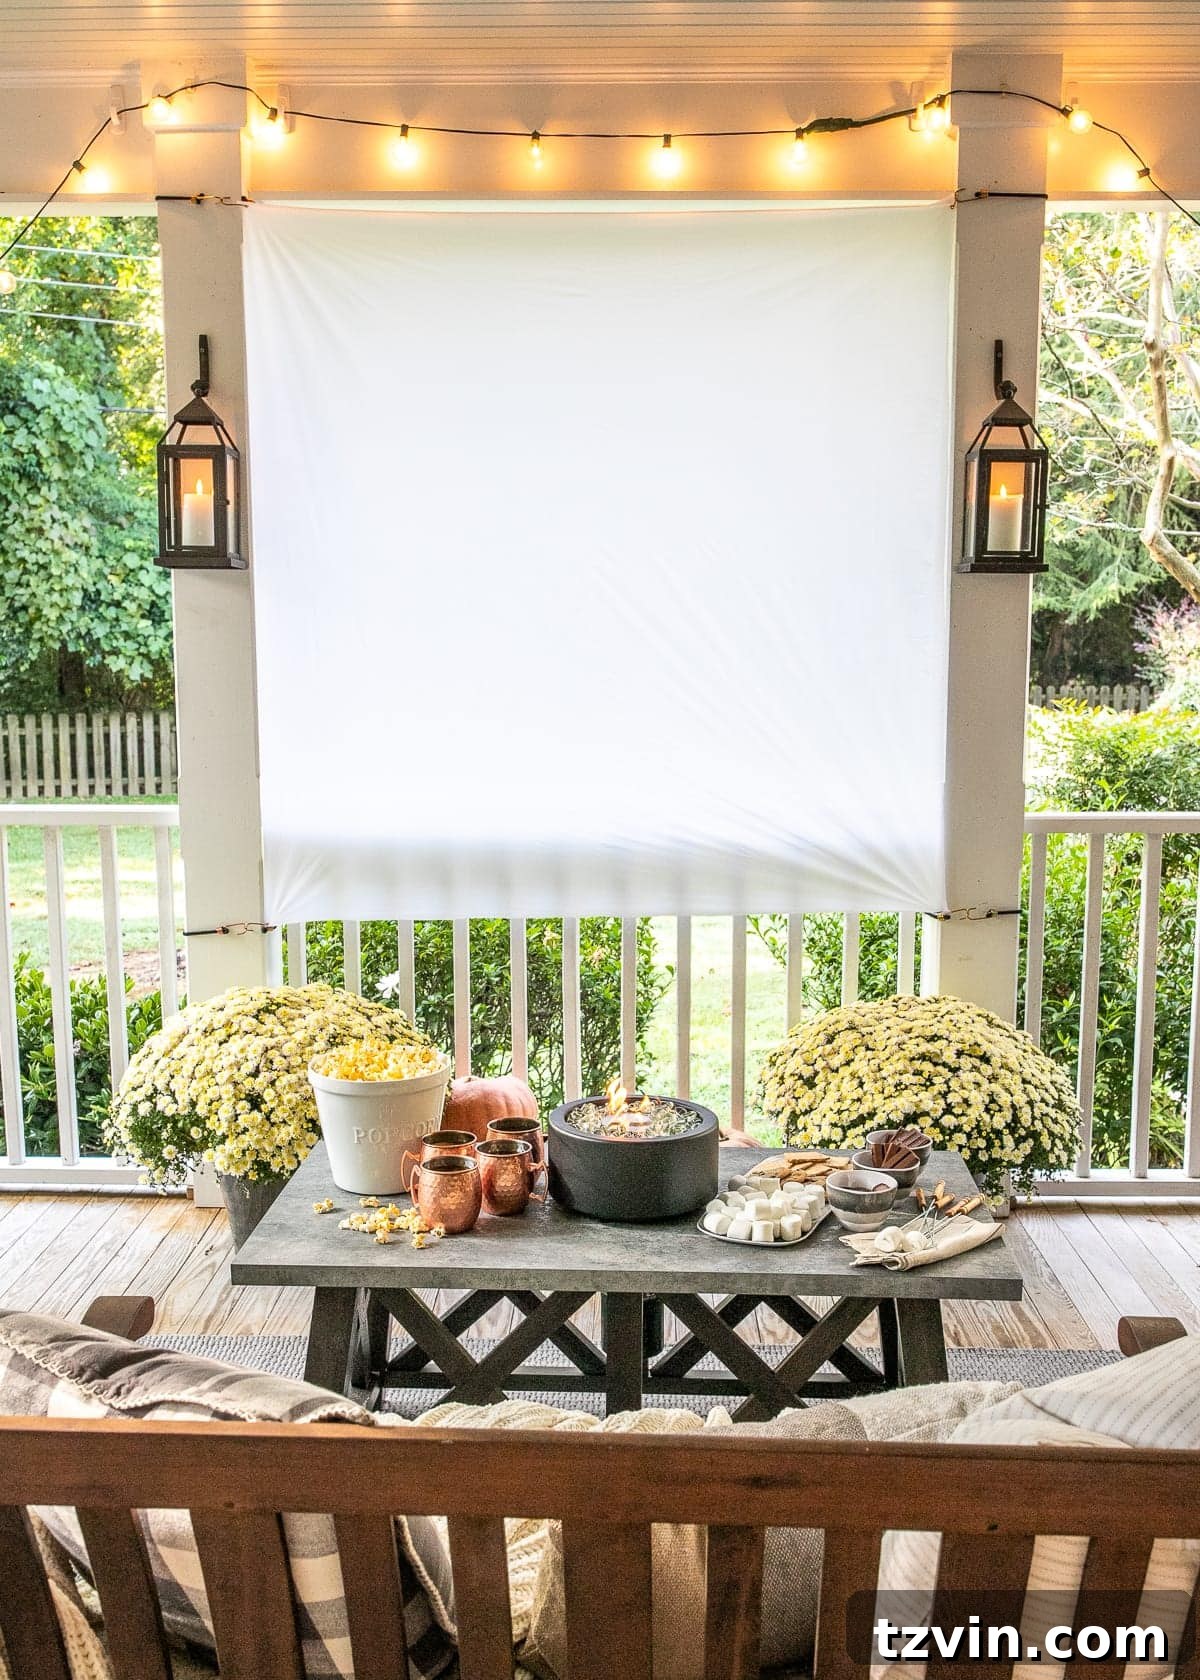
4. Mount Your Screen: Secure each corner of the shower curtain to sturdy anchors using your bungee cords. Porch posts are perfect, offering natural support. If you don’t have posts, consider creating temporary ones in your yard or on a patio using a string light pole method, which offers surprising stability. Ensure the bungee cords are taut but not overstretched, allowing for some flexibility.
5. Fine-Tune and Enjoy: Once secured, gently stretch the shower curtain until most wrinkles are smoothed out, creating a flat projection surface. Position your projector (not included in this DIY, but an essential component!) at the correct distance and angle, focus the image, and get ready to enjoy a fantastic movie experience in the fresh air!
A significant advantage of using a shower curtain liner is its inherent waterproof quality. This means your DIY screen can remain outdoors, even in light rain, without fear of damage. Plus, the entire project can be completed for less than $30, making it an incredibly budget-friendly way to elevate your outdoor entertainment.
Enhancing Your Outdoor Movie Experience with Fall Decor
With your s’mores station and movie screen ready, the final touch is to infuse your outdoor space with warm and inviting fall decor. You don’t need to overhaul your entire patio; often, a few carefully selected additions can make a profound difference. We opted for a minimalistic approach, enhancing our long-loved patio set with elements that speak to the season’s charm.
Key to creating a cozy atmosphere are textiles. A collection of plush throw pillows and soft blankets, especially in autumnal hues like deep reds, burnt oranges, forest greens, and warm creams, will invite guests to snuggle in and stay warm as evening temperatures drop. Consider durable outdoor-friendly fabrics that can withstand dew or unexpected drizzles.
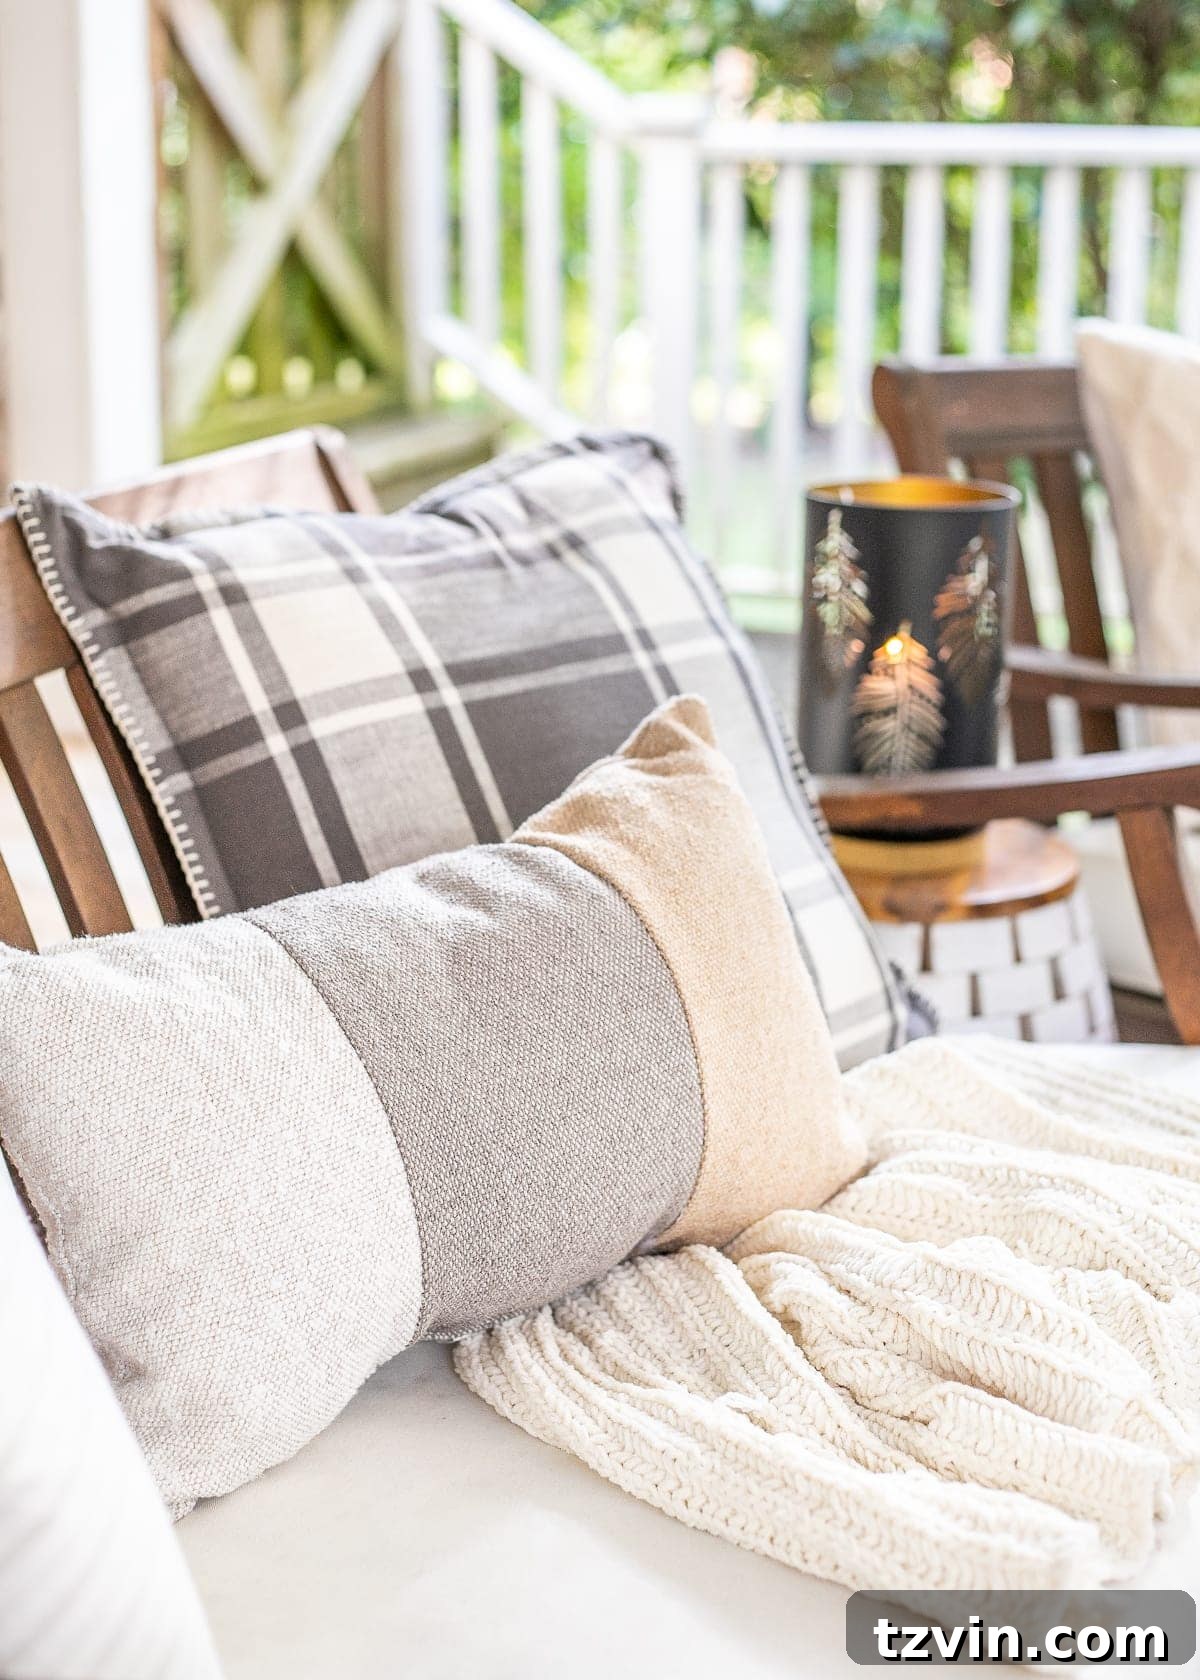
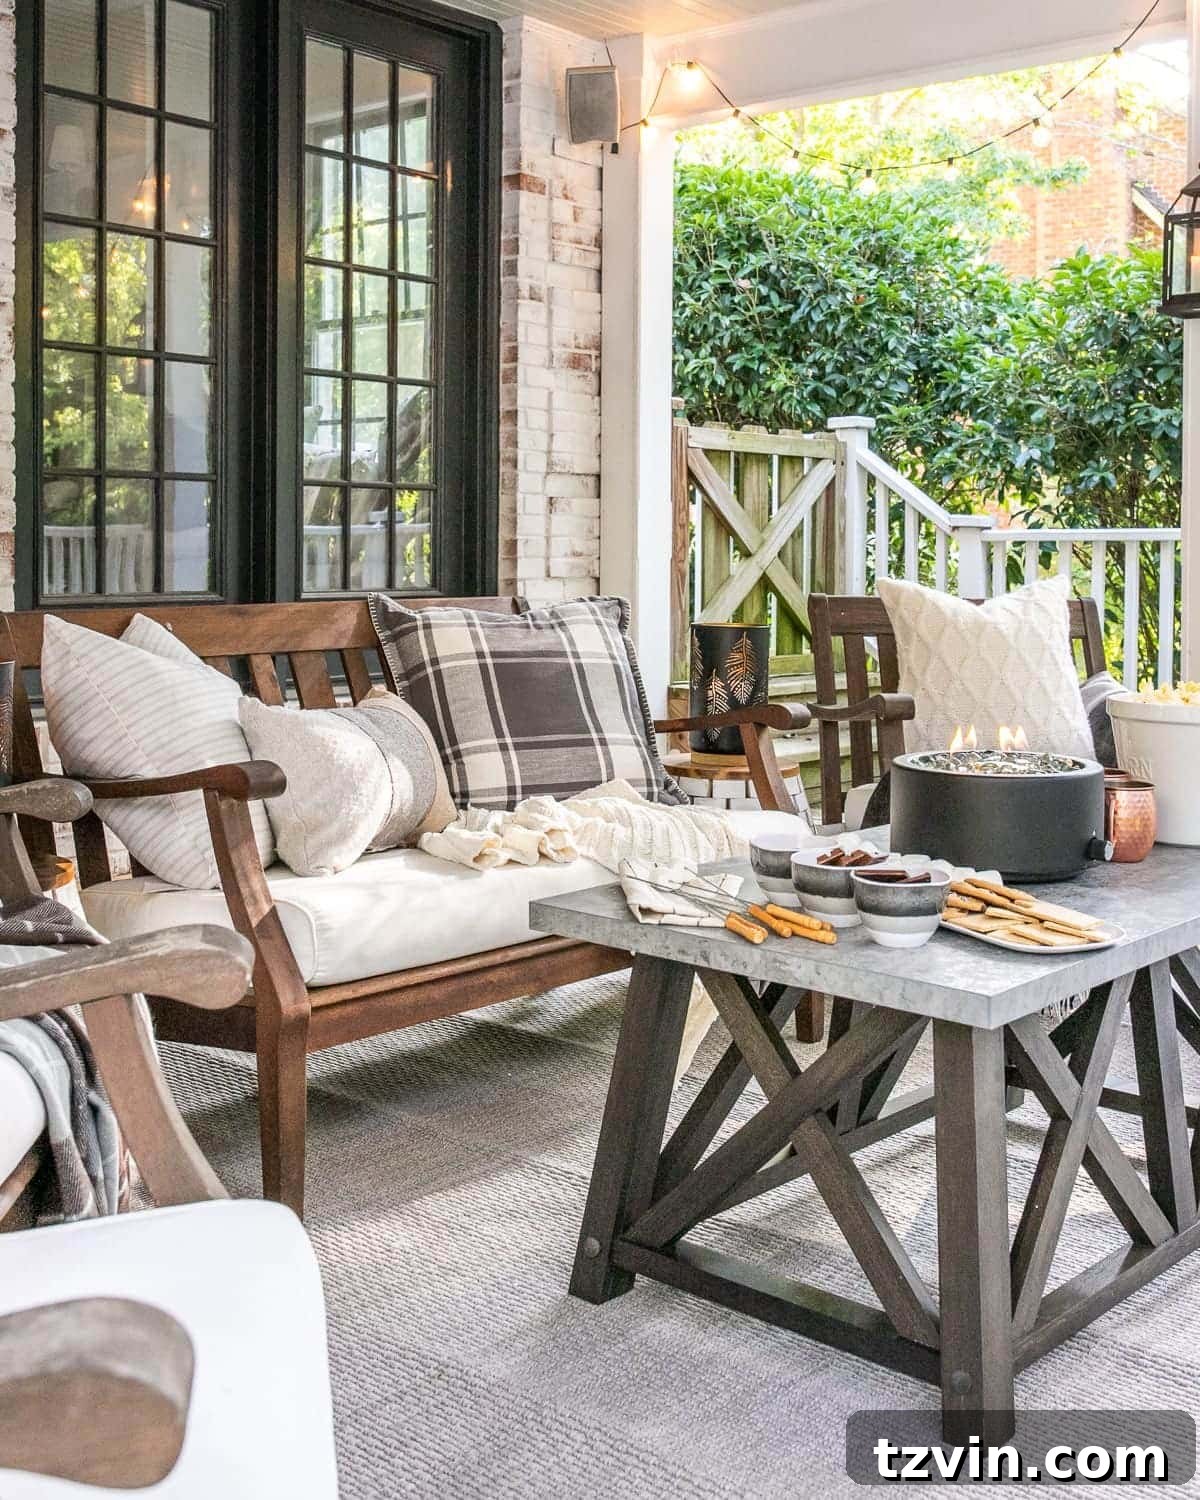
No outdoor ambiance is complete without magical lighting. String lights draped across your porch, patio, or overhead create an instant festive glow, casting a soft, inviting light that’s perfect for movie watching. Supplement these with lanterns, either traditional or filled with flameless candles, to add layered lighting and visual interest without the worry of an open flame. This combination of lighting sources works wonders in transforming a simple outdoor space into a enchanting retreat.
To further embrace the autumn spirit, incorporate seasonal elements. A few strategically placed mums in rich fall colors and an assortment of pumpkins and gourds from your local garden center can instantly elevate the decor. These natural elements bring texture and vibrant hues that are synonymous with the season. (Just remember to water those flowers, a task I often find challenging myself! Who wants to bet on their survival rate with me as their plant parent?)
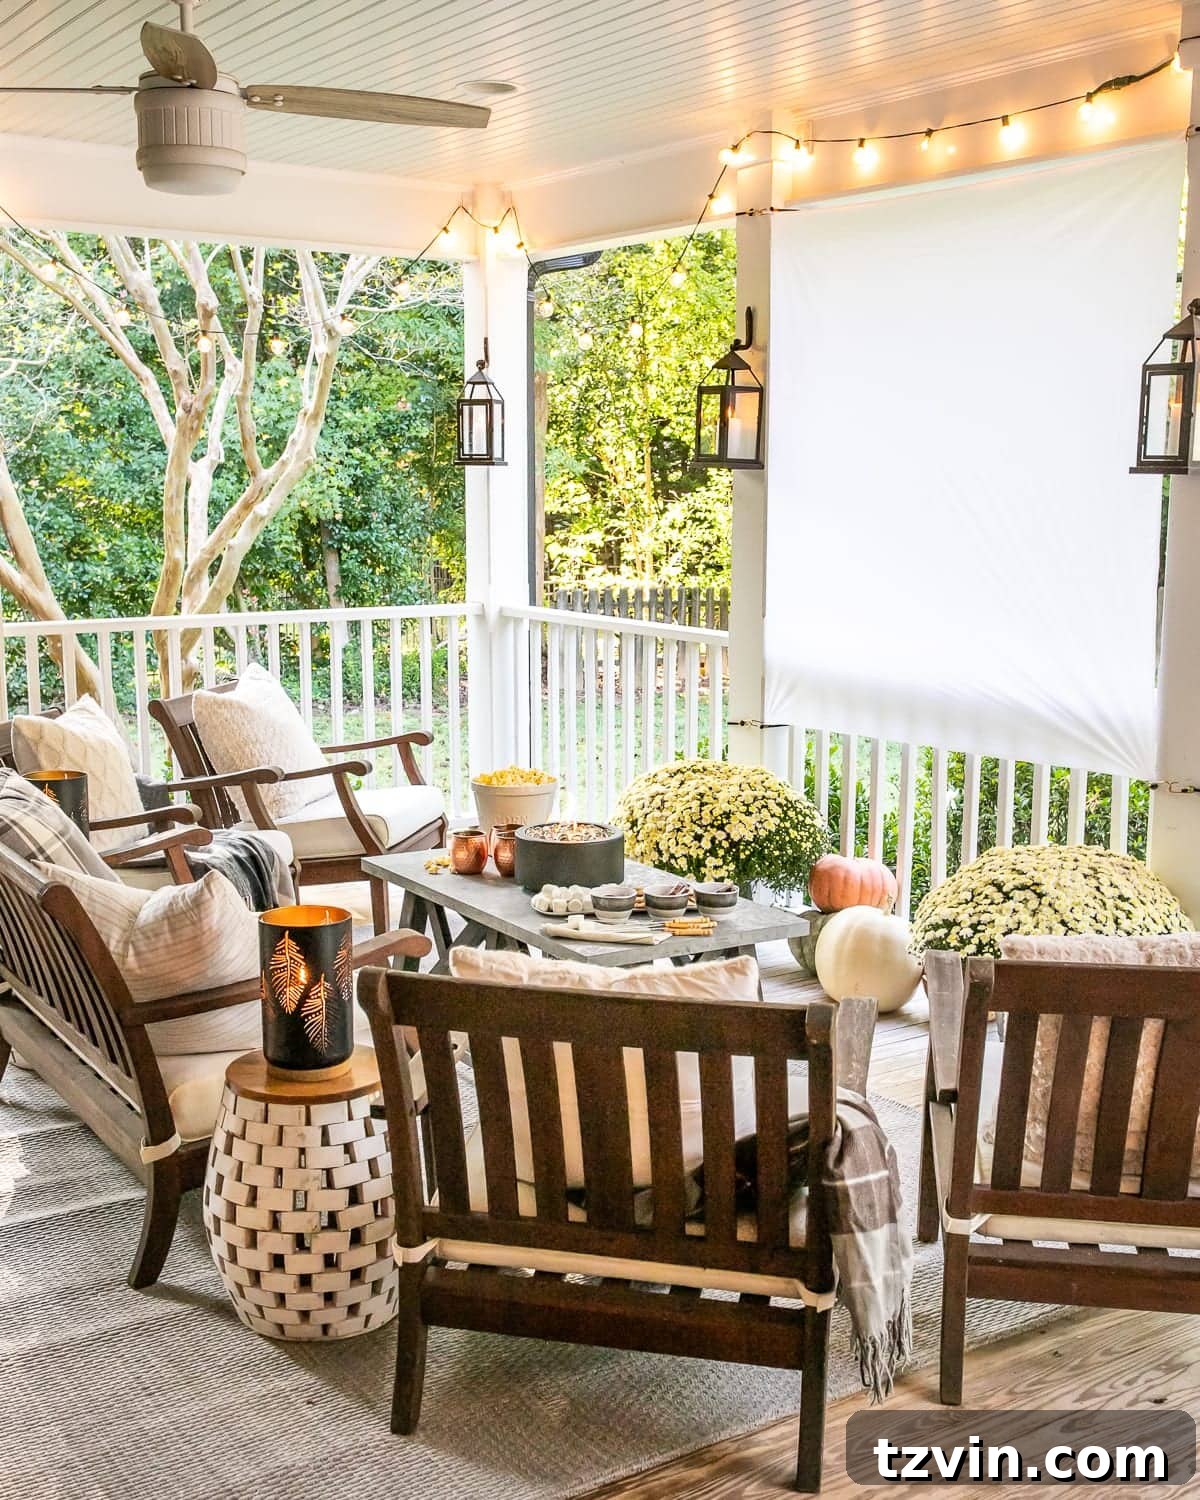
The synergy of a DIY outdoor movie theater, a custom s’mores station, and thoughtful fall decor truly creates a total escape right at home. It’s a wonder we didn’t embark on this project sooner! The feeling of stepping into this transformed space is akin to entering a private resort, a perfect blend of comfort and entertainment tailored just for us.
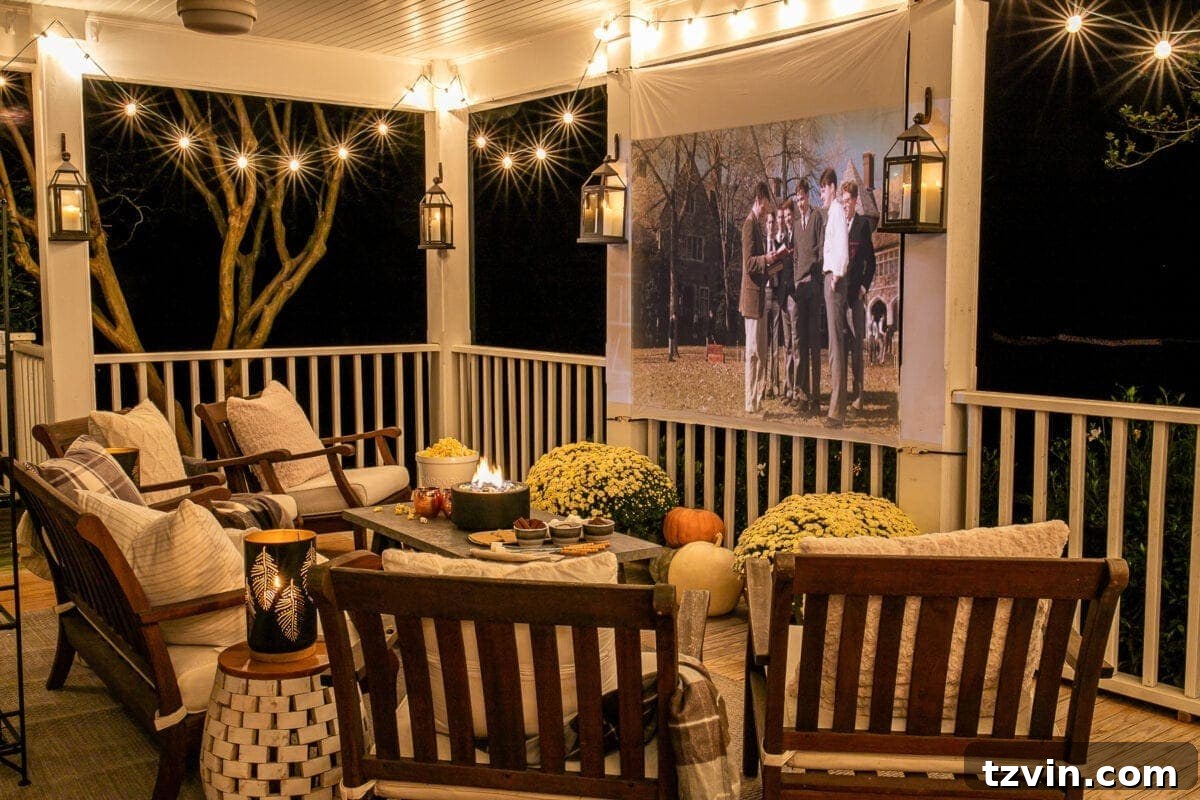
I’m already envisioning countless movie nights out here—from cozy slumber parties for the kids to spooky Halloween movie showings as the leaves continue to fall. This space has quickly become a cherished extension of our home, promising endless memories and delightful evenings under the seasonal sky.
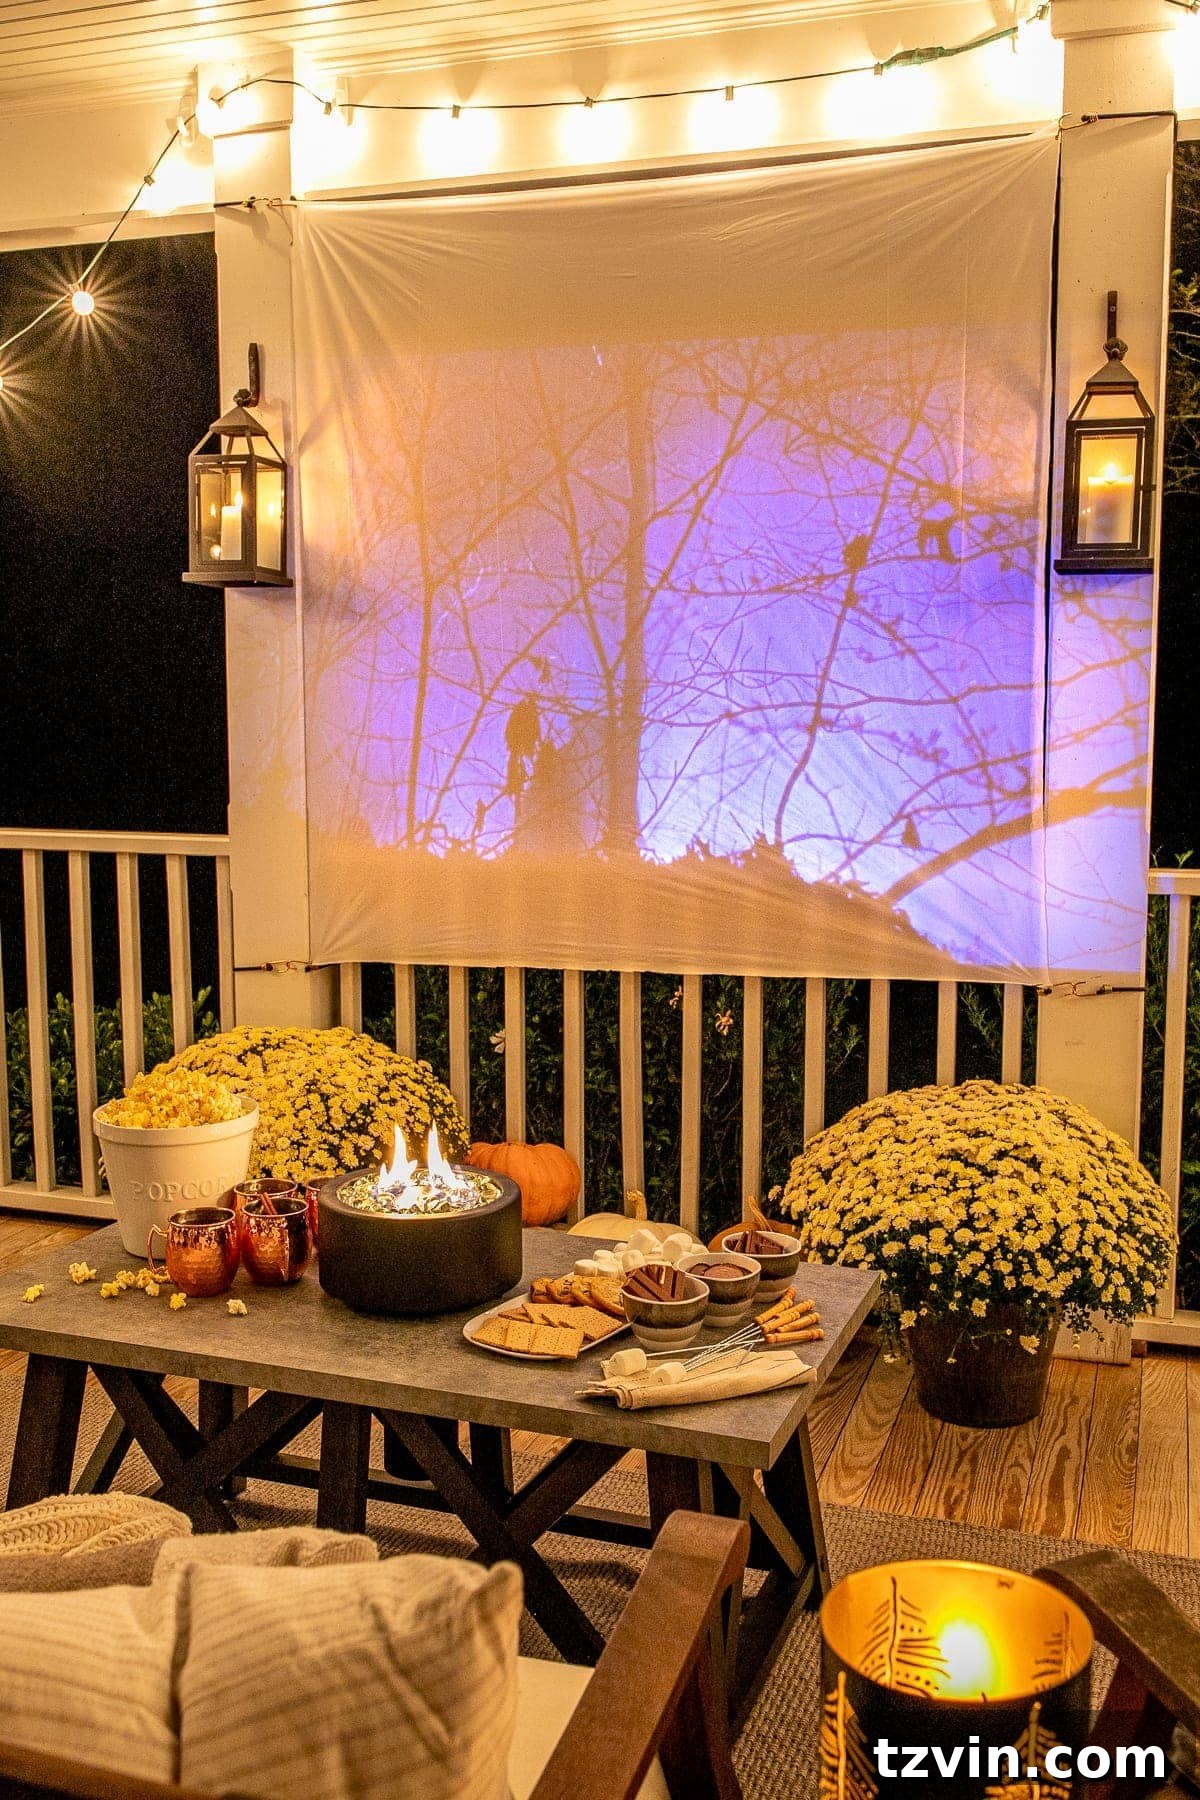
For your convenience, here are the sources for the products we used to create this ultimate fall outdoor entertainment space:
- Coffee Table (for s’mores station)
- Fire Bowl (propane-powered)
- Melamine Tray and Bowls (for s’mores ingredients)
- Copper Mugs (for cider)
- Popcorn Bowl (large ceramic)
- Striped Decorative Pillow
- Colorblock Accent Pillow
- Plaid Throw Pillow
- Ivory Rosette Textured Pillow
- Cream Knit Decorative Pillow
- Gray Outdoor Area Rug
- Outdoor String Lights
- Flameless LED Candles
Speaking of movies, can you identify the film gracing our DIY screen in the photos? It’s one of my all-time favorites, a truly captivating story. (You can take the English teacher out of the classroom, but you can’t take the classroom out of the English teacher—it’ll always have a part of my heart.)
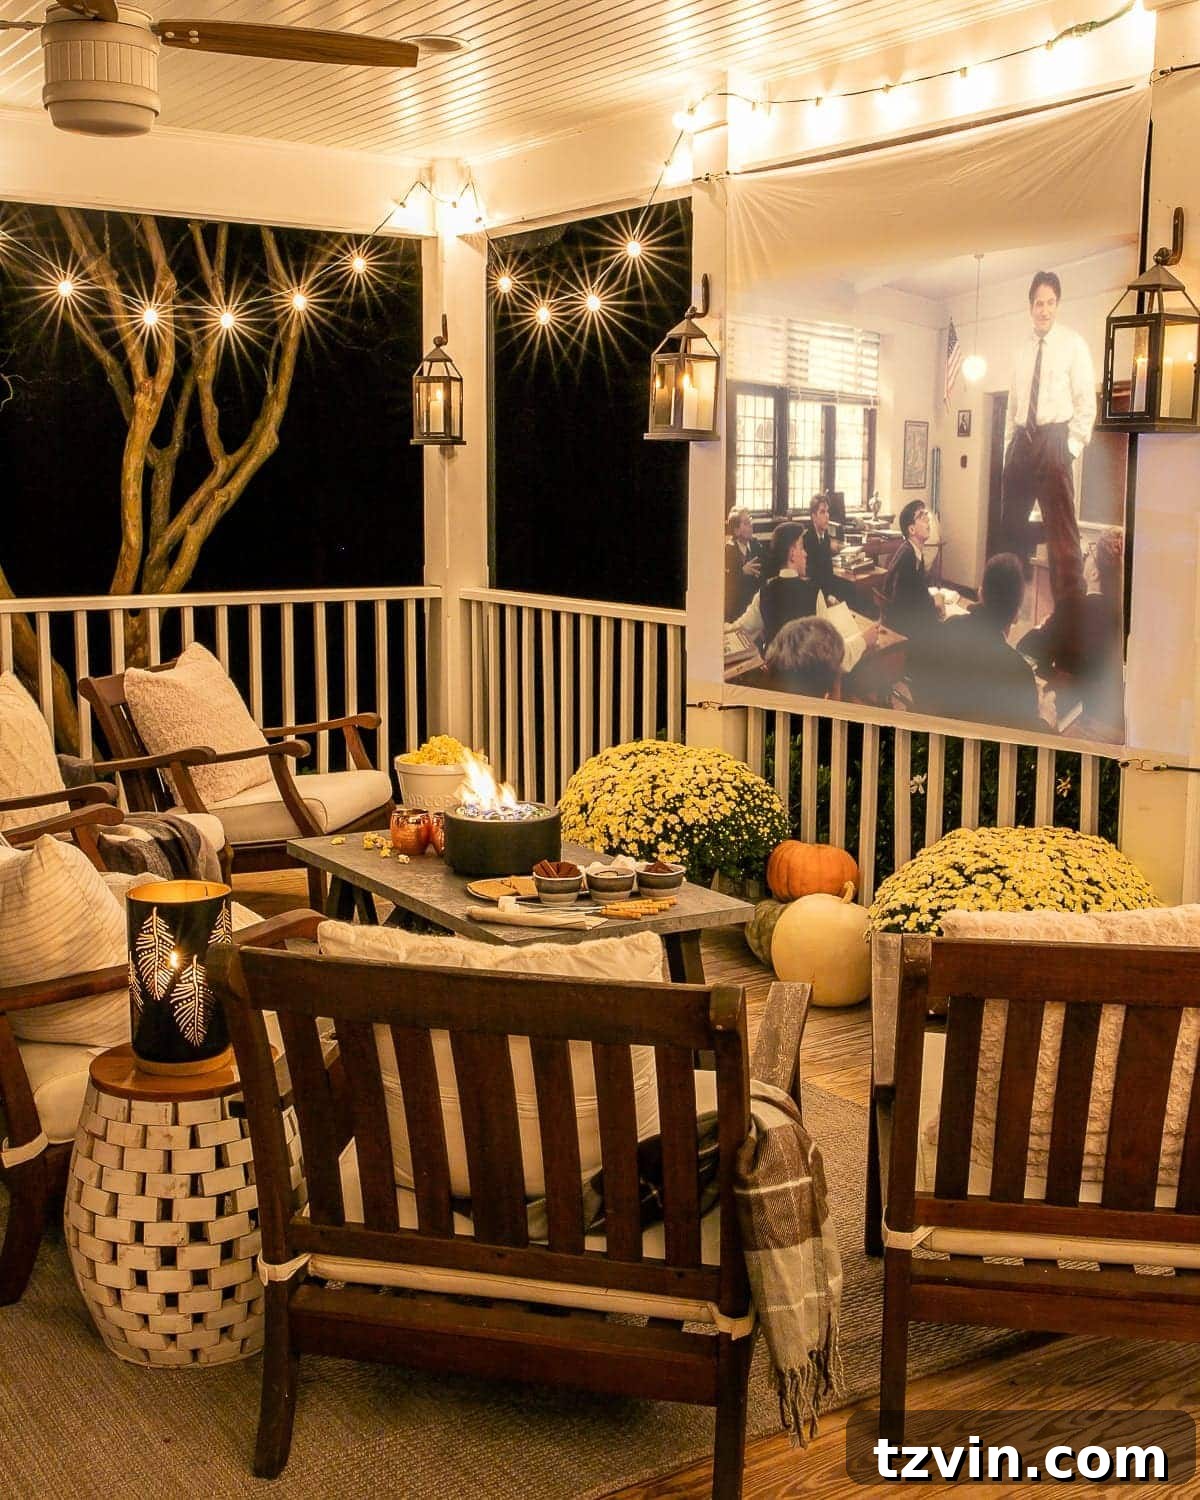
We’re always on the lookout for new ways to enjoy the beautiful fall season outdoors. Do you have any favorite outdoor activities or decorating tips that you love for autumn? We’d be thrilled to hear all your creative ideas and suggestions as we continue to make the most of this wonderful time of year!