
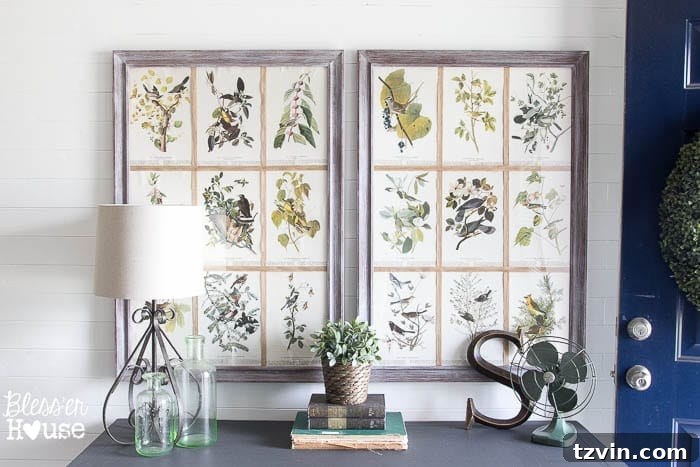
From the moment our foyer shiplap wall was complete, a new vision for the space began to take shape: grand, eye-catching wall art. I know, it might sound a little counterintuitive to cover up a beautiful new wall treatment, but the goal was to complement its rustic charm, not conceal it. The shiplap provided the perfect backdrop, demanding something equally captivating to complete the entryway’s transformation. The challenge, as always, was finding statement pieces that wouldn’t break the bank.
The usual dilemma quickly emerged. High-quality, oversized art pieces often come with an equally oversized price tag, and even large picture frames alone can cost a fortune. This is a common hurdle for anyone looking to create stylish home decor on a budget. But a good DIY enthusiast sees a challenge, not a dead end! So, it was the usual spirited scene around our house as the Shaver family, ever on the hunt for a bargain, embarked on a trip to Walmart.
Our adventure proved fruitful, and we frolicked home with some truly happy finds:
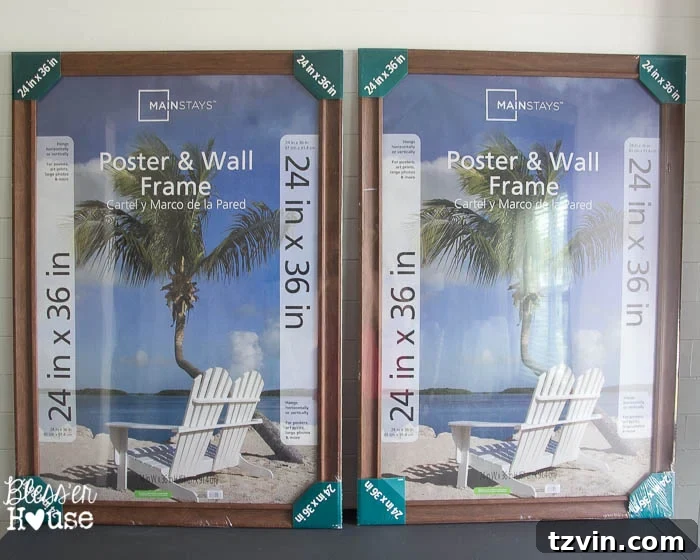
It was during this trip that I stumbled upon these impressively large wooden poster frames, priced at an astonishing $25 each. Instantly, I knew they were the perfect blank canvas for my vision. While they looked fine as they were, I envisioned giving them a beautiful weathered finish, a technique I often employ to add character and a touch of vintage charm to new pieces. This weathering treatment would transform their standard appearance into something far more custom and cohesive with our farmhouse-inspired foyer.
Essential Supplies for Your DIY Botanical Wall Art Project: (Affiliate links are included below, noted with asterisks, for your convenience. For more information, please see my full disclosure policy here.)
- 24″x36″ Wood Poster Frames* (or similar large frames you find and love)
- White Craft Paint* (A small bottle goes a long way)
- Clear Soft Wax* (Such as Fiddes & Sons, to create a custom liming wax)
- A paint brush, chip brush, or wax brush (For applying the liming wax mixture)
- A dry, clean, lint-free rag (Essential for buffing and achieving the weathered look)
- A small cup and a spoon/stirrer (For easily mixing your homemade liming wax)
- Spray adhesive – I recommend E6000* (For securely attaching your book pages)
- Sharp scissors (For trimming book pages and ribbon)
- An Audubon book or similar vintage biology illustration book – These are very similar to mine* (Update: Please note, since this project’s original publication, the link has been updated to the *Birds of America* edition. We apologize for any inconvenience if you previously purchased the *Audubon’s America* version. All good now!)
- Jute Burlap Ribbon* (Adds texture and neatly hides page edges)
- School glue or Mod Podge* (For adhering the burlap ribbon)
Crafting Your Vintage Botanical Art: The Step-by-Step Guide:
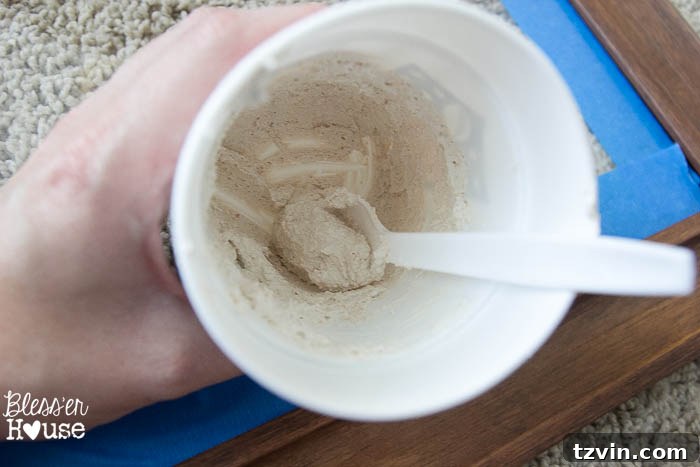
The first step in transforming these inexpensive frames into sophisticated home decor was to give them a beautiful, aged finish. I wanted some of the original wood grain to show through, providing depth and character, rather than a solid painted look. For this, I decided to create my own batch of liming wax. This homemade solution is incredibly simple yet yields stunning results. In a small cup, I combined 1 tablespoon of white craft paint with 3 tablespoons of clear soft wax. I then stirred the mixture for a minute or two until it was perfectly smooth and homogenous, achieving a consistency that was easy to work with.
With my custom liming wax ready, I applied it generously to the wooden frames using a paint brush. The key here is not to be too precious; a thick, even coat works best to ensure good coverage. Immediately after application, and before the wax had a chance to fully dry, I took a clean, lint-free rag and gently began to rub off the excess. This is where the magic happens and where you have full control over the final look. By varying the pressure and amount of rubbing, you can dictate precisely how much of the underlying wood finish you want to reveal. A lighter touch will leave more white wax for a more opaque limed effect, while more vigorous rubbing will expose more of the natural wood, creating a beautifully distressed and weathered appearance.
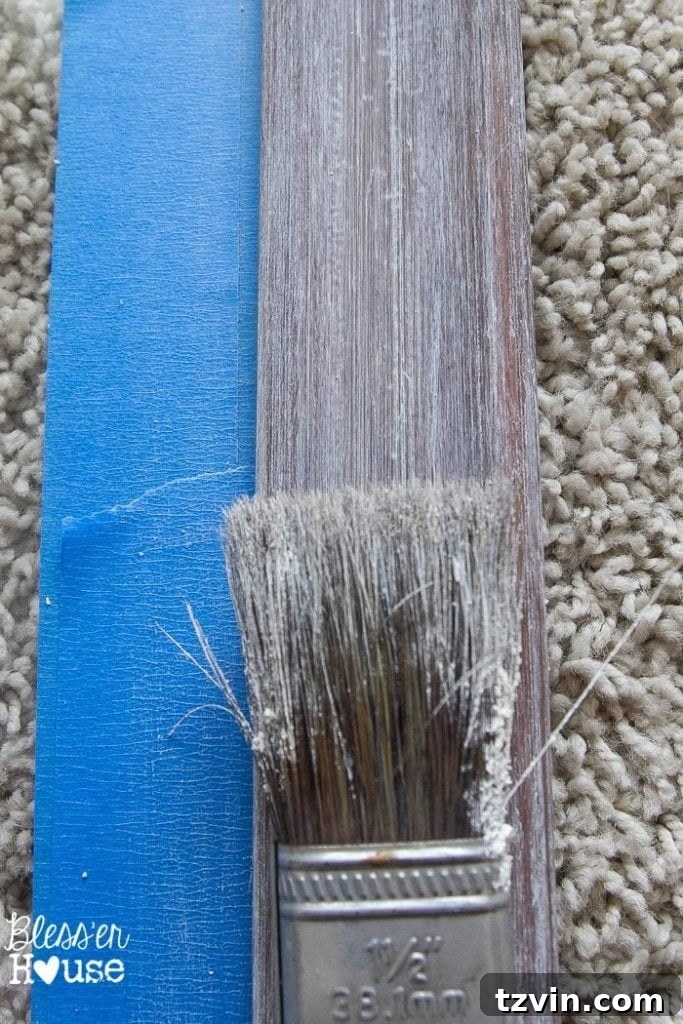
The entire process of liming the frames was incredibly quick, taking only a matter of minutes for each. It’s a wonderfully satisfying project, offering instant gratification. To truly appreciate the transformation, here’s a little side-by-side comparison:
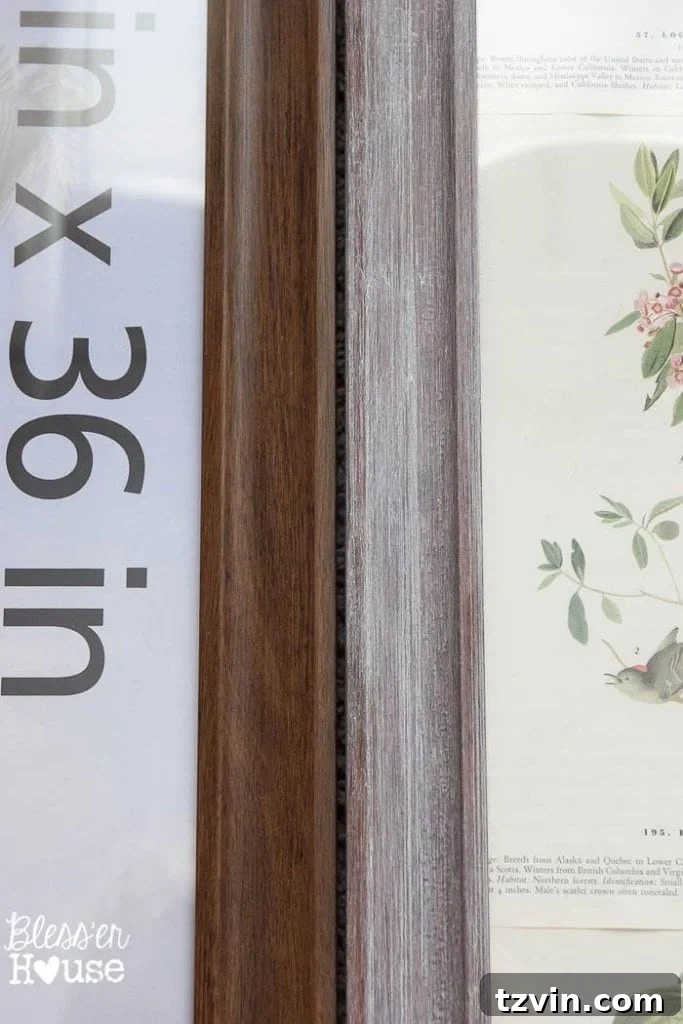
The resulting lime/drybrush weathered finish is truly captivating. It adds an authentic aged look, giving the frames a sense of history and warmth that perfectly complements a rustic or farmhouse aesthetic. This simple technique is a fantastic way to elevate inexpensive frames and customize them to fit your unique style.
For quite some time, ever since I hung our botanical print window in our master bathroom, I’ve been eager to find another opportunity to incorporate more botanical prints elsewhere in our home. There’s something timeless and inherently beautiful about these scientific illustrations that resonates deeply with me. They bring a touch of nature and vintage elegance into any space, making them a versatile choice for various decor styles.
A few years ago, my mom gifted me a true treasure: an old, thrifted Audubon Birds of America book. This book has become a cherished source of decor, as I’ve carefully pulled pages from its crumbling binding to frame and display throughout our house. These exquisite bird prints hold significant sentimental value for me, evoking fond memories of Robert’s and my wedding day, which featured a charming bird theme. (One day, I really should share a recap of our big day here for all of you to see, as it was filled with so many lovely, personalized details!)
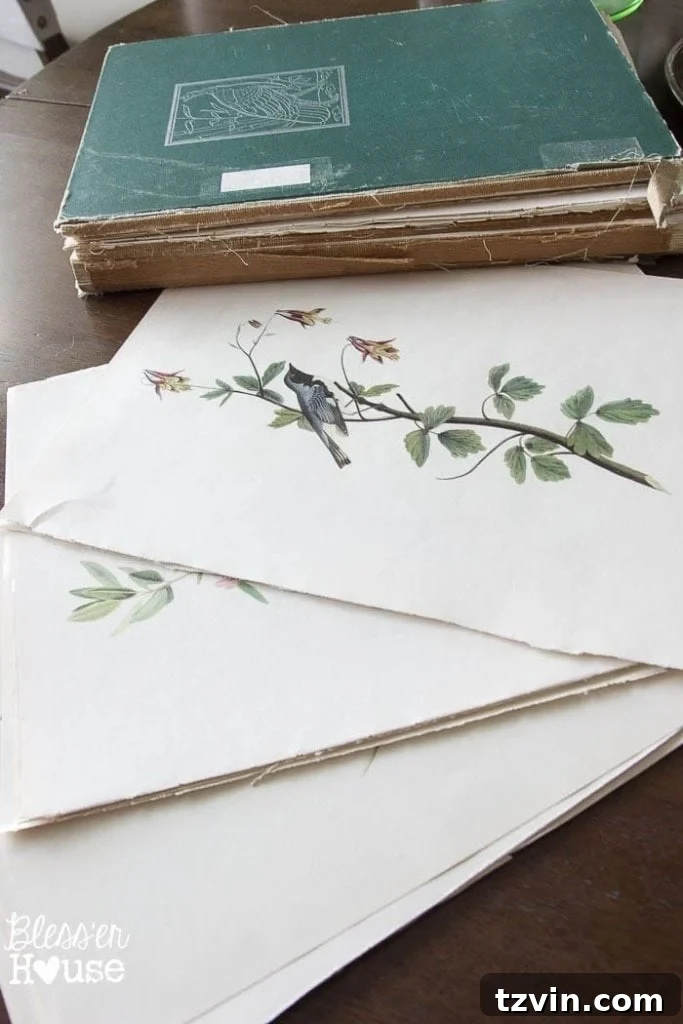
While the book itself is sadly falling apart from age and use, it is truly bursting with absolutely gorgeous biology illustrations, characteristic of the Victorian era. Each page is a miniature work of art, and I felt a strong compulsion to rescue these beautiful images, giving them a new life as cherished home decor. It’s a wonderful feeling to preserve a piece of history and turn it into something functional and beautiful.
For this project, I carefully selected 18 of my absolute favorite prints, preparing nine for each frame. The intention was to arrange them neatly on the cardboard backing that came with the frames, creating a gallery-like collage within each large frame. To ensure a perfect fit and a clean presentation, I had to meticulously trim some of the edges of the book pages. This step requires a steady hand and precise measurements to ensure each print is centered and aligned, creating a cohesive and polished look once all the pages are in place.
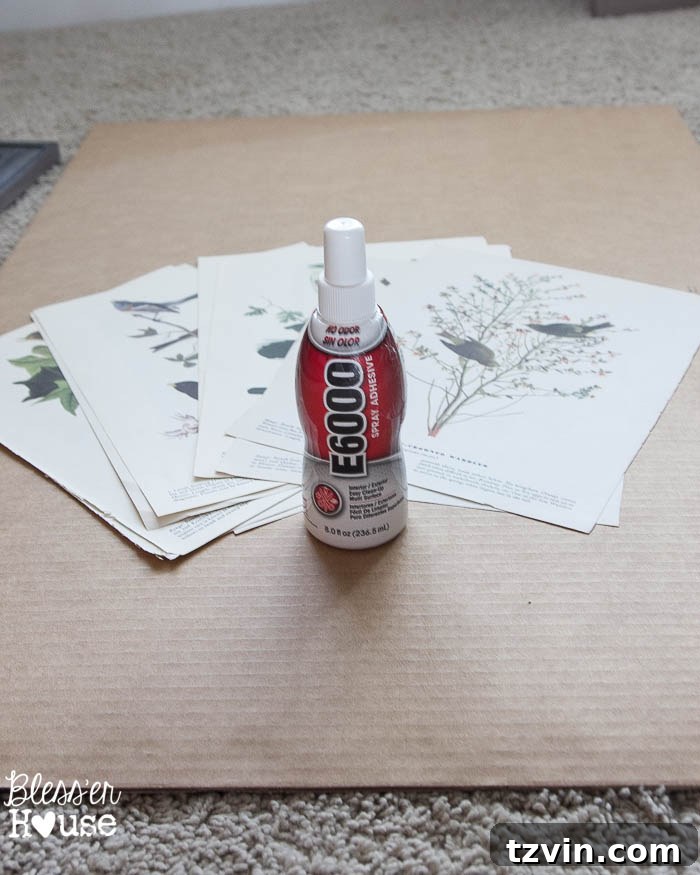
Once all the prints were perfectly trimmed and arranged to my liking on the cardboard backing, the next step was to permanently adhere them. I used spray adhesive for this, carefully spraying the back of each sheet before pressing it firmly into place. Spray adhesive provides a strong, even bond without causing the paper to warp or wrinkle, which is crucial for achieving a professional finish, especially with delicate vintage pages. Working systematically, I ensured each of the eighteen prints was securely affixed, creating a stunning mosaic of botanical beauty.
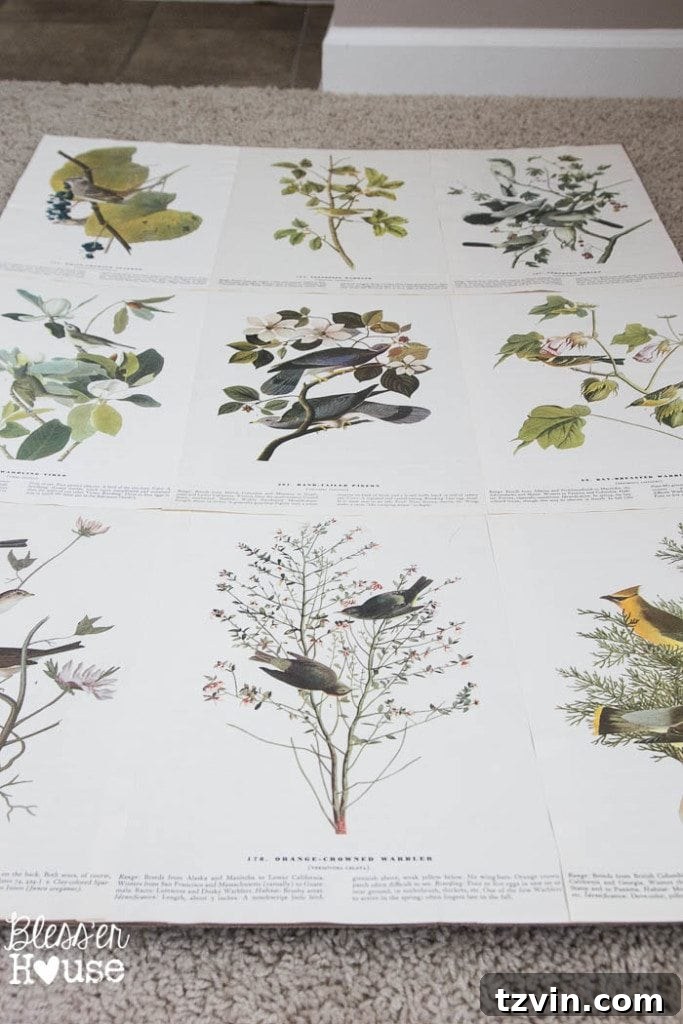
After I had painstakingly glued all the book pages onto the backing, I stepped back to admire my work, only to realize something wasn’t quite right. The visible edges of the paper, despite my careful trimming, unfortunately gave the entire piece a distinct “homemade” appearance. While I love DIY, my goal is always to create pieces that look professionally made and not overtly crafty. I wasn’t a fan of this particular detail, and I knew it needed a clever solution to elevate the overall aesthetic.
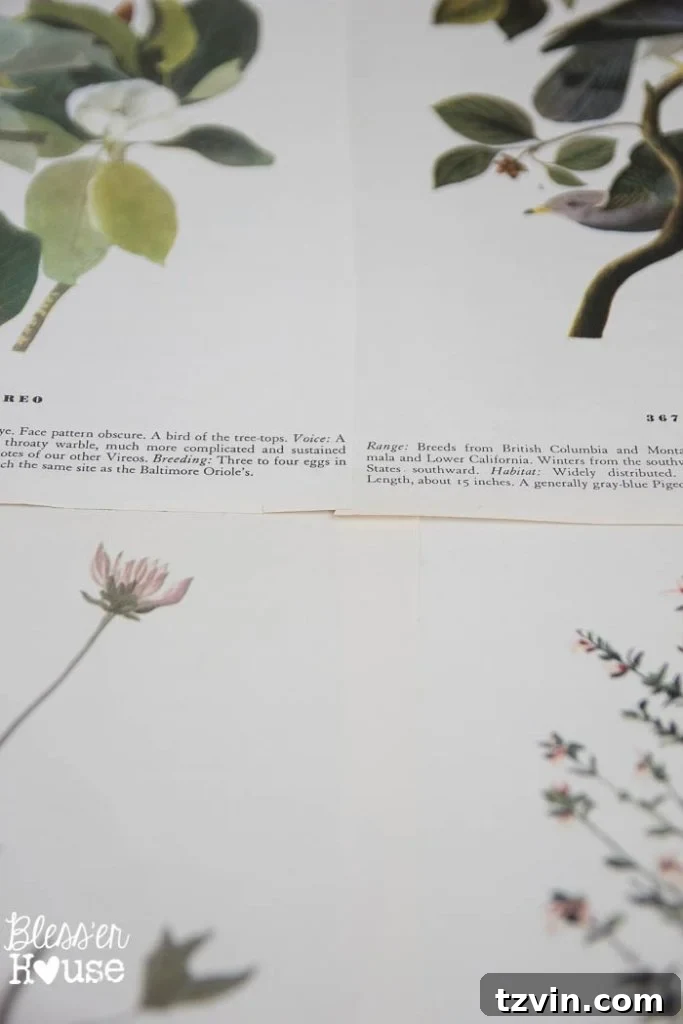
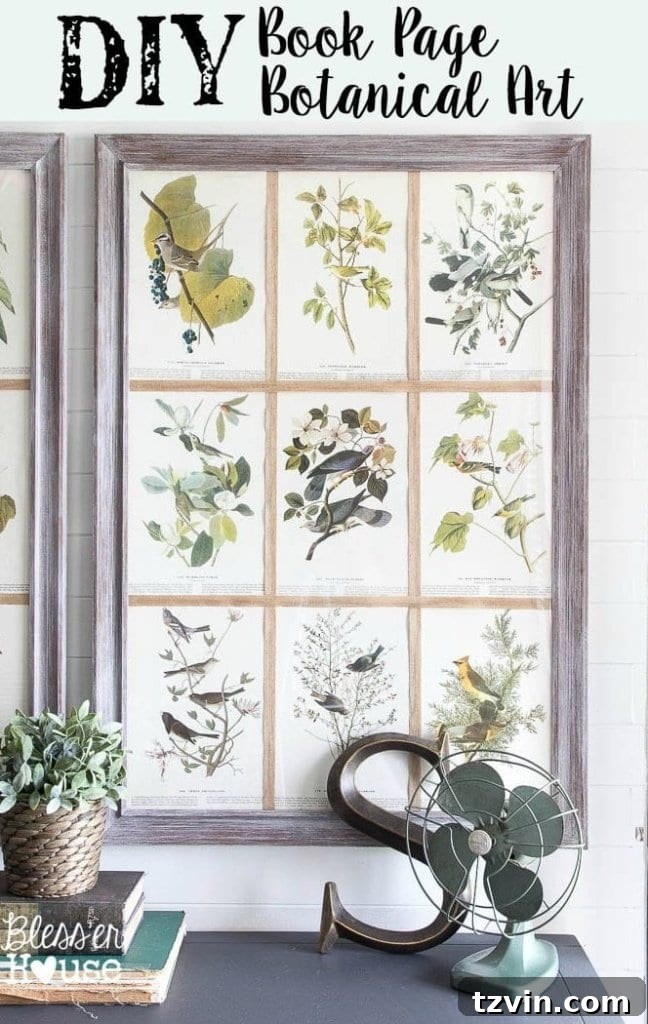
It was during a brainstorming session with my mom and mother-in-law that the perfect solution emerged: jute burlap ribbon! This brilliant idea was simple yet transformative. By laying the burlap ribbon over the seams, I could effectively hide those visible paper edges while simultaneously adding an incredible layer of texture and rustic charm. The ribbon would create a beautiful grid pattern, not only enhancing the visual appeal but also giving the artwork a more polished and intentional design, completely camouflaging the fact that it was made from individual book pages.
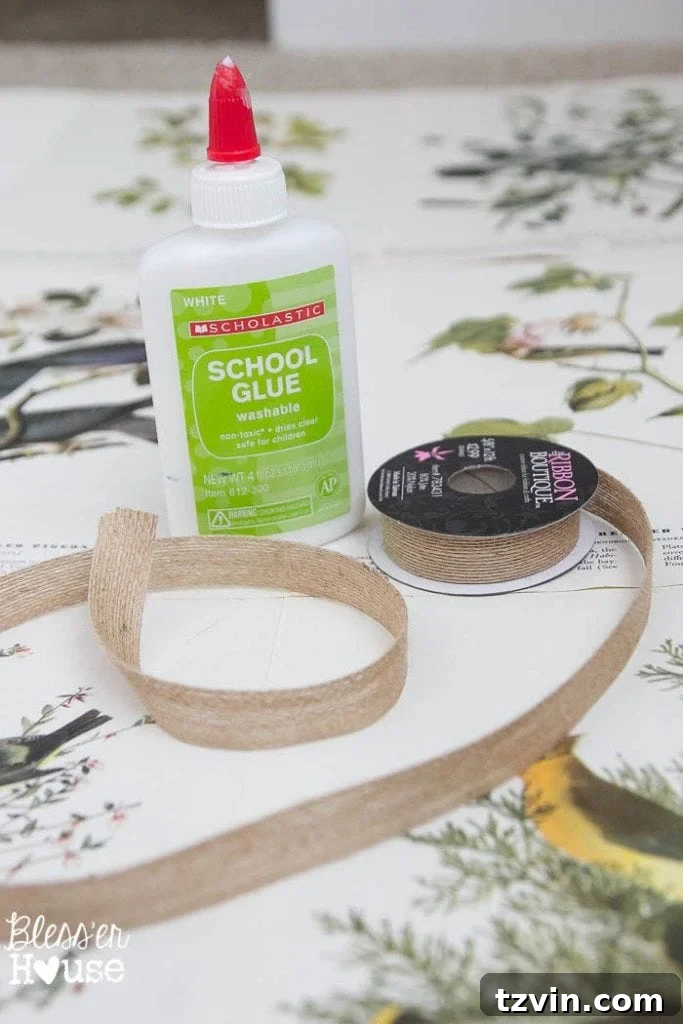
To apply the ribbon, I first carefully lined up each strip to ensure a straight and even grid. Precision here is key for a clean finish. Then, I secured it with a thin line of simple school glue. While Mod Podge would also work beautifully for this task, I was fresh out, proving that often the simplest supplies you have on hand are perfectly adequate for creative solutions. The school glue held the burlap firmly in place without soaking through or causing discoloration, making it an ideal choice for this step.
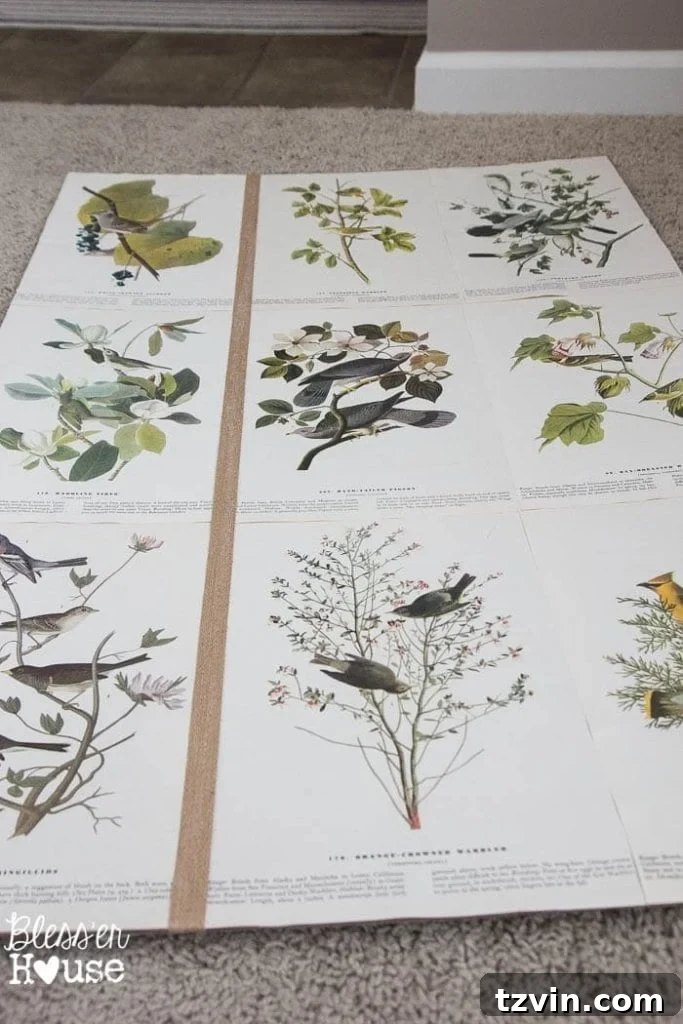
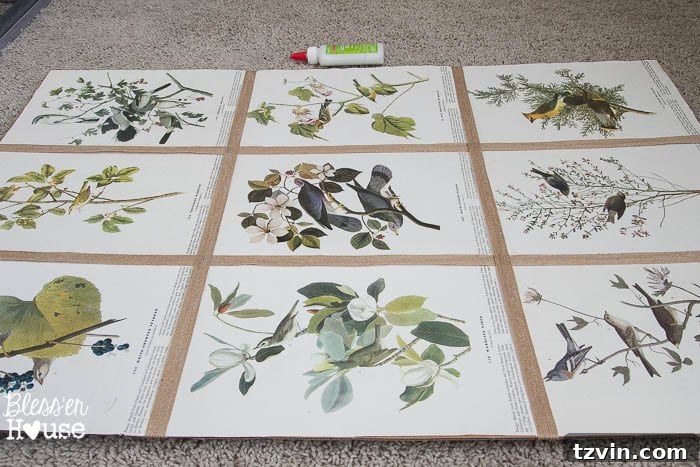
I began by placing my ribbon vertically first, ensuring each strip was taut and perfectly aligned with the grid of botanical prints. This created the foundational lines of the grid, laying out the structure for the entire piece. I let these vertical strips set slightly before moving on.
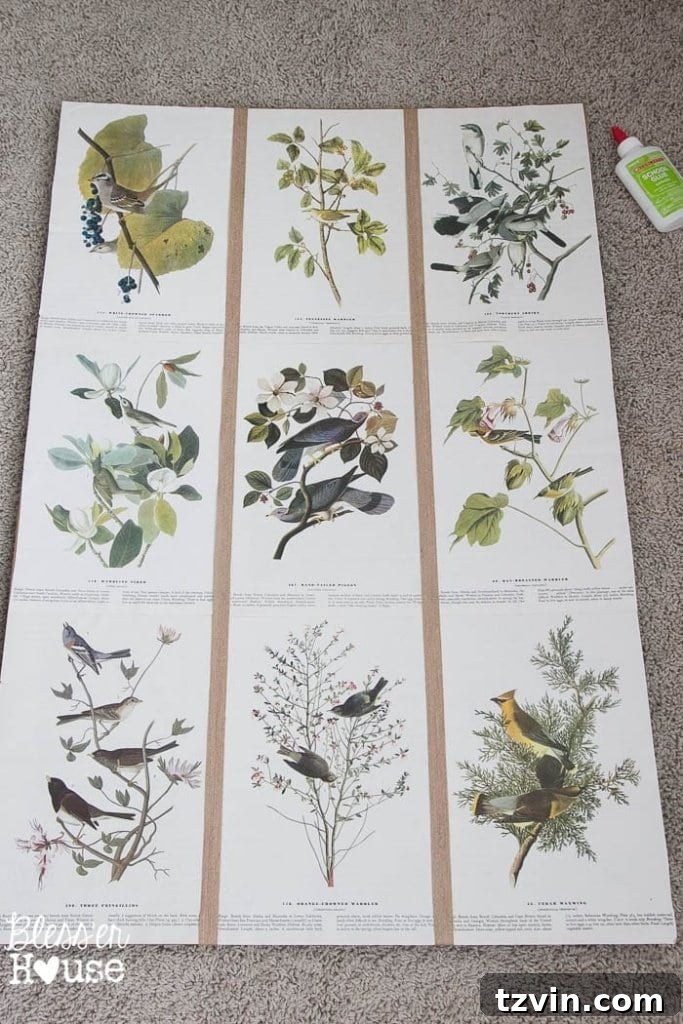
Once the vertical lines were secure, I proceeded to apply the ribbon horizontally, carefully weaving it over and under the vertical strips where they intersected, creating a beautiful woven effect. This meticulous placement ensures a professional and integrated appearance for the grid. The combination of vertical and horizontal lines effectively framed each individual botanical print, giving the entire artwork a structured and sophisticated look.
Once all the ribbon was meticulously placed and the glue had thoroughly dried, I carefully reinserted the entire cardboard piece, now adorned with its stunning botanical collage and burlap grid, back into the limewashed frame. Securing the backing closures, the transformation was complete! It’s astonishing how a few simple, budget-friendly materials and a little creative vision can come together to create such a striking piece of custom wall art. The subtle textures and vintage charm of the finished artwork far exceeded my initial expectations, proving that truly expensive-looking decor can indeed be achieved on a dime.
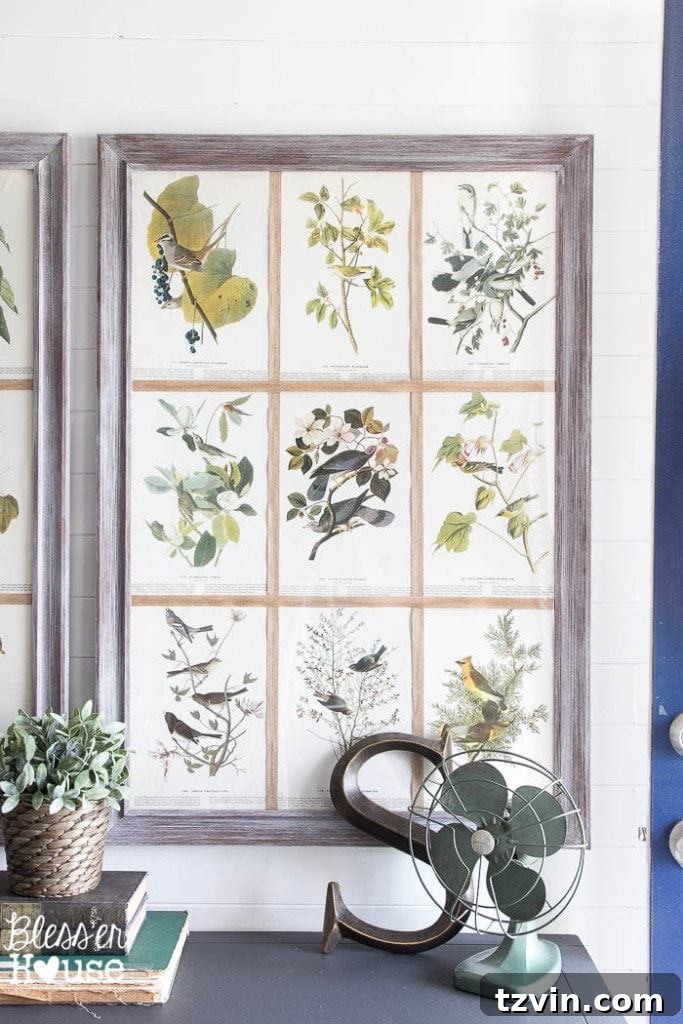
These pieces turned out so much better than I could have ever planned! The combination of the rustic jute burlap ribbon and the subtly textured, lime-waxed frames creates a rich interplay of textures that is both visually interesting and incredibly inviting. The frames now possess an elegant, aged patina that beautifully complements the vintage charm of the botanical prints. It’s a cohesive look that speaks to careful curation, even though it was achieved through a simple, cost-effective DIY process.
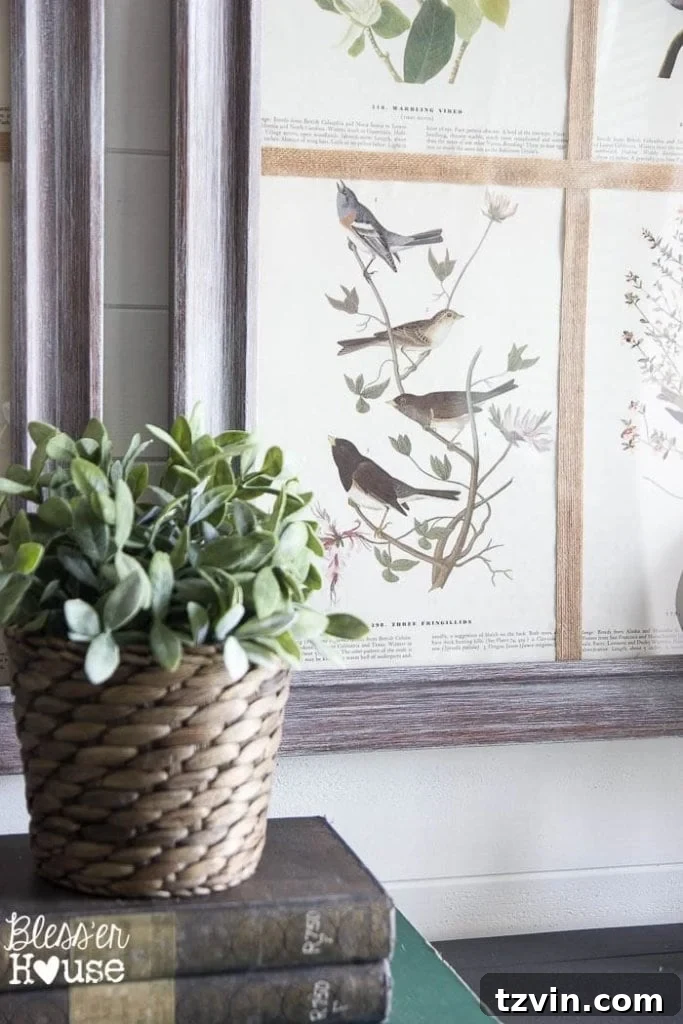
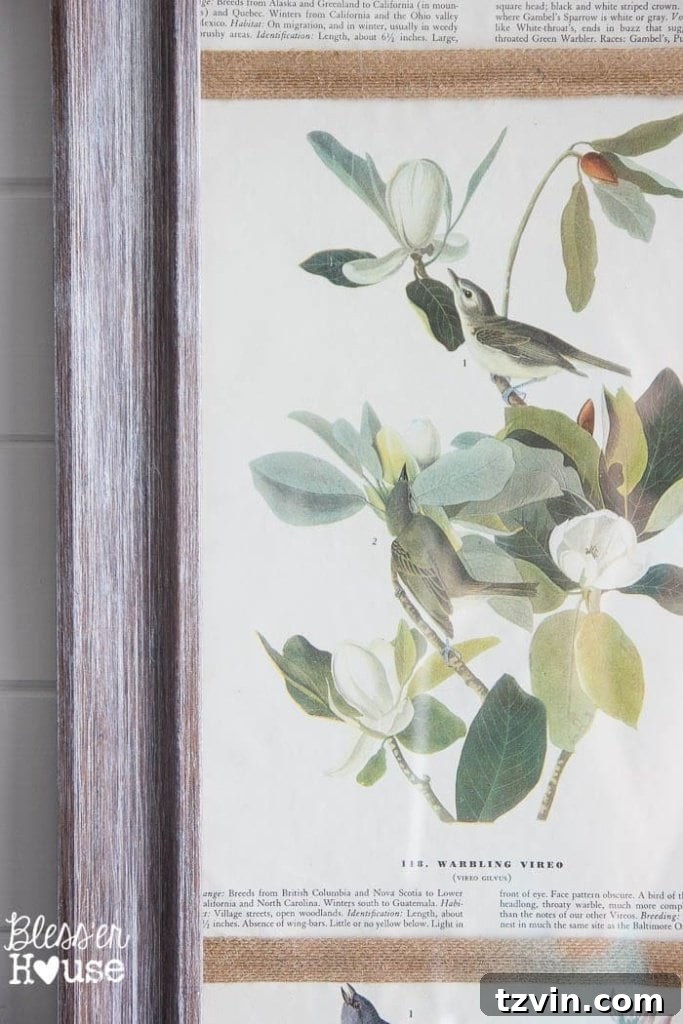
They are absolutely perfect with our newly installed shiplap wall, creating a harmonious and aesthetically pleasing focal point in our entryway. The natural tones of the burlap and the softened white of the limewash frames provide a lovely contrast to the crisp lines of the shiplap, enhancing the modern farmhouse vibe we’re cultivating throughout our home. It’s truly rewarding to see how a vision comes to life, piece by piece, transforming a simple space into something special.
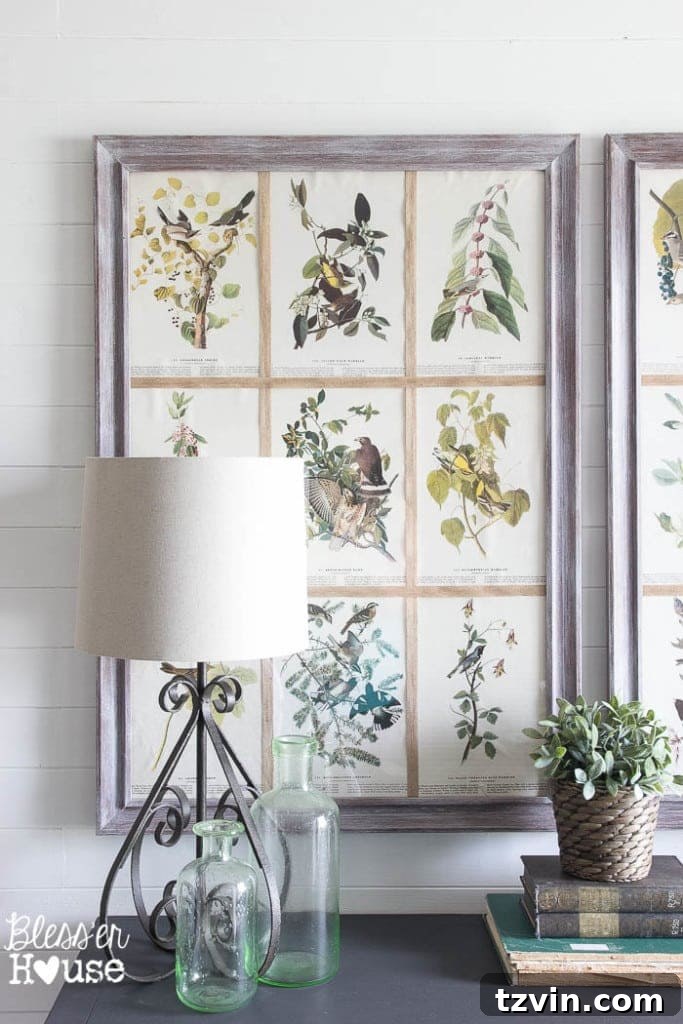
These new art pieces feel right at home amongst all the other cherished thrifted finds on our foyer table. The beauty of incorporating handmade and pre-loved items is the unique character and story they bring to a space. Speaking of thrifted treasures, I managed to snag that adorable scroll lamp at Goodwill for an incredible $2.00! It’s these small, budget-friendly victories that make decorating so much fun and truly personal. Each item, whether DIY or thrifted, contributes to the overall warmth and charm of our home.
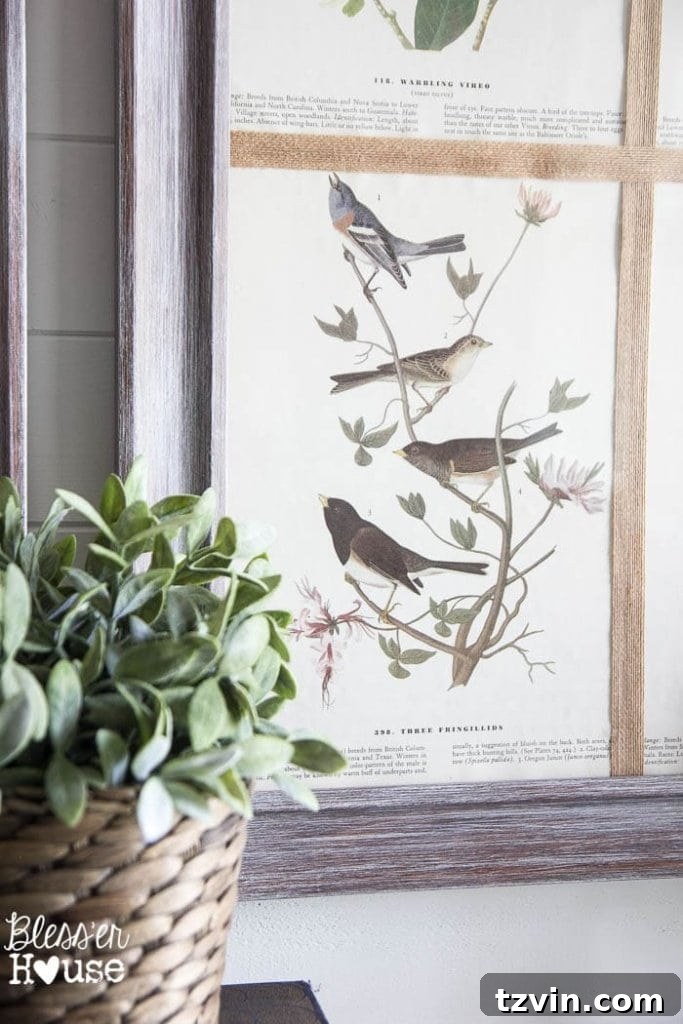
Our foyer is truly coming together beautifully, and I’m just adding some final, delicate touches to complete the look this week. It’s exciting to see a space evolve from concept to a tangible, inviting reality, especially when done with a conscious effort to be both stylish and economical. The cumulative effect of these small projects and thoughtful details transforms the entire atmosphere, making it feel truly personal and lived-in. The art, the shiplap, and the carefully selected accessories all contribute to a welcoming first impression for anyone entering our home.
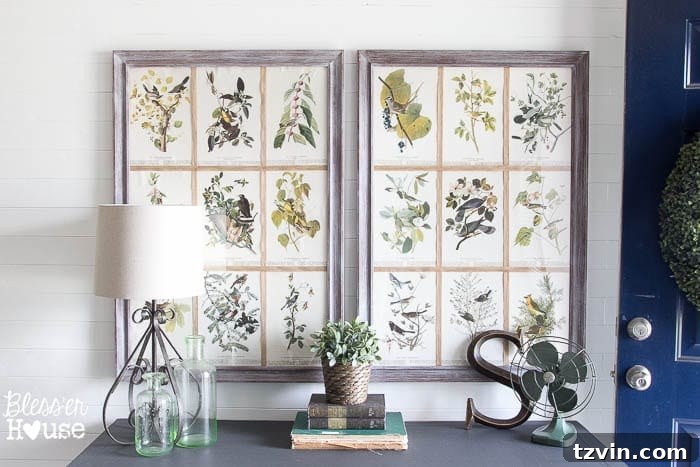
I simply cannot wait to show off this happy little space once every last detail is in place! It’s remarkable how much brighter and more welcoming it feels now compared to just a few weeks ago. The impact of intentional design, especially the addition of meaningful art, is truly profound. It’s amazing how a few carefully chosen pieces, whether created with your own hands or discovered with a keen eye for a bargain, can make a room feel so much more complete, settled, and utterly charming. This foyer is now a testament to the power of budget-friendly DIY to transform a home.
Have you been diligently working on any room makeovers lately that are tantalizingly close to being finished? Or perhaps you’ve crafted some fancy, yet incredibly thrifty, wall art that fills you with immense pride? We’d love to hear about your creative endeavors and budget-savvy triumphs! Do you find yourselves singing and dancing in the aisles of your favorite discount stores, just like we do when we stumble upon the perfect find? Share your stories and inspirations in the comments below!

Follow Us on Social Media for More Inspiration:
Facebook | Pinterest | Instagram | Twitter | Google+ | Bloglovin | Hometalk