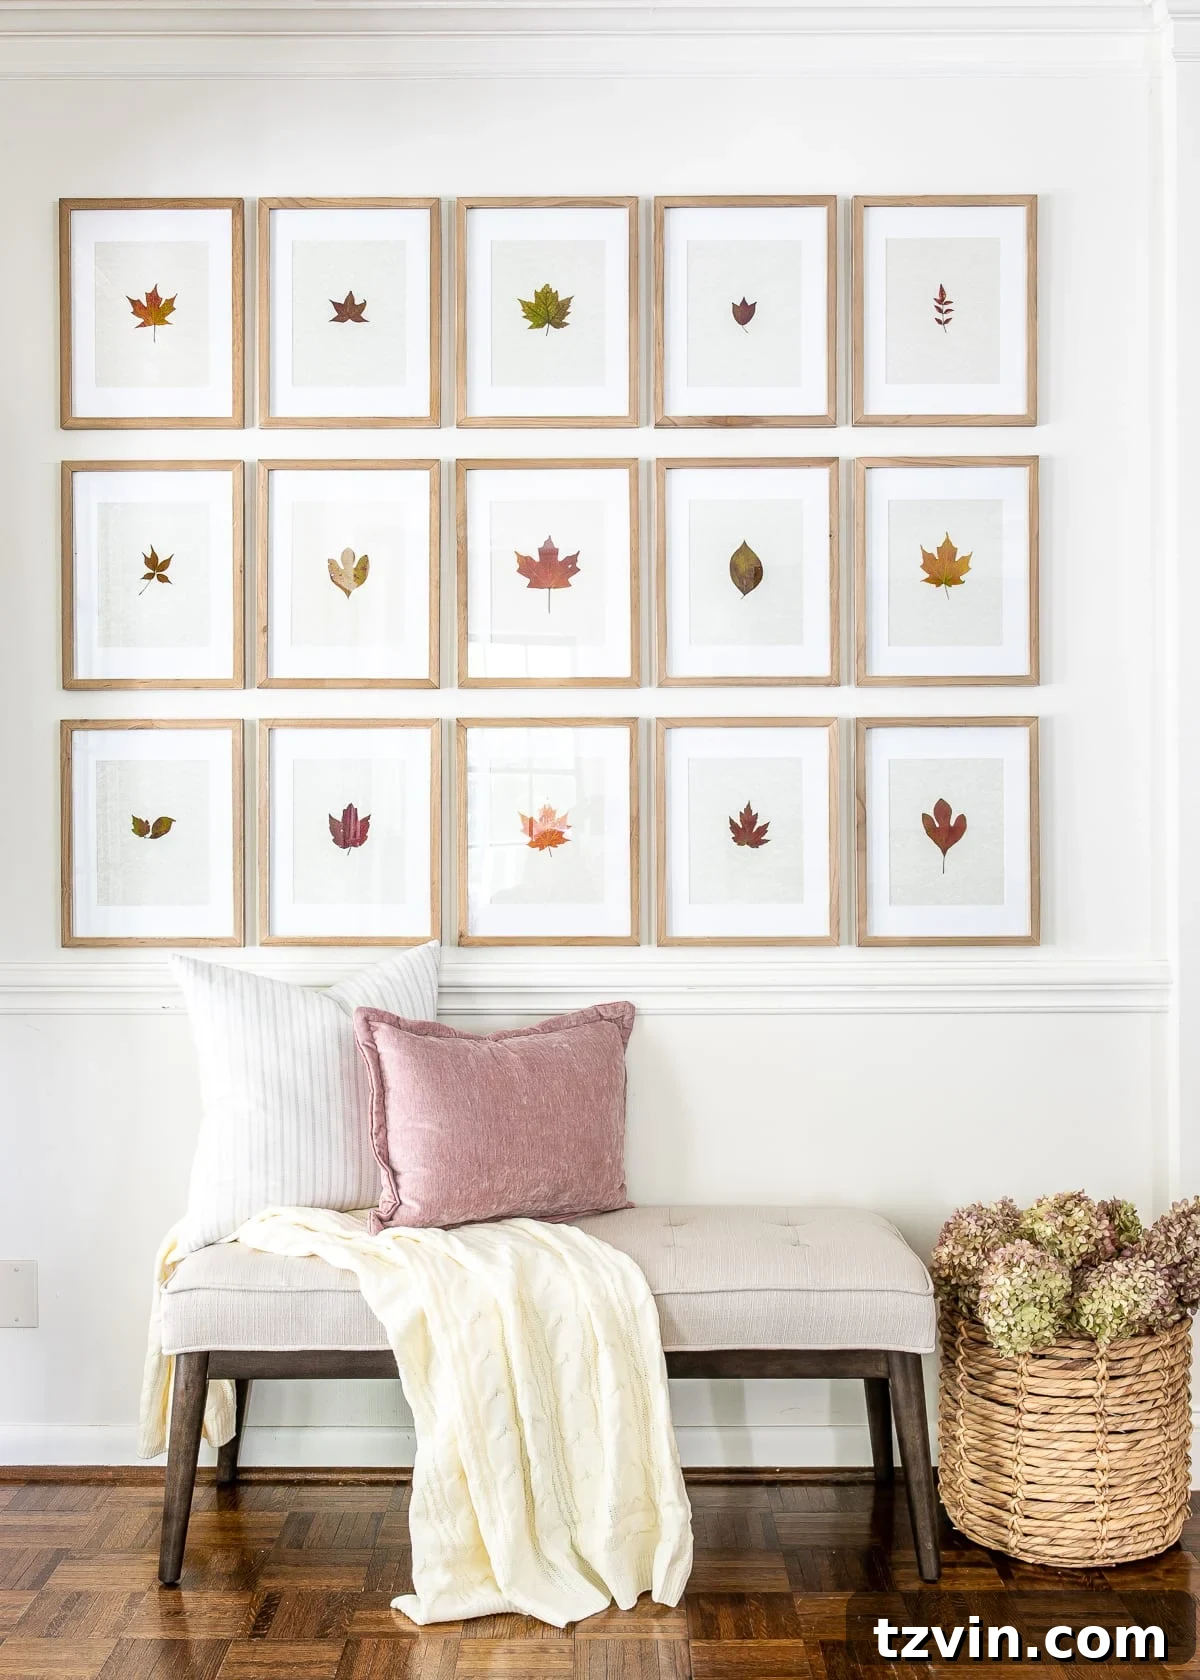
As the vibrant energy of summer begins its graceful retreat, a different kind of magic unfurls. While many envision crisp autumn air and changing leaves, here in South Carolina, summer’s embrace often lingers well into September. Yet, the heart yearns for fall’s comforting traditions, and so, we strategically place our pumpkins, hoping no one notices the lingering warmth. This annual ritual marks our transition, a subtle nod to the season we eagerly welcome indoors.
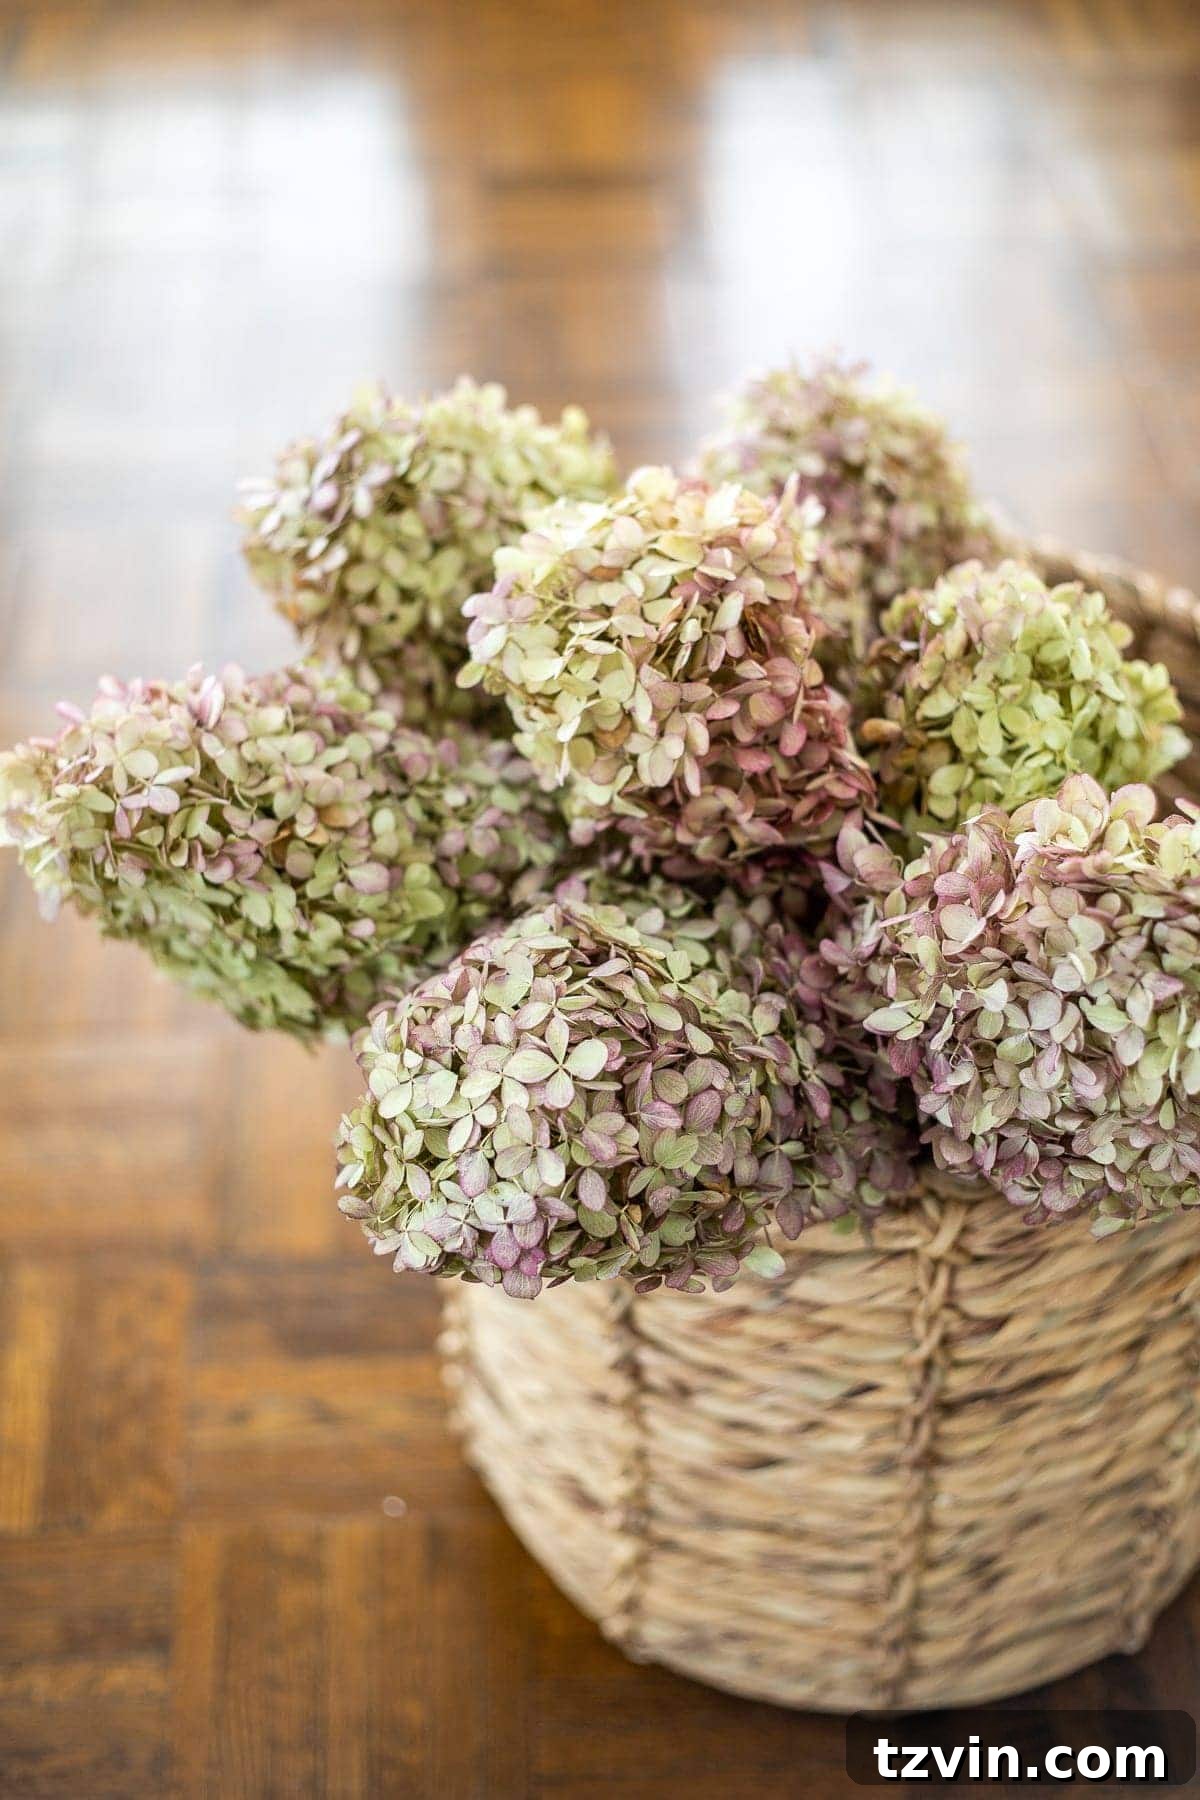
This year, my journey into fall decor began with a simple, yet profoundly rewarding, experiment. For the past few weeks, I’ve been immersed in the gentle art of drying hydrangeas and pressing leaves, a process that truly captures the ephemeral beauty of nature.
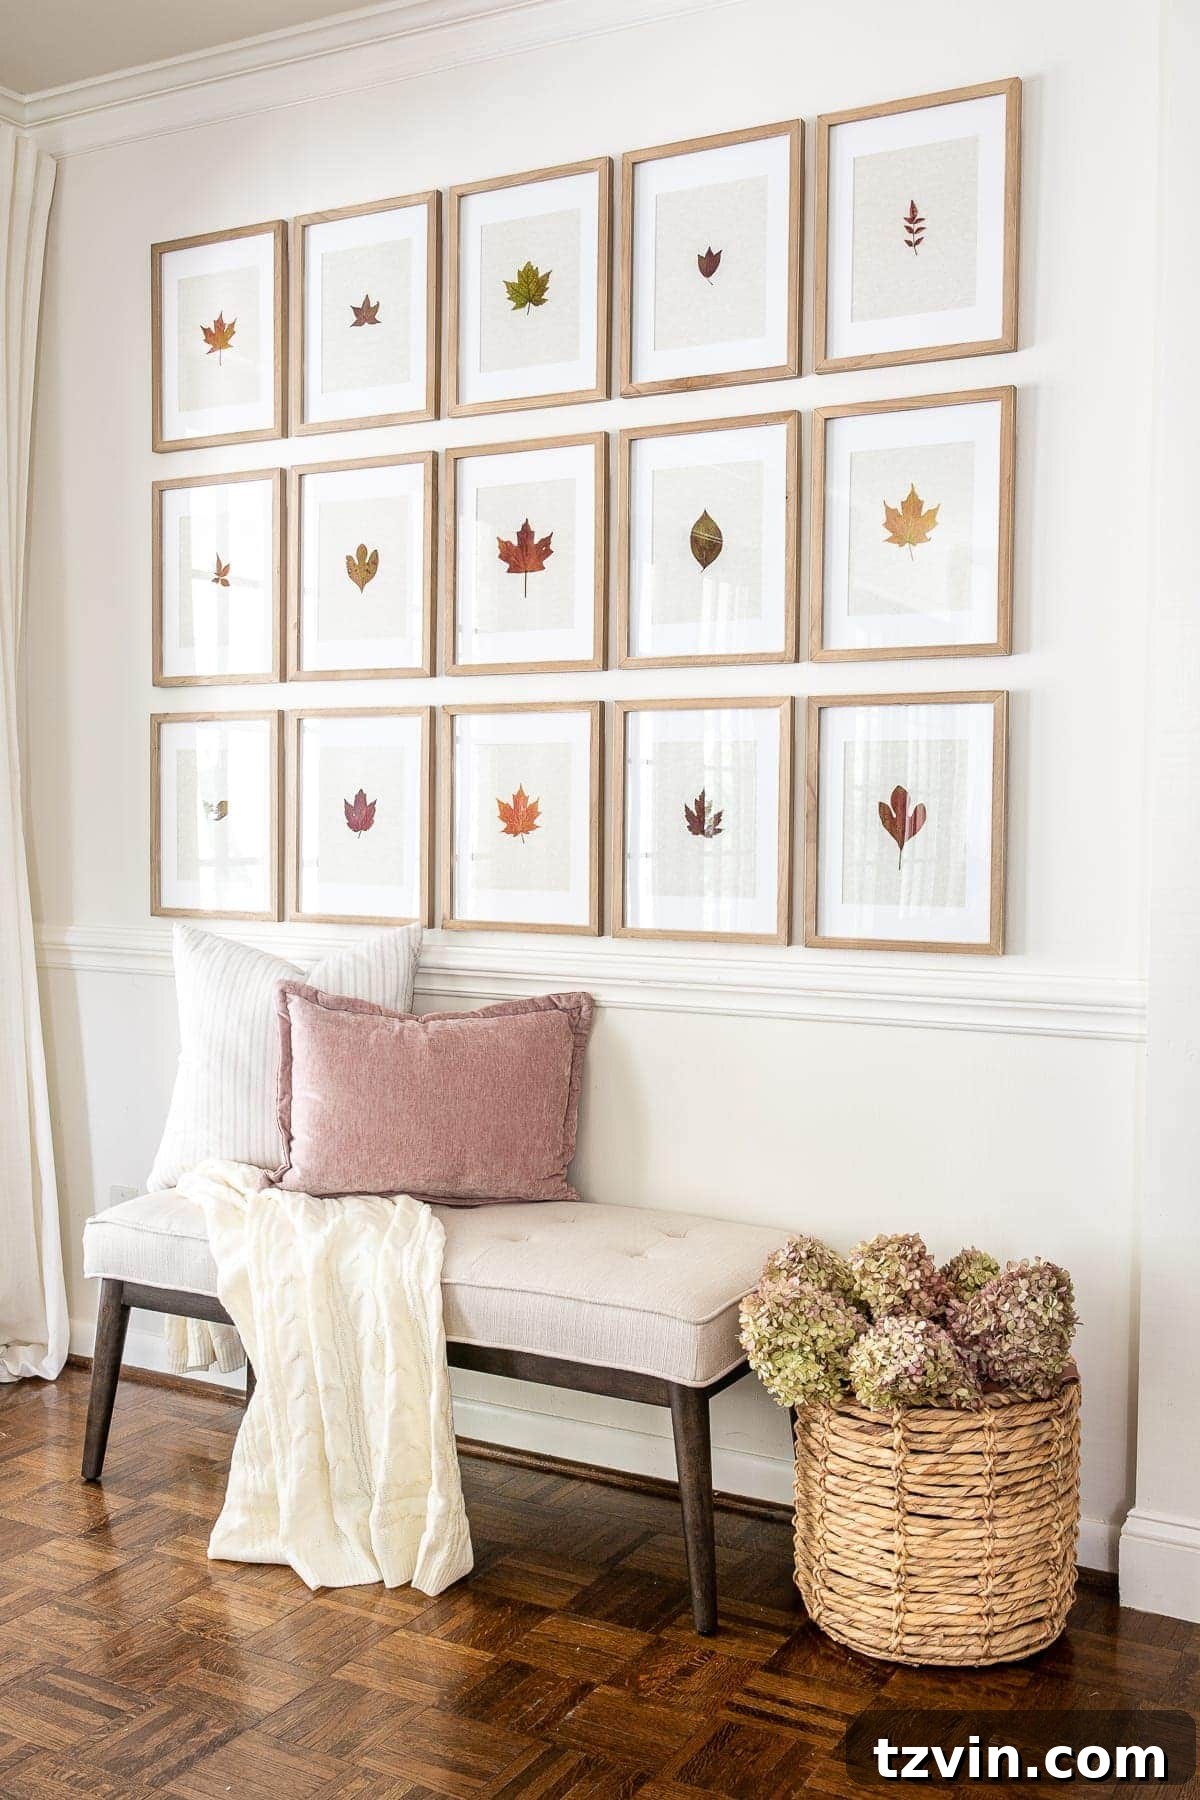
Today, I am thrilled to unveil the culmination of this endeavor: a stunning collection of pressed leaf art, transformed into a captivating gallery wall. It’s exactly as I envisioned since first plucking those vibrant specimens from our own backyard.
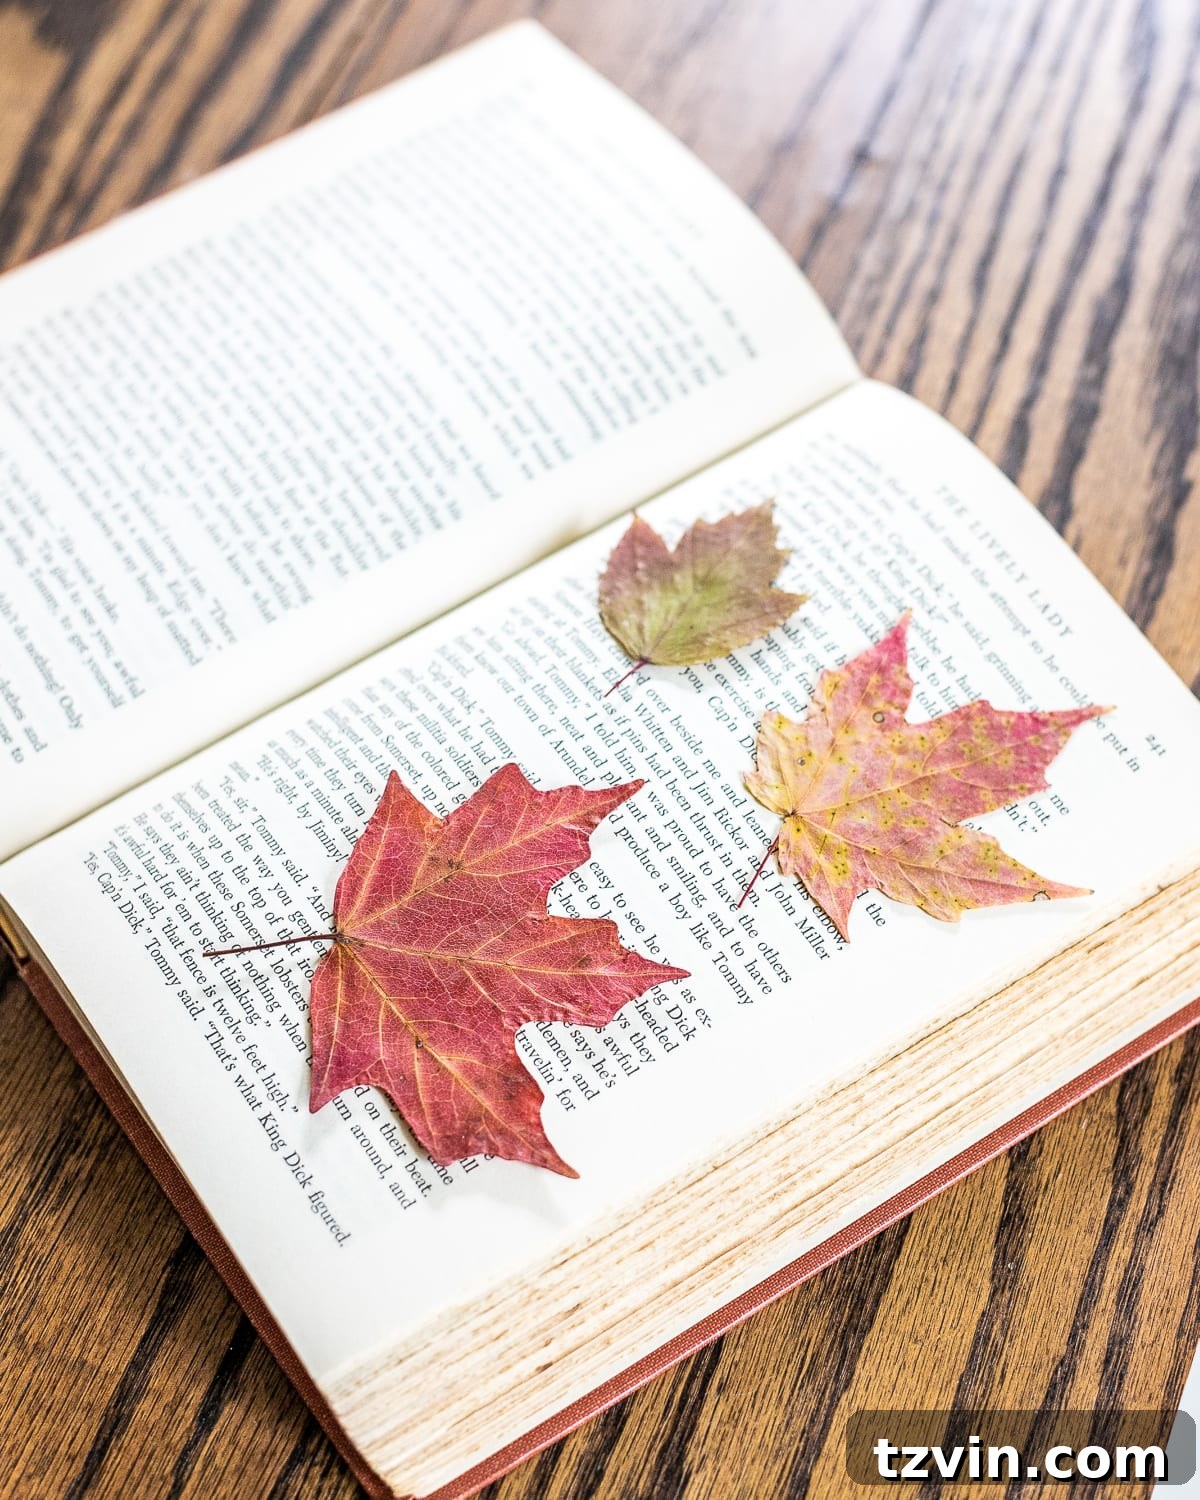
Create Stunning Pressed Leaf Art for Fall: A Budget-Friendly DIY Guide
One of my greatest joys is sharing simple, budget-friendly ideas that allow anyone to elevate their home decor without compromising on a sophisticated, high-end aesthetic. This pressed leaf gallery wall is a perfect example of such a project. It offers a unique and elegant wall decor solution, crafted almost entirely from treasures found in your own backyard, transforming humble autumn leaves into timeless art.
The beauty of this project lies in its simplicity and accessibility. Beyond the leaves themselves, the core materials—paper, clear adhesive, and picture frames—are incredibly affordable. You can easily find suitable frames at dollar stores or bargain retailers, making this a truly economical decorating choice. The most challenging aspect is often the waiting period while the leaves slowly press, transforming into delicate, flattened specimens. The rest of the process is so straightforward that even children can participate, adding their unique touch to this nature-inspired craft.
Truth be told, for many years, I wouldn’t have considered myself a “fall person.” I know, I know—feel free to gasp! Perhaps it was my aversion to the color orange, or the melancholy thought of shorter daylight hours. But over time, fall has woven its way into my heart, revealing its true charm beyond the traditional clichés.
What I’ve come to adore about autumn is the sheer coziness it ushers in: the flickering, warm glow of candles, the comforting embrace of a soft blanket by a crackling fire, the invigorating scent of a crisp breeze, and the spiced aroma of hot apple cider. These are the sensory delights that truly define fall for me, creating an atmosphere of warmth, introspection, and comfort within the home.
So, yes, it’s official: I’ve embraced fall wholeheartedly. It’s a season of quiet beauty and nurturing warmth, perfect for creative endeavors like this one.
Related: Simple DIY Pressed Flower Art
Essential Supplies for Your Pressed Leaf Art Project
Gathering the right materials is the first step to creating your beautiful fall leaf art. Here’s what you’ll need, with some tips for selection:
- Pressed Leaves: Seek out a diverse collection of leaves in various colors, shapes, and sizes. The richer the variety, the more visually compelling your gallery wall will be. Look for leaves that are relatively fresh and free from major blemishes for the best pressing results. If you’re pressing them yourself, refer to our comprehensive tutorial on how to press flowers and leaves, using either heavy books or a dedicated flower press. This step requires patience but yields incredibly rewarding results.
- Linen Textured Paper: While not strictly necessary, using linen-textured paper significantly elevates the final look, imparting a subtle sophistication. This texture adds depth and a tactile quality that complements the natural elements beautifully. Alternatively, high-quality cardstock or even watercolor paper can work well, offering different background effects for your pressed foliage. Choose neutral tones like cream, off-white, or soft grey to allow the leaf colors to truly pop.
- Clear Double-Sided Scotch Tape (or Acid-Free Glue): For securing your pressed leaves, clear double-sided tape is quick and easy to use. However, for long-term preservation and to prevent discoloration over time, acid-free glue is highly recommended. A small dab in the center of the leaf is usually sufficient to hold it in place without being visible.
- Picture Frames: The frames you choose can dramatically impact the overall aesthetic of your gallery wall. For budget-friendly options, explore stores like Walmart or dollar stores for simple, inexpensive frames. If you prefer an eclectic, vintage-inspired look, thrift stores are a treasure trove of unique finds. Don’t worry if they don’t match perfectly; a curated collection of different frames can create an interesting and personalized display. Consider frames with or without mats, depending on the size of your leaves and the desired visual impact. Varying frame sizes and finishes (wood, metal, painted) can add dynamic interest to your arrangement.
Convenient Alternatives for Sourcing Pressed Fall Leaves
If time is short, patience wears thin, or you simply don’t have access to an abundance of fall foliage in your immediate vicinity, don’t despair! You can still create stunning pressed leaf art. Many talented artisans offer already-pressed fall leaves through online marketplaces like Etsy and Amazon. This option often provides access to a wider assortment of unique shapes, colors, and exotic varieties that might not grow locally, allowing for truly distinctive creations.
However, there’s a special charm and memorable experience in collecting your own leaves. Taking your children on a neighborhood walk, turning it into a “leaf hunt” to discover the prettiest specimens, can be a delightful autumn tradition. It fosters a connection with nature and instills a sense of accomplishment in the young ones as they contribute to the family’s fall decor.
This time of year always evokes a peculiar sense of nostalgia for me. It transports me back to 2013, a period when I would typically be gearing up for another school year as a high school English teacher. A part of me, admittedly, misses the intellectual rigor and the connections made in the classroom.
Yet, there was always a more profound calling within me – an undeniable pull to create, to design, and to build. I made the courageous decision to leave teaching to be a stay-at-home mother to my older daughter, with the initial intention of eventually returning to education. But life, as it often does, had different, and ultimately better, plans for me. These plans weren’t always easy; they involved hard work and perseverance, but they led to the most rewarding experiences.
It was the journey of painting thrift store furniture in our garage to help make ends meet, pouring my heart out to complete strangers on a small, unassuming blog that, for its first six months, was likely only read by my mother. It was this slow, deliberate, and authentic pursuit that, little by little, began to manifest all of my creative dreams.
Looking back, I truly believe I have fall to thank for that pivotal shift. It was the closing of one season of life that gracefully led to a vibrant new beginning, much like the leaves themselves gracefully fall to make way for new growth. This profound connection between nature’s cycles and personal transformation deepened my appreciation for autumn. I wholeheartedly retract my earlier statement; I love fall, not just for its cozy aesthetics, but for its powerful symbolism of change and renewal.
Simple Steps to Frame Your Pressed Leaf Creations
Framing pressed leaves is surprisingly straightforward, almost too simple to warrant an elaborate tutorial, yet the impact is undeniably elegant. Here’s a quick guide to assembling your botanical art:
- Prepare Your Space: Lay out your chosen paper, pressed leaves, tape or glue, and cleaned picture frames on a flat, clean surface.
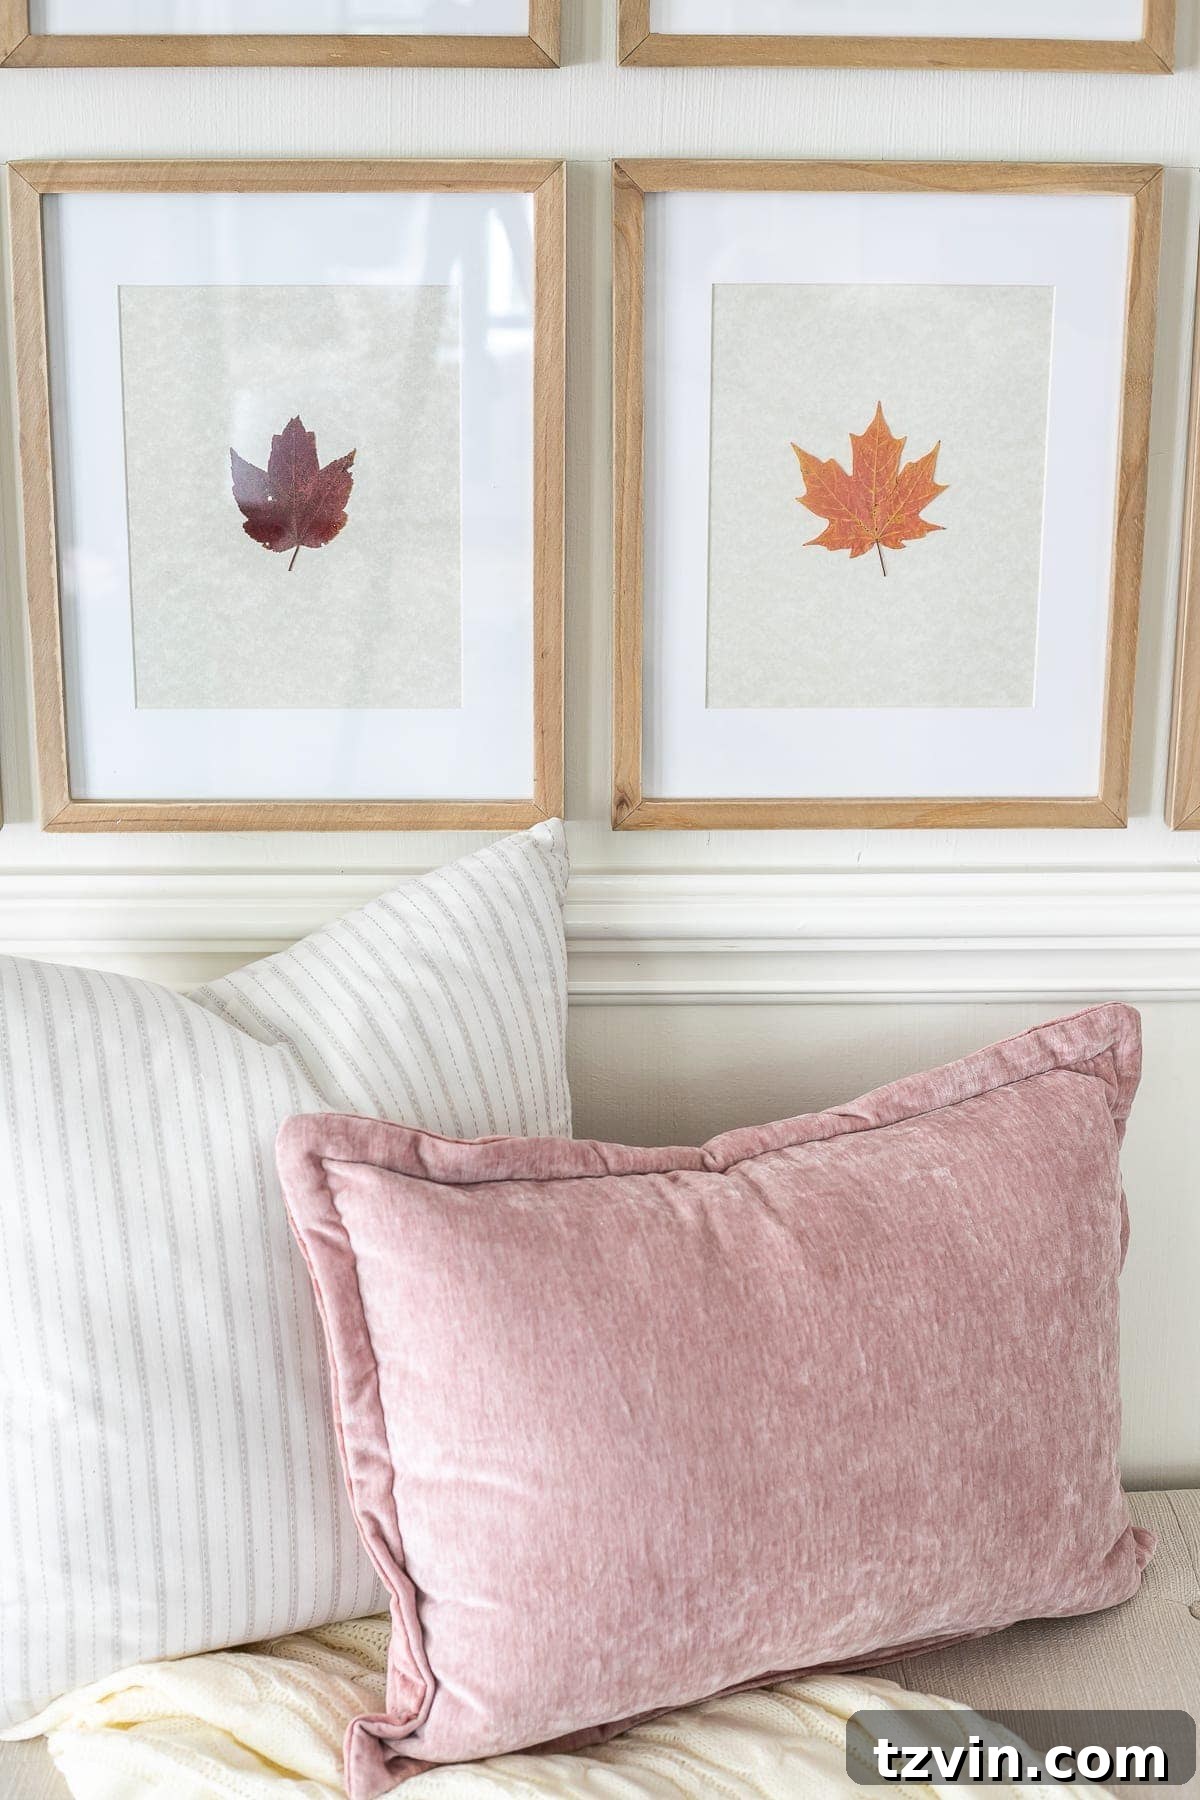
- Curate Your Collection: Before you commit, experiment with the arrangement of your leaves on the paper. Play with different compositions, considering the unique colors, shapes, and sizes of each leaf. For my gallery wall, I deliberately staggered a variety of leaves, ensuring that no two similar specimens were placed side by side. This creates dynamic visual interest and prevents monotony.
- Secure the Leaf: Carefully place a small piece of clear double-sided scotch tape, or a tiny dab of acid-free glue, onto the center back of your pressed leaf. The key is to use just enough adhesive to hold it in place without causing wrinkling or showing through.
- Position on Paper: Gently press the leaf onto the chosen linen-textured paper, or whatever backing paper you’ve selected, ensuring it’s centered or positioned as desired. Smooth it down lightly.
- Frame It Up: Carefully place the paper with the attached leaf into your picture frame. Secure the backing of the frame. Don’t be afraid if your leaves have slight imperfections; these natural nuances are part of their charm and contribute to the authentic beauty of handmade art. They tell a story of their journey from nature to your wall.
Mastering the Grid: How to Hang a Perfect Gallery Wall
A well-executed gallery wall, especially in a precise grid pattern, can transform an ordinary space into a focal point of sophisticated design. Achieving that perfect alignment is simpler than you might think, especially with the right tools and technique.
- Plan Your Layout: Begin by arranging your framed art on the floor, experimenting with different spacing and sequences until you achieve a visually pleasing grid. Measure the desired spacing between each frame—both horizontally and vertically—as this consistency is key for a uniform look. Take a picture of your ideal layout to refer to later.
- Prepare Your Wall: Using a measuring tape and a pencil, lightly mark the desired center point of your gallery wall on the actual wall. For a standard entryway, aiming for the middle of your frames to hang approximately 60 inches from the floor is a good starting point, as this is eye-level for most people.
- Draw Your Guide Lines: To ensure a perfectly straight line, use a long level to draw a faint pencil line across the wall where the top or bottom edge of your frames will align. You can also use painter’s tape to create temporary guide lines, which are especially helpful for visualizing the grid before making any marks.
- Apply Command Picture Hanging Strips: These strips are a game-changer for gallery walls, offering damage-free hanging and easy repositioning. Apply the appropriate weight-rated Command picture hanging strips to the back of each frame. Crucially, press each strip firmly into place for at least 30 seconds to allow the adhesive to fully bond, as per the instructions. This often-skipped step is vital for secure attachment.
- Start with the Center: Begin hanging the very middle picture frame first. This acts as your anchor. Align the frame directly with your pencil guide line and press it firmly against the wall.
- Work Outwards: Once the center frame is secure, work your way outwards, hanging the adjacent frames. Continuously use your level to ensure each frame is perfectly straight and maintain consistent spacing as determined in your planning stage. Repeat this process for the entire middle row.
- Complete Top and Bottom Rows: Once the middle row is complete, repeat the entire process for the top and bottom rows of your gallery wall grid, always checking alignment with your guide lines and using the level.
Related: Common Mistakes to Avoid When Hanging Picture Frames
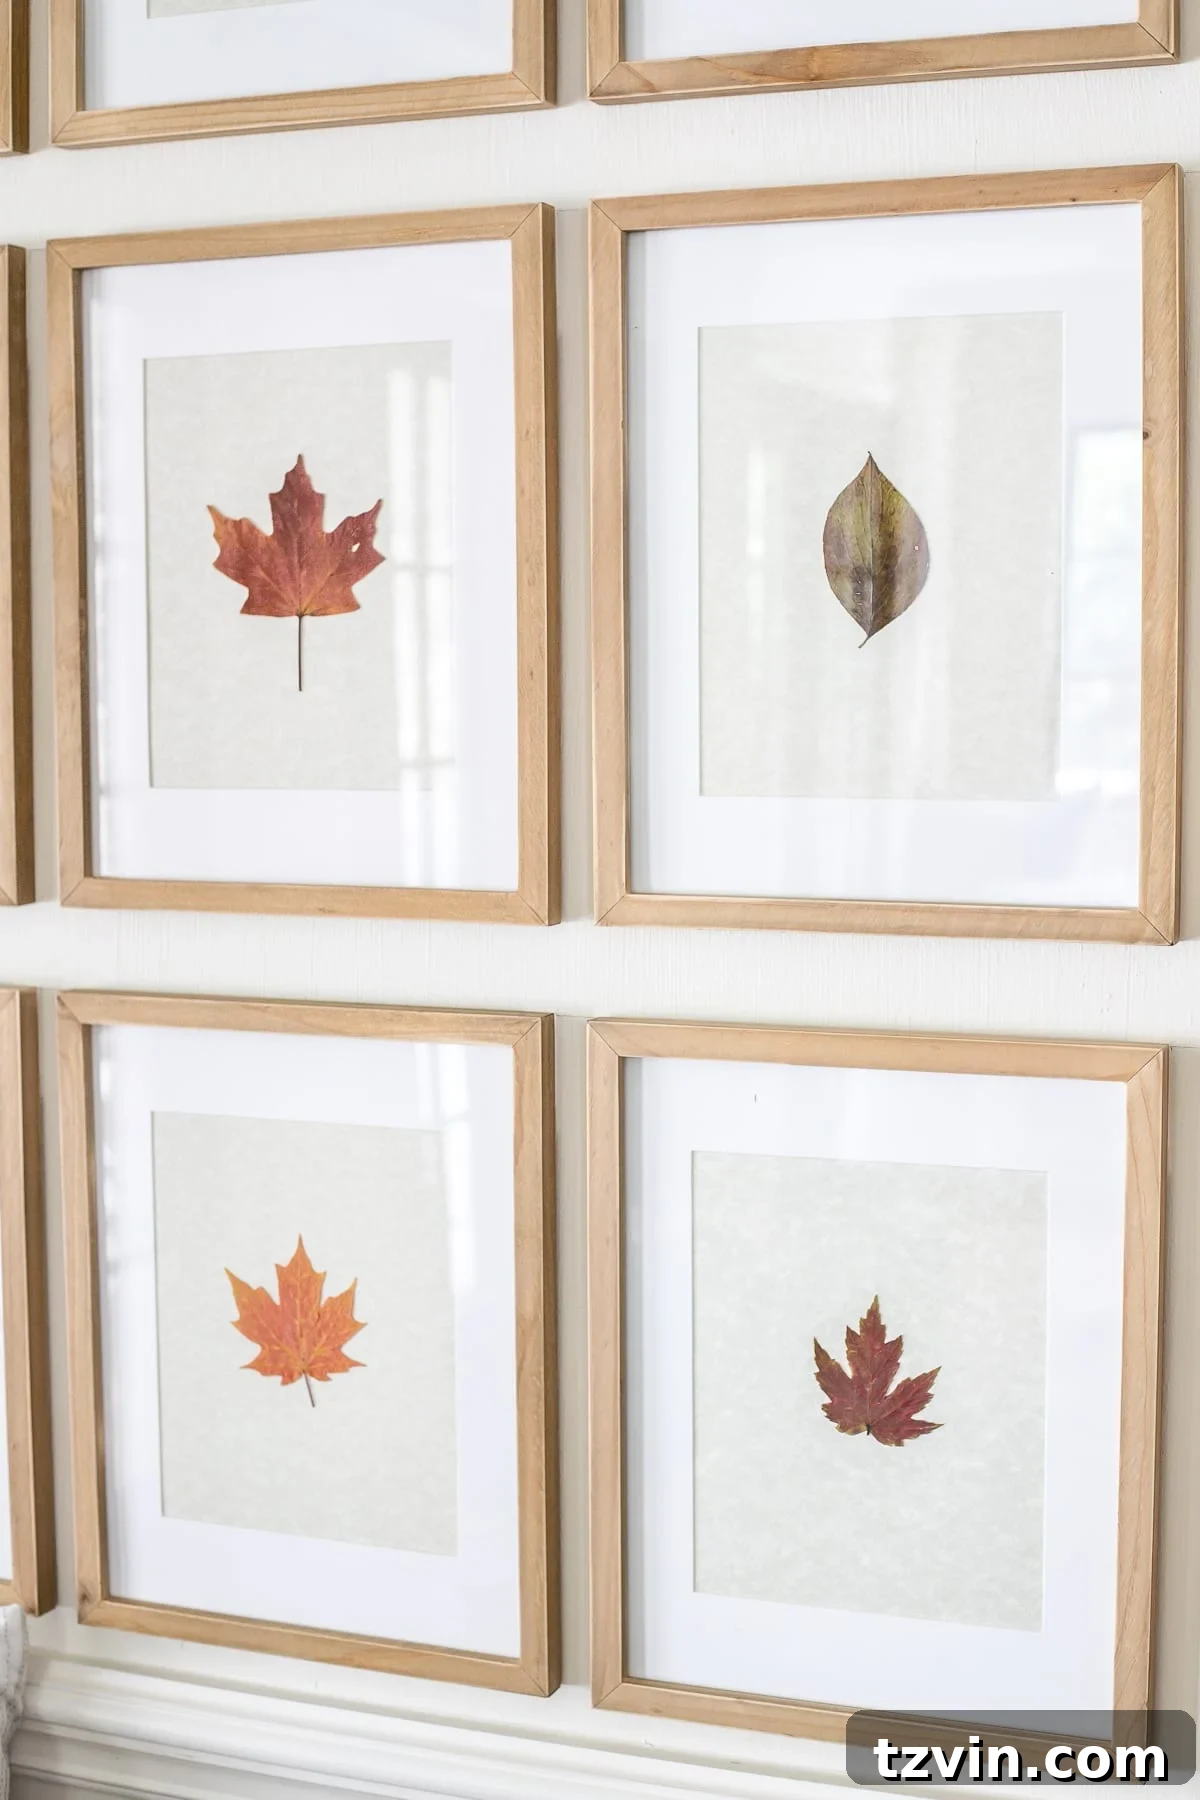
This systematic approach guarantees a polished and professional-looking gallery wall that will be the envy of your guests. Remember, a little preparation goes a long way in achieving that flawless finish.
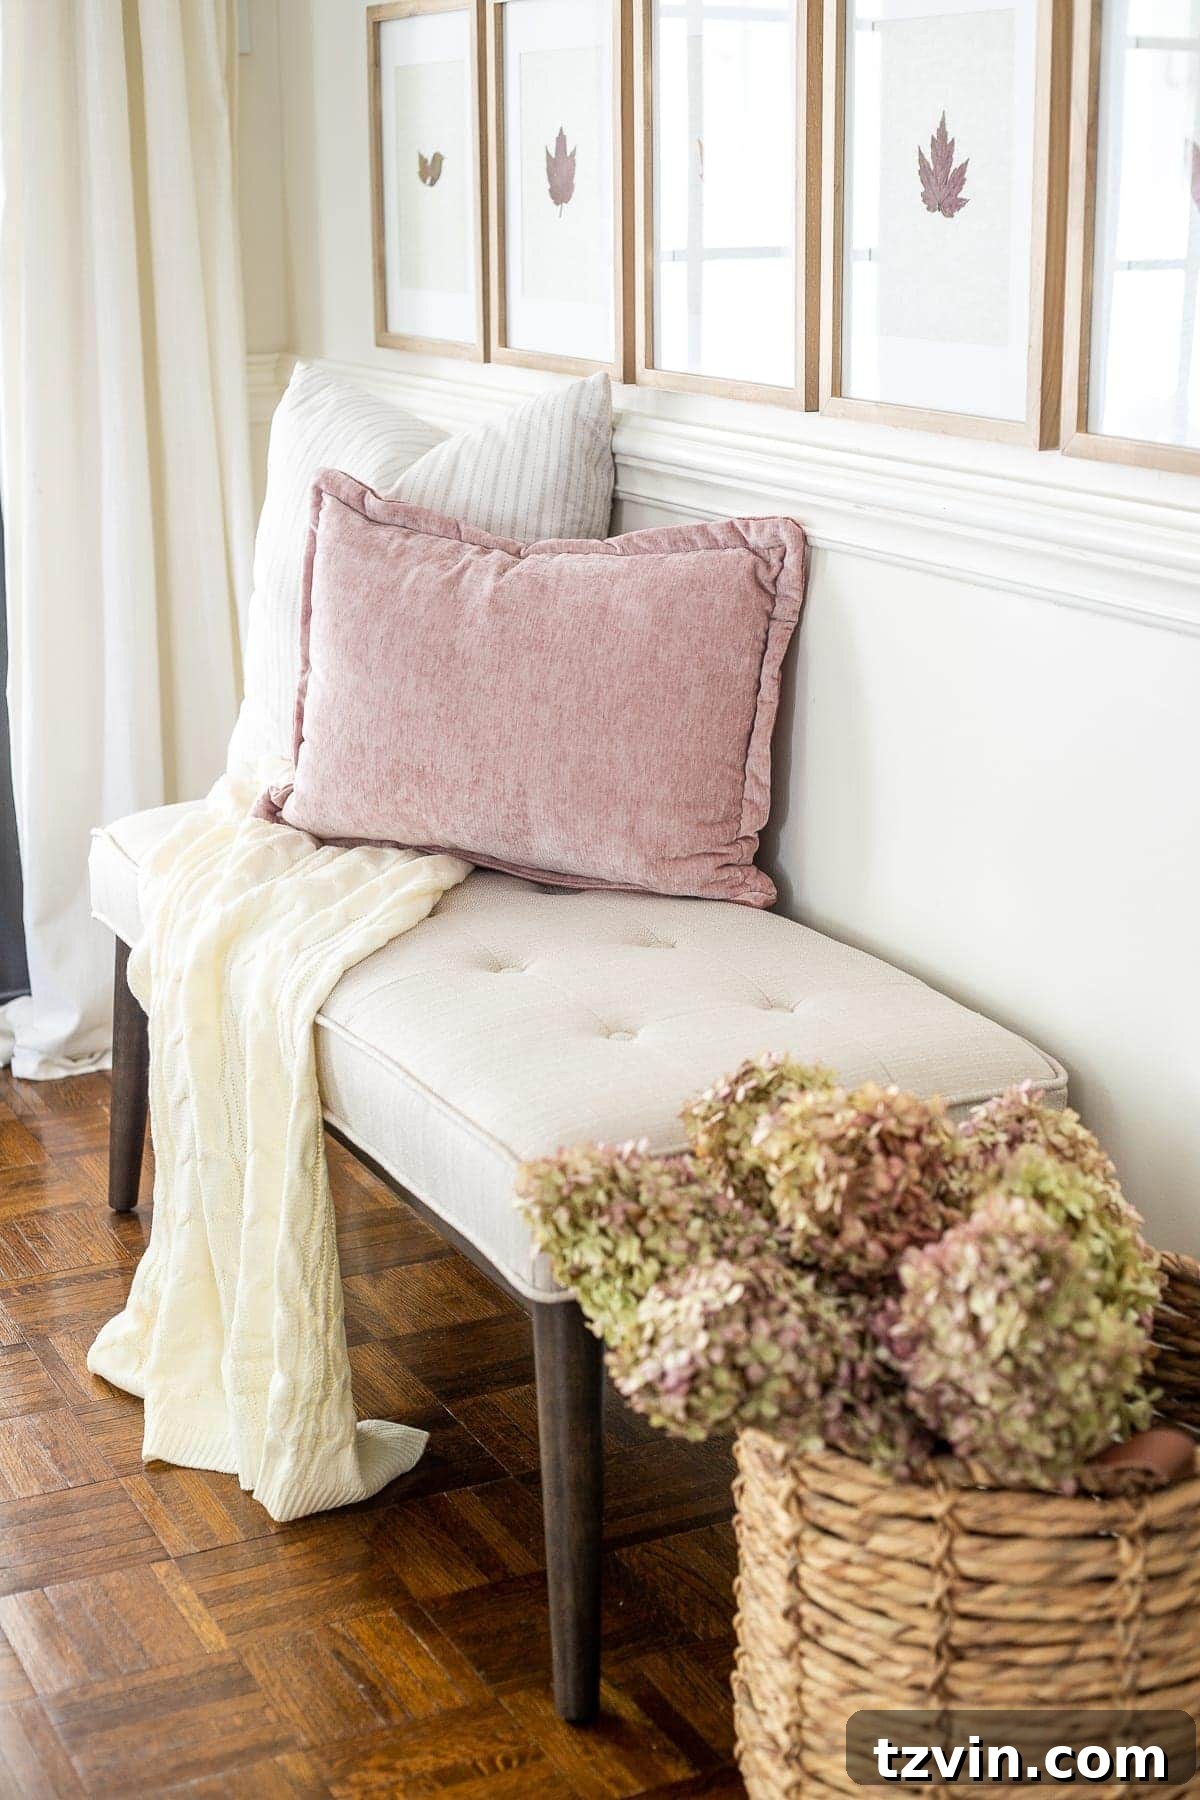
To finalize the styling of our cozy entryway, I thoughtfully arranged my dried hydrangeas, tucking their delicate blooms into a charming woven leather-handled basket. The rustic texture of the basket beautifully complements the natural tones of the dried flowers, creating an inviting visual anchor.
Related: How to Hang a Gallery Wall Perfectly Every Time
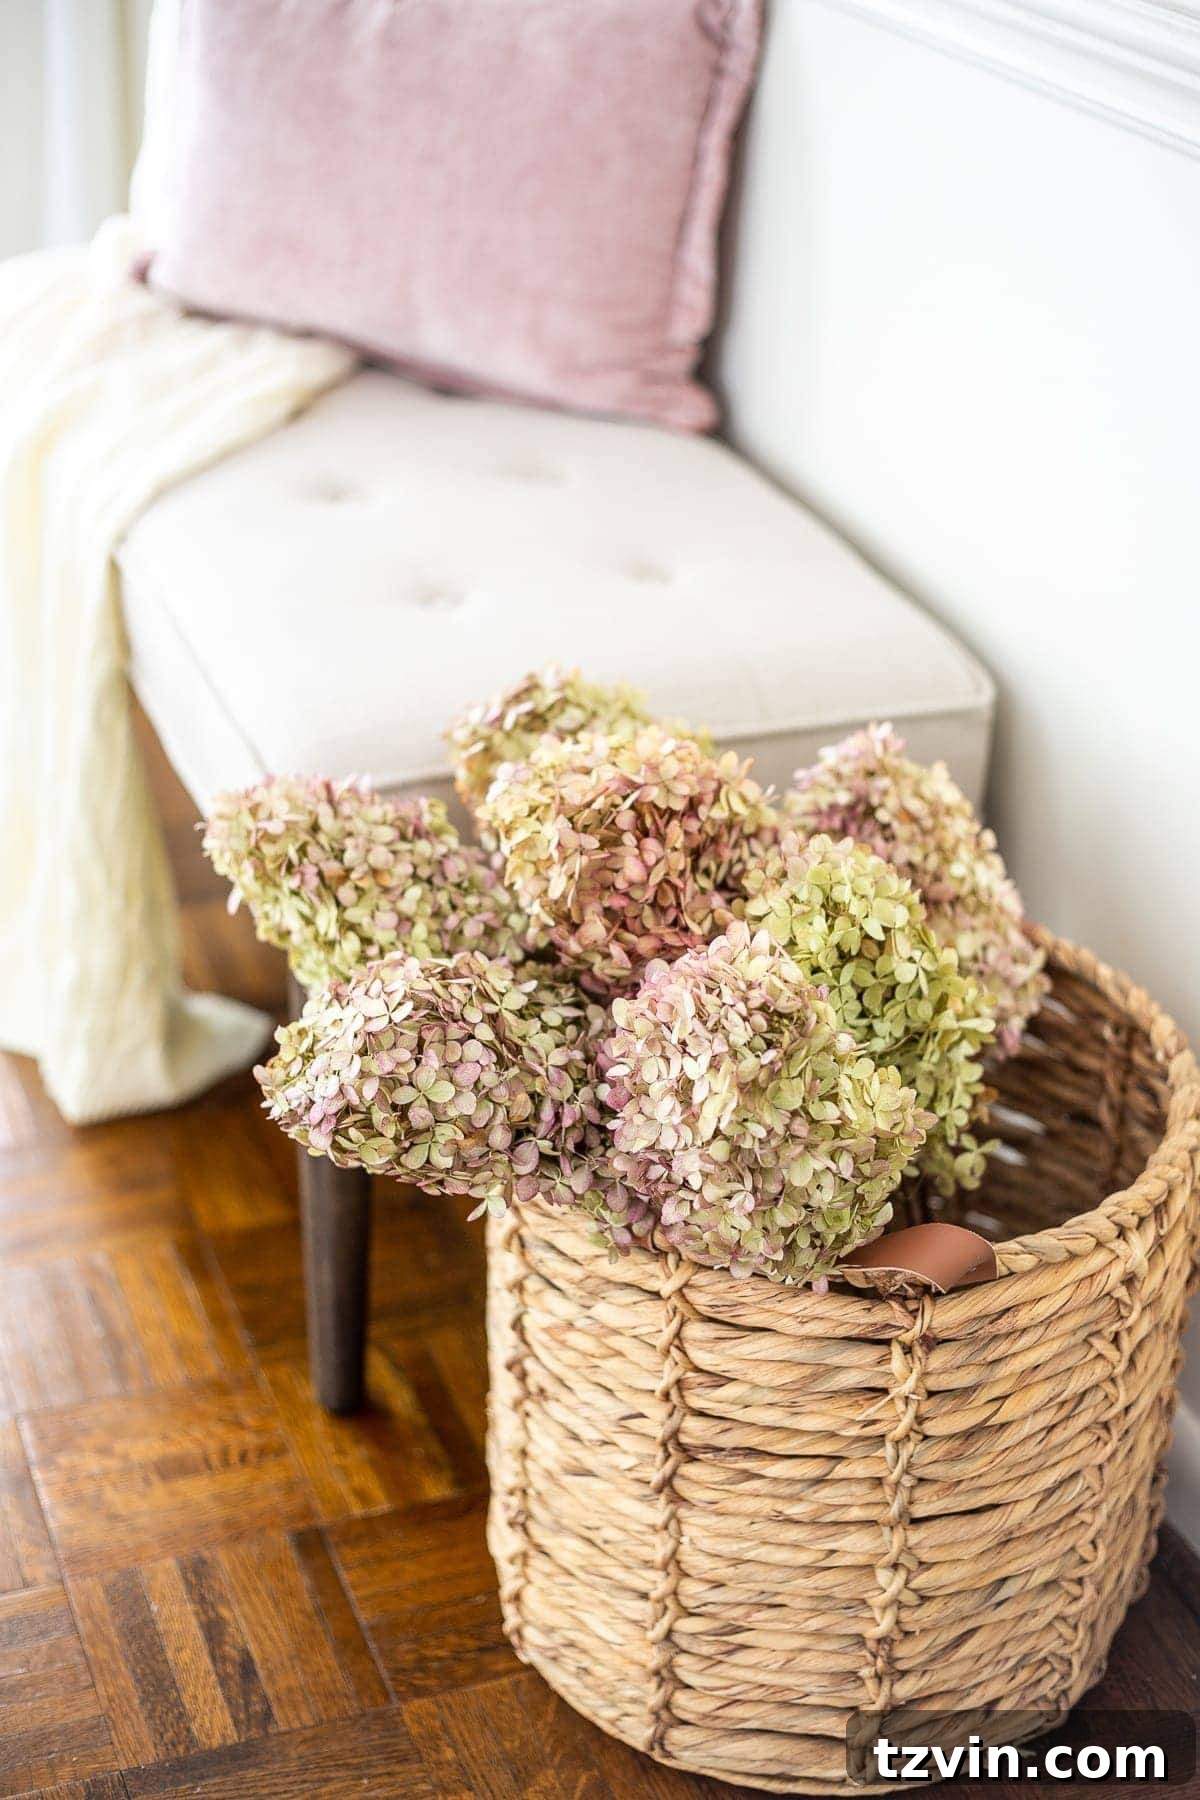
Adjacent to this, I draped a wonderfully soft throw blanket onto our sleek entryway bench. To enhance the feeling of warmth and comfort, I layered it with a classic striped throw pillow, offering a timeless pattern, and a whisper of blush pink velvet, which introduces a touch of softness and unexpected elegance. This combination of textures and subtle colors creates an inviting and stylish first impression for anyone entering our home.
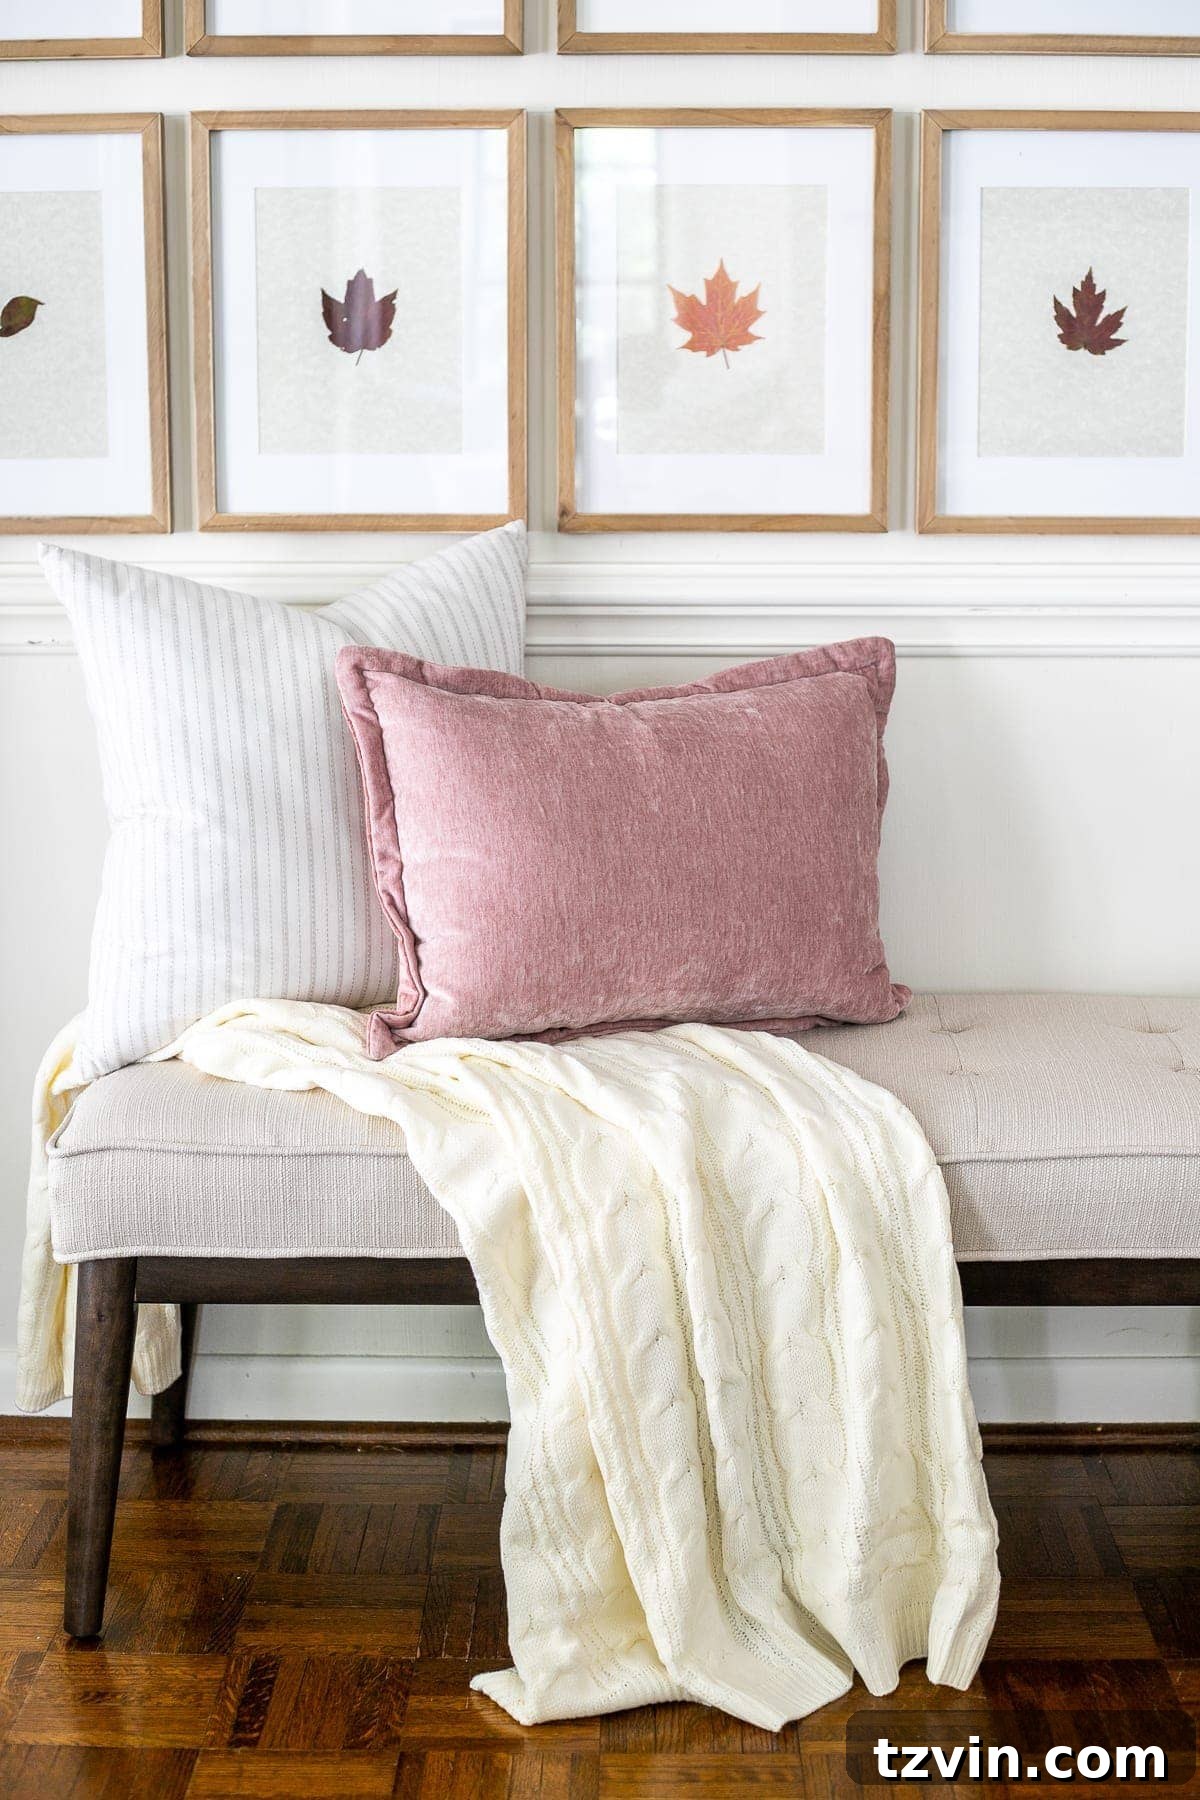
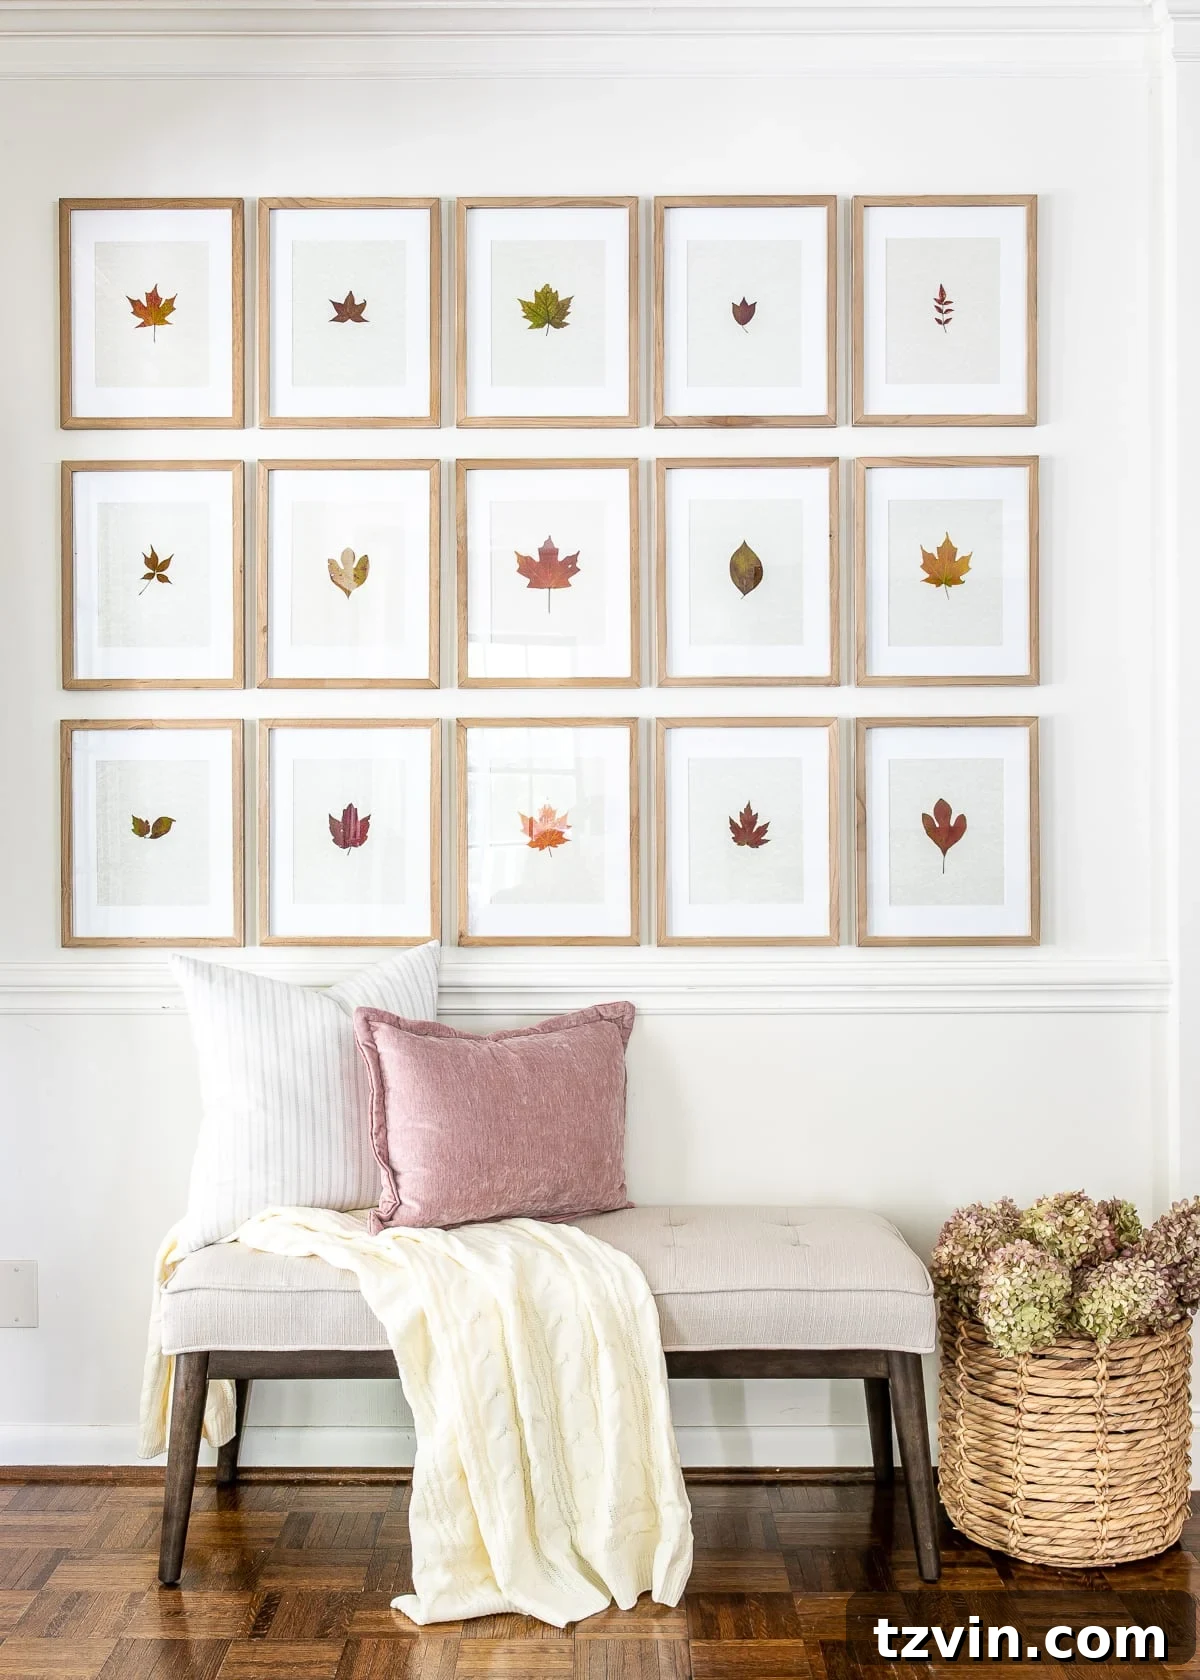
As I look at this completed space, adorned with nature’s own artwork, I feel a profound sense of gratitude. Gratitude for fall, for its undeniable beauty, and for all the preceding seasons that have shaped my journey and allowed me to pursue these creative passions. This entryway now serves as a tangible reminder of the power of transformation and the joy of embracing new beginnings.
Here’s to closing one chapter and courageously opening another. And here’s to finding all the warm, comforting “fuzzies” that truly make spending autumn at home an absolute delight.
Related: 28 Creative DIY Wall Decor Ideas for Your Blank Walls
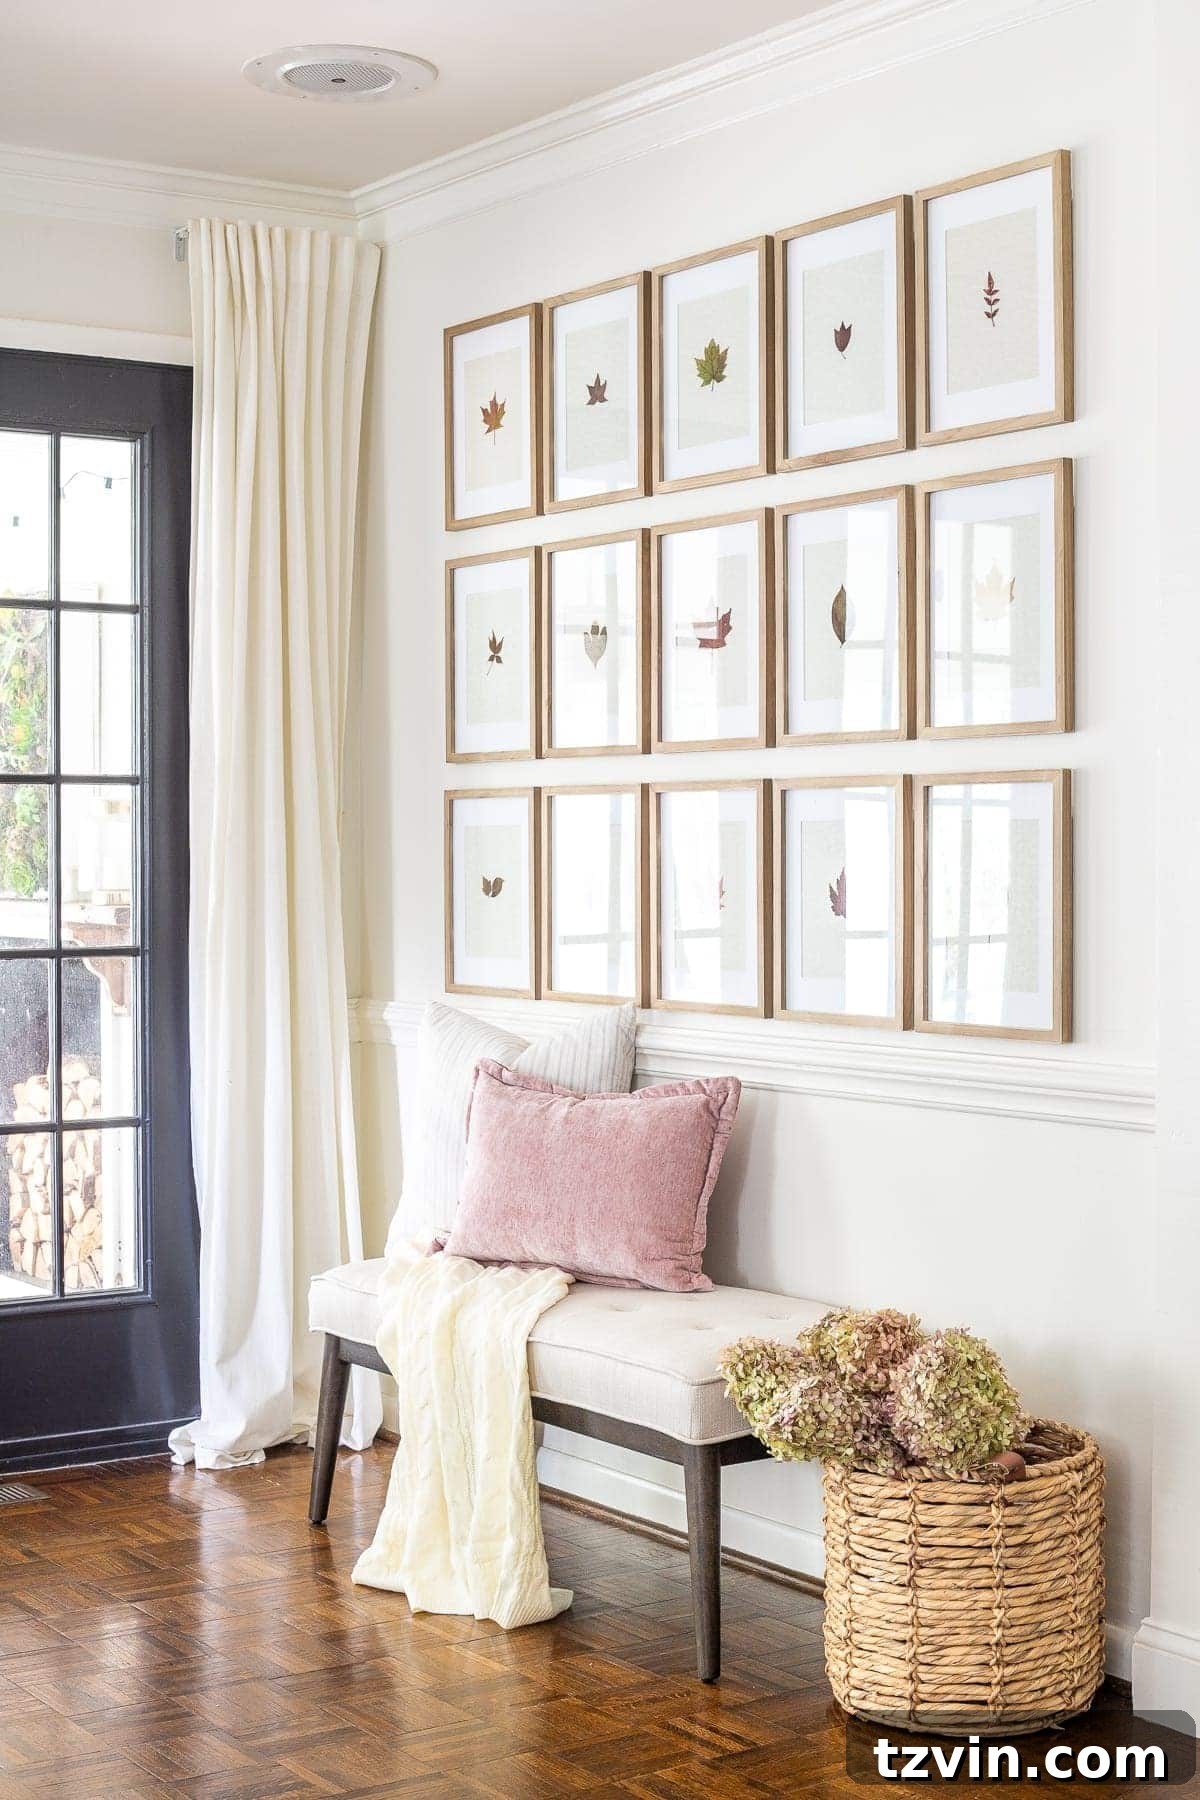
Decorating Sources for Your Fall Entryway
To help you recreate this inviting fall entryway, here are the direct sources for the key decorating elements I used:
- Picture Frames
- Woven Basket
- Entryway Bench
- Soft Throw Blanket
- Classic Striped Pillow
- Blush Pink Velvet Pillow
Cheers to embracing the beauty of nature and transforming everyday elements into free, stunning fall decor from your very own backyard! It’s a rewarding experience that adds genuine character and warmth to your home.
Is this a DIY project you’d be eager to try this autumn? Do you have any other ingenious ideas for free or budget-friendly fall decorating that you’d like to share with our community? We’re always excited to discover new tips and tricks to make our homes even cozier for the season.
More Inspiring DIY Fall Decorating Ideas
Easy Fall Decor Ideas to Create Cozy Home Vibes
Simple DIY Fall Centerpiece Ideas + the Best Fall Branches