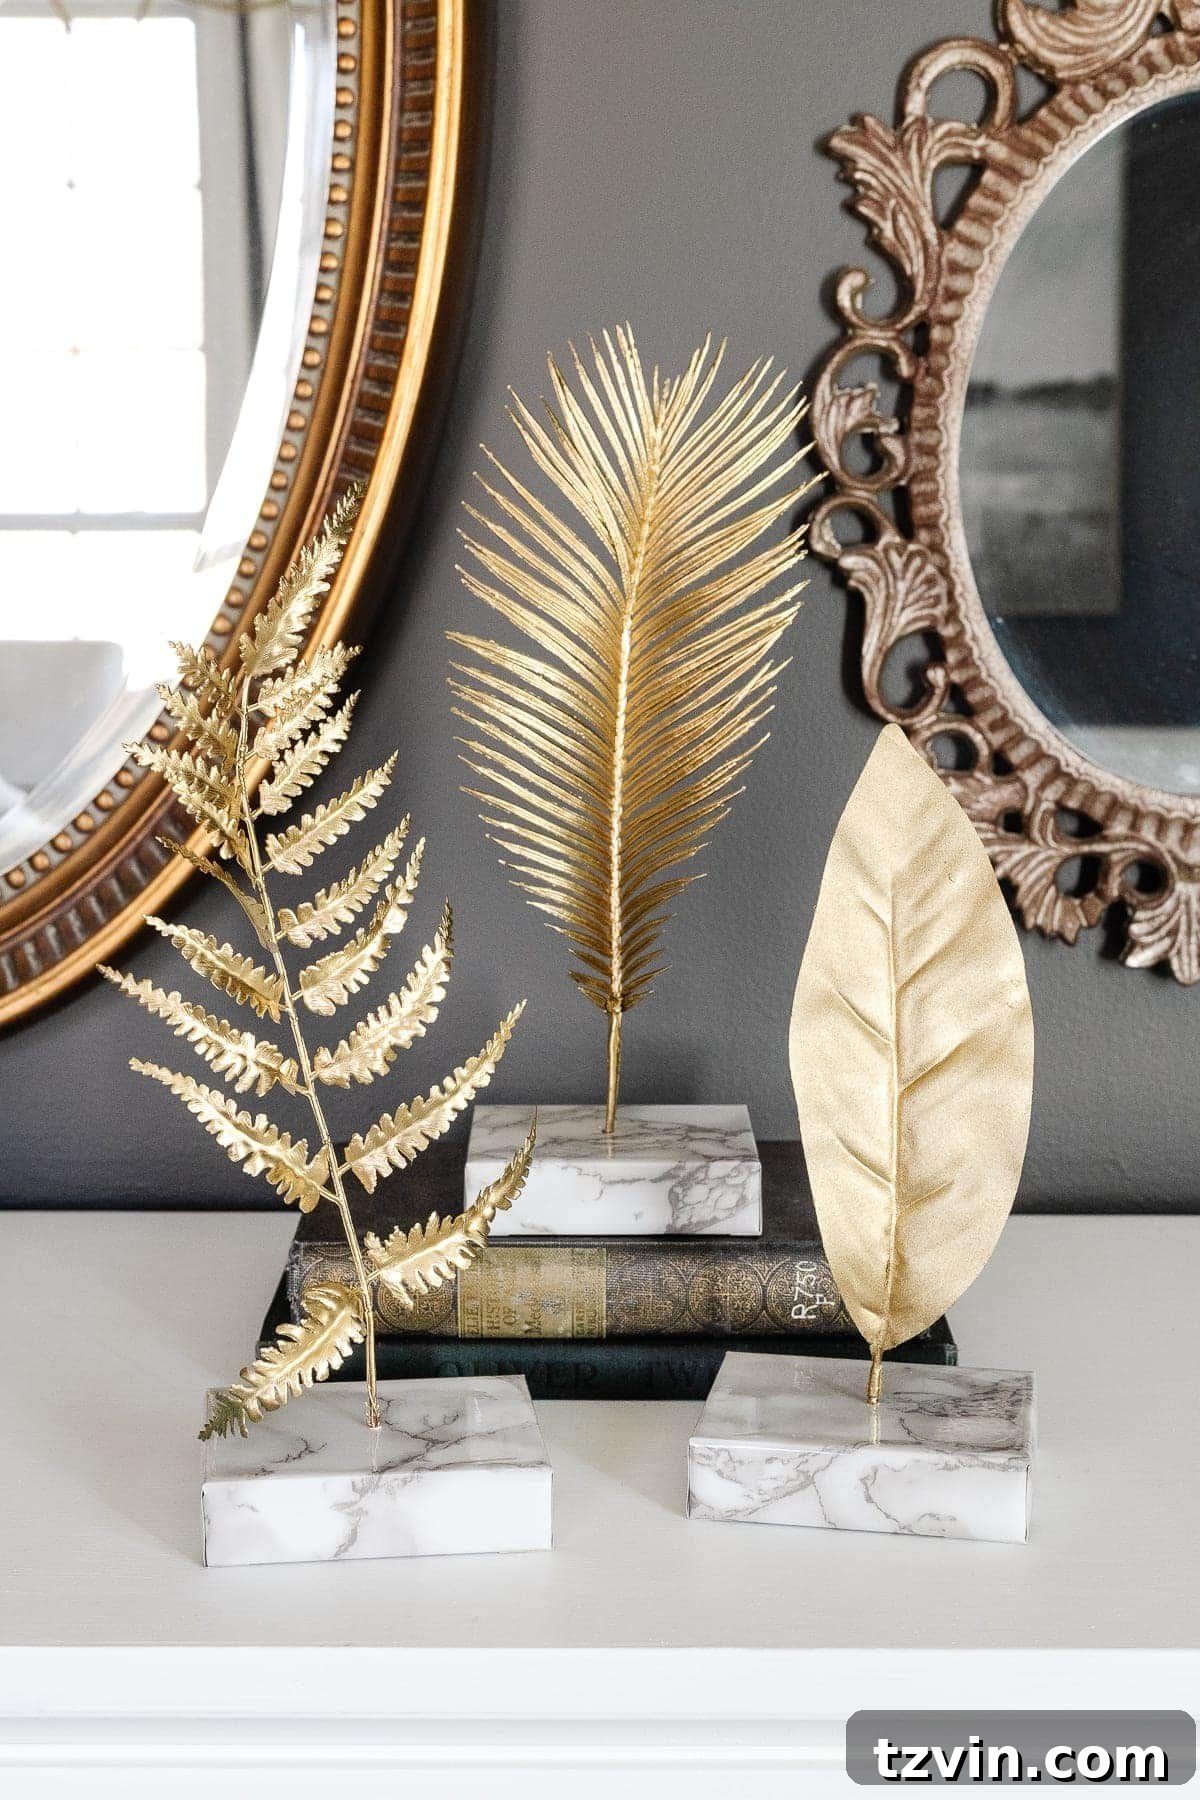
DIY Gold Leaf Sculptures: Achieve a High-End Designer Look for Less with Faux Marble Bases
In the realm of home decor, the desire for luxurious, designer-inspired pieces often clashes with the reality of a budget. But what if you could bridge that gap, transforming humble materials into stunning decorative accents that rival their high-priced counterparts? This very notion sparked a creative experiment that initially began with a healthy dose of skepticism. Picture this: a walk through a popular home goods store, spotting exquisite gold leaf sculptures, and thinking, “I bet I can make those.” It seemed far-fetched, especially for someone who openly admits to having limited artistic prowess. Yet, against all odds, this simple craft project not only worked but exceeded all expectations, proving that a little ingenuity can go a long way in achieving a sophisticated aesthetic without the hefty price tag.
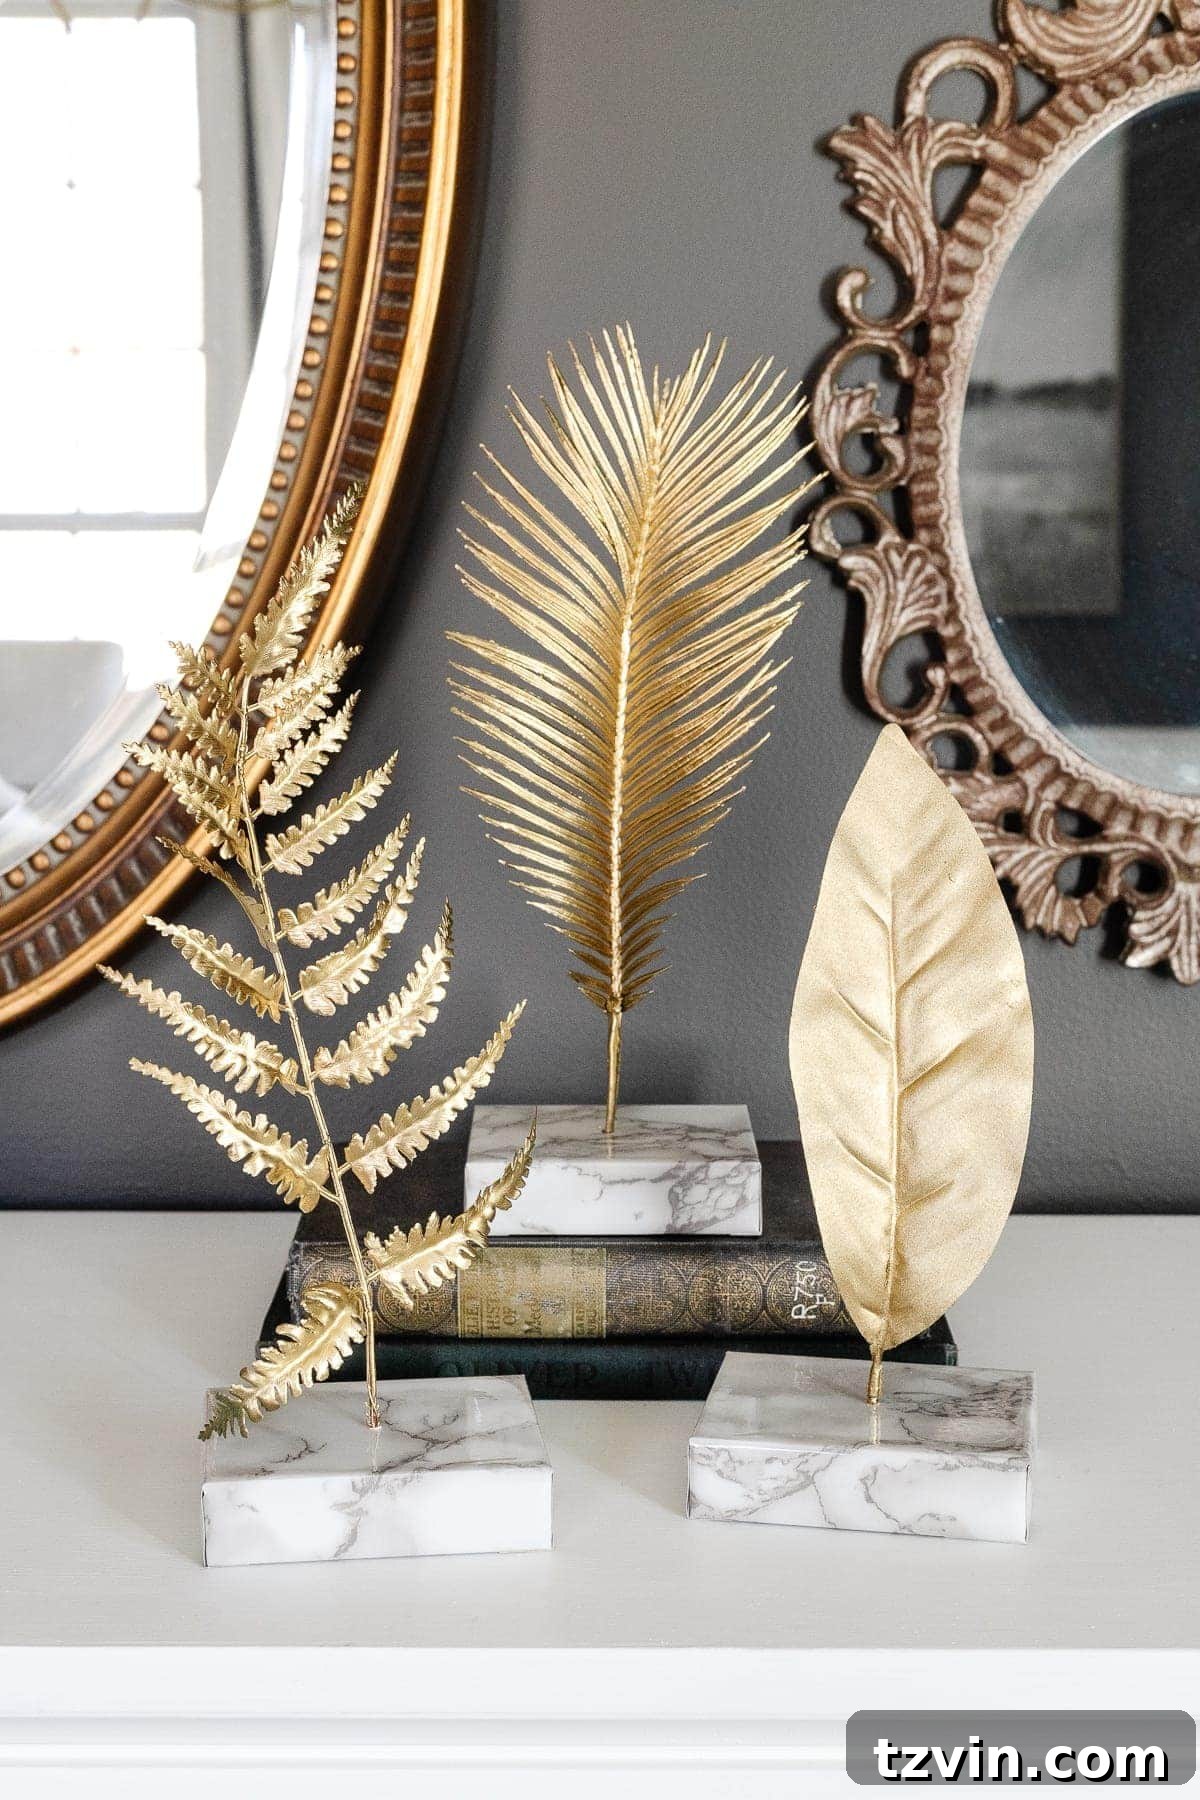
This tutorial unveils the secret to crafting your own elegant gold leaf sculptures using a clever combination of faux leaves, metallic spray paint, scrap wood, and a touch of ingenious marble contact paper. The result is a collection of dazzling decor pieces that effortlessly mimic the designer originals, offering that coveted high-end look for a mere fraction of the cost. Get ready to embark on a surprisingly simple yet immensely rewarding DIY journey that promises to elevate your home decor game.
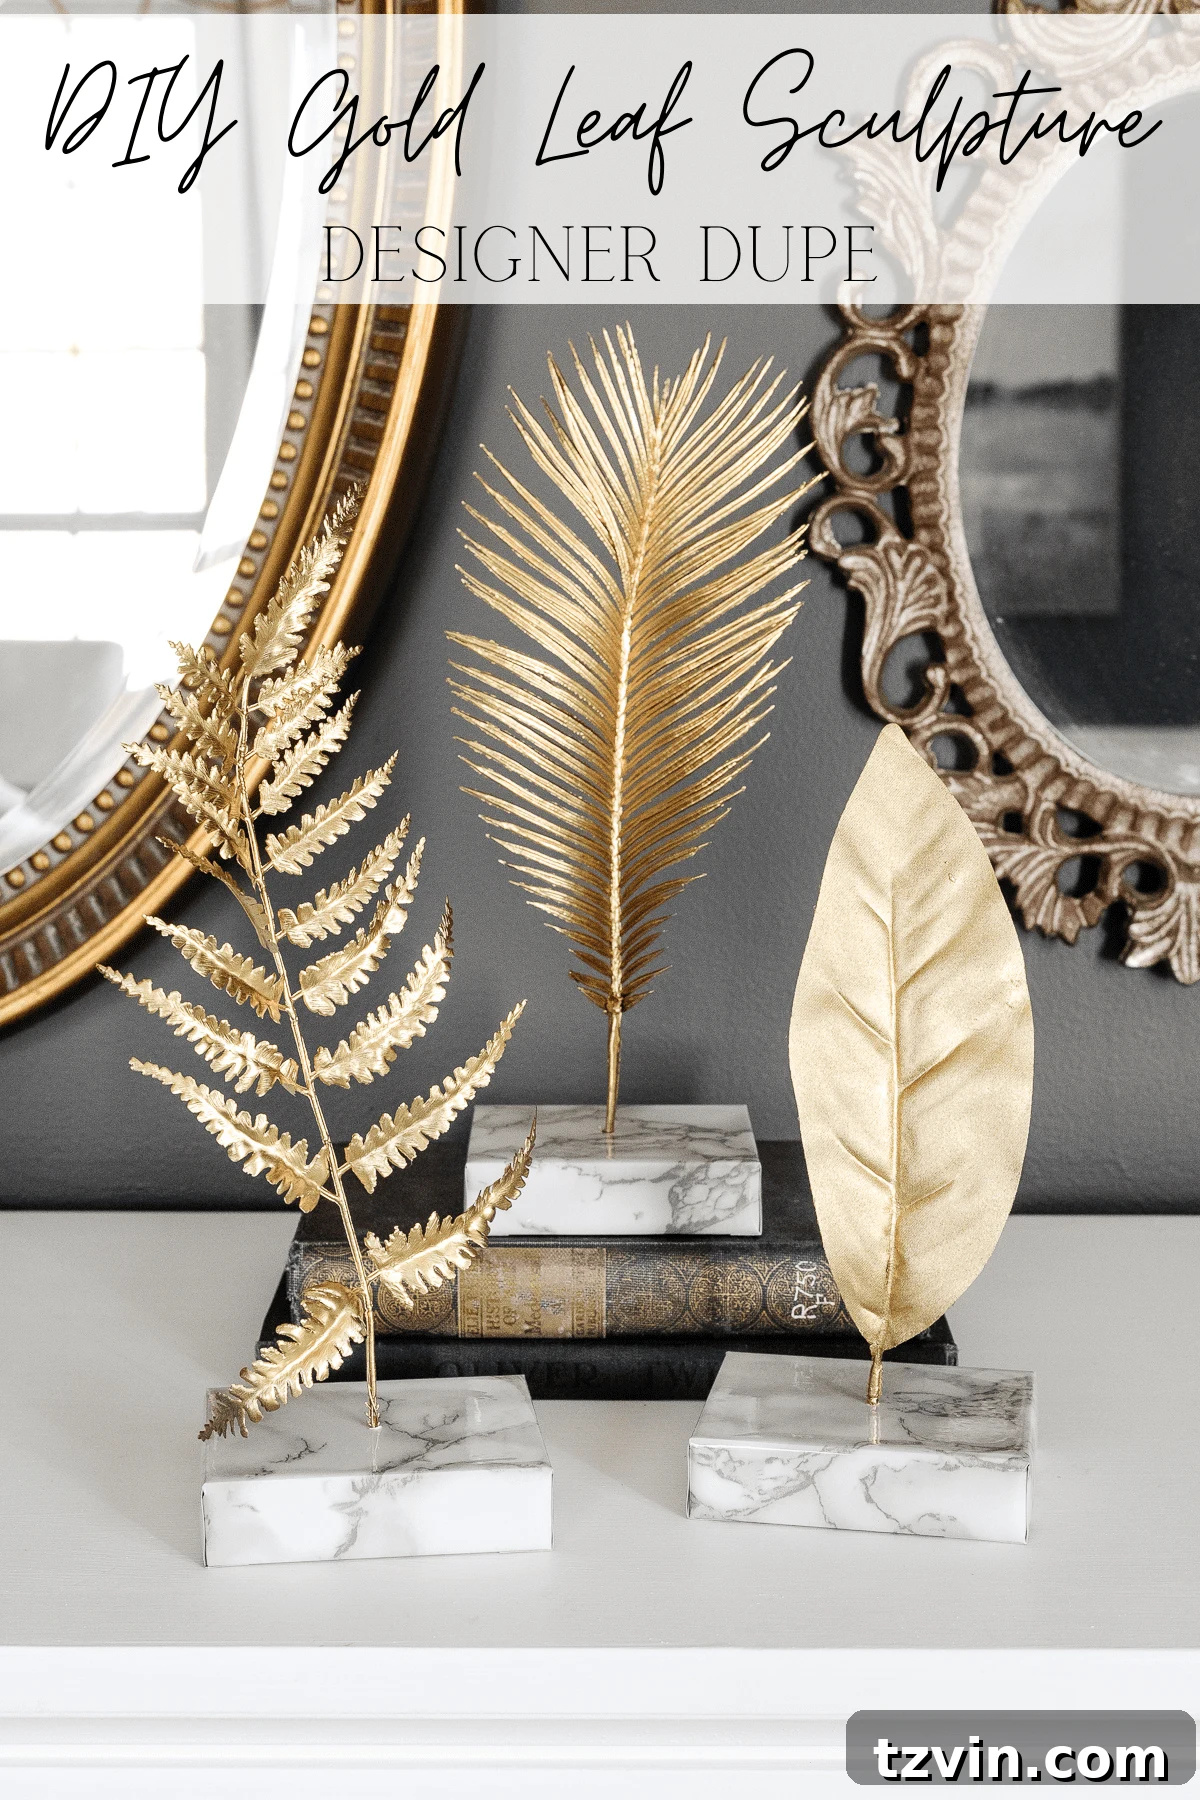
While it’s true that the authentic designer sculptures boast a substantial weight and are crafted from solid metal, imparting a distinct tactile luxury if you were to physically hold them, the visual impact of our DIY version is remarkably similar. Once these elegant sculptures are placed on a tabletop, a console, or a bookshelf – where they primarily serve as static decorative elements – they are virtually indistinguishable from their expensive inspirations. The magic lies in creating an illusion of grandeur, allowing you to enjoy the aesthetic appeal of a genuine designer piece without the significant financial investment. In fact, crafting these beauties yourself can save you approximately $65 or more per sculpture, making it an incredibly smart and satisfying decor hack. If your heart is set on purchasing the authentic versions, you can find them here: actual gold leaf sculptures. However, for those who appreciate the thrill of creation and the joy of saving, read on to discover how you can replicate this upscale look right in your own home. This entire transformation takes an astonishingly short amount of time – typically around 45 minutes from start to finish!
Essential Supplies for Your DIY Gold Leaf Sculpture
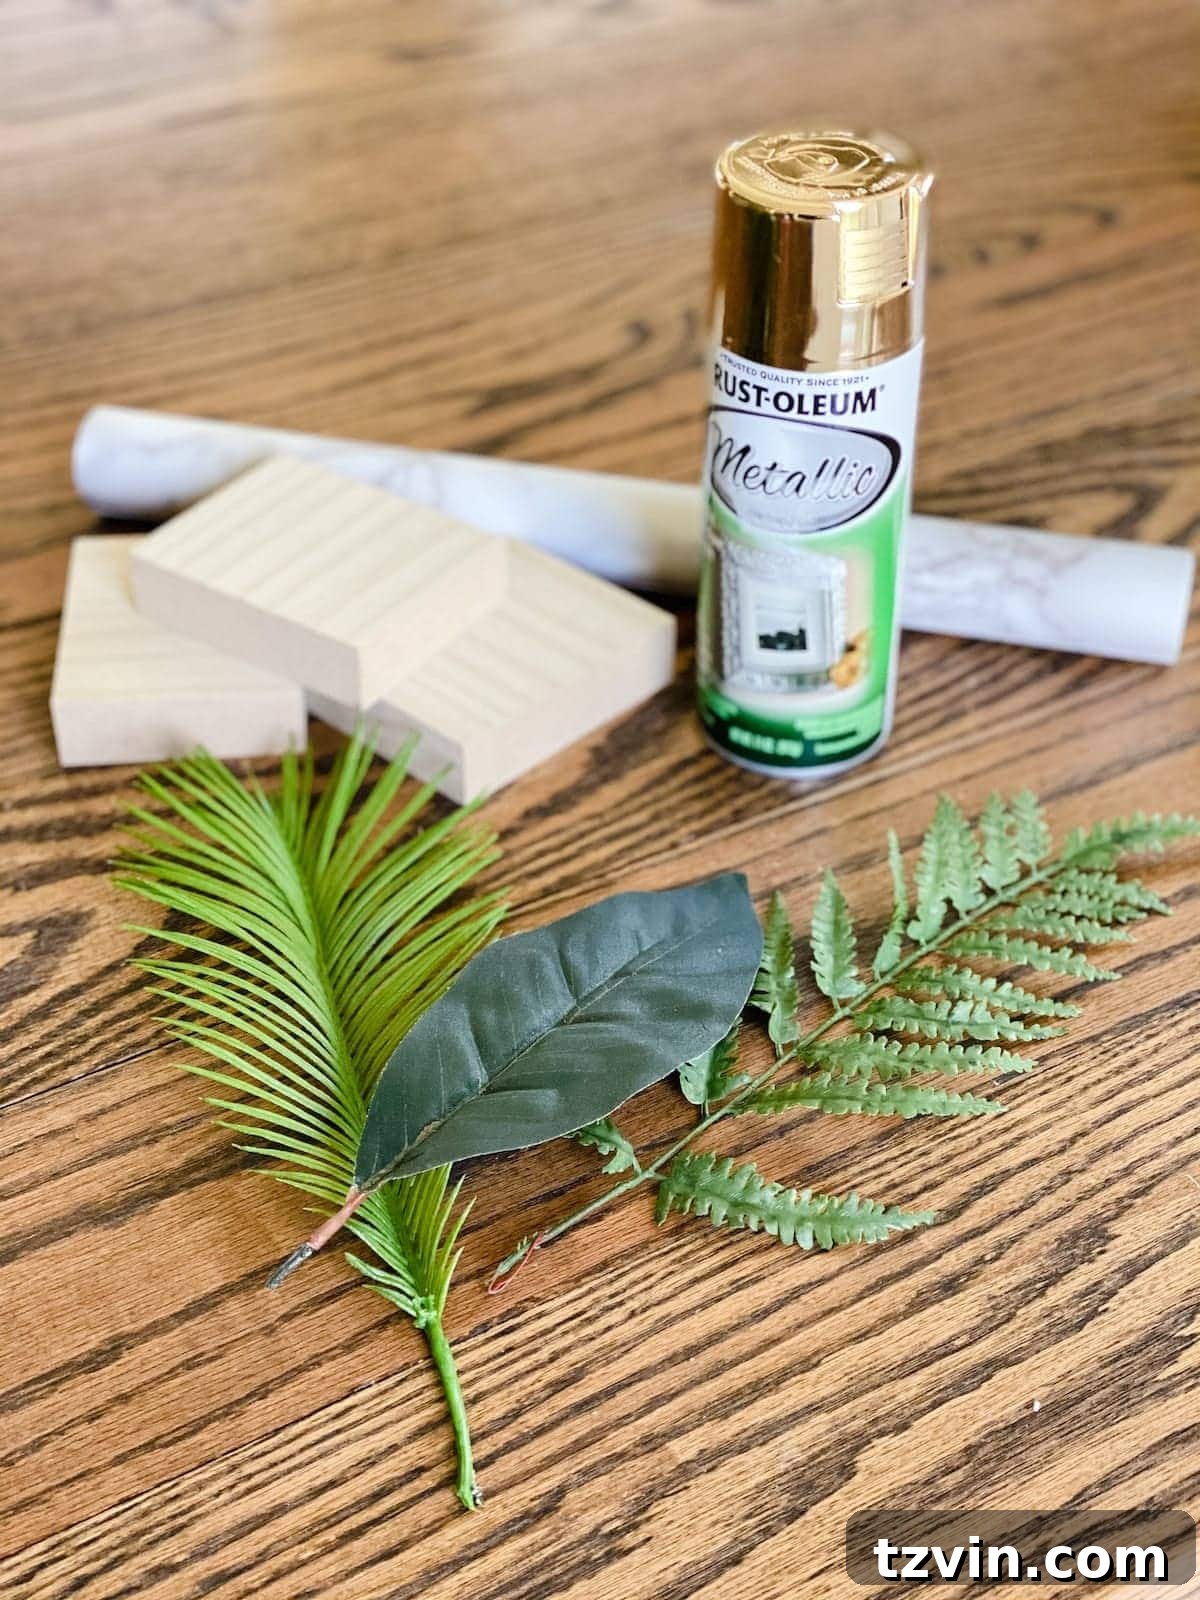
Gathering your materials is the first exciting step towards creating your stunning gold leaf sculptures. Most of these items are either readily available around your home, at craft stores, or easily purchased online, ensuring a convenient and budget-friendly project.
- Faux Leaves of Your Choice: The foundation of your “gold leaves.” Experiment with various shapes, sizes, and textures to achieve different sculptural effects. You might already have some in your stash from old floral arrangements or craft projects. Consider leaves with interesting veins or subtle natural curves for added realism. Eucalyptus, magnolia, or even simple botanical stems work wonderfully.
- Rustoleum Metallic Gold Spray Paint: This is the star of the show, transforming ordinary leaves into gleaming works of art. Opt for a high-quality metallic gold finish for the most convincing effect. Brands like Rustoleum offer excellent coverage and a rich, durable shimmer that perfectly mimics real gold. A single can can typically cover several sculptures.
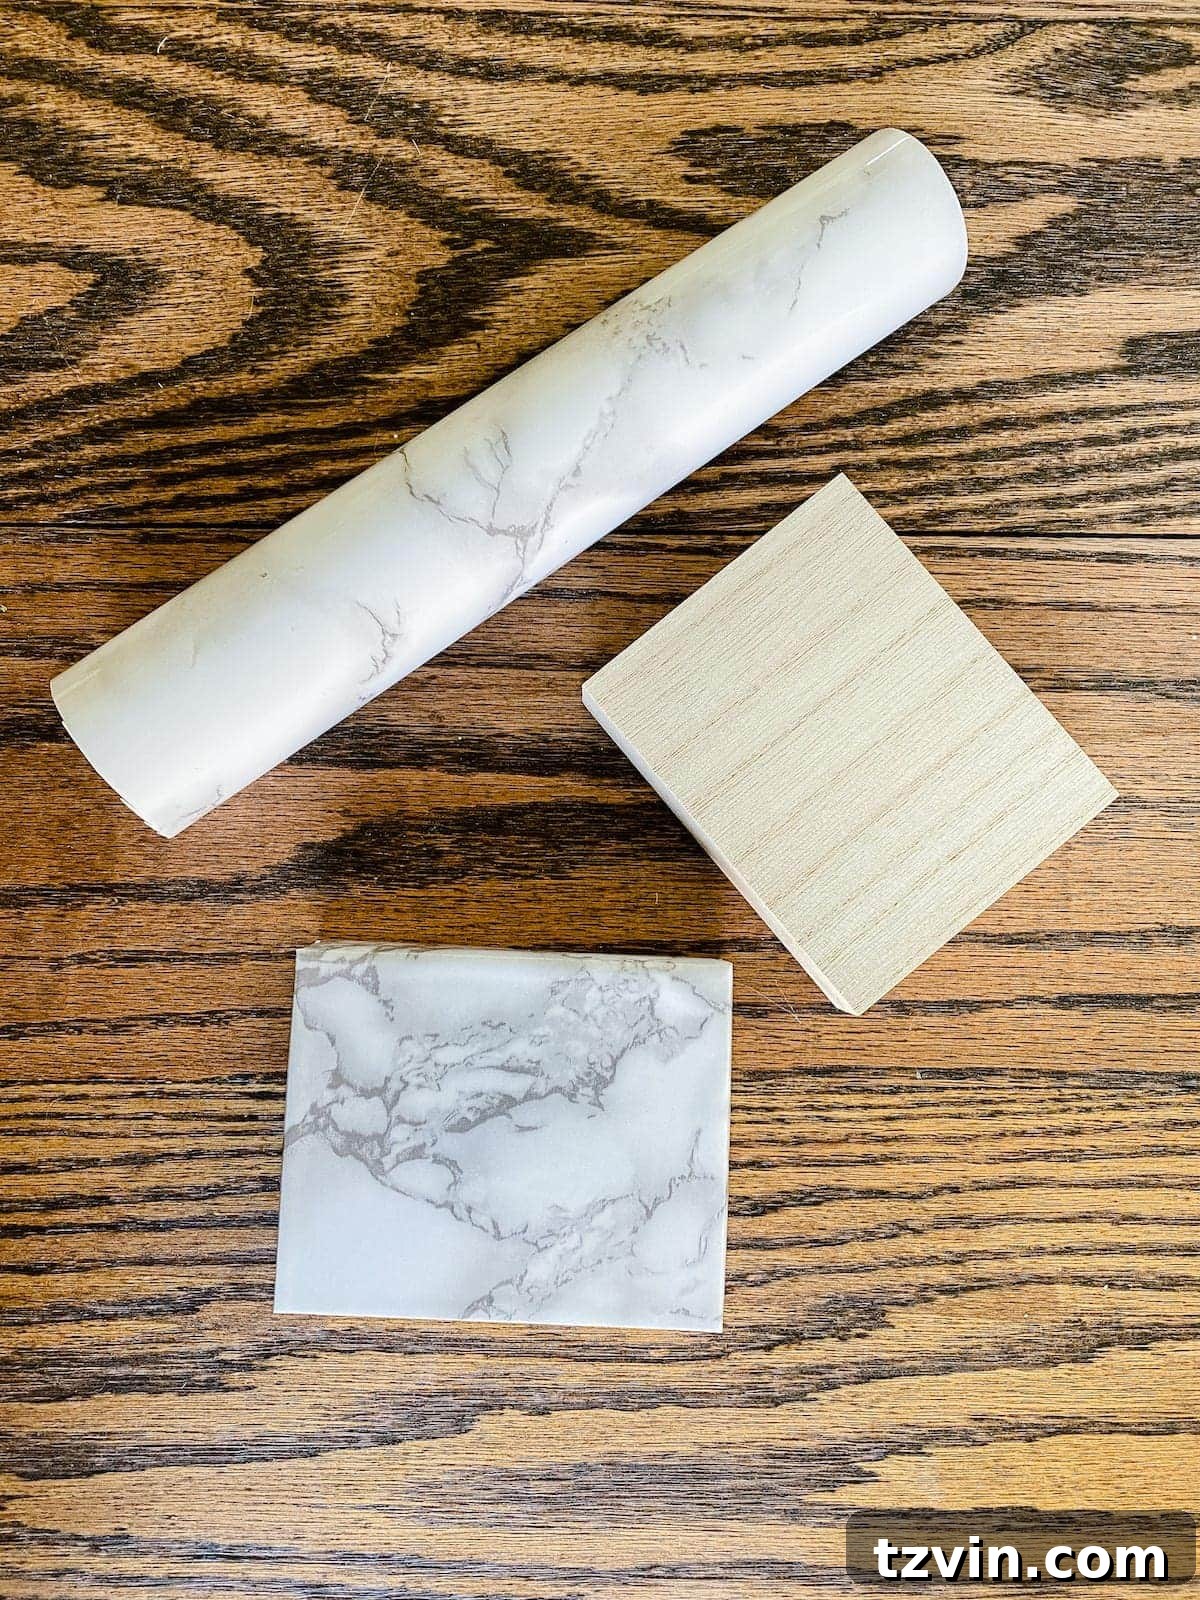
- Scrap Wood Cut into Blocks: These blocks will form the sturdy, elegant bases for your sculptures. Exact dimensions aren’t critical, but aim for something substantial enough to provide stability, such as 3″x3″ blocks. You can often find suitable wood scraps at hardware stores, lumber yards, or even repurpose pieces from old furniture or DIY projects. The key is a solid, clean surface for wrapping.
- Marble Contact Paper: This versatile material is a game-changer for budget-friendly decor. It instantly elevates the scrap wood bases, giving them the luxurious appearance of genuine marble. Marble contact paper is incredibly easy to apply and can be found in various patterns and shades. Its adhesive backing makes it simple to wrap and cut, providing a professional finish. Beyond this project, it’s fantastic for refreshing tabletops, shelves, and other surfaces.
- Scissors: A sharp pair of scissors is essential for cleanly cutting the contact paper and trimming any excess from your faux leaves. Precision will ensure crisp edges on your marble bases.
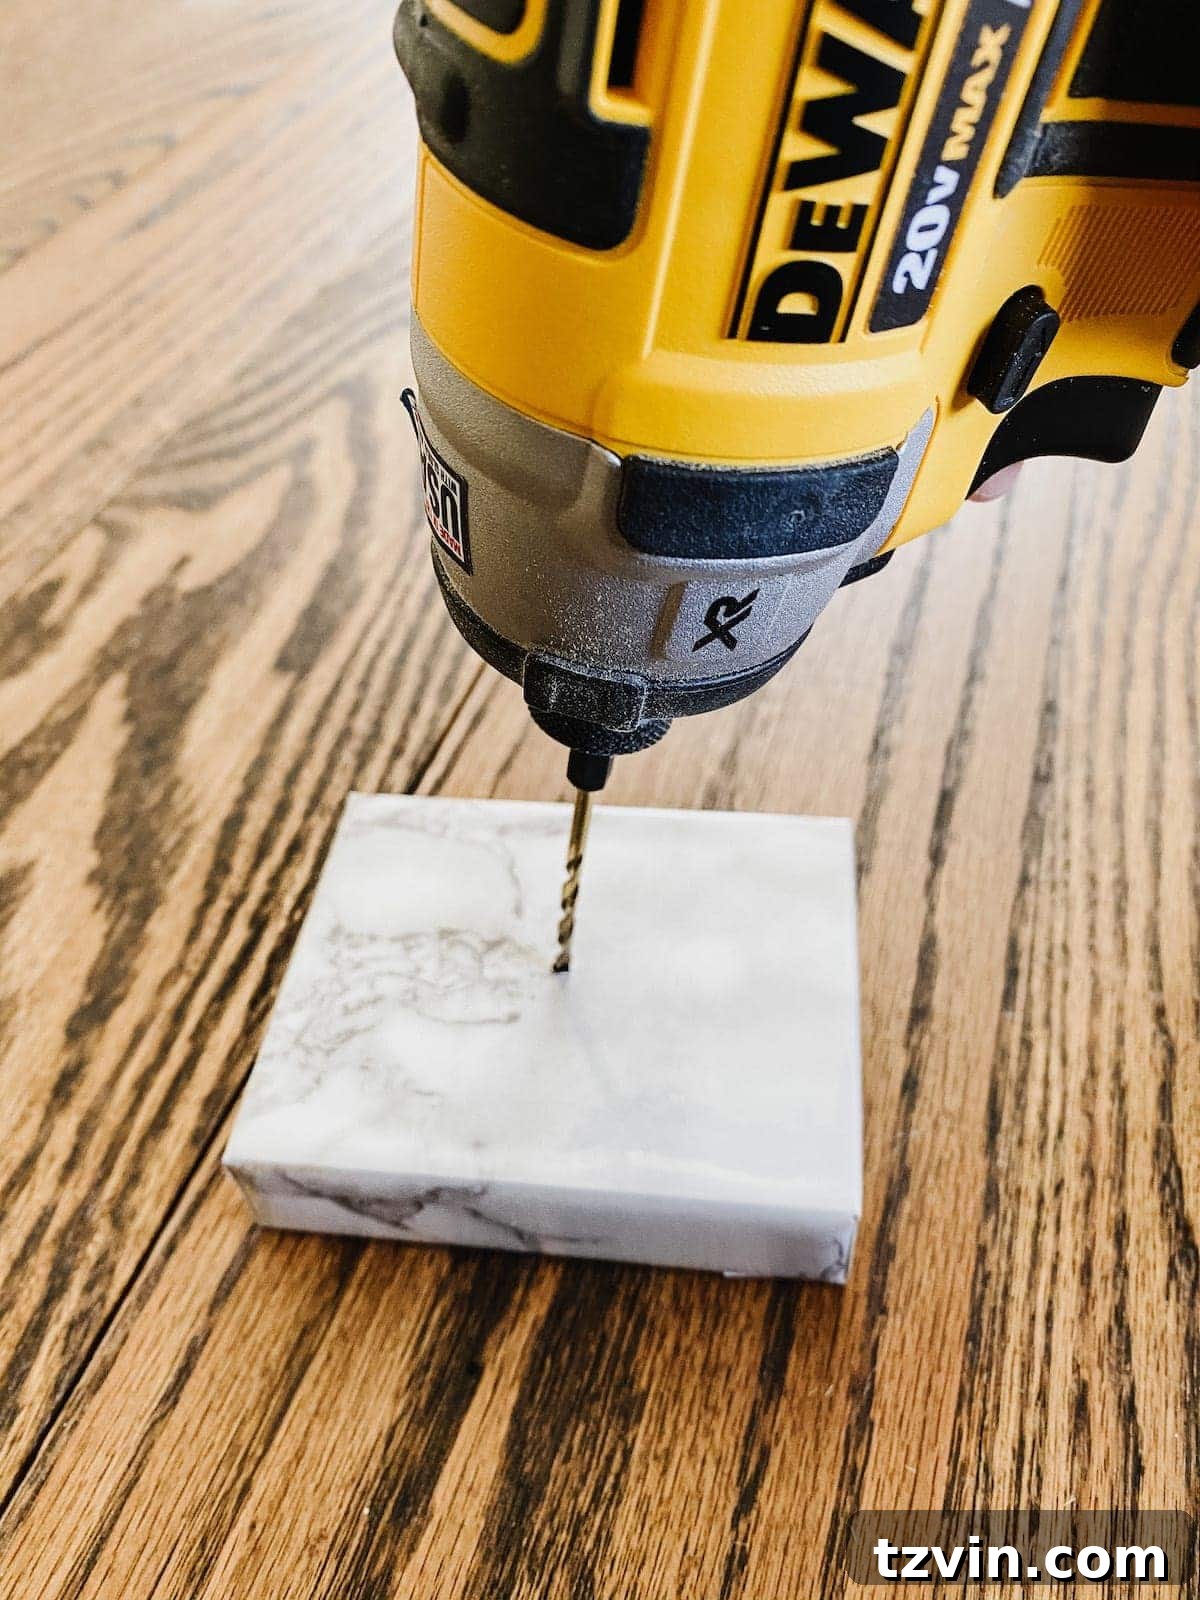
- Drill: A cordless or electric drill will be needed to create a secure hole in your wood bases for the leaf stems. Ensure you have a range of drill bit sizes to match the varying thicknesses of your chosen faux leaf stems. Safety first when using power tools!
- Super Glue: This powerful adhesive will permanently secure the gold leaf stems into their marble-wrapped bases. A small amount goes a long way, providing a strong and quick-drying bond. Make sure to use it in a well-ventilated area.
Crafting Your Designer Dupe: A Step-by-Step Guide
Follow these simple steps to transform your basic supplies into exquisite gold leaf sculptures that will fool even the most discerning eye.
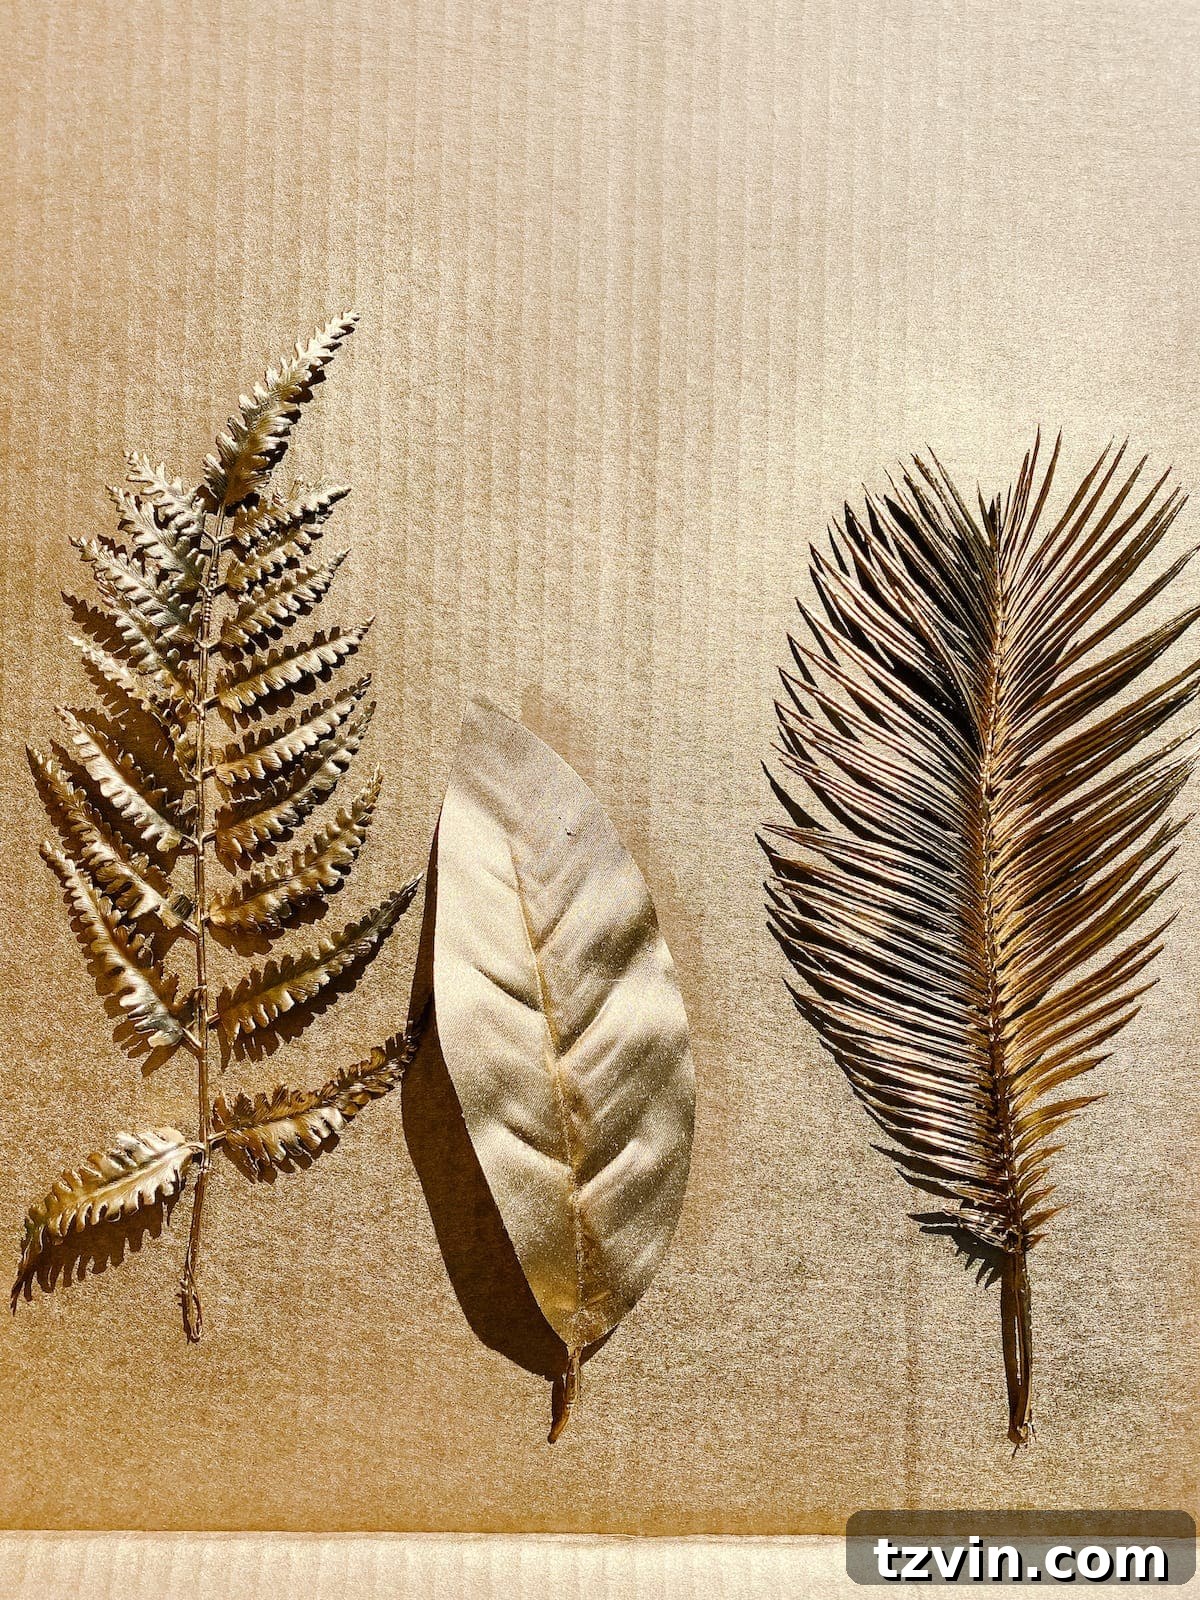
1. Spray Paint Your Faux Leaves Gold: Find a well-ventilated area, preferably outdoors or in a garage with open doors. Lay your faux leaves flat on a protective surface, such as old newspaper or a drop cloth. Apply light, even coats of metallic gold spray paint to both sides of the leaves. It’s better to apply several thin coats than one thick coat, as this prevents drips and ensures a smooth, uniform finish. Rotate the leaves to ensure every surface, including the edges and stems, is thoroughly covered. Allow each side to dry completely between coats, following the drying times recommended on your spray paint can. Patience here will result in a truly dazzling and realistic gold finish, making your leaves look like they’ve been dipped in precious metal.
2. Prepare the Faux Marble Bases: While your gold leaves are drying, turn your attention to the scrap wood blocks. These will become your elegant faux marble bases. Cut a piece of marble contact paper slightly larger than each wood block on all sides. Carefully peel off the backing and begin to wrap the contact paper around the wood block, much like you would wrap a gift box. Start by smoothing one side, then fold in the corners neatly. Use your fingers or a flat tool (like a credit card) to press out any air bubbles as you go, ensuring a seamless, smooth finish. Trim any excess contact paper at the corners with your scissors, creating crisp, clean seams that are as inconspicuous as possible. This step is crucial for achieving the convincing illusion of a solid marble block.
3. Drill Holes in Your Faux Marble Blocks: With your bases now beautifully transformed, it’s time to prepare them for the leaves. Carefully select a drill bit that matches the thickness of the stems of your spray-painted faux leaves. It’s important to find a snug fit to ensure the leaf stands upright and securely. Position the drill bit in the center of the top surface of each marble-wrapped block. Holding the block firmly, drill a hole deep enough to securely anchor the leaf stem. Take your time to ensure the hole is straight and clean, avoiding any splintering of the wood beneath the contact paper. If you’re unsure, practice on a spare piece of wood first. Safety goggles are recommended for this step.
4. Assemble Your Gold Leaf Sculptures: The final step brings your creation to life! Apply a drop or two of super glue inside the drilled hole on your marble-wrapped block. Immediately insert the stem of your painted gold leaf into the hole, pushing it down until it feels firmly seated. Hold it in place for a few seconds to allow the glue to begin setting. If necessary, adjust the leaf’s position slightly to ensure it stands perfectly upright. The super glue will create a strong, lasting bond, securing your gold leaf in its faux marble base. Allow ample time for the glue to fully cure before handling or moving your finished sculptures extensively. Once dry, you’ll be amazed at the sophisticated and costly look you’ve achieved with such simple means!
And just like that, you’ve transformed inexpensive materials into captivating pieces of art! These DIY gold leaf sculptures are not just adorable accents; they are versatile decor elements that can instantly elevate the aesthetic of any room. Place them strategically on dressers, buffets, console tables, bookshelves, or coffee tables to introduce a touch of glamor and sophistication. Their sleek design and metallic shimmer catch the light beautifully, adding a dynamic and elegant focal point to your home. Create a single statement piece or group several together for an impactful display. The beauty of this project lies in its simplicity and the stunning results it yields, proving that high-end style truly is accessible to everyone with a little creativity.
Explore More High-End Designer Dupes for Your Home
If you’ve enjoyed the satisfaction of creating these gold leaf sculptures and are hungry for more budget-friendly decor ideas that don’t compromise on style, you’re in luck! The world of designer dupes is vast and exciting, offering countless opportunities to replicate coveted pieces without breaking the bank. These projects empower you to infuse your home with personalized charm and sophisticated elegance, proving that creativity is the ultimate luxury. Dive into these other inspiring tutorials to continue your journey of crafting designer looks for less:
- DIY Pottery Barn Knock-Off Terra Cotta Table Lamp: Recreate the rustic elegance of a high-end lamp with simple materials.
- DIY McGee & Co Knock-Off Textile Art from a Recycled Rug: Transform an old rug into a stunning piece of textured wall art inspired by top designers.
- DIY Anthropologie Knock Off Ceramic Bloom Vase: Achieve the whimsical charm of a boutique vase with a clever painting technique.
- Faux Marble Top Coffee Table: Extend your contact paper skills to larger furniture pieces, giving them an instant luxurious upgrade.
We absolutely love discovering innovative ways to bring designer aesthetics into our homes without the premium price tag. Have you recently completed any amazing DIY dupe projects that have transformed your space? We’re always eager to hear about your creative endeavors and learn new tricks! Share your experiences and inspire fellow DIY enthusiasts in the comments below. Happy crafting!