Unlocking Effortless Elegance: Free Botanical Art & The Ultimate Picture Hanging Hack for Your Home
Welcome back to the blog, dear readers! Life has been a whirlwind lately, leading to a brief hiatus, but I’m thrilled to return with an exciting home decor project that has brought immense joy and beauty to our new space. Moving into a new home is always an adventure, filled with unpacking boxes, settling in, and making each room truly your own. Amidst the chaos of recent travels, work events, and painting countless walls, there are moments when you realize that creating a comfortable, beautiful environment is paramount for well-being. And sometimes, the simplest, most budget-friendly solutions bring the most satisfaction.
After weeks of non-stop activity – from purchasing our new house and extensive painting to juggling work trips to Austin, Miami, and Chicago – Robert and I were more than ready to anchor ourselves back at home. We are, at heart, total homebodies, and the fast pace of recent times truly highlighted how much we cherish our quiet family moments. We owe a huge debt of gratitude to our amazing grandparents who stepped in as babysitters, allowing us to manage everything. Once our final trip concluded and the suitcases were unpacked, we made the official move into our new abode, just in time for my 30th birthday. It has been an absolute dream to finally have a home that is truly ours again, a sanctuary where we can relax and create lasting memories.
Transforming Your Space with Budget-Friendly Wall Decor: The Power of Printable Art
With boxes still needing to be unpacked, the very first thing on my to-do list might surprise you: creating a gallery wall! While most people might prioritize unpacking essentials, decorating simply makes my heart sing. There’s something incredibly therapeutic about transforming a blank wall into a focal point, especially after the whirlwind of moving. This wasn’t just any gallery wall; I wanted something elegant, personal, and most importantly, affordable.
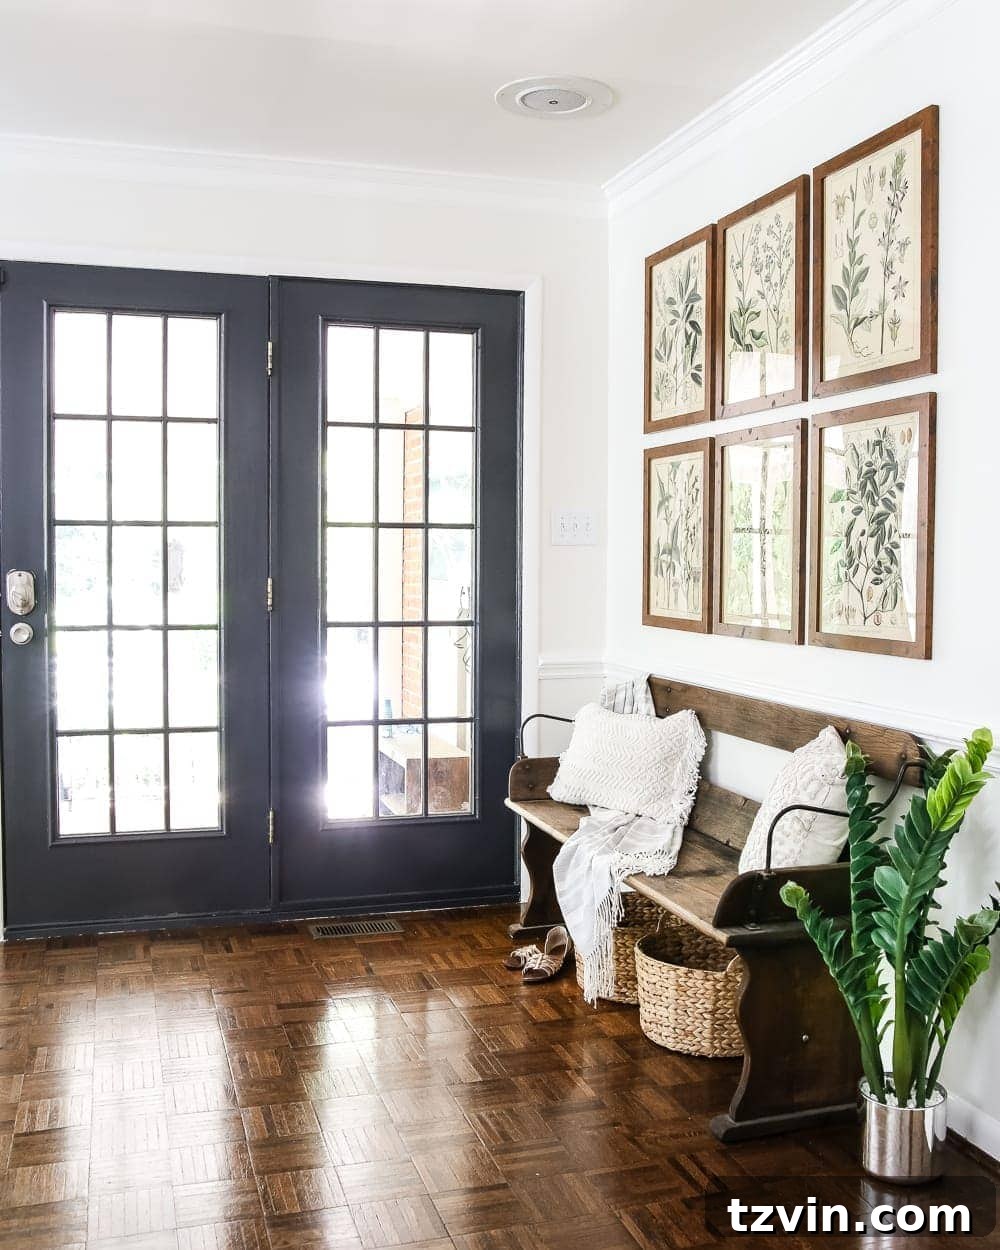
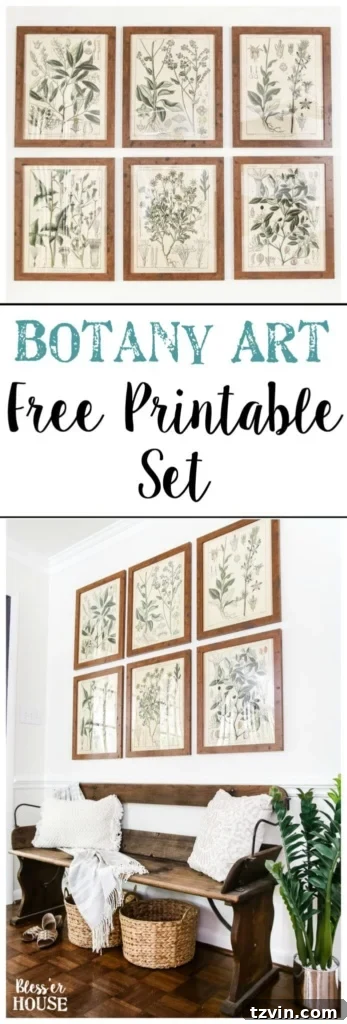
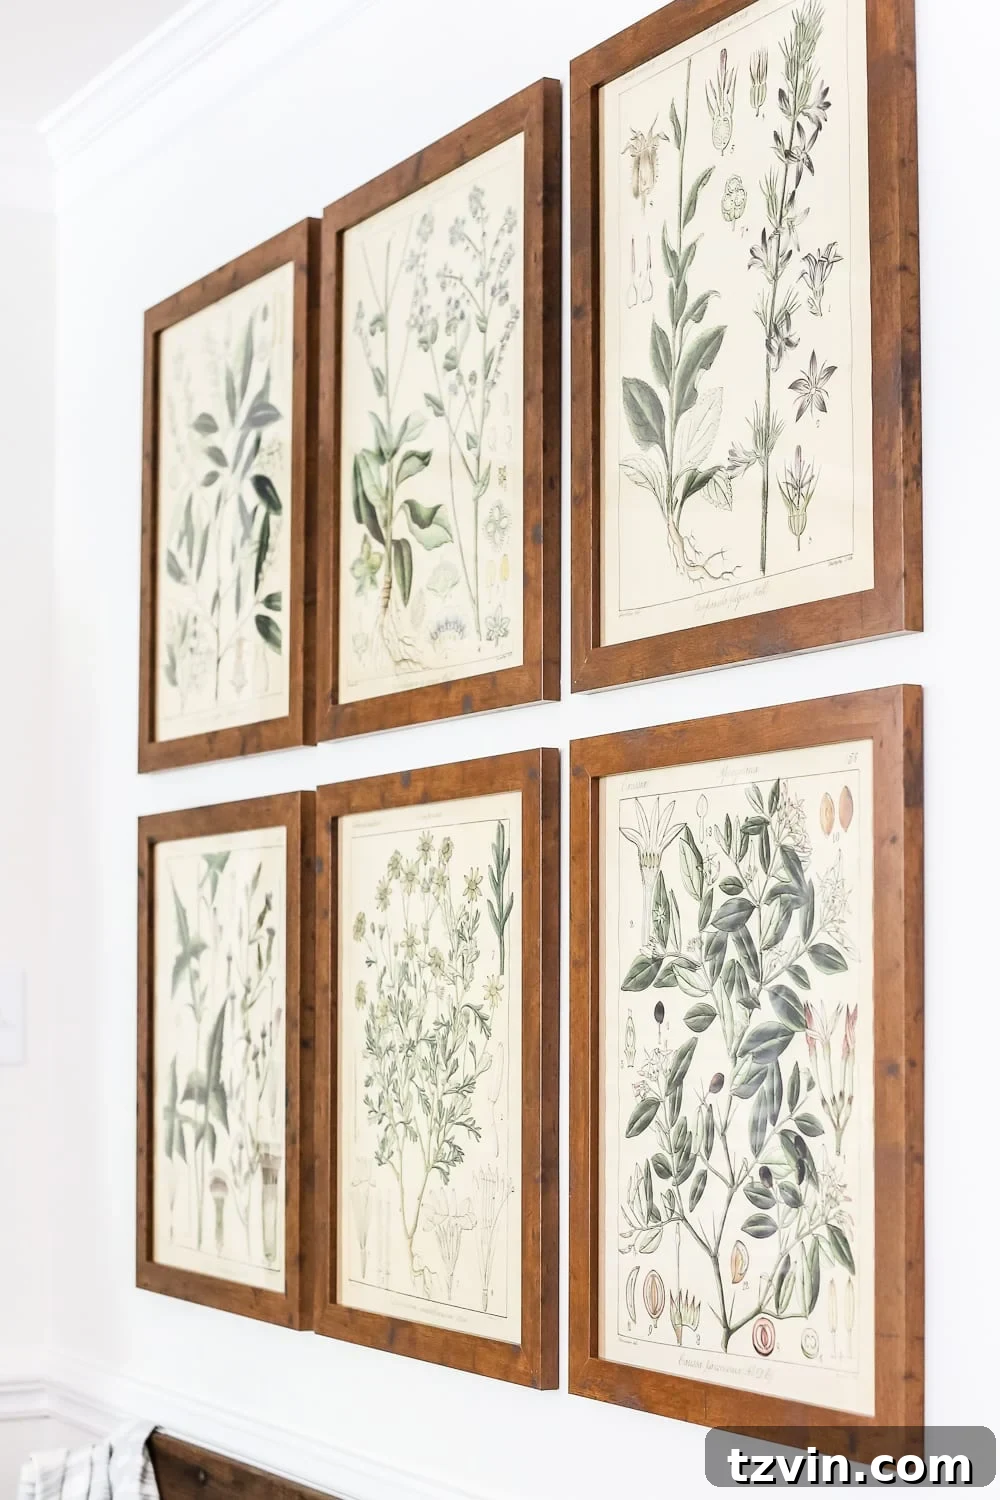
Unlike the more intricate gallery wall in our previous home, this project focused on simplicity and striking visual impact. The best part? The beautiful botany art prints I used cost a mere $3 per print! This incredible affordability makes high-impact home decor accessible to everyone. My long-standing love affair with botanicals is no secret; I’ve even gone as far as repurposing pages from thrifted books to create unique art. There’s an undeniable elegance and timeless appeal to botanical illustrations. They effortlessly introduce warmth and soften the often stark or rigid feel of a new space, creating an inviting atmosphere.
I briefly considered trying something entirely “new” for this room, but then I reminded myself: if you truly love something, embrace it fully. And I absolutely adore botanical prints! Their ability to bring a touch of nature indoors, their intricate details, and their soothing color palettes make them a perfect choice for any season, especially spring and summer.
The Secret to Perfectly Hung Frames: A Genius Wall Decor Hack
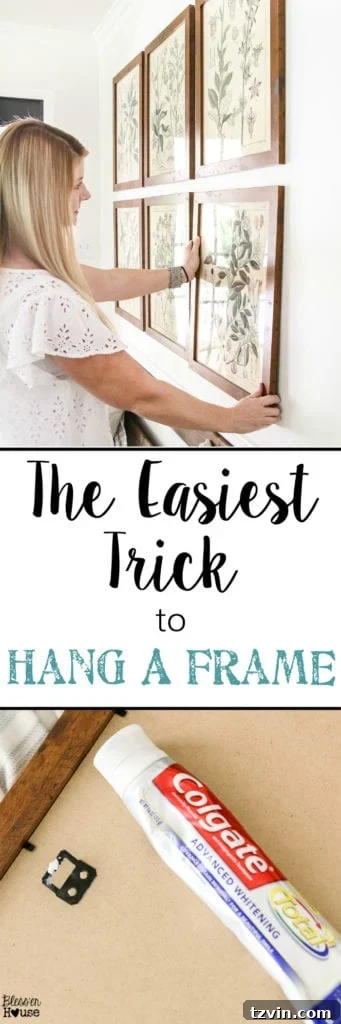
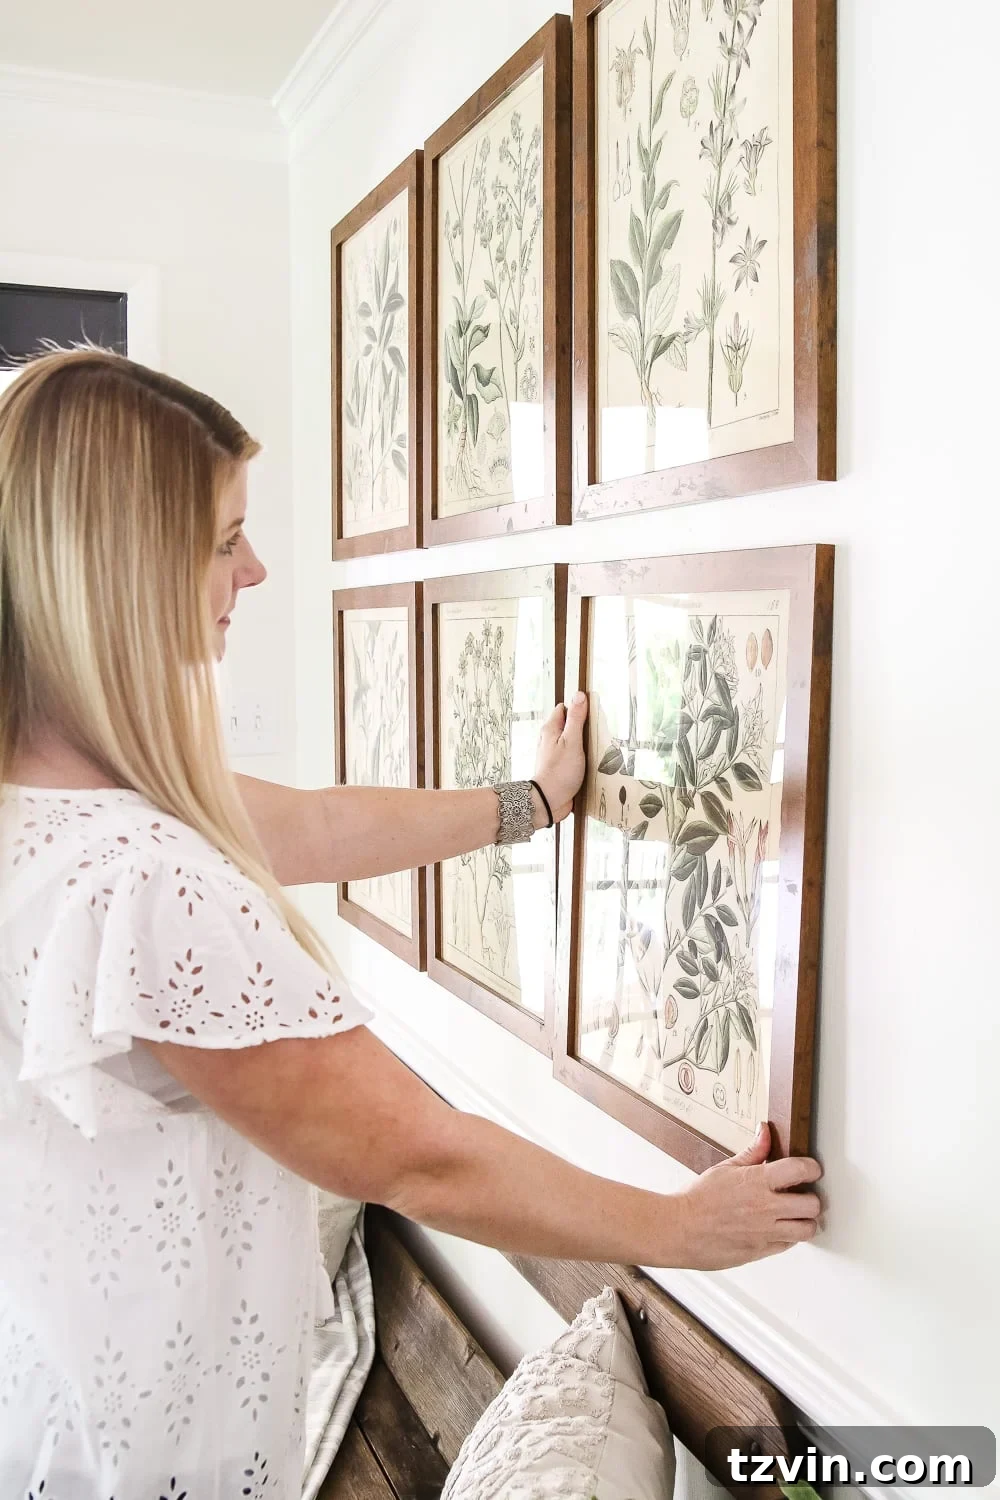
The real game-changer in this project wasn’t just the affordable art, but the incredibly simple yet effective method I used to hang all six frames by myself. While Robert was at work and Olivia was at preschool, I tackled this task using a handy trick I’ve relied on for years. This method eliminates the need for precise measuring, avoids frustrating “oopsie” nail holes, and doesn’t require a second pair of eyes to ensure everything is level and perfectly spaced. The secret ingredient? Toothpaste!
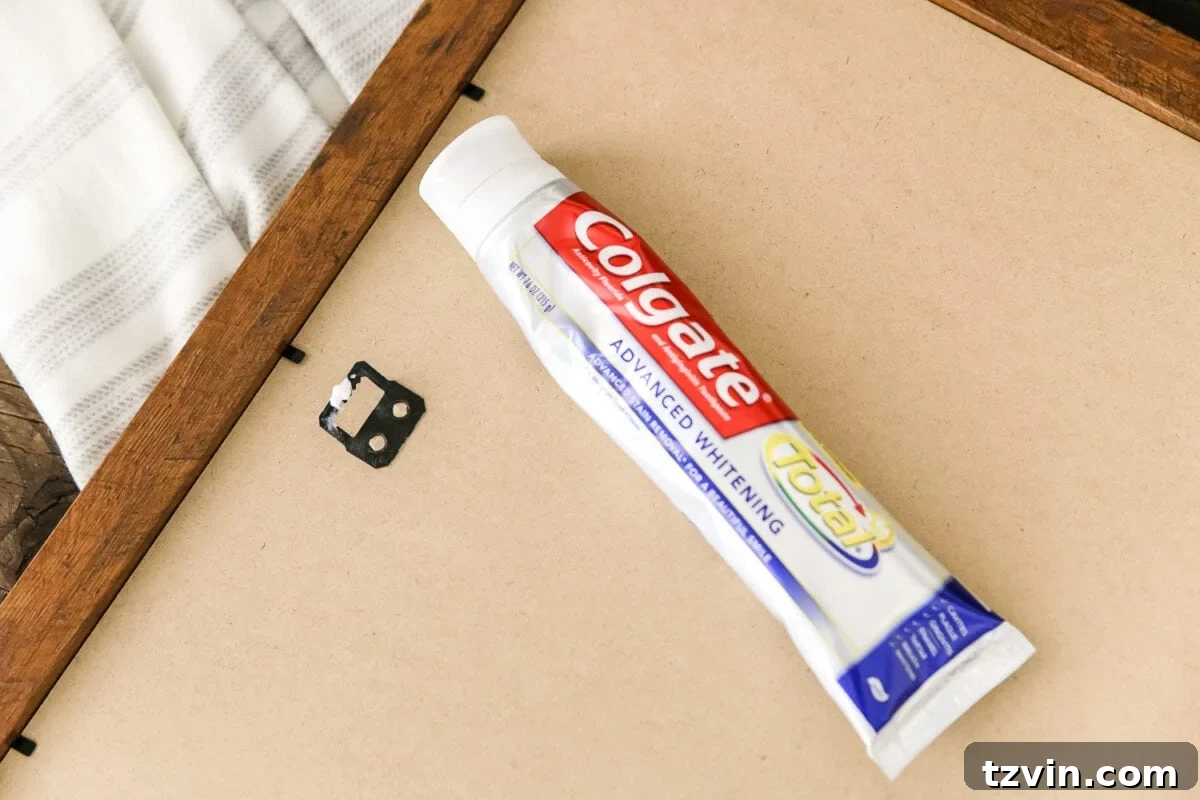
Yes, you read that right – toothpaste. It might sound completely bizarre, and I’m honestly surprised I haven’t shared this revolutionary hack with you all sooner! This trick saves so much time and frustration, ensuring your gallery wall is perfectly aligned every single time. Let’s dive into how you can replicate this foolproof method for your own home decor projects.
Materials You’ll Need for Your DIY Botanical Gallery Wall & Hanging Hack:
- 6 – 18″x24″ color engineer prints (I had mine printed at Staples, but local availability may vary.)
- 6 high-resolution botany art files (You can download my exact set by subscribing at the end of this post!)
- 6 – 16″x20″ frames (I highly recommend these affordable options that mimic wood and glass.)
- A tube of toothpaste (any basic white paste will do)
- Hanging nails and a hammer (Alternatively, Scotch Mounting Tape works wonderfully if you prefer not to nail into your walls.)
- A small level for final adjustments.
Step-by-Step Guide to Printing Affordable Engineer Prints:
For those looking to achieve a similar large-scale impact without the hefty price tag, engineer prints are your best friend. Here’s how I ordered mine:
- Navigate to Staples.com and locate their “engineer prints in color” section.
- Click the “design now” button, then select “engineering prints in color” in the pop-up.
- Use the “add files” option to upload your chosen botany art files. My images are already pre-sized to 15″x20″ for convenience.
- After uploading, select the 18″x24″ size under the “media” tab on the left, and choose “portrait” orientation.
- **Crucial Tip:** Do not select “size to fit” unless you intend for your print to be larger than 15″x20″, as this can distort the image or lead to unnecessary cropping.
*A note for my fellow DIY enthusiasts: some readers have reported that their local Staples locations have varying policies on printing these as engineer prints. If you encounter any issues, overnightprints.com offers an excellent and reliable alternative for high-quality, large-format prints.
Choosing the Perfect Frames on a Budget:
Finding the right frames can often be the most expensive part of a gallery wall, but it doesn’t have to be. I managed to snag these beautiful frames for just $11 each at Michaels.com by strategically combining a sale with a 20% off coupon. In person, they have such a convincing wood and glass appearance, yet they are durable plastic poster frames – a fantastic budget-friendly illusion! I’ve been pondering whether to dry-brush or gray-wash the wood-look frames to introduce a bit more texture and break up the brown tones, but Robert prefers to keep them as is. What are your thoughts?
When preparing the prints, I noticed my engineer prints were an inch shorter on the sides than the actual frame opening due to the original image dimensions. This was an easy fix! I simply removed the white paper insert from the frame, centered my botanical print against the “glass” (or acrylic, in this case), and secured it in place with the cardboard backing before closing the metal tabs. The slight gap created an unintentional, yet beautiful, aged border effect that worked out perfectly! It’s amazing how little “problems” can sometimes lead to charming solutions.
Comparing my total cost of $84 for this set of six large botanical prints and frames against the $200+ price tag I found online for similar pre-made sets, the savings are truly significant. Quality frames, even budget-friendly ones, can add up, but with smart shopping and DIY spirit, you can achieve stunning results without breaking the bank.
Executing the Toothpaste Wall Decor Hack: Your Foolproof Guide
Now, for the moment you’ve been waiting for – the step-by-step instructions for the toothpaste frame hanging trick:
- **Prepare Your Frame:** On the back of your picture frame, locate the exact spot where the nail hole or hanging mechanism will rest.
- **Apply Toothpaste:** Dab a pea-sized (or slightly smaller) amount of toothpaste directly onto that nail hole on the back of the frame. You don’t need much; just enough to leave a mark.
- **Position and Press:** Carefully hold the frame against the wall in your desired position. Once you’re happy with the placement, gently press the frame firmly against the wall. The toothpaste will transfer to the wall, marking the precise spot where your nail needs to go.
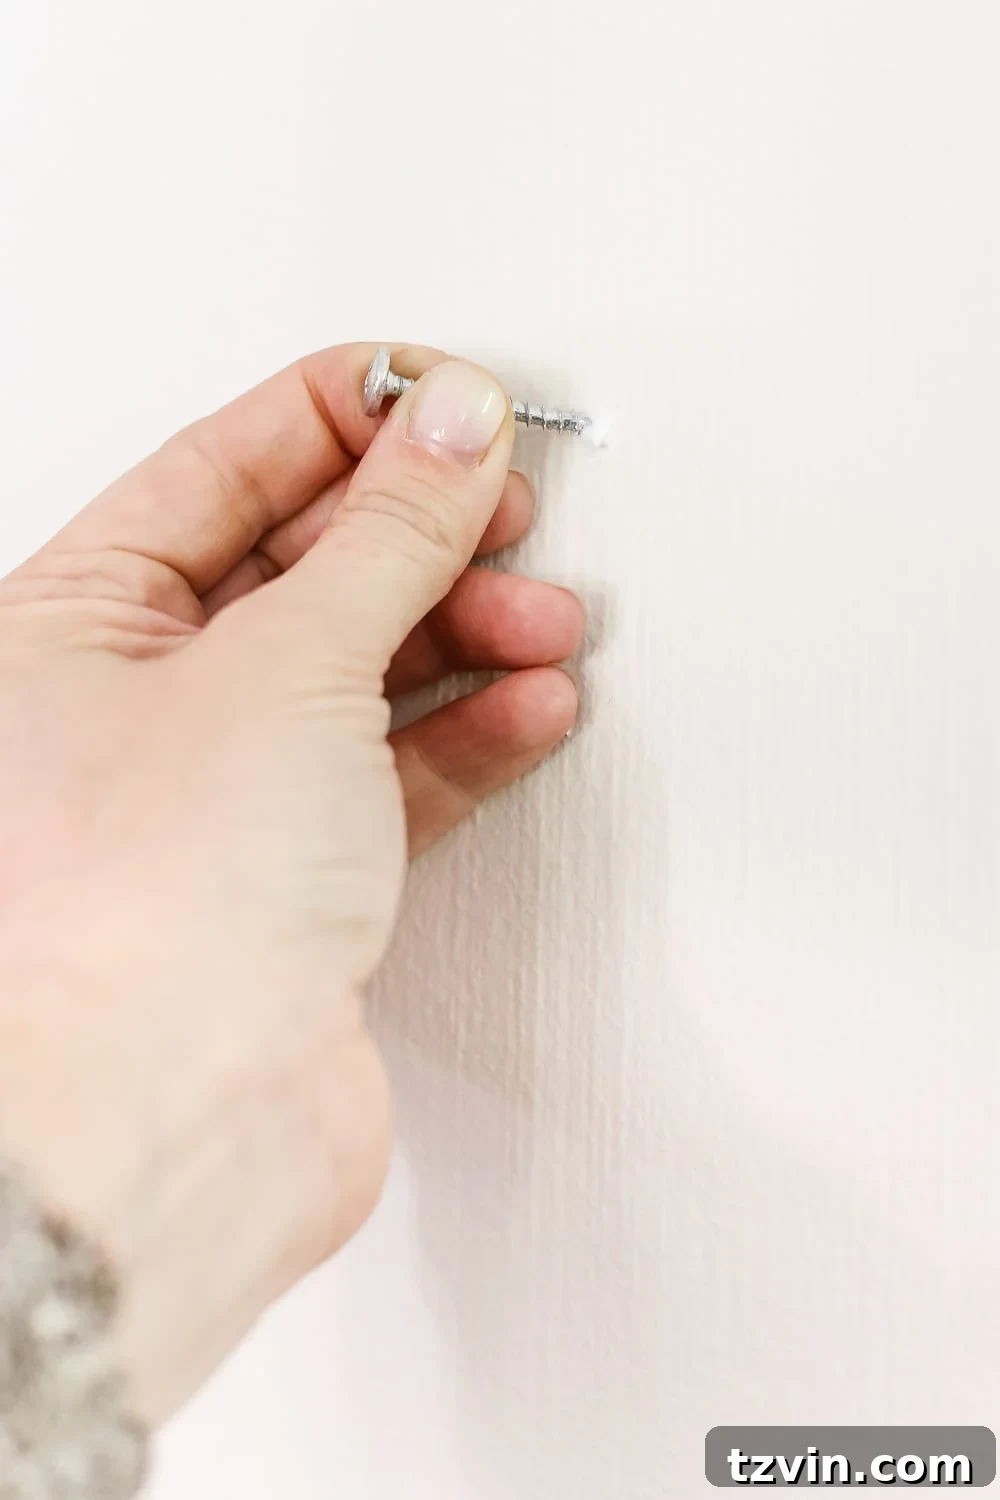
- **Remove Frame and Nail:** Lift the frame away from the wall. You’ll see a small, distinct dot of toothpaste on the wall. This is your target!
- **Insert Nail:** Drive your nail (or screw, if preferred) directly into the toothpaste mark. The mark ensures perfect alignment with your frame’s hanging hardware.
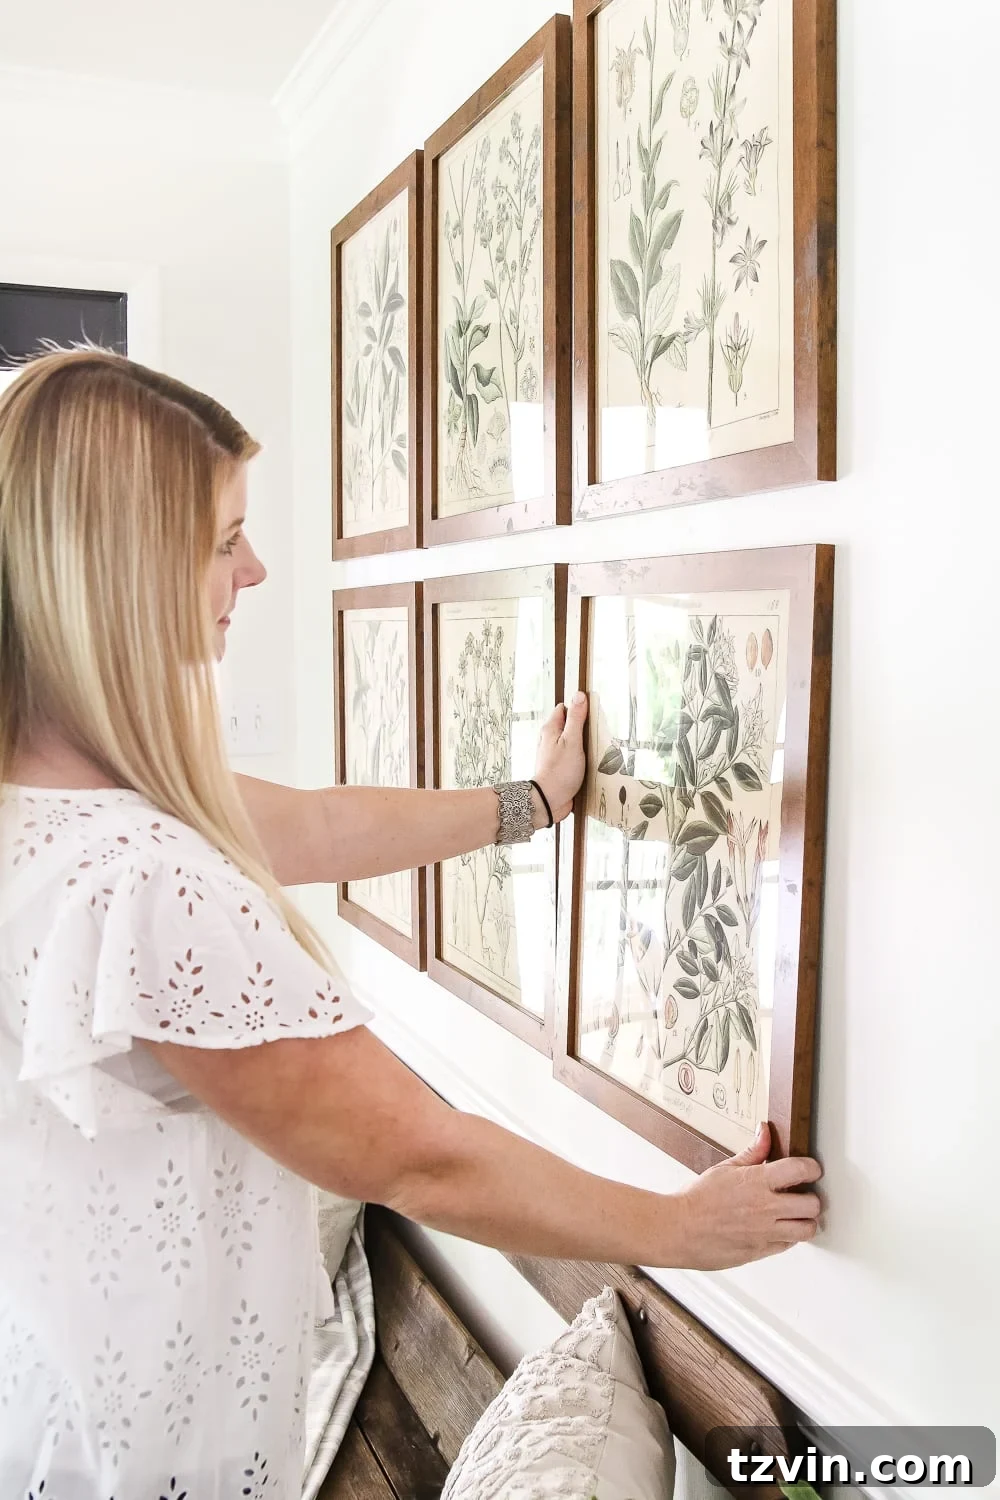
Hang your frame, and voila! Your picture is perfectly in place, straight, and exactly where you envisioned it. This method truly eliminates guesswork and frustration, making gallery wall creation a breeze.
Discovering Free Wall Decor: The World of Public Domain Images
The botanical prints I used were originally sourced online as public domain images. This is a fantastic resource for anyone looking to adorn their walls with unique and beautiful art without spending a fortune. There are literally thousands upon thousands of high-resolution, free-for-public-use pictures available across various archives and digital libraries. A quick search for “public domain botanical illustrations” or “free vintage art prints” can open up a treasure trove of possibilities for your home decor. It’s an incredible way to personalize your space with art that resonates with your style, all it takes is a little digital digging.
Even if large prints aren’t your preference or you lack access to an engineer print service, you can still utilize these amazing free resources. Simply print them on your home printer at a smaller scale. These prints look equally stunning framed in an 8″x10″ or matted within a 10″x13″ frame, perfect for smaller gallery arrangements or individual accents.
Styling Your New Gallery Wall: Integrating with Existing Decor
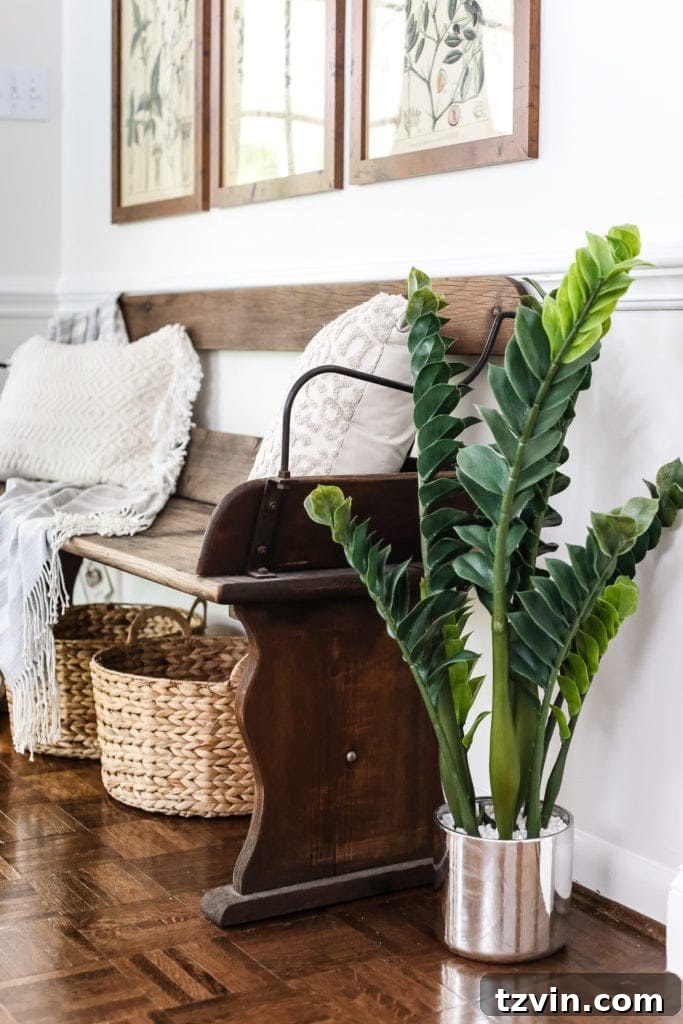
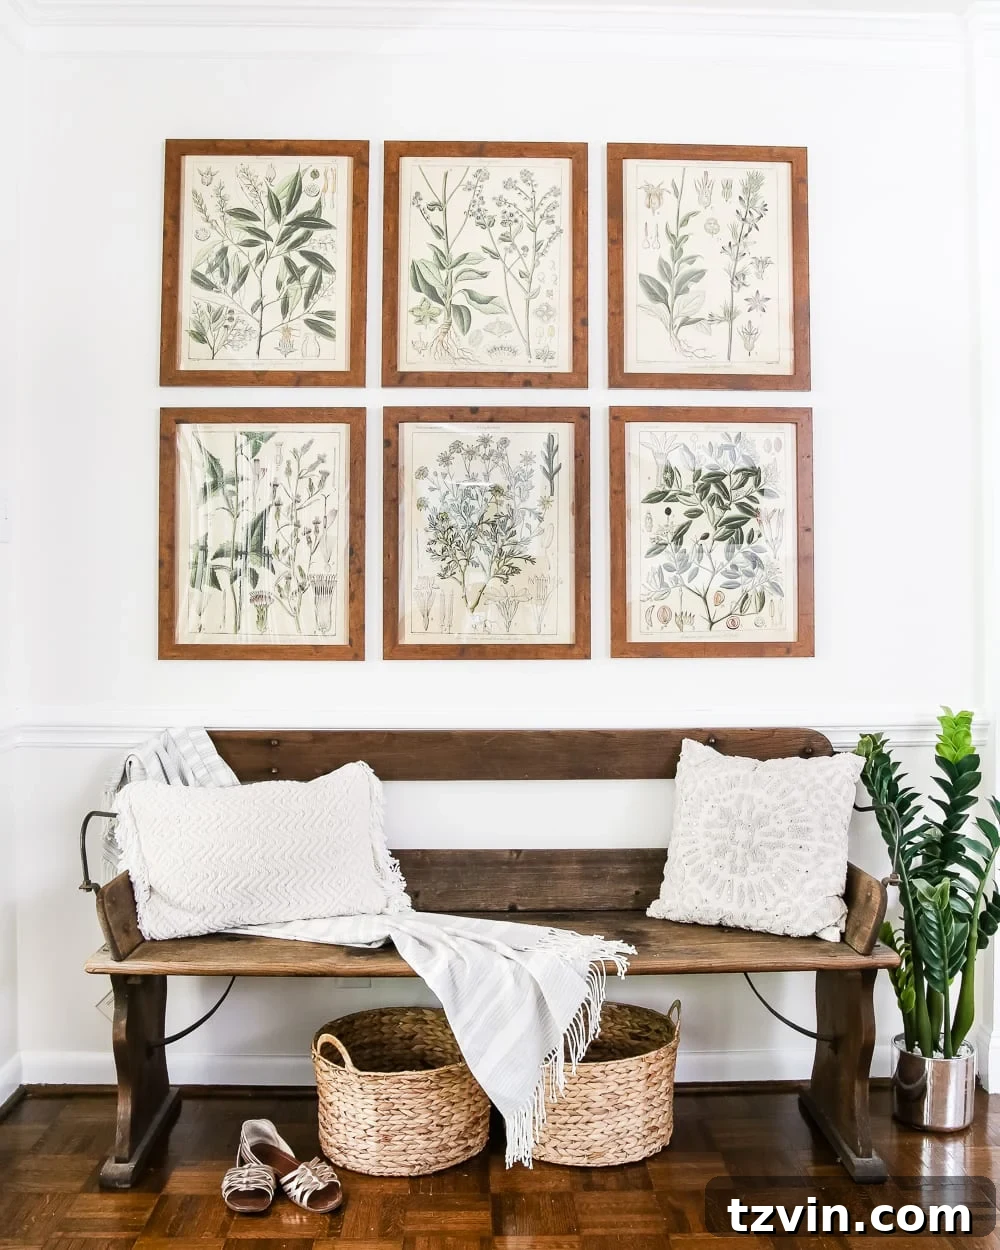
My new gallery wall adds a beautiful, feminine touch of leaves and flowers, creating a lovely contrast above this masculine-looking wagon bench. I discovered this unique bench a few years ago on Craigslist for a steal at $35. It served beautifully in the hallway of our last house, and I simply couldn’t bear to part with it. Its rustic charm and sturdy presence provide a wonderful foundation for the delicate botanical art above.
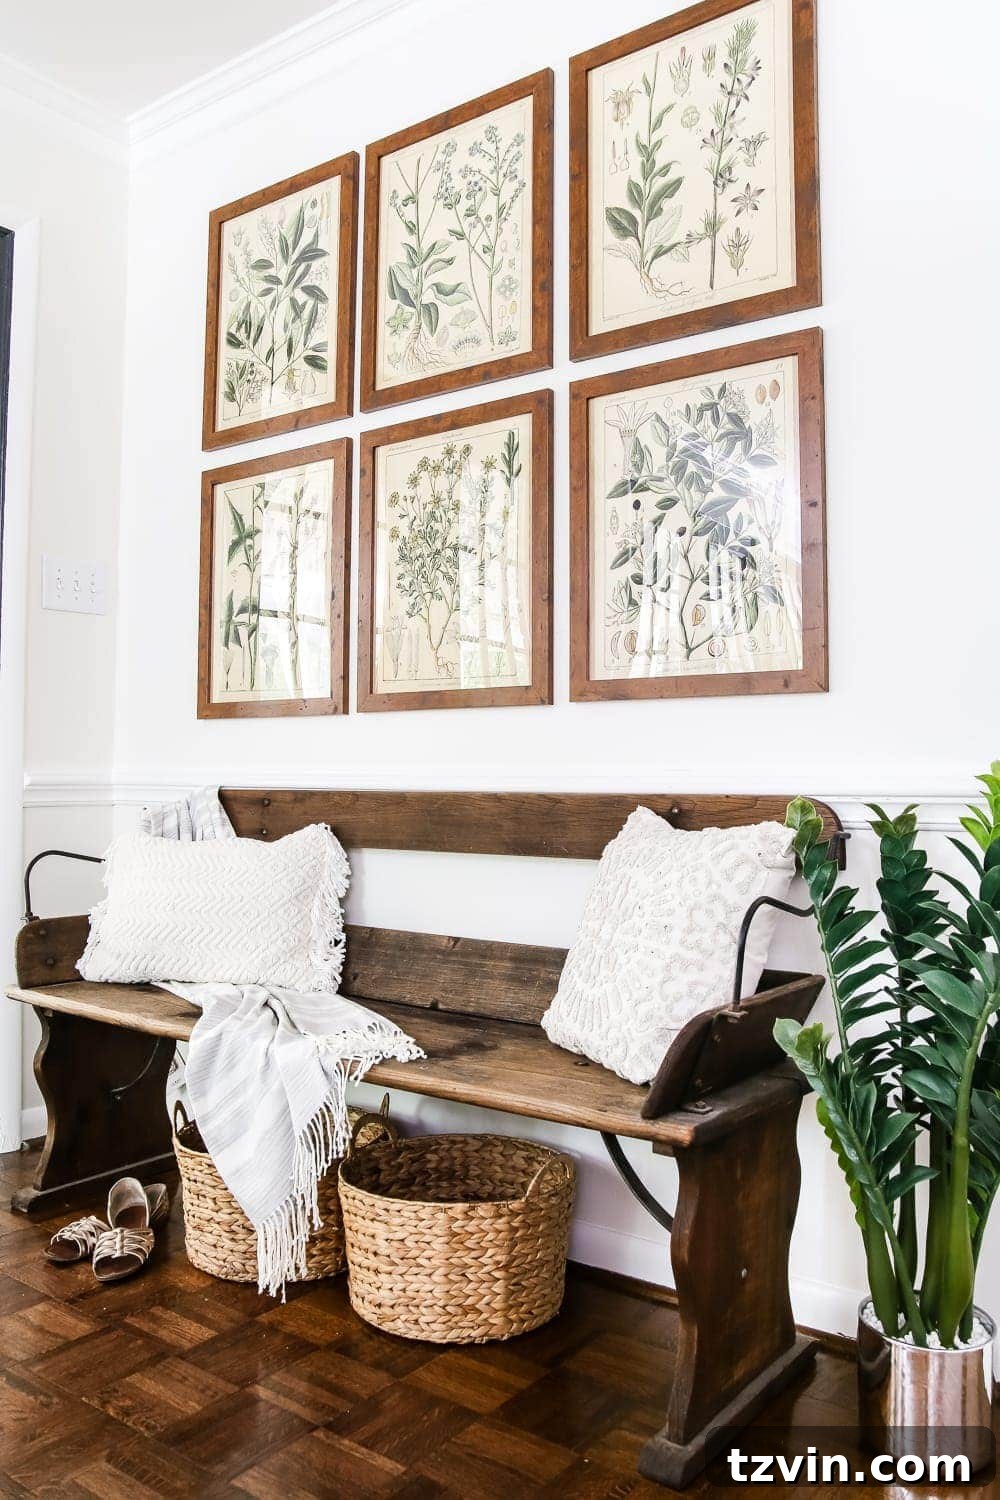
This spot is strategically located right beside our back door, making the wagon bench incredibly functional. It’s the perfect perch for putting on shoes before heading out to the backyard or a convenient spot to drop our bags after a long day. And of course, it doubles as a imaginative play area where our four-year-old can pretend she’s driving a grand, horse-drawn carriage – proving that decor can be both beautiful and practical, catering to every member of the family.
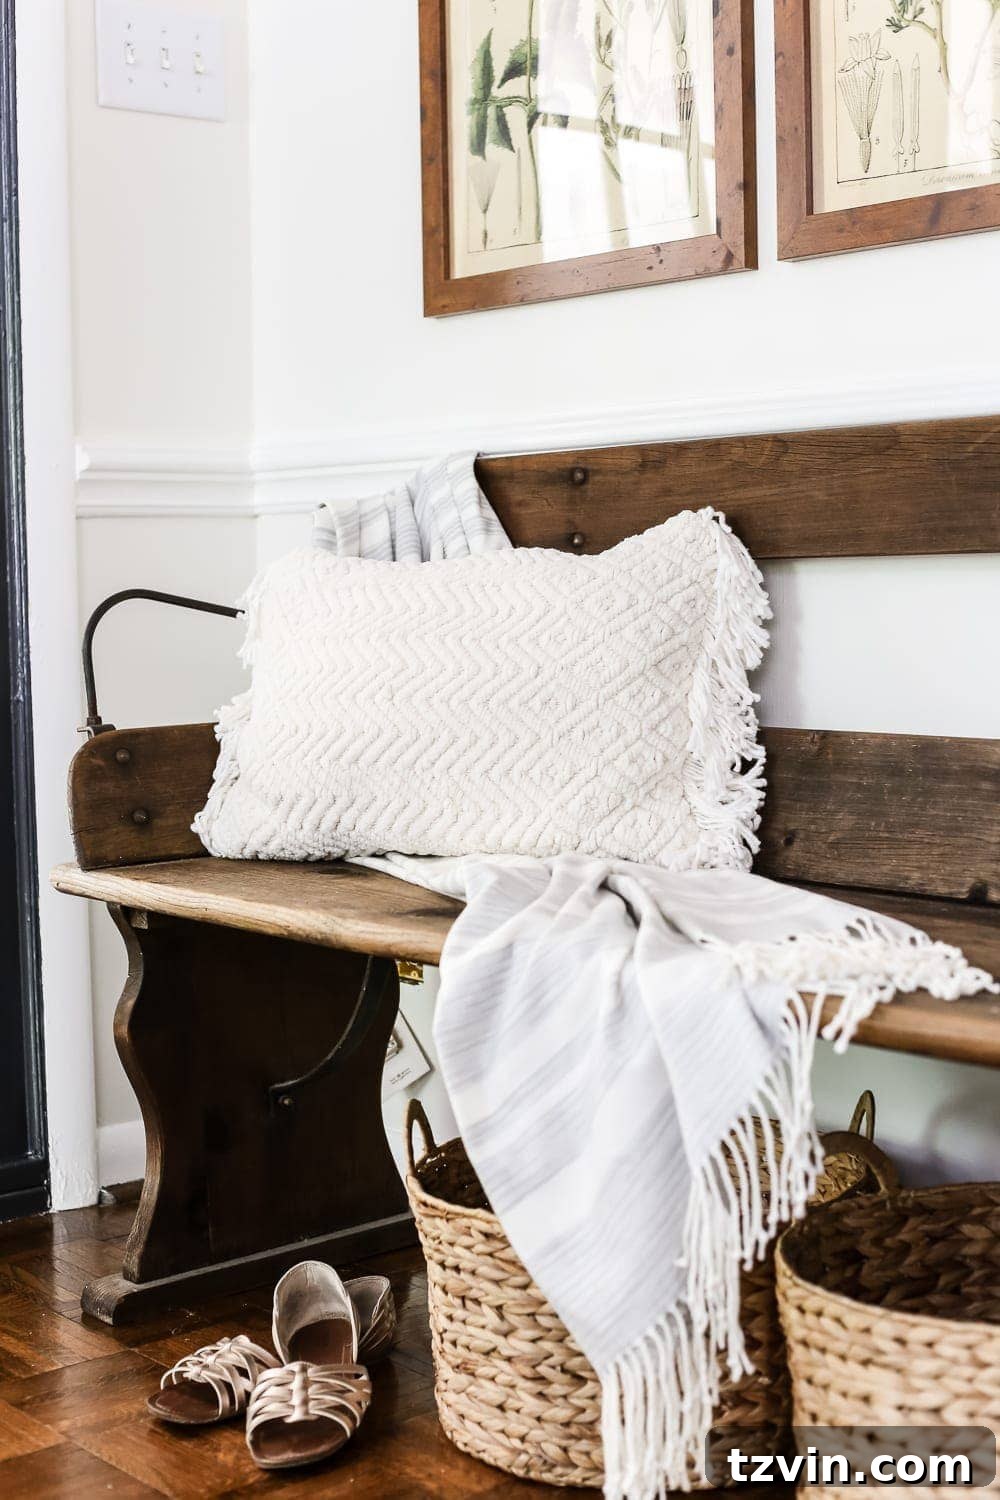
While these vibrant botanical prints are absolutely perfect for celebrating the beauty of spring and summer, the joy of printable art is its versatility. I’m already envisioning swapping them out later this year for cozy fall foliage or serene winter scenes, easily transforming the mood of the space with minimal effort and cost. This adaptability makes printable art an incredibly smart investment for seasonal home styling.
Complementary Decor Elements in This Space:
To complete this cozy and functional entryway vignette, here are some of the additional sources and elements I incorporated:
- Woven Baskets (Found for $7 each at Tuesday Morning – a true bargain!)
- Striped Throw Blanket (A fantastic find for $25 from T.J.Maxx)
- Artificial ZZ plant (Also from T.J.Maxx, priced at $50, bringing greenery without the upkeep)
- Oblong Cream Pillow (Adds a touch of softness and texture)
- Square Cream Medallion Pillow (Contributes to the layered, inviting look)
- Bench ($35 on Craigslist – a unique piece that’s hard to find elsewhere!)
- Metallic Huarache Sandals (A personal favorite for comfort and summer style!)
- Paint Colors: Walls: Benjamin Moore Swiss Coffee, Trim: BM Simply White, Doors: BM Wrought Iron (These colors create a serene and elegant backdrop for the decor.)
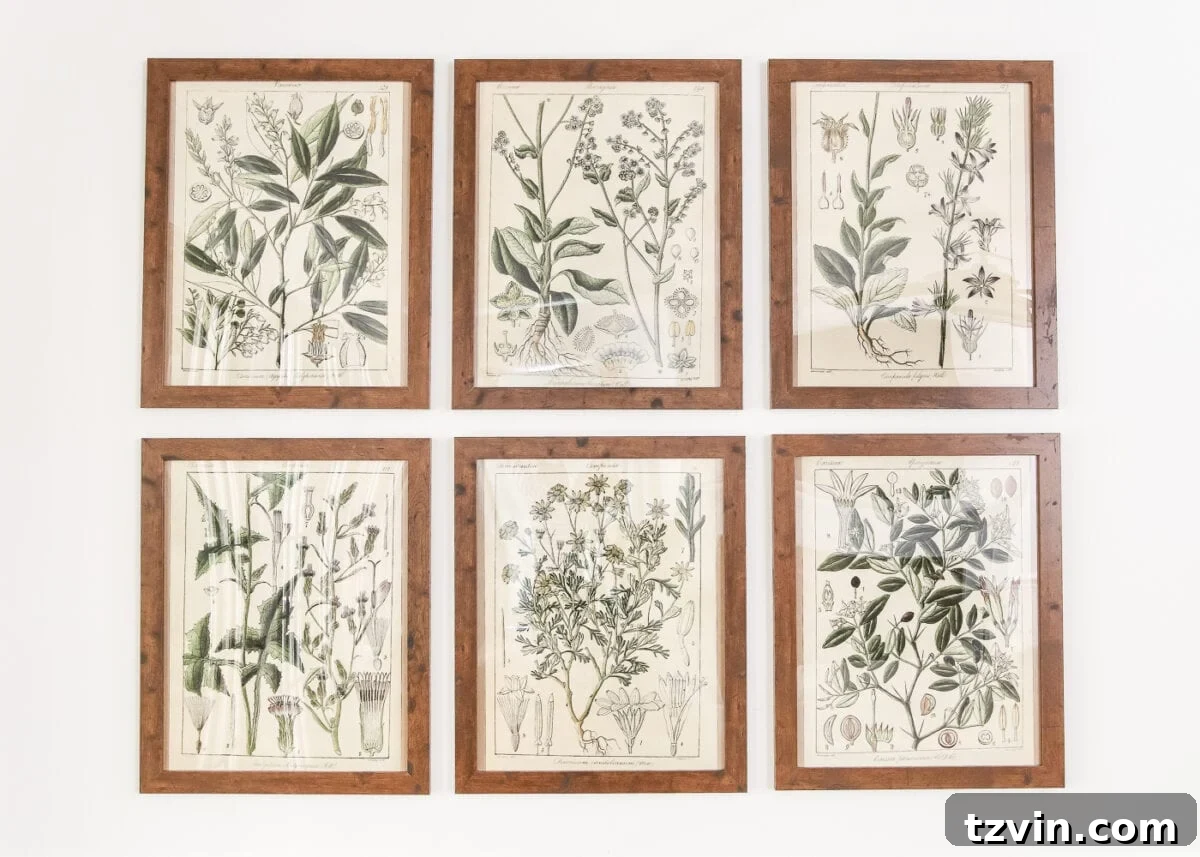
Your Free Botanical Art Prints Await!
Ready to create your own stunning botanical gallery wall? You can easily download these beautiful botany art prints from my exclusive subscriber printable library. Simply click here or on the button below to sign up and gain instant access to these and many more free decor resources.
*If you’re already a cherished subscriber, check your email for direct access to the downloadable prints – they’re already there waiting for you!
With this inspiring botanical gallery wall and our recent breakfast nook banister wall planter, we’ve officially decorated two walls in our new home. Only about 98 more to go, or so it feels! 😉 I’d love to hear your creative ideas and suggestions for tackling the remaining blank canvases. Share your favorite wall decor tips in the comments below!
Don’t forget to save this post for future reference and inspiration by pinning it here: