
*This post contains affiliate links to fund more DIY adventures and inspiring home transformations.
Have you ever found yourself paralyzed by a design decision? That familiar tug-of-war between “should I or shouldn’t I?” that leaves you staring blankly at a piece of furniture, caught in an endless loop of indecision? I know that feeling all too well. It was just a few weeks ago that I poured my heart out, sharing the grand visions I had for our breakfast area – a space yearning for a fresh identity. The biggest challenge? Our kitchen chairs. I even enlisted your help on Facebook and Instagram, virtually holding a paintbrush in hand, as I grappled with the terrifying prospect of applying that very first stroke of paint. Even after all the polling, all the internal debate, I still found myself standing in our kitchen an embarrassingly frequent number of times, simply gazing at those “weathered” wood chairs, manufactured to look rustic but feeling anything but authentic, teetering precariously on the brink of transformation.
What finally broke the stalemate, you ask? A coin flip. Yes, you read that right. I literally left this pivotal decision to pure chance because, for the life of me, I couldn’t commit to a choice on my own. But oh, am I profoundly glad it landed on tails – the side I had assigned to “paint.” Sometimes, the biggest hurdle in any DIY project isn’t the execution, but simply making the leap of faith and taking that very first step.
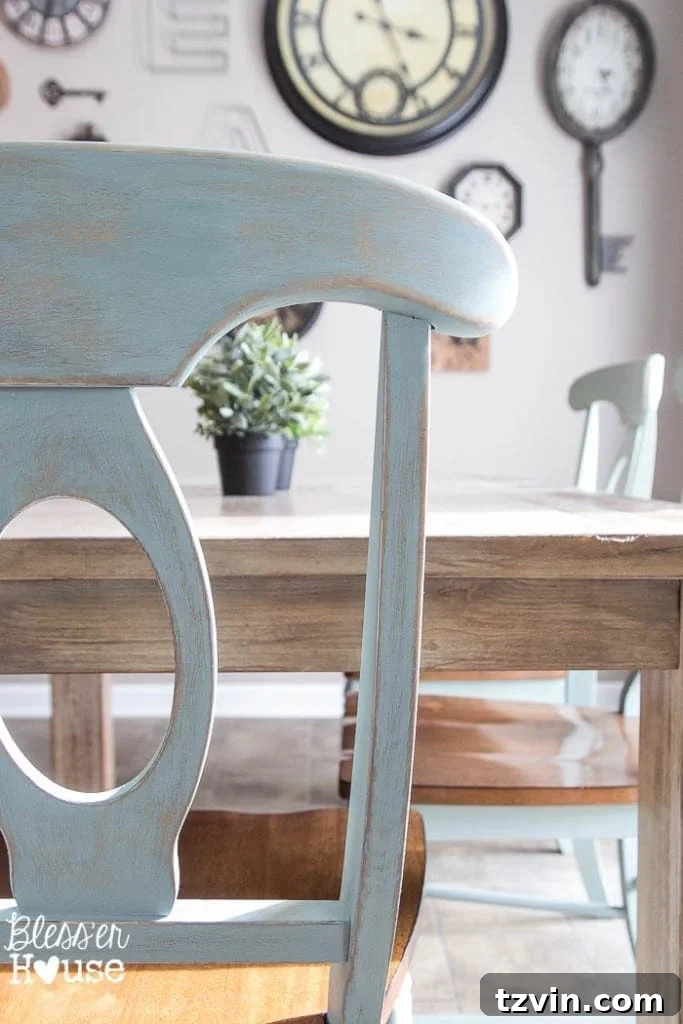
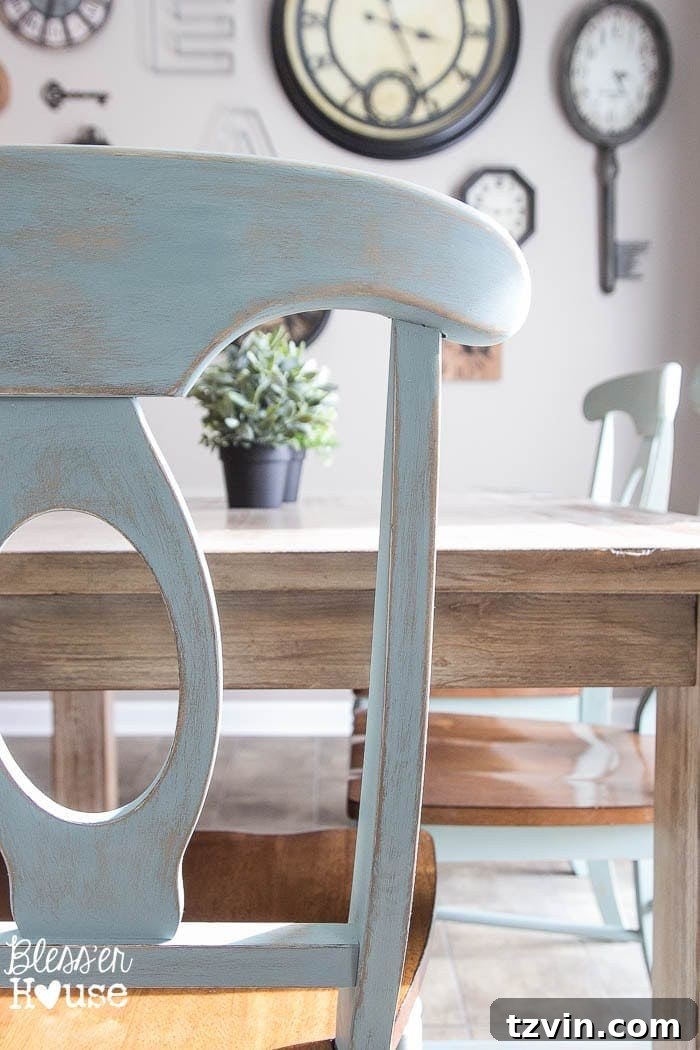
Looking at them now, sparkling with their new duck egg blue finish, all I can think is: “Hello! What was I so afraid of?” The fear of commitment, the anxiety of potentially ruining a piece of furniture – these are common emotions for any DIY enthusiast, especially when tackling a prominent item like dining chairs. But the reward, as you’ll see, is absolutely worth it.
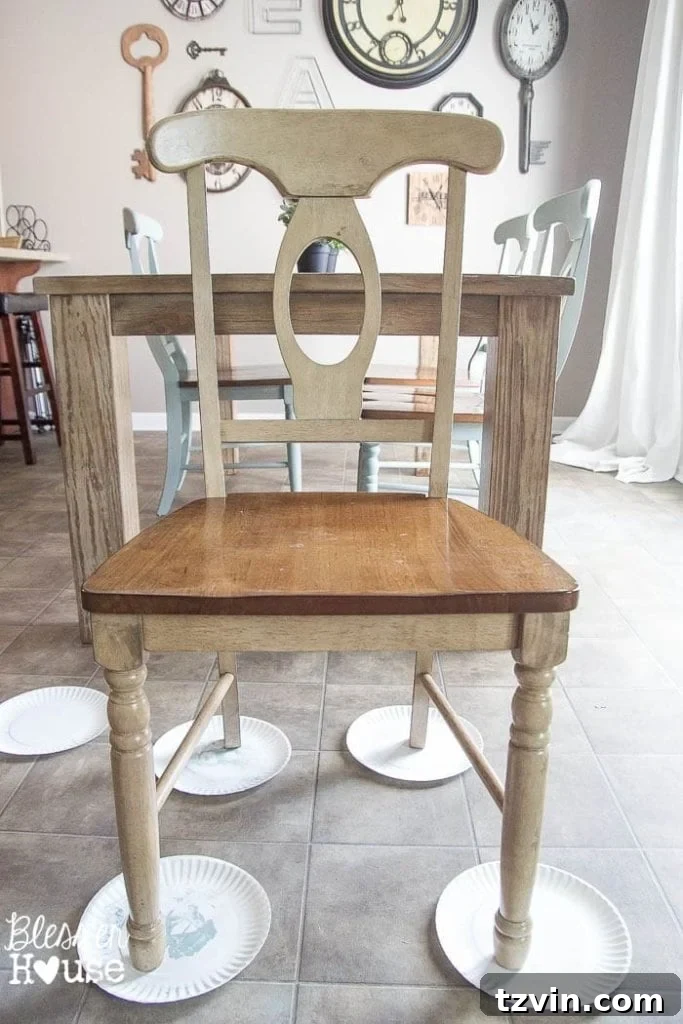
I got so carried away with the excitement of painting that I managed to complete three chairs before the thought of taking a “before” photo even crossed my mind! Here’s a glimpse of them prior to their makeover. While they certainly served their purpose and had a decent aesthetic, I craved more visual interest and contrast from our dining table. Call it a quirky decorator’s pet peeve, but overly matchy furniture makes me incredibly antsy. I prefer a collected, curated look where each piece contributes its own unique character to the overall design story.
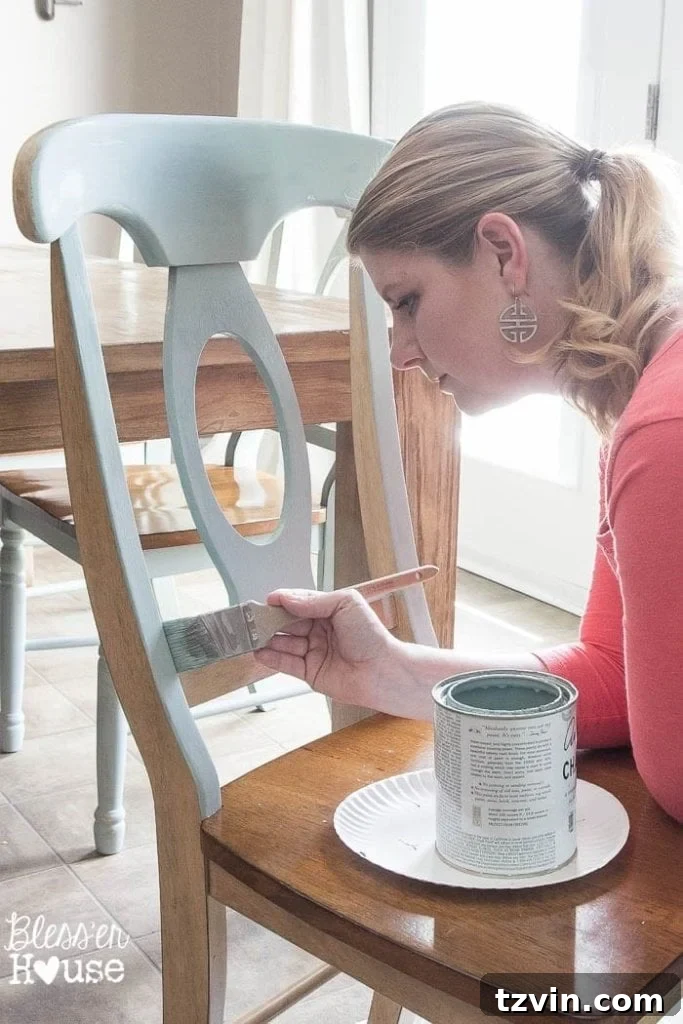
And yes, I pushed my luck even further by opting out of a proper dropcloth. Just a few paper plates strategically placed under the legs – a testament to the simplicity and (dare I say) minimal mess of chalk paint, or perhaps just my own adventurous spirit! This project proves that you don’t always need elaborate setups to achieve stunning results.
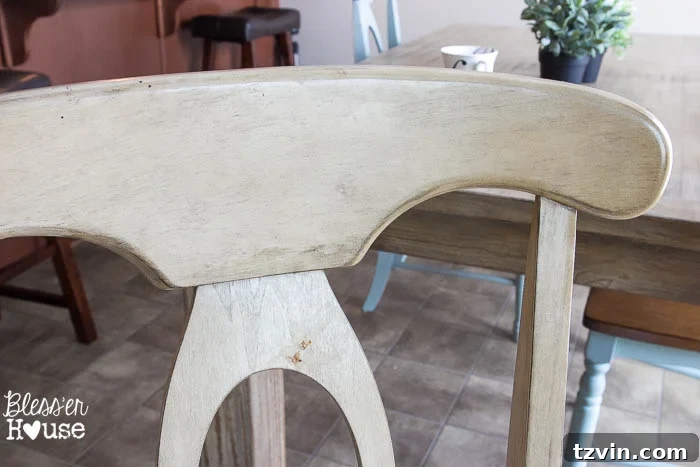
These dining chairs are not just decorative pieces; they endure daily life, regularly taking a beating from spills, sticky fingers, and the general chaos that comes with a bustling household. Those cute little toddlers, bless their hearts, can create the biggest messes, and true to form, this particular chair still bore the faint, charming remnants of Olivia’s oatmeal from breakfast. Such is the reality of family life, and it only reinforced my desire for a finish that would not only look beautiful but also be forgiving and durable enough to withstand the ongoing adventures of childhood.
It dawned on me during this project that despite my many furniture makeovers, I’ve never truly dedicated a post to a straightforward, step-by-step guide for painting with chalk paint. And honestly, why not today? While the internet is brimming with chalk paint tutorials, sometimes the sheer volume can feel overwhelming. If you’re a complete novice, standing at the precipice of your first chalk paint project, hesitant to take that initial plunge, I promise you, there is absolutely nothing to fear. Chalk paint is incredibly forgiving and truly is a beginner’s best friend in the world of furniture refinishing. So, consider this your essential, easy-to-follow guide to achieving a beautifully distressed, durable finish with chalk paint. We’ll demystify the process together, turning hesitation into DIY confidence.
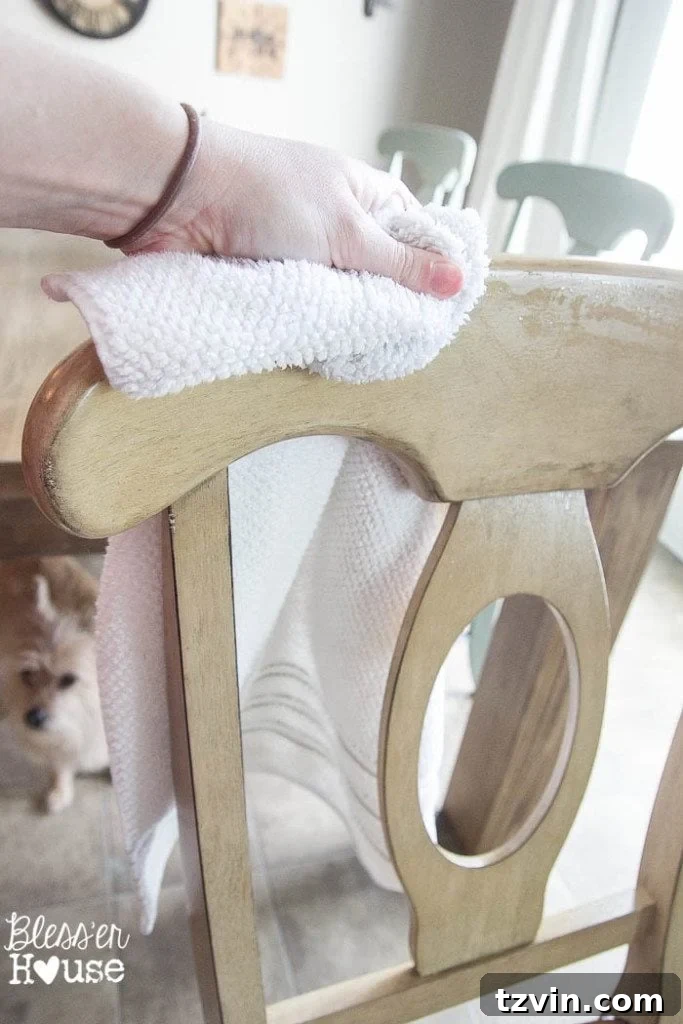
The first, and often overlooked, step even with chalk paint (which famously requires minimal prep) is cleaning. I gave each chair a quick but thorough wipe-down with soapy water to remove any grime, food residue, or dust that had accumulated over time. Following that, I wiped them again with a damp rag to ensure no soap film remained, and then allowed them to air dry completely. A clean surface is always the best foundation for any paint job, ensuring optimal adhesion and a smooth finish. And yes, if you look closely, you might just spy my adorable little helper, subtly “assisting” from under our dining table – a common, cherished sight in any bustling DIY household!
For this project, I was fortunate to have nearly an entire quart of Annie Sloan Chalk Paint in the timeless shade of Duck Egg Blue leftover from my previous coffee table makeover. This particular color holds a special place in my heart, and for good reason. It’s an absolute favorite for its unique ability to inject a subtle yet striking touch of life, serenity, and understated interest into an otherwise neutral room. For those of us who appreciate color but might be a bit hesitant to dive into anything too bold or overwhelming, Duck Egg Blue strikes that perfect balance. It’s sophisticated, versatile, and brings a comforting, collected feel to any space, making it an ideal choice for a classic farmhouse, coastal, or even shabby chic aesthetic.
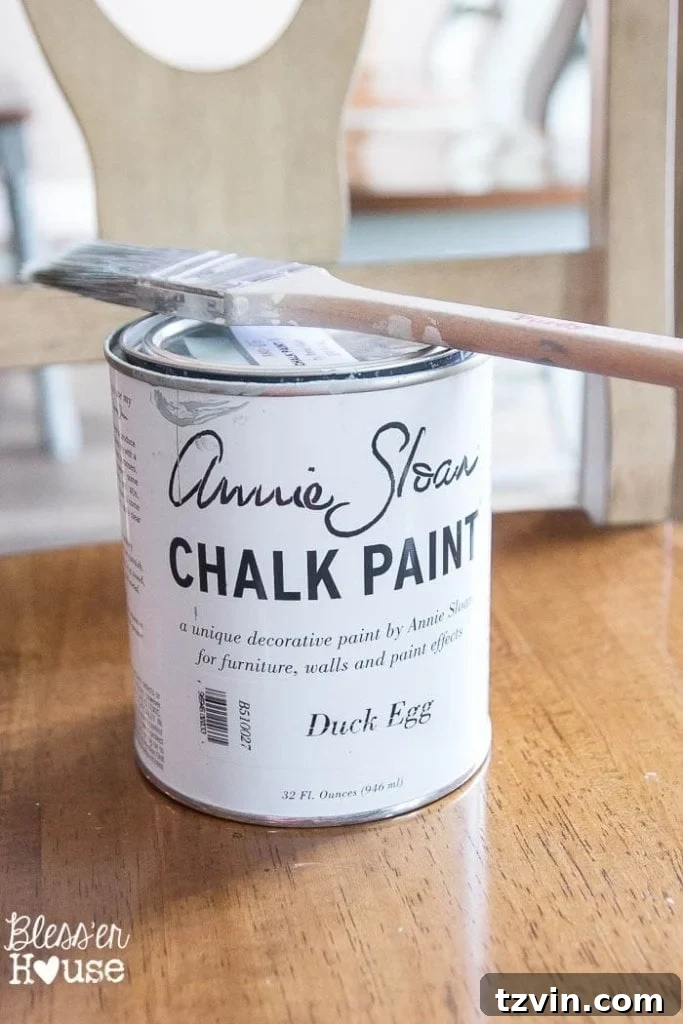
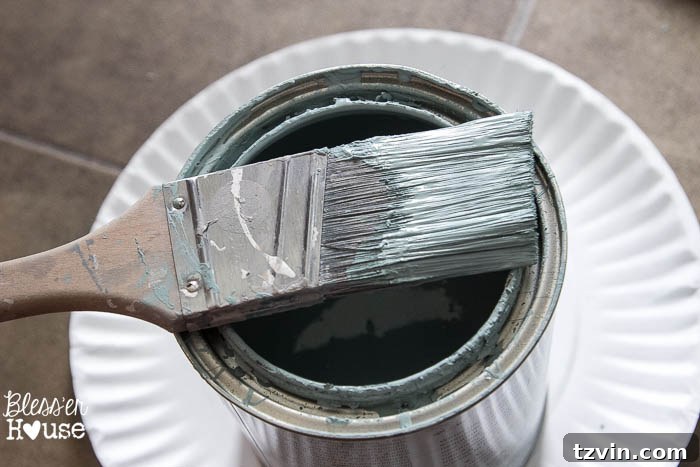
When it comes to application, the right tools make all the difference. I swear by my trusty 1.5-inch angled Purdy’s brush. This workhorse has truly seen its share of projects and continues to deliver flawless results. The angled bristles are perfect for getting into nooks and crannies, providing excellent control, and ensuring a smooth, even application. To minimize waste and maximize efficiency, I work directly from the can, dipping my brush as needed and promptly replacing the lid between applications. This method helps prevent the paint from drying out and keeps everything tidy. With my chosen color and reliable brush in hand, it was time to simply immerse myself in the therapeutic process of painting!
And just like that, the transformation began! With each stroke, the chairs started to shed their old, manufactured look and embrace a fresh, inviting hue. There’s a particular satisfaction that comes with watching a piece of furniture come alive with color, especially when it’s a shade you truly adore. The smooth, easy application of chalk paint makes the entire process incredibly enjoyable, even for someone who might consider themselves a novice painter.
Side note: It’s moments like these, seeing this gorgeous duck egg blue come to life, when I truly wonder why I ever decorated with any other color. This shade resonates with me so deeply that it was even the main color palette for our wedding! It speaks volumes when a color moves beyond mere decor and becomes woven into the fabric of your most cherished memories and personal style. This realization was a total “duh” moment in my decorating journey – if a color brings you so much joy and clearly defines your aesthetic, why would you ever hesitate to incorporate it abundantly into your home?
Exhibit A: The beautiful ladies of my bridal party, adorned in this very same charming blue. (I love these amazing women to the moon and back, and they looked absolutely stunning!) This visual reminder of a joyful day, steeped in the very color I now use to transform furniture, truly cements its place as a cornerstone of my personal style.

If you find yourself consistently drawn to a particular color, if you wear it often, if it’s the first thing your eye goes to when you’re shopping for home goods, and especially if you’ve chosen it for significant life events, then for goodness sake, embrace it in your decor! There’s no need to overthink it or follow fleeting trends. It took me a surprisingly long three years to fully internalize this simple truth about decorating with colors that truly speak to your soul. But once you do, your home becomes a far more authentic and comforting reflection of you.
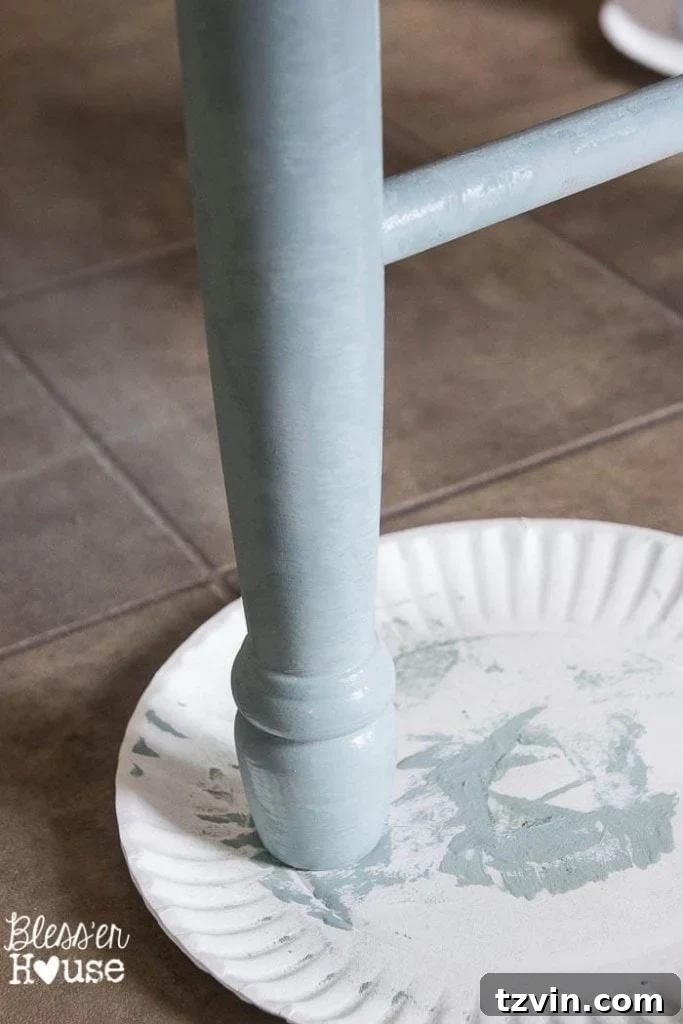
If you’re a newcomer to the world of chalk paint, don’t be alarmed when you see streaks and somewhat uneven coverage after the first coat (as pictured above). This is completely normal and, in fact, expected. Chalk paint is known for its quick-drying properties, often feeling dry to the touch in some areas even before you’ve finished painting the entire piece. This rapid drying time is one of its many advantages, allowing you to move quickly between coats and get to the exciting distressing phase sooner. After allowing the first coat to dry for about an hour – or until it was completely dry – I moved on to the distressing process, armed with 100-grit sandpaper.
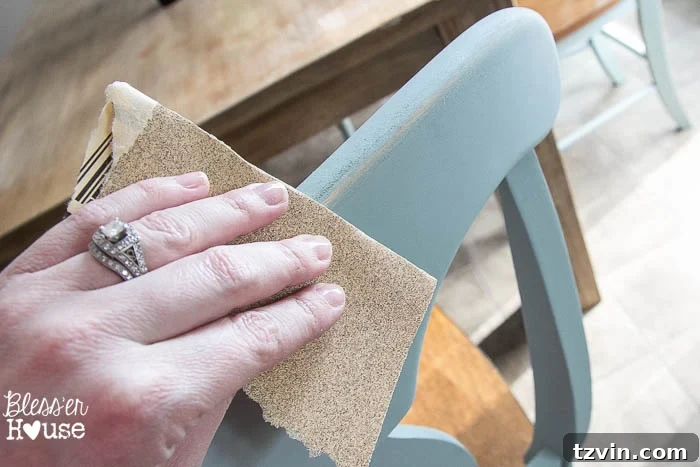
The art of distressing is about mimicking natural wear and tear, creating an authentic, aged appearance that adds character and depth to the furniture. I focused my efforts on all the edges, corners, and raised details – areas where a piece would naturally show signs of age and use over time. Using the 100-grit sandpaper, I gently but firmly abraded the paint, allowing the original “weathered” wood underneath to peek through. This initial rough sanding reveals the underlying material, giving the chairs a truly rustic and well-loved feel. Don’t be afraid to experiment with the amount of distressing; it’s all about personal preference and achieving the look you desire.
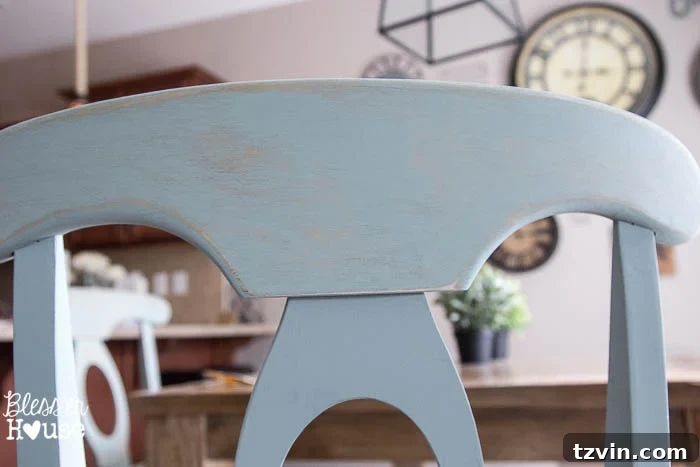
Well, hello there, gorgeous! After the initial distressing, the chairs revealed their charming new personality: a beautiful distressed duck eggy weathered woody finish. The subtle blend of the soft blue and the peeking wood creates an incredibly inviting and authentic aesthetic, far superior to their original manufactured “weathered” look. The texture and depth achieved through this process are truly captivating. Once I was satisfied with the level of distressing from the 100-grit sandpaper, which frankly, was a lot of fun, I moved to the next crucial step to refine the finish. I went back over all the distressed areas with a finer 220-grit sandpaper. This step is essential for blending away any harsh scratches left by the coarser grit, resulting in a smoother, more refined distressed look. Afterward, I thoroughly wiped down every chair with a damp cloth to remove all lingering dust and prepare the surface for its final protective layer.
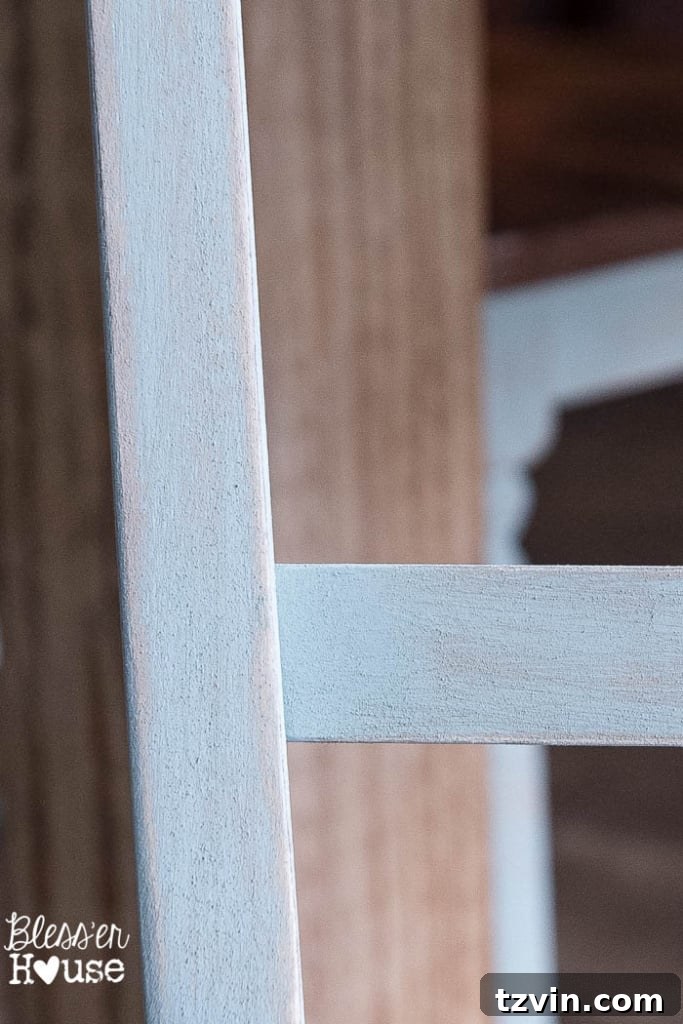
When I first embarked on my furniture painting adventures a year prior, I invested in a can of Minwax Clear Paste Finishing Wax, and it has proven to be an absolute staple in my DIY toolkit, gracing countless pieces with its protective finish. Even after all these projects, I still have a generous amount leftover – a testament to its longevity and effectiveness. For application, my preferred method is wonderfully simple and practical: I repurpose an old sock, wearing it like a mitten to effortlessly rub the wax into the painted surface. This technique allows for even application and makes buffing a breeze.
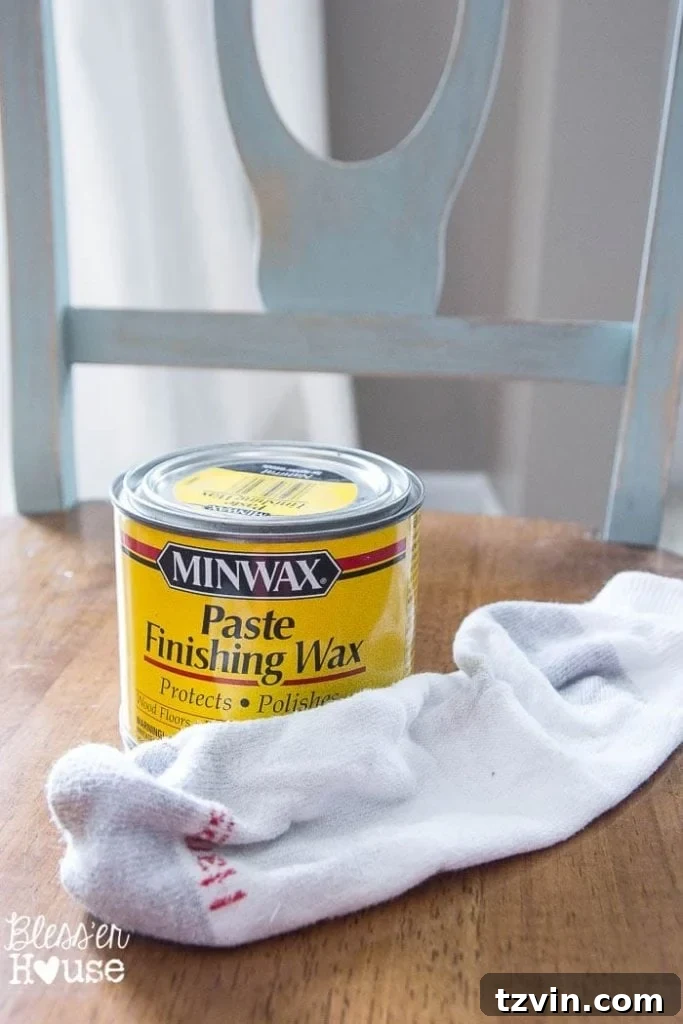
This finishing wax is truly a game-changer. It not only transforms the painted surface into a silky smooth, luxurious texture, but more importantly, it provides a vital layer of protection. For dining chairs, especially in a household with busy toddlers like mine, this protection is paramount. I now have significantly less to worry about regarding Olivia’s inevitable messes – whether it’s spilled juice, stray crumbs, or any other daily mishap – potentially discoloring or damaging the beautiful paintwork. The wax creates a durable barrier, making the chairs far more resistant to stains and easier to clean. The entire process of rubbing on the wax and then buffing it to a subtle sheen took no time at all, yet it makes an immense difference in the longevity and practical resilience of the furniture.
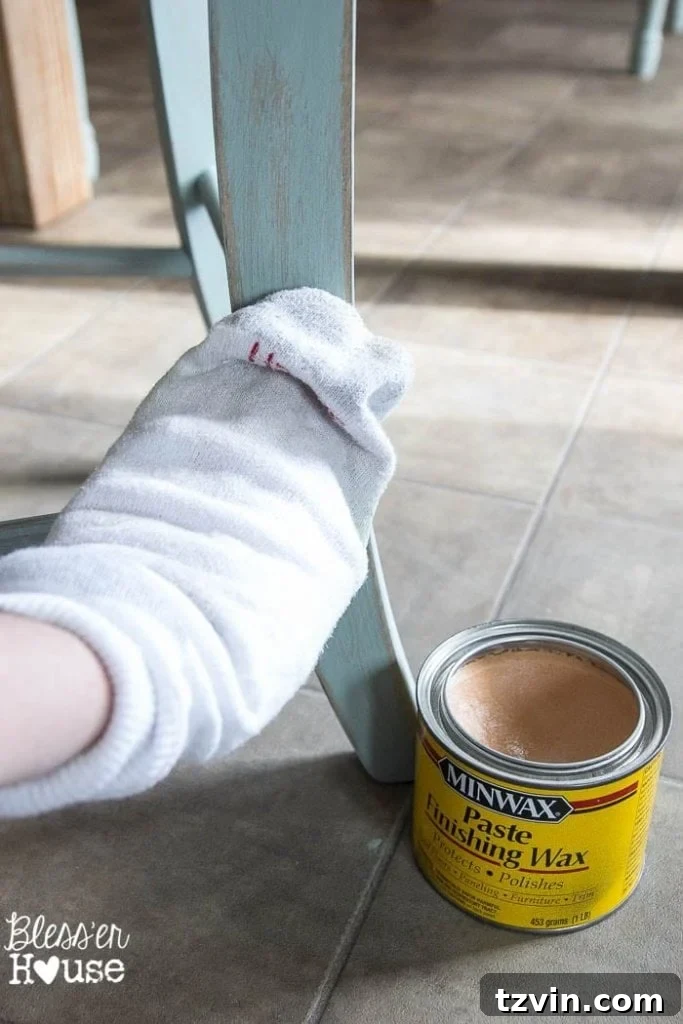
And here’s the wonderful irony: precisely because I chose a distressed finish, Olivia is now free to “distress” them even further with her everyday adventures, and it won’t bother me one bit! In fact, any additional bumps, scuffs, or subtle marks will only contribute to their charming, authentically aged character. This peace of mind is truly priceless when decorating a home meant for living, not just looking. The chairs are now perfectly integrated into our family’s active lifestyle, resilient and beautiful in equal measure.
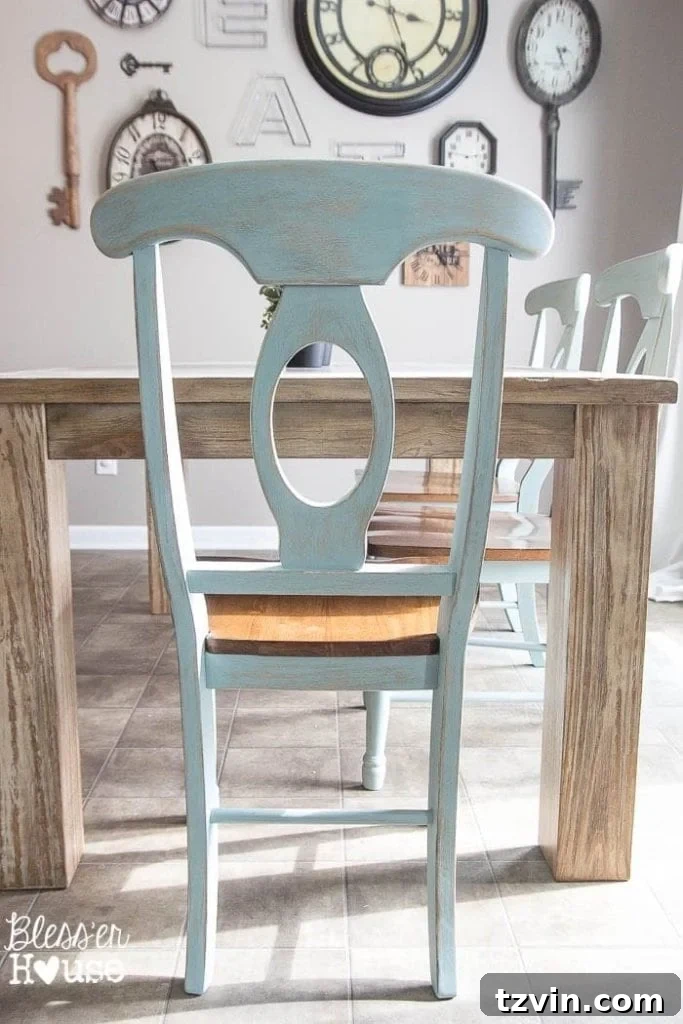
Can you spot a sneaky peek of our evolving breakfast nook changes already? These newly painted chairs are just one exciting component of a larger vision for this space. Those curtains, for example, are scheduled for a much-needed hem job tomorrow, and then, finally, this beloved breakfast nook will be completely finished! Stay tuned for the full reveal of the entire space, where these chairs truly shine as a cohesive and stylish element.
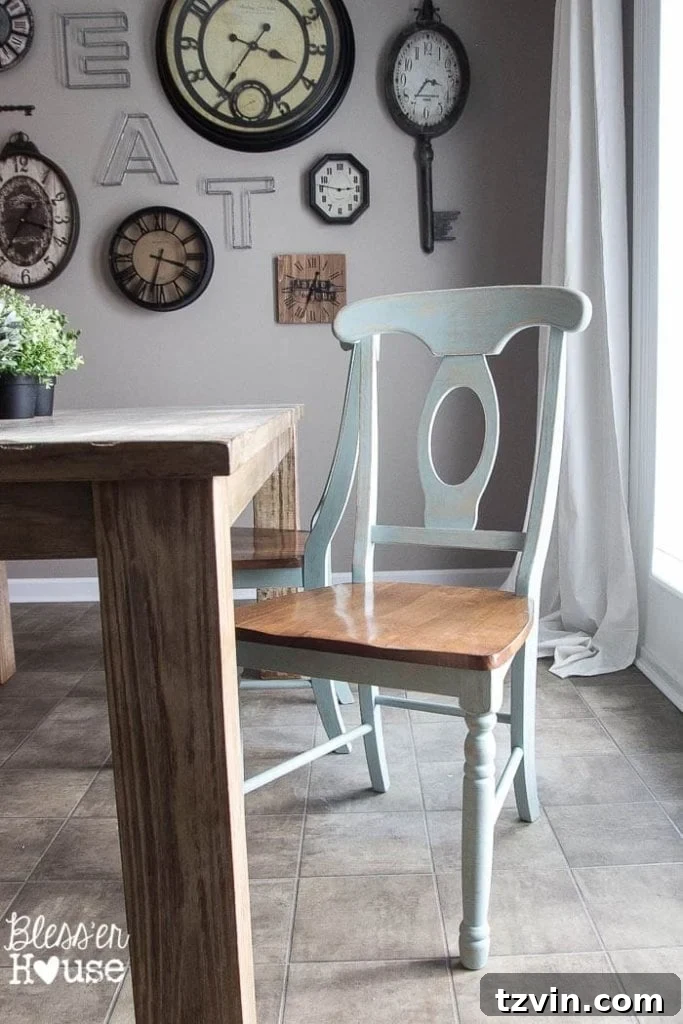
So, what do you think of this transformation? Are you as utterly obsessed with the versatility and charm of this duck egg blue color as I am? Have you ever had one of those profound “duh” moments in your own decorating journey, realizing a simple truth that had been right in front of you all along? Or perhaps, like me, you’ve even resorted to a coin flip or some other unconventional method to finally make a daunting decision? It’s true what they say: sometimes, the hardest and most agonizing part of any furniture makeover project isn’t the painting or the distressing, but simply making that initial, defining choice to begin.
If you loved this inspiring chair makeover and our beginner’s guide to chalk paint, be sure to explore these other fantastic DIY projects and styling tips: (Just click on the image to discover the full post and unleash more creative ideas for your home.)

Stay Connected with Bless’er House for more DIY inspiration, home decor ideas, and budget-friendly makeovers!
Facebook | Pinterest | Instagram | Twitter | Google+ | Bloglovin | Hometalk