
Mastering the Art of Distressing: Create an Authentic Antique Finish with Paint and Vaseline
Welcome, DIY enthusiasts and decor lovers! After a refreshing break, I’m thrilled to dive back into the world of creative projects and share a truly transformative technique with you. This method will unlock the secret to achieving a beautifully aged, authentic antique finish on almost any surface – be it plastic, wood, glass, or resin – using just a couple of readily available materials: paint and Vaseline.
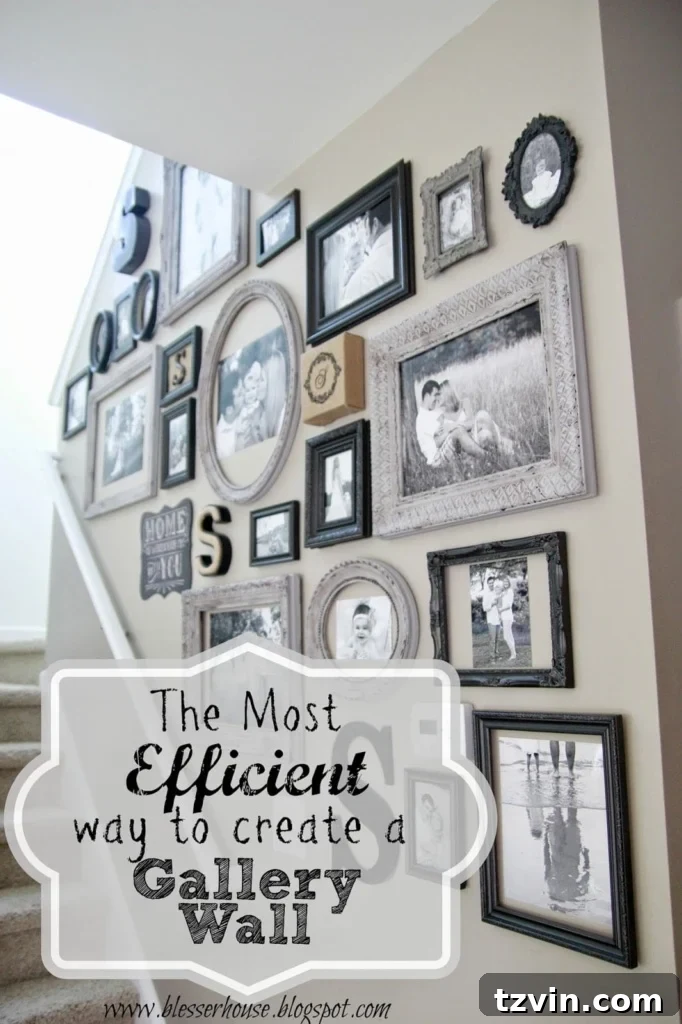
Today’s project offers a glimpse into an exciting upcoming reveal. Remember those gallery wall inspirations that filled my head with endless possibilities? I’ve finally honed in on my vision, and I couldn’t be more eager to adorn our once-bare stairway wall with some spectacular pieces. And by spectacular, I mean beautifully distressed, vintage-inspired works of art. If you have any old picture frames gathering dust, patiently waiting for a new lease on life, this project is absolutely perfect for you.
Update: You can now explore my completed gallery wall, featuring these distressed frames, right here!

The Appeal of an Antique Finish: Why Distress?
Distressing isn’t just a trend; it’s a timeless technique that breathes character and history into ordinary objects. An antique finish adds depth, warmth, and a sense of lived-in charm to any space, perfectly complementing various decor styles from farmhouse to shabby chic, and even adding a touch of rustic elegance to modern aesthetics. Beyond aesthetics, distressing allows you to unify disparate pieces, turning a mismatched collection into a cohesive display. It’s also incredibly cost-effective, enabling you to upcycle thrift store finds or neglected items into treasures without significant investment. This particular method, leveraging the simple power of Vaseline, makes the process incredibly forgiving and accessible to crafters of all skill levels, eliminating the need for complex tools or techniques like heavy sanding.
Gathering Your Canvas: Selecting Frames for Distressing
Over the past few months, I’ve curated a small collection of random frames, each chosen for its unique details and potential. My ultimate goal was always to create a striking gallery wall. Some frames were absolute steals, costing as little as 99 cents from local thrift stores, while others were a modest investment of around $10. I make it a point to always browse the frame section whenever I visit a thrift store – you never know what hidden gems you might uncover! For our stairway wall, I selected a total of six frames to distress: four from thrift stores and two from a craft store like Hobby Lobby.
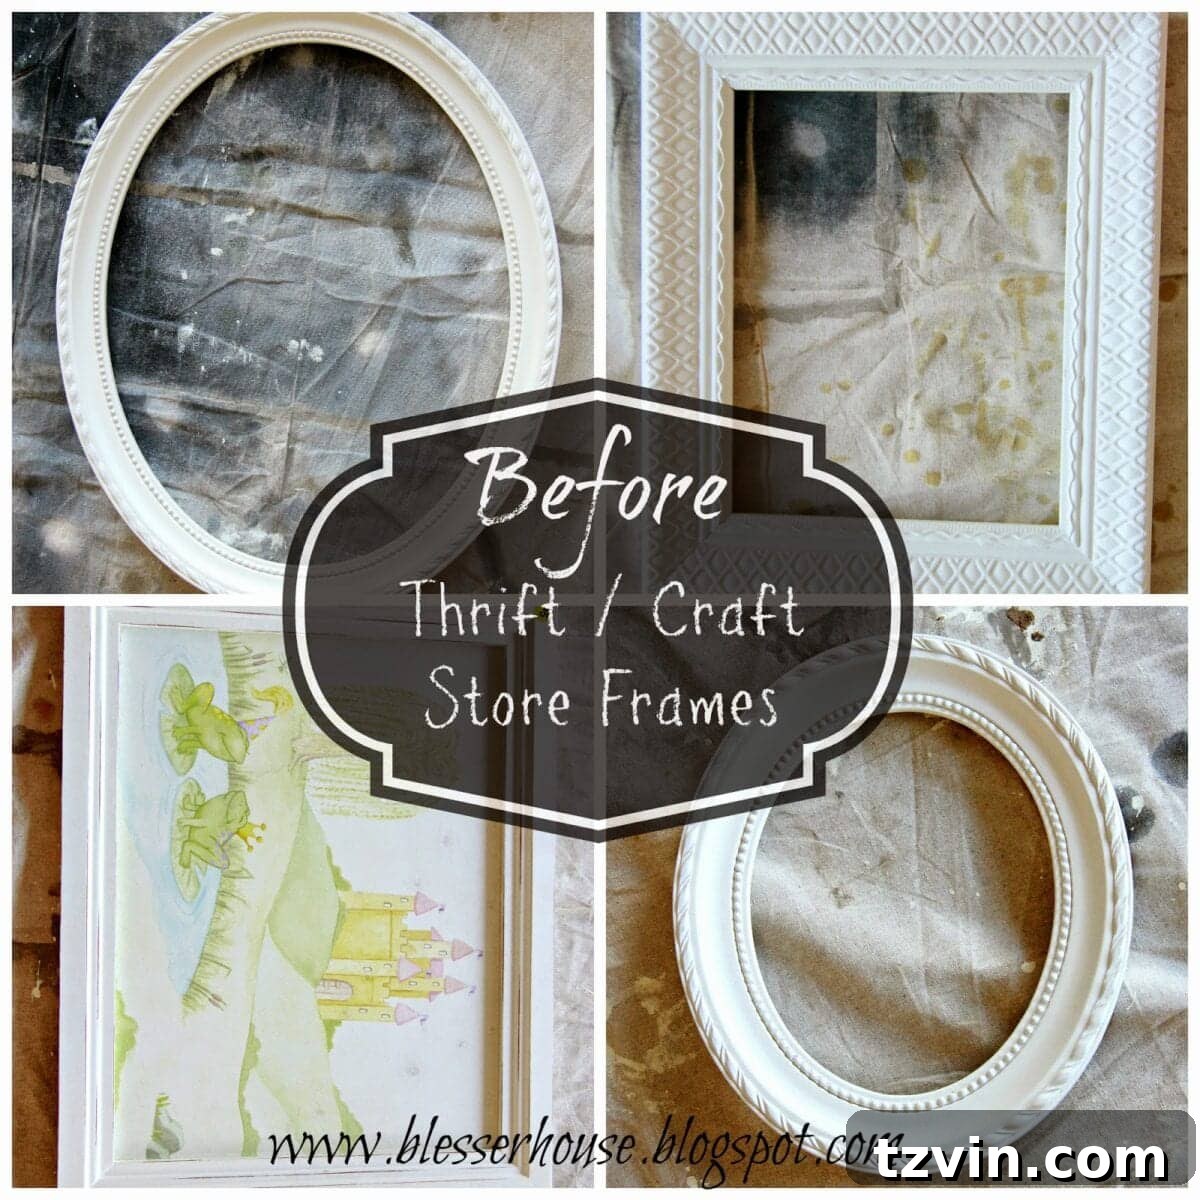
Admittedly, these frames weren’t terrible to begin with. In fact, I initially considered them for Olivia’s ballet-themed room, but their potential for our living room gallery wall was too enticing to resist. A little selfish, perhaps, but entirely worth it! The remaining two frames were made of a rather brassy, gold-toned plastic, and I regrettably forgot to capture a “before” photo of them – a common pitfall for an eager blogger!
Discovering the Magic of Chalk Paint (and Affordable Alternatives)
Believe it or not, despite years of DIY, I had never attempted a chalk paint project before. It had always been on my list, and let me tell you, stepping into the world of chalk paint feels like discovering a secret weapon for home decor. While I might be exaggerating slightly about it being the “elixir of life,” it truly is an amazing product!
My previous hesitation stemmed from the cost and fear of ruining a project. High-end chalk paints, like Annie Sloan, can be quite pricey, making mistakes feel like a significant waste of money. However, I’ve since learned that a little goes a long way, and fear is often the biggest barrier to creativity. (Update: I finally embraced chalk paint fully, and it was incredibly straightforward! There was absolutely no need for my apprehension. For a comprehensive guide, check out my beginner’s guide to chalk paint here.)
But before I fully committed to the pricier options, I discovered a fantastic and budget-friendly alternative that performs beautifully for distressing:
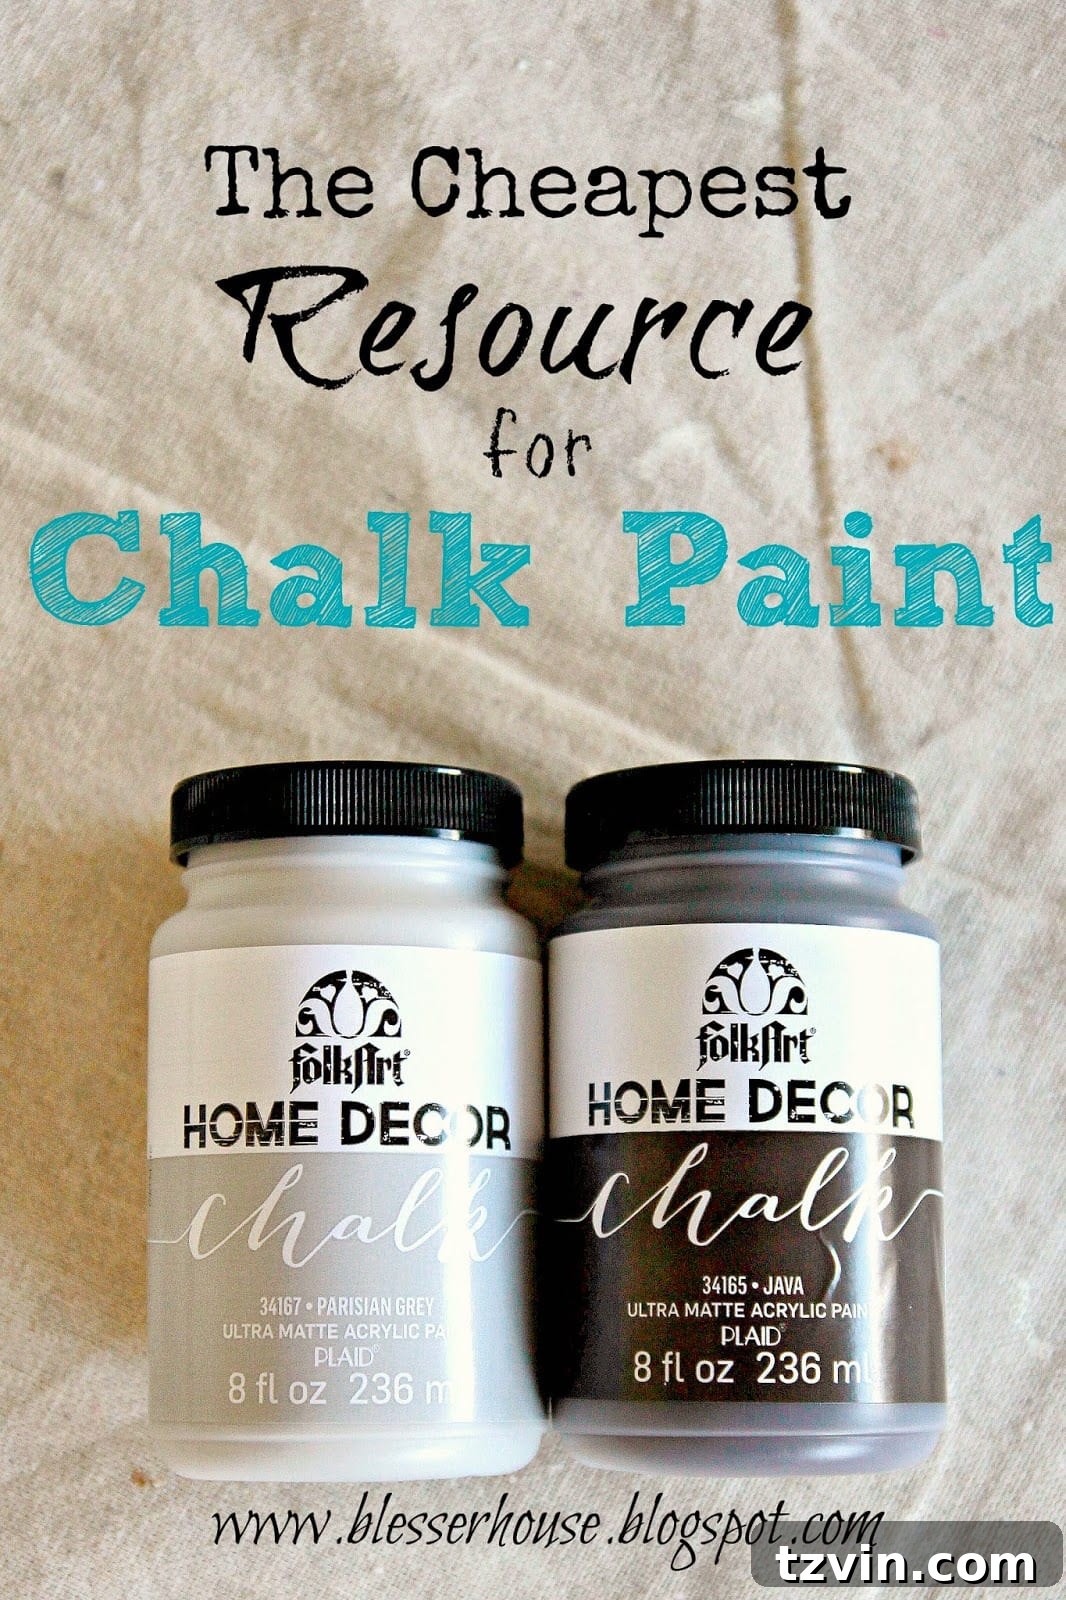
I’ve become a big fan of Plaid’s Folk Art Home Decor Chalk Paint. If you’re new to chalk paint, much like I was, I highly recommend giving this brand a try. Its ease of use and beautiful finish make it an ideal starting point for distressing projects.
Essential Supplies for Your Distressing Project
Getting started on your distressing journey requires just a few key items. This minimalist approach not only makes the project accessible but also highlights the sheer genius of this simple technique. Below is a list of what I used, with affiliate links provided for your convenience (for more information, please see my full disclosure here).
- Two complementary colors of chalk paint. I personally used Folk Art Home Decor Chalk Paint in Java (a rich dark brown) and Parisian Grey (a soft, elegant grey).
- A small container of Vaseline (petroleum jelly).
- Several clean, dry rags (lint-free is best).
- A roll of paper towels.
- Two to three artist brushes or paintbrushes suitable for applying paint to intricate details.
Step-by-Step Guide: Achieving the Perfect Distressed Finish
Step 1: Apply Your Base Coat
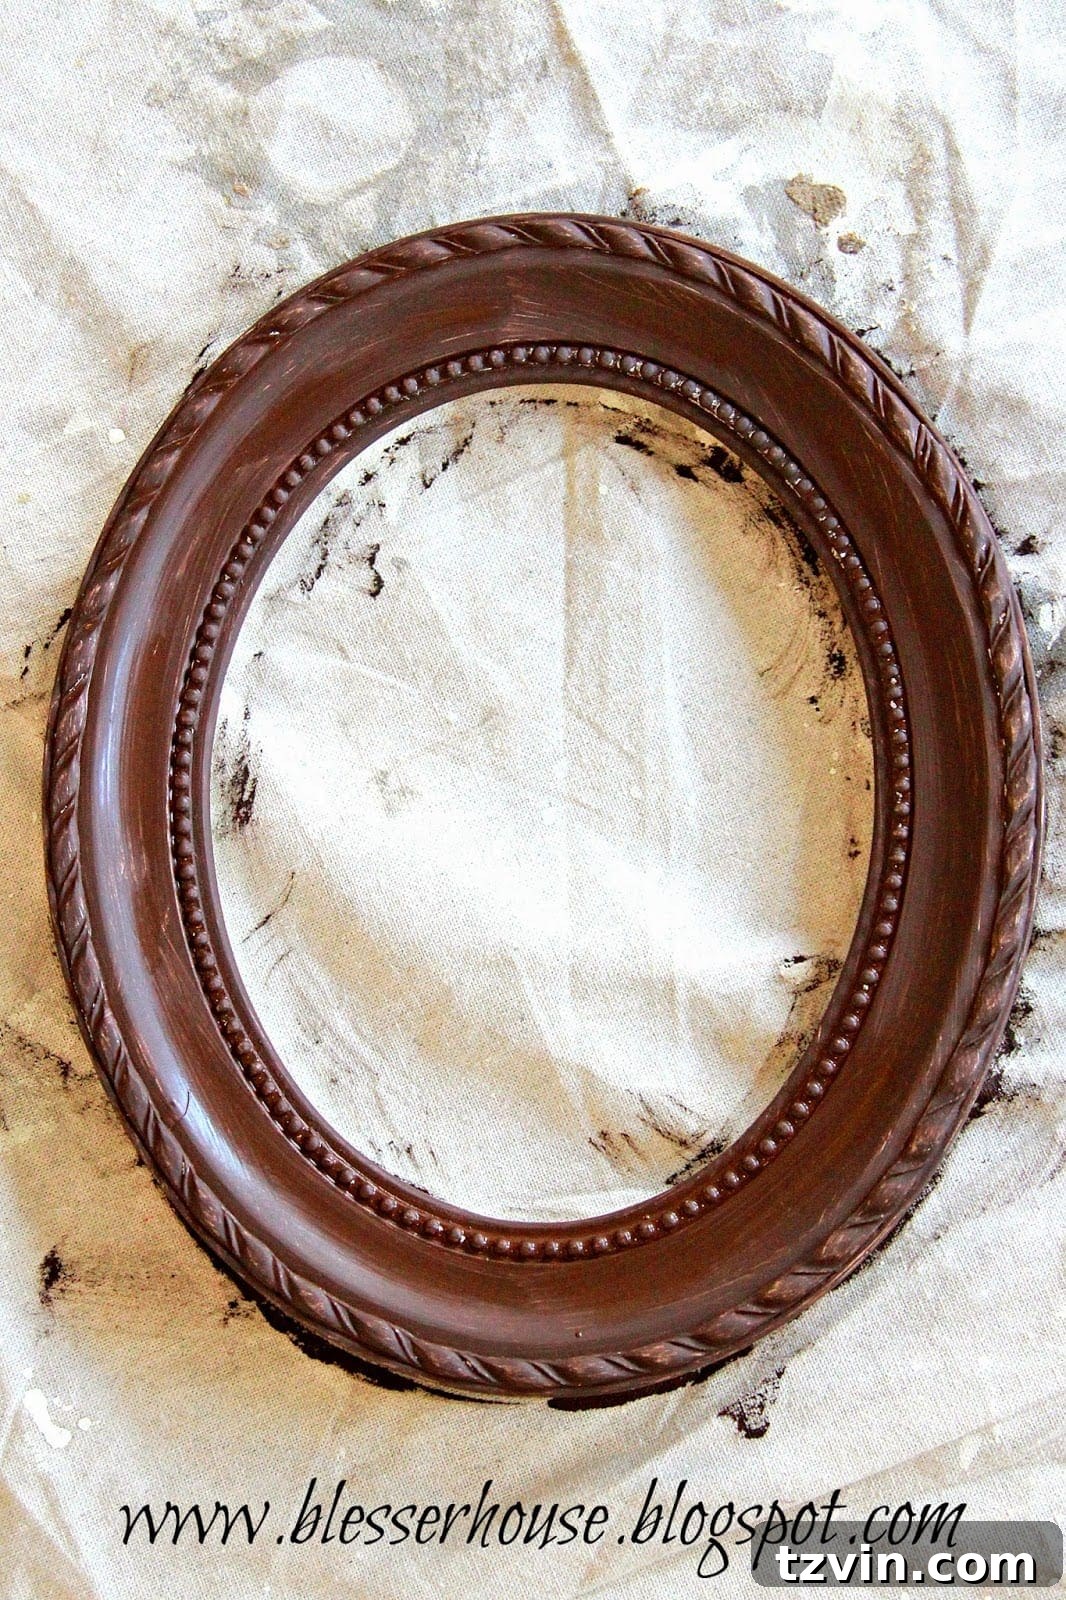
Begin by applying an initial coat of your chosen base color to the frames. This color will peek through the distressed areas, giving your piece character and depth. I used Folk Art Chalk Paint in Java on four of my frames. For the remaining two, I opted for Rustoleum Oil Rubbed Bronze to experiment with different base textures and see if there was a significant difference in the final look. Both options yielded fantastic results, proving that you have a wide range of flexibility with your base coat choice. Ensure the paint is applied evenly and allow it to dry completely before proceeding. Drying times can vary depending on paint type and humidity, so always refer to the manufacturer’s instructions.
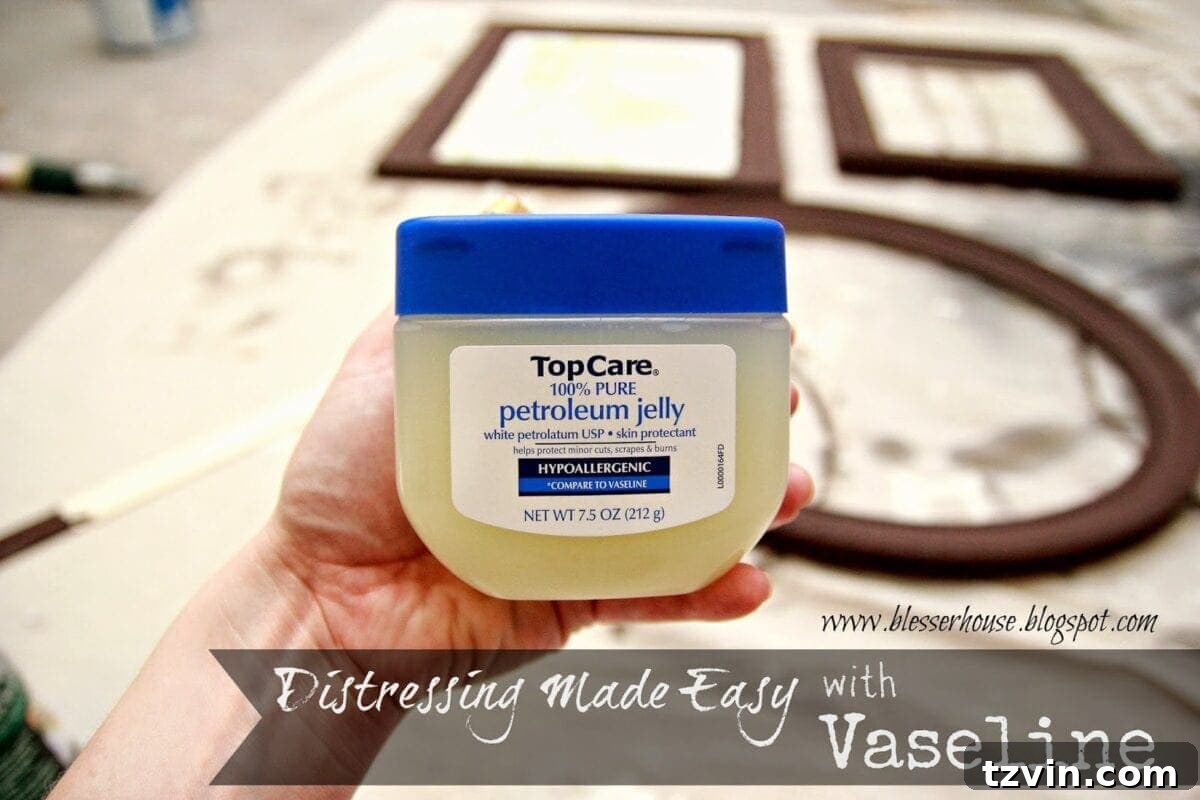
Step 2: Strategically Apply Vaseline
Once your base coat is thoroughly dry, it’s time for the secret ingredient: Vaseline. Dab a small amount of Vaseline onto a finger or a cotton swab and rub it onto specific spots on your frame. The key is to think about where natural wear and tear would occur on an antique piece – corners, edges, raised details, and areas that would typically receive friction or handling. By strategically placing Vaseline, you create barriers where the top coat won’t adhere, allowing the base color to show through later. Don’t be shy about getting a little on your hands; it’s a built-in skin softening treatment! Experiment with varying amounts and locations to achieve different levels of distressing.
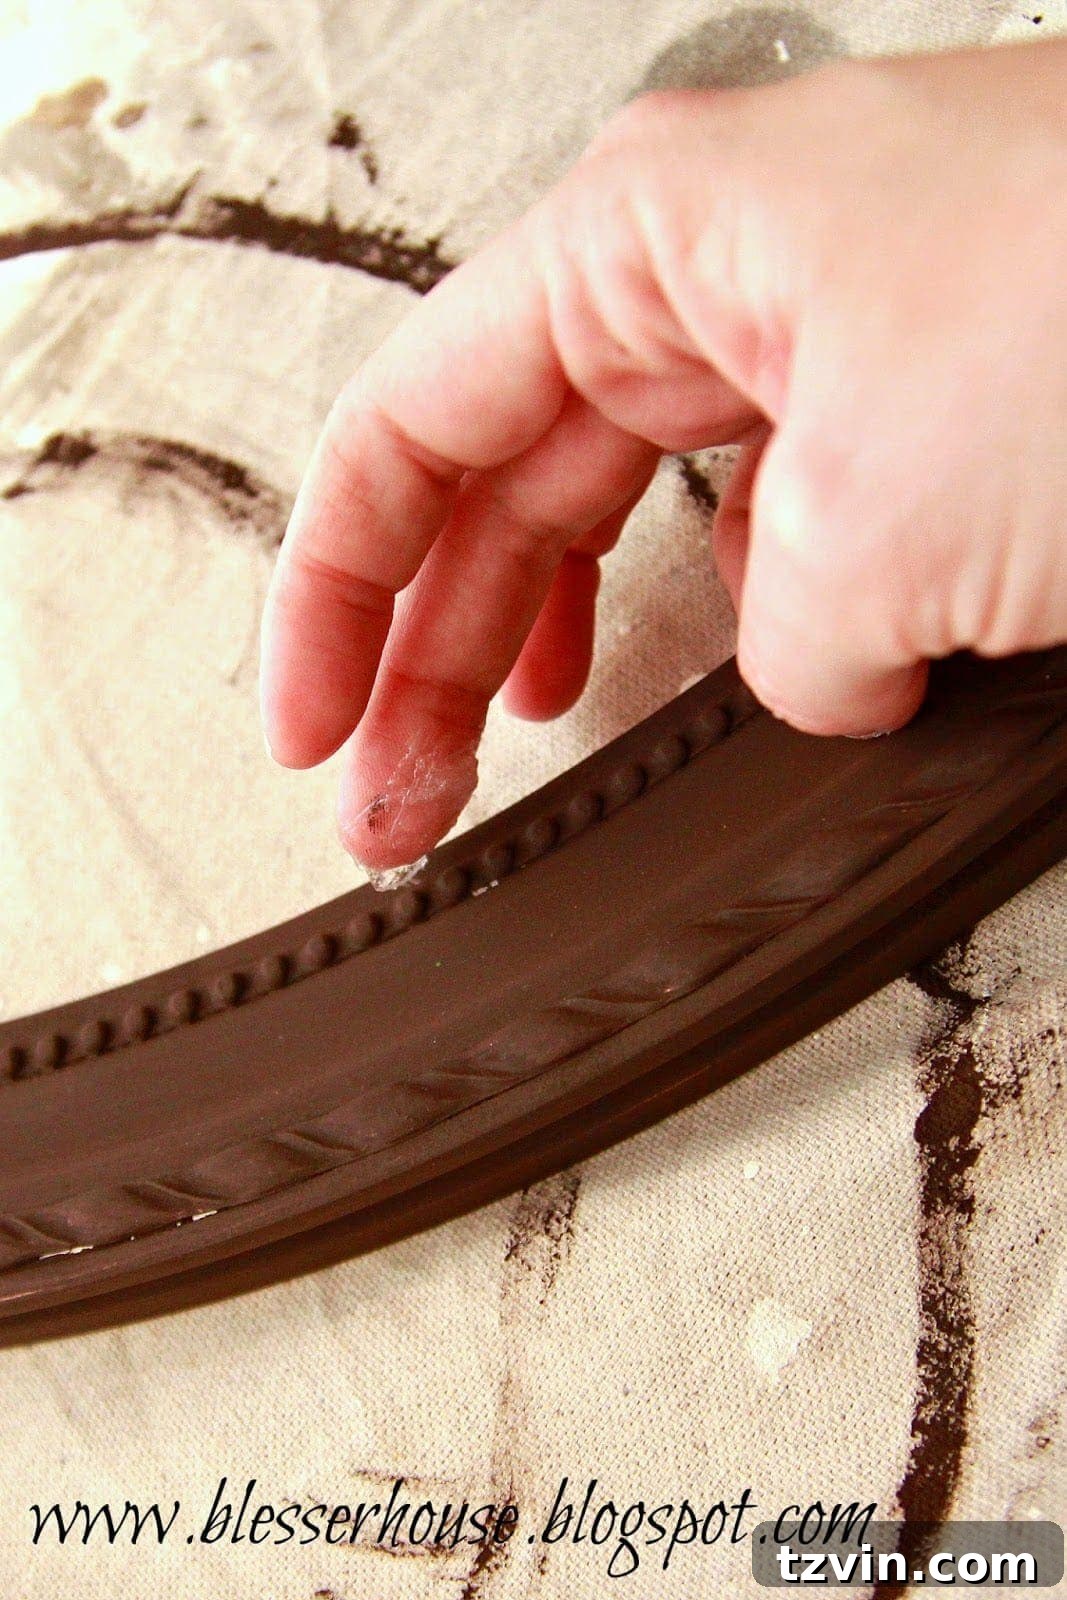
Step 3: Apply Your Top Coat of Paint
With the Vaseline applied, immediately proceed to paint a layer of your top coat color over the entire frame. For my frames, I used Folk Art Chalk Paint in Parisian Grey. Don’t stress too much about painting perfectly into every single cranny and crevice; a slightly imperfect application actually enhances the distressed look. As you paint over the Vaseline-treated areas, you might notice the paint slightly resisting or beading up, which is exactly what you want. This is where the magic starts to happen! You’ll begin to see the underlying distressed spots peeking through almost instantly. While chalk paint is ideal for this technique due to its matte finish and easy distressing, a spray paint could also work if carefully applied, though chalk paint offers more control.
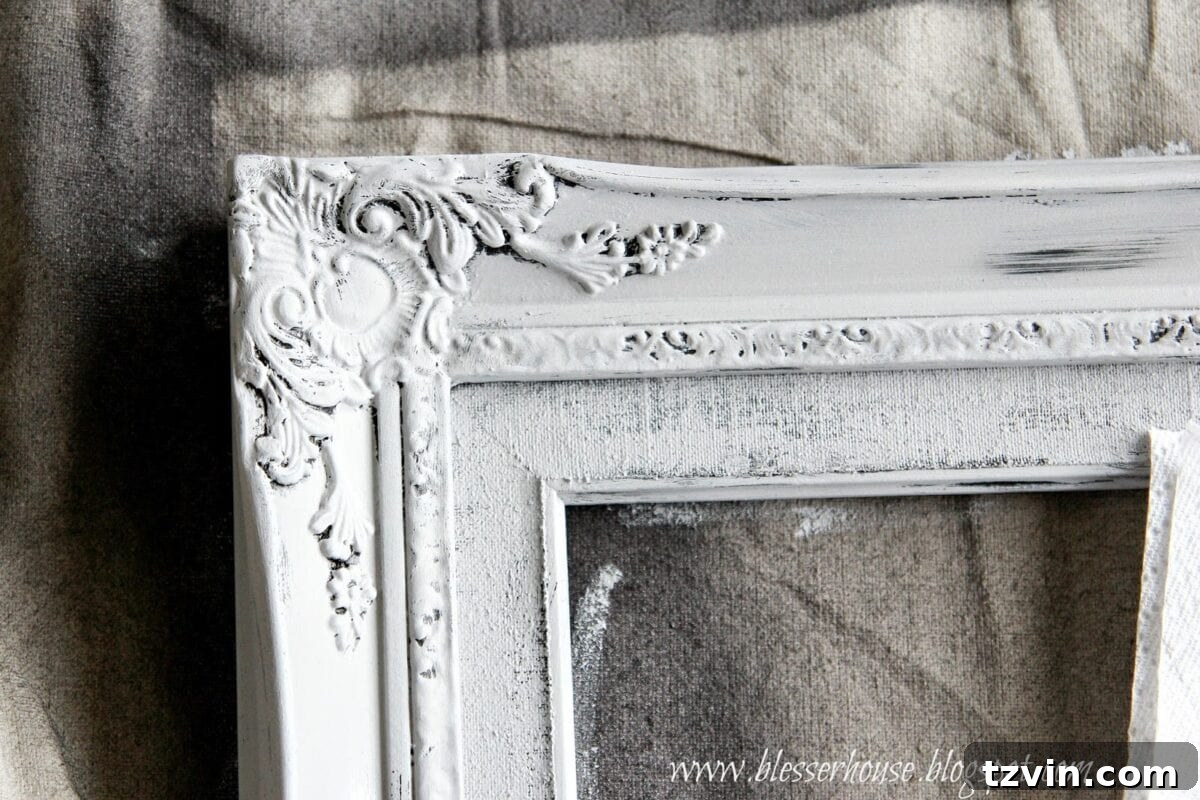
Step 4: Reveal the Distress and Optional Dry Brushing
Once the top coat of paint is completely dry, take a clean, dry rag and gently wipe away the Vaseline. As you rub, the top layer of paint will effortlessly lift away from the Vaseline-treated areas, revealing the base color underneath and creating that coveted distressed effect. The contrast between the two paint colors and the subtle imperfections will give your item a truly aged appearance.
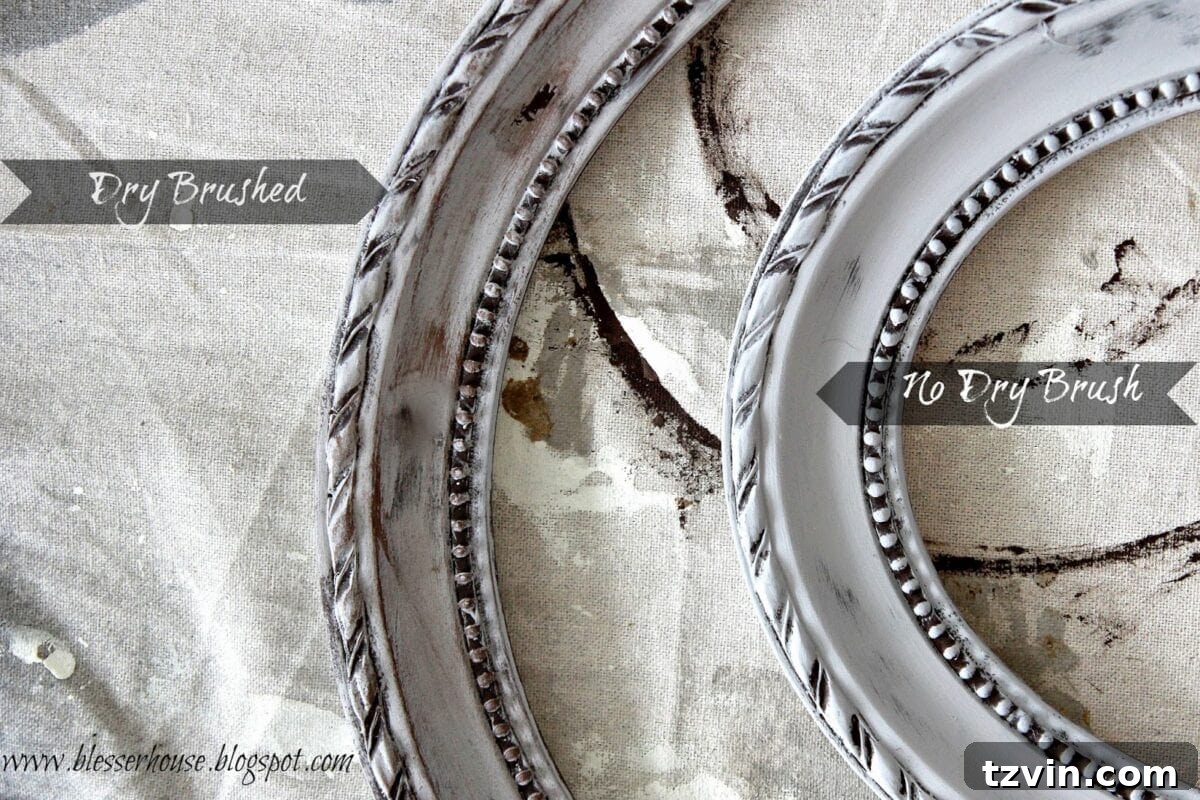
For an added layer of dimension and depth (this step is optional), consider dry brushing your frame. To do this, dip an artist brush into your base color (I used the leftover Java paint), then vigorously wipe off most of the paint onto a paper towel until the bristles are almost dry. Lightly brush this nearly-dry brush over the raised details and edges of your frame. This technique allows just a faint hint of the base color to adhere, accentuating the frame’s intricate design and further enhancing the antique finish without overpowering the primary distressed areas.
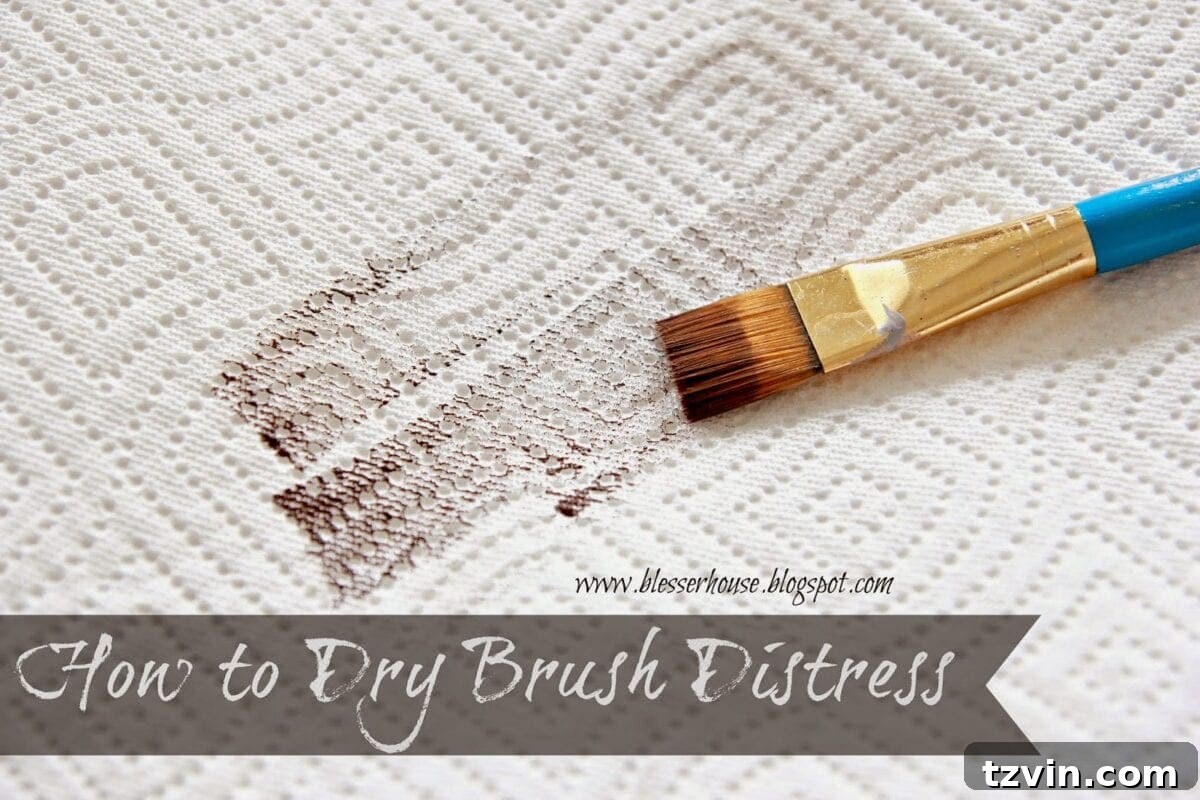
As you dry brush, you’ll observe the color subtly adding more dimension to the already distressed finish, creating a wonderfully complex and layered look.
The Versatility of the Vaseline Distressing Method
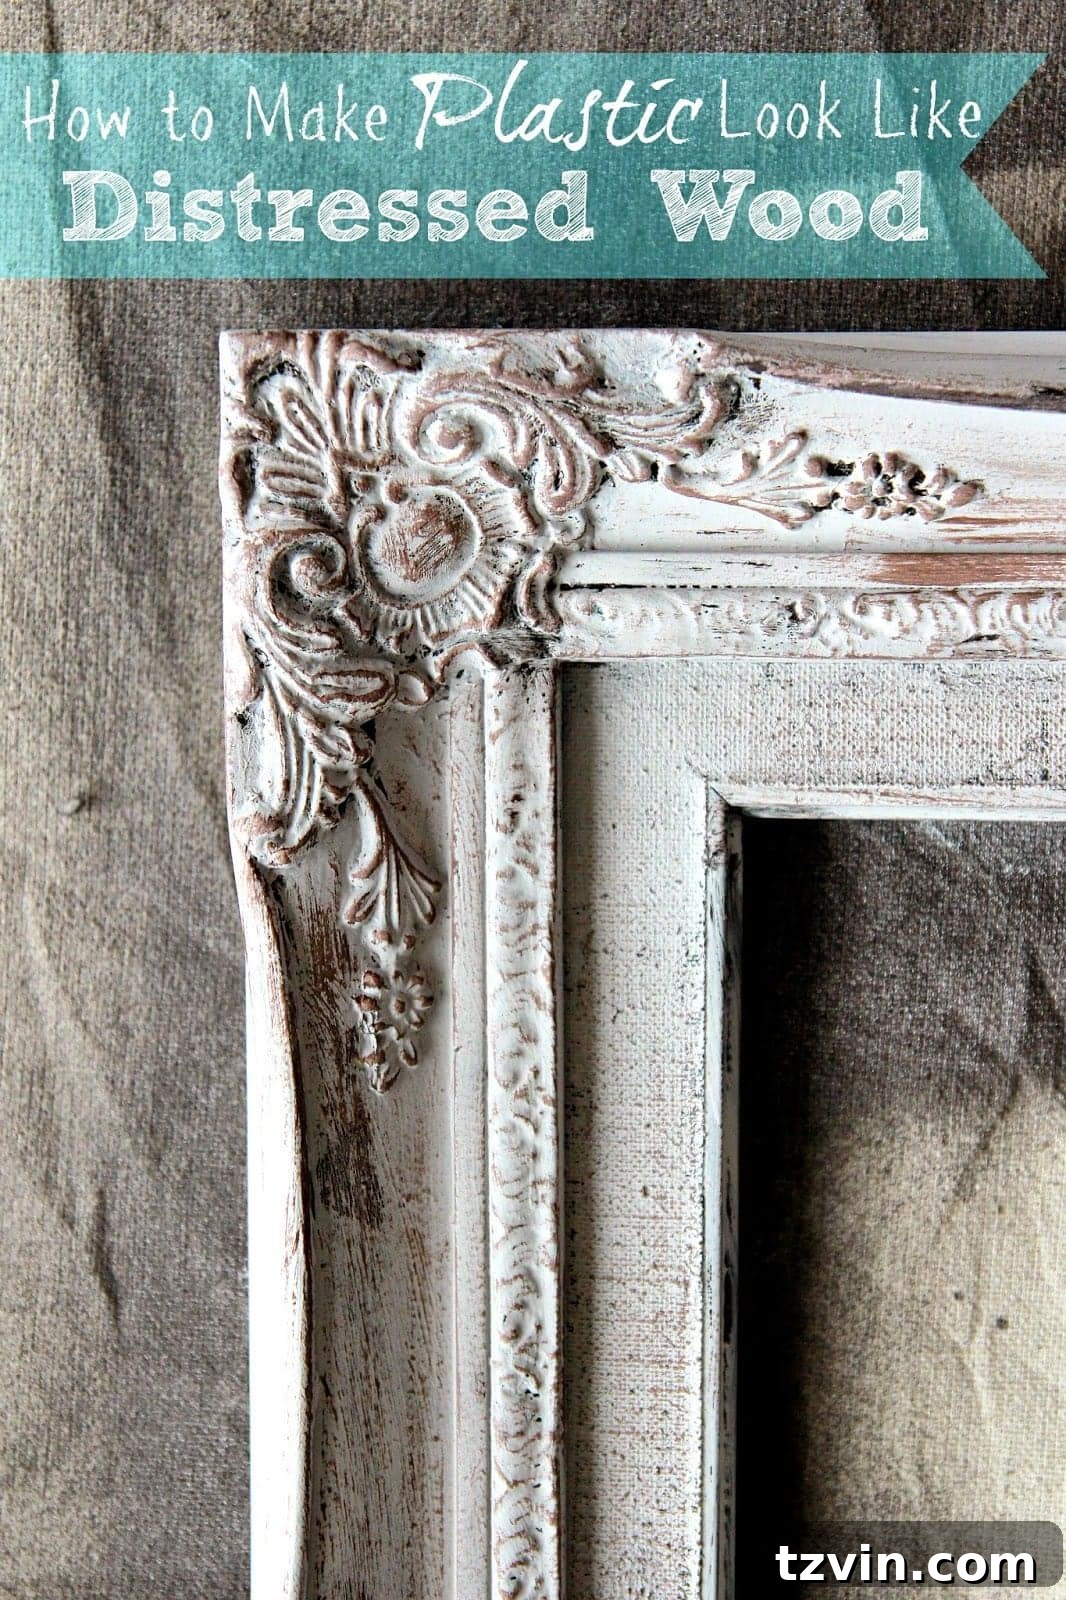
And that’s all there is to it! The most time-consuming part of this project is waiting for the paint coats to dry – the actual distressing steps are remarkably quick and easy. One of the greatest advantages of this Vaseline technique is its incredible versatility. Since no sanding is required, you can achieve a beautiful antique finish on virtually any surface. For instance, two of my frames were made of plastic, yet after this distressing process (like the one pictured below), they now possess the convincing appearance of beautifully aged, painted wood.
This method works wonders not only on plastic and wood but also on glass, metal, and resin, opening up a world of possibilities for upcycling and custom decor. Imagine old metal trays, glass jars, or even resin figurines transformed with this simple trick, each telling its own unique story of graceful aging.
Ready for the Gallery Wall and Beyond
Now, these beautifully distressed frames are ready to be a prominent part of our gallery wall! I’ve also prepared other frames with a darker spray paint finish to introduce some contrast and visual interest. I’m incredibly excited to see the entire arrangement come together, showcasing a curated collection of styles and textures.
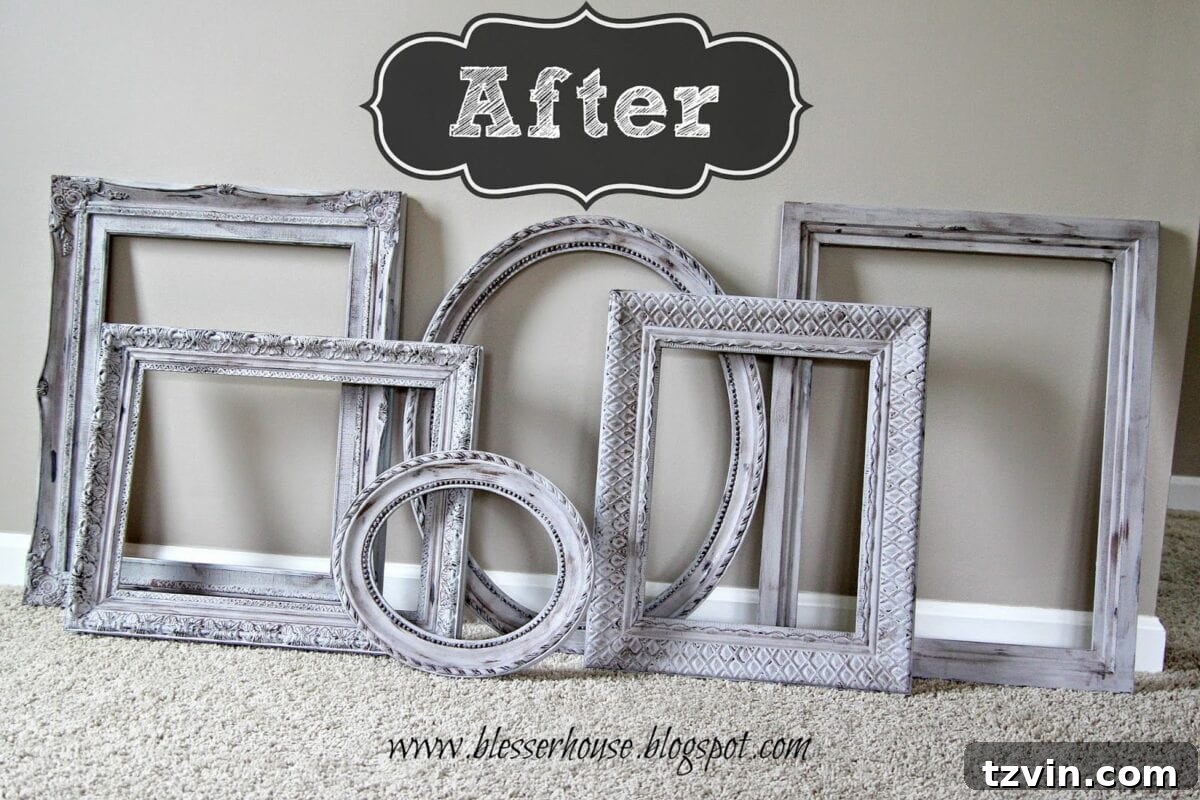
Update: Don’t miss the full gallery wall reveal here, complete with practical tips to make hanging your own gallery wall incredibly simple and stress-free.
Concluding Thoughts and Your Next Project
This Vaseline distressing method offers an incredibly efficient and satisfying way to transform ordinary items into cherished, vintage-inspired pieces. It’s a testament to how simple materials can yield professional-looking results, encouraging anyone to embrace the joy of DIY. Whether you’re working on picture frames, small furniture pieces, or decorative objects, this technique is a game-changer for adding character and an antique touch to your home decor.
What exciting distressing projects have you been working on lately, or what new pieces are you inspired to transform using this easy technique?