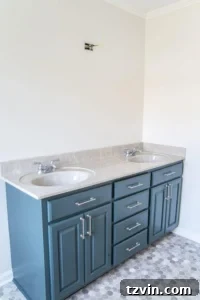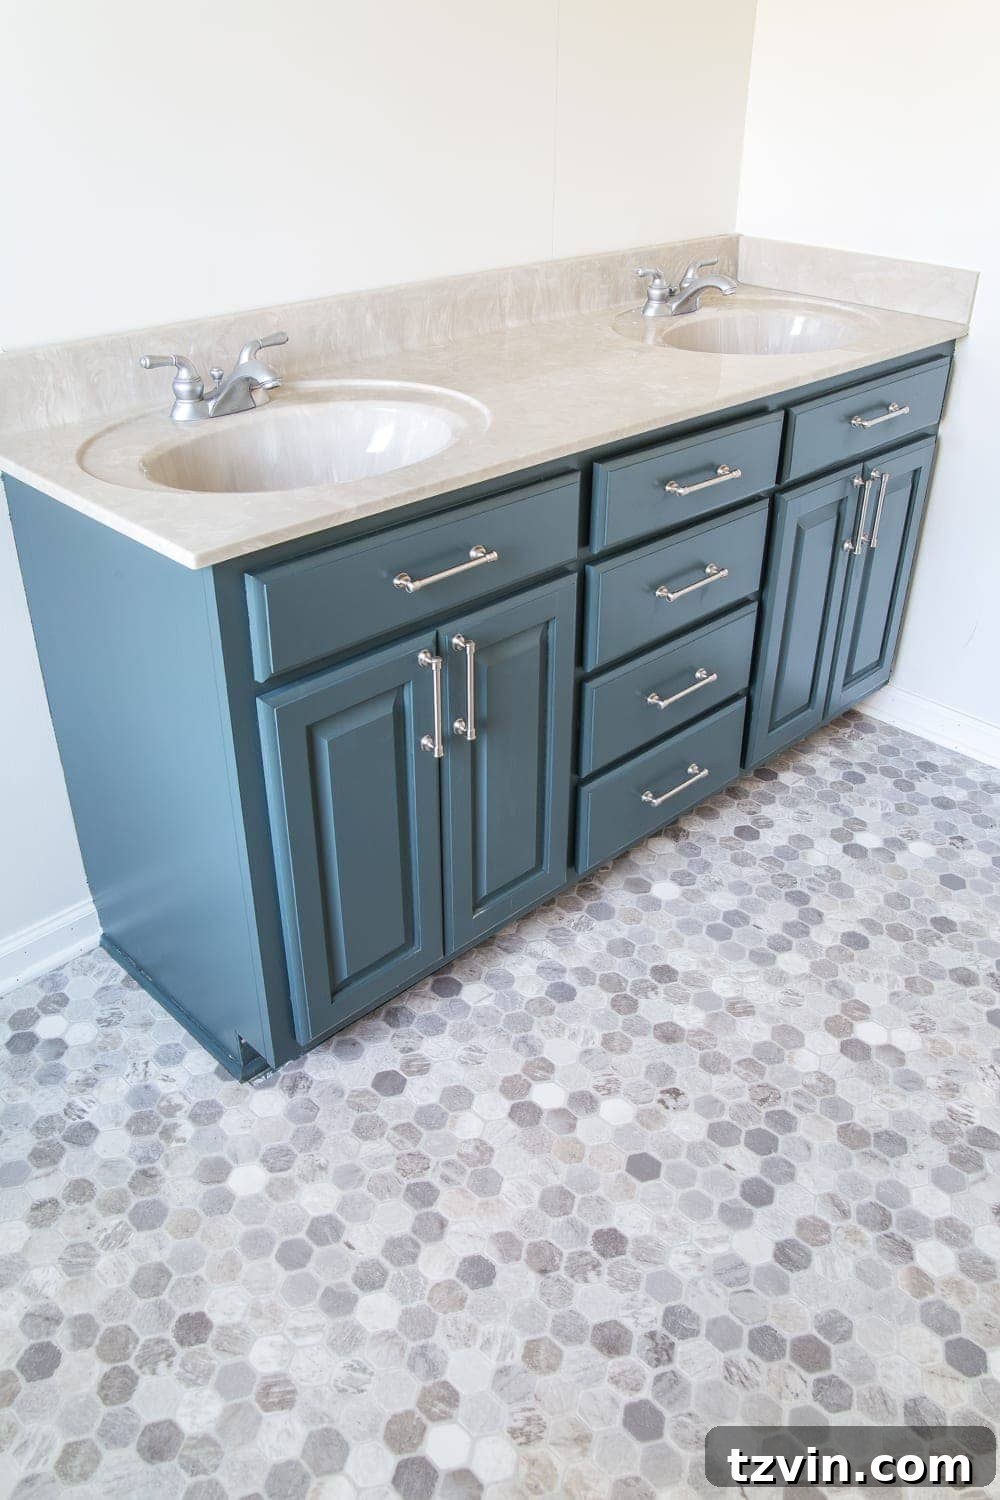
DIY Guide: How to Install Sheet Vinyl Flooring Over Old Tile for a Stunning Temporary Fix
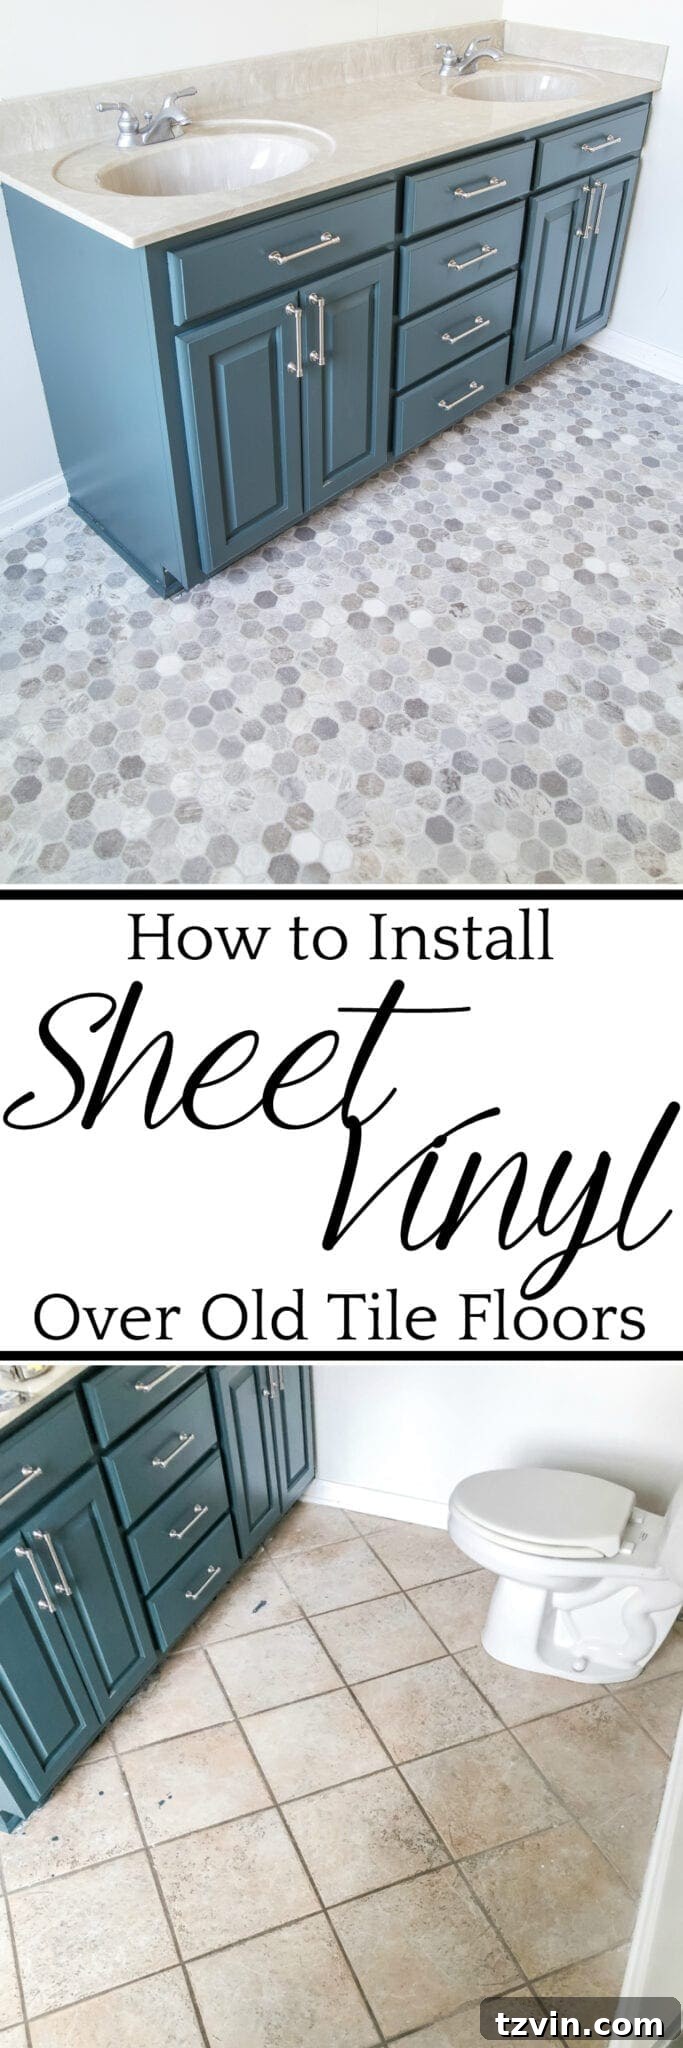
Embarking on a home renovation project can often feel overwhelming, especially when budget and time are tight. However, sometimes the most impactful changes come from the simplest, most cost-effective DIY solutions. This project stands out as one of the most transformative updates you can achieve for minimal investment and effort. What appears to be sophisticated tile flooring is, in fact, sheet vinyl expertly installed directly over existing old ceramic tiles.
This guide provides all the essential supplies and detailed steps needed to successfully install sheet vinyl flooring over your old tile, offering a fantastic temporary fix that dramatically upgrades your space without the commitment of a full-scale renovation.
Revitalizing Your Space: Before the Sheet Vinyl Transformation
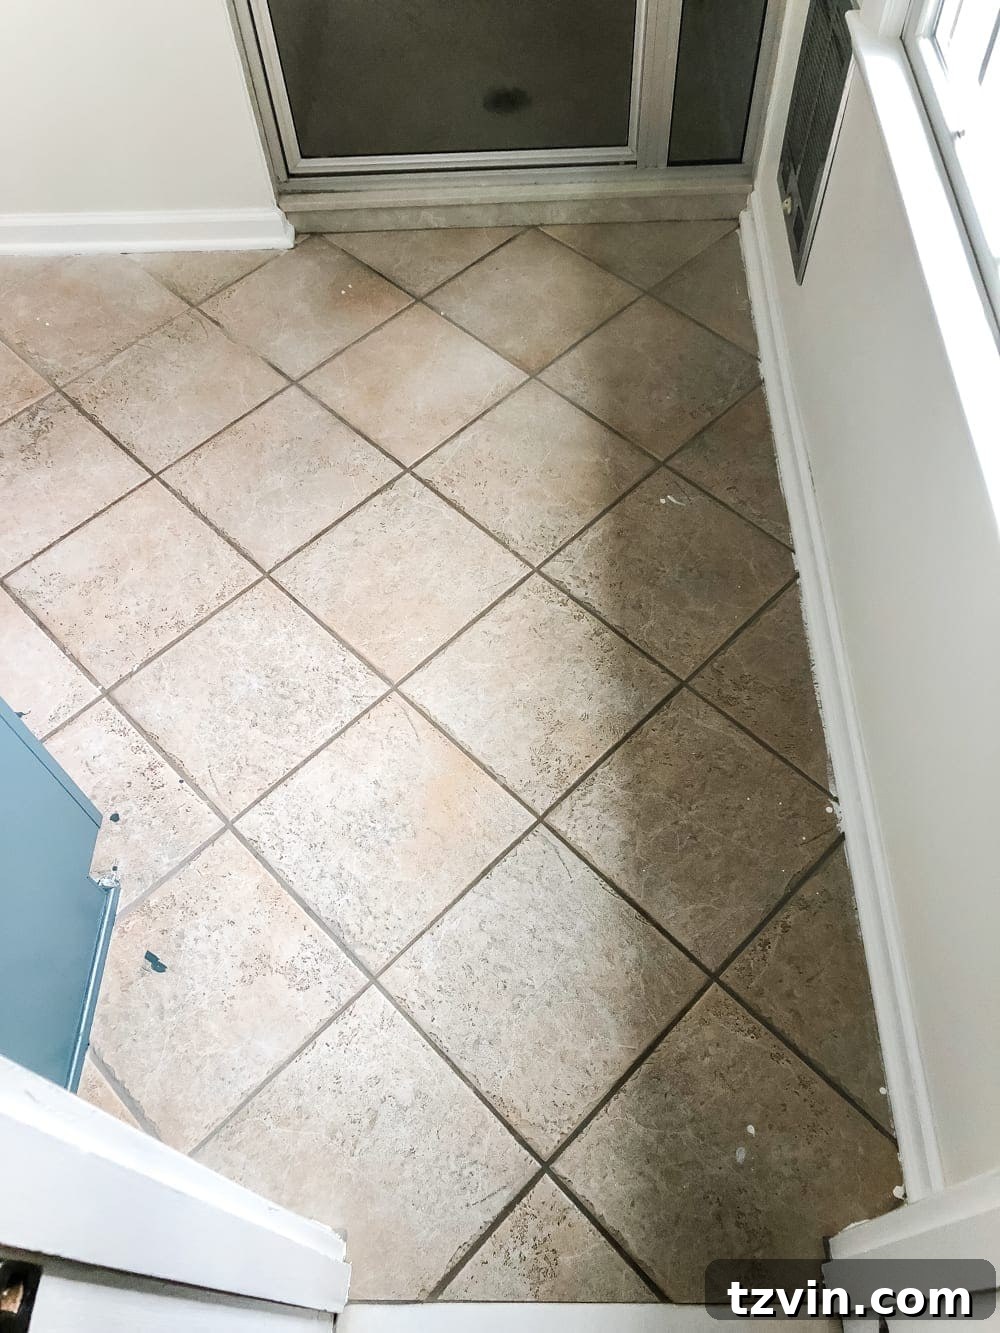
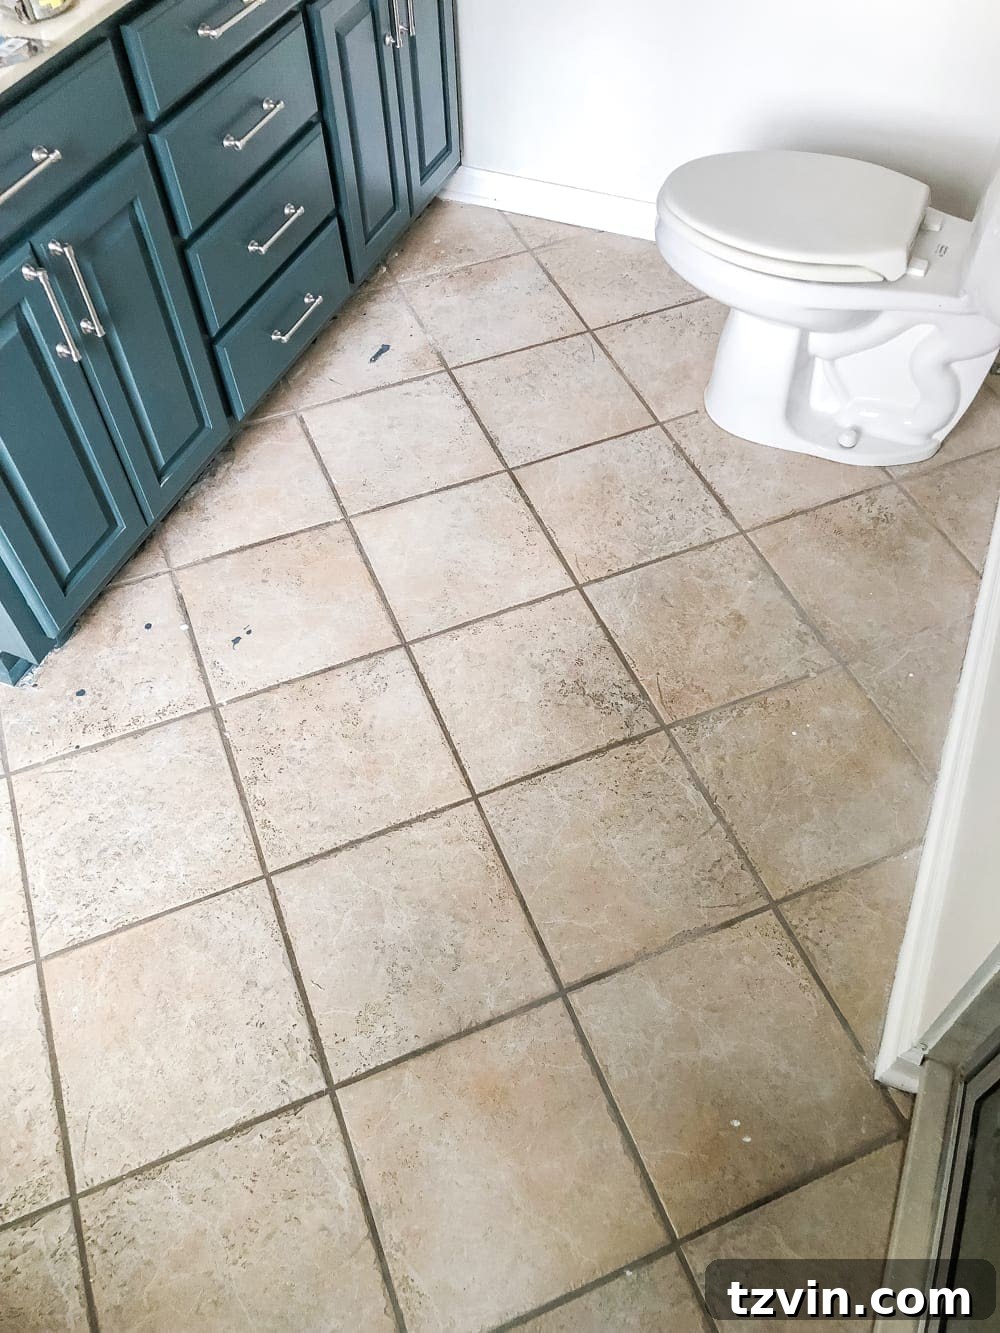
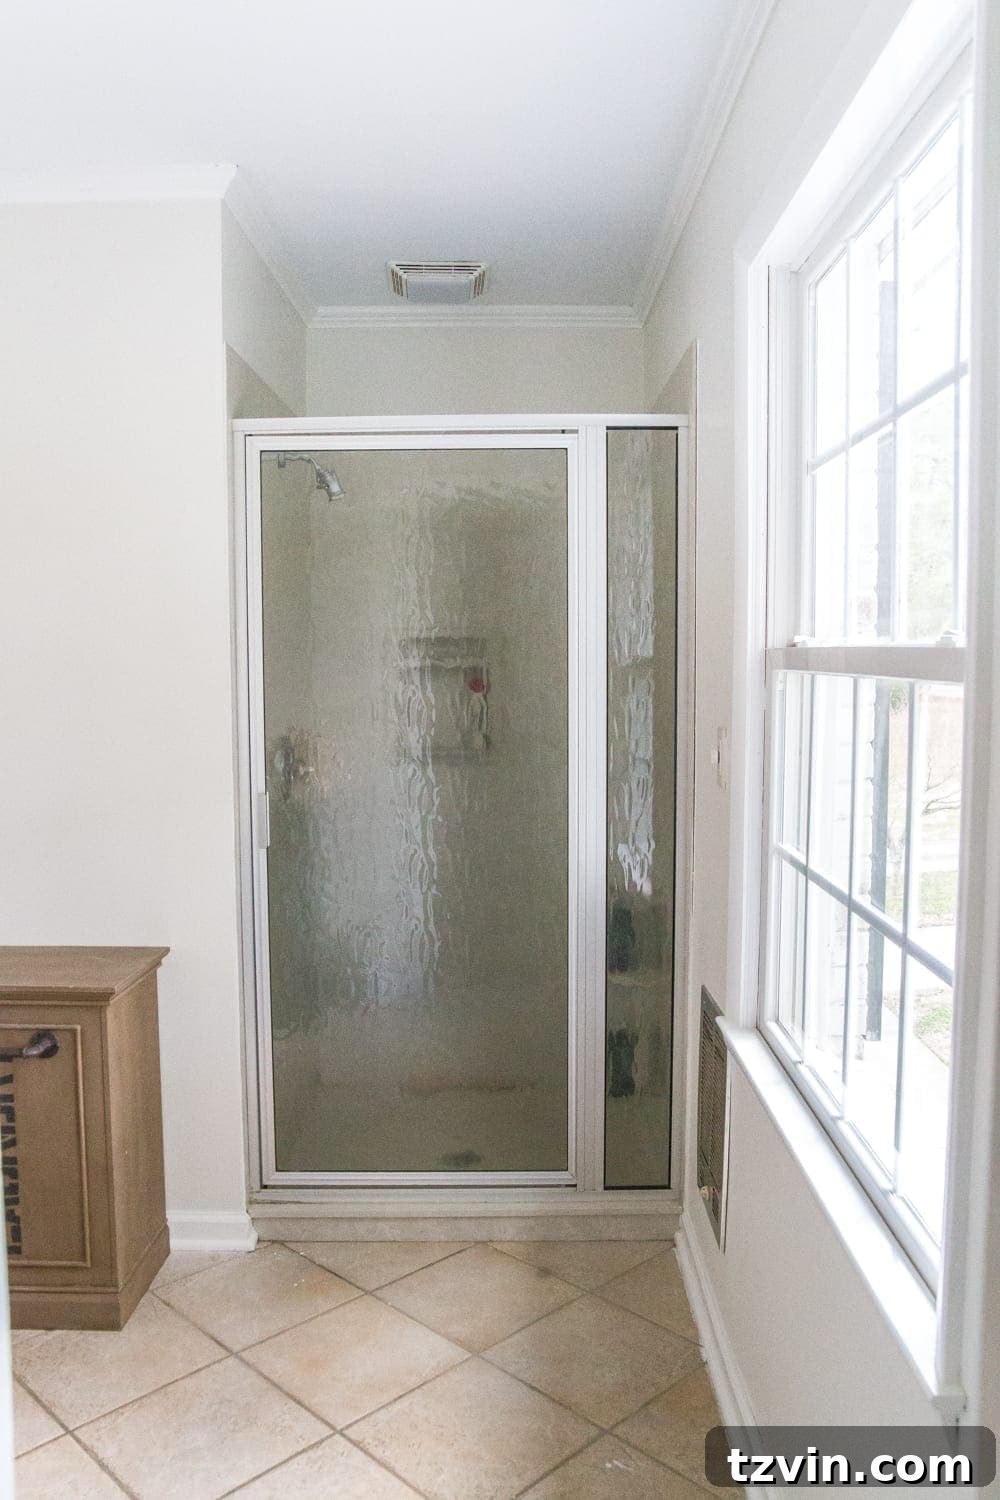
When we acquired our home, the ceramic tile floor presented a dated and worn appearance, much like the image below. While we planned for future updates, the immediate need was a fresh, clean look without the extensive process of tile removal and replacement. We knew a new floor was on the horizon, so we strategically focused on an efficient and impactful temporary solution.
Why Choose Sheet Vinyl as a Temporary Flooring Fix?
If you’re dealing with a tile floor that’s crying out for an update but your budget, time, or expertise for a full replacement isn’t quite ready, this DIY project is your perfect interim solution. Traditional tile replacement involves significant demolition, dust, and expense, often requiring professional help.
While we’ve previously given ceramic tile floors a facelift in other areas of our home using grout pens, this particular floor was beyond a simple refresh. Given that we intended to keep the existing countertop and shower for the foreseeable future (until a complete renovation down the line), I sought a flooring option that would better complement and modernize the 80s beige aesthetic.
My goal was to avoid the mess and fumes associated with tile paint and stenciling, which are popular DIY methods but were impractical with a three-month-old baby in the house. I needed a quick, clean, and efficient solution that could be installed within an hour or two – and sheet vinyl fit the bill perfectly. It offers an immediate visual upgrade without the typical renovation headaches.
Can You Install Vinyl Flooring Over Existing Tile?
This is a common question among DIY enthusiasts looking for practical flooring solutions. Generally, for a major, permanent renovation, it’s not ideal to install vinyl directly on top of tile. A professional, long-lasting floor installation typically requires proper subfloor preparation, which often involves removing the old tile. However, for a quick, affordable, and temporary Phase 1 fix, layering vinyl over existing tile is an excellent, DIY-friendly solution that can sustain you until you’re ready for a more extensive and potentially messy contractor-led project.
The key is to understand that while this method offers significant aesthetic improvement and cost savings in the short term, it’s not considered a “forever” solution. It’s perfect for refreshing a bathroom, kitchen, or laundry room on a budget, giving you breathing room to save for a comprehensive overhaul.
Suitable Subfloors for Vinyl Flooring Installation
Vinyl flooring, whether sheet vinyl, vinyl tiles, or luxury vinyl planks (LVP), is incredibly versatile and can be installed over a variety of existing floor types, provided the surface is stable, clean, and level. This flexibility makes it a popular choice for homeowners seeking efficient upgrades. Here are some common floor types that are generally suitable as a subfloor for vinyl installation:
- Hardwood flooring
- Engineered wood flooring
- Concrete flooring
- Linoleum flooring
- Vinyl flooring (yes, you can often layer new vinyl over old vinyl)
- Stone tile
- Ceramic tile
Before proceeding with any overlay, always ensure the existing floor is structurally sound, free from excessive moisture, and any loose elements are secured. Proper preparation is crucial for the best outcome.
Related: How to Install Luxury Vinyl Plank Flooring Over Tile
Important Considerations Before Installing Vinyl Over Tile
While vinyl is adaptable, it’s not suited for installation directly on top of carpet, which is too soft and unstable. Furthermore, a critical step before deciding to install any type of floor covering is to meticulously inspect your existing floor. Look for loose tiles, large cracks, significant lippage (uneven tile edges), or any signs of moisture damage. If your current floor is severely damaged, uneven, or unstable, it may not create a smooth, adequate underlayment for vinyl. In such cases, installing vinyl on top could lead to an uneven finish, premature wear, or telegraphing of imperfections through the new flooring.
However, if your old floor is in reasonably good shape – meaning it’s stable, relatively level, and free from major structural issues – then a vinyl overlay is a fantastic way to quickly and dramatically update its appearance. Follow the steps below to effortlessly change the look of your space with new sheet vinyl.
Step-by-Step Guide: How to Install Sheet Vinyl Flooring Over Tile
This comprehensive guide will walk you through each step of installing sheet vinyl flooring over your existing tile, ensuring a smooth and successful DIY project.
Supplies You’ll Need:
Gathering all your materials before you begin will make the installation process much smoother and more efficient.
- Thin-Set Mortar or leveler appropriate for filling grout lines
- Putty knife or trowel
- Medium grit sandpaper or sanding block
- Broom and dust pan / Shop-Vac
- Pry bar and mallet or hammer
- Sheet vinyl floor of your choice (We used this specific one.)
- Vinyl flooring adhesive (Optional: Always check your manufacturer’s specific recommendations. Our chosen sheet vinyl did not require adhesive.)
- Tape measure
- Pencil/pen & paper for diagramming
- Sharp scissors or heavy-duty utility knife with extra blades
- Chalk line
- White silicone caulk and caulk gun
- Brad nailer gun (recommended for baseboard reinstallation, We love this one for its versatility.)
- Safety gear: Gloves, safety glasses
Step 1 – Prepare the Subfloor: Fill Grout Lines and Level Surfaces
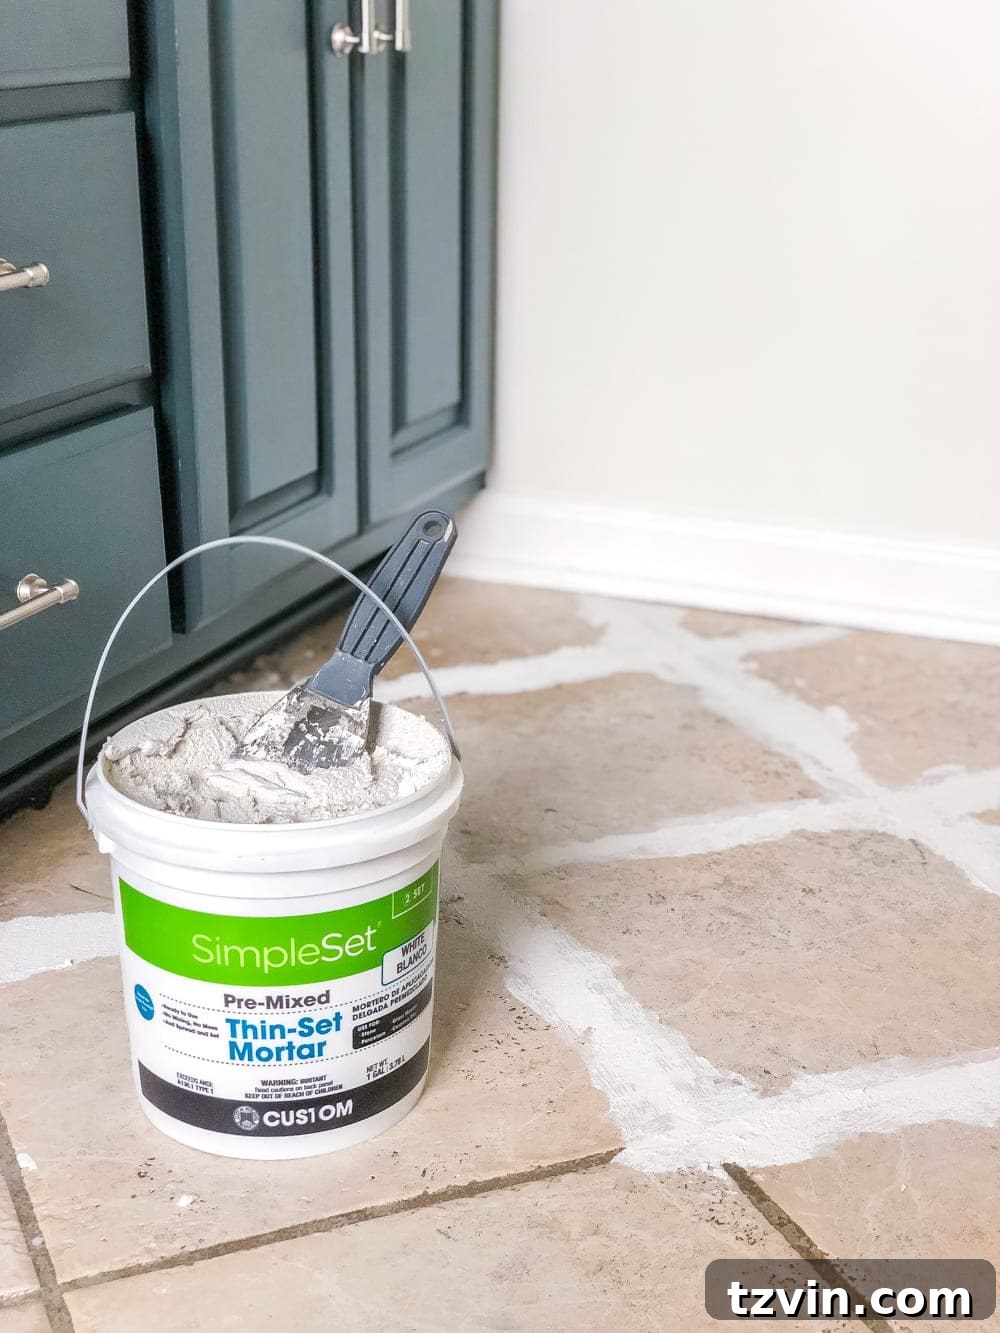
The success of installing sheet vinyl over tile largely depends on creating a perfectly smooth and even subfloor. If you skip this crucial step, the texture of your old grout lines and tile edges will eventually “telegraph” through the new vinyl, creating an undesirable, bumpy finish. Our existing tile was in excellent condition, meaning no loose pieces or major cracks, so the primary task was to fill the recessed grout lines. Using a putty knife, apply thin-set mortar smoothly into all grout lines. For wider or deeper grout lines, or if there are minor uneven spots in your tile, consider using a self-leveling compound for an even flatter surface. Ensure the mortar fills the grooves completely and is leveled flush with the tile surface.
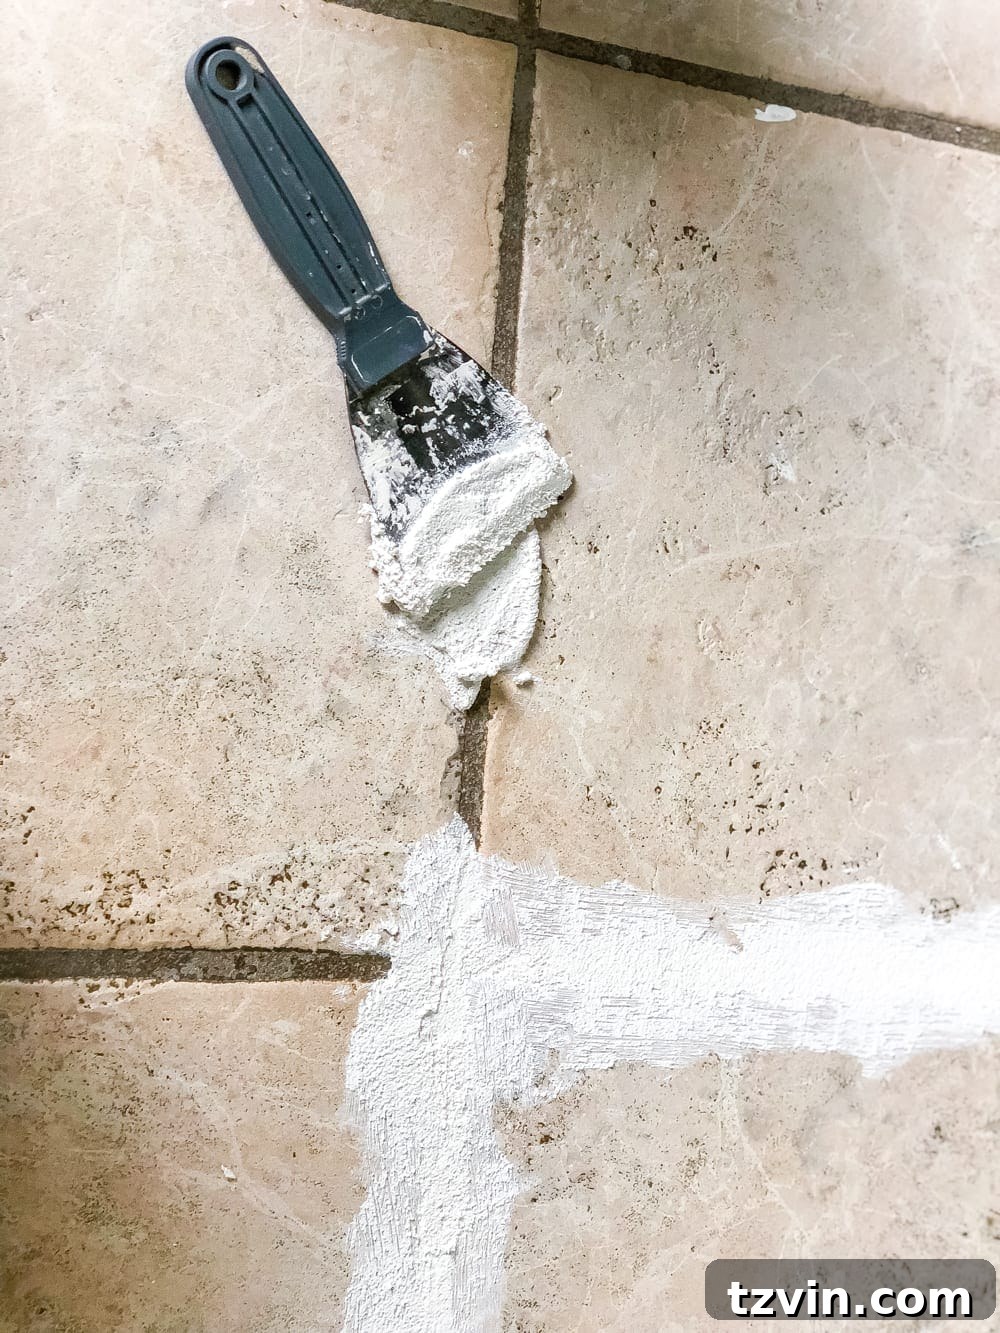
Aim for the smoothest application possible at this stage to minimize subsequent sanding efforts. The goal is to eliminate any texture that could show through the flexible vinyl.
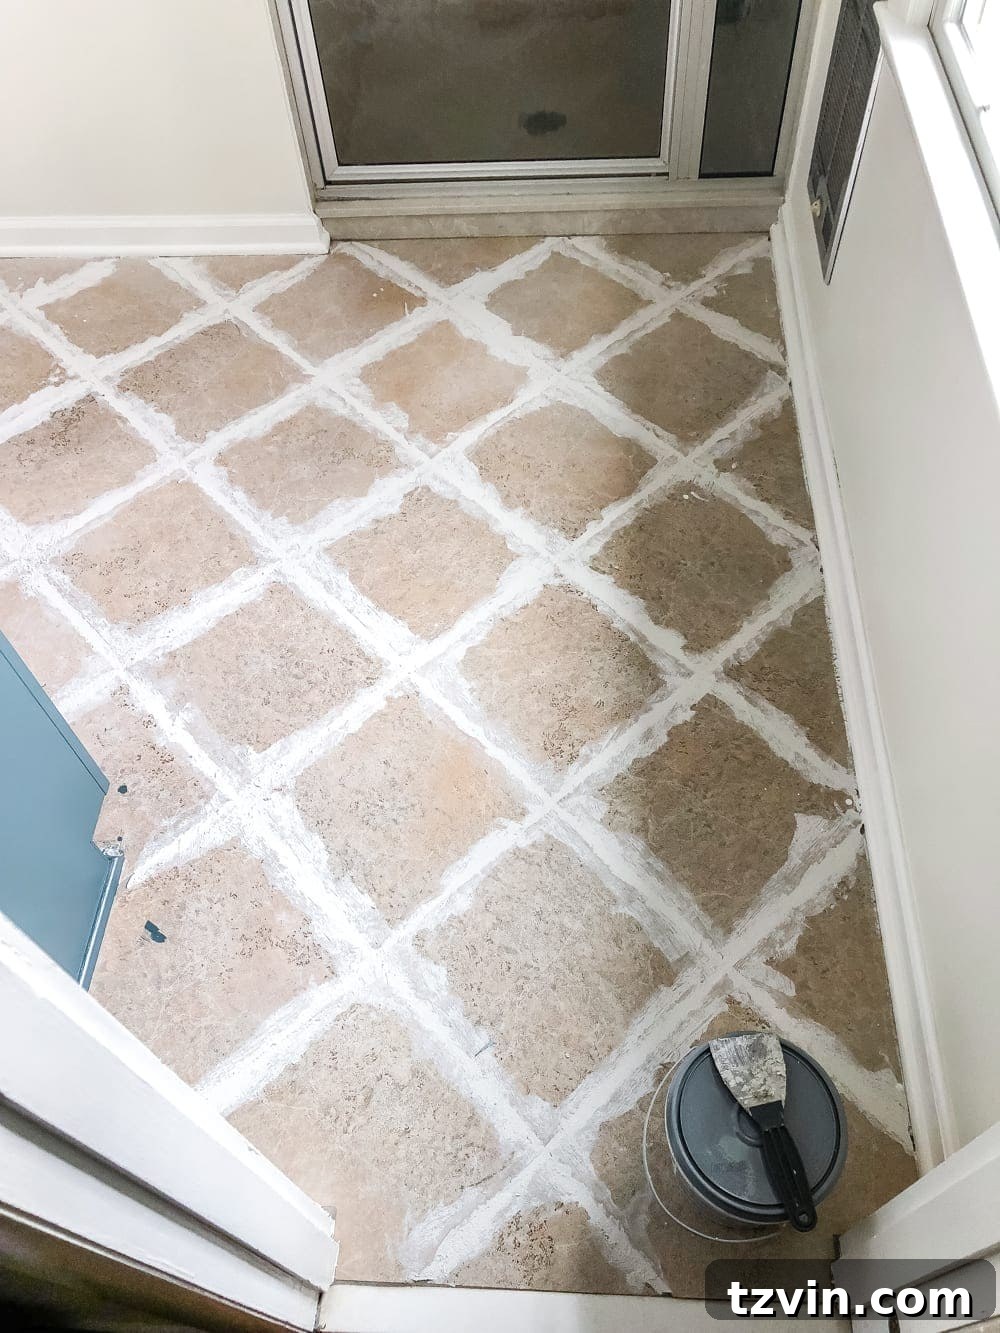
Step 2 – Sand Dried Mortar for a Seamless Finish
Once the thin-set mortar or leveling compound has completely dried (this typically takes 24-48 hours, depending on humidity and product specifications), gently sand any rough spots, ridges, or uneven areas with medium-grit sandpaper. This ensures the entire surface is uniformly smooth, which is critical for the final appearance of your sheet vinyl. A sanding block or pole sander can make this task easier and more effective over larger areas.
Step 3 – Thoroughly Clean the Floor
After sanding, it’s paramount to remove all dust, grit, and debris from the floor. Sweep the floor thoroughly with a broom and dustpan, then follow up with a shop-vac for a more complete clean. Any small particles trapped beneath the sheet vinyl will create visible bumps and imperfections. A clean surface also ensures any optional adhesive will bond properly.
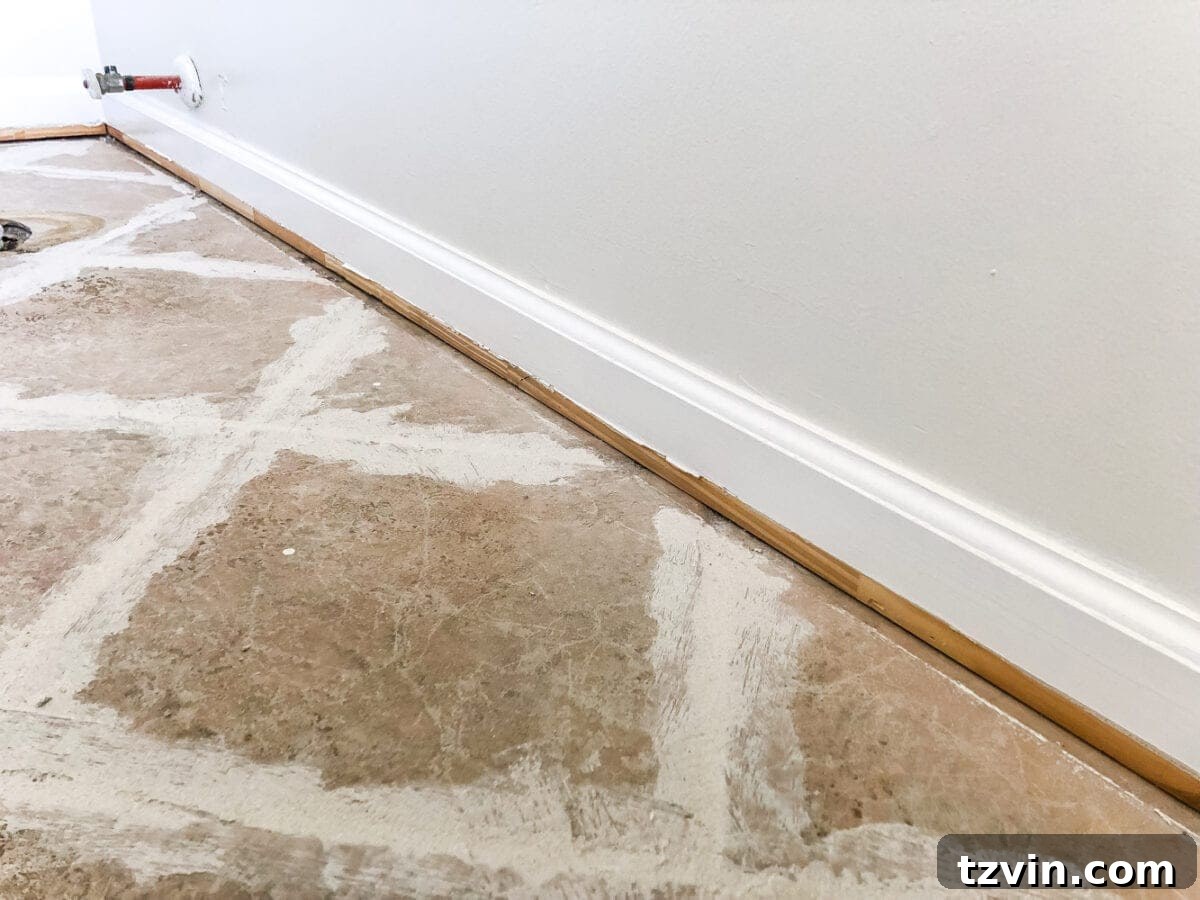
Step 4 – Carefully Remove Baseboards and Shoe Molding
To achieve a professional-looking installation where the sheet vinyl goes right up to the wall (and is held securely in place), you’ll need to remove any existing shoe molding and baseboards. Use a pry bar and a mallet or hammer for this task. Work slowly and carefully to avoid damaging the trim pieces, as you’ll be reinstalling them later. If you’re new to this, consult our detailed guide on removing baseboards. Set the shoe molding and baseboards aside in a safe place, ensuring they are labeled if removed from multiple rooms to facilitate easy reinstallation.
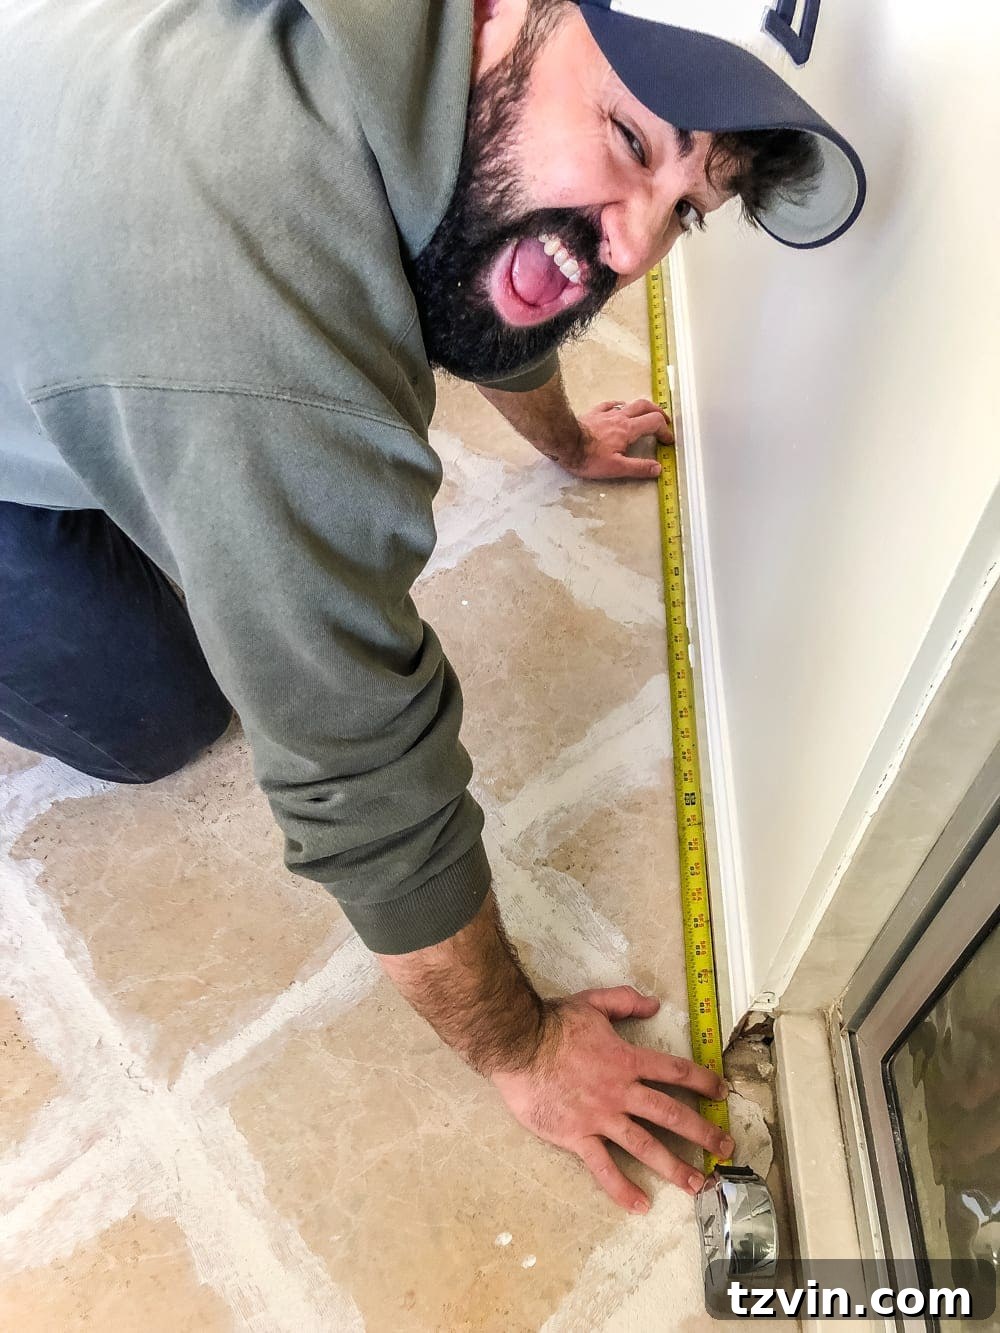
Step 5 – Measure the Room and Create a Detailed Diagram
Accuracy is paramount for sheet vinyl installation, as it’s cut in one large piece. Take precise measurements of all the edges and dimensions of your room. Transfer these measurements onto a piece of paper, creating a detailed diagram of your room’s layout. Don’t forget to measure and note any obstacles such as heating vents, door frames, or vanity bases.
For bathroom installations, it’s often easiest to temporarily remove the toilet beforehand. This video provides an excellent guide for toilet removal, including a helpful tip to prevent water drips. If removing the toilet, measure its precise location to cut a corresponding hole in your sheet vinyl.
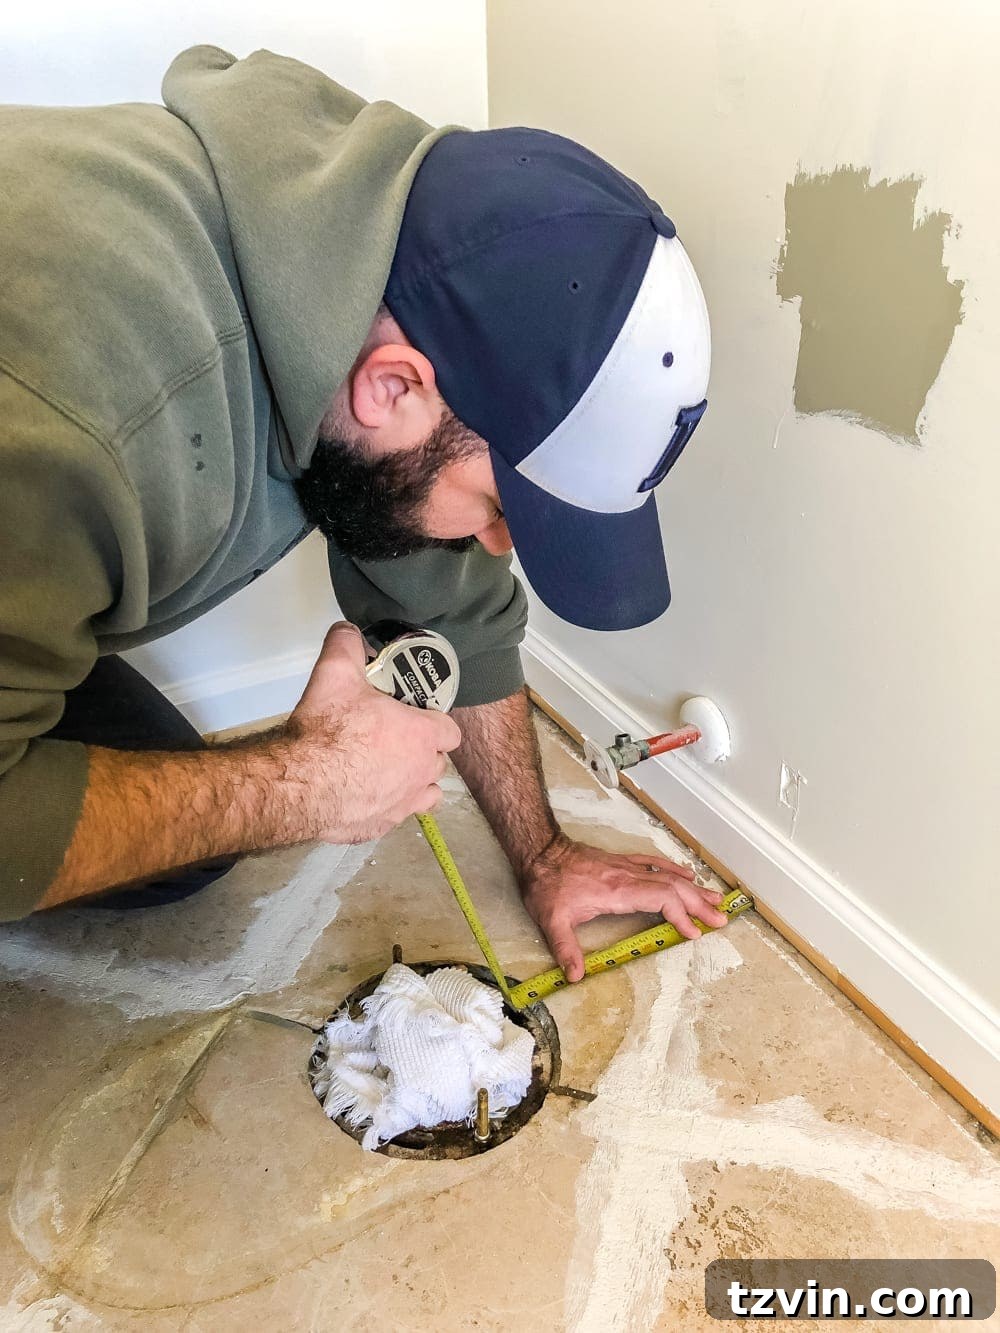
Step 6 – Double Check All Measurements
This step cannot be overstressed: “Measure twice, cut once.” Carefully review your diagram and double-check every single measurement against the actual room dimensions. A small error here can lead to wasted material and frustration. Ensure that all the angles and dimensions on your diagram accurately reflect your room. For complex shapes, consider making a paper template first.
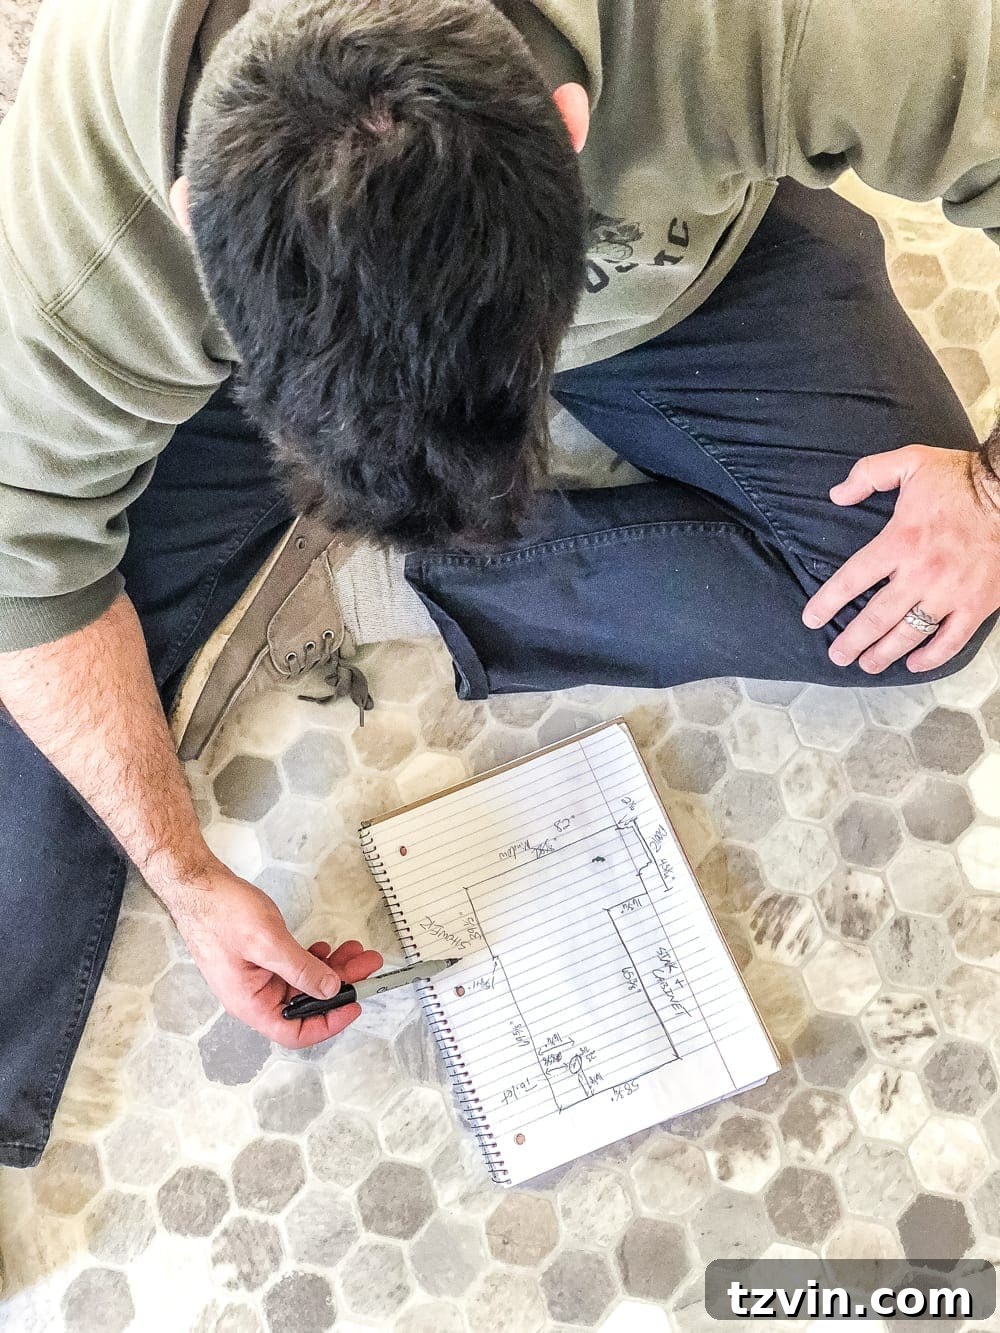
Step 7 – Unroll and Acclimate the Sheet Vinyl
Before cutting, unroll your sheet vinyl completely in a large, clean area (ideally the room where it will be installed, if space permits). Allow the sheet vinyl to lie flat and acclimate to the room’s temperature and humidity for at least 24-48 hours. This helps the material relax and prevents shrinking or expanding after installation. Important: do NOT flip the sheet vinyl upside-down for measuring and cutting in the next step, as this can affect pattern alignment or make cuts less precise.
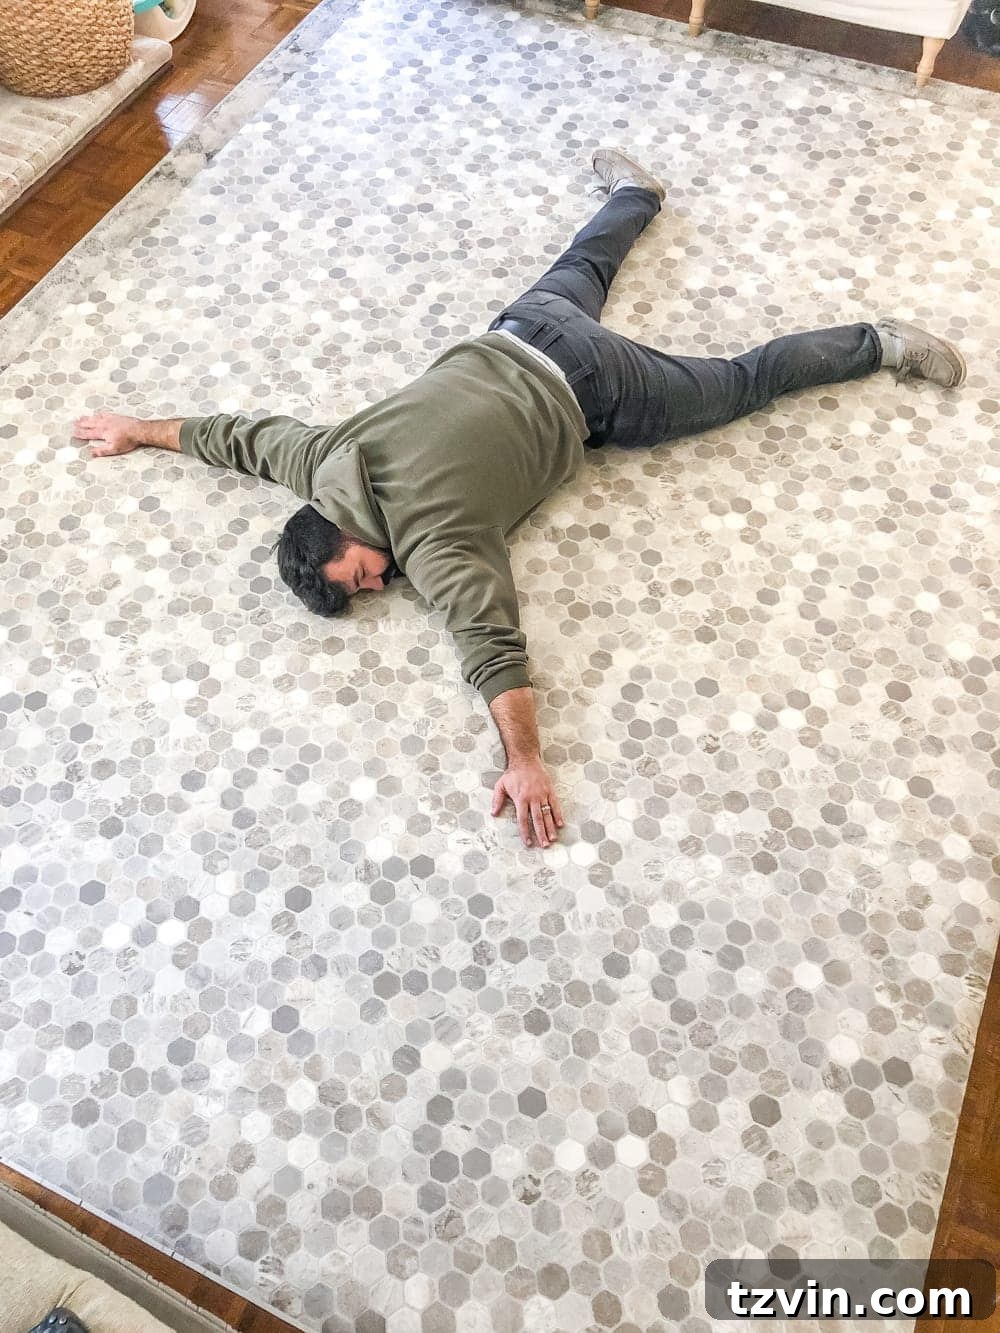
Step 8 – Transfer Measurements and Create a Template on the Vinyl
Using your meticulously drawn diagram as a reference, carefully transfer all your measurements onto the unrolled sheet vinyl. Mark the perimeter edges and any obstacles (like the toilet hole or cabinet cutouts) using your tape measure and a pencil or marker. This creates a precise template on the vinyl, guiding your cuts. Take your time to ensure each mark corresponds exactly to your diagram.
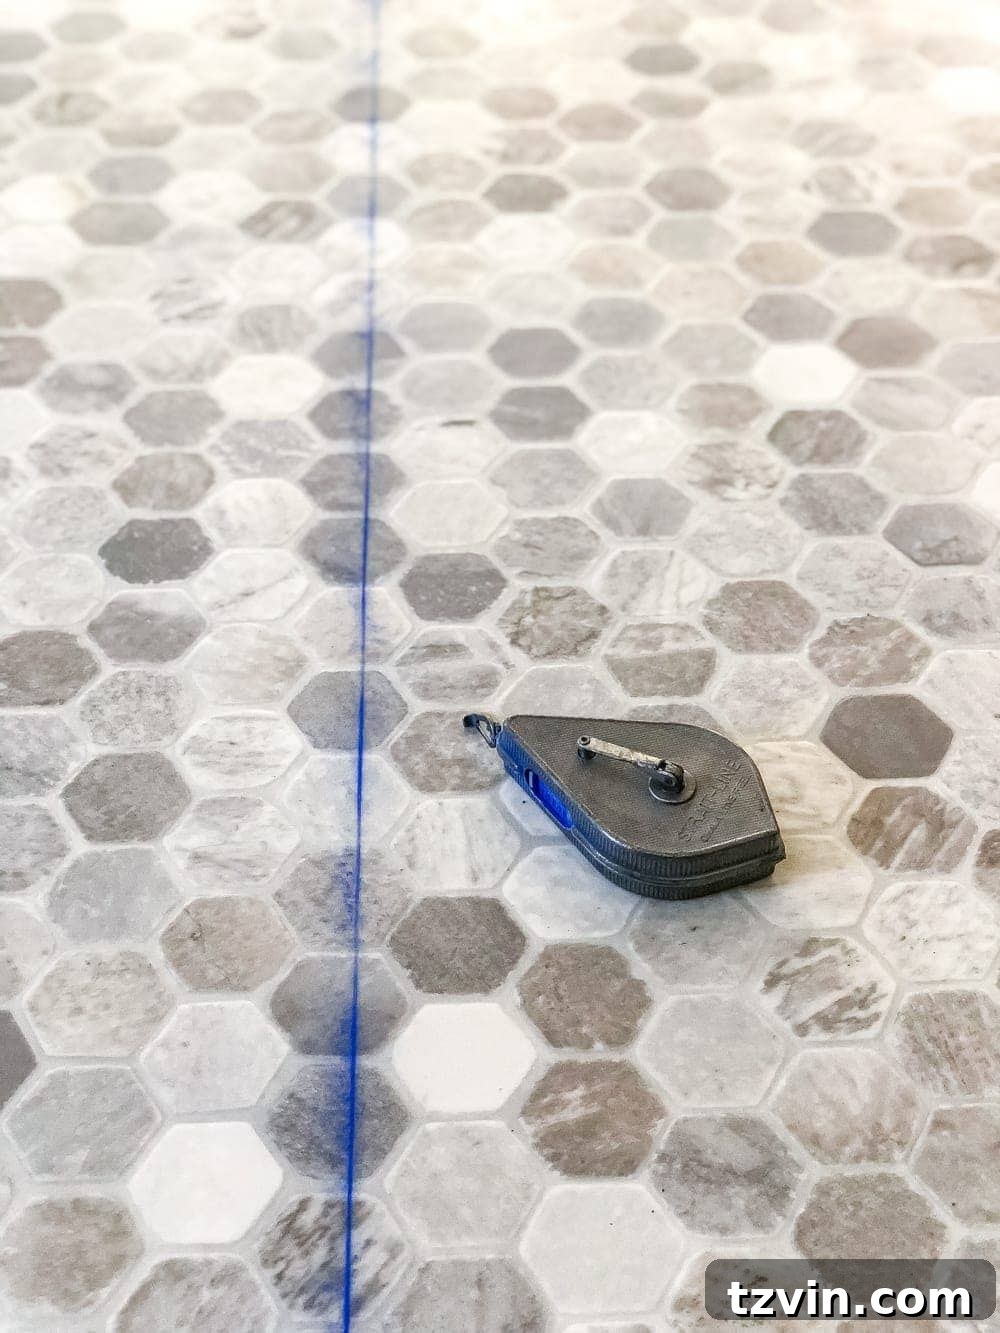
Step 9 – Use a Chalk Line for Straight Cuts
For clean, straight cuts along the perimeter of your room and around major obstacles, use a chalk line to connect the measurement marks you just made. Snap the chalk line firmly to create crisp, visible guidelines on the sheet vinyl. This will ensure your cuts are as straight and accurate as possible, which is crucial for a professional finish.
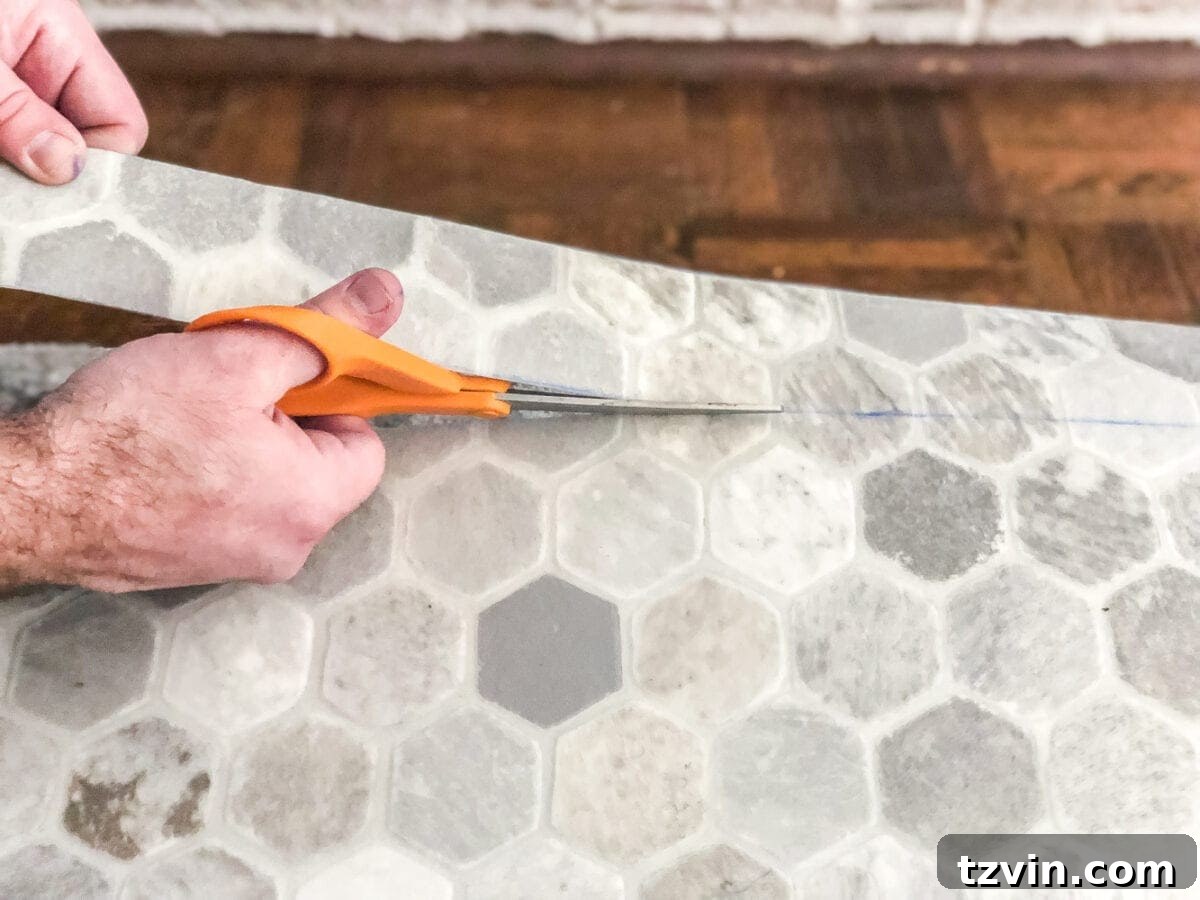
Step 10 – Precisely Cut the Vinyl Sheet
Carefully cut the sheet vinyl along your chalk lines using sharp scissors or a utility knife with a fresh blade. For intricate cuts, such as around curves or toilet flanges, the utility knife often provides more control. Change blades frequently to ensure clean, effortless cuts and prevent tearing the vinyl. After your cuts are complete, wipe up any remaining chalk line residue; Mr. Clean Magic Erasers work wonders for this, leaving the surface pristine.
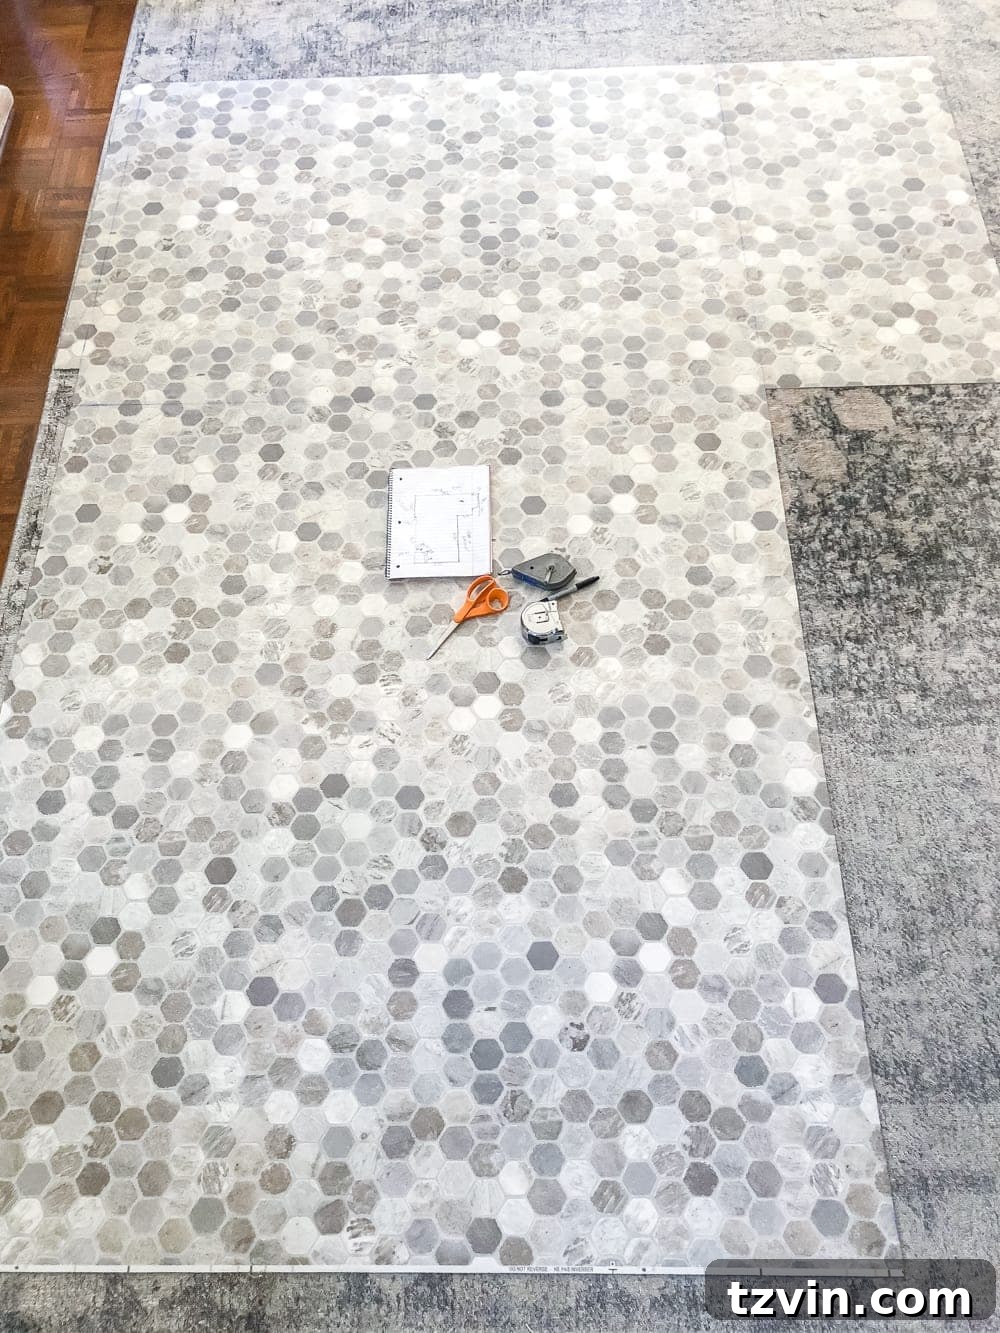
Step 11 – Position the Sheet Vinyl in the Room
Carefully transport your custom-cut sheet vinyl into the room. This can be challenging with larger pieces, so an extra set of hands is highly recommended. Gently unroll and lay the vinyl over your prepared subfloor, gradually easing it into place. Begin by aligning one edge against a prominent wall, then work your way across the room. Take your time to ensure the sheet vinyl is properly oriented and fits snugly into all corners and around obstacles. Check the fit around the entire perimeter.
Step 12 – Final Positioning and Trimming
Once the sheet vinyl is mostly in place, make any final adjustments to its position. Use your utility knife to trim any remaining excess material with precision, especially around door frames, base cabinets, or other fixed objects. Press the vinyl firmly into corners and along edges to ensure a tight fit. Small, careful cuts are better than large, irreversible ones.
Step 13 – Reinstall Baseboards and Secure Edges
With the sheet vinyl perfectly laid, it’s time to reinstall your baseboards and any quarter-round trim. Use a brad nailer gun to secure these pieces back into place. The baseboards serve a dual purpose: they hide the raw edges of the sheet vinyl and hold the flooring firmly against the walls, preventing it from shifting or lifting. It’s crucial to consult your specific sheet vinyl manufacturer’s instructions. While our chosen floor allowed for a glueless installation secured by trim, other types may require a full or perimeter adhesive application before reinstalling trim for optimal performance and longevity.
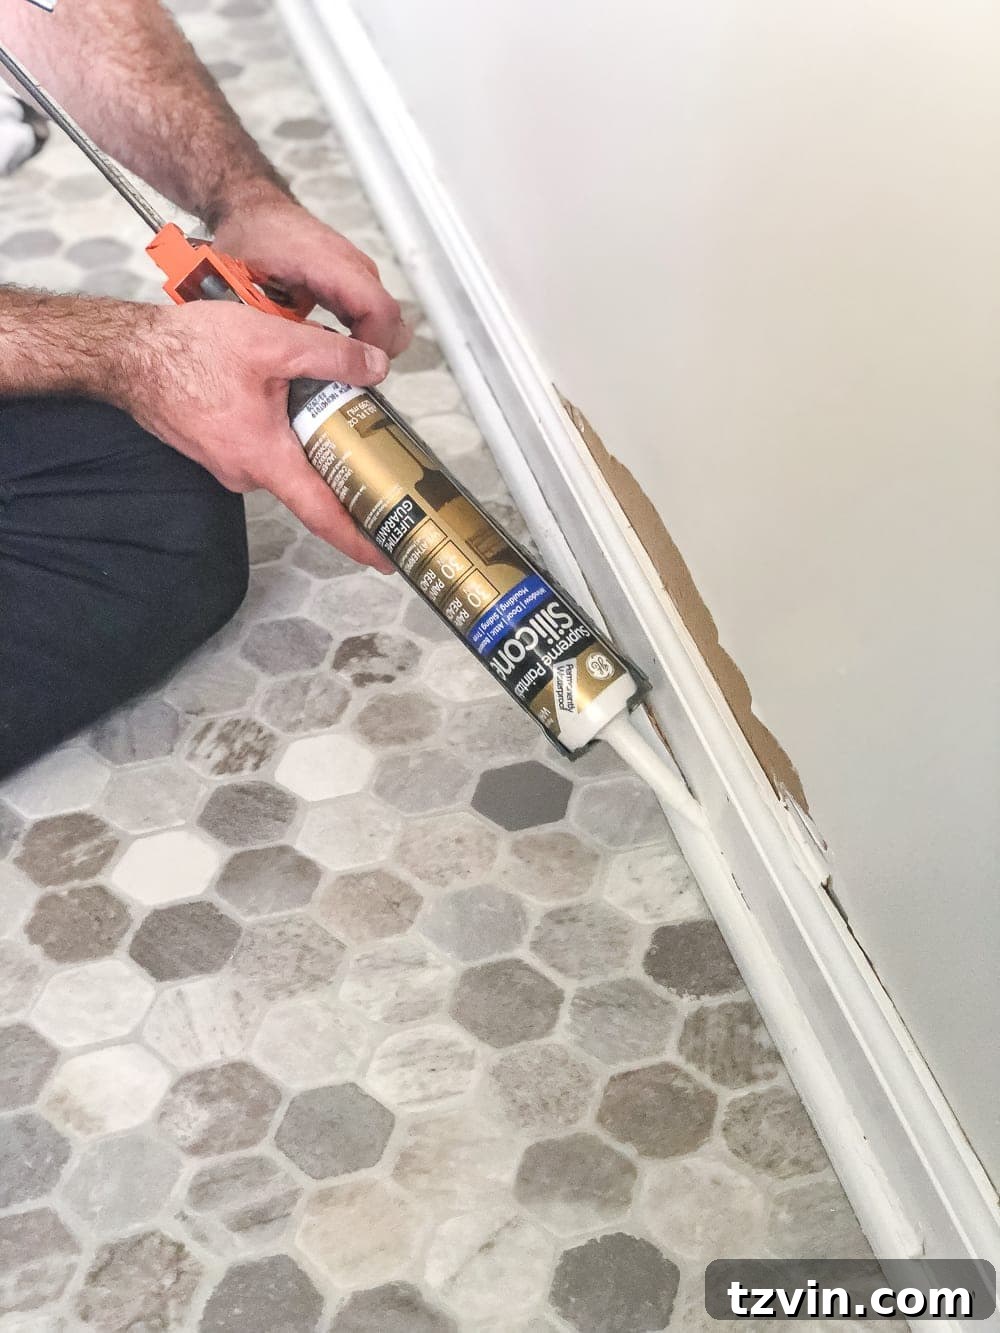
Step 14 – Caulk Baseboards and Seal Edges
For a truly finished and waterproof look, apply a bead of white silicone caulk along the top edge of the reinstalled baseboards where they meet the wall. This fills any small gaps, creating a seamless and professional appearance. Additionally, apply caulk or attach specific sheet vinyl edging strips where the flooring meets a shower, bathtub, or door threshold. This not only enhances the aesthetic but also helps prevent moisture from seeping underneath the vinyl, protecting your subfloor.
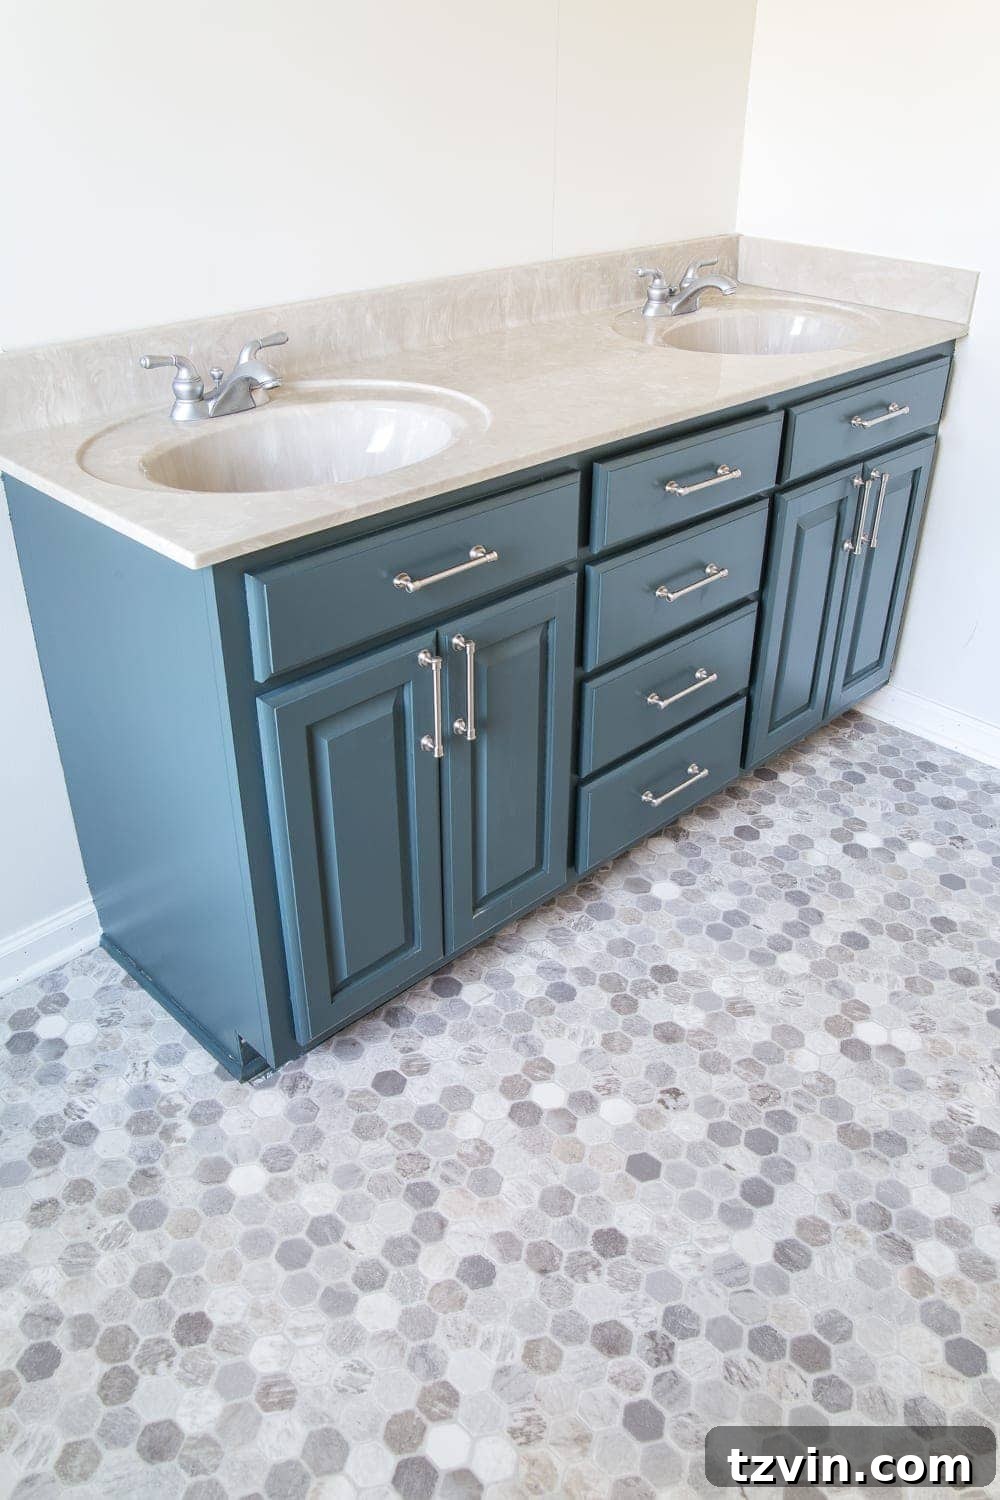
Sheet Vinyl Flooring: Before and After Transformation
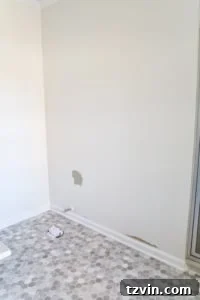
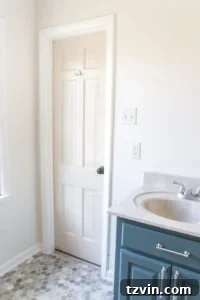
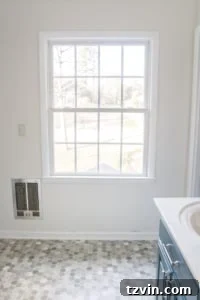
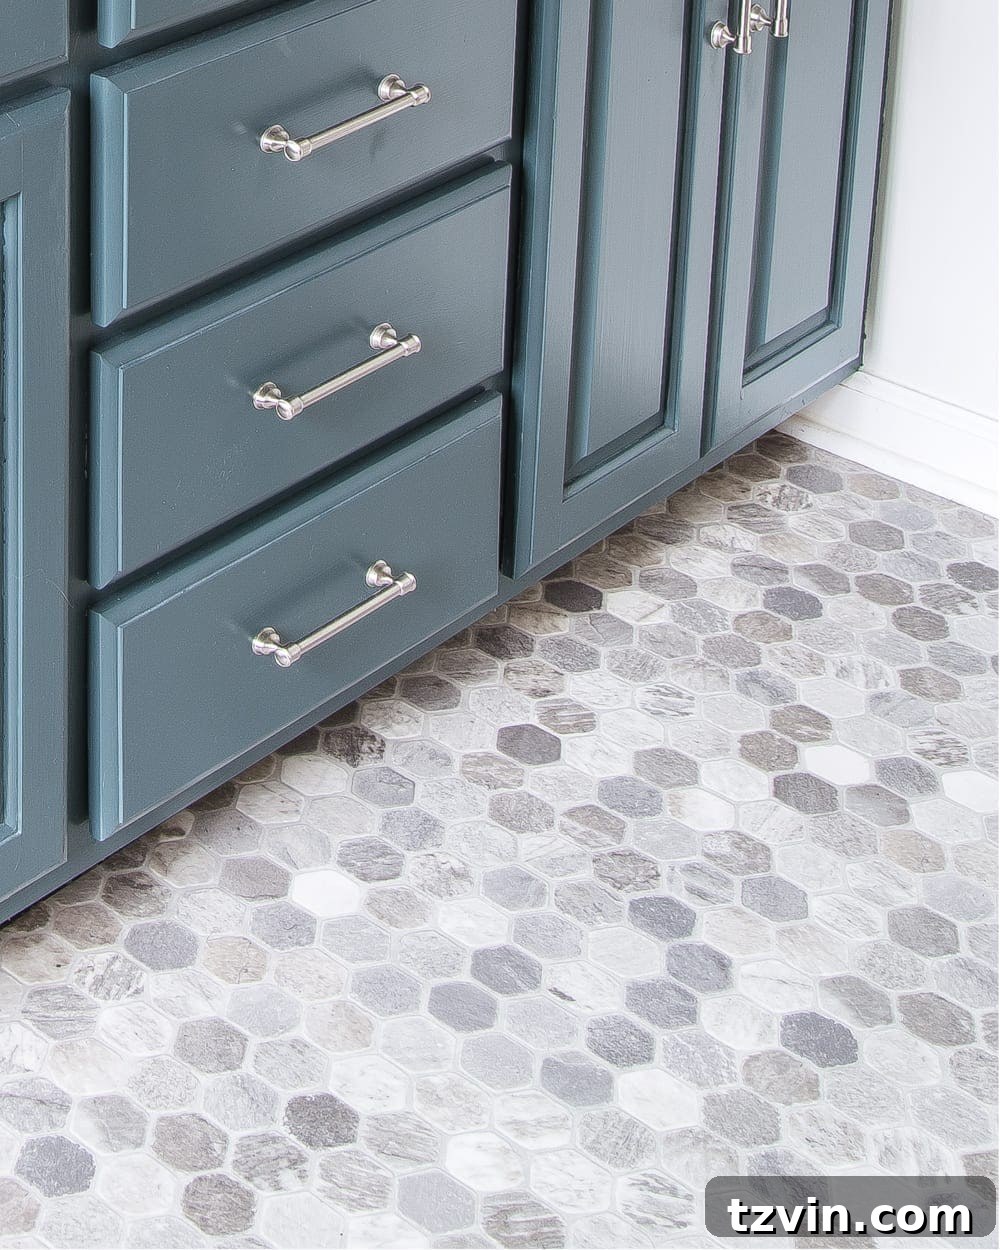
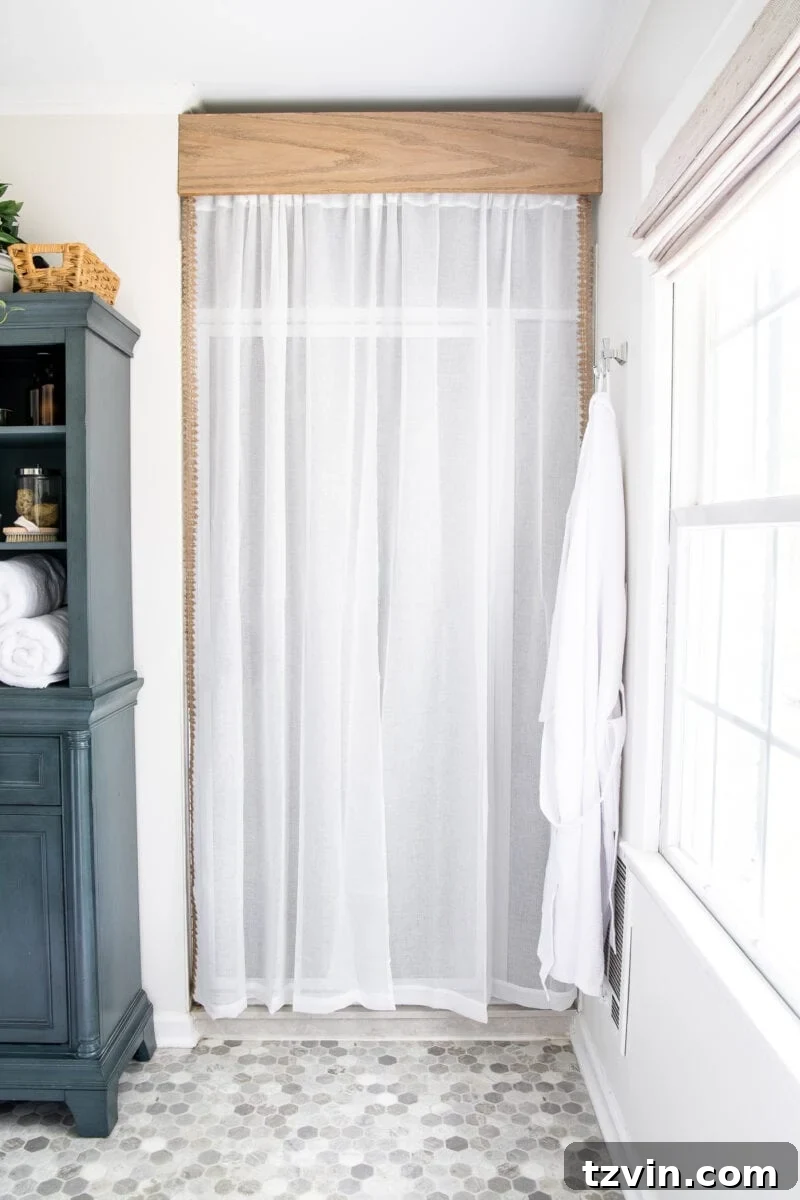
The transformation is truly remarkable! Our bathroom looks significantly brighter, cleaner, and more modern. While the beige countertop remains, the new sheet vinyl’s design, with its blend of warm and cool tones, surprisingly makes the existing elements feel more cohesive and intentional. It’s incredible how much a flooring change can impact the perception of an entire space.
Here’s a glimpse of how the sheet vinyl flooring integrated into the overall bathroom refresh once all the other elements were completed:
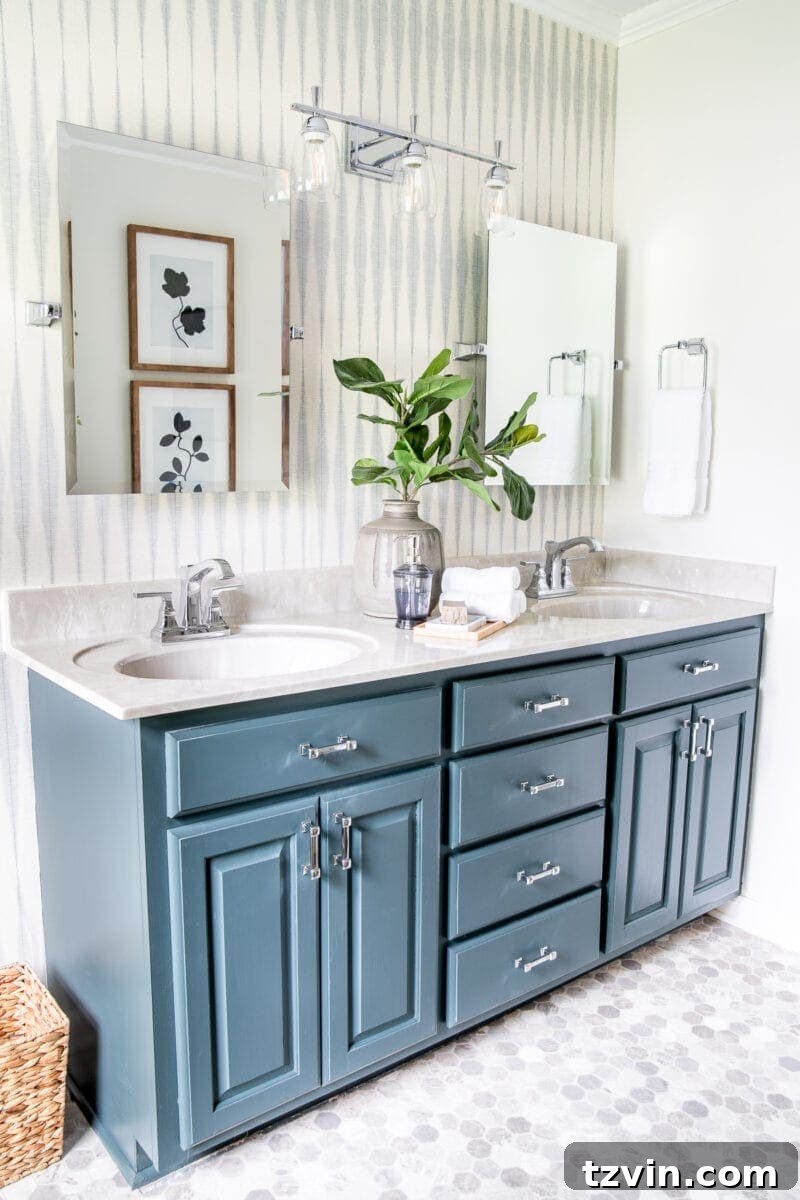
Although it’s a temporary solution and not a full renovation, the improvement from the original grungy beige ceramic tile is undeniable. This project proves that you don’t always need a massive budget or a team of contractors to make a significant difference in your home’s aesthetic.
Exploring Other Vinyl Options: Luxury Vinyl Plank (LVP) Over Tile
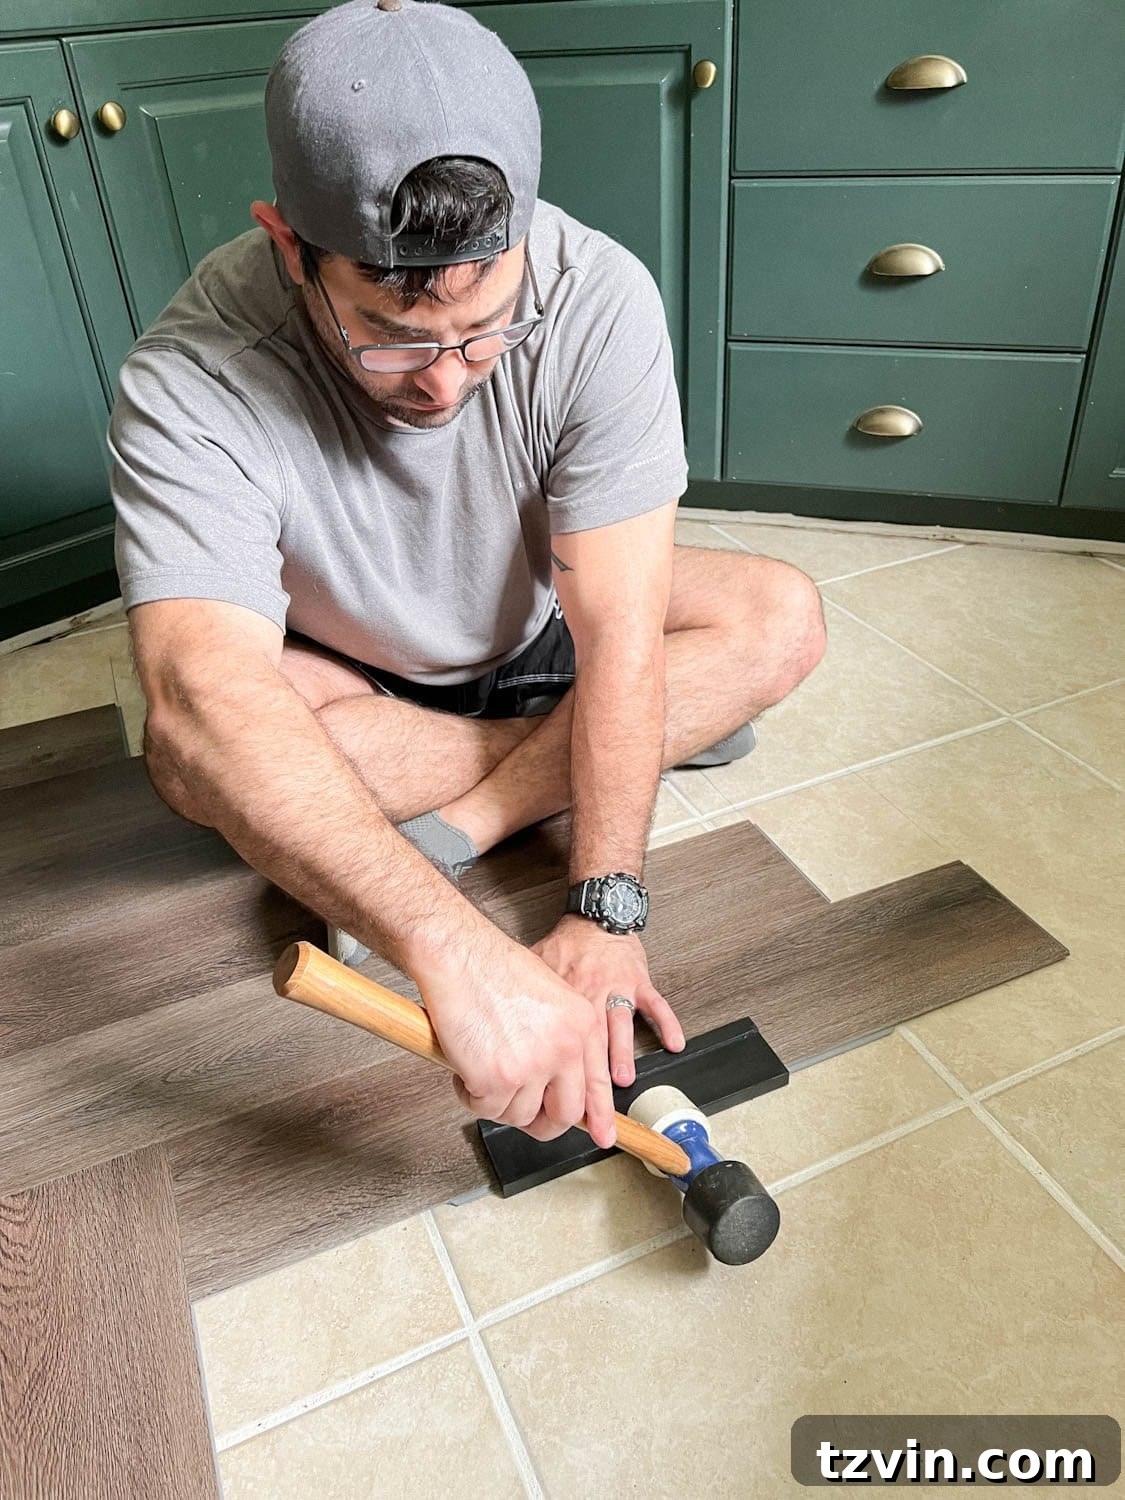
Beyond sheet vinyl, luxury vinyl plank (LVP) flooring is another fantastic option for covering existing tile. You can find a detailed guide on how to install herringbone LVP flooring over tile here. We successfully installed this beautiful herringbone pattern in our kitchen, and the results were truly stunning, offering a high-end look with the benefits of vinyl.
Exploring Other Vinyl Options: Vinyl Tiles Over Tile Flooring
For those who prefer a modular approach, peel-and-stick vinyl tiles offer another excellent alternative for covering existing tile. Discover how to install peel and stick vinyl tiles over an existing tile floor here. While often slightly more expensive than sheet vinyl, vinyl tiles provide even greater ease of installation and a wider array of style options, allowing for unique patterns and designs.
Frequently Asked Questions About Installing Vinyl Over Tile
Many types of flooring can be laid over existing tiles, making it a popular method for quick renovations. However, it’s important to remember that this approach will slightly raise your floor height and is generally considered a temporary or semi-permanent solution rather than an ideal long-term fix, especially if the original tile is in poor condition. Always ensure the existing tile is stable, clean, and level.
Here are some popular flooring options that can often be installed over tile:
– Laminate flooring
– Engineered wood flooring
– Vinyl flooring (including sheet vinyl, LVT, and LVP)
– Ceramic tile (Yes, you can lay new tile over old tile if the subfloor and existing tile are structurally sound, but it’s not typically recommended due to added weight and height.)
– Cork flooring
– Carpet (primarily carpet tiles or wall-to-wall with padding, but never directly over loose or significantly uneven tiles).
Among various DIY flooring options, sheet vinyl generally stands out as the most budget-friendly choice. Its cost-effectiveness comes from the material itself and the relatively simple installation process, which often doesn’t require specialized tools or extensive professional labor. This makes it an excellent option for homeowners looking to update their floors without breaking the bank.
While it’s technically possible to cut sheet vinyl around a toilet, removing the toilet beforehand is highly recommended. It allows for a cleaner, more precise cut around the flange and provides a much more professional and watertight finish. This also makes the entire installation process easier, especially when manipulating large sheets of vinyl.
The lifespan of sheet vinyl installed over tile can vary significantly based on the quality of the vinyl, the thoroughness of the subfloor preparation, and the amount of foot traffic the area receives. As a temporary fix, it can easily last several years (3-7 years or more) if properly installed and maintained. However, because it’s laid over an existing hard surface, any imperfections in the underlying tile (if not properly leveled) can eventually show through or cause premature wear.
More Inspiring Flooring Ideas & Resources
Looking for more ways to enhance your home’s flooring? Explore these additional resources and ideas:
- My Unbiased, Brutally Honest Review of Ruggable Rugs
- Everything You Need to Know to Refinish Hardwood Floors Yourself
- Our Favorite Traditional Rugs from Loloi for Any Space
- Marble Tile vs. Marble Effect Tile: Which Option is Best for Your Home?
If you found this guide helpful and want to refer back to it later, be sure to pin it here: