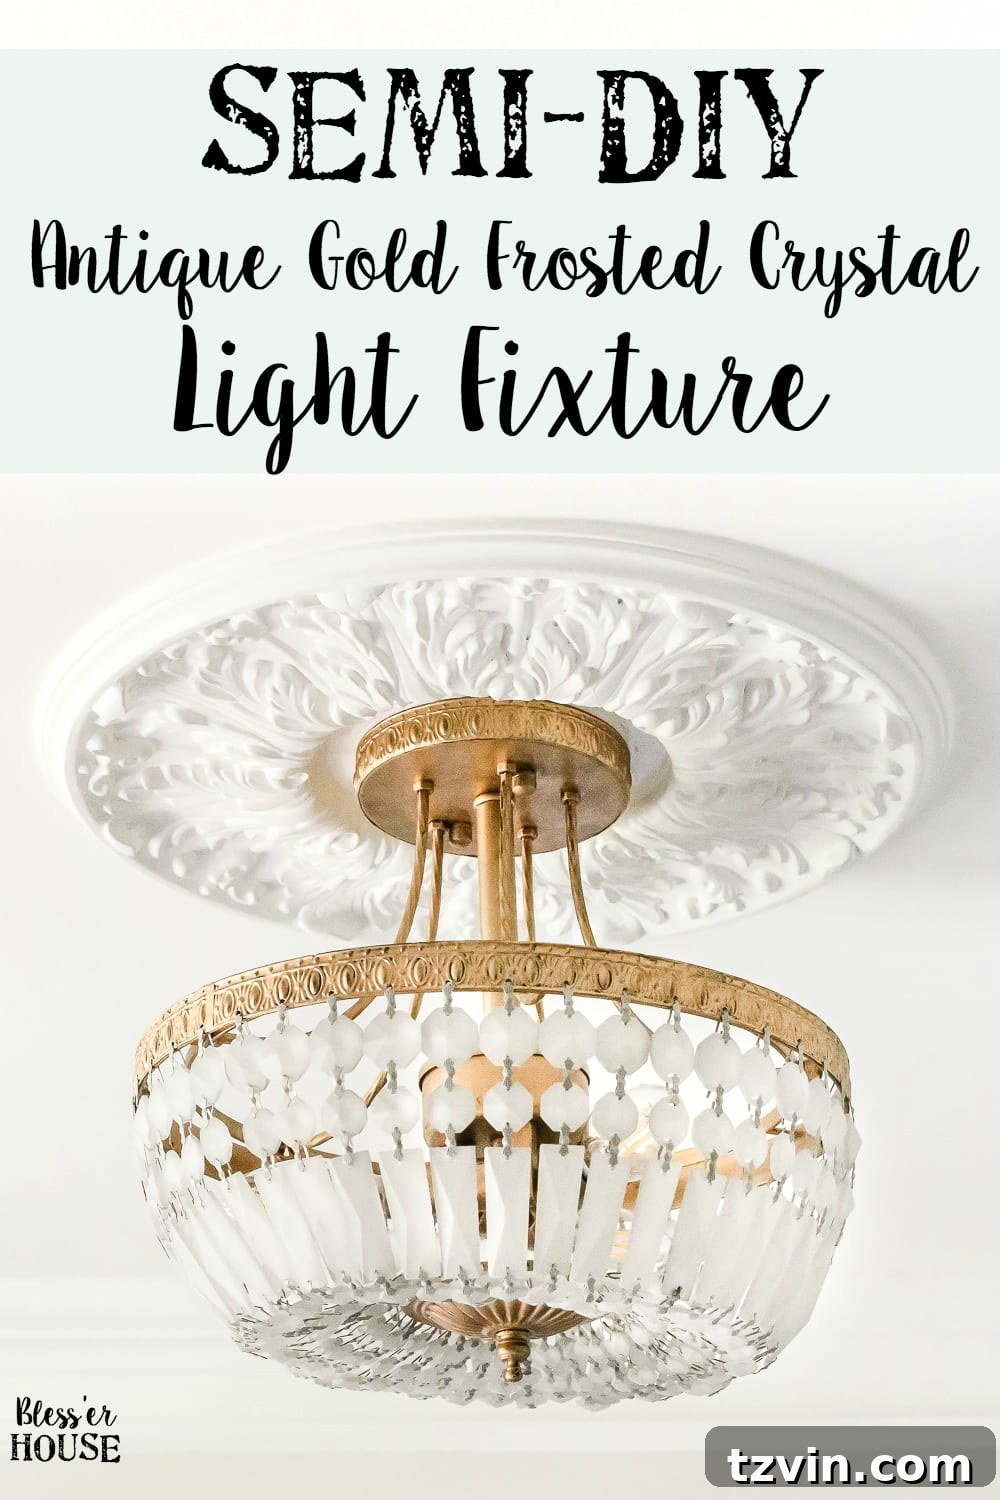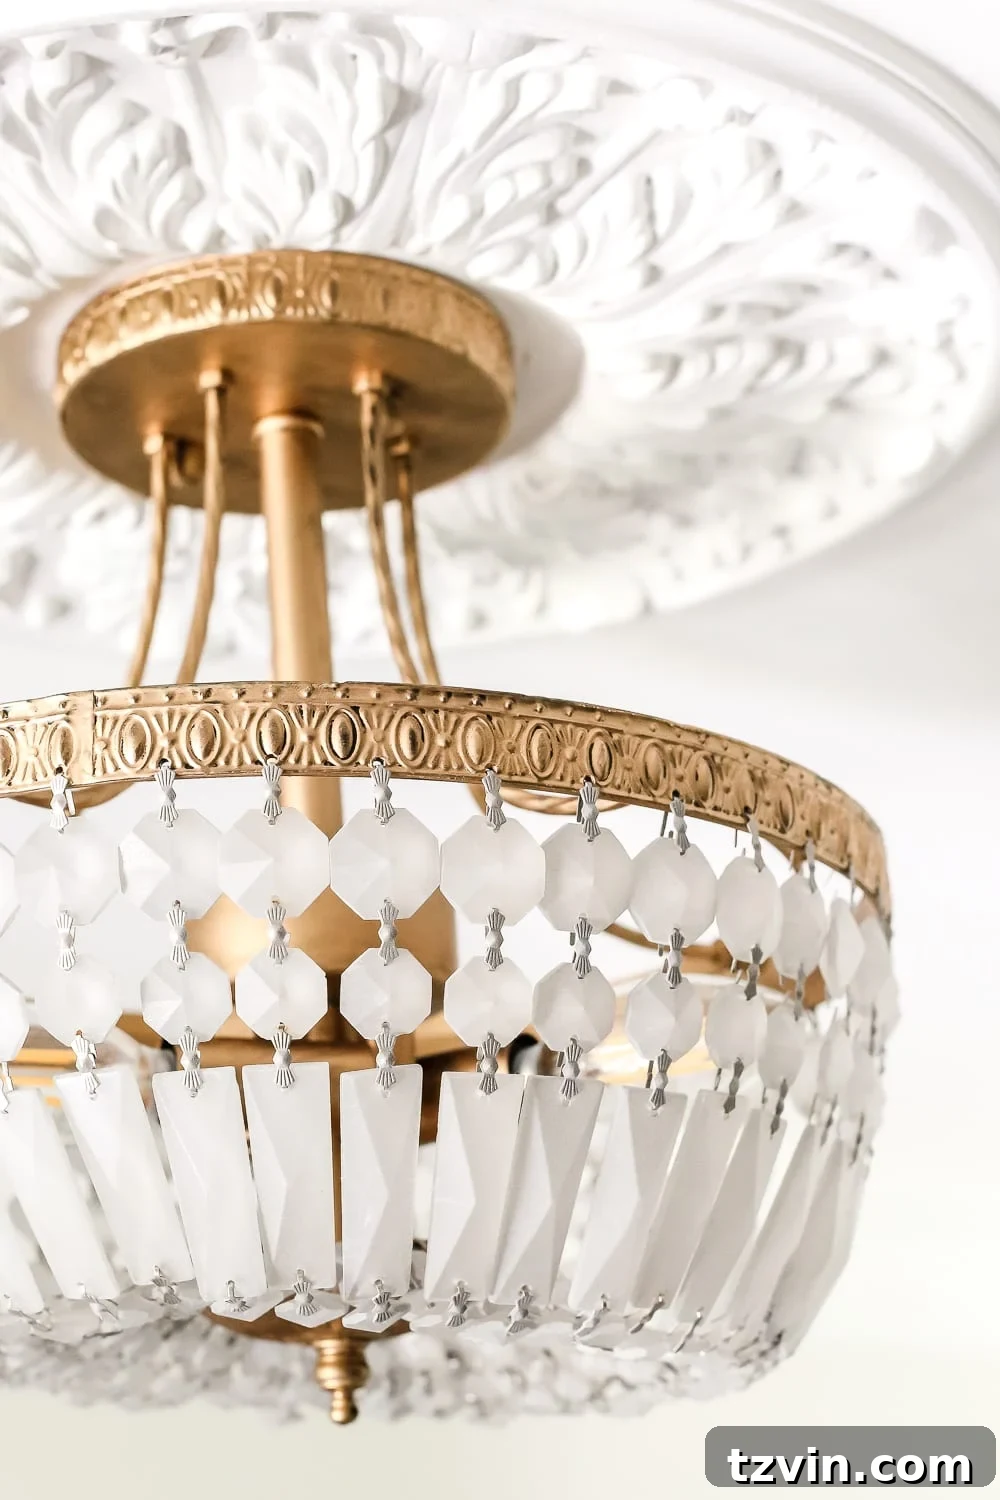
DIY Antique Gold Frosted Crystal Light Fixture: A Budget-Friendly Makeover
I have a confession: I can’t resist a good DIY project. Especially when it comes to giving something a fresh, new look! Remember that time I updated my plain white mirrors with some Rub ‘n Buff? Well, I couldn’t stop there. The makeover bug bit again, and this time, the target was my new foyer light fixture!
That’s right, a brand new light fixture. Some might think it’s crazy to paint something new, but I believe everything can be improved with a little bit of creativity and elbow grease.
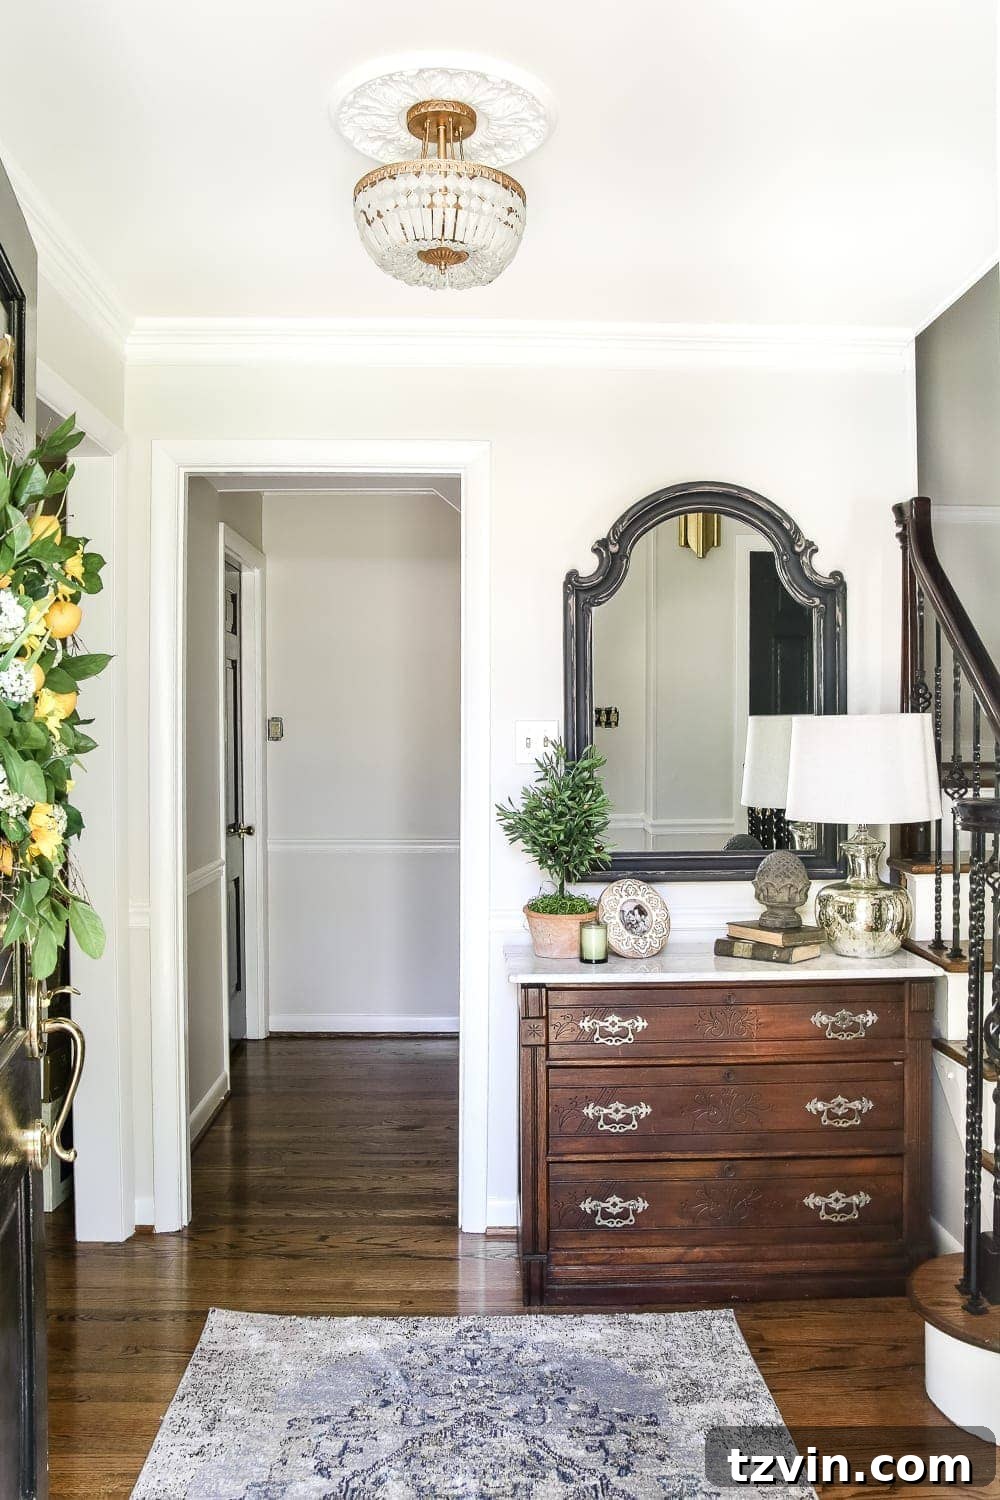
My foyer has gone through quite a transformation recently. If you saw it before, it was sporting a beautiful, but perhaps not quite “me,” chandelier.
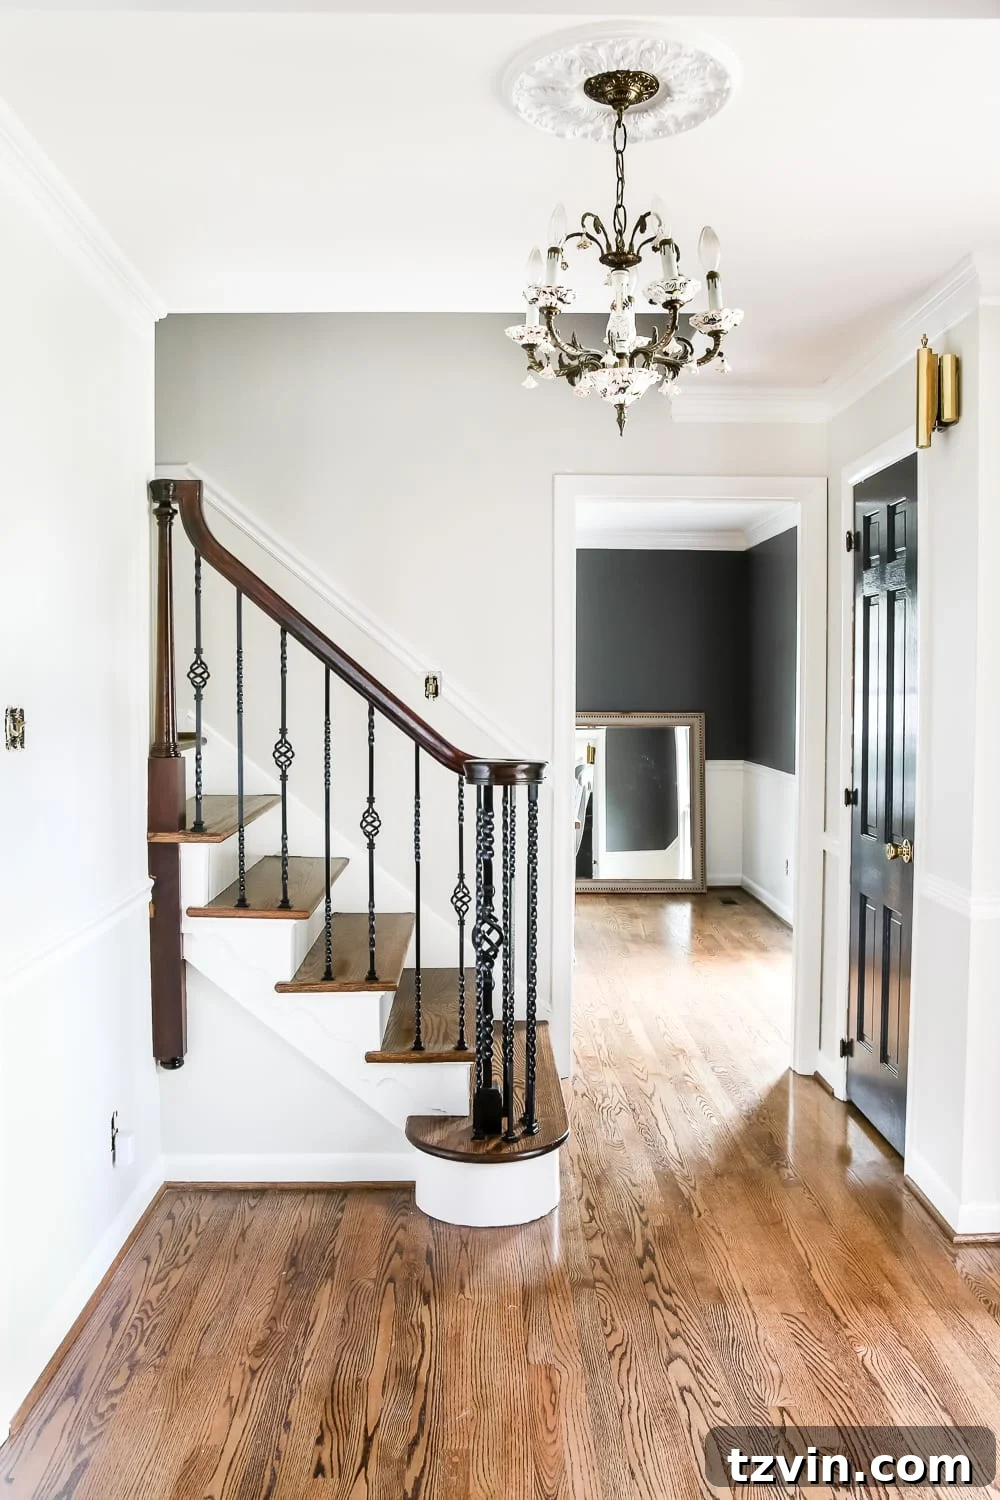
It was a lovely piece, but it felt a little too delicate for my style. I envisioned something with a more antique, glamorous feel. Since I didn’t want to alter it, I decided to find it a new home and look for a replacement.
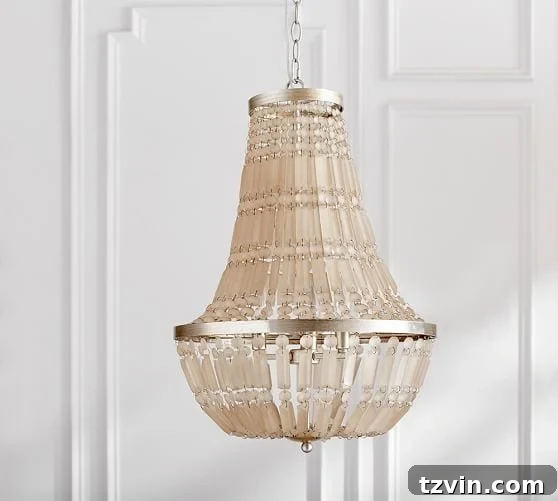
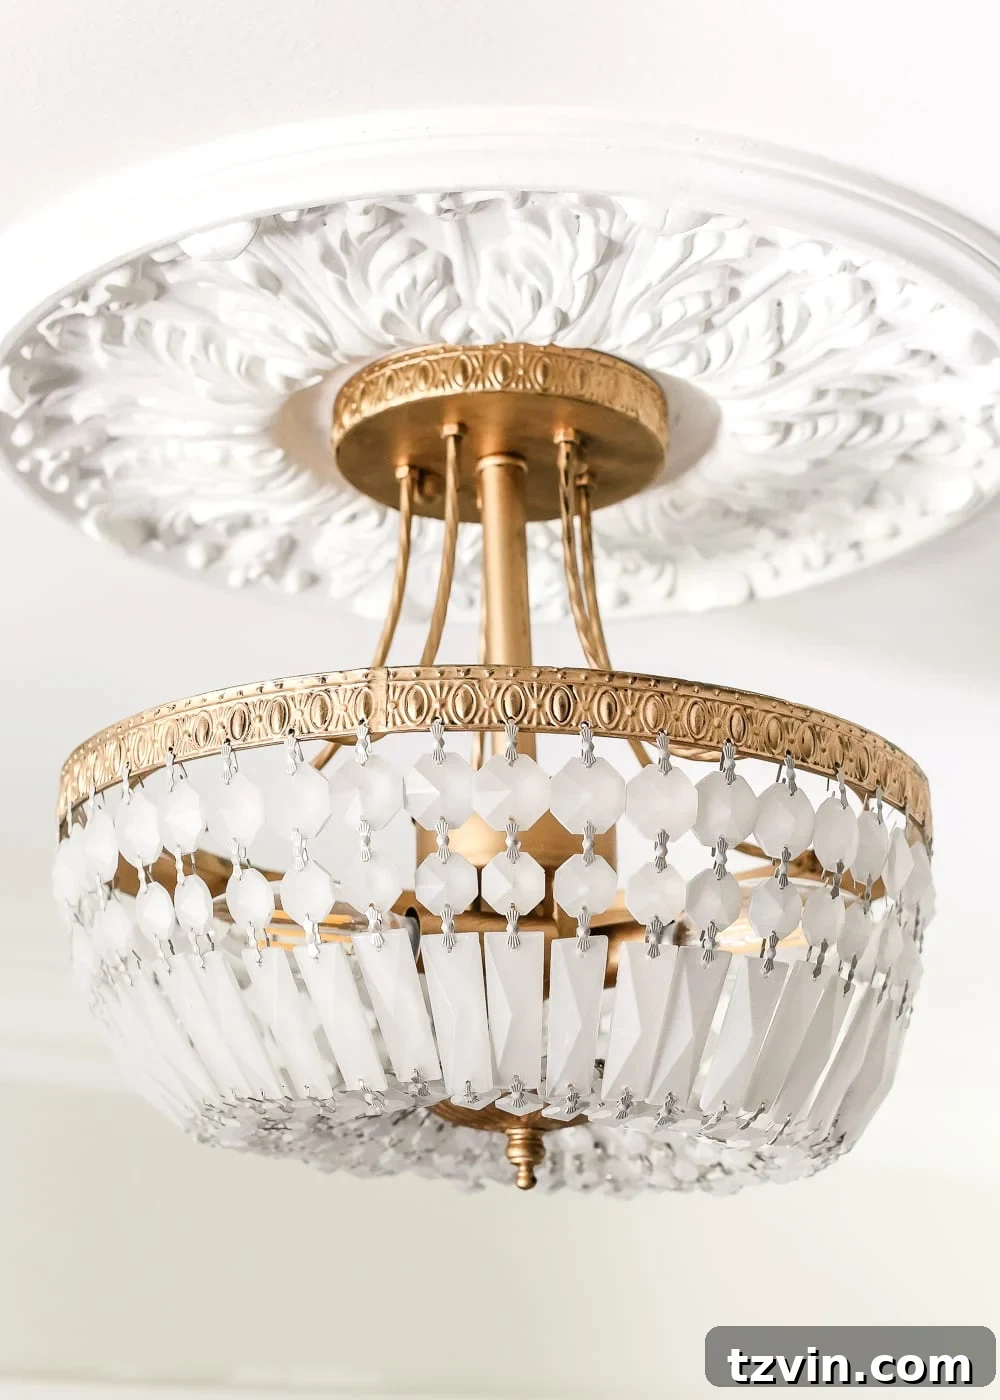
My inspiration came from a stunning antique gold frosted crystal chandelier I spotted at Pottery Barn. I fell in love with its semi-flush mount design, but not necessarily its price tag. My goal? Achieve a similar high-end look without breaking the bank.
My solution? Find a more affordable light fixture to use as a starting point. I found a black and glass version on Amazon for around $100. The moment it arrived, the paint supplies came out!
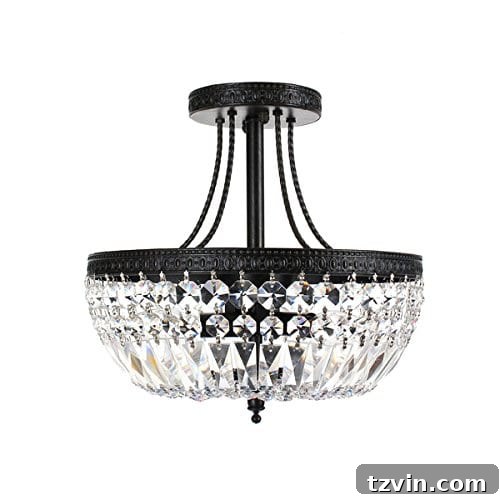
DIY Antique Gold Frosted Crystal Light Fixture: The Transformation
Here’s how I did it:
Supplies You’ll Need:
- Crystal basket light fixture
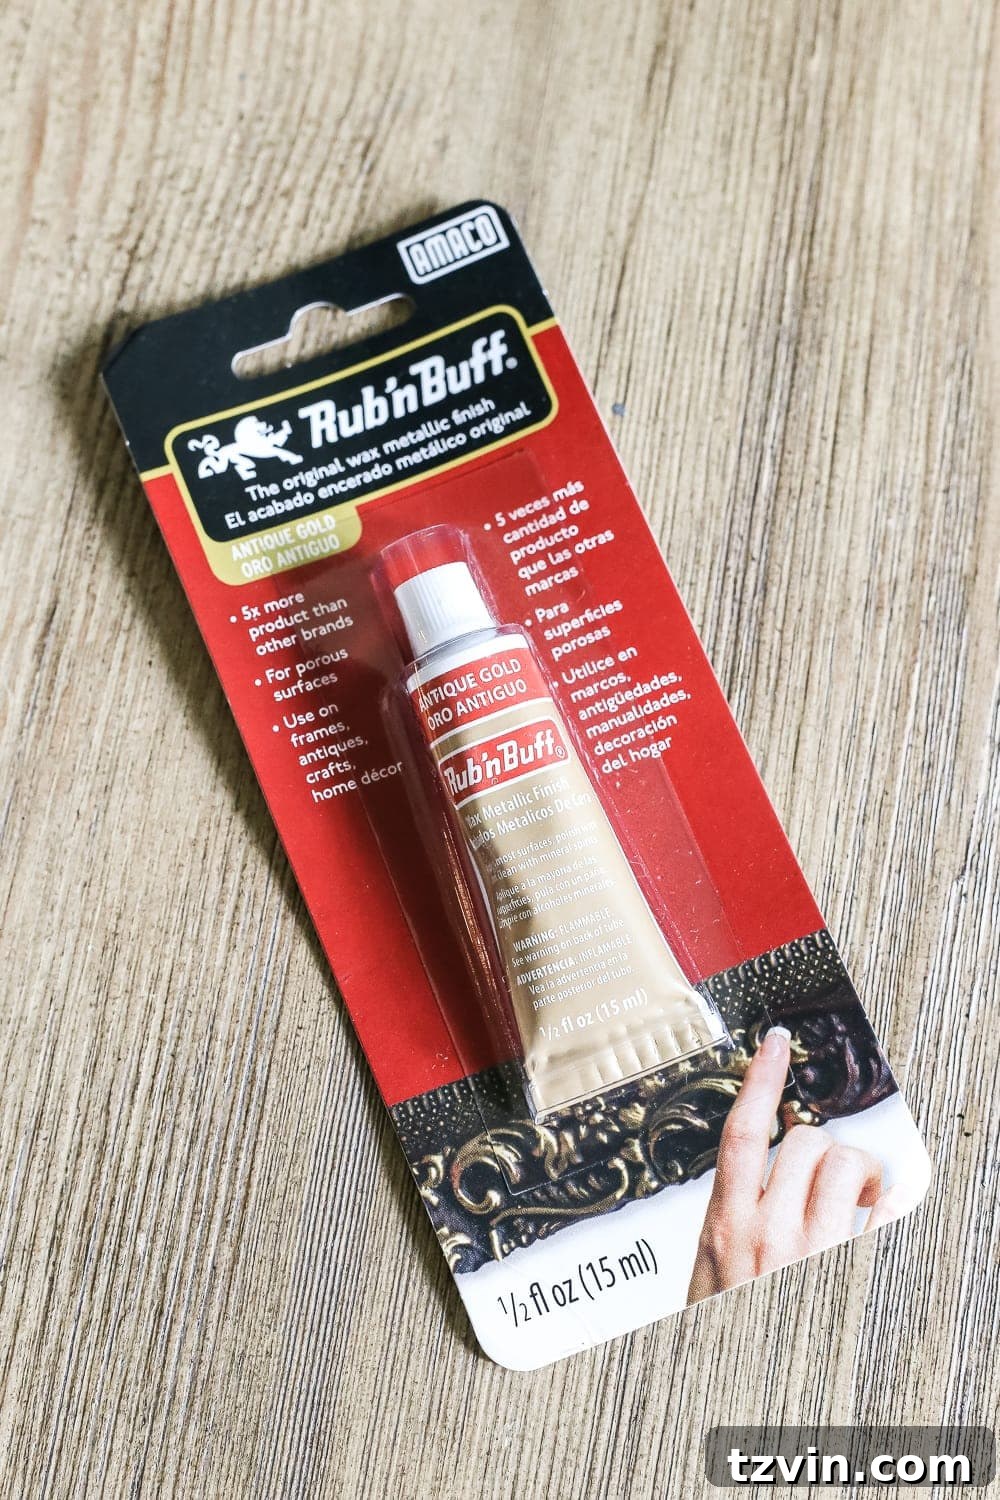
- Rub ‘n Buff in Antique Gold
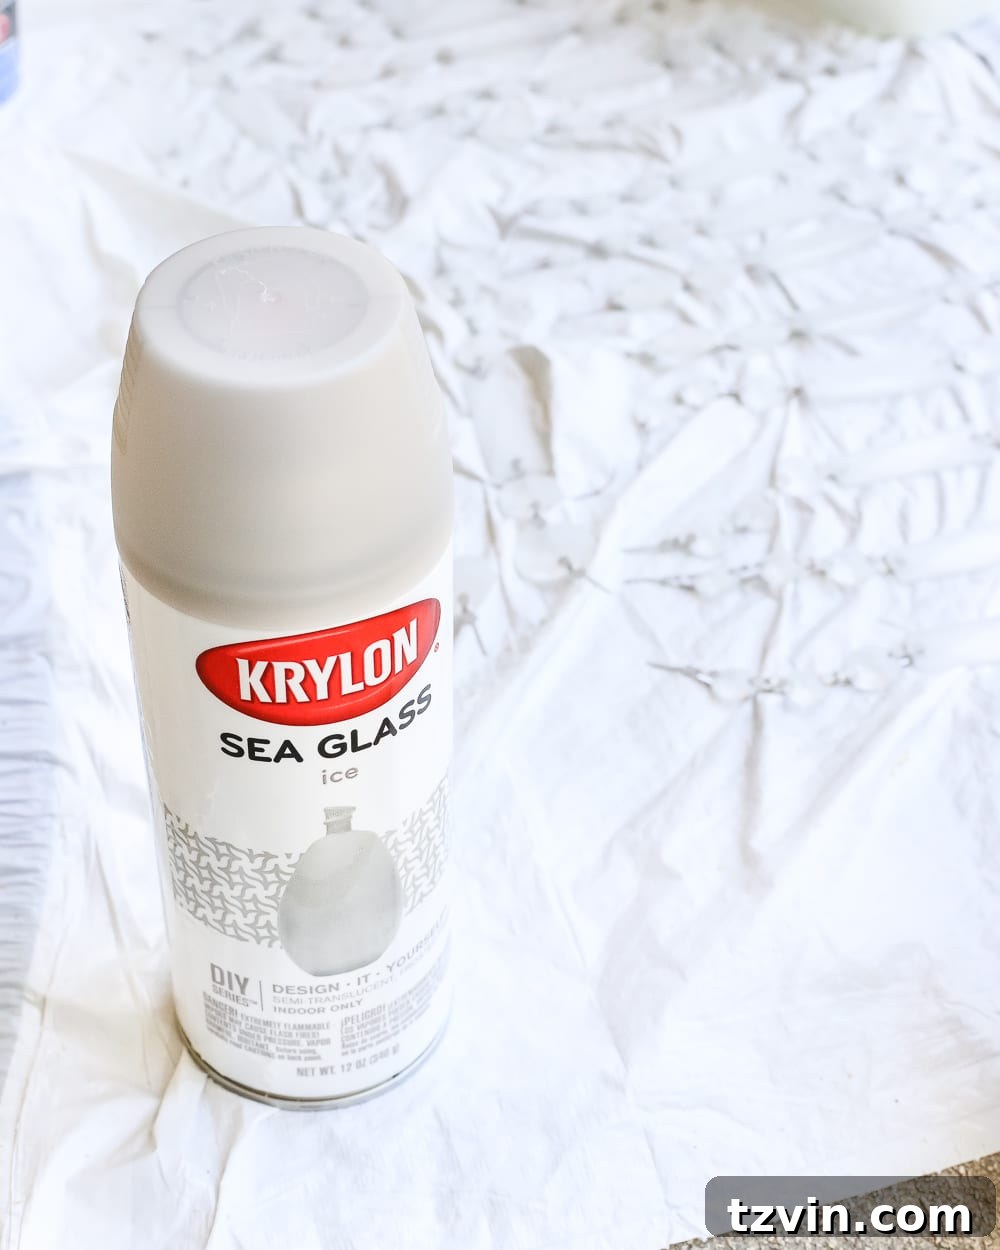
- Krylon Sea Glass Spray Paint in Gray
- Plastic drop cloth
- Artist brush
Here’s what the fixture looked like before its makeover. Even in its original state, it was beautiful. But I was set on the vision of an antique gold finish!
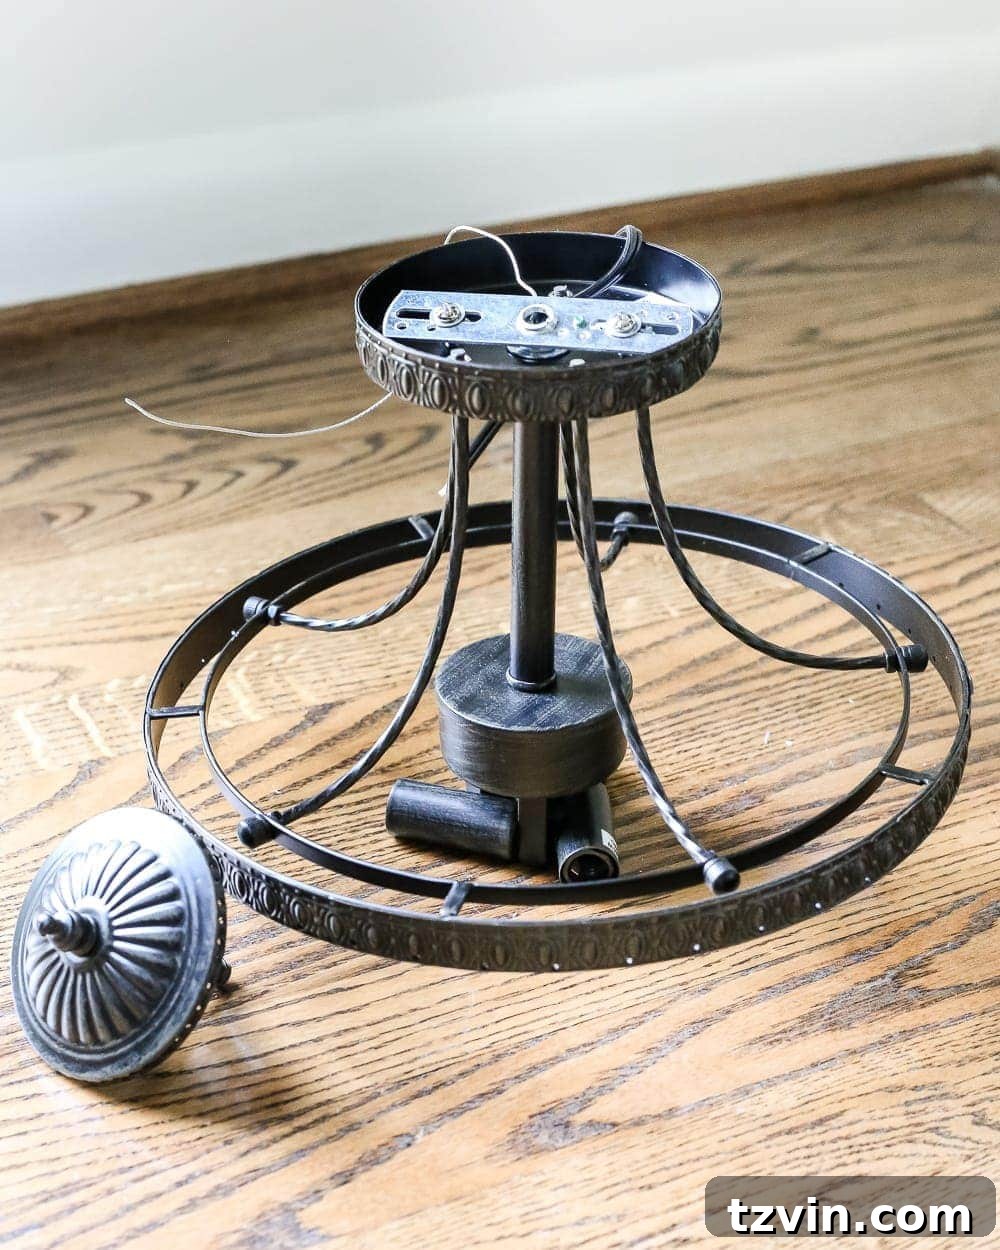
Step 1: Apply Antique Gold Rub ‘n Buff
I started with the same tube of Rub ‘n Buff in Antique Gold that I’d used on my mirrors. A little goes a long way with this product, making it perfect for smaller projects.
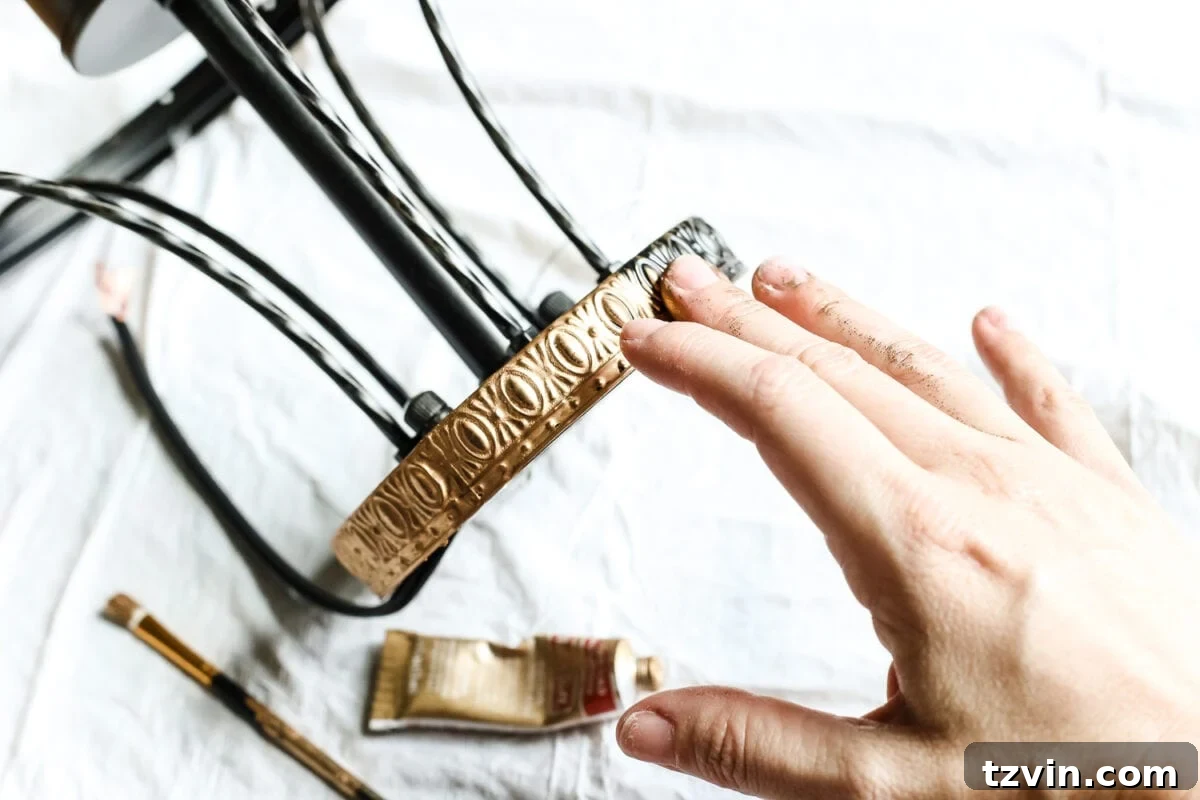
It took me all of 10 minutes to apply the Rub ‘n Buff to the black metal parts of the fixture, using just my fingertips. It’s really that simple!
For the smaller, harder-to-reach areas, I used a small artist brush to ensure every detail was covered.
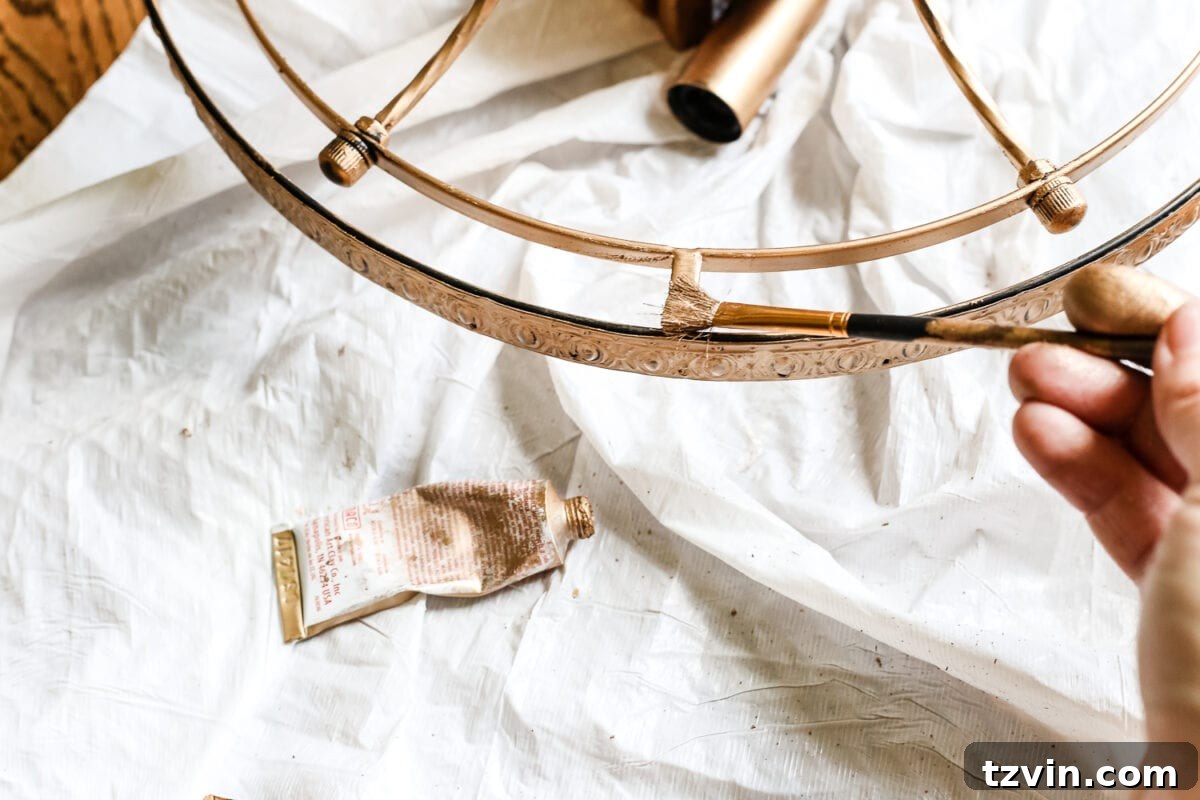
Step 2: Frosted Crystal Effect
To give the crystals an antique, frosted appearance, I laid them out on a plastic drop cloth in my garage. Since these were glass, I didn’t feel bad about altering them.
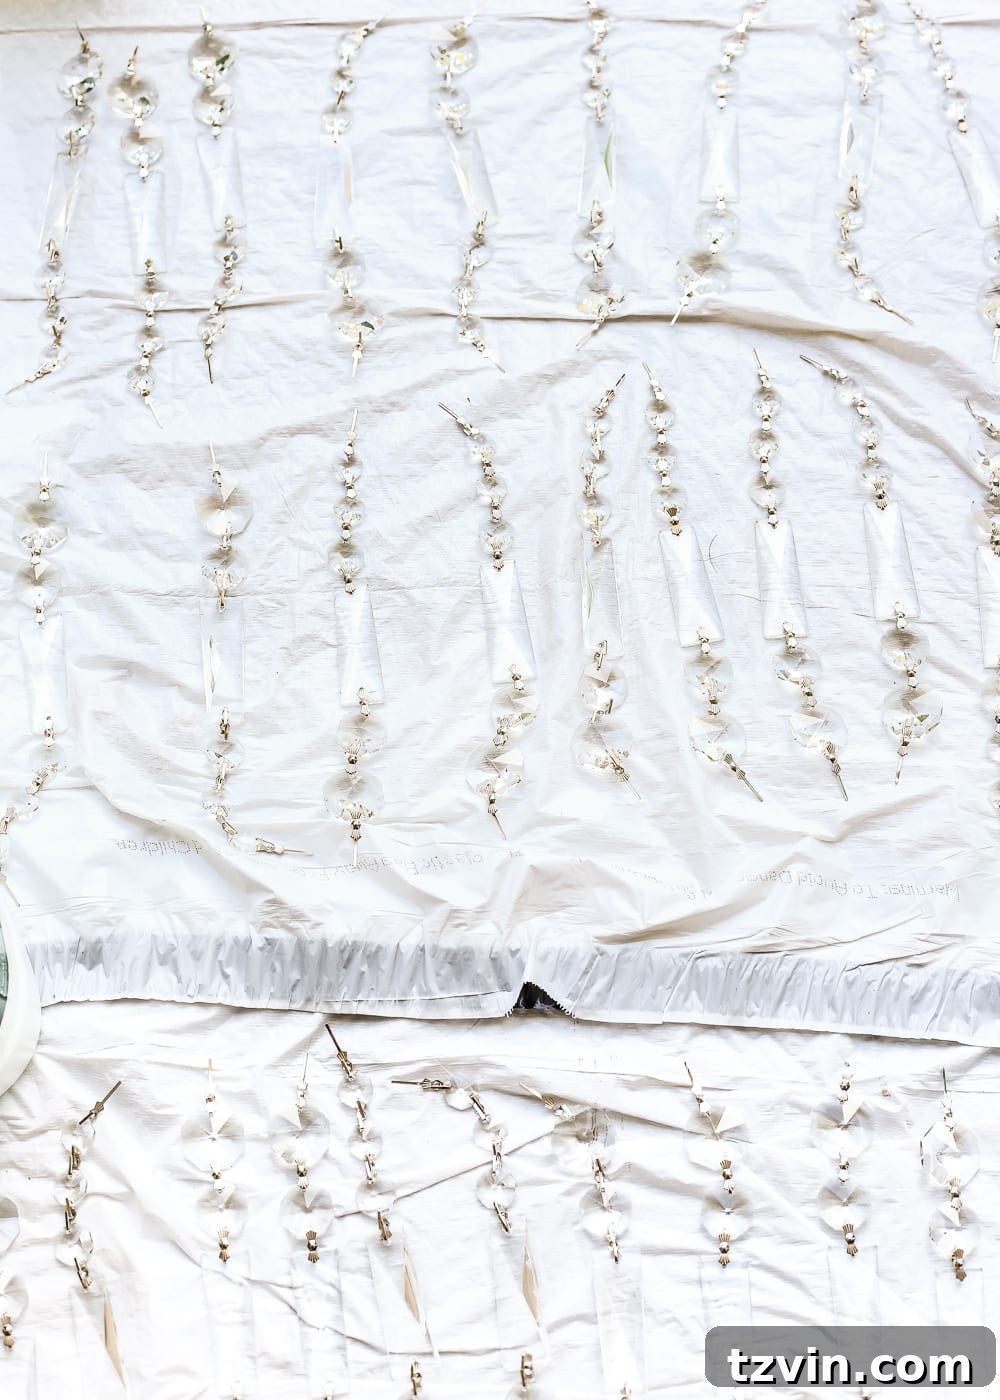
I used Krylon’s Sea Glass spray paint in gray. I was tempted by the aquamarine green color, but ultimately decided the gray would give a more neutral look. I sprayed one coat on each side of the crystals for a beautiful frosted effect. I’m already thinking about other projects I can use this spray paint on!
Step 3: Installation and Enjoy!
Once everything was completely dry, we hung the light fixture in the foyer. The transformation was instant!
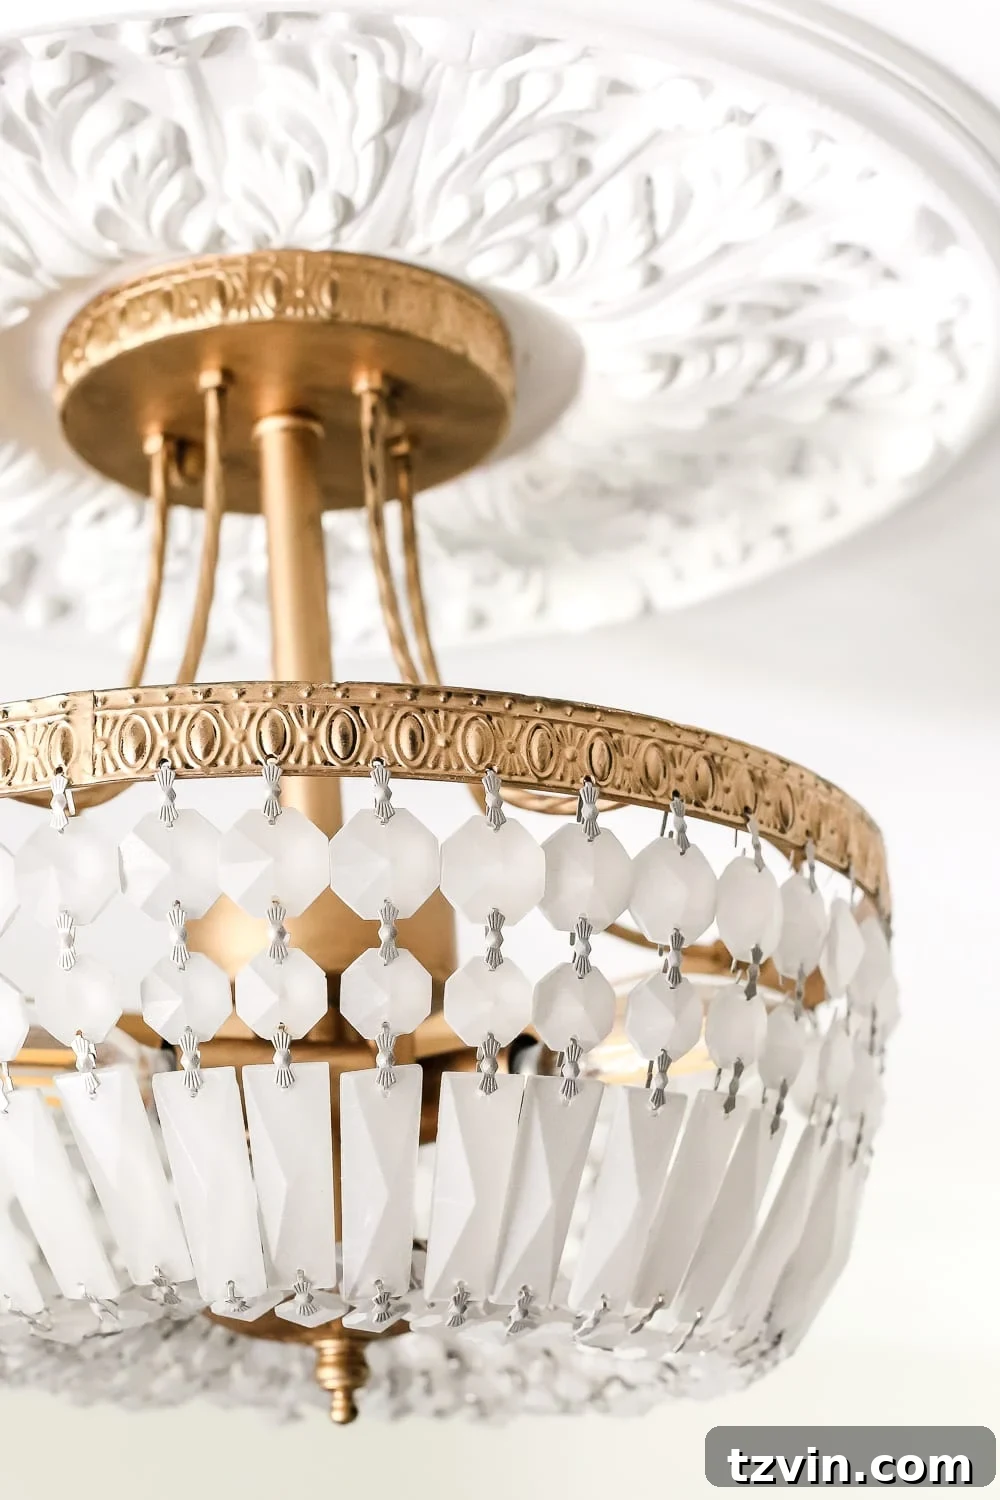
The cost of the paint supplies was only about $10-$15. Compared to the $240 price tag of a similar fixture I found online, I saved over 50%! Definitely a win for a budget-friendly DIY!
I’m so pleased with how the foyer is coming together. I might even paint the pulls on the marble top chest to tie everything together even more.
Here’s a reminder of what the foyer used to look like:
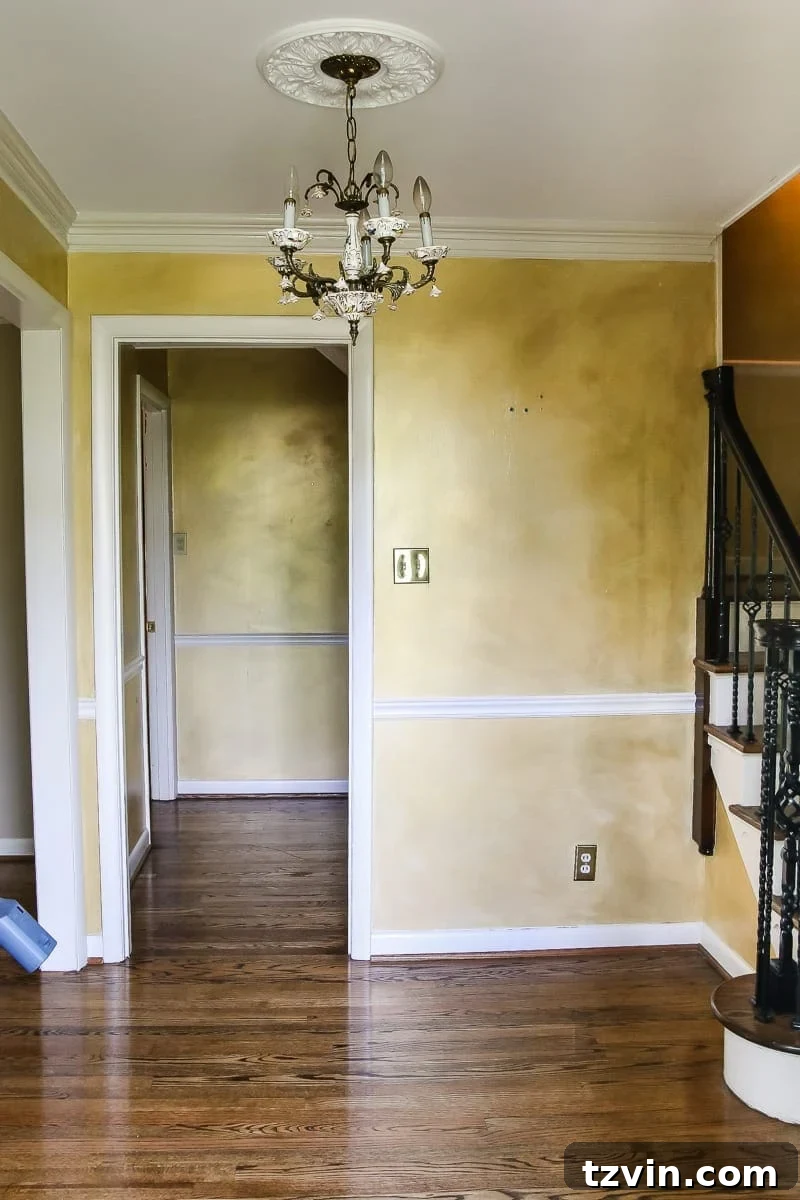
The difference is incredible, right? It’s even more beautiful at night when the light fixture is turned on. The crystals cast a beautiful pattern of light all over the walls and ceiling.
Have you tackled any light fixture makeovers or painted anything brand new lately? I’d love to hear about them!
Pin this for later!