
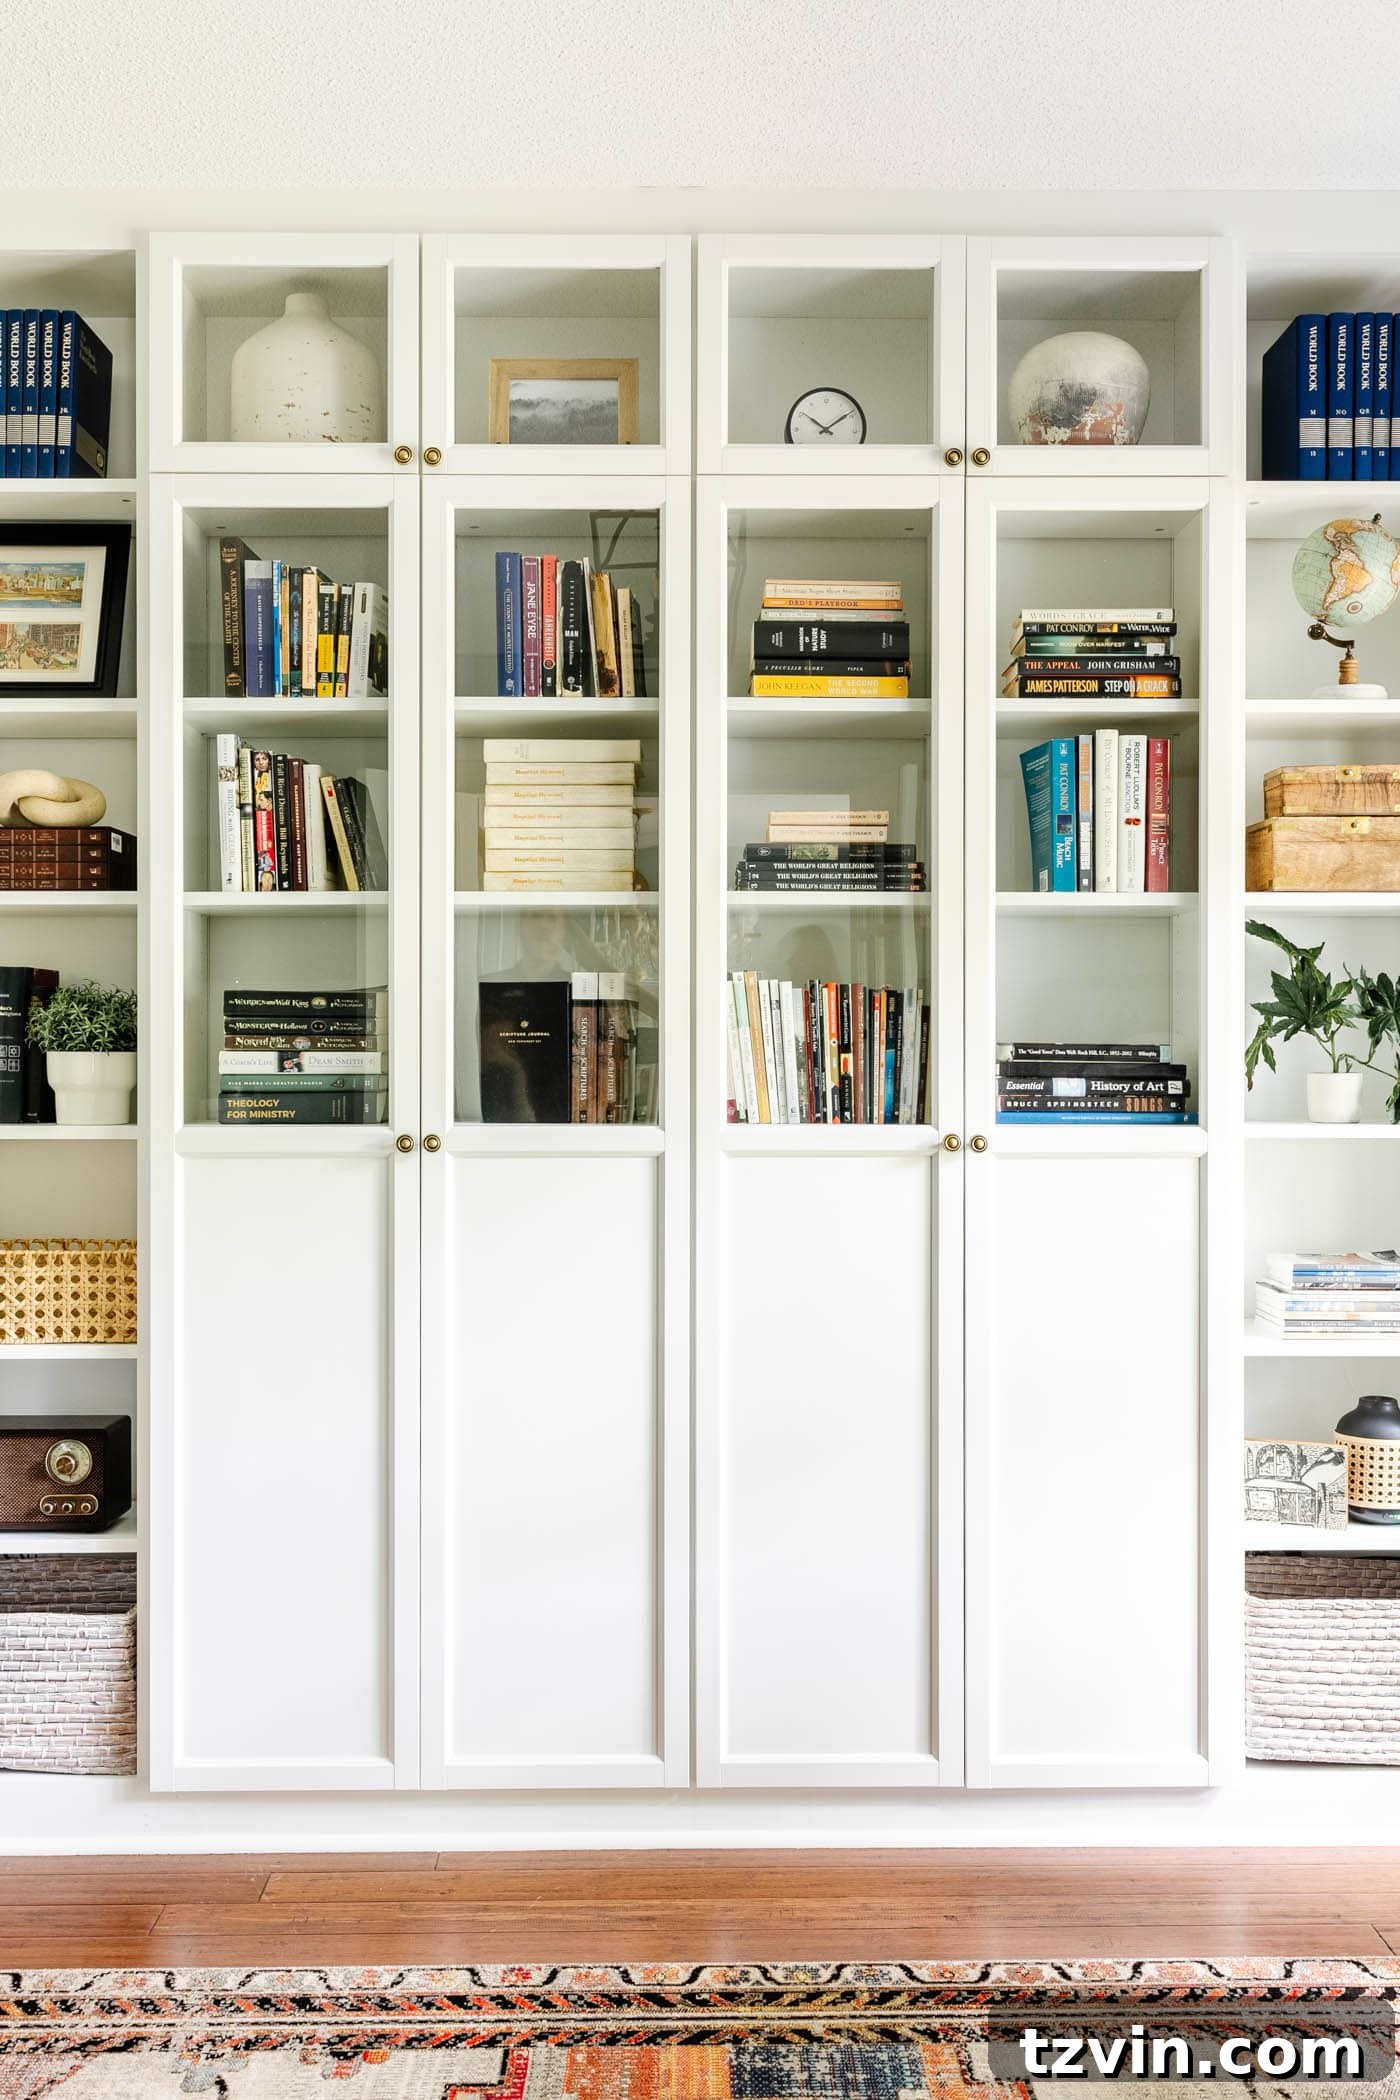
DIY Built-In Bookshelves with IKEA Billy Bookcase Hack & Oxberg Doors
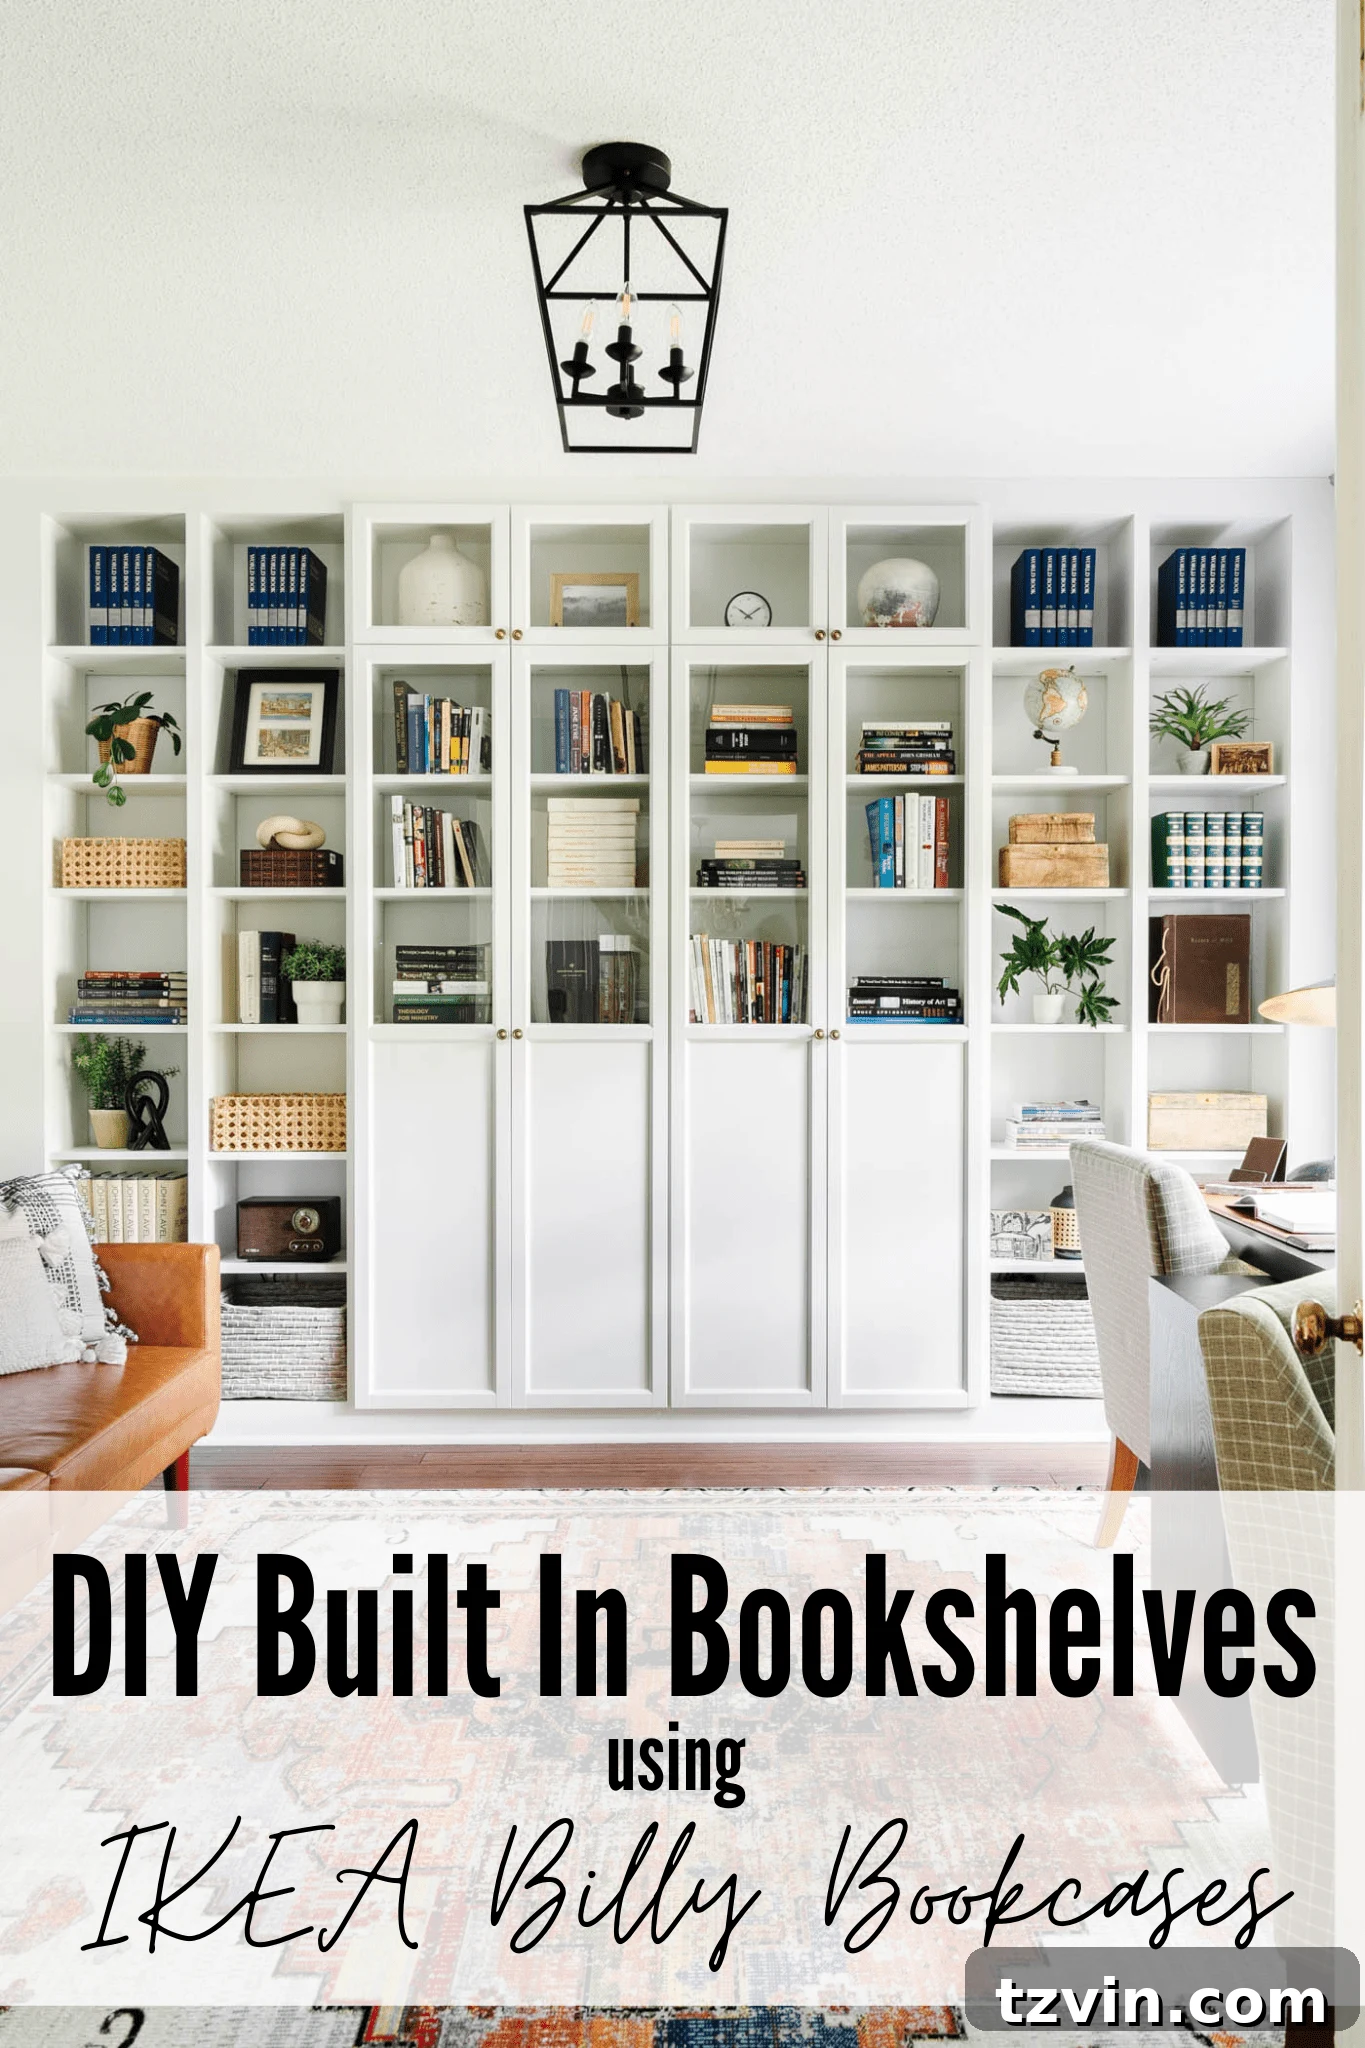
We’re no strangers to the IKEA BILLY bookcase hack! Having built several
sets for projects like our
home office makeover, we’ve become quite familiar with the process.
This tutorial focuses on a specific, space-saving BILLY bookcase version
with glass panel doors, perfect for adapting to current IKEA stock.
Check out our other projects:
DIY built-in entertainment center using tall, wide Billy bookcases
or our
DIY playroom built-in bookshelves using short, wide Billy bookcases.
This method has proven reliable for achieving beautiful, custom-looking
built-in bookshelves.
Why IKEA Built-In Shelves Are the Best Solution for DIYers
These shelves are a fantastic addition to various spaces, including living
rooms, playrooms, media rooms, home offices, and dining rooms. Built-ins
are a timeless design element that always looks great.
Related:
Classic Interior Design Trends That Never Go Out of Style
The best part? Half the work is already done! You save a significant
amount of time since you don’t have to build the bookcases from scratch.
If you’re looking for a budget-friendly way to create a custom, high-end
look; need plenty of vertical storage without wasting space; or want an
accessible carpentry project, this tutorial is for you!
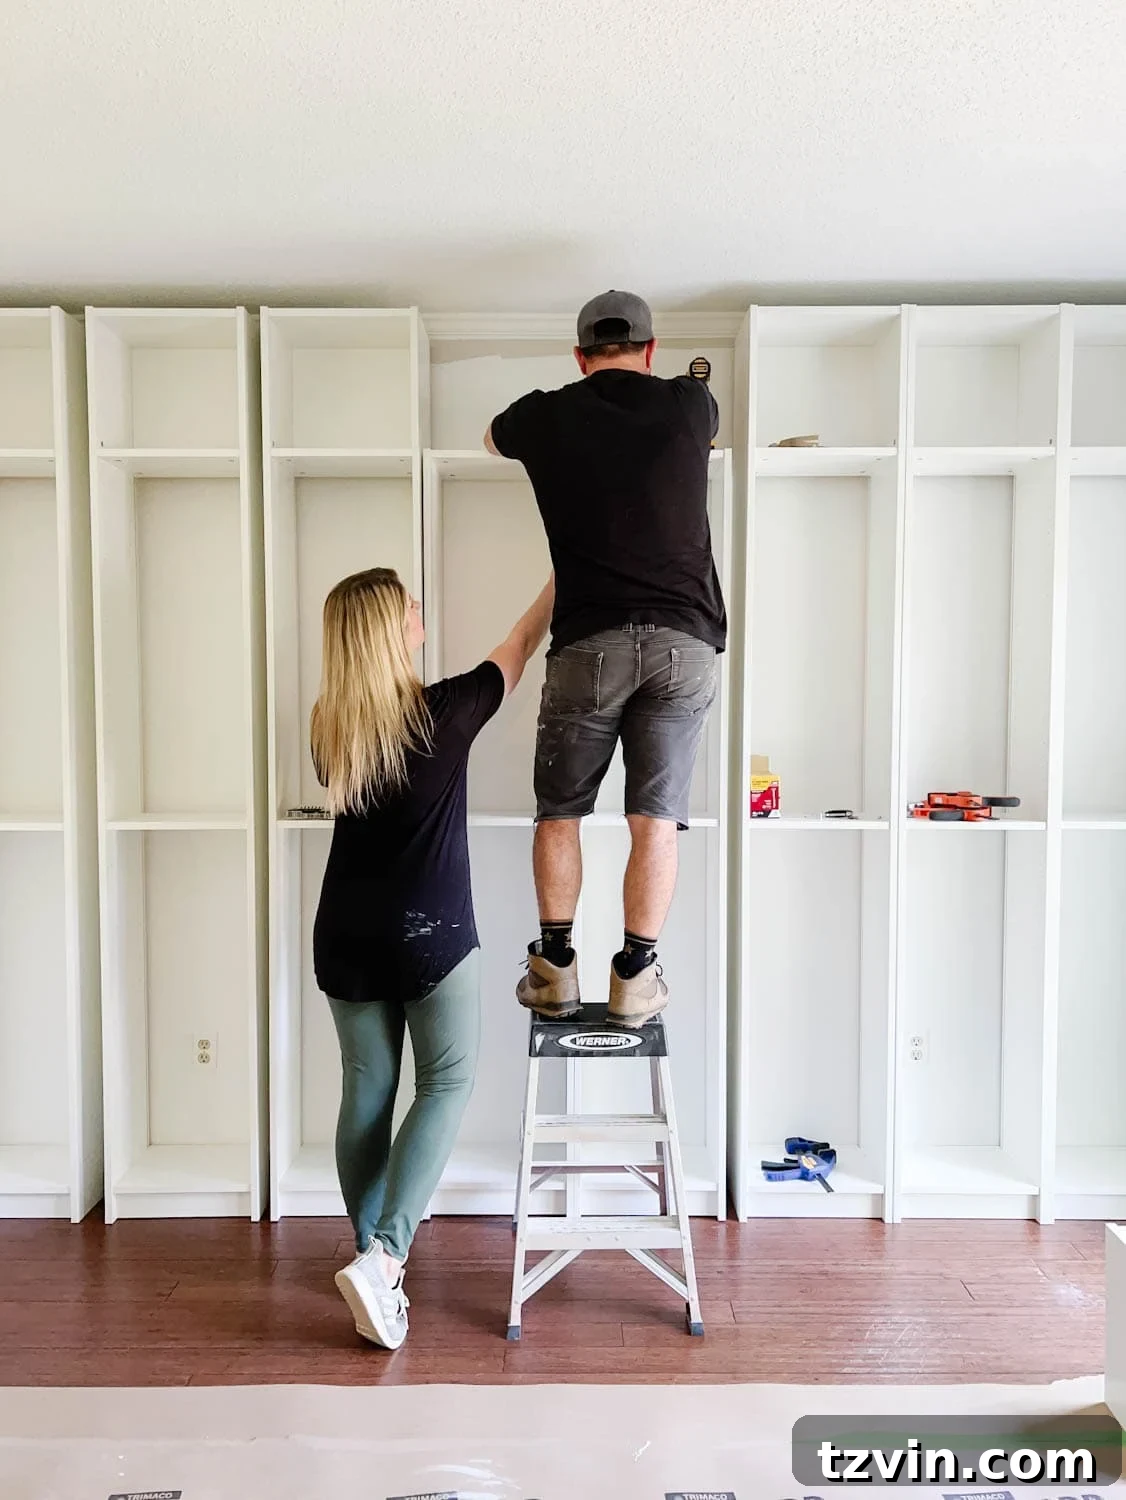
How to Make Built-In Bookcases Using the IKEA Billy Hack
Tools
-
Circular saw
or
table saw -
Coping saw
or
jigsaw - Saw horses
-
Power drill
and
bits -
Orbital sander
and medium to fine grit sanding pads - Cordless brad nail gun
- Hammer
- Pry bar
- Tape measure
- Step ladder
- Clamps
- Combination square
- Utility knife
Supplies
(This is what we used; adjust the number of Billy bookcases and Oxberg
doors to fit your space.)
-
8 –
15 3/4″ x 93 1/4″ Billy bookcases -
4
long Oxberg panel/glass cabinet doors -
4
short Oxberg panel/glass cabinet doors - #8 1 1/2″ Wood screws
- Bookcase anchors (included with the IKEA bookshelves)
-
5 –
2x4x8 pine boards -
2
pre-primed 1x10x8 boards -
4
pre-primed 1x4x8 boards - Finishing nails
- Caulk
- Wood filler
- Loctite foam
- Painters tape
-
Satin finish paint (Match the IKEA white for the paint color at the
store.)
Notes: Consider your wall’s length and ceiling height to
determine the number of bookcases and board sizes needed to achieve the
built-in look.
For example, our ceilings were 8 feet high, and the wall was 11.5 feet
wide. The top of the bookcase reached about 7.5 feet, leaving 6 inches to
close the gap with a trim board.
We placed our shelves on hardwood floors. If you have carpet, consider
removing the carpet section underneath the bookcases.
Steps
Step 1 – Remove Baseboard
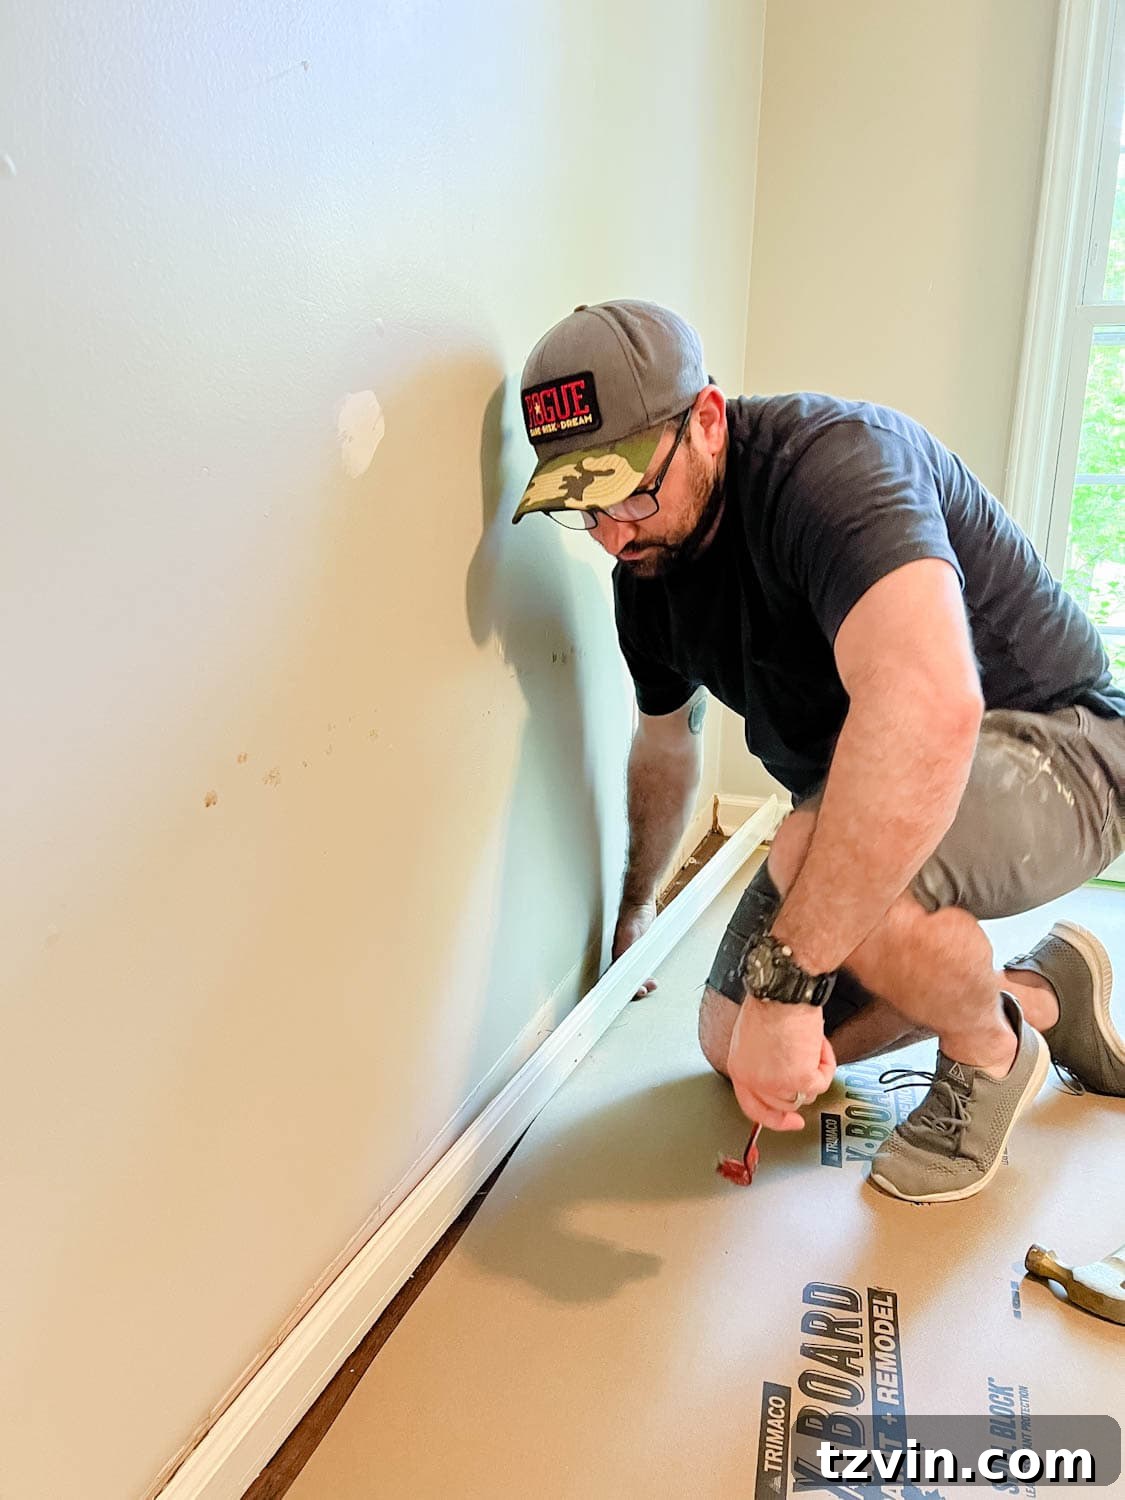
To set the Billy bookcases flush against the wall, remove the baseboard and
shoe molding.
Use a utility knife to cut along the caulk lines of the baseboard.
Then, use a claw back hammer and a small pry bar to carefully remove the
baseboard from the wall.
Step 2 – Assemble
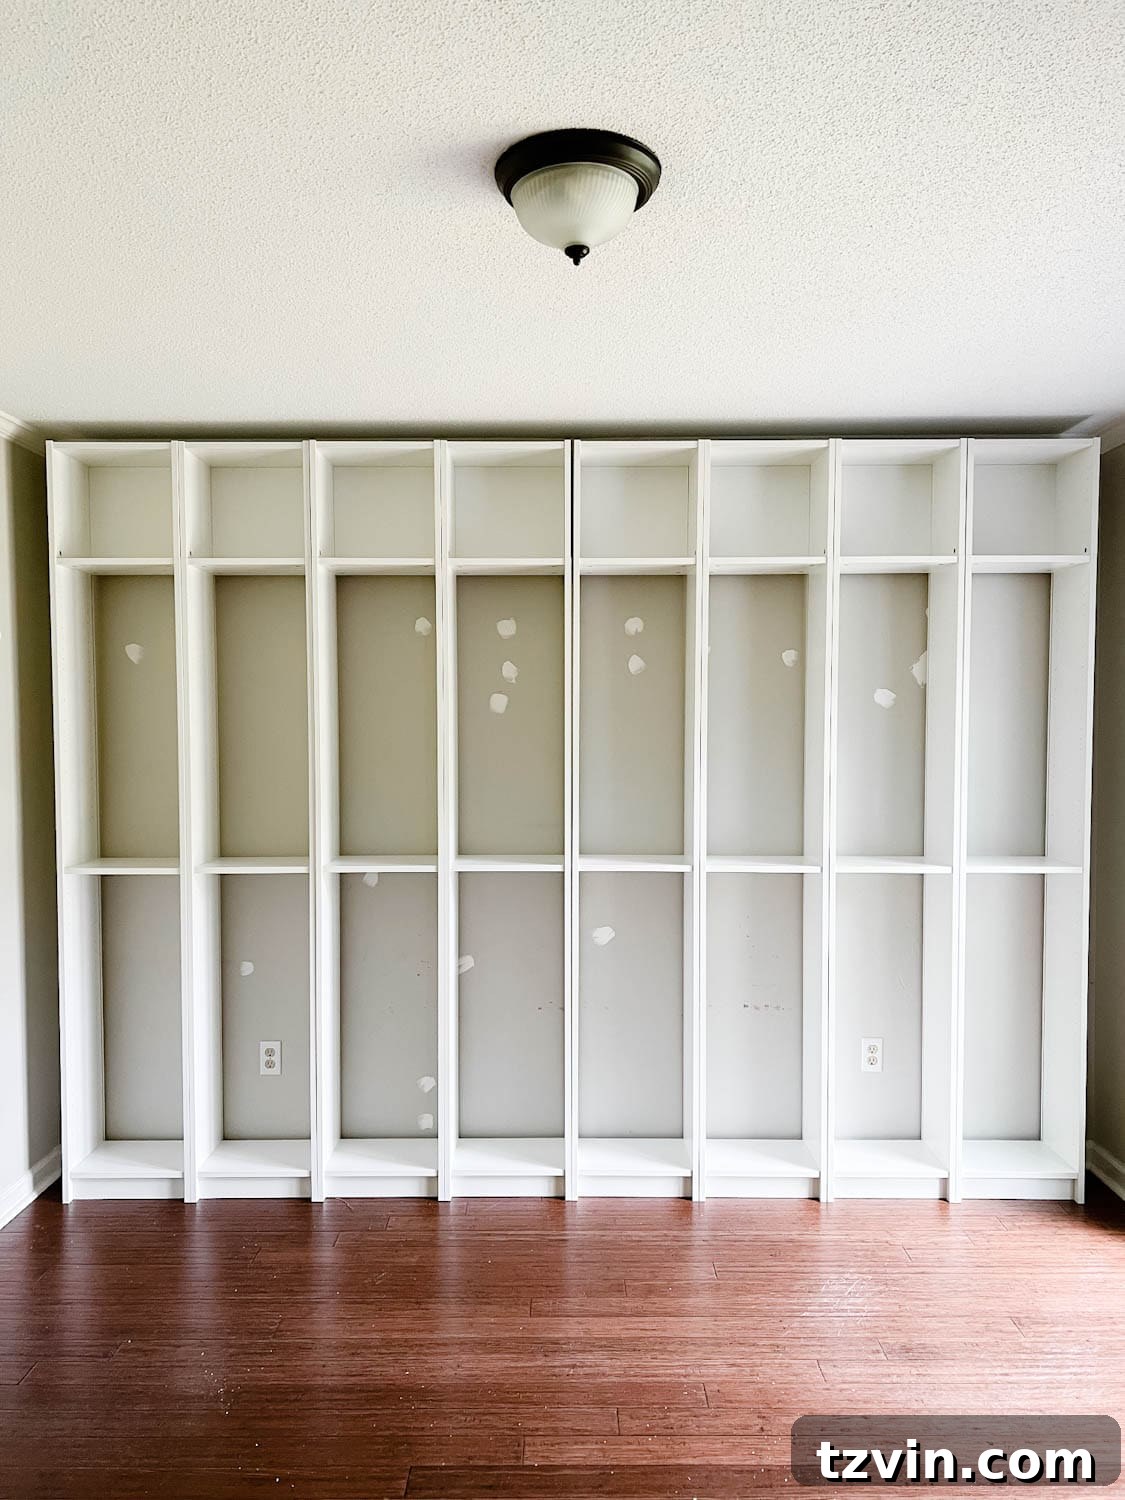
Assemble all Billy bookcase boxes, including the height extenders.
Remember to leave the backing off. The wall itself will serve as the
bookcase backing.
You can add the height extenders after anchoring the bookcases to the
wall.
Step 3 – Correct Gap
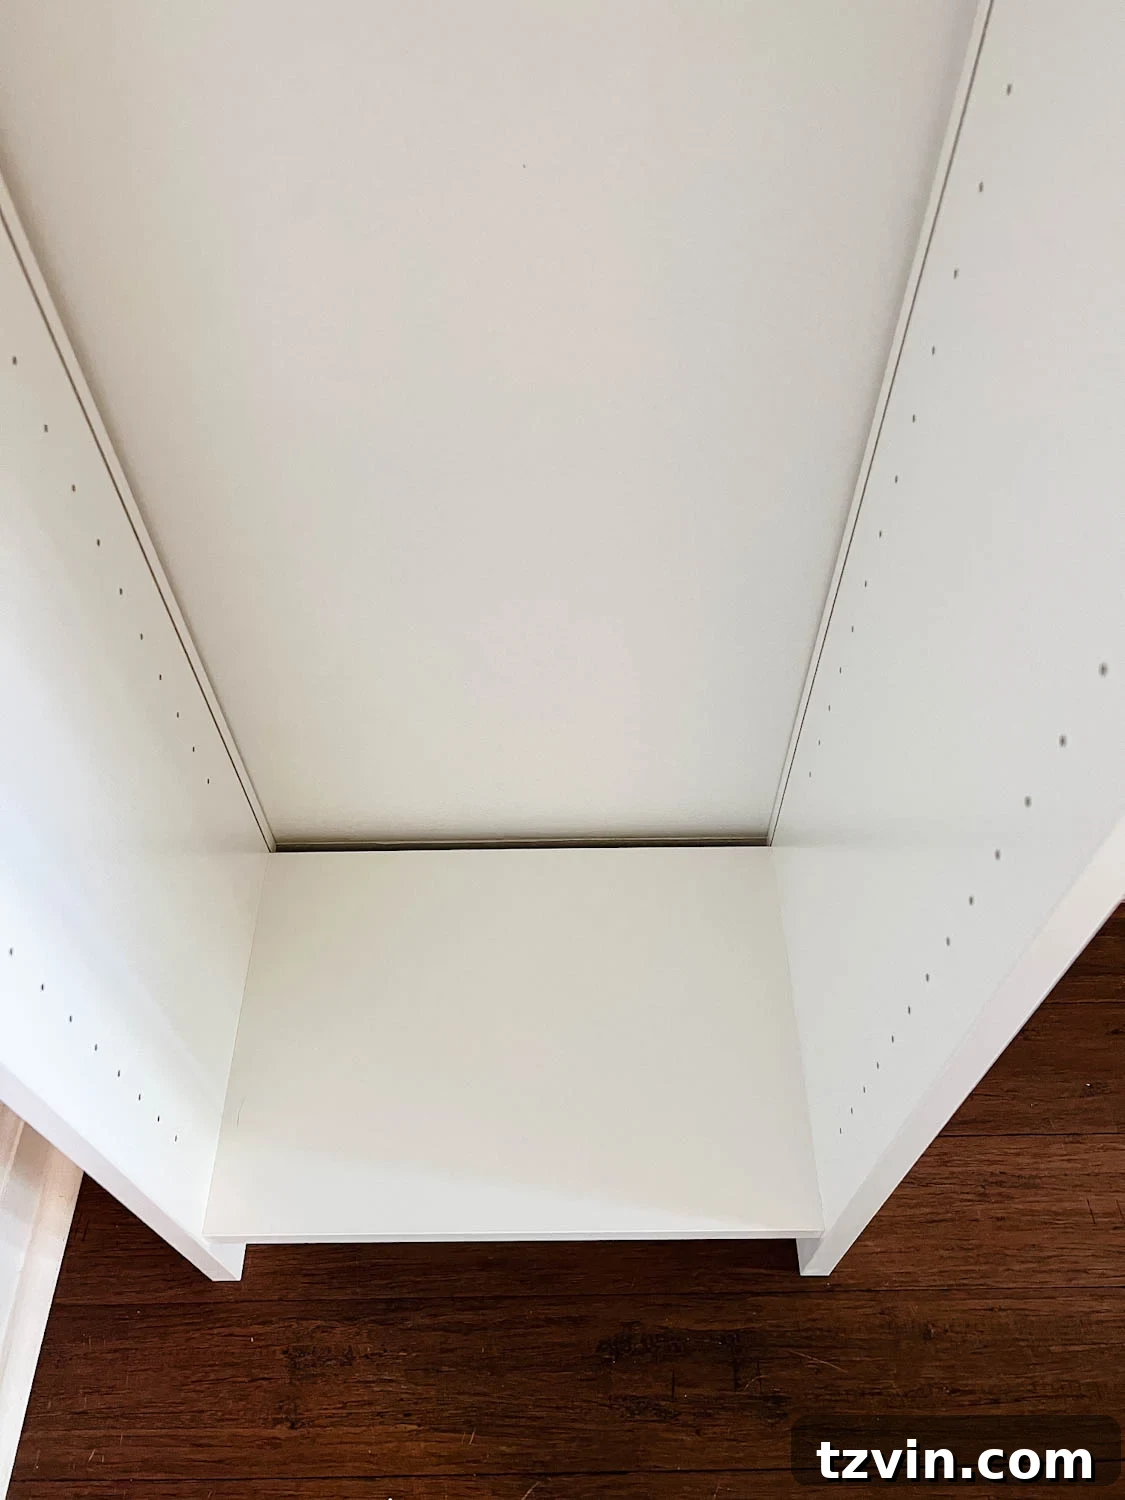
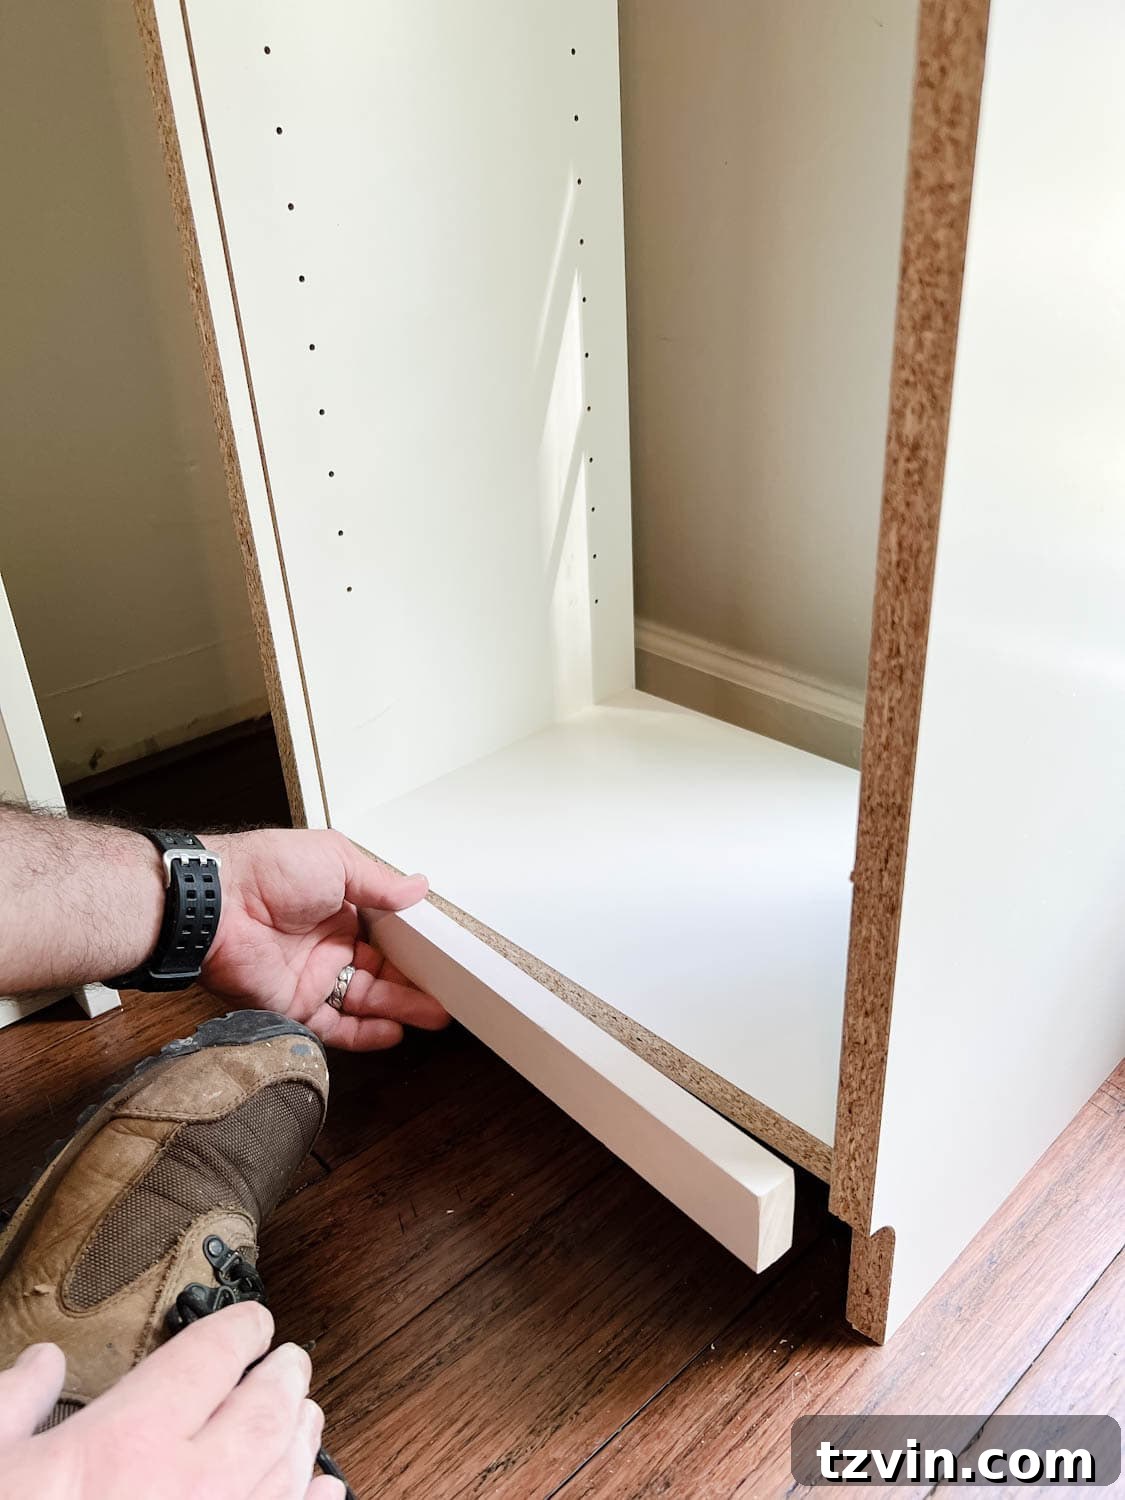
Since the bookcases are designed to have a backing, there will be a small
gap at the back.
To achieve a seamless look, measure the bookcase and cut a piece of 1×2
board.
Attach the 1×2 to the back of the bottom of the bookcase along the lower
shelves with the finish nailer.
Caulk will fill any remaining cracks later.

Step 4 – Anchor Shelves
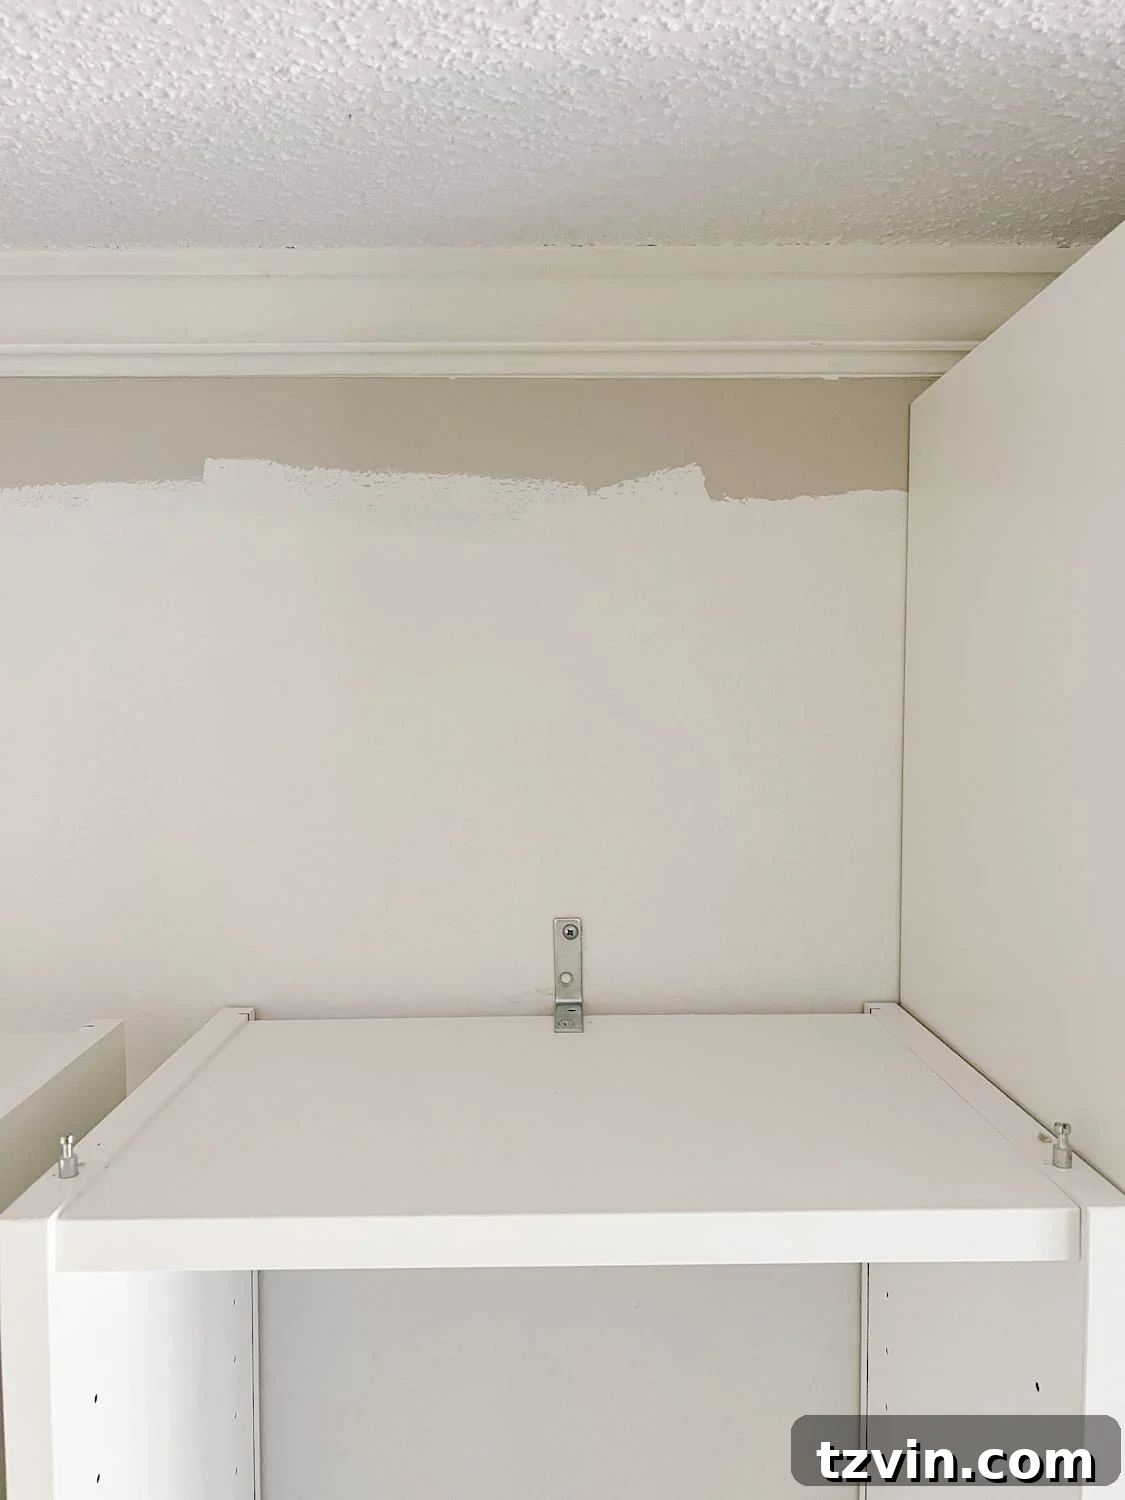
Precisely measure your wall, center the bookcases, and position them as
desired.
Use a stud finder to locate wall studs.
Anchor the middle bookcase to a stud for stability.
Step 5 – Attach Each Billy Bookcase Together
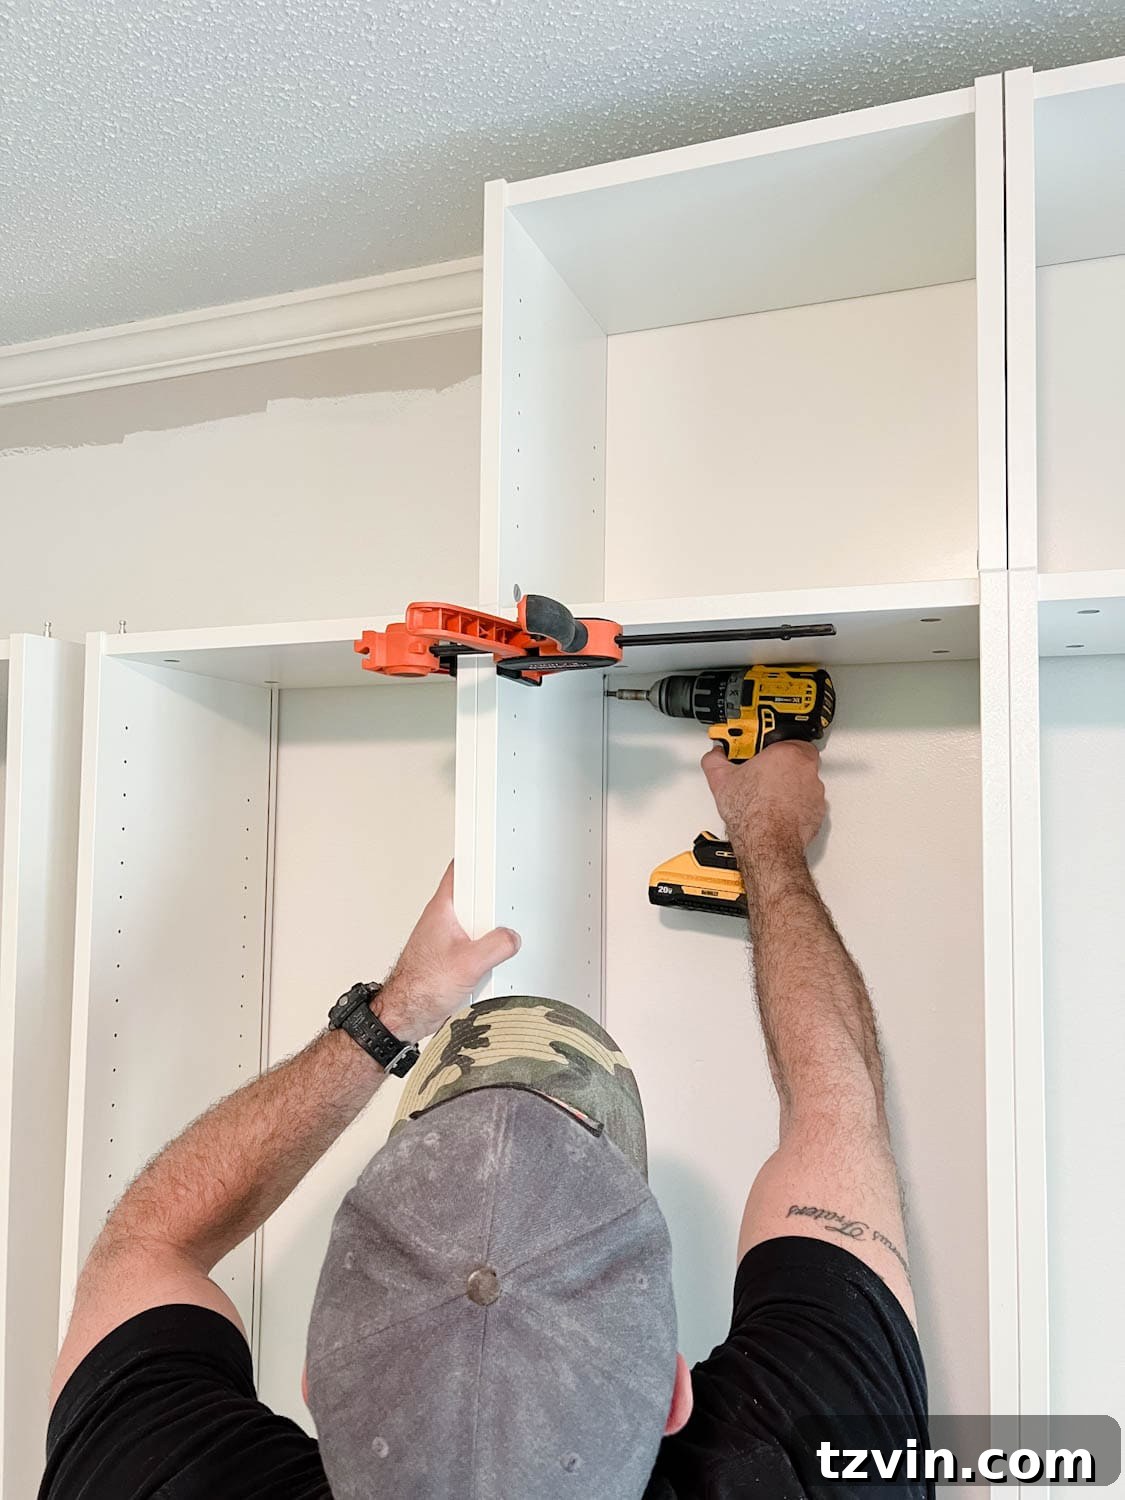
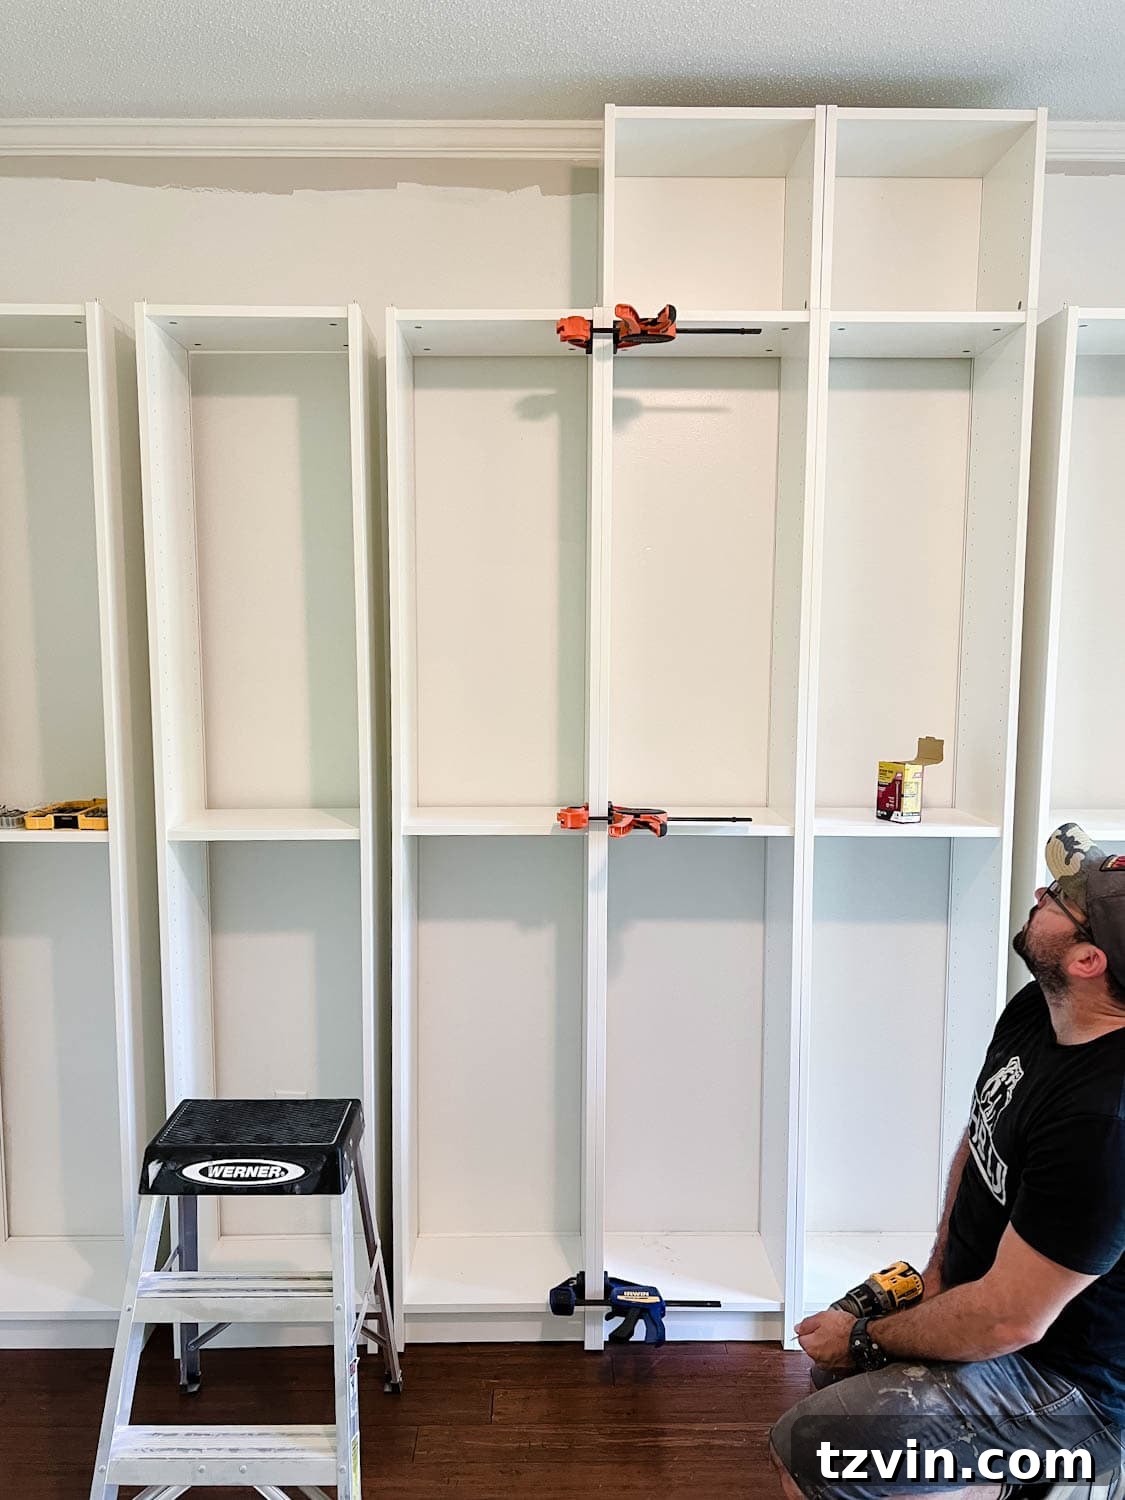
Use clamps to tightly secure the sides of two bookcases together.
Then, use wood screws to firmly attach the bookcases to each other.
The boards added later around the top, bottom, and sides will also help
secure everything.
Step 6 – Build In the Gaps
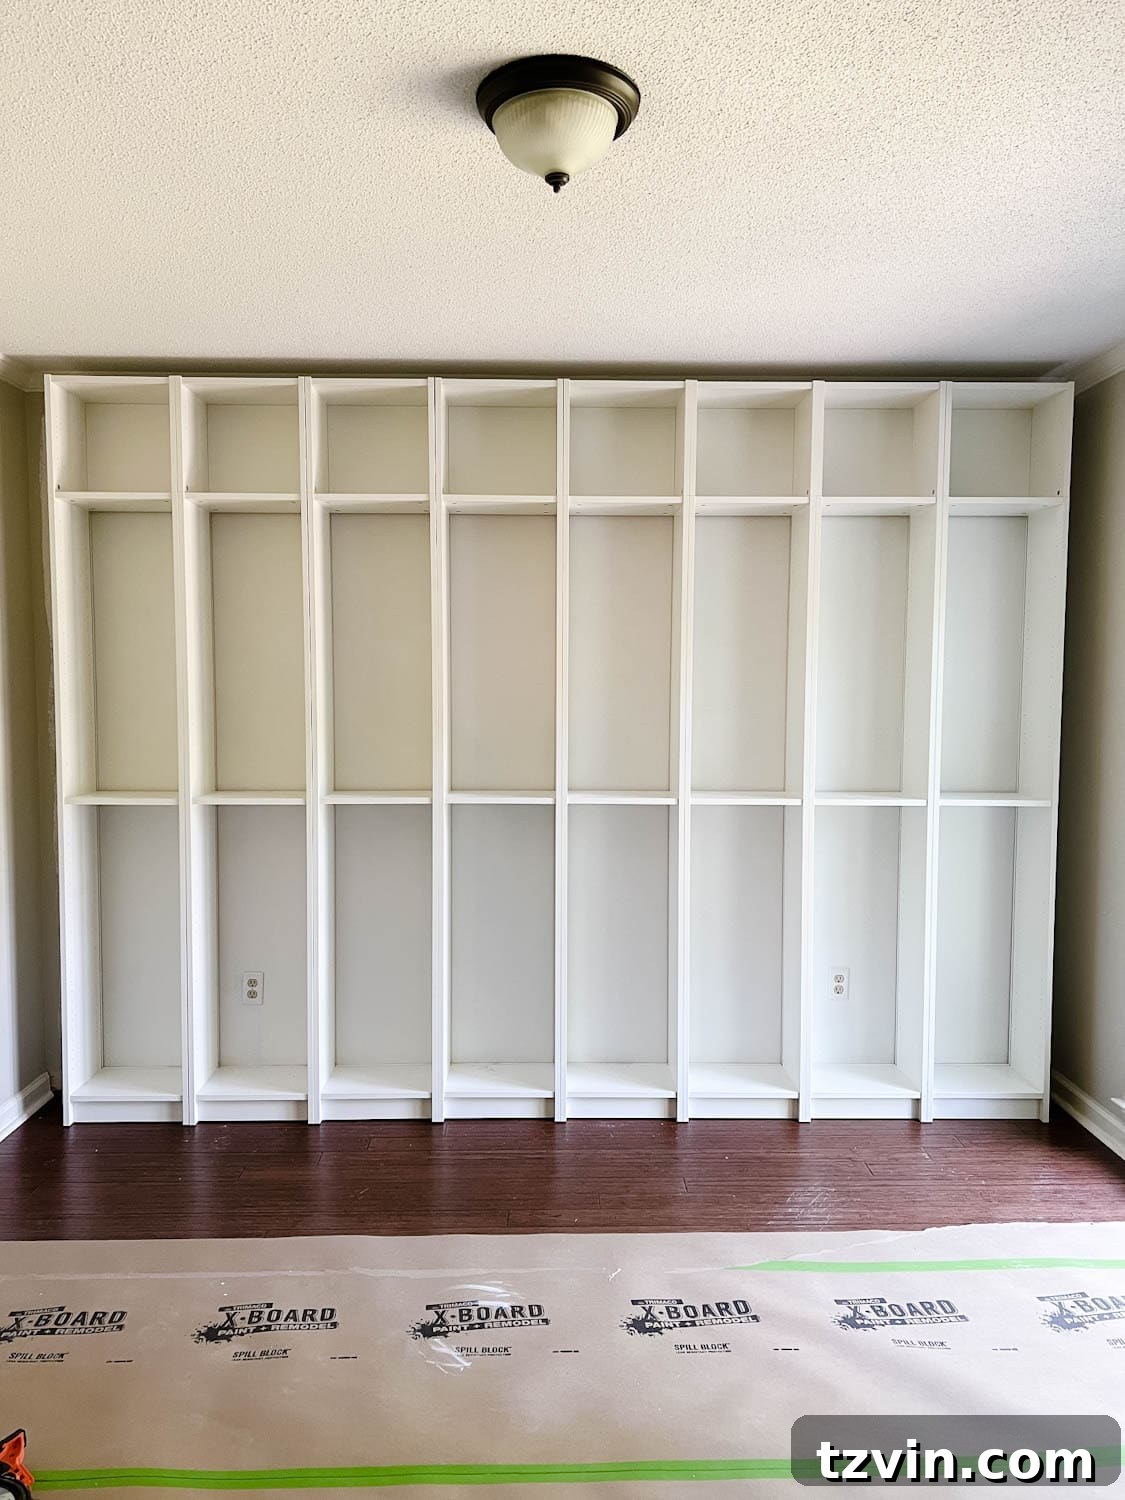
Now, let’s address the spaces around the sides and top of the BILLY
bookcases.
We’ll use trim to make the entire unit look like built-in bookshelves.
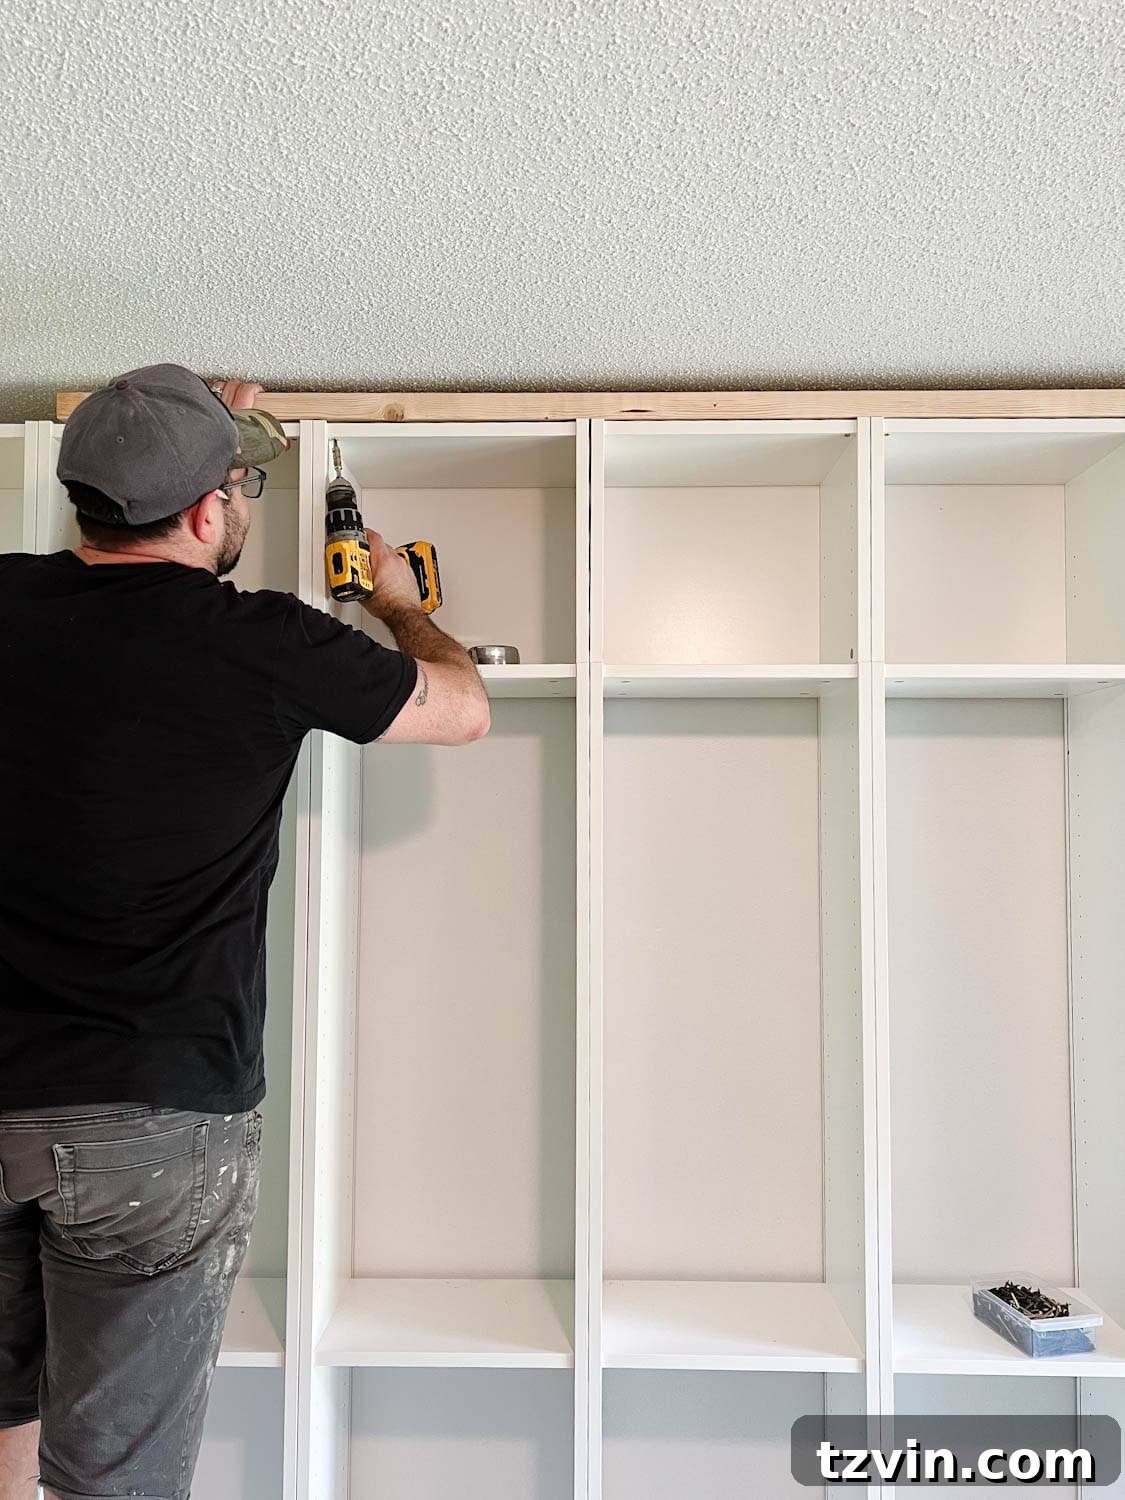
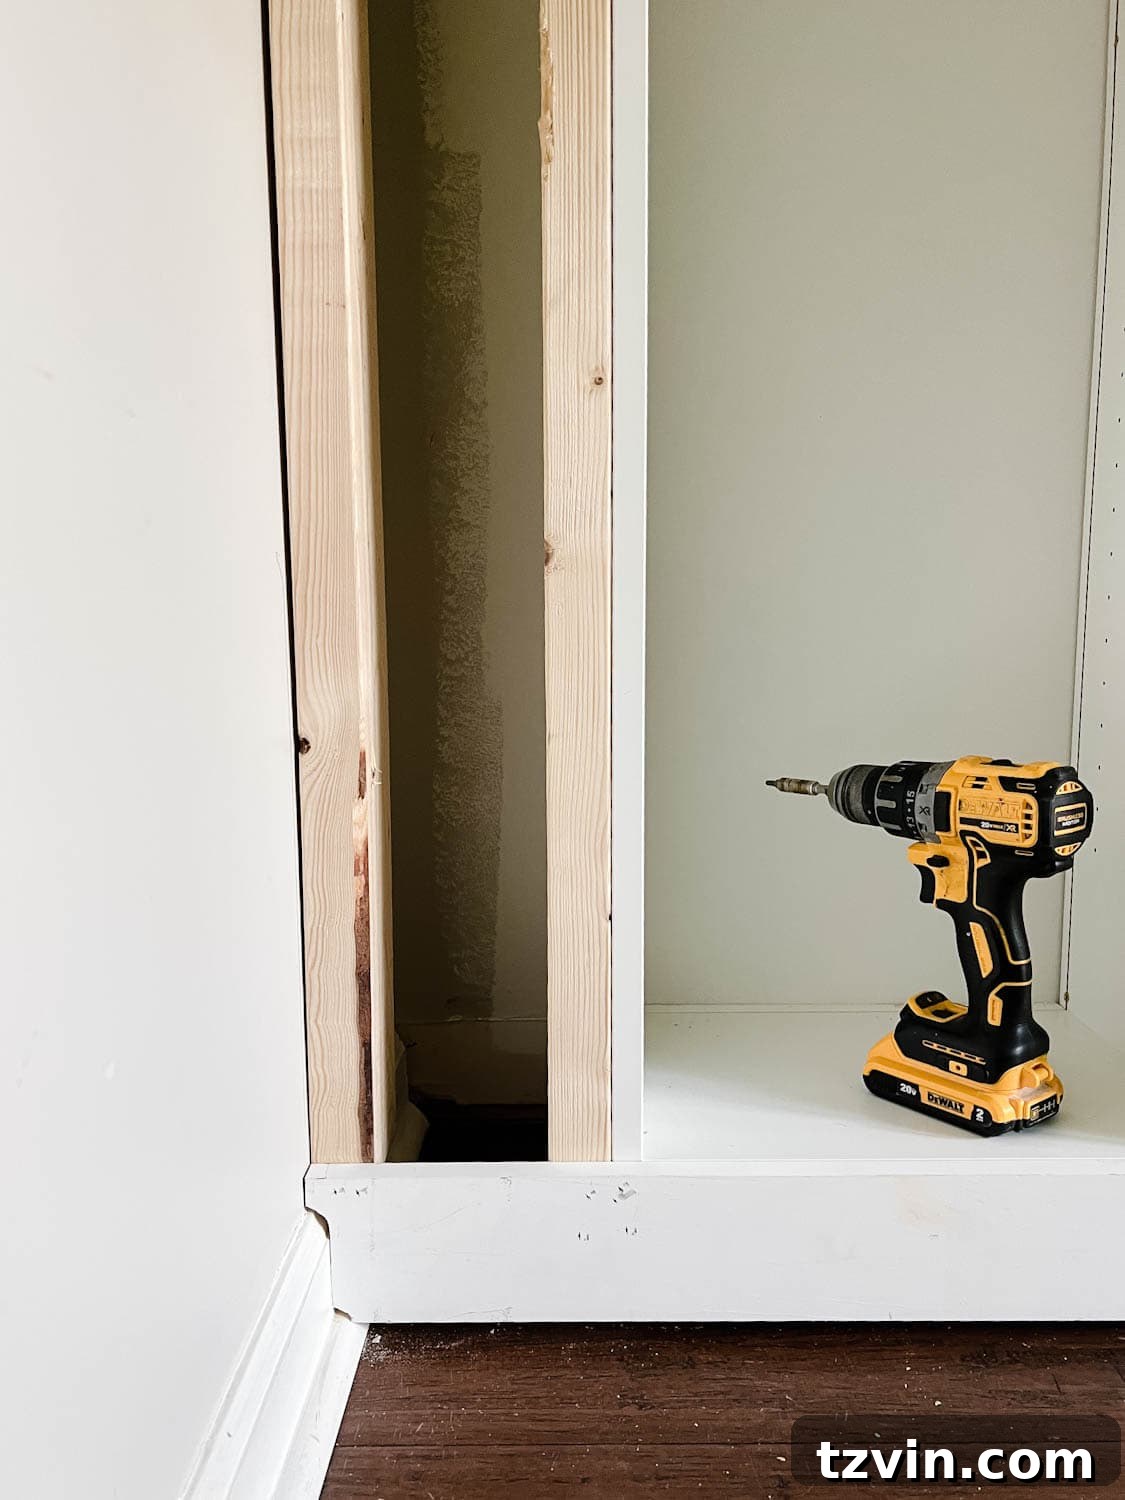
Step 7 – Attach 2x4s
In the gaps, secure 2x4s to both the wall and the sides of the BILLY
bookcases.
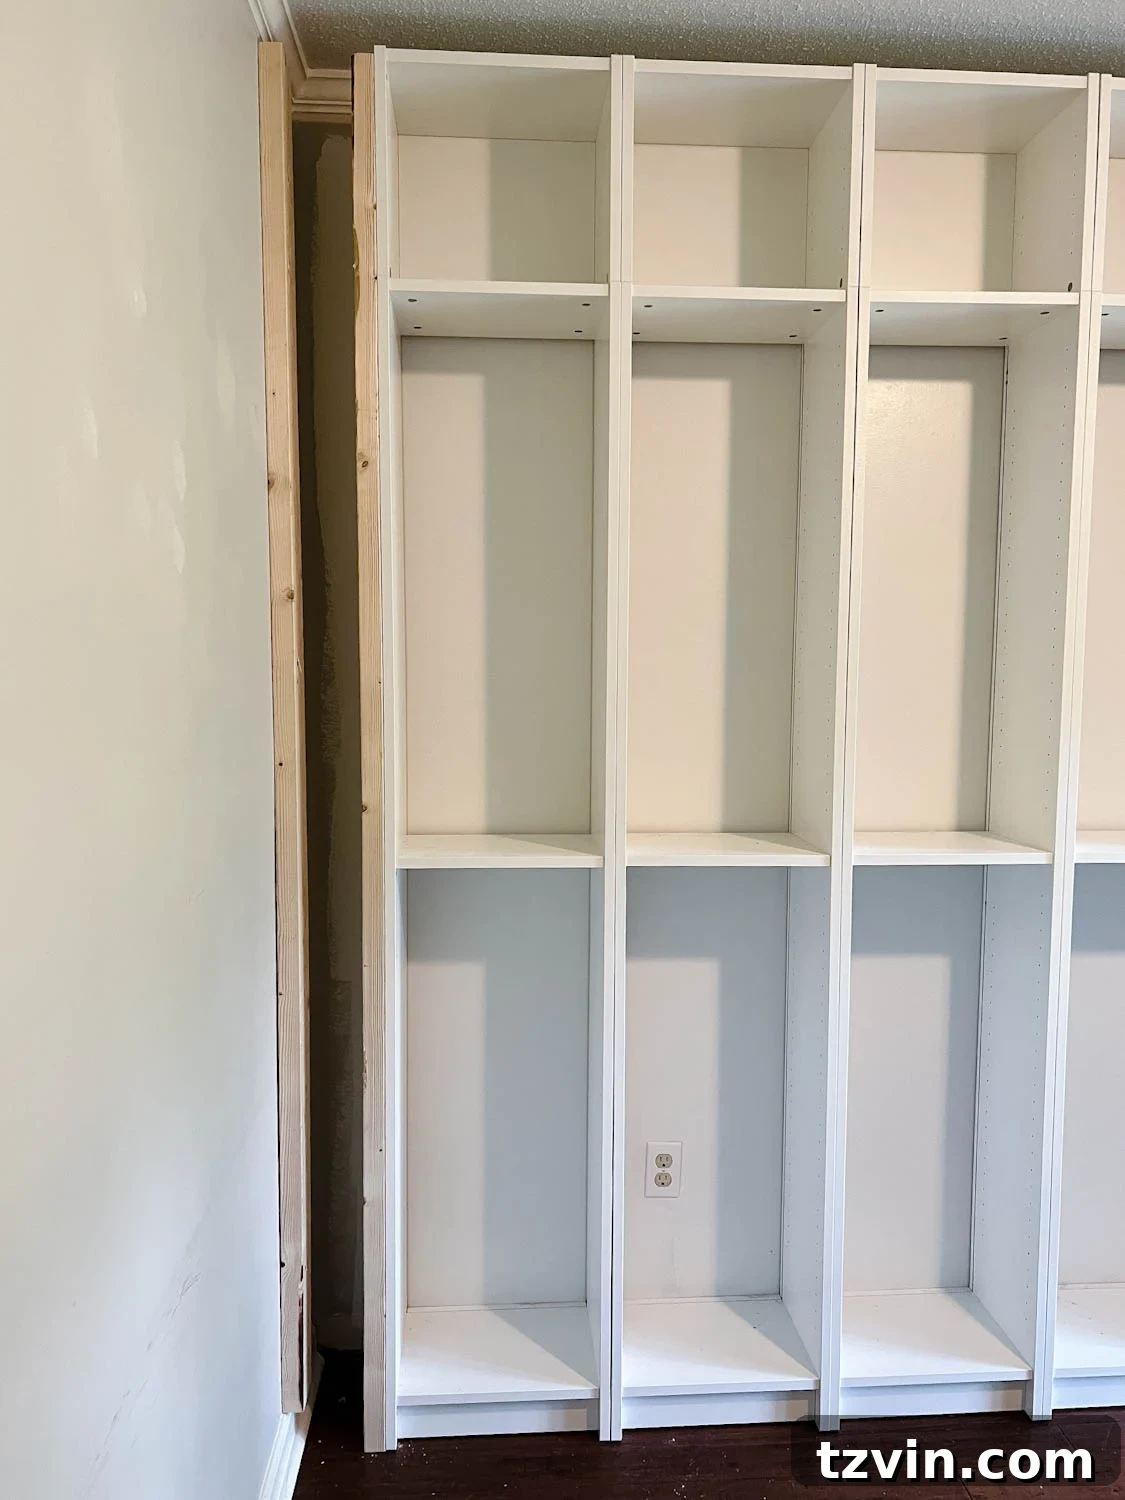
Repeat this step for the top of the shelving unit.
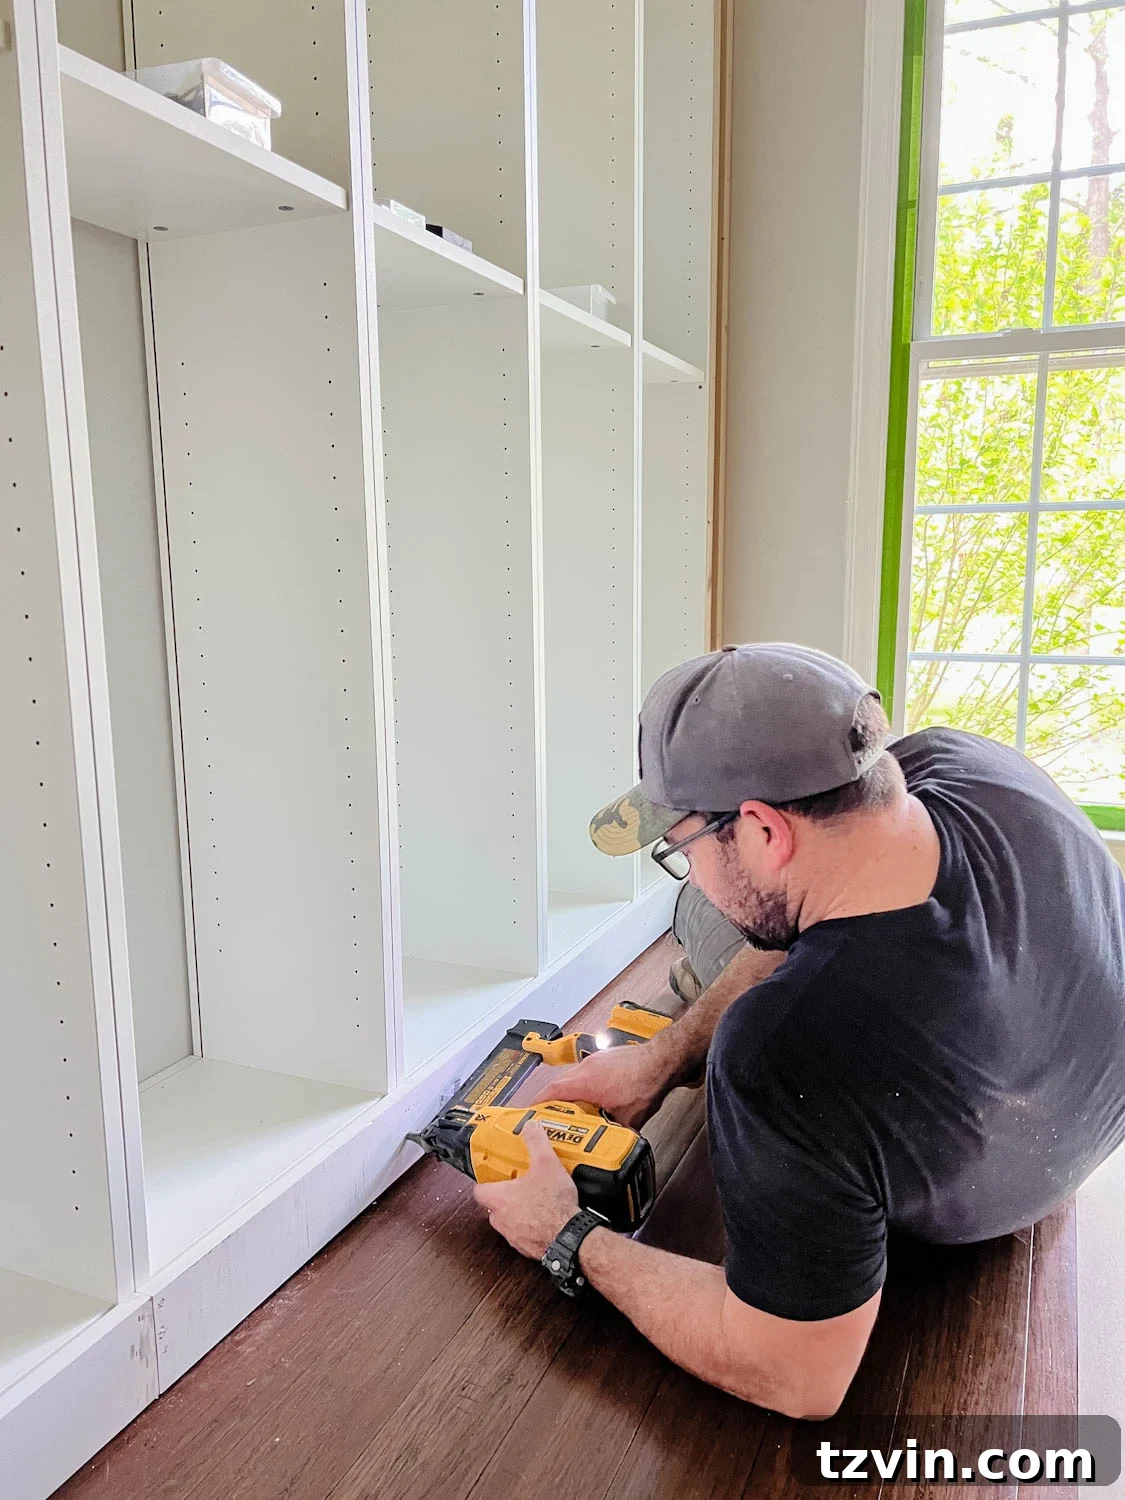
Step 8 – Attach 1×4 Boards to Front of the Bookcase
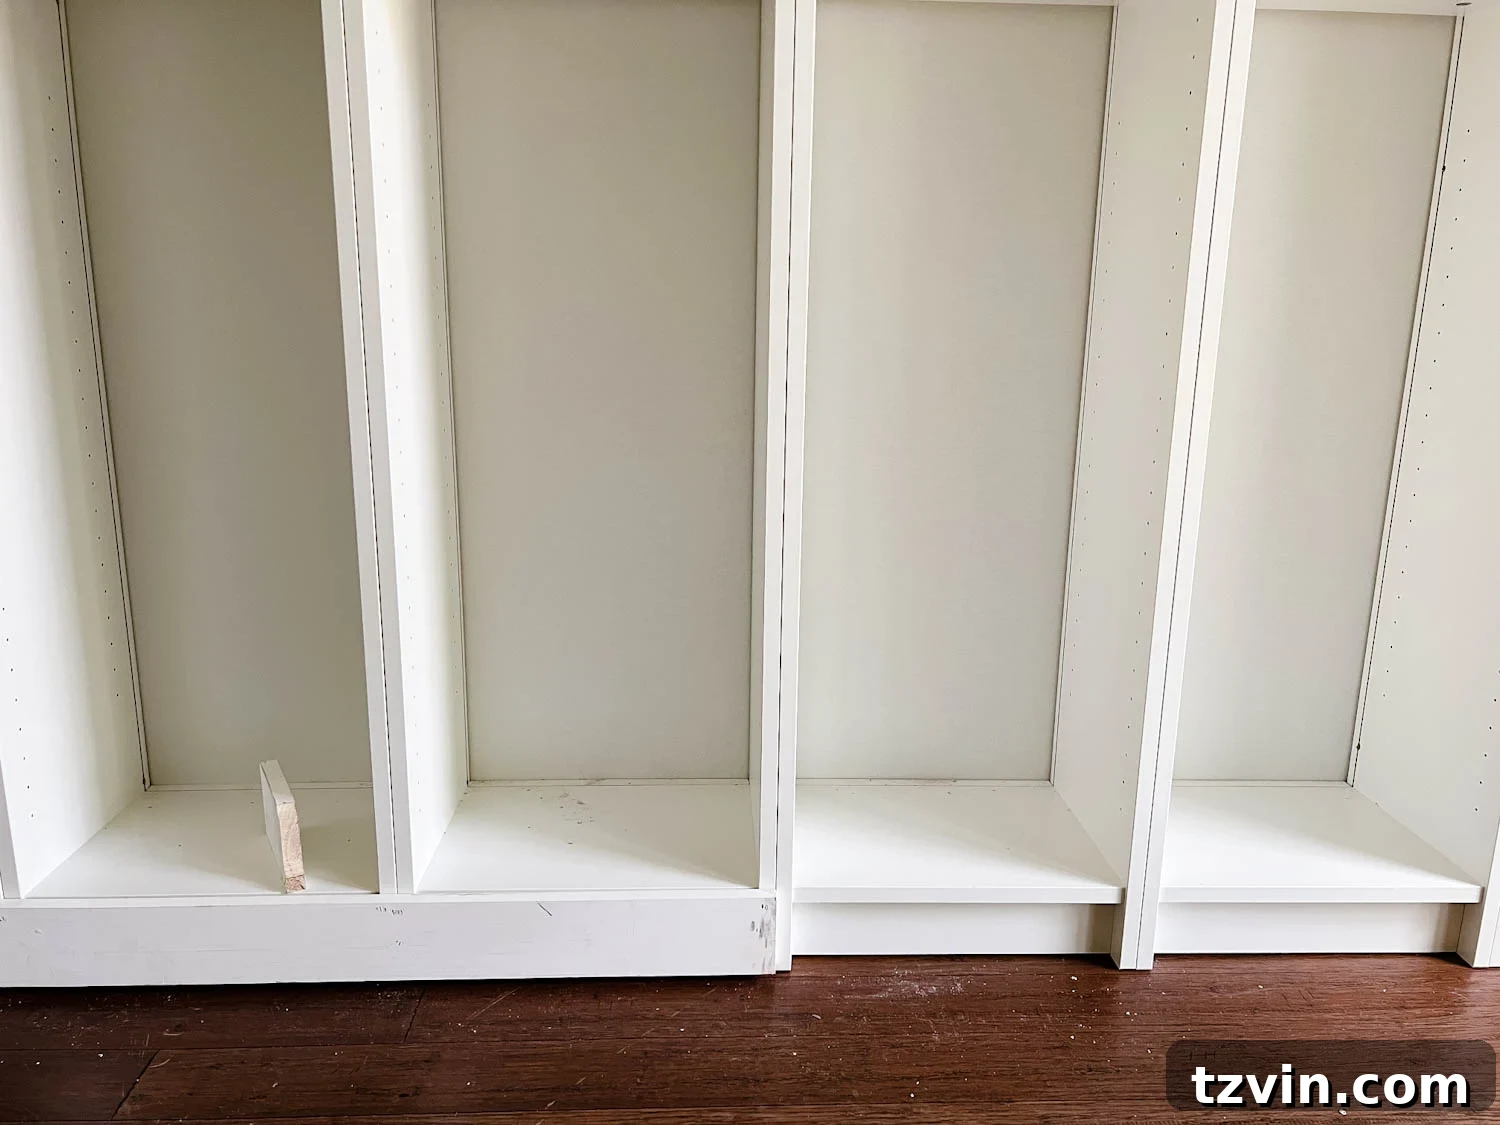
To give the bookcases a seamless, built-in appearance at the bottom, attach
1×4 pre-primed boards using brad nails.
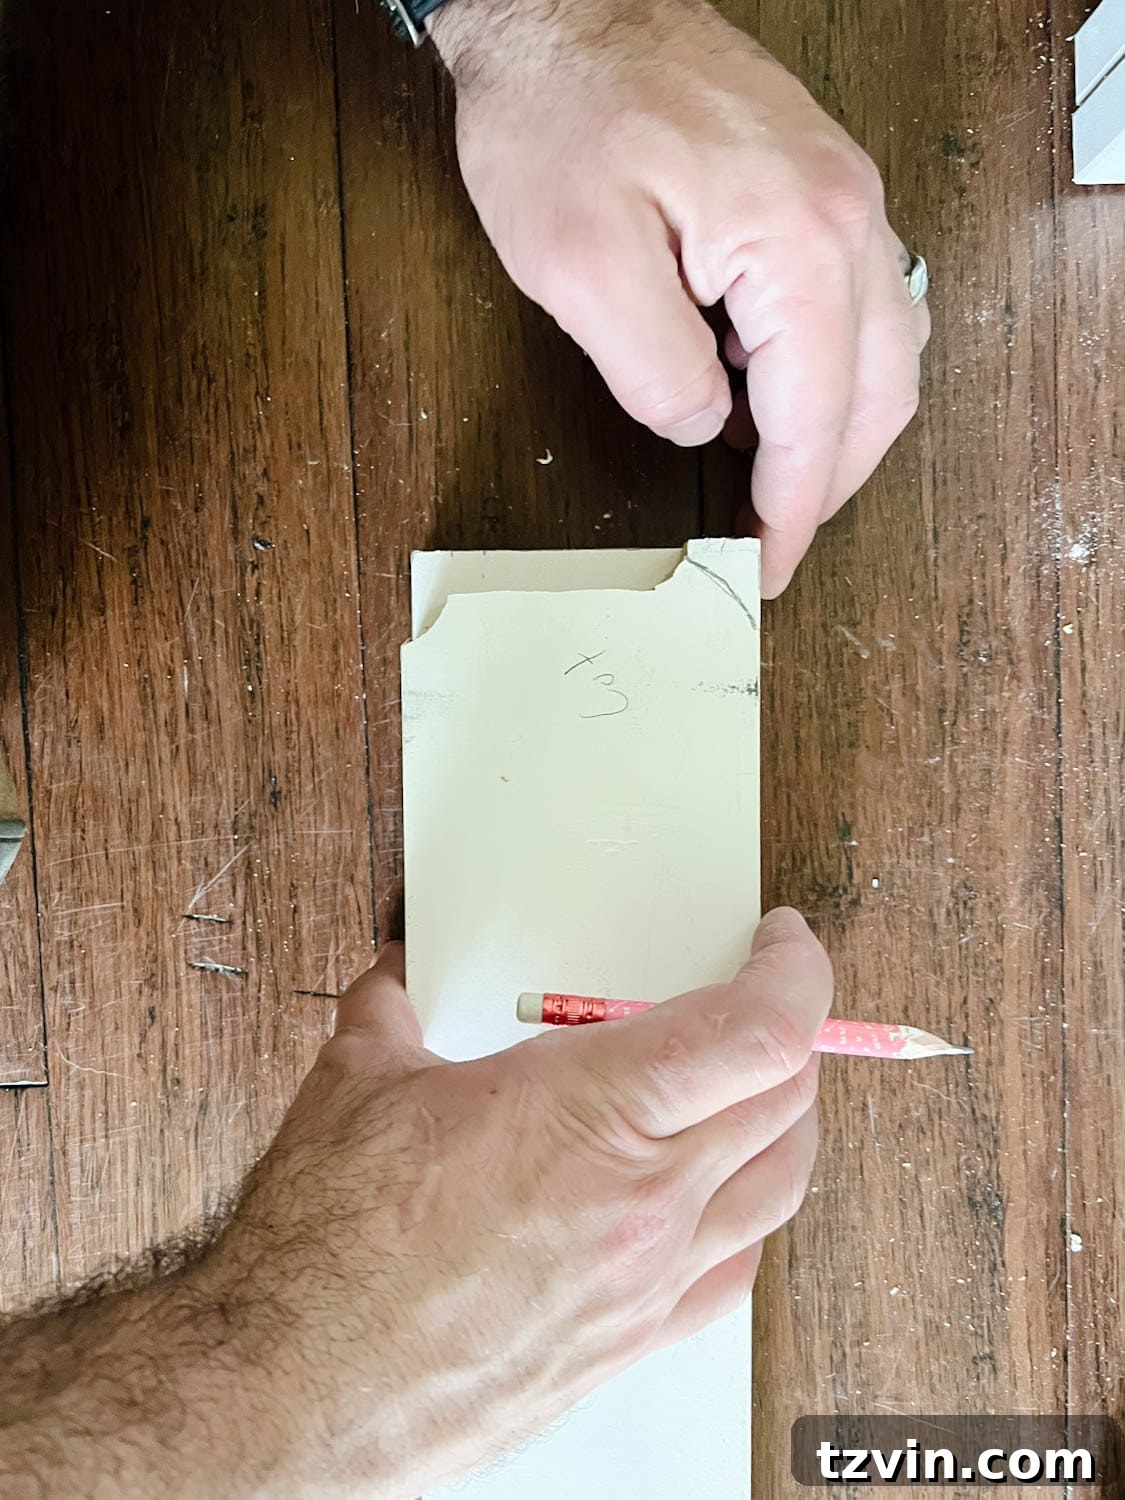
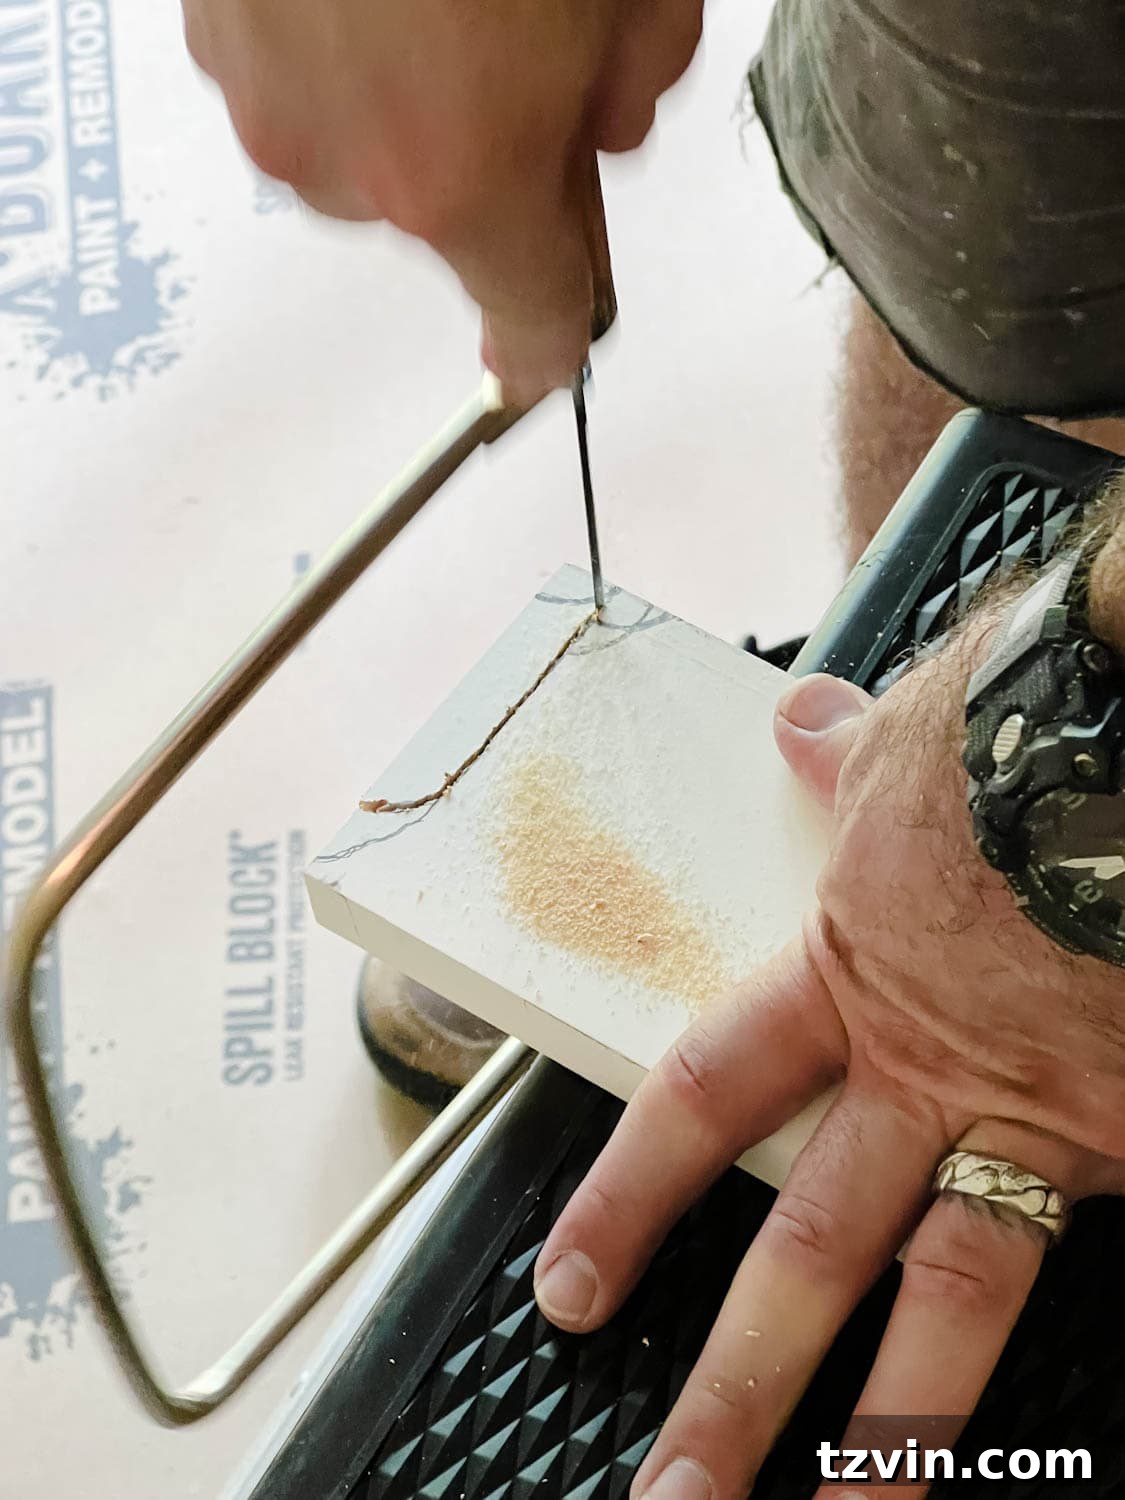
Use a coping saw or jigsaw to cut the sides of the boards, matching the
shape of your wall’s baseboard.
Imperfections can be corrected with caulk later. Repeat the process for
the top, coping the 1×4 boards to fit your crown molding.
Step 9 – Cut 1×10 Boards to Fit Sides
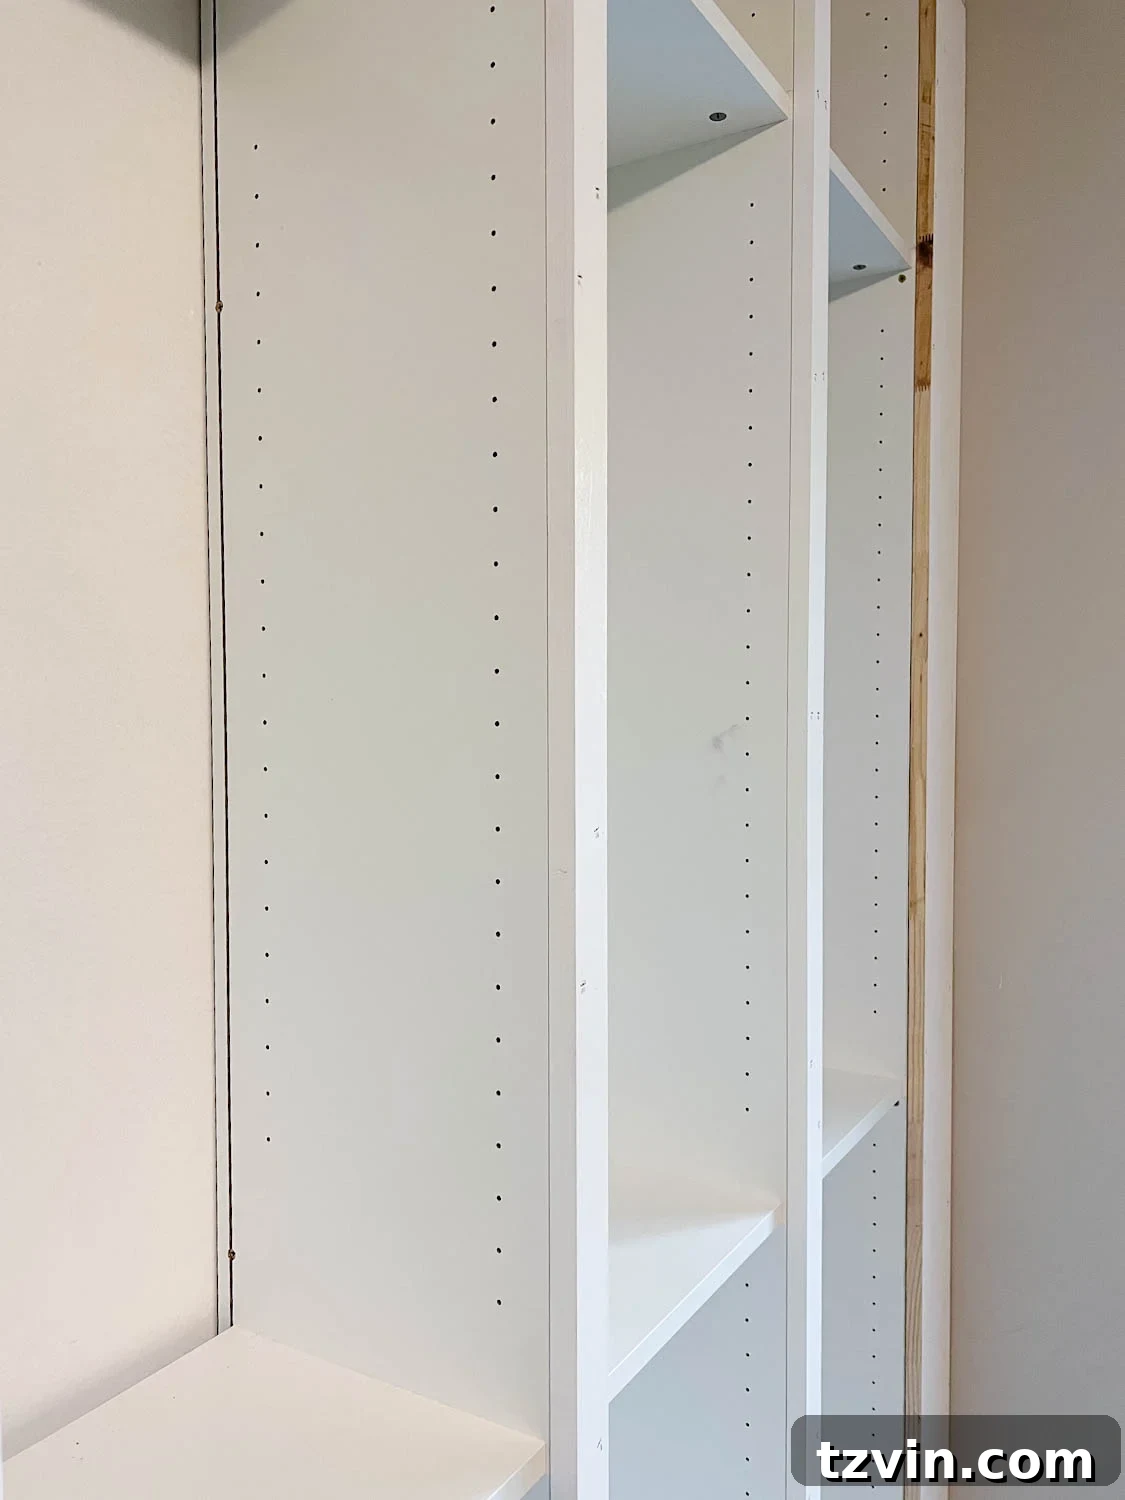
As the sides of the bookcases may not align perfectly with a standard
board width, measure the space between the bookcase and the wall. Then,
use a circular saw or table saw to cut a 1×10 board to fit along the
bottom shelf as the side facing.
Step 10 – Attach 1×2 Boards to Front
Use the finish nailer again to attach 1×2 boards to the fronts of the
bookcases, covering any cracks where the bookcases meet.
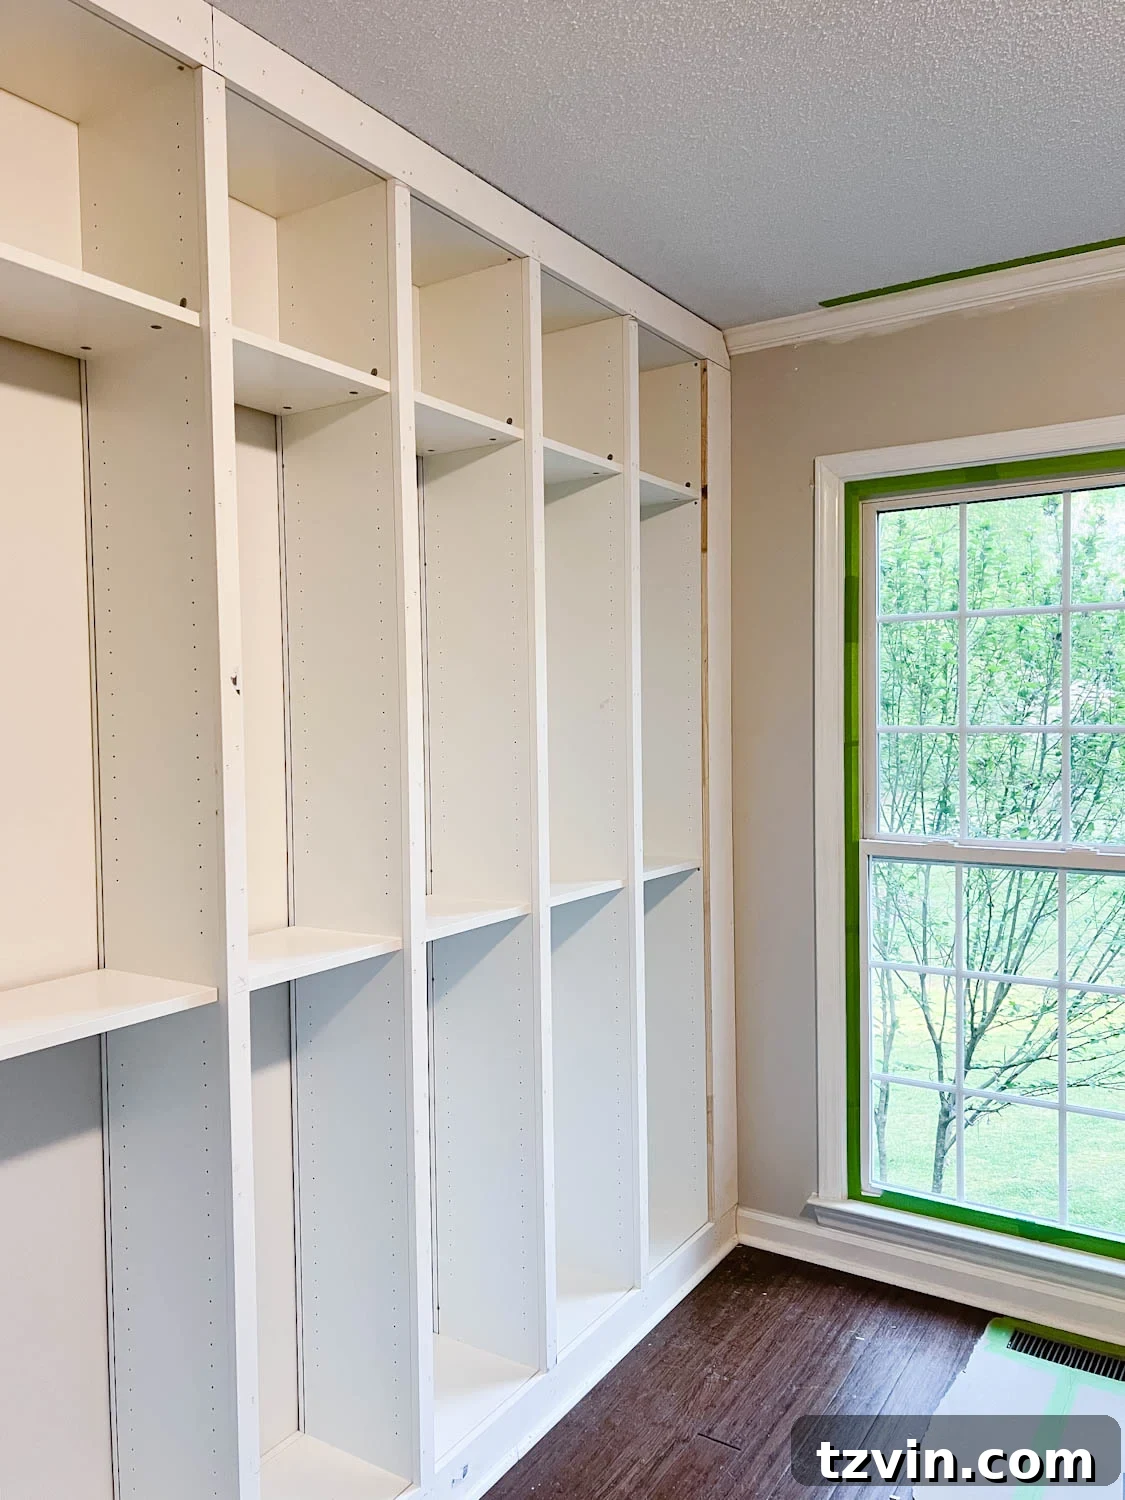
Doesn’t it look seamless and sturdy now?
It will be even more so once you fill cracks with caulk and gaps with
Loctite foam.