DIY Reclaimed Wood Plank Focal Wall for a Playroom: Our Experience
Sometimes, the most affordable option isn’t always the best. We learned this lesson firsthand while working on our recent playroom project. We’re sharing our journey of transforming a blank wall into a stunning focal point using reclaimed wood planks.
We’re in Week 4 of the 6-week One Room Challenge! If you saw our previous post about the DIY built-ins, you’ll remember a blank space between the bookcases. This post is all about bringing that space to life.
UPDATE: See the full playroom makeover reveal here!
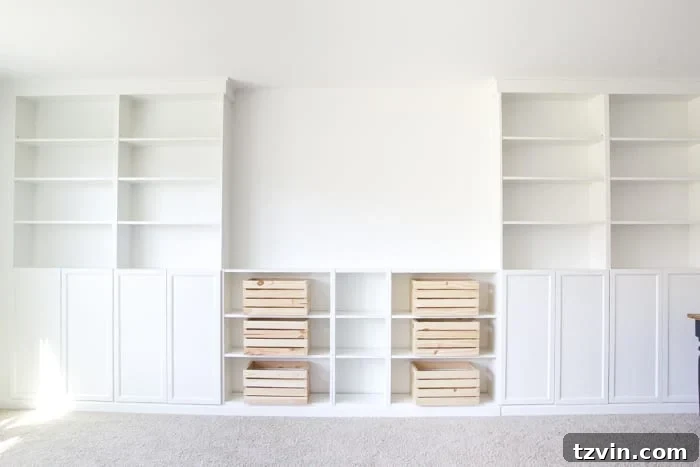
The plan was simple: install a wood plank wall between the bookshelves to add contrast and texture to our otherwise very white playroom. Inspiration came from Rachel’s gorgeous living room from Shades of Blue Interiors.
We’re big fans of wood walls. We’ve added them in several rooms throughout our home, including our master bathroom, the foyer, above our fireplace, in our master bedroom, and on our kitchen bar. We definitely have a thing for wood walls!
We’ve never done any of them exactly the same way, always trying to find a unique approach to each project.
For this playroom, we wanted to be as frugal as possible. We found some old wood fencing for free on Craigslist – the perfect solution, or so we thought!
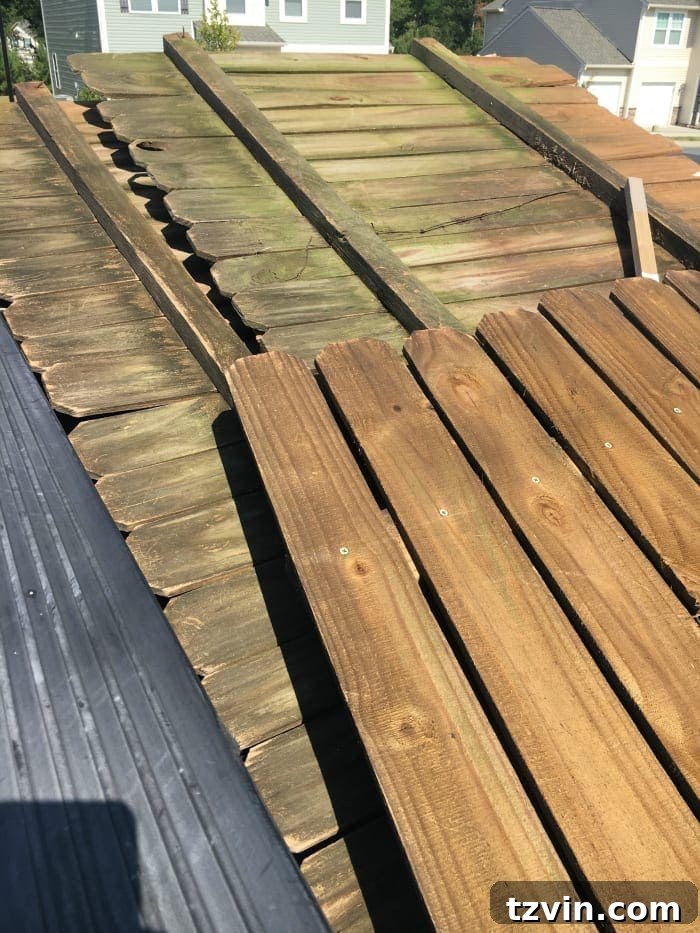
We imagined scrubbing and cleaning the fencing until it looked amazing… That was three months ago. The wood sat in our garage all summer.
After closer inspection, however, we realized the fencing was covered in moss, mold, and grime. The question became: was it worth introducing potential mold into our house to save money? The answer was a resounding no. Some things are just not worth the risk.
So, we moved to Plan B. While it involved spending more than we originally intended (which was zero dollars), we discovered the Rustic Collection at Lowe’s and were excited to try it.
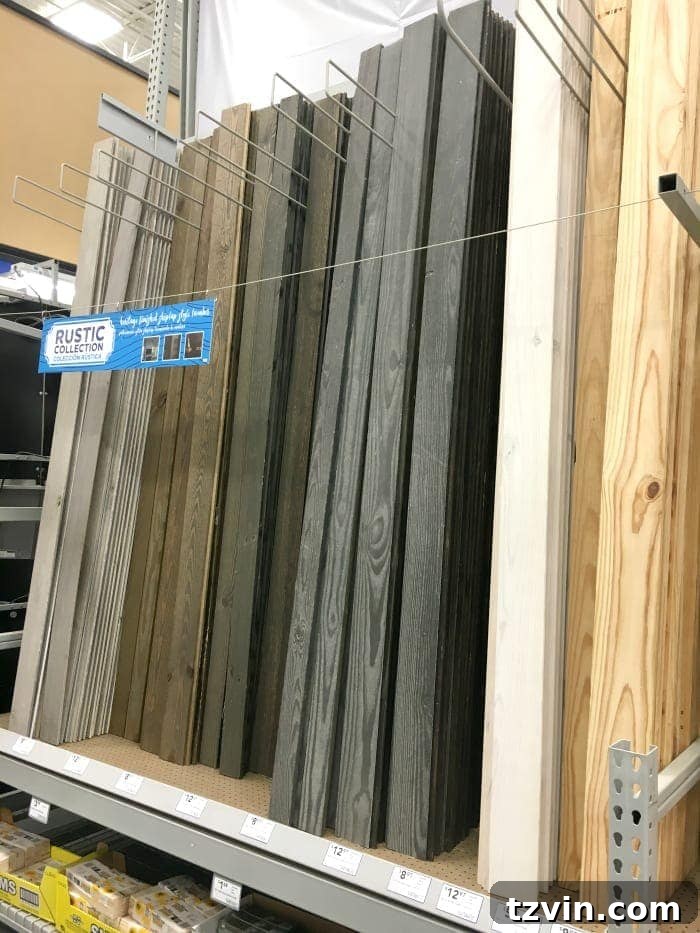
We spent $117 on the wood, but it was worth it. The planks were already stained and grooved, making them much easier to work with than plain pine boards. This significantly cut down on the time and effort required for the project.
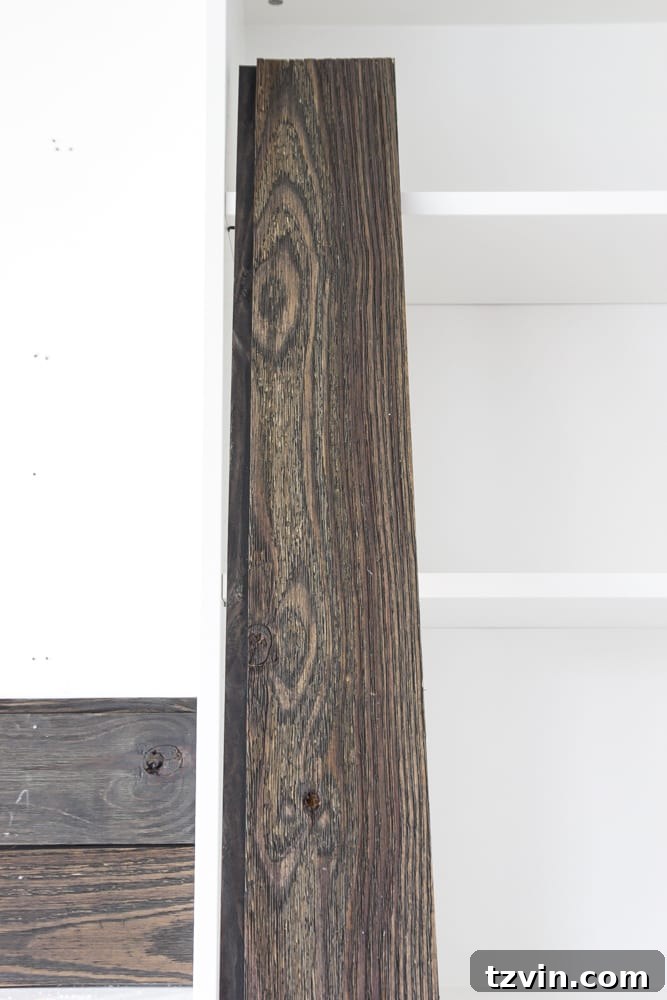
Supplies Used:
- 5.5″x8′ barnwood pine wall planks
- Circular saw
- 1 1/2″ finishing nails
- Tape measure and pencil
- Hammer
- Jigsaw
The whole project took about an hour. Robert and I mostly measured the wall to cut the planks to the correct length using the circular saw. It was a straightforward process, perfect for a weekend project.
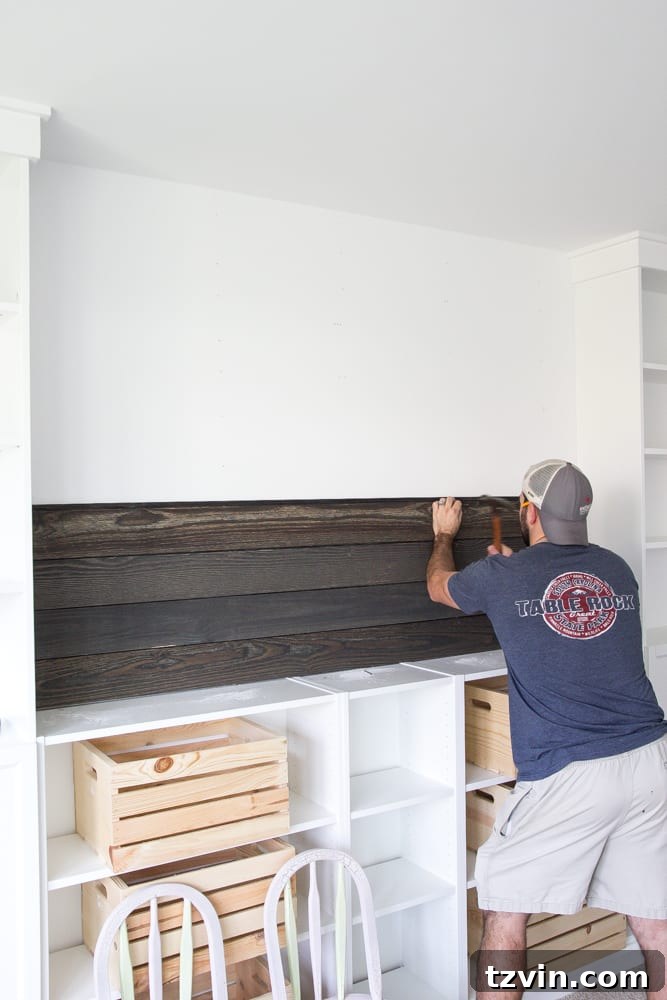
We nailed the planks into the wall studs with finishing nails as we worked our way up. This ensured a secure and lasting installation.
A few boards were a little tricky as not all the planks were perfect. We had to gently encourage some warped boards into place with the hammer, making sure they fit snugly into the groove of the plank below. Working with pre-stained planks definitely streamlined the process.
Being able to install the pre-stained planks meant we had a free Saturday to enjoy the park with our family. No more being cooped up indoors working on projects all day! (#WeekendWarriors)
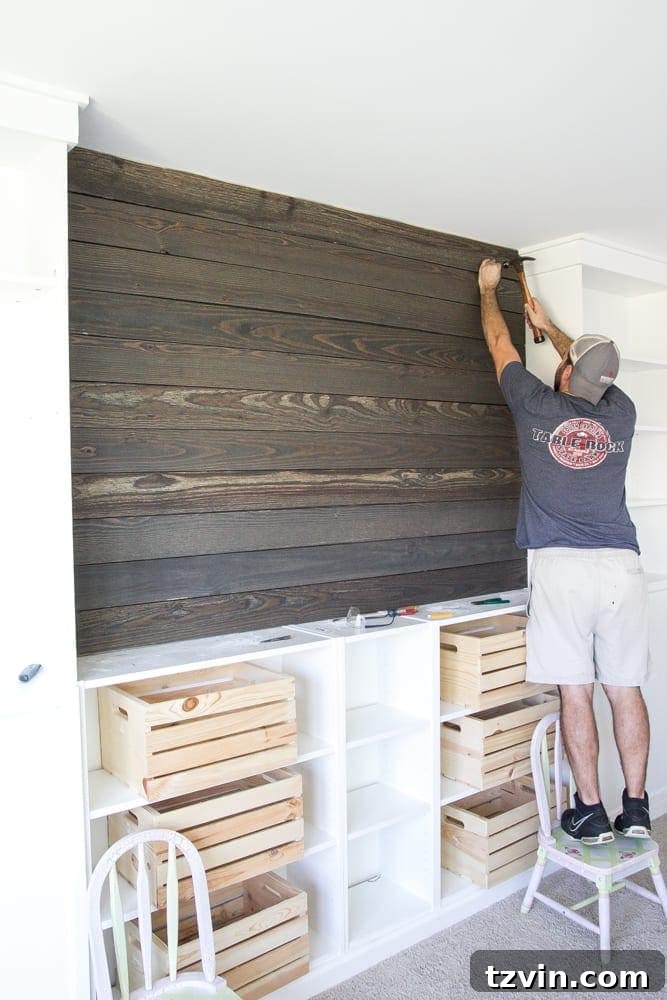
At the top of the wall, where the trim from the built-ins met, we had to hold up a plank, mark, and cut around the trim with the jigsaw to make it fit. We could have installed the plank wall before adding the trim on the built-ins, but we hadn’t planned that far ahead.
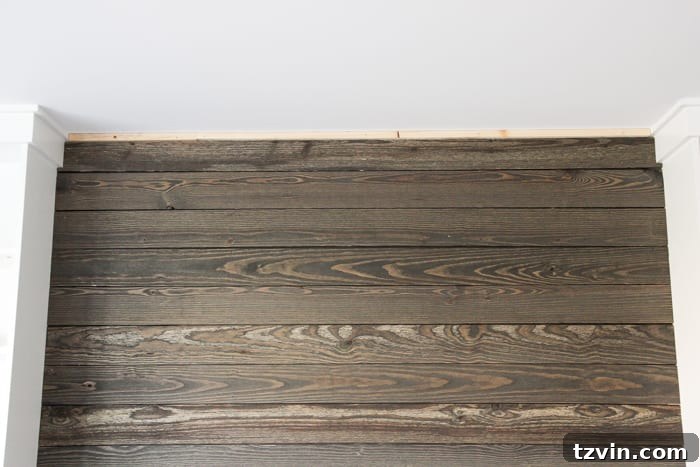
We ended up with about a 2-inch gap between the last plank and the ceiling. To create a more finished look, we nailed a 1″x2″ board into the gap.
Later, I caulked around the 1″x2″ and painted it with the same white paint we used on the built-ins, seamlessly integrating it into the design.
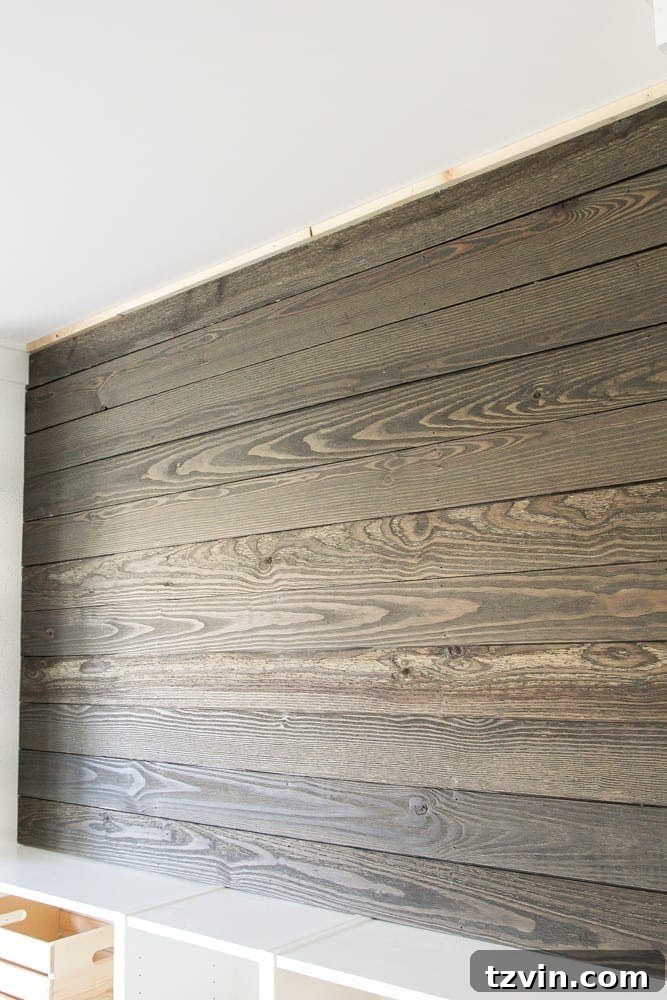
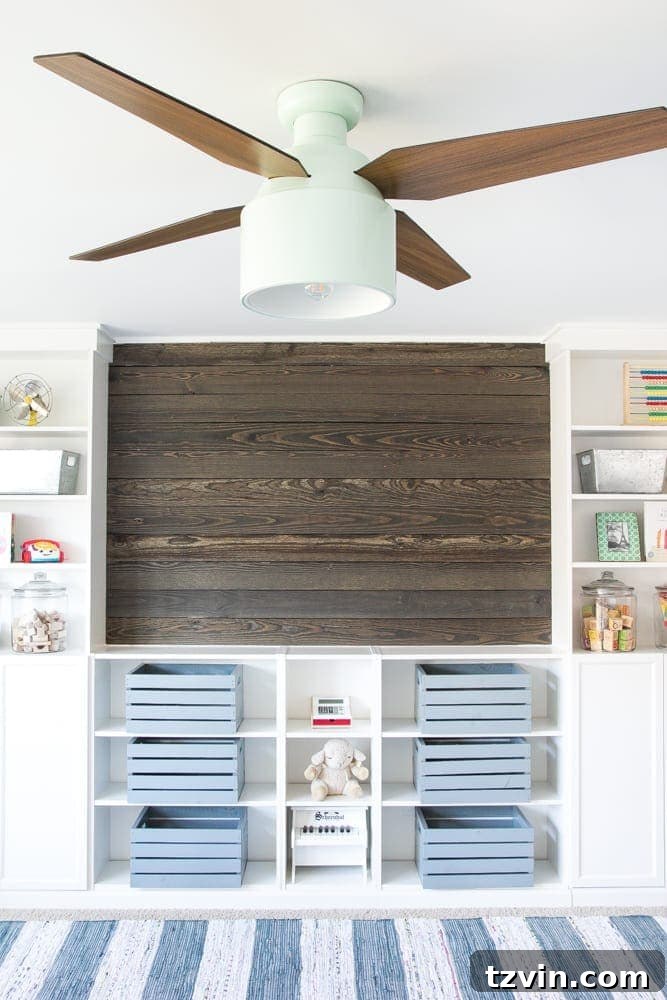
The wall is no longer bare, adding significant character to the playroom. We love the beautiful wood grain!
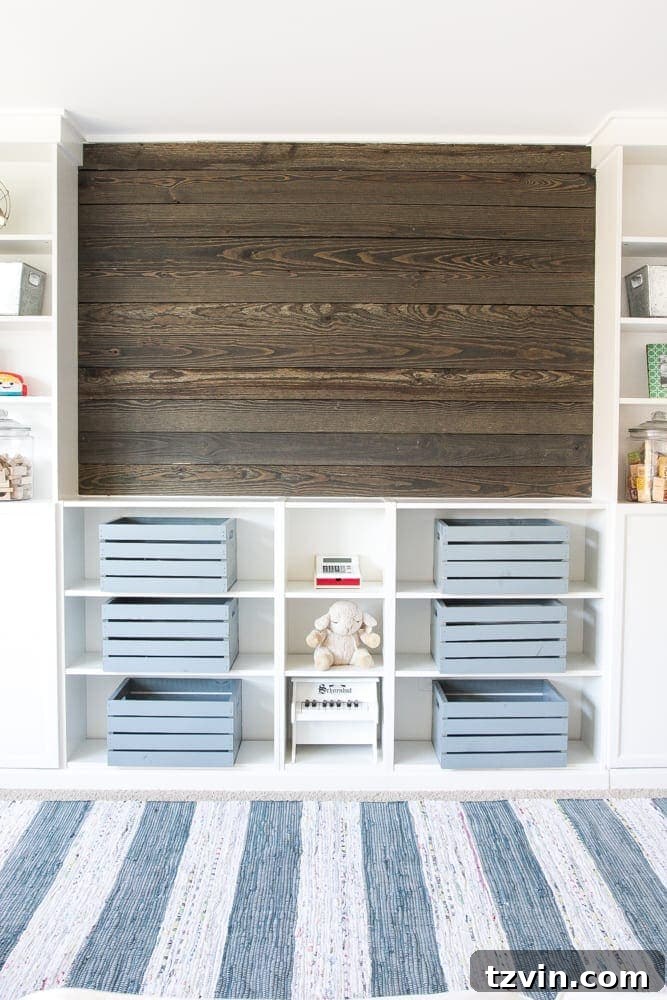
This is where the TV will eventually go, creating a cozy space for Olivia to watch cartoons and for family movie nights. (And yes, we will probably watch Frozen for the millionth time!)
Do you see the striped cotton rug?! It’s perfect for the room. I also painted the wooden crates, which I plan to personalize a little bit more in the future.
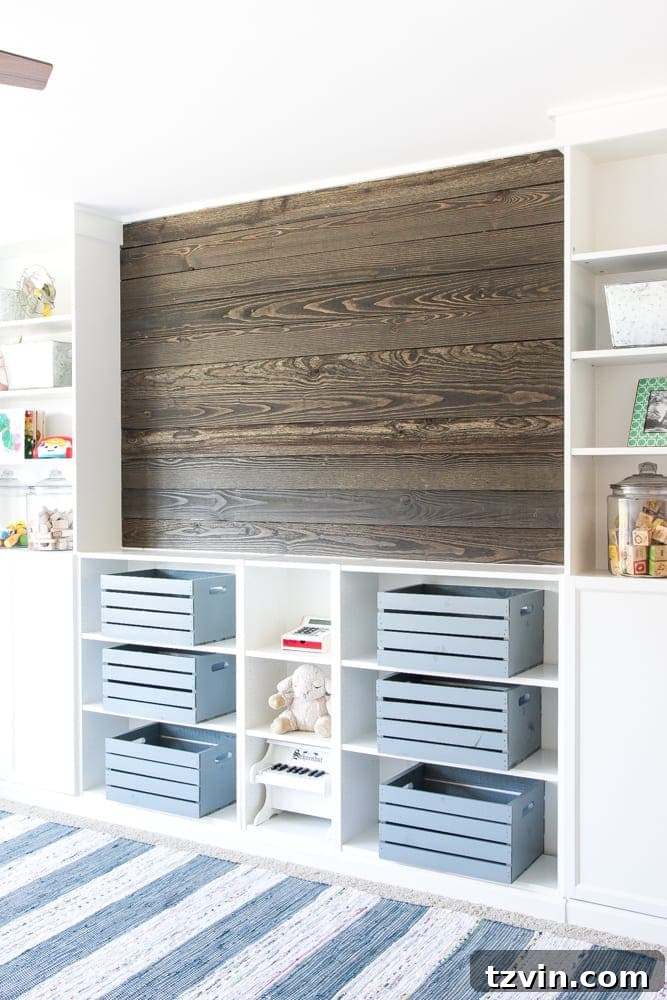
I’m still adjusting the shelves, figuring out the best arrangement for everything. Olivia has free access to the toys and games behind the built-in doors, but I’ve been having fun styling the shelves.
And… the ceiling fan is up! It’s a fun, vintage-inspired piece.
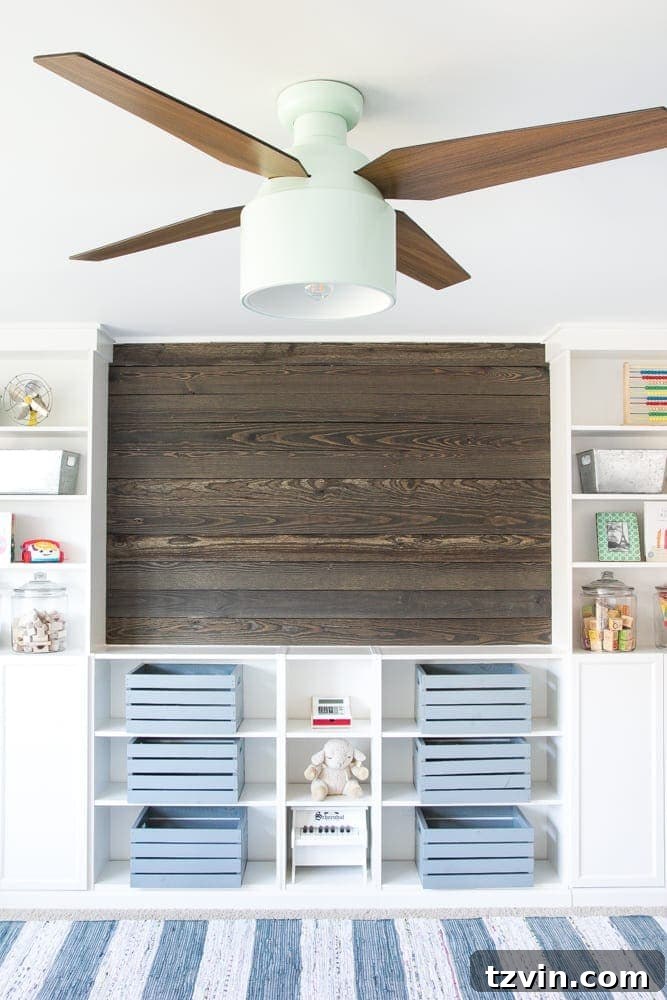
The minty, vintage-modern ceiling fan is a bit different from my usual style, but that’s the joy of a playroom. It’s a space where we can relax and have fun!
This playroom is truly becoming a blessing for our family. We’re turning off the electronics and spending evenings together playing games, making music, dancing, and simply unplugging at the end of the day. We’re excited to see all the possibilities this space will bring.
Here’s an updated to-do list for the playroom:
- DONE: Install built in bookcases
- DONE: Paint and install desks
- DONE: Paint walls
- DONE: Find a great colorful rug
- DONE: Install ceiling fan
- DONE: Install reclaimed wood wall
- DONE: Frame and paint window (more on that later)
- DONE: Paint wood crates
- Replace sofa with a slipcovered one
- Make oversized storybook art
- Hang curtains
- Finish decorating shelves
- Implement and organize a toy storage system
There’s still so much more to share, but we want to save some surprises for later. Wider room shots are coming soon, so stay tuned!