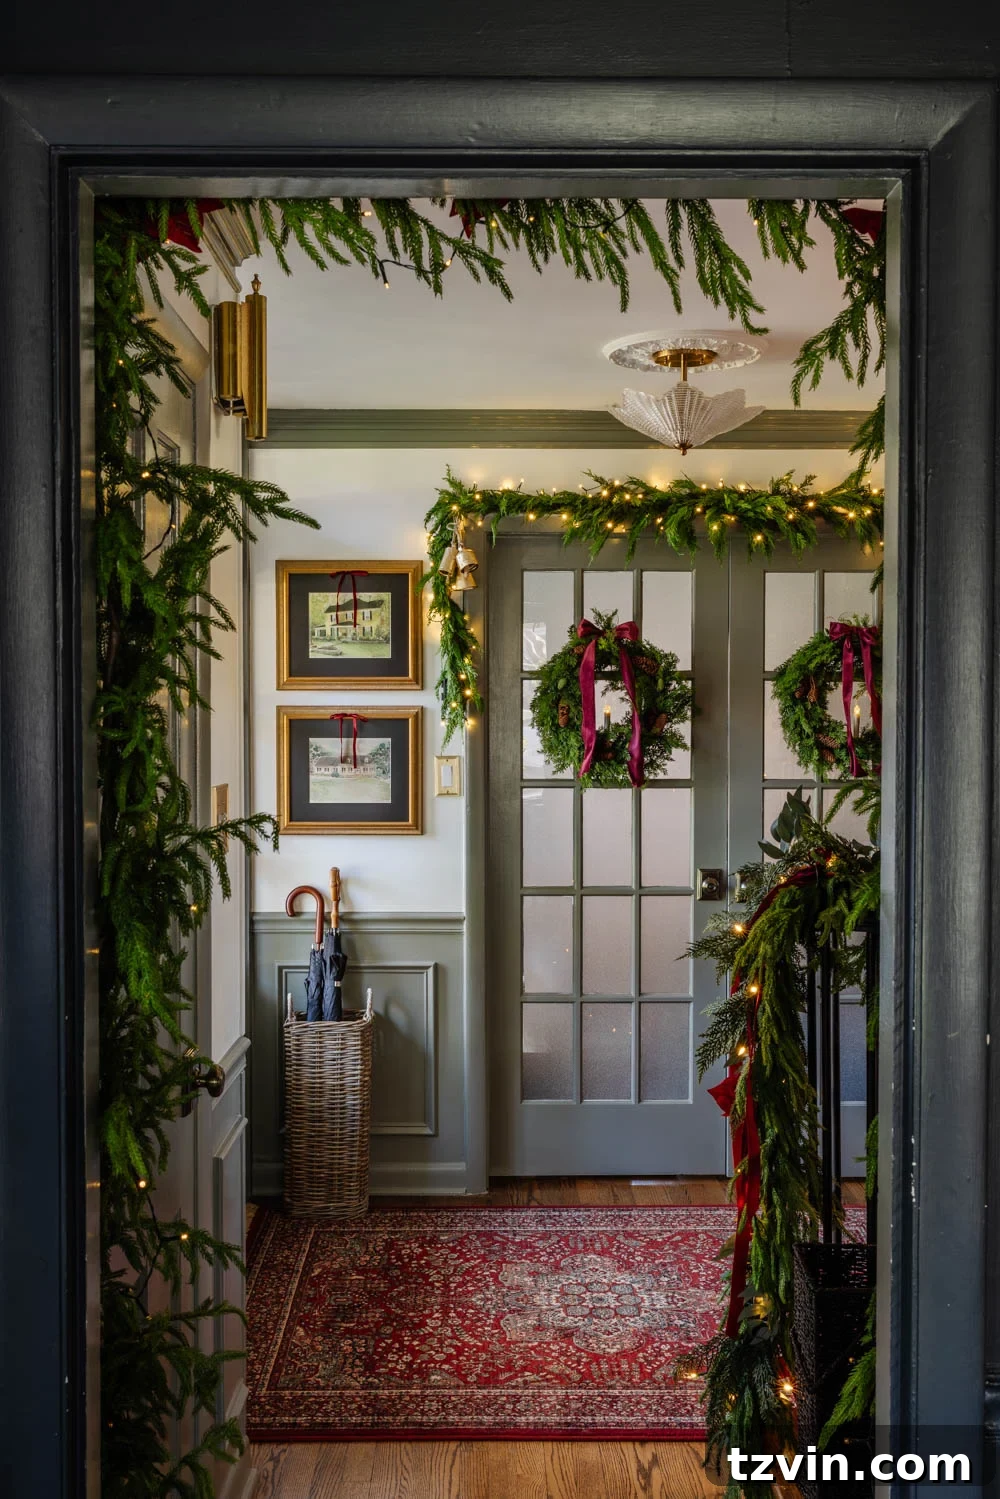
Effortless Christmas Decor: Hanging Doorway Garland Without Damage
Every Christmas season, adorning our foyer doorway with festive garland has become a cherished tradition in our home. It’s a delightful “welcome home” greeting each time we step inside, instantly boosting the holiday spirit.
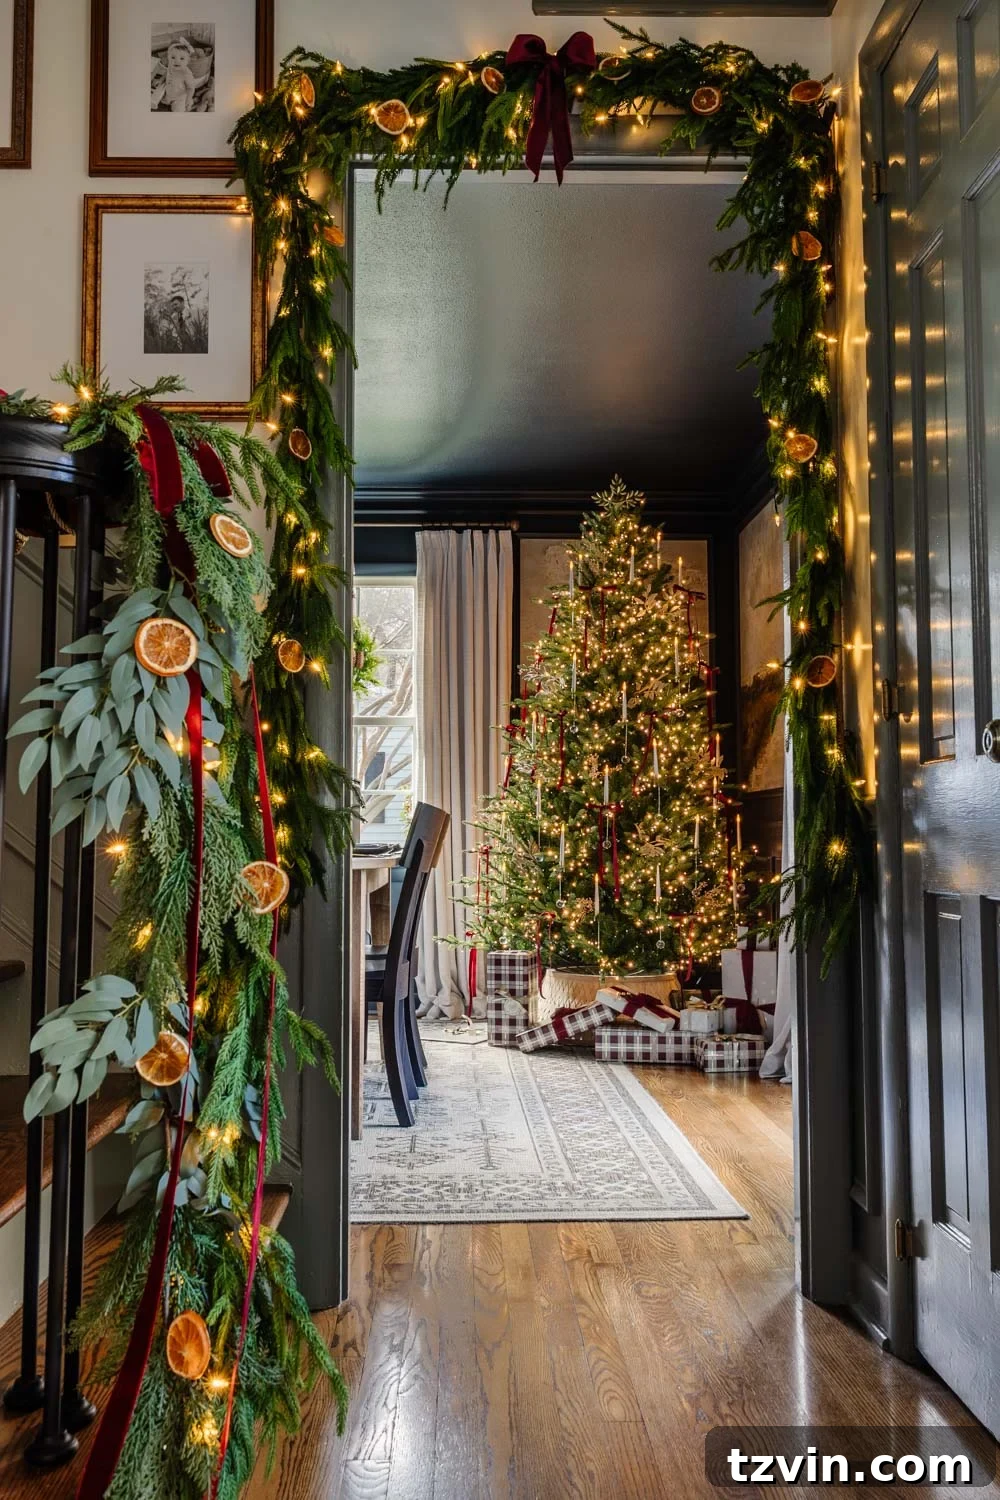
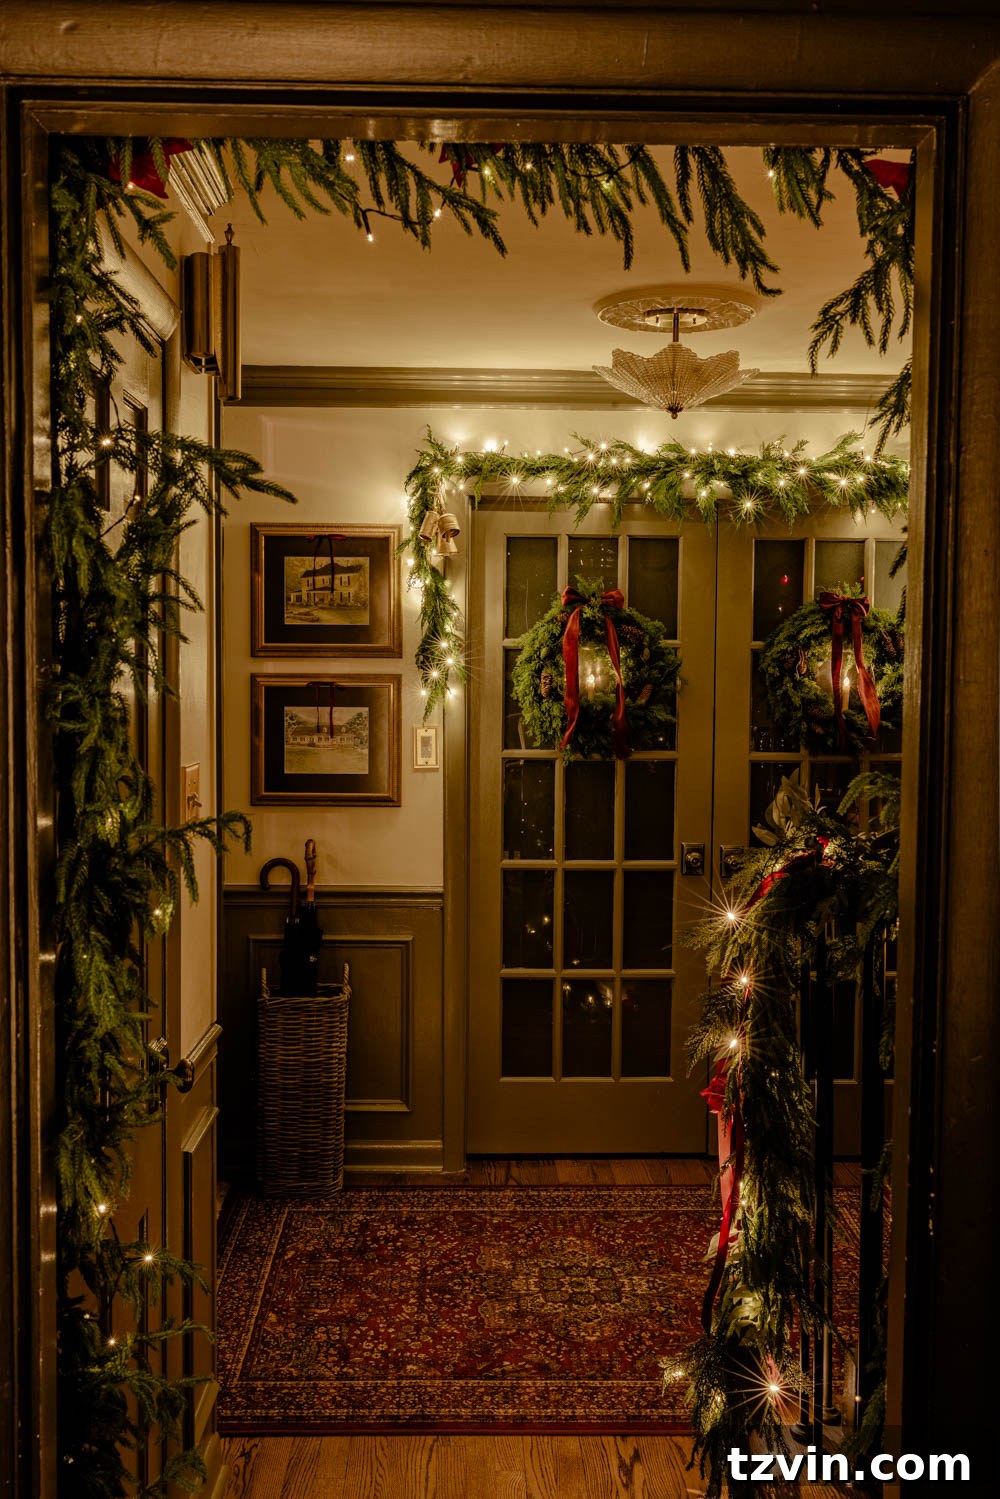
Over the years, I’ve experimented with various methods for hanging garland, but the technique I’m sharing today stands out as my absolute favorite. Why? Because it’s entirely damage-free and maintains a strong hold throughout the entire holiday season. This year, I decided to extend the festive cheer by adding garland to the opposite doorway in our foyer. The effect is even more captivating when illuminated at night!
One of the best aspects of this decorating project is its versatility. You can tailor the look to perfectly match your personal decorating style. Whether you prefer a classic, modern, whimsical, or natural aesthetic, the possibilities are endless depending on the garland embellishments you choose.
Below, I’m sharing the precise step-by-step method I use to create this festive doorway display. Follow along and recreate this charming look in your own home!
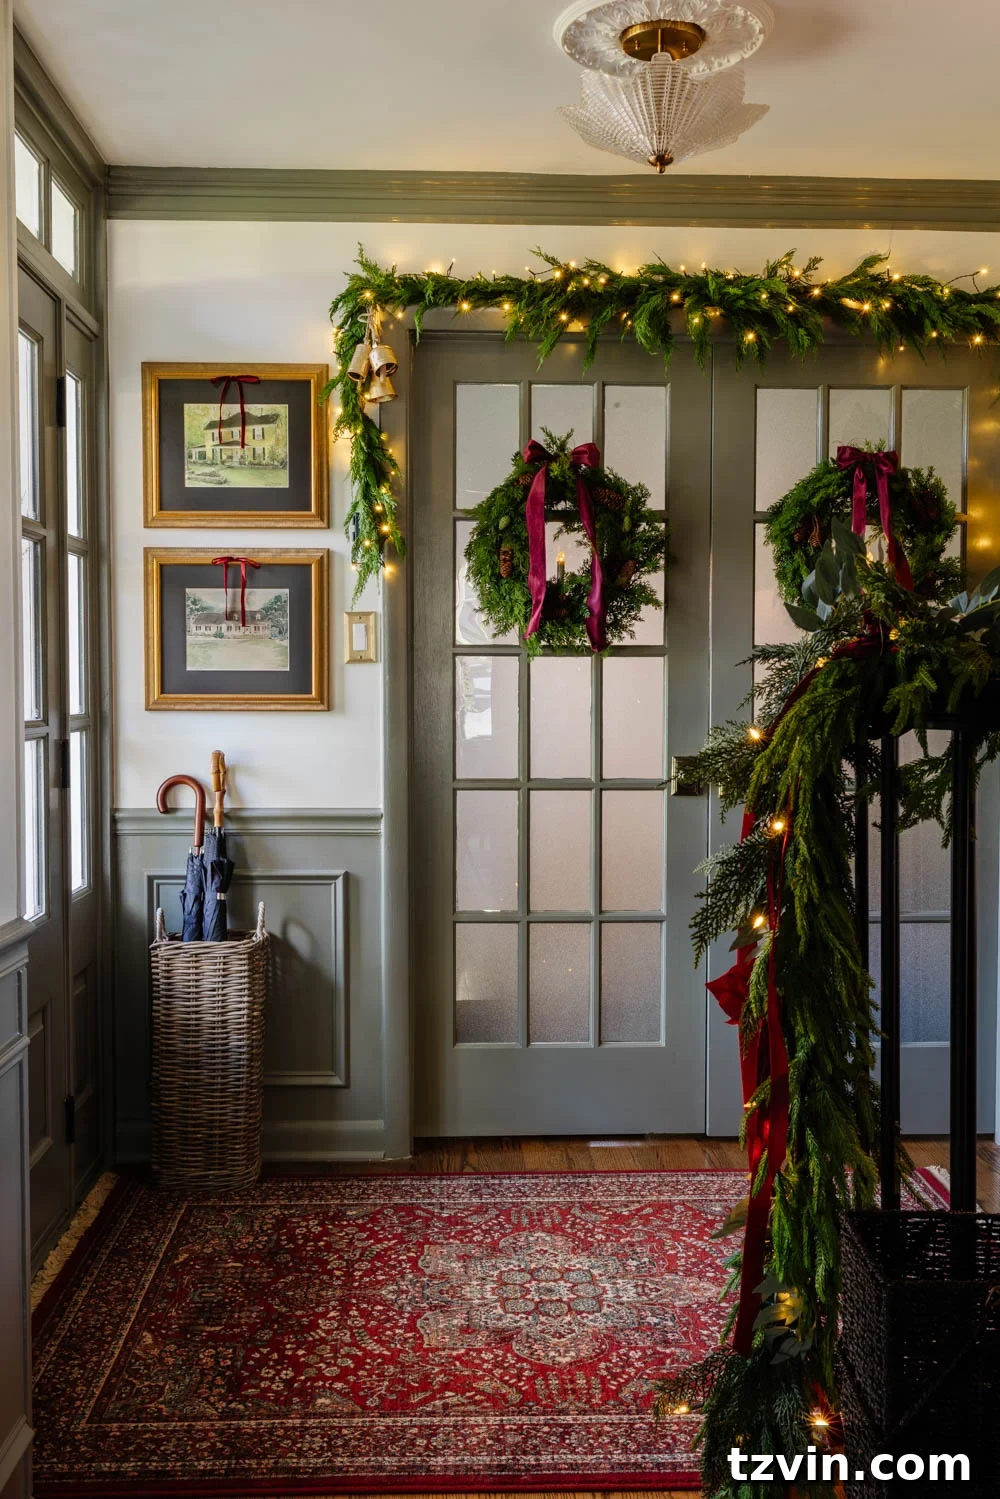
Essential Supplies for Your Doorway Garland Project
Before you begin, gather these essential supplies to ensure a smooth and successful garland-hanging experience:
- Garland: A plain pine garland serves as an excellent customizable base. For a fuller look, consider layering two strands. Alternatively, combine two different types of garland to add depth and visual interest.
- Command Cable Bundlers: These are crucial for securing the garland to the doorway without causing damage.
- Command Picture Hanging Strips: These will be used to securely hold the battery packs for your string lights.
- Battery-Operated String Lights: I highly recommend these warm incandescent-style micro battery lights for a cozy and inviting glow.
- Optional Embellishments: Personalize your garland with faux flowers, dried orange slices, berry picks, bells, ribbon, and more. The possibilities are truly endless!
- Floral Wire or Wire Ornament Hooks: These will be used to attach your chosen embellishments to the garland.
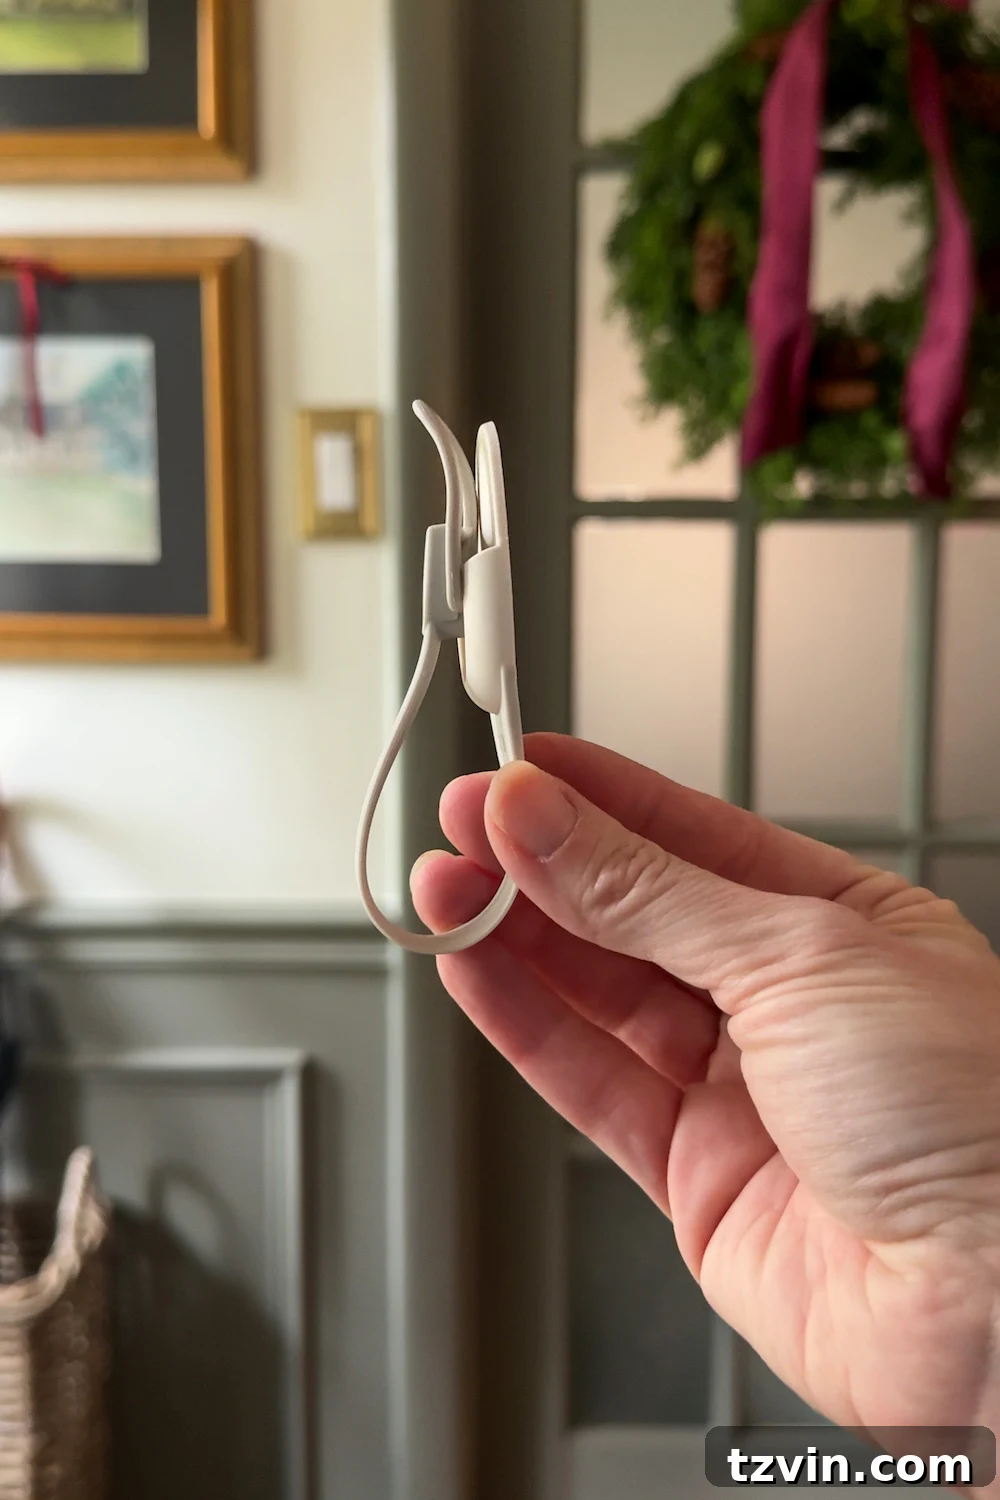
Step 1: Applying Command Cable Bundlers Around the Doorway
Begin by strategically placing your Command Cable Bundlers around the top, corners, and sides of the doorway. I recommend spacing them approximately every 6–12 inches, adjusting based on the weight of your garland. Remember, a heavier garland will require closer spacing for optimal support.
To ensure the strongest possible hold and prevent any mishaps, don’t skip the crucial prep steps outlined on the Command Cable Bundlers packaging. These steps are essential for achieving a secure and long-lasting hold:
- Firmly press the adhesive strip onto the back of the bundler and hold for 30 seconds.
- Press the bundler onto the wall or trim and hold for another 30 seconds.
- This is crucial: Wait a full hour before hanging anything! This waiting period allows the adhesive to fully bond, preventing the bundlers from popping off later. Trust me, this is the secret to success!
I know, waiting can be challenging when you’re eager to decorate. However, this small delay is a worthwhile investment. It ensures that your beautifully hung garland stays put throughout the entire holiday season, providing you with weeks of festive enjoyment.
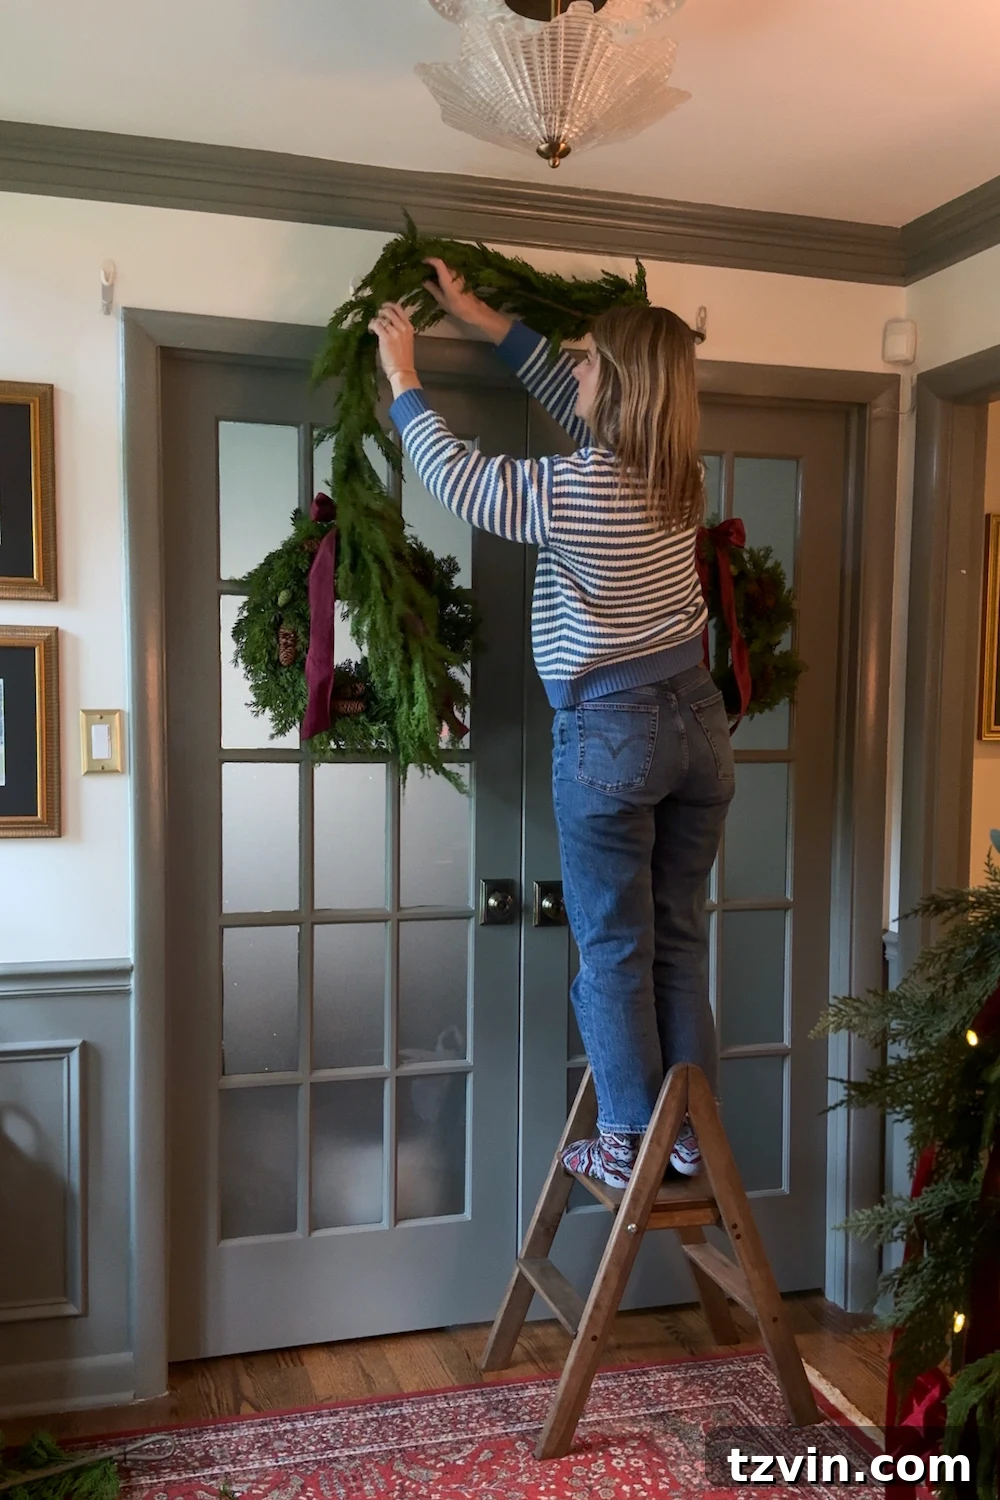
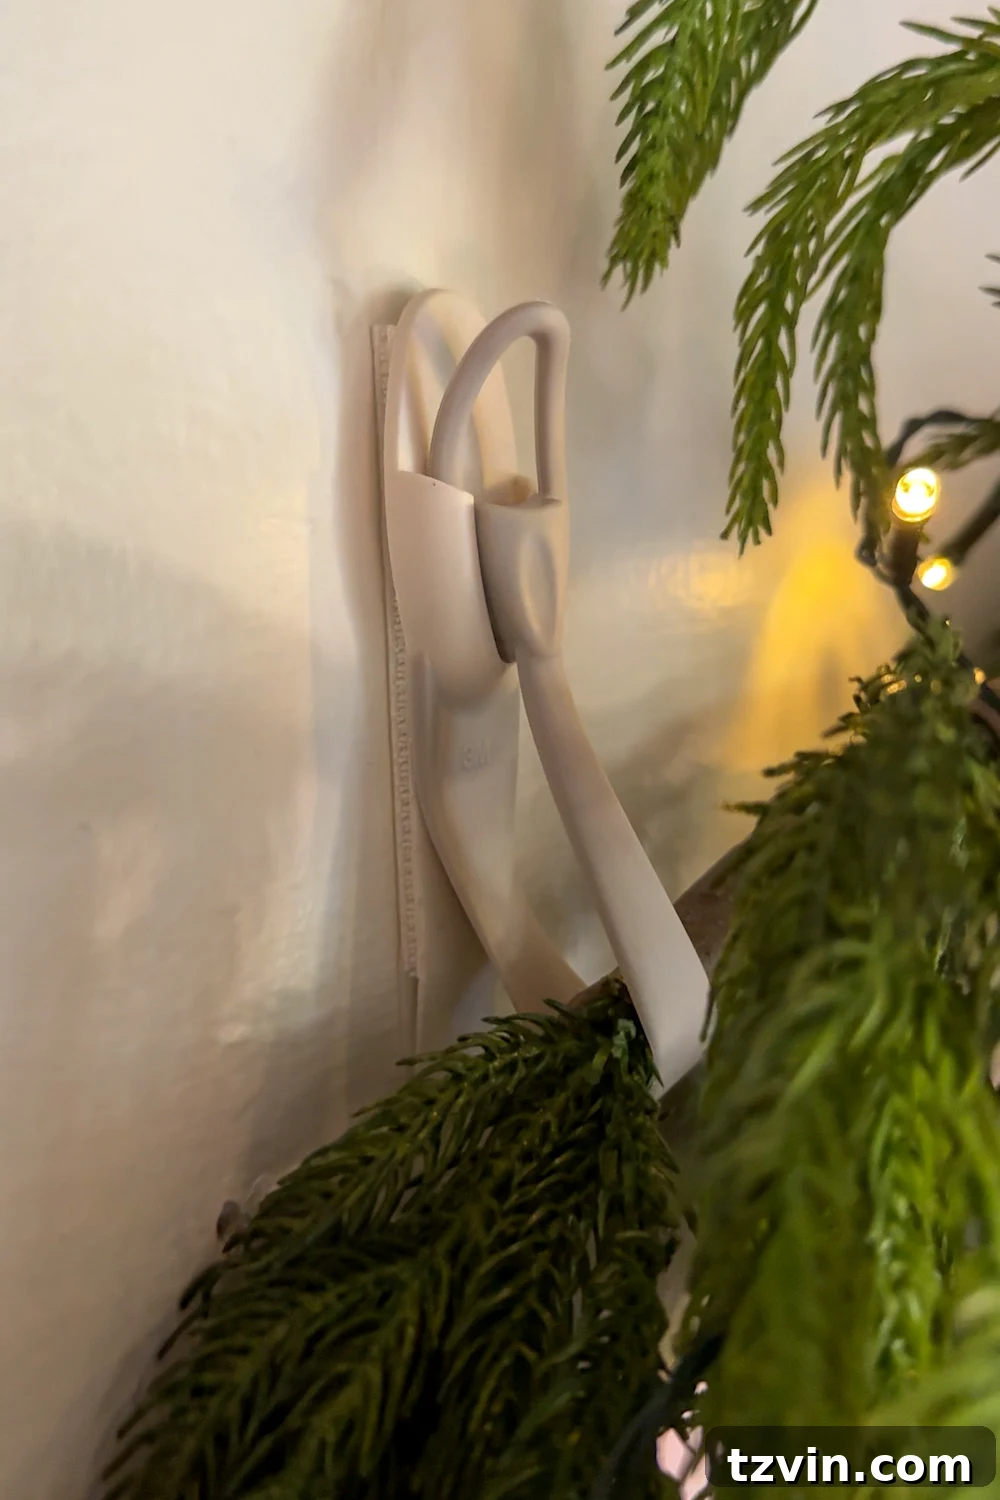
Step 2: Hanging the Garland Around the Doorway Frame
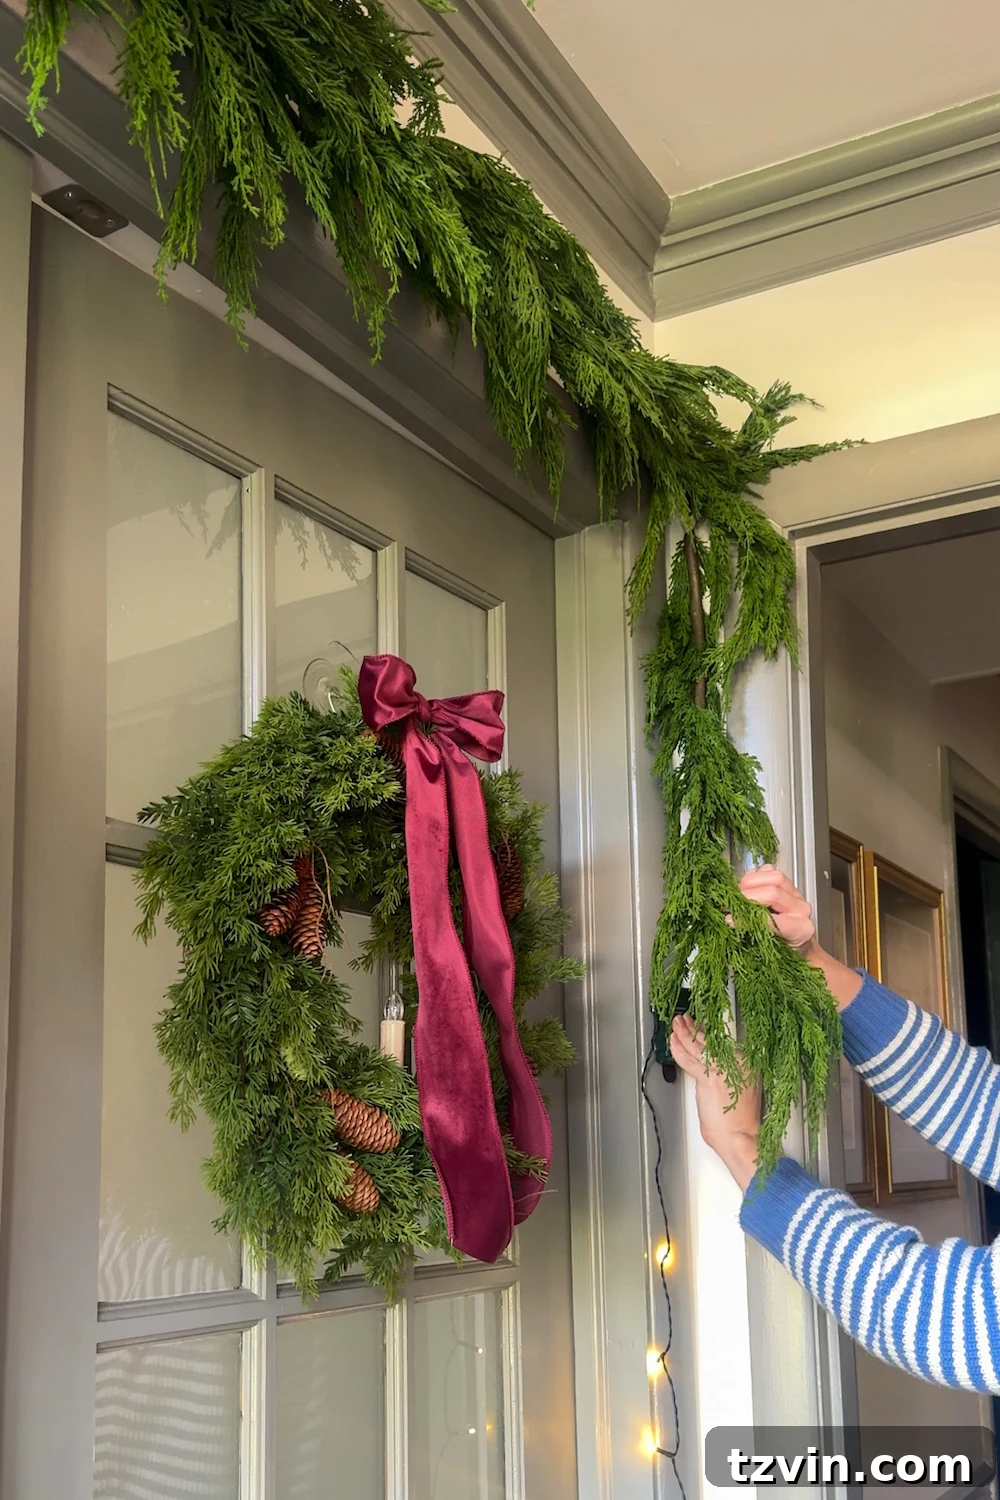
Once the Command Cable Bundlers are securely in place and have had sufficient time to set, it’s time to hang the garland! Begin by gently securing the garland into the hooks of the bundlers. Work your way around the doorway frame, carefully draping the garland and ensuring it’s evenly distributed.
I typically begin with a plain pine garland or a cedar garland as my base. These options provide a simple yet elegant foundation that can be easily embellished later. If you desire extra fullness or a more textured look, consider layering a second type of greenery on top. Magnolia, juniper, berry, cypress, and eucalyptus garlands are all excellent choices that add depth and visual appeal.
If any of the Command Cable Bundlers are peeking through the garland, don’t worry! Simply fluff the branches around them until they disappear from view. For extra camouflage, you can also tuck in additional sprigs of greenery directly over the bundlers. Cedar picks are particularly effective for this purpose.
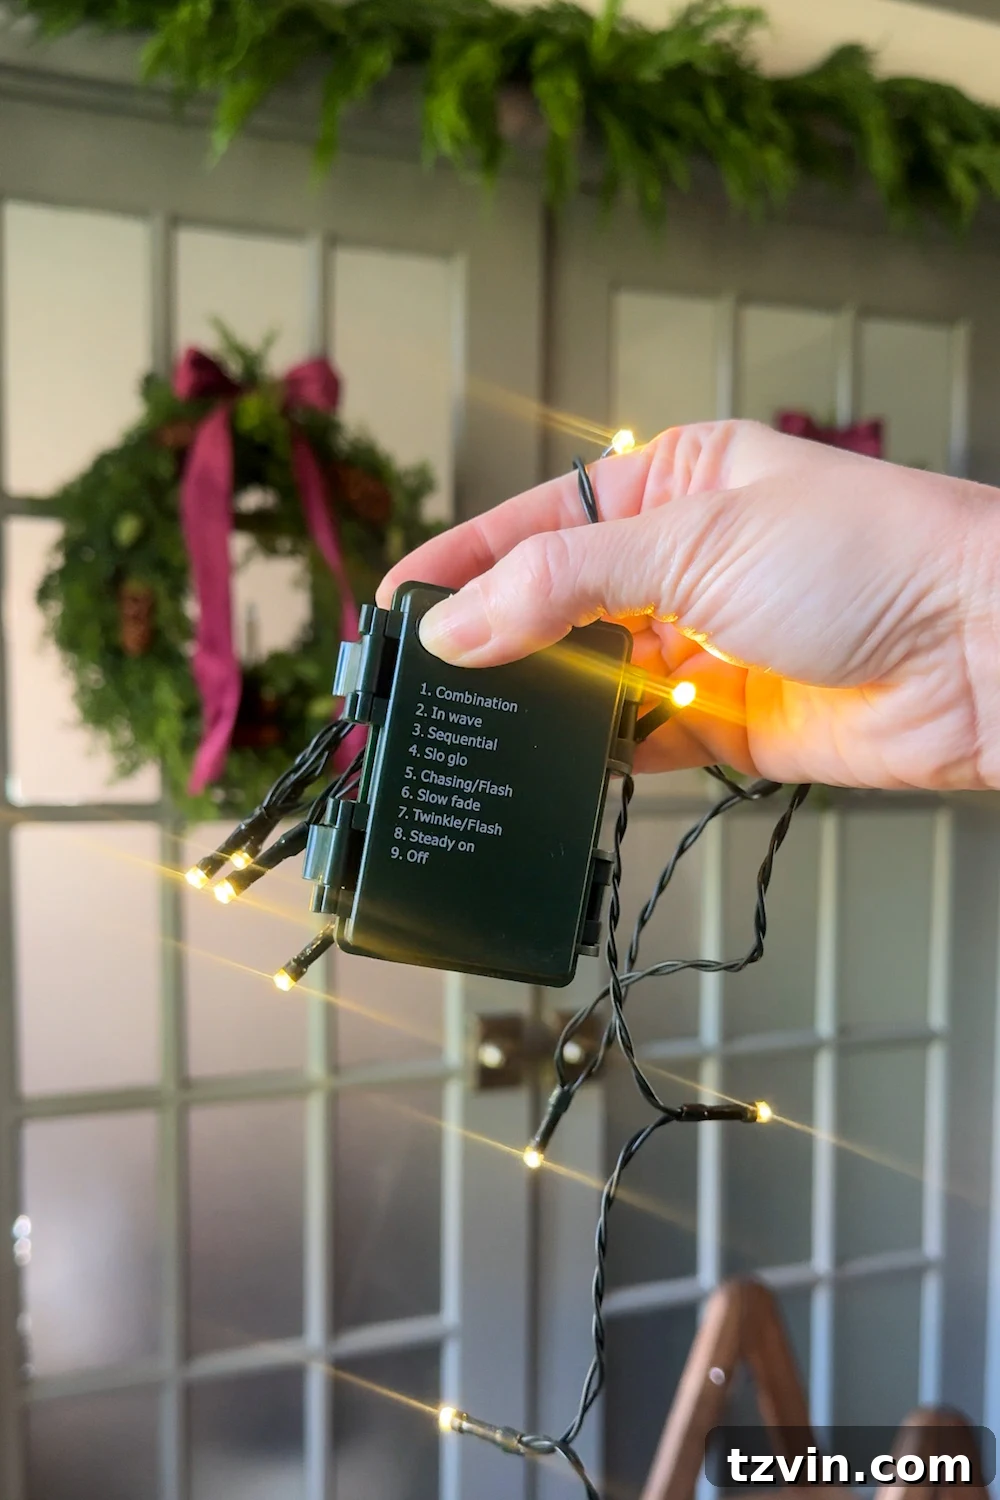
Step 3: Adding Lights for a Magical Ambiance
Lights have a remarkable ability to transform any space, instantly creating a magical and festive atmosphere. When it comes to string lights, I tend to be quite particular. I’ve found that many pre-lit LED garlands emit a blue-ish hue that doesn’t quite capture the warm and inviting ambiance I desire. That’s why I prefer using battery-operated golden incandescent-style micro lights.
These lights are still LED, which means they’re energy-efficient and long-lasting. However, they don’t have the harsh blue tone that I dislike. Instead, they emit a warm, soft glow that perfectly complements the holiday season.
If you’re aiming for a more whimsical and playful look, multicolored battery string lights are an excellent alternative! They add a cheerful pop of color and create a fun, festive vibe.
The best part? Both types of lights feature built-in timers. I simply set them to automatically turn on at 5:00 PM every evening, and I never have to think about it again. It’s a convenient and hassle-free way to ensure that your garland is always beautifully illuminated.
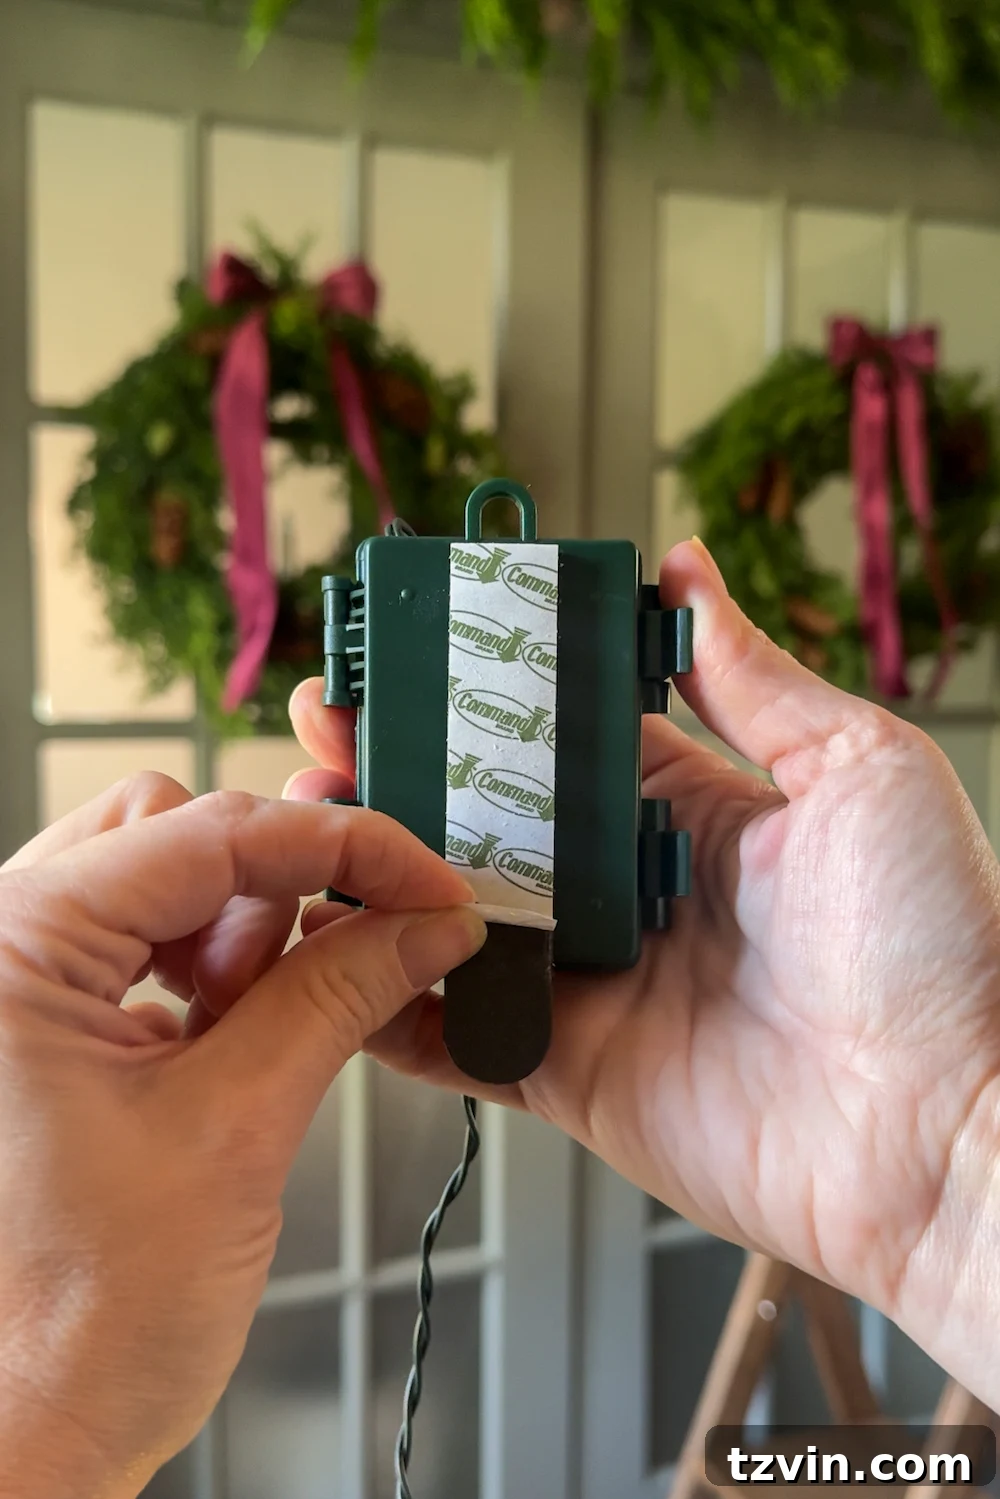
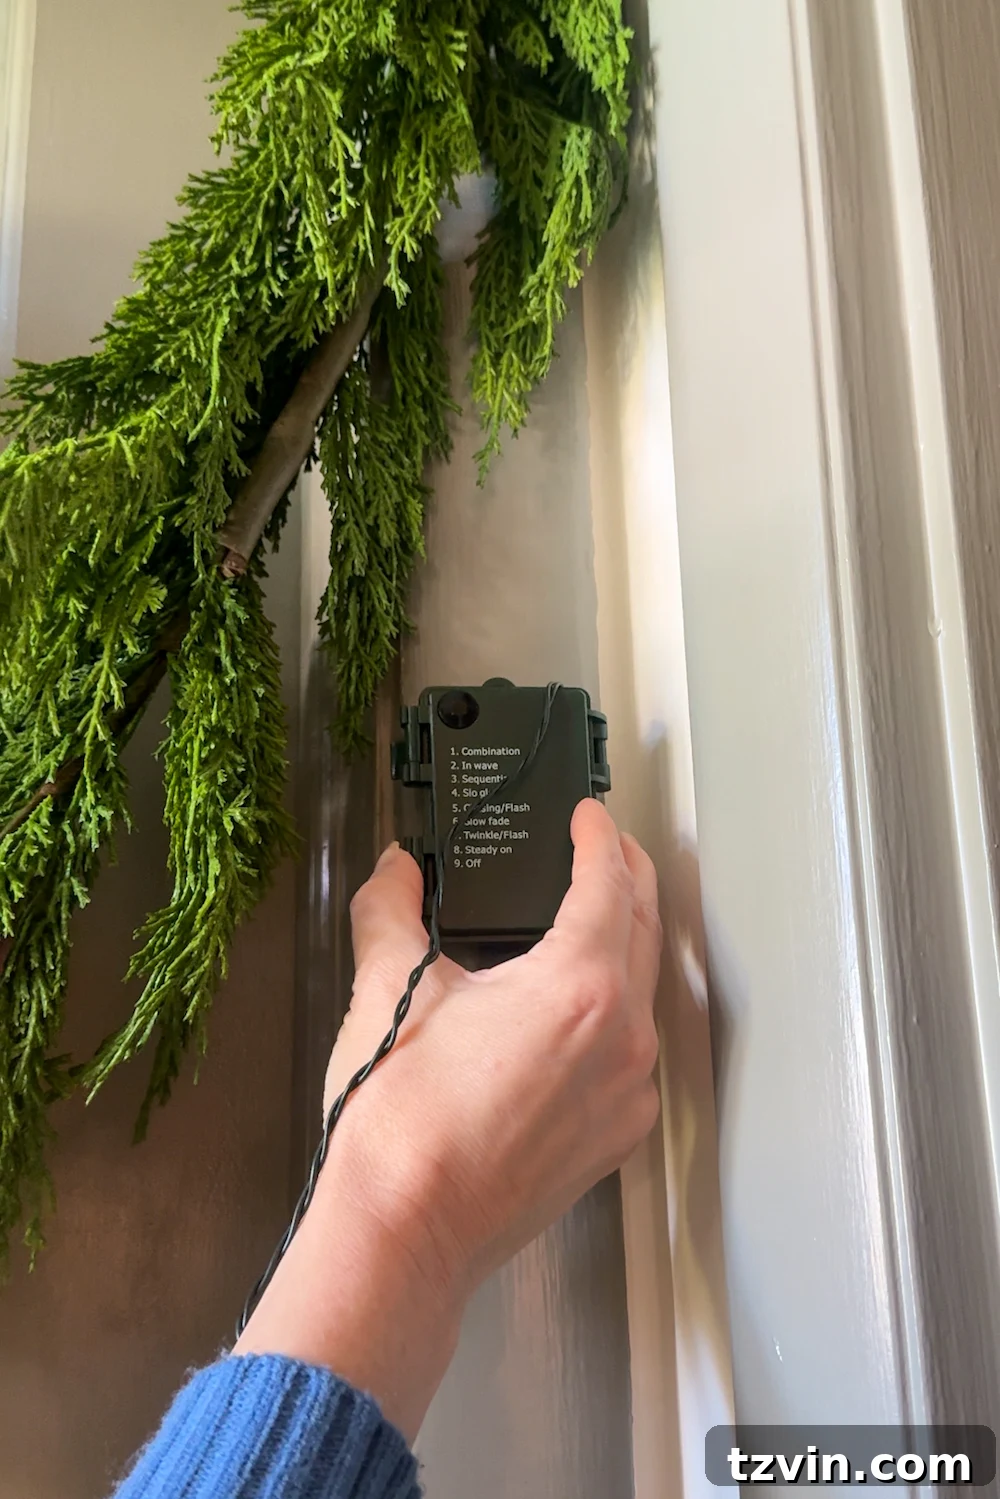
Here’s a simple trick for seamlessly incorporating lights into your garland display:
- Attach a Command Picture Hanging Strip to the back of the light strand’s battery pack.
- Press the battery pack onto the wall behind the garland, ensuring it’s hidden from view.
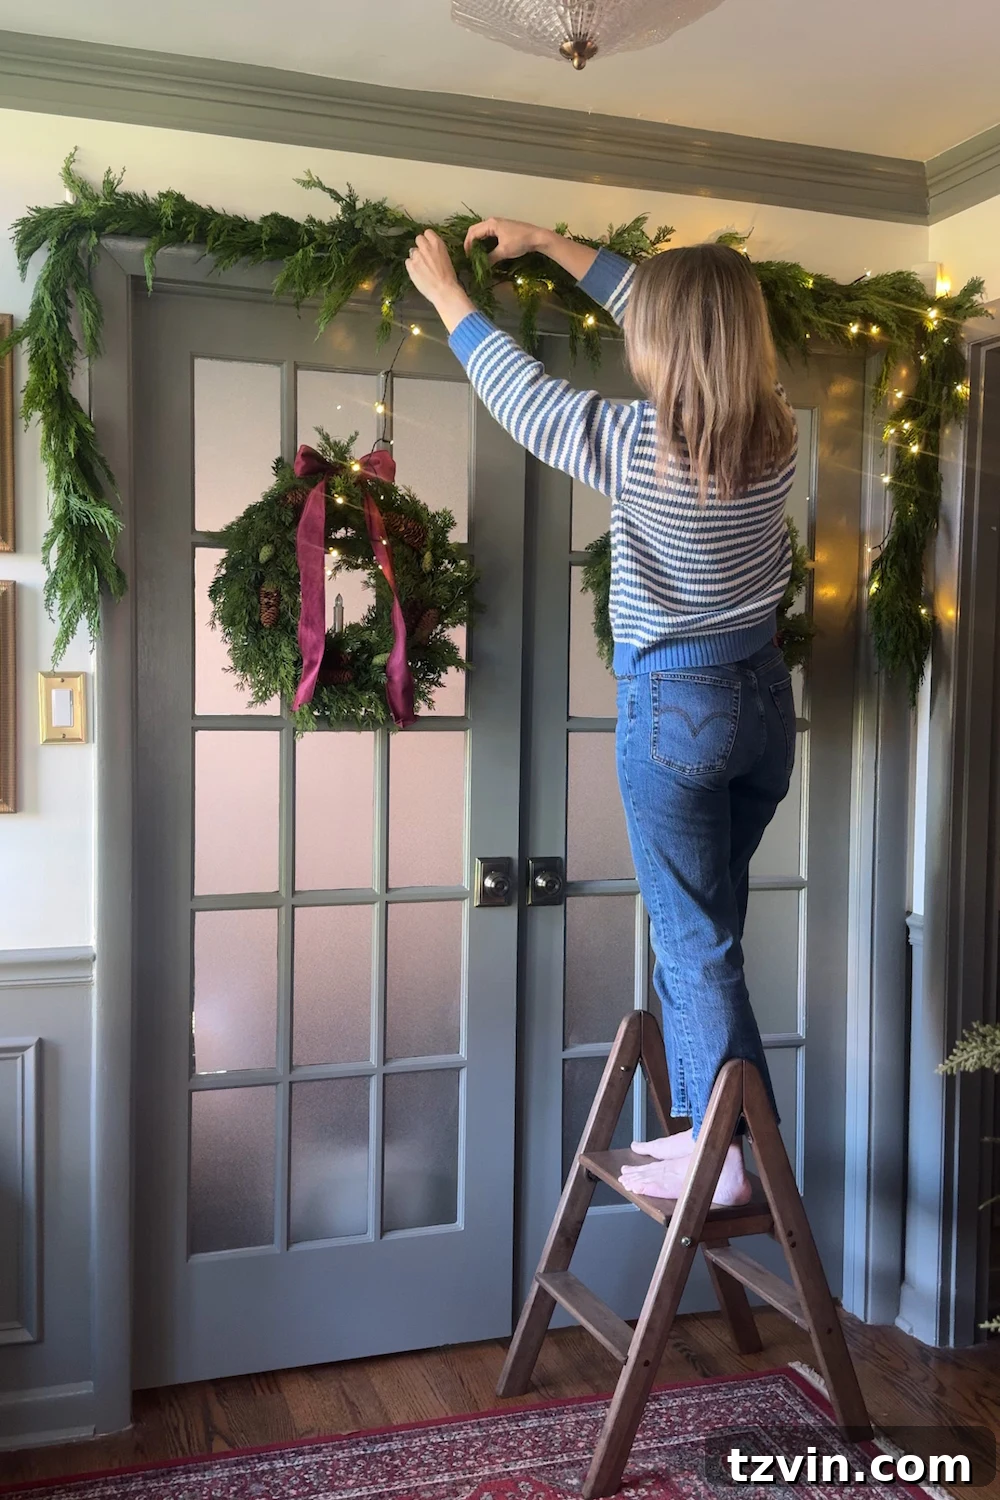
- Carefully weave the string lights in a zig-zag pattern throughout the garland branches. This technique ensures that the glow feels natural and is evenly distributed throughout the display.
If you’re using two strands of garland to accommodate a wider doorway, attach the second battery pack to the opposite side of the frame. Conceal it behind more of the garland in the same manner.
Step 4: Customizing Your Garland with Festive Embellishments
Now comes the most exciting part: transforming your plain greenery into a unique and personalized masterpiece that reflects your individual style! This is where you can truly let your creativity shine.
Use floral wire or simple wire ornament hooks to attach a variety of festive embellishments to the garland. Here are some popular options to get you started:
- Faux flower stems
- Dried orange slices
- Berry picks
- Bells
- Ribbon
- Pinecones
- Ornaments
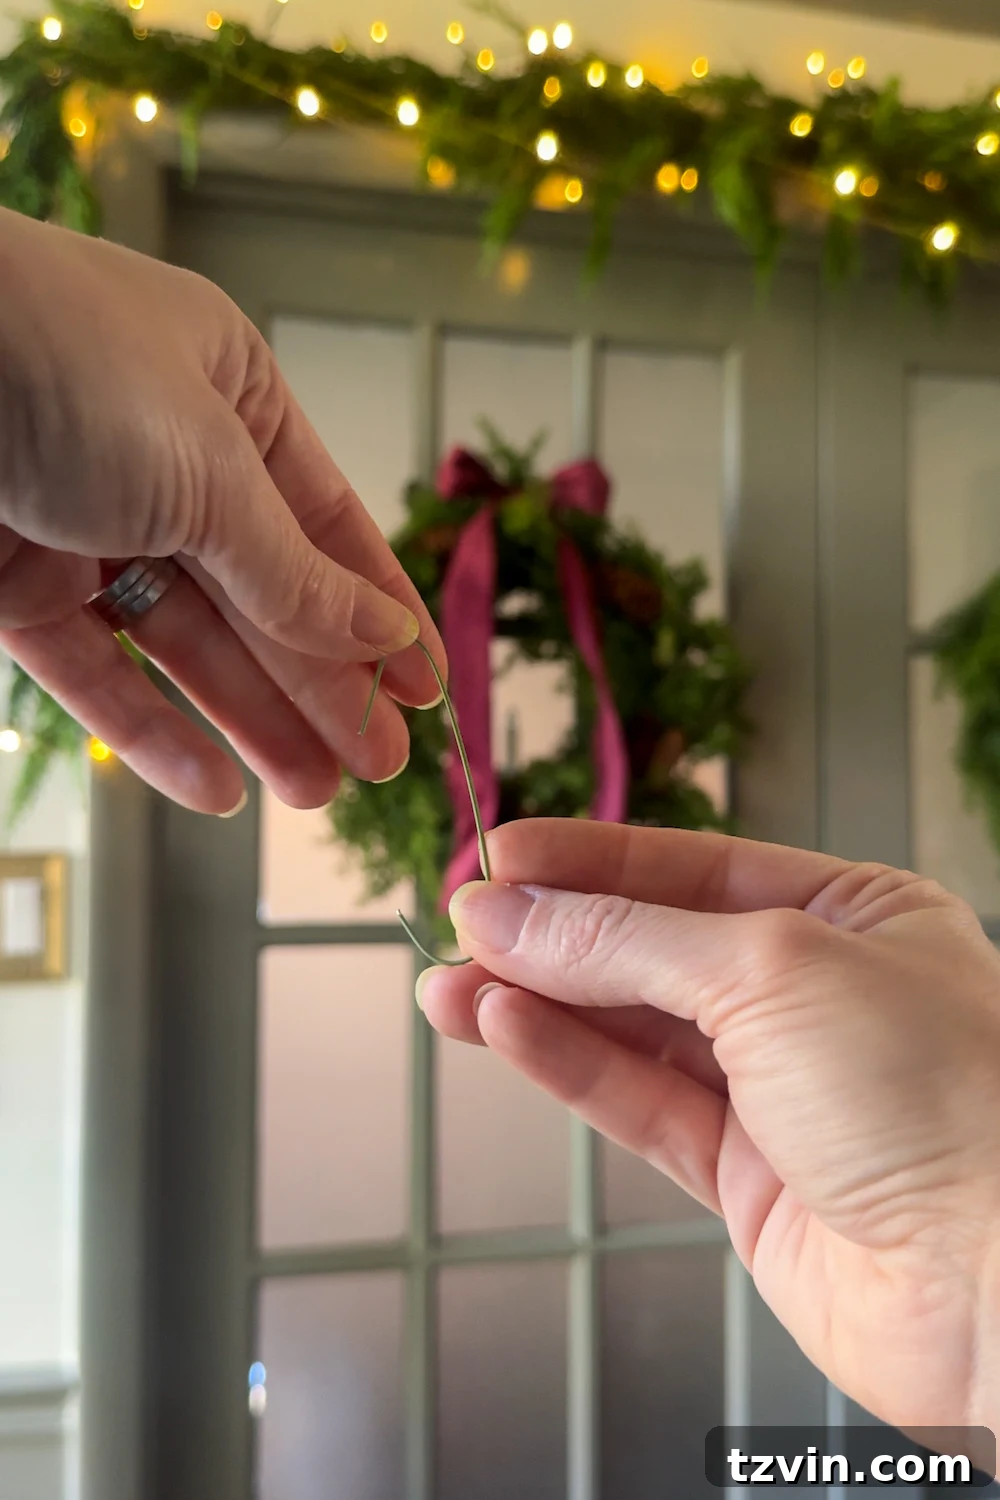
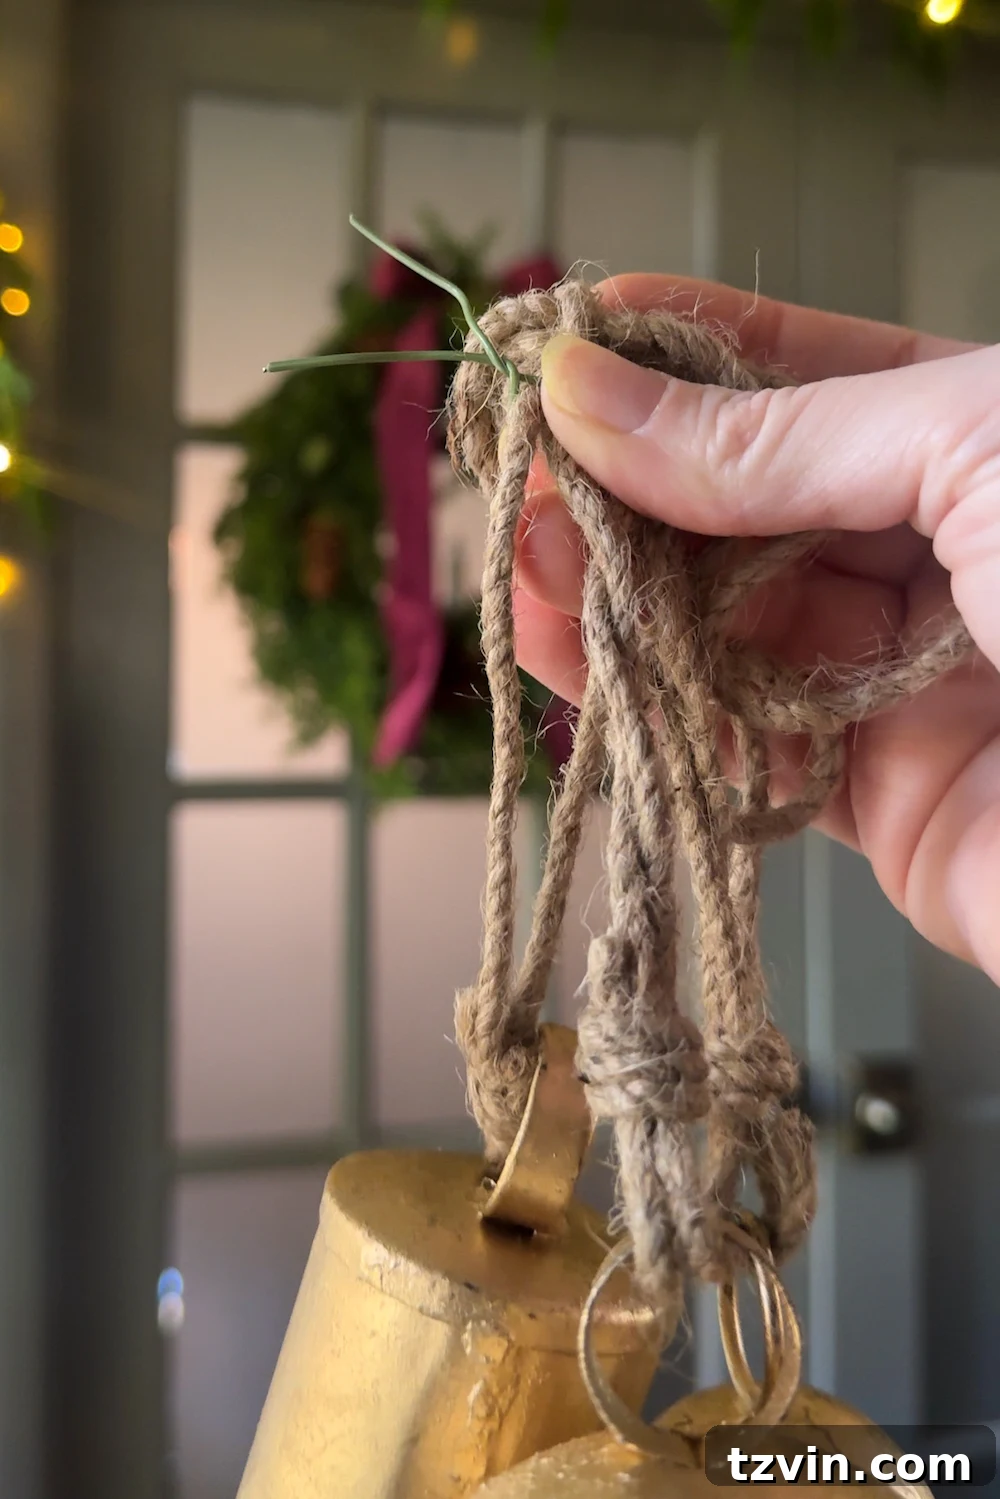
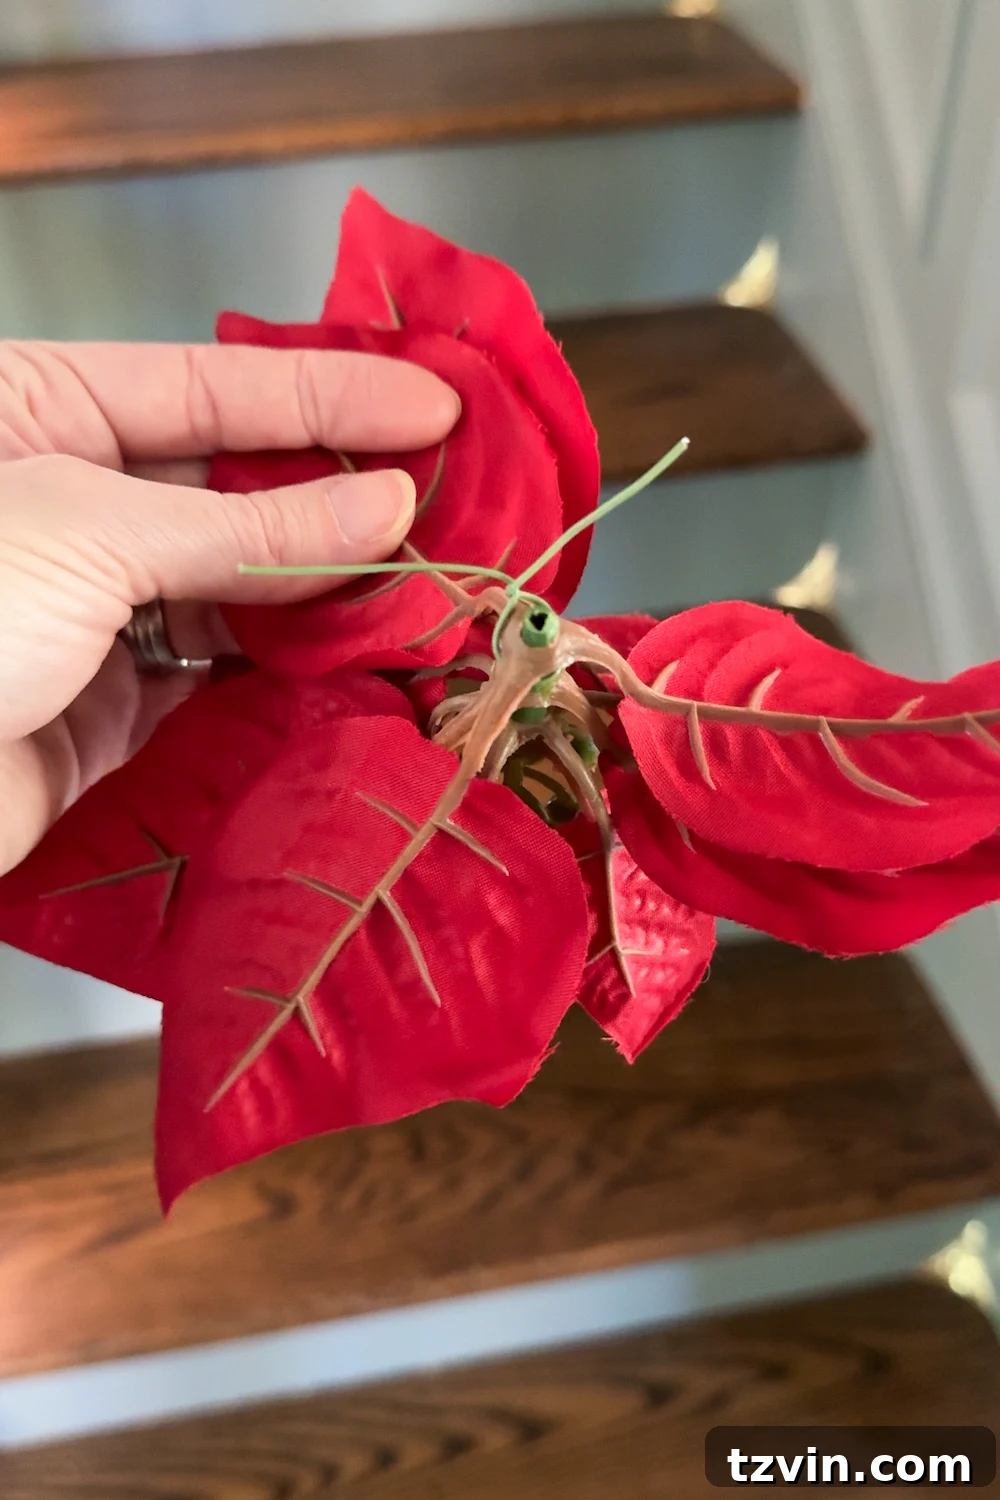
Think of your embellishments as jewelry for your doorway – the more variety you add, the more eclectic and visually interesting your display will become. Don’t be afraid to experiment with different textures, colors, and patterns to create a truly one-of-a-kind look!
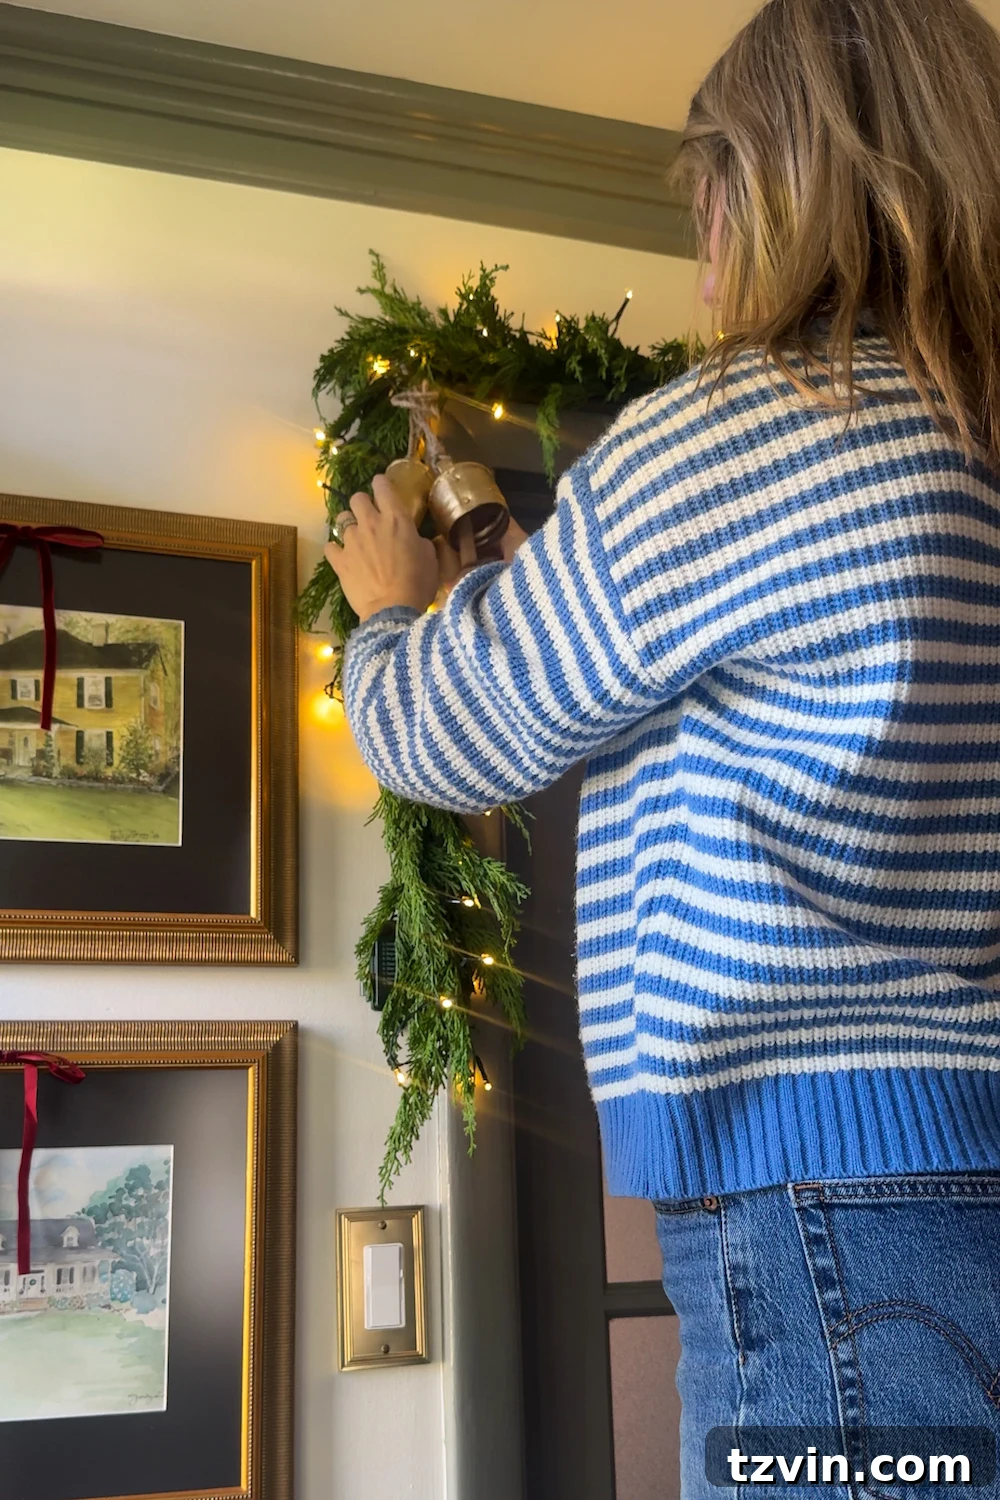
Over the years, I’ve installed several different doorway garland variations, each with its own unique charm and character. The beauty of this method is that you can easily change up the look each year by simply swapping out the embellishments.
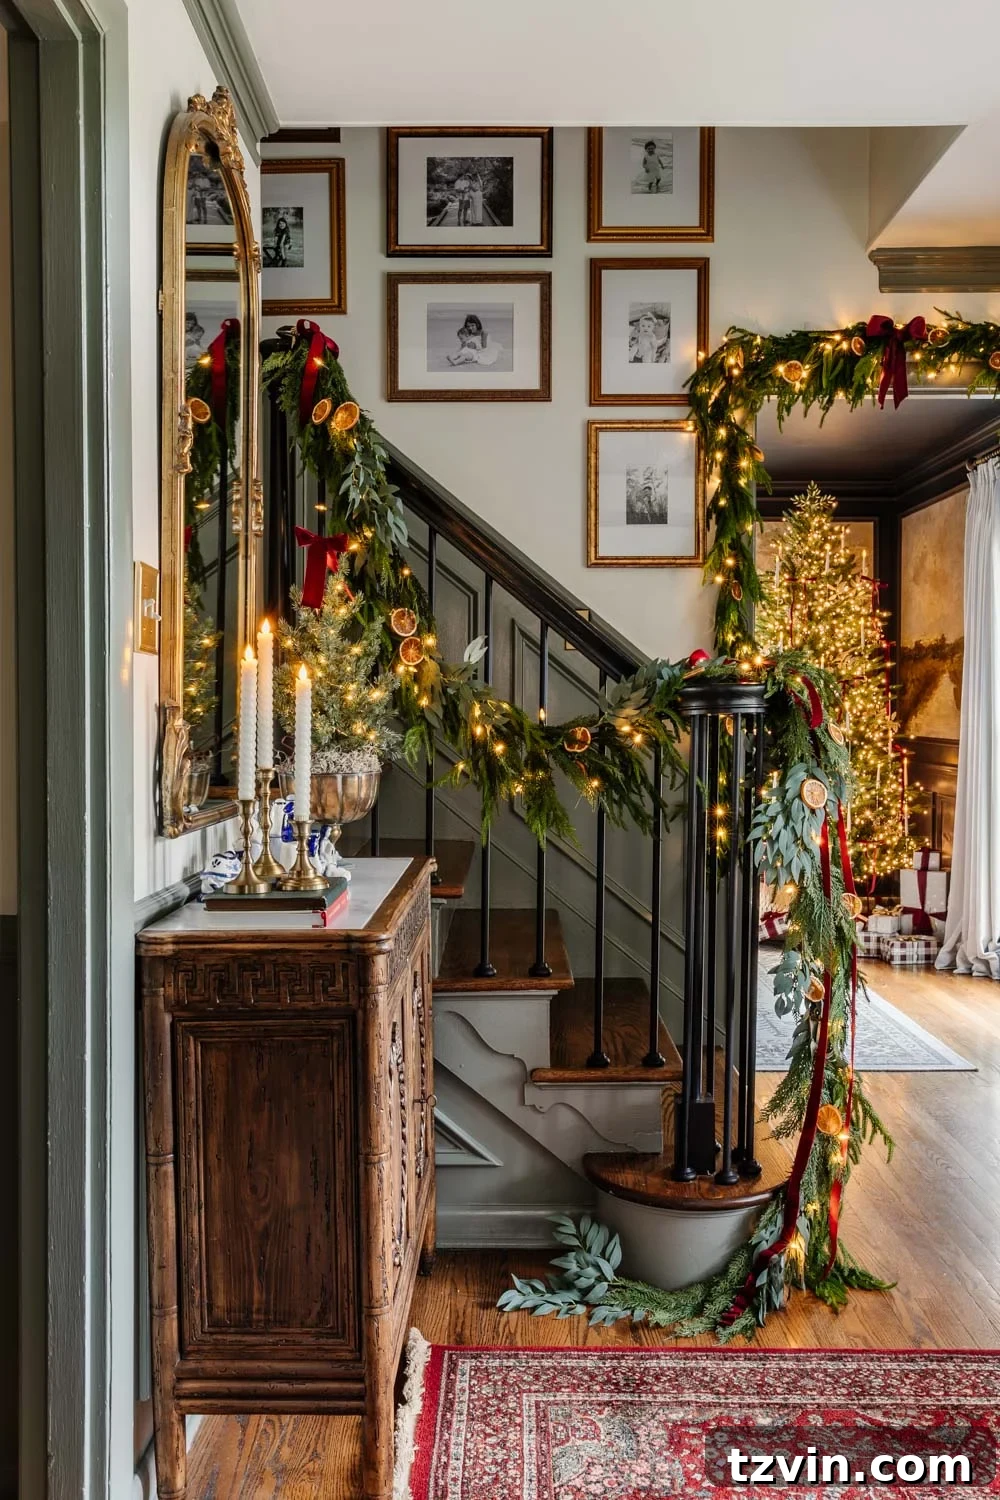
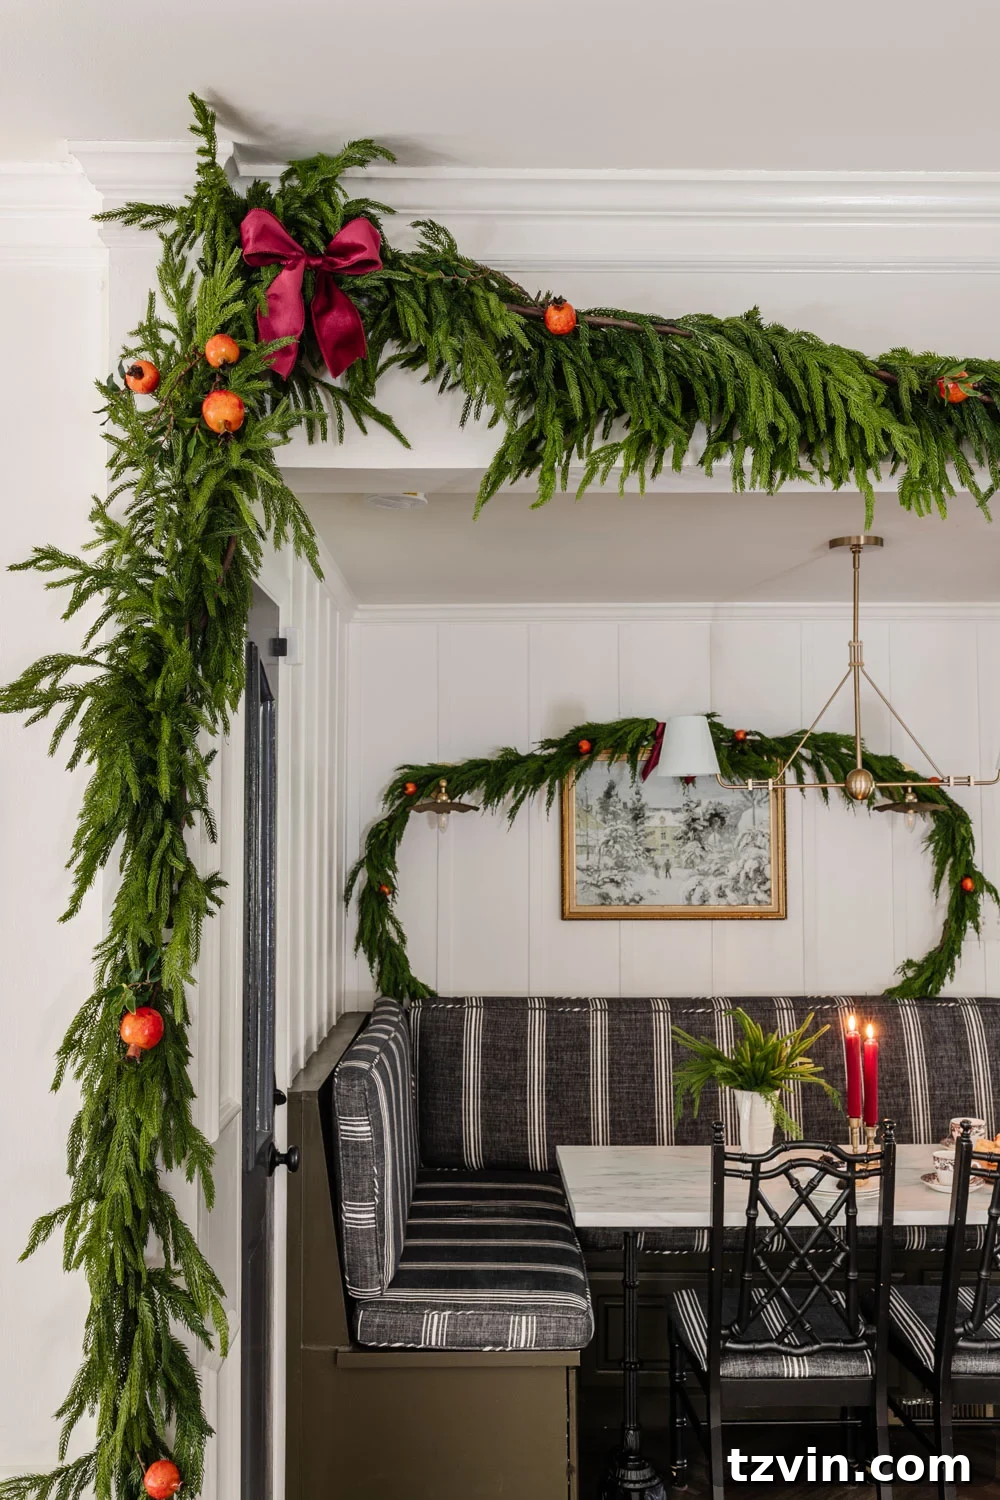
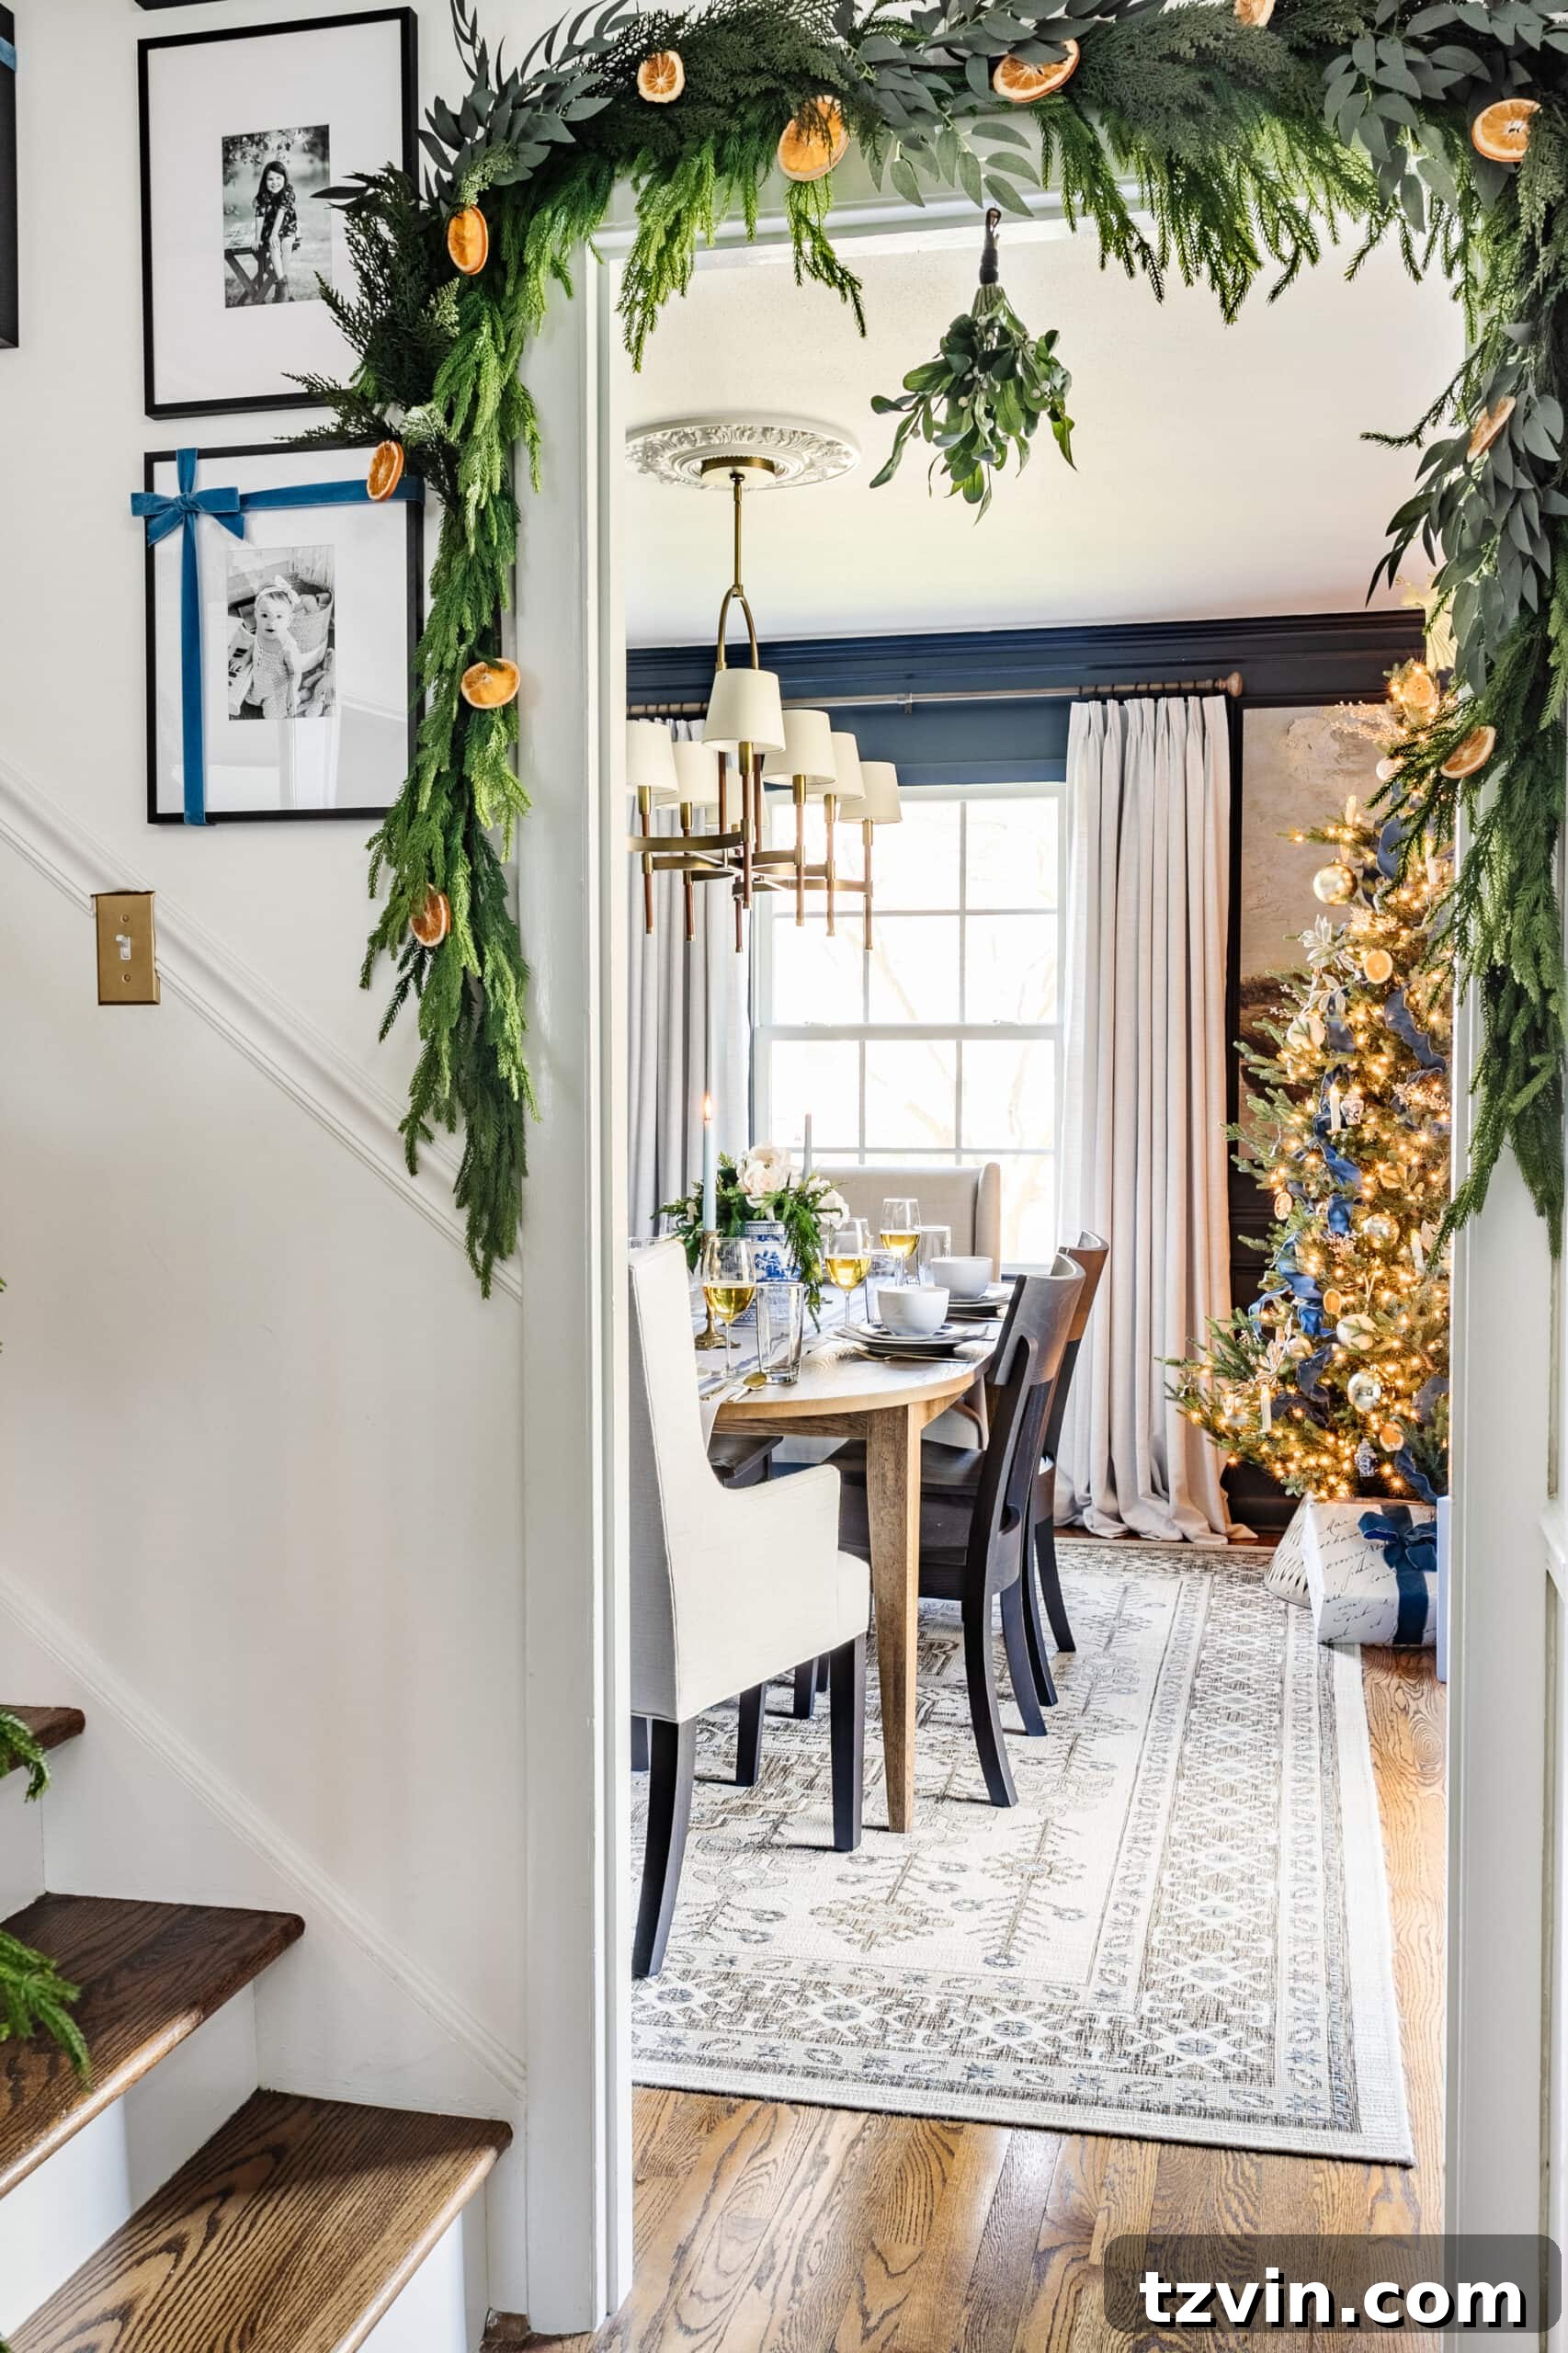
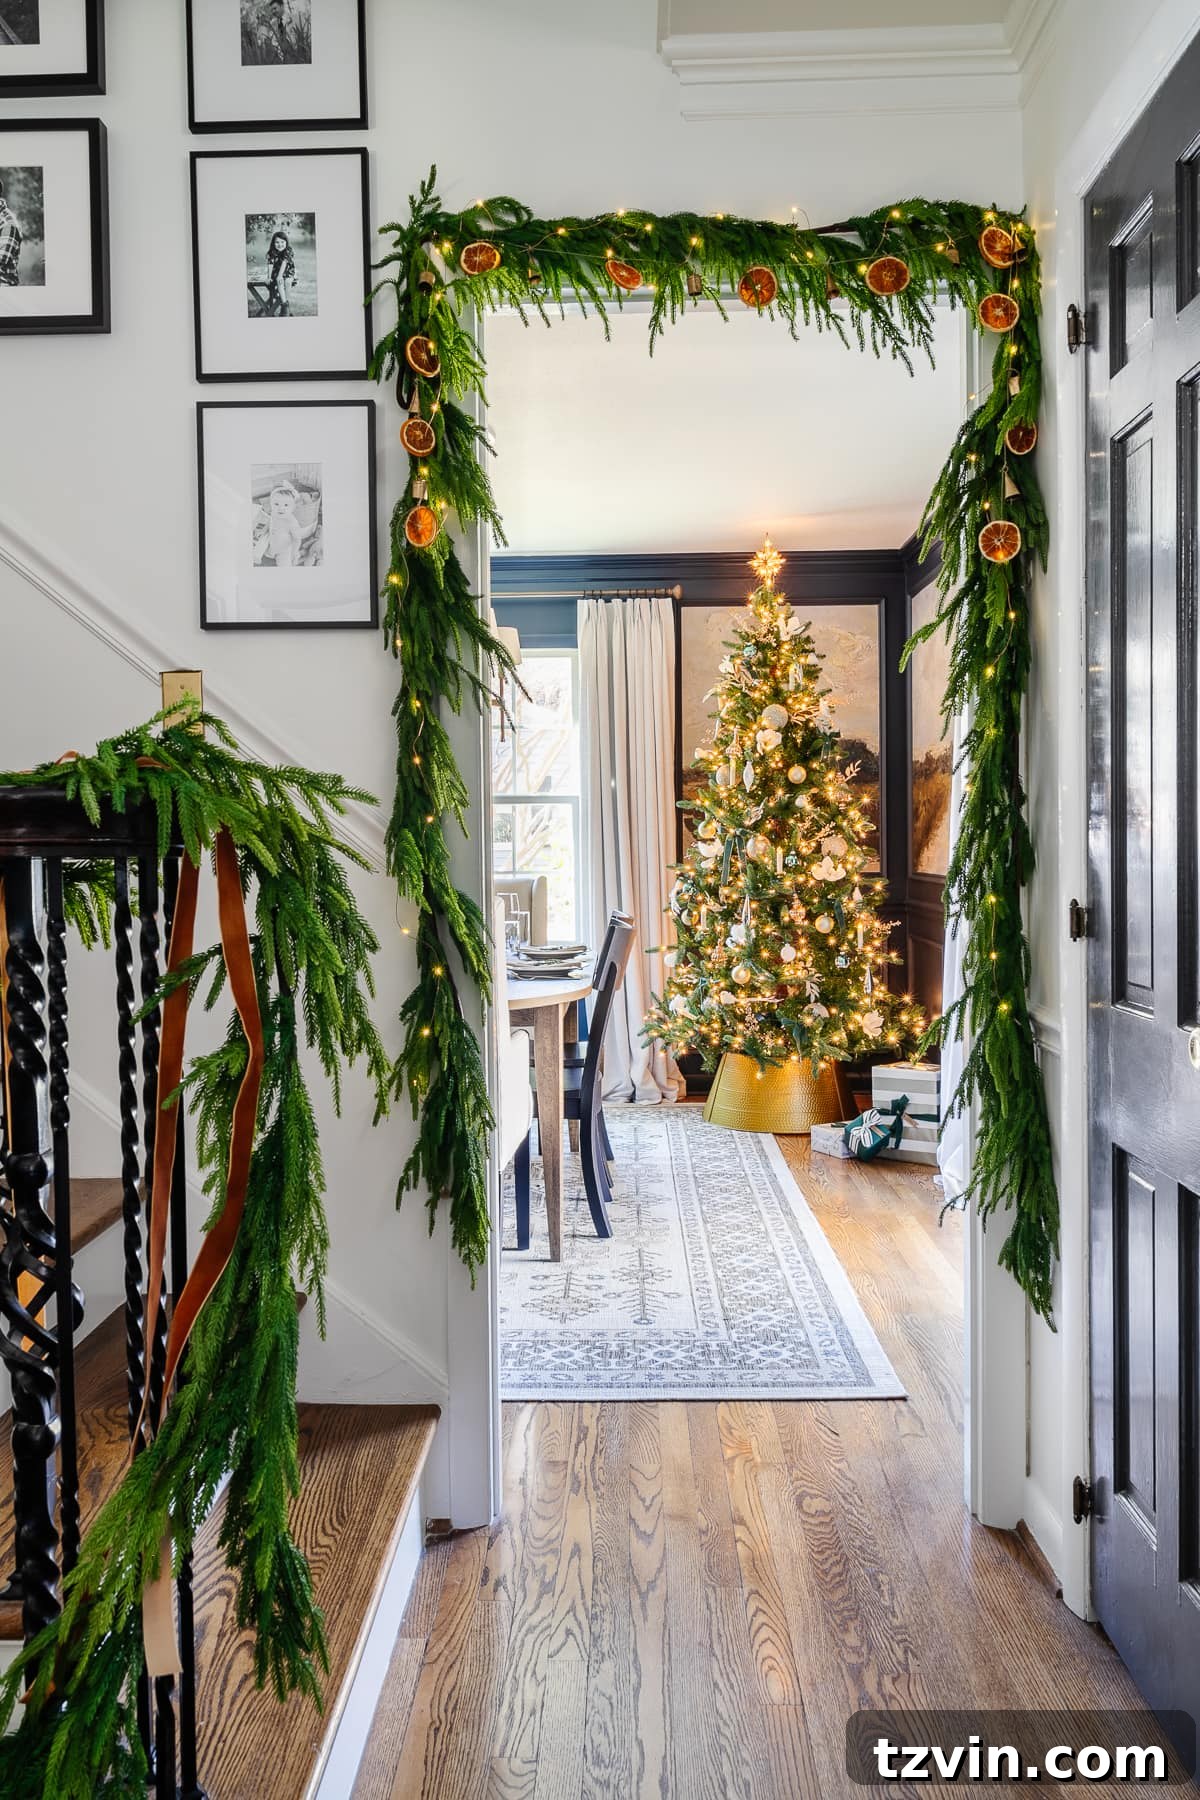
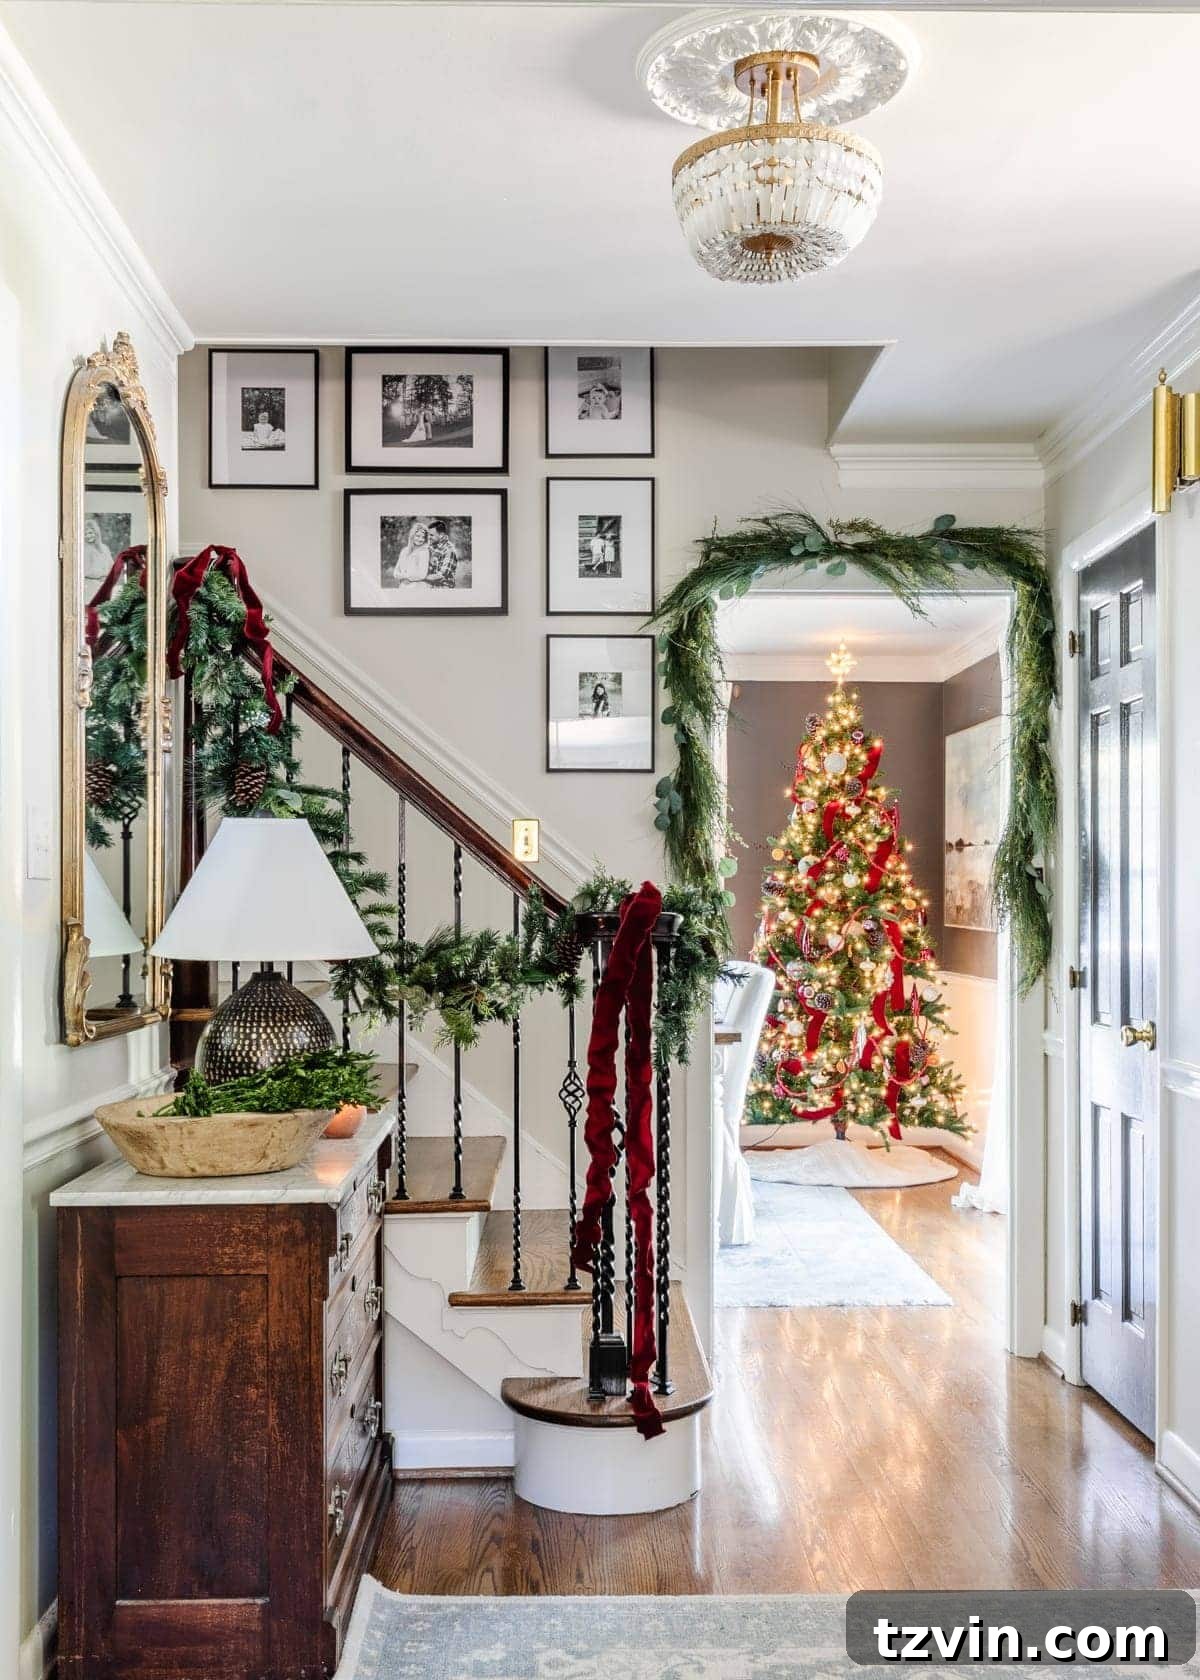
Hanging garland over a doorway is undoubtedly one of the easiest and most effective ways to instantly add Christmas charm to your home. Best of all, it requires no nails and causes absolutely no wall damage! This simple tradition has become one of my favorite rituals every December, and I sincerely hope it brings a sweet and festive moment to your home as well.
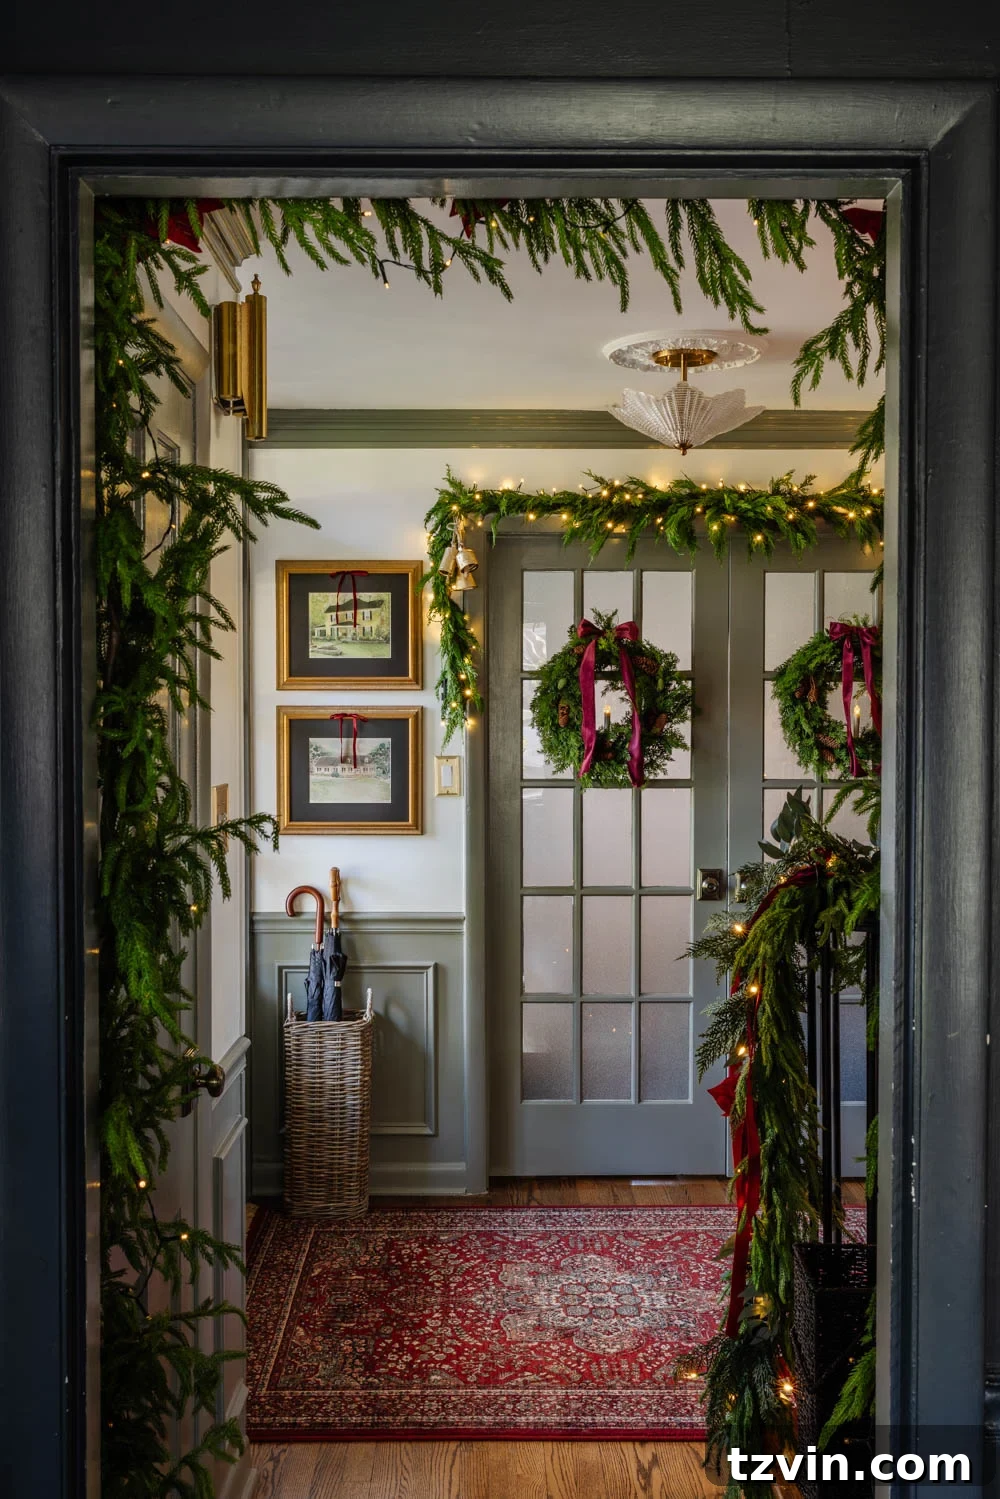
Explore More Christmas Garland Decorating Tricks
Want to take your Christmas garland decorating skills to the next level? Check out these helpful resources:
- How to Hang Garland on a Fireplace Mantel
- How to Hang Garland on a Stair Railing
- How to Make DIY Dried Orange Garland
- How to Preserve Leaves & Dry Fruit to Use in Garlands