
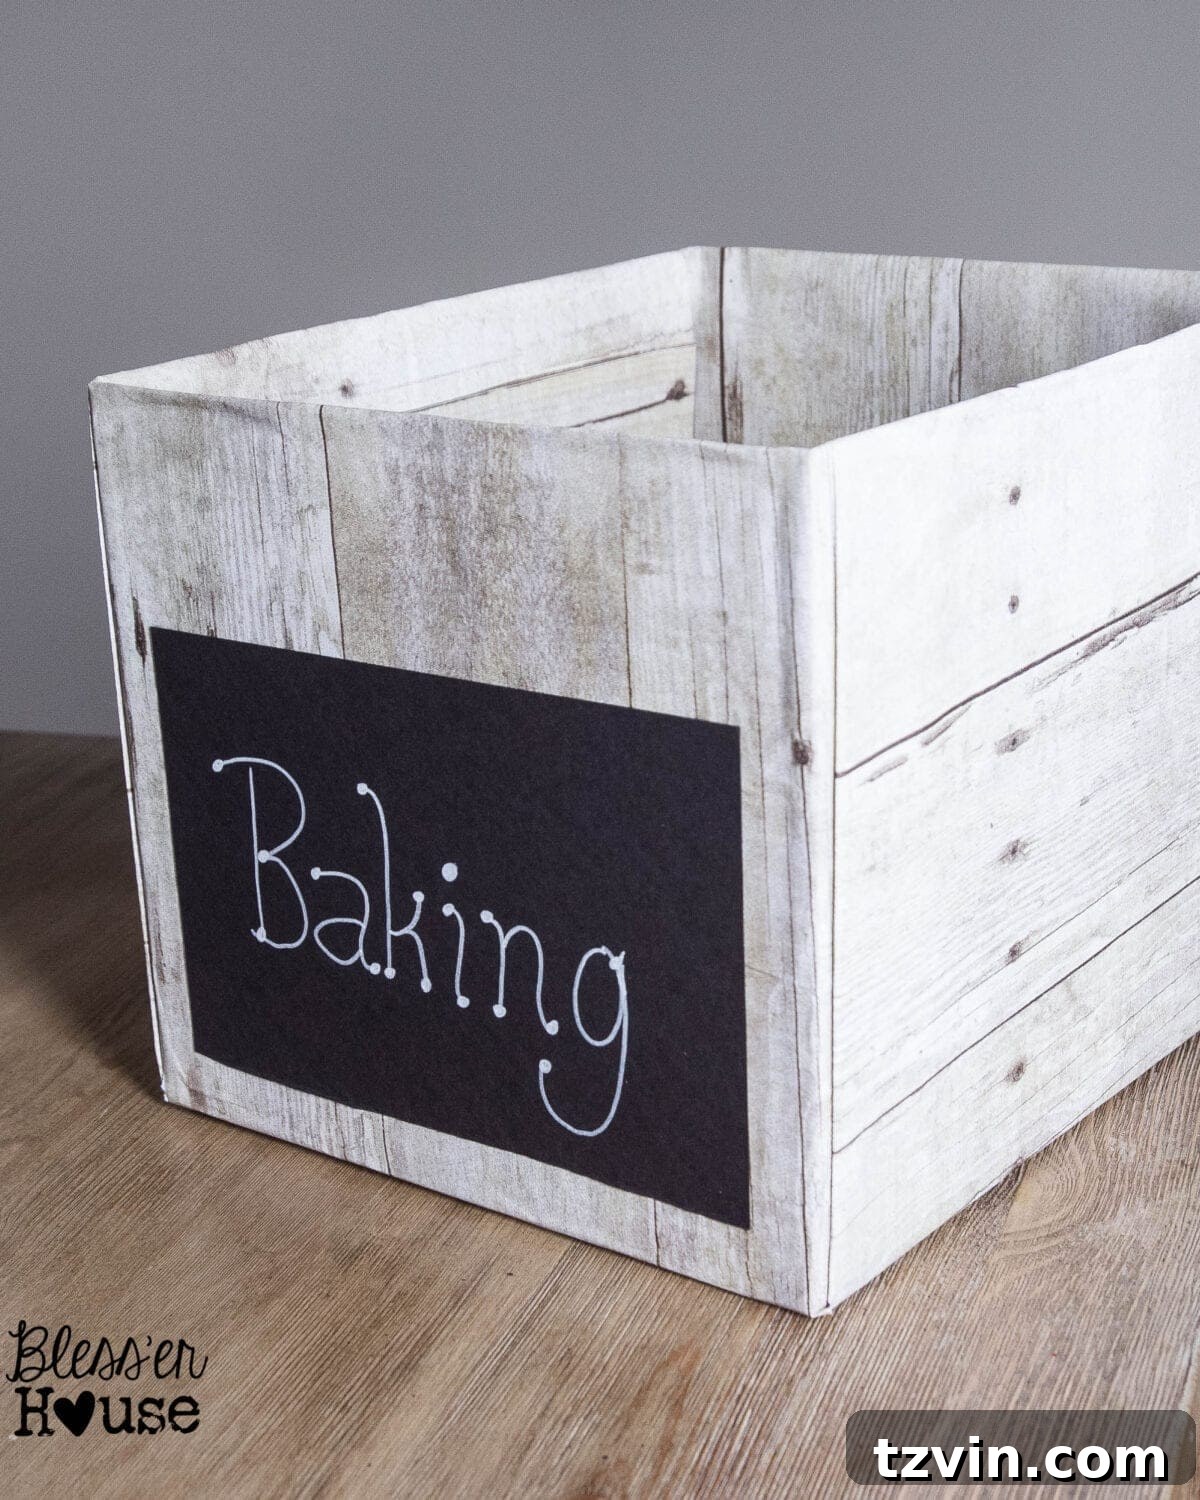
Transform Your Pantry: DIY Weathered Wood Crates from Diaper Boxes
In life, some experiences leave an indelible mark. For me, one such experience was my first, and only, yoga class. Convinced by a dear friend to join her, I found myself in a tiny, intensely heated room, attempting poses that seemed designed for contortionists, not beginners. Think “legs around the neck like a scarf” kind of yoga. Suffice it to say, I didn’t find my zen; I found unconsciousness. Yes, I passed out. Quite embarrassing, but a vivid memory nonetheless! While many have suggested I try again, perhaps with better hydration, I’ve approached other daunting tasks with a similar initial reluctance.
Organizing used to be one of those tasks. The mere thought of confronting a packed closet or a cluttered pantry would trigger an overwhelming sense of dread, leading to complete shutdown halfway through any attempt. My natural inclination towards “pack-rat” tendencies made breaking free from clutter feel like an impossible uphill battle. It wasn’t until I discovered a paradoxical secret: how to leverage my pack-rat nature to actually achieve organization. The irony isn’t lost on me!
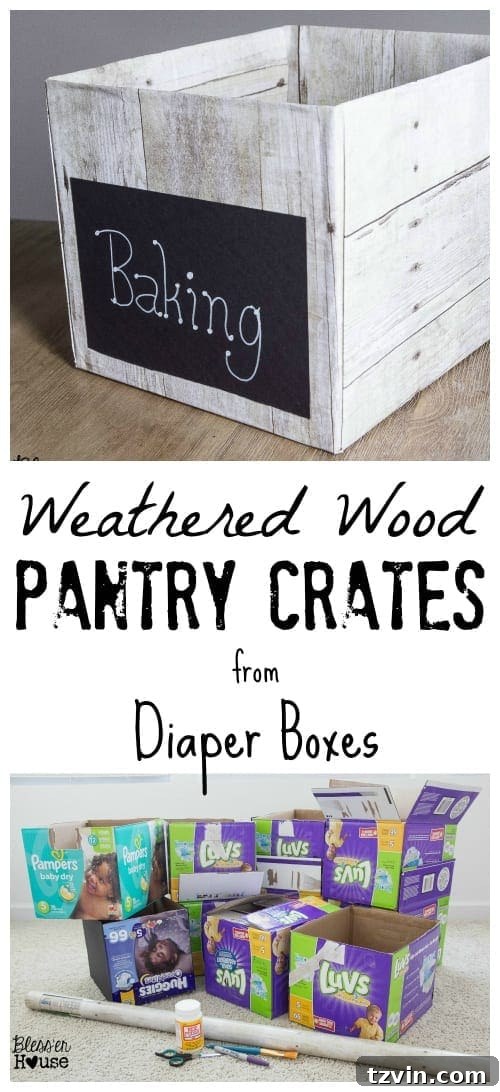
The High Cost of Stylish Organization vs. Frugal Solutions
Many wonderfully organized individuals possess the means, and the willingness, to invest hundreds of dollars into sophisticated organization systems. While I admire their dedication, I confess I am not one of them. Given the choice, I’d prioritize a new pair of shoes over expensive storage bins any day! My budget, and frankly, my preference, steers me towards more economical, yet equally effective, solutions. This mindset led me to a rather brilliant idea a few months ago, born out of necessity and a touch of serendipity.
Living with a toddler meant a constant supply of empty diaper boxes. Instead of tossing them, I envisioned a way to repurpose these sturdy cardboard containers into attractive, functional storage for our desperately disorganized pantry. Who knew that the joys (and mess) of toddlerhood could unexpectedly lead to a breakthrough in decluttering? This wasn’t just about saving money; it was about transforming a household waste item into a valuable asset, proving that smart organization doesn’t have to break the bank.
Update: Dive into our full organized pantry reveal here, completed for under $50!
It’s a simple philosophy: when life hands you a pile of empty diaper boxes, transform them into beautiful, weathered wood pantry crates. It’s an eco-friendly, budget-conscious, and incredibly satisfying DIY project that I’m thrilled to share with you.
Materials You’ll Need for Your DIY Pantry Crates
Gathering the right supplies is the first step to any successful DIY project. The beauty of this particular craft lies in its simplicity and the affordability of the materials. Most items can be found at your local craft store, and the main component is likely already in your recycling bin!
- Empty cardboard diaper boxes (I used 10 to overhaul my pantry)
- Faux wood printed craft paper (an affiliate link for your convenience)
- Sharp scissors
- A Sharpie or other permanent marker
- A craft paint brush (for Mod Podge application)
- Mod Podge (matte or satin finish works best for a weathered look)
- Black cardstock (for creating custom labels)
- Permanent chalk marker (for writing on your labels)
- Removable scrapbook adhesive strips (for versatile labeling)
Step-by-Step Guide: Crafting Your Weathered Wood Crates
Ready to turn those humble cardboard boxes into stylish storage solutions? Follow these steps to create your own weathered wood pantry crates.
Step 1: Prepare Your Diaper Boxes
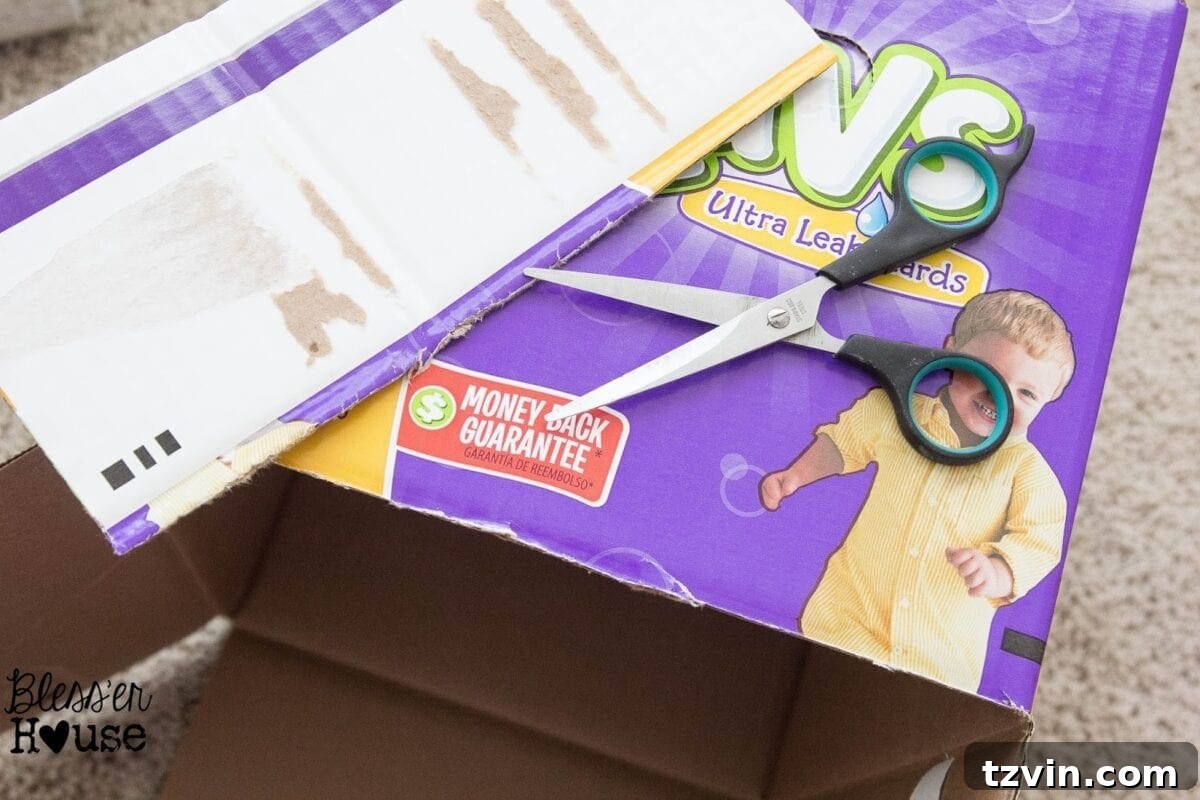
Begin by giving your diaper boxes a clean start. Carefully cut off the top flaps of each box. This creates an open-top container, ready for its transformation. A sharp pair of scissors or a craft knife will ensure clean, straight edges.
Step 2: Measure and Cut Your Faux Wood Paper
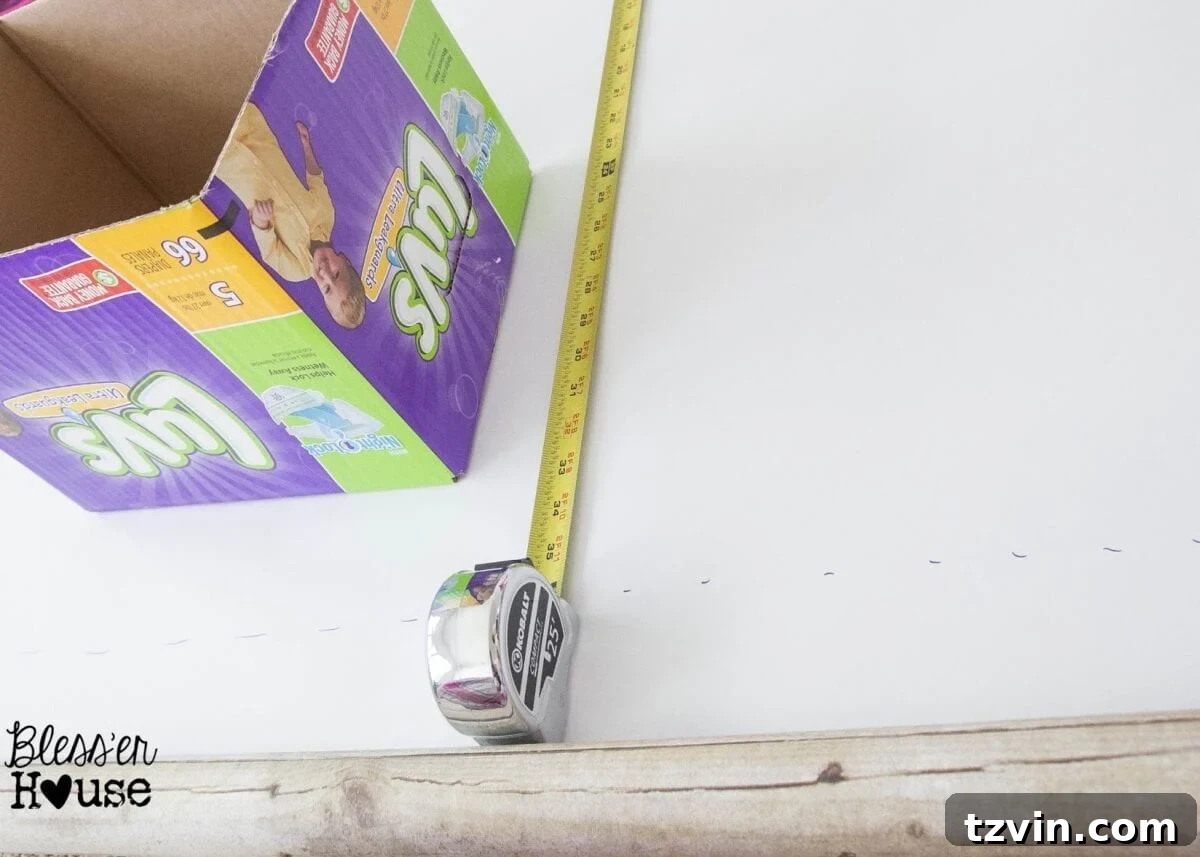
Next, it’s time to measure your craft paper. Measure the width and height of one of your boxes. To determine the length of paper needed, add the measurements for the bottom, both sides, and approximately 8 extra inches for overlap and folding. For my boxes, this total came to about 40 inches. I found the perfect faux wood print craft paper at Hobby Lobby for around $8, which was an absolute steal considering its potential!
Once you have your measurements, carefully cut the craft paper to the required width and total length for your first box. Remember, it’s always better to cut a little extra and trim later than to cut too short.
Step 3: Create Your Wrapping Template
With your paper cut, flip it over to the white, unprinted side. Using a ruler and a Sharpie, draw a template that outlines where the paper will fold around the box. This ensures a neat, custom fit. Mark where the bottom and sides of the box will sit on the paper.
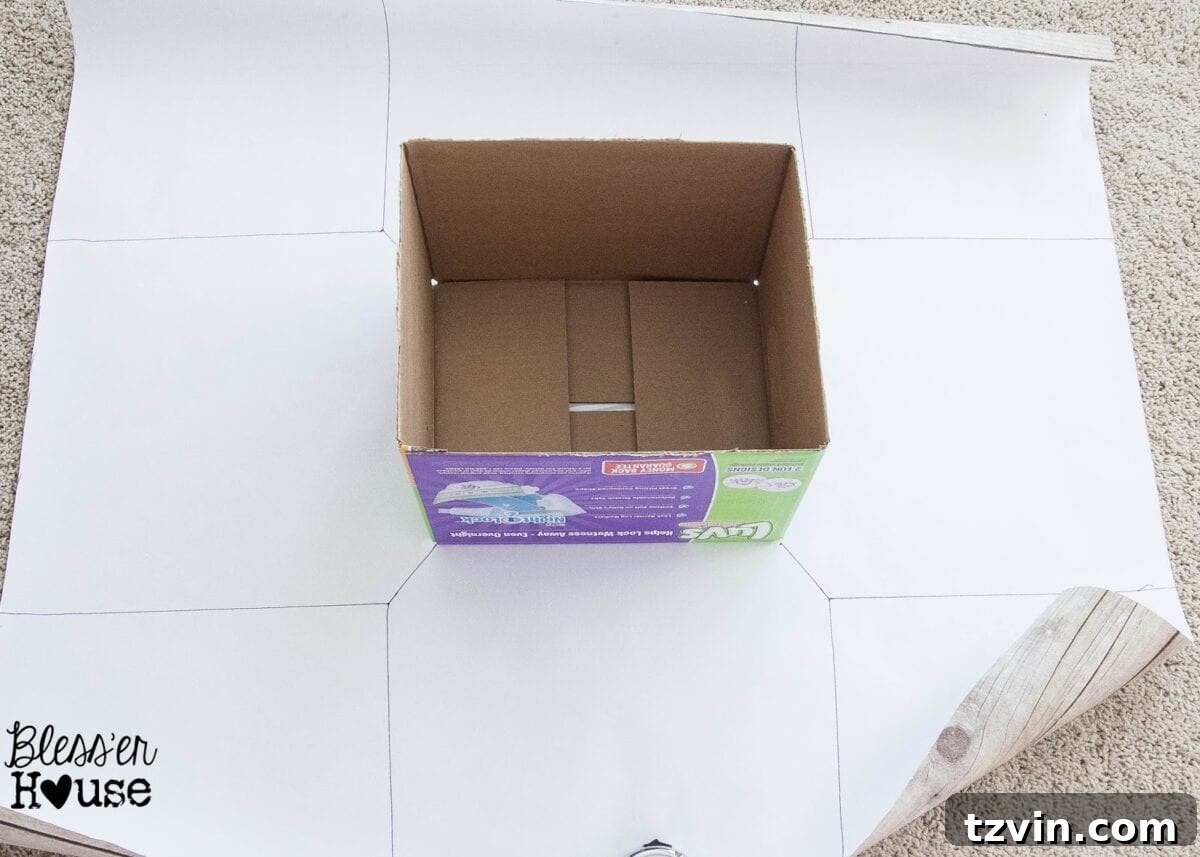
Step 4: Cut Diagonal Flaps for Corners
To create neat corners, draw a diagonal line of about 2-3 inches from each of the four corners of your box template on the paper. Cut along these diagonal lines. This will create four flaps that will fold inwards, allowing the paper to wrap smoothly around the box without bunching up at the corners.
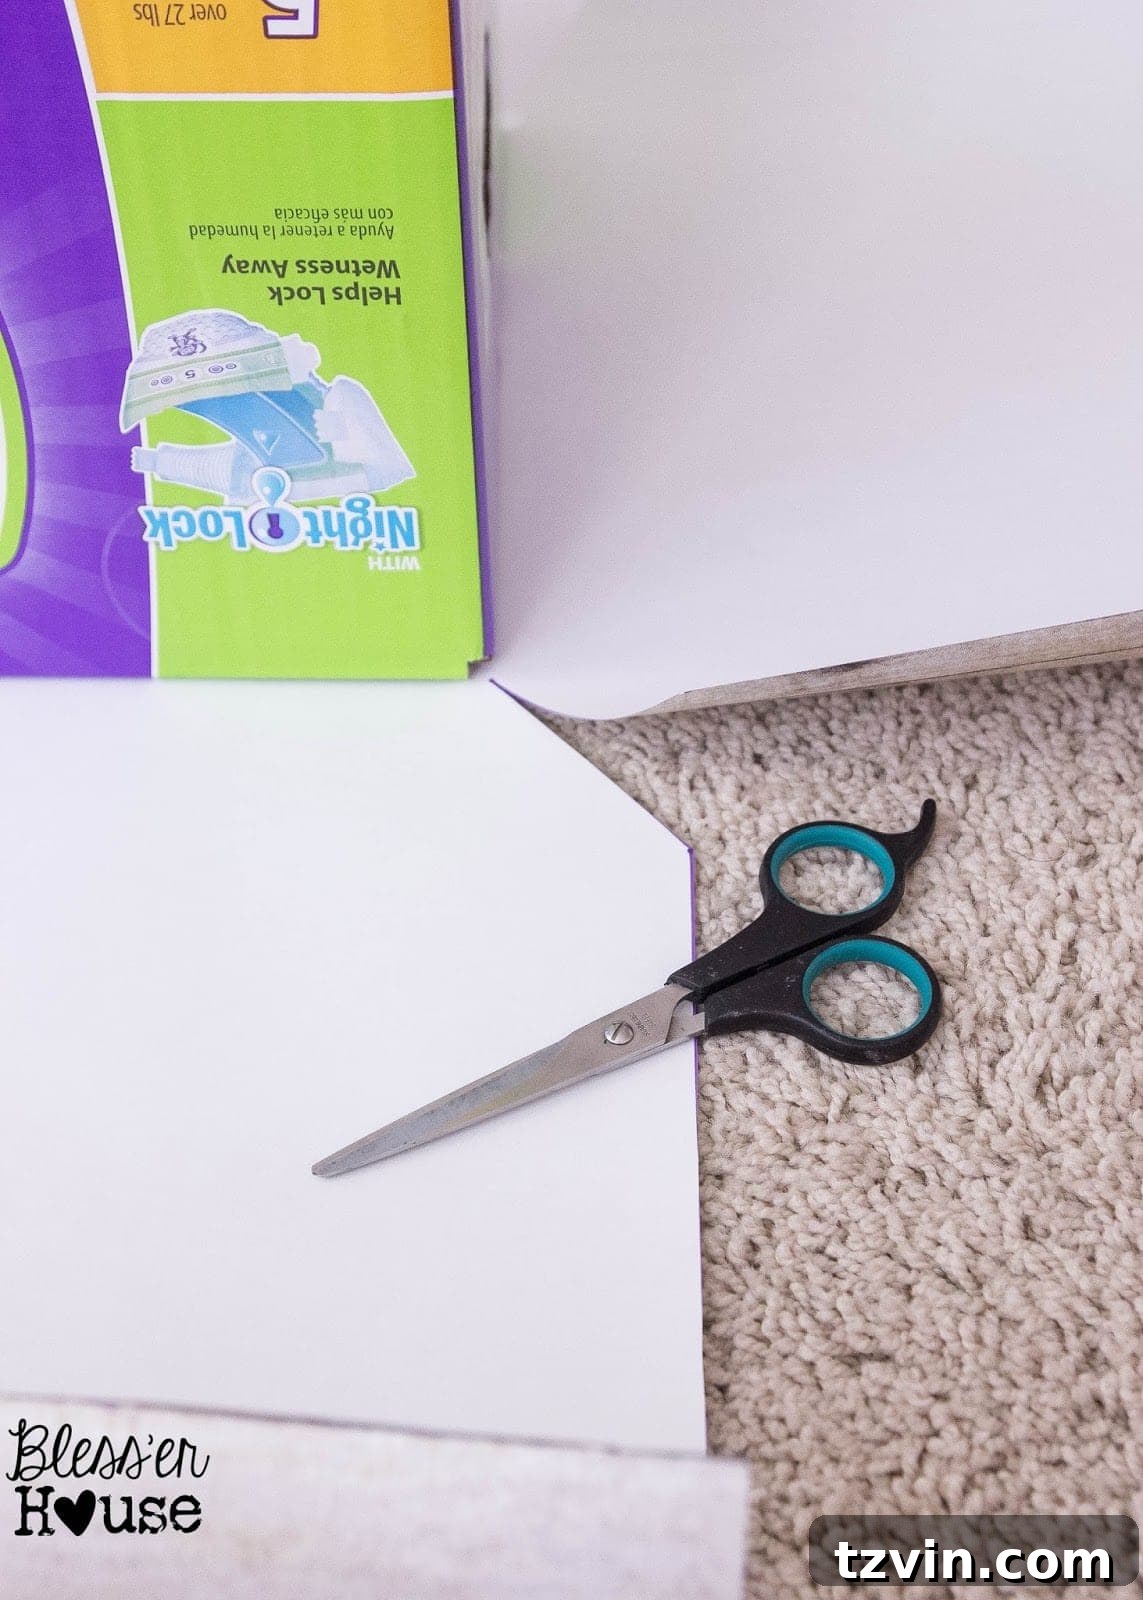
Step 5: Apply Mod Podge and Smooth the Paper (First Side)
Now, for the fun part! Take your craft brush and apply a generous, even layer of Mod Podge to the perimeter of one side of the cardboard box. Carefully align the faux wood paper with the top and side edges, then press it onto the glued surface. Smooth out any air bubbles or wrinkles immediately using your hand or a clean, soft cloth, working from the center outwards. This ensures a flawless, “weathered wood” finish.
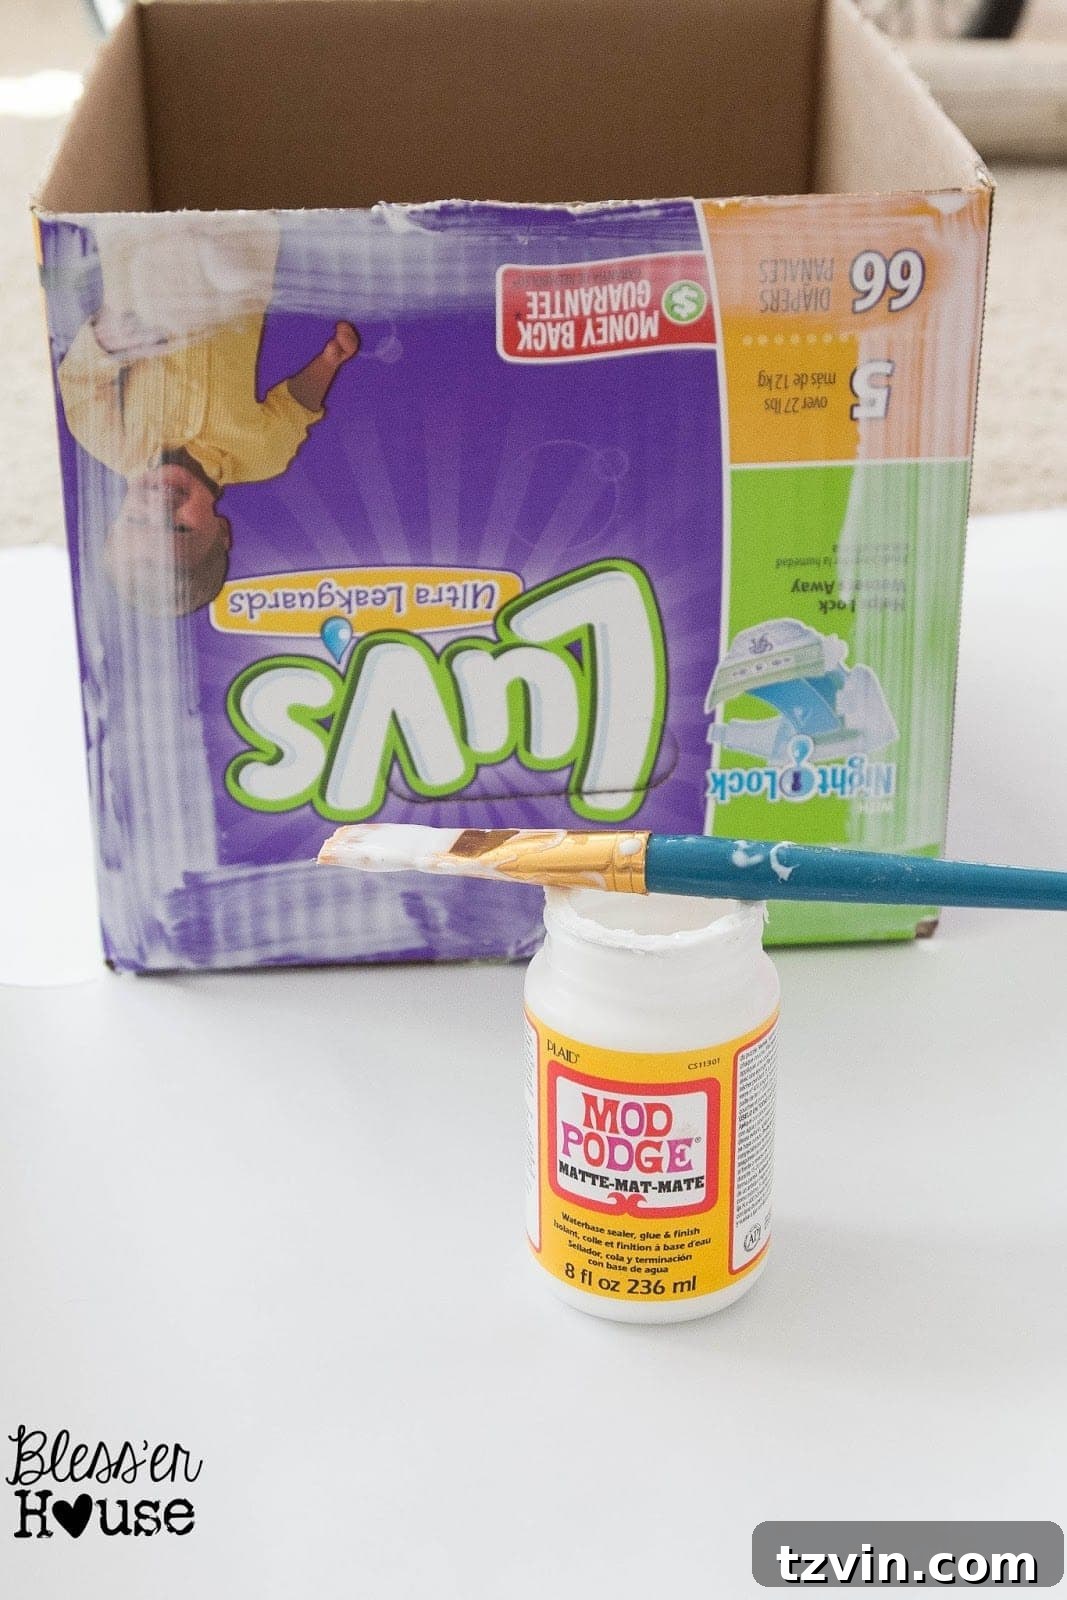
Step 6: Finish the Inside Edges
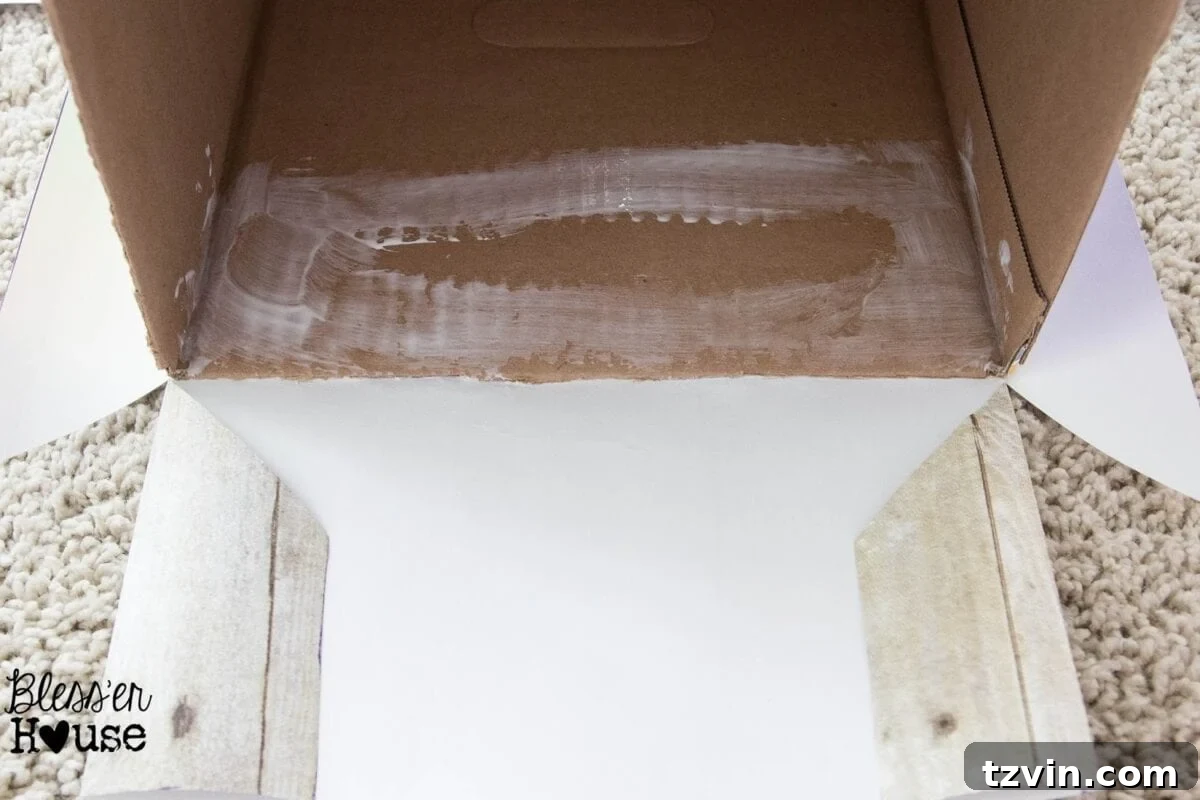
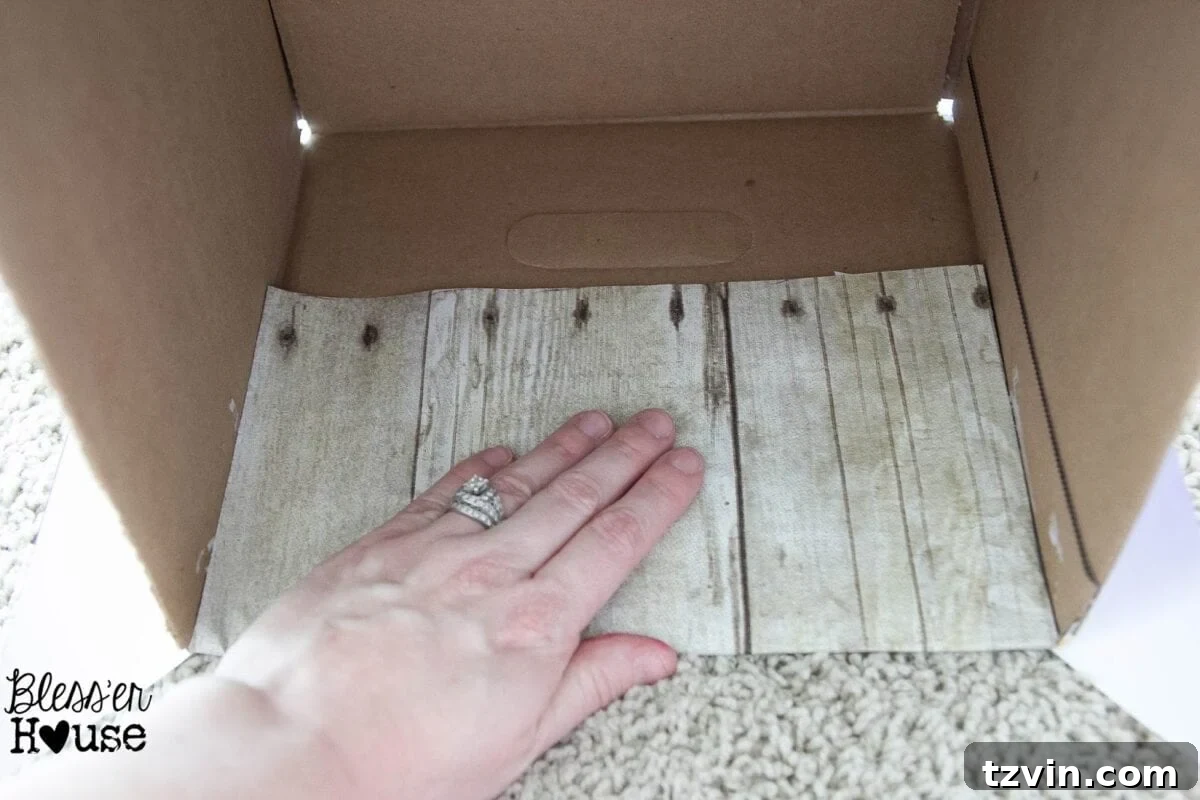
To give your crate a polished look, focus on the inside edges. At the top two corners of the box, cut the paper at a diagonal angle, following the line of the box’s inner corner. This allows the paper to fold cleanly inwards. Apply Mod Podge to the top inside edge of the box and carefully fold the trimmed paper edges over, smoothing them down firmly. This creates a seamless transition from the outside “wood” to the inside.
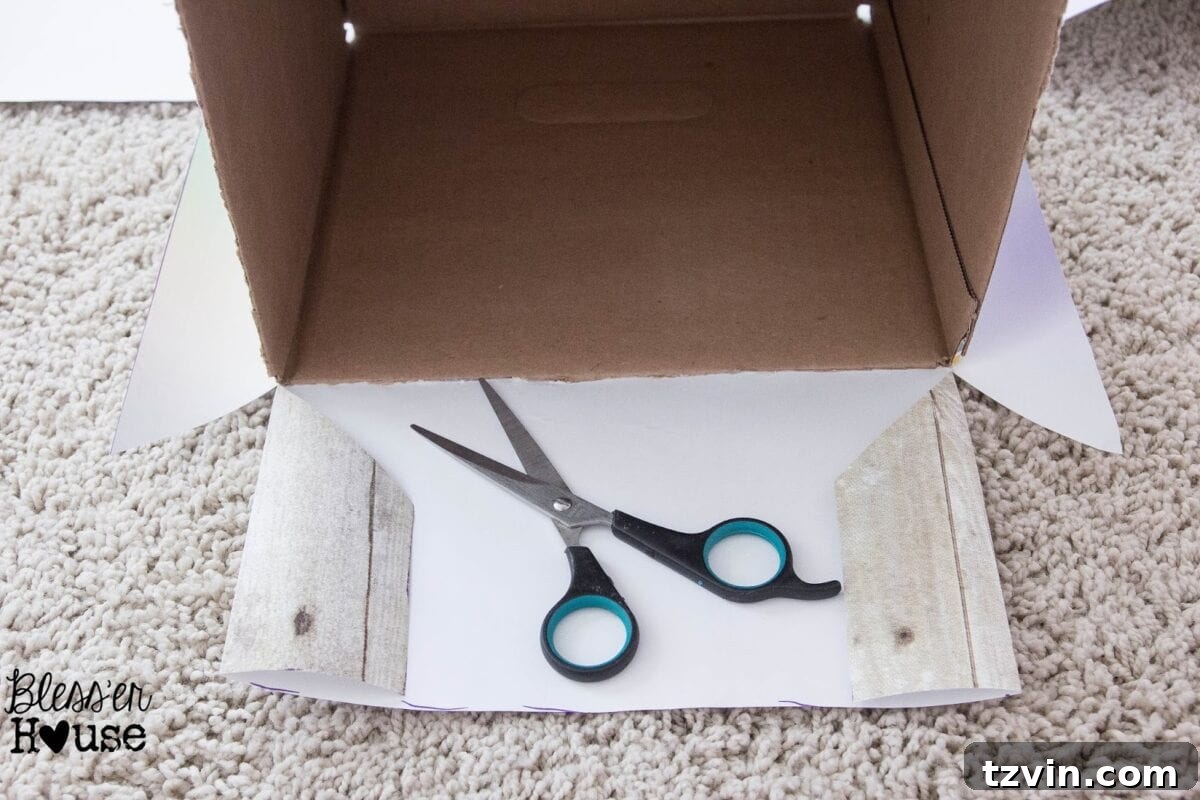
Apply Mod Podge to the top inside of the box, ensuring good coverage for adhesion.
Then, carefully smooth the paper down, creating a neat, finished edge.
Step 7: Complete the Remaining Sides
For the outside, glue down any excess paper edges that might be showing, ensuring a crisp, clean exterior. Repeat the entire wrapping and smoothing process (Steps 5 and 6) for the opposite side of the box. Ensure each side is smooth and securely adhered before moving on.
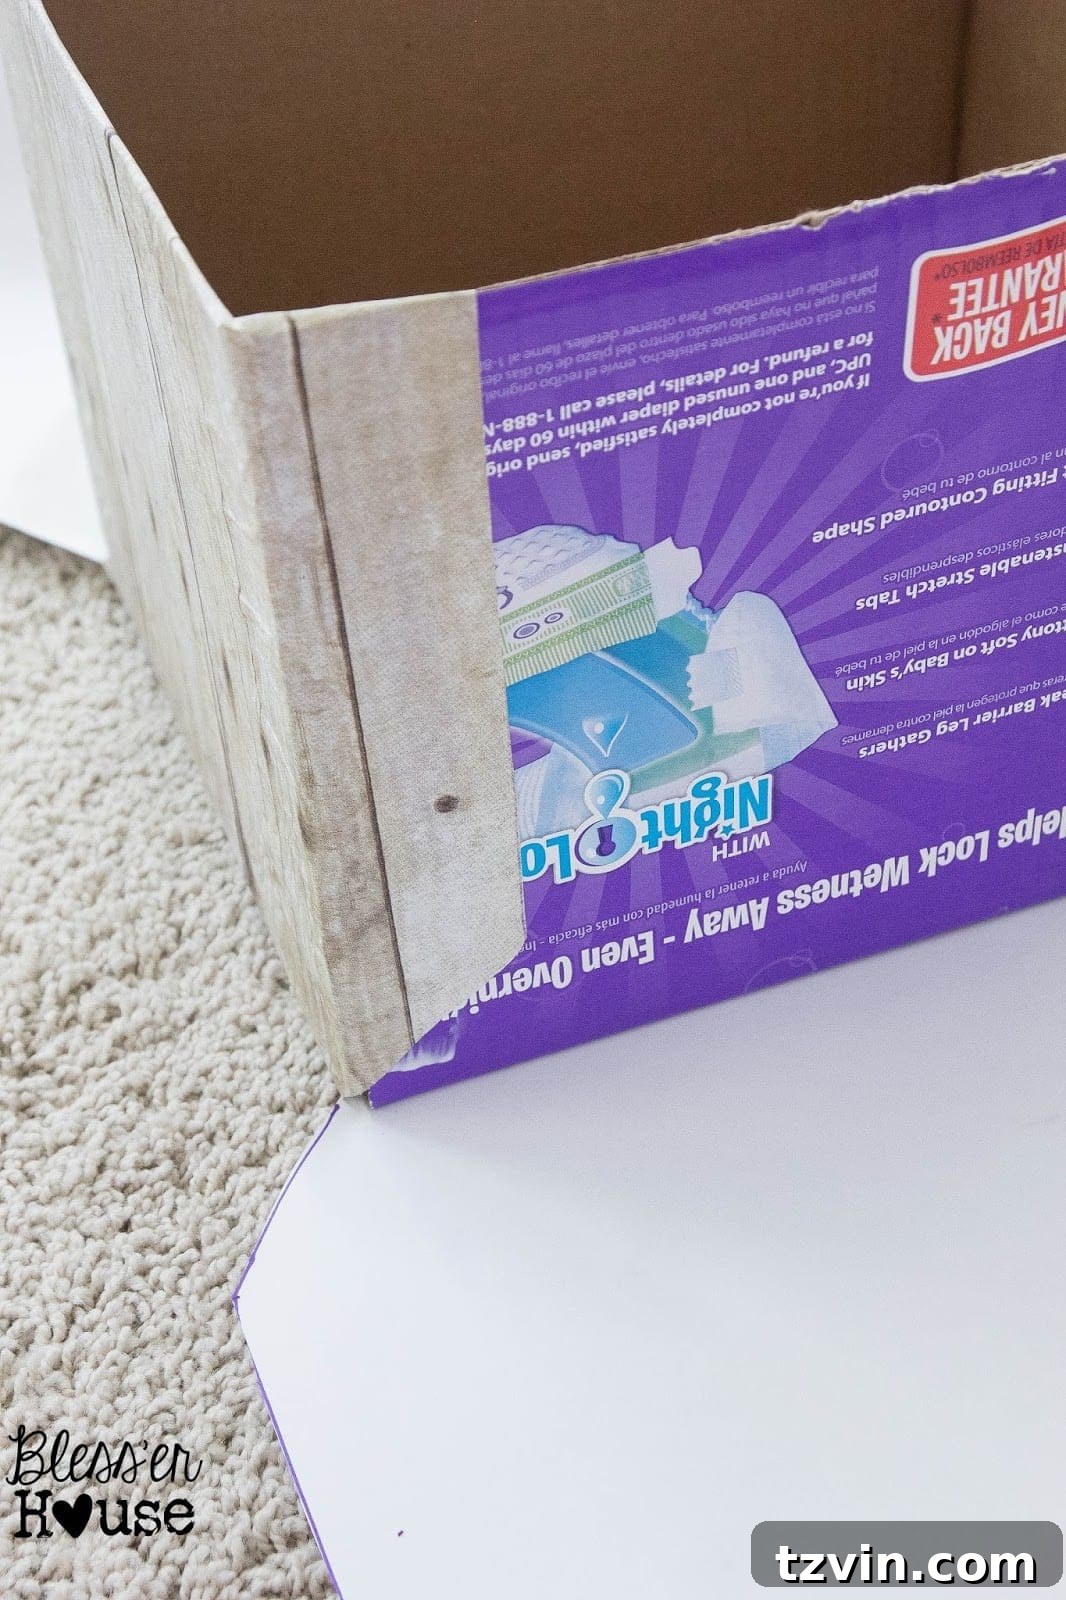
For the final two sides of the box, carefully fold the paper edges inwards at the corners. This technique allows for a seamless, professional-looking finish around the entire box, making the transition from cardboard to “weathered wood” truly convincing.
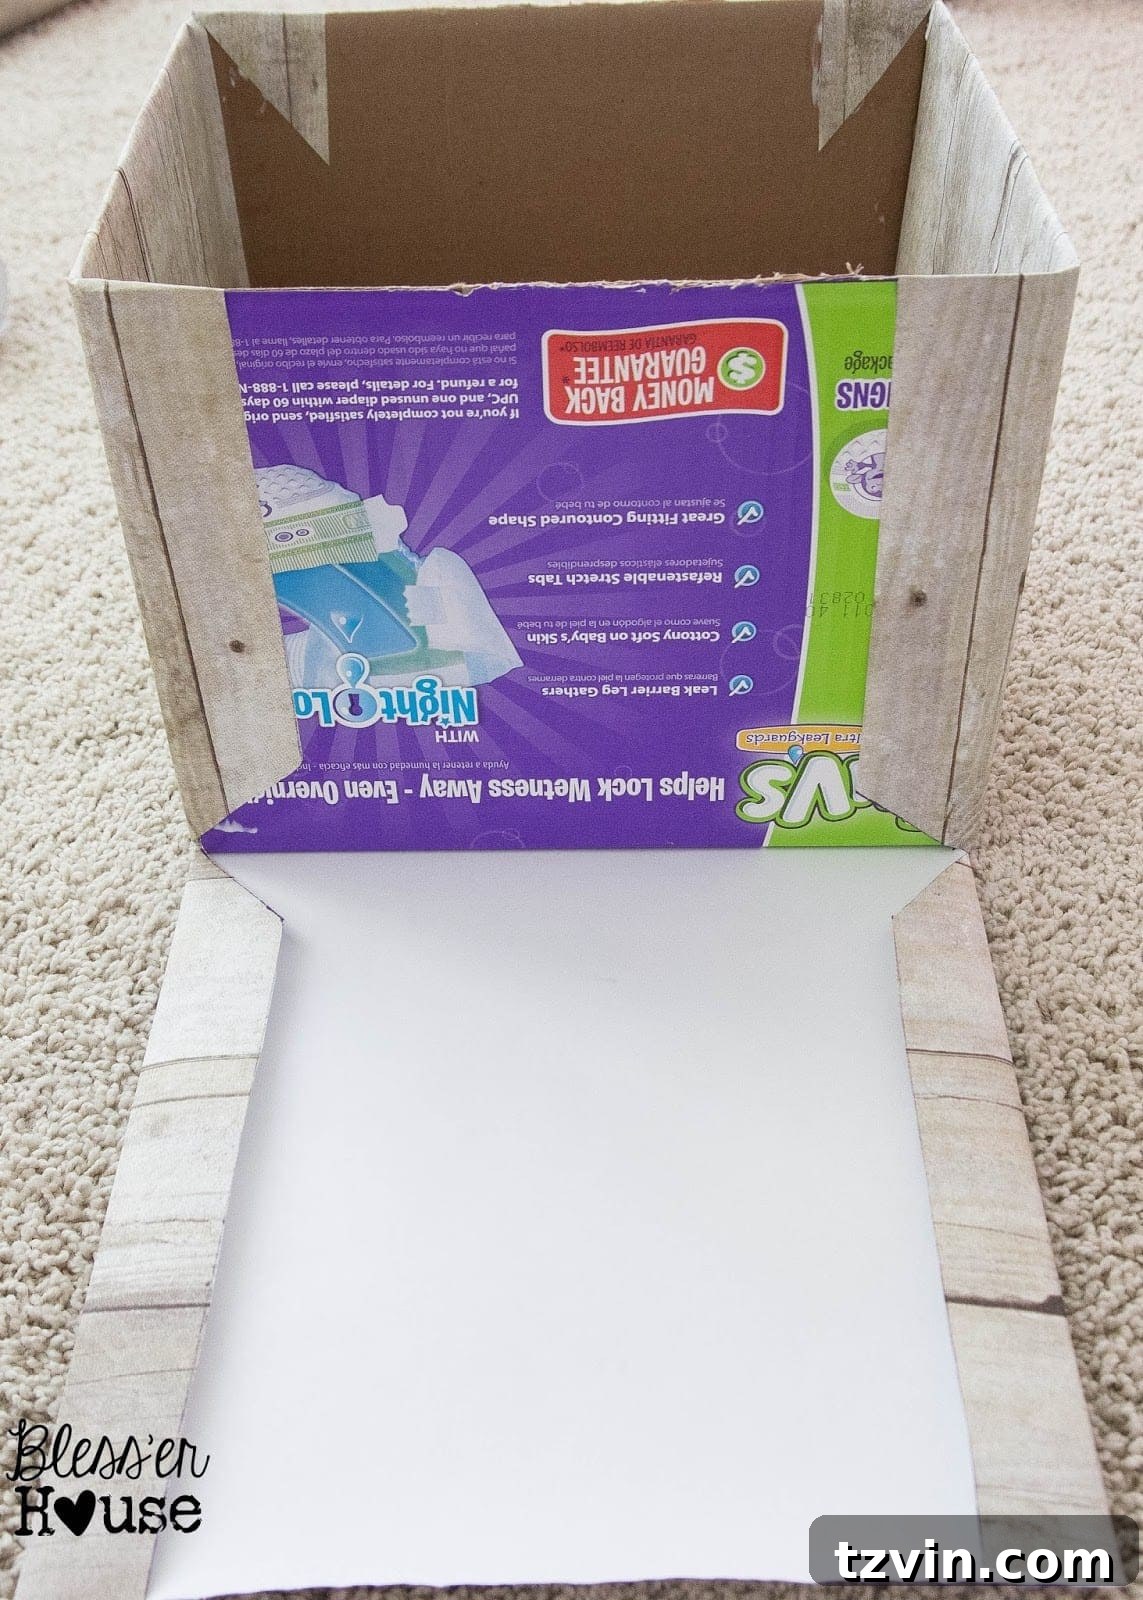
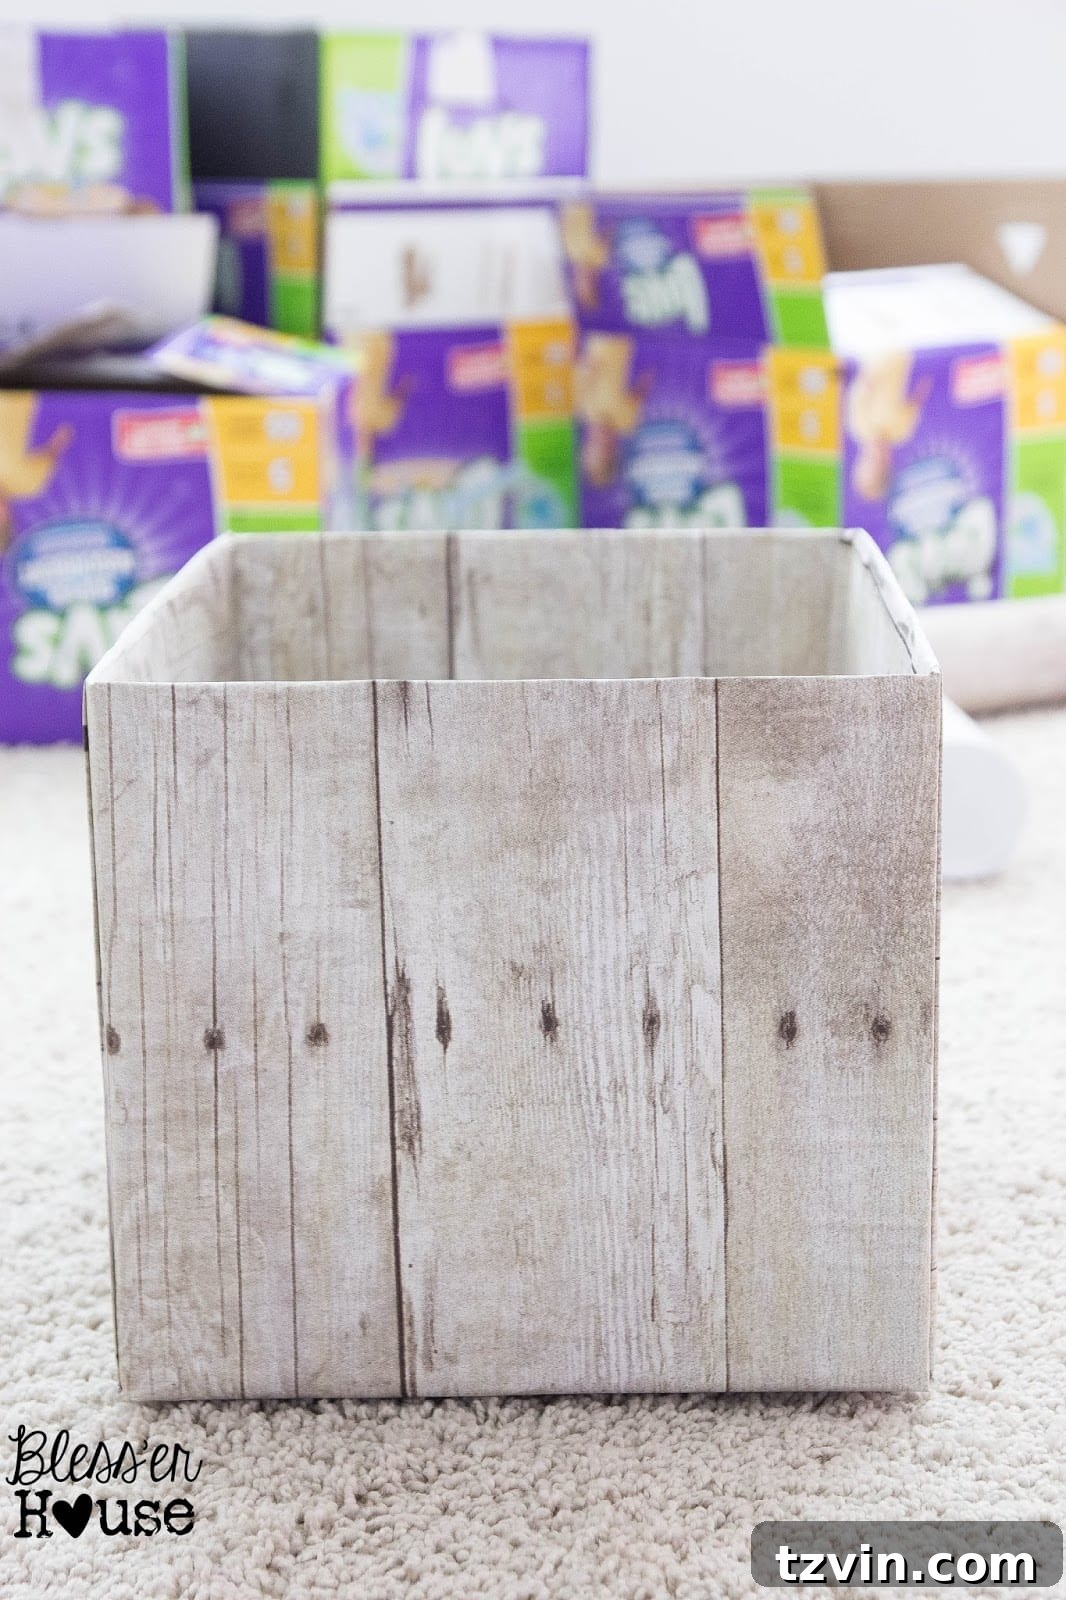
Apply Mod Podge to these final sections and smooth the paper firmly into place. And just like that, your first faux weathered wood pantry crate is complete! Look at that transformation! Seeing the pile of empty diaper boxes turn into these beautiful crates is incredibly rewarding. It’s essentially free, stylish pantry storage, and a testament to the power of creative repurposing.
In person, these crates are remarkably convincing as real wood. The faux wood paper truly delivers a rustic, weathered aesthetic that photographs sometimes struggle to capture accurately.
Adding the Finishing Touch: Custom Chalkboard Labels
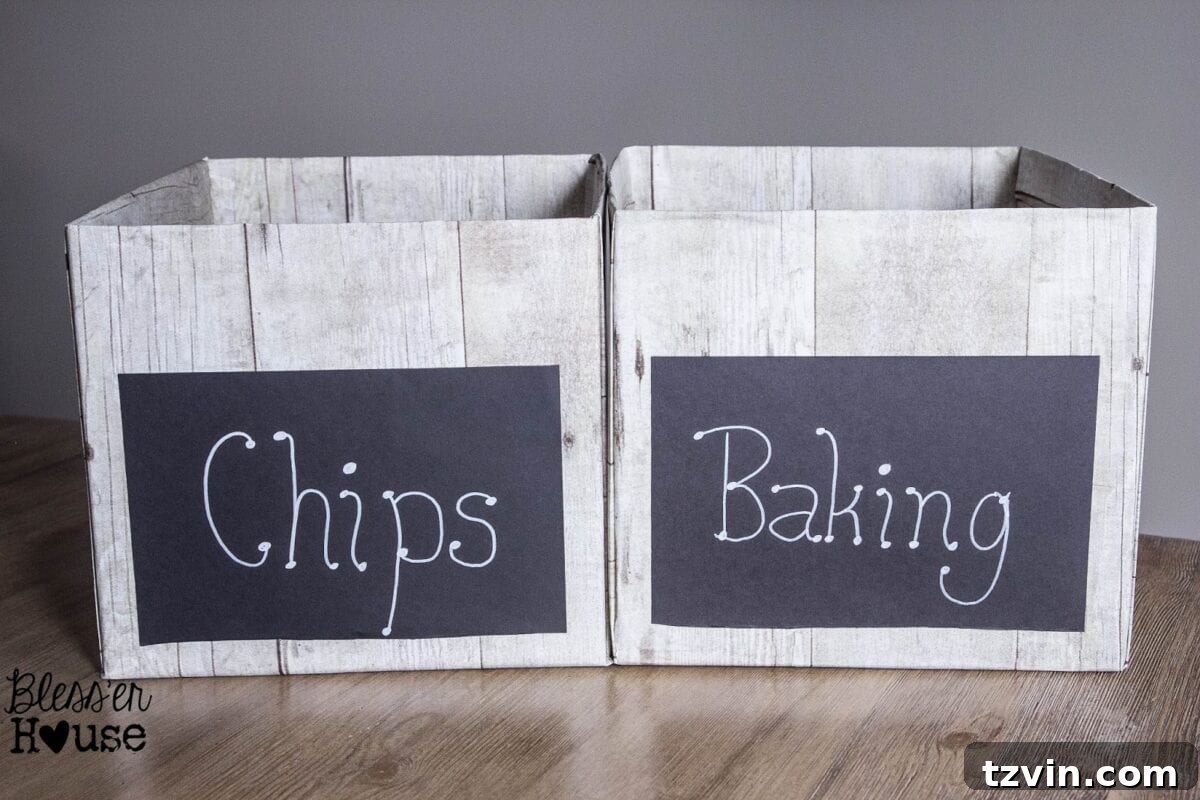
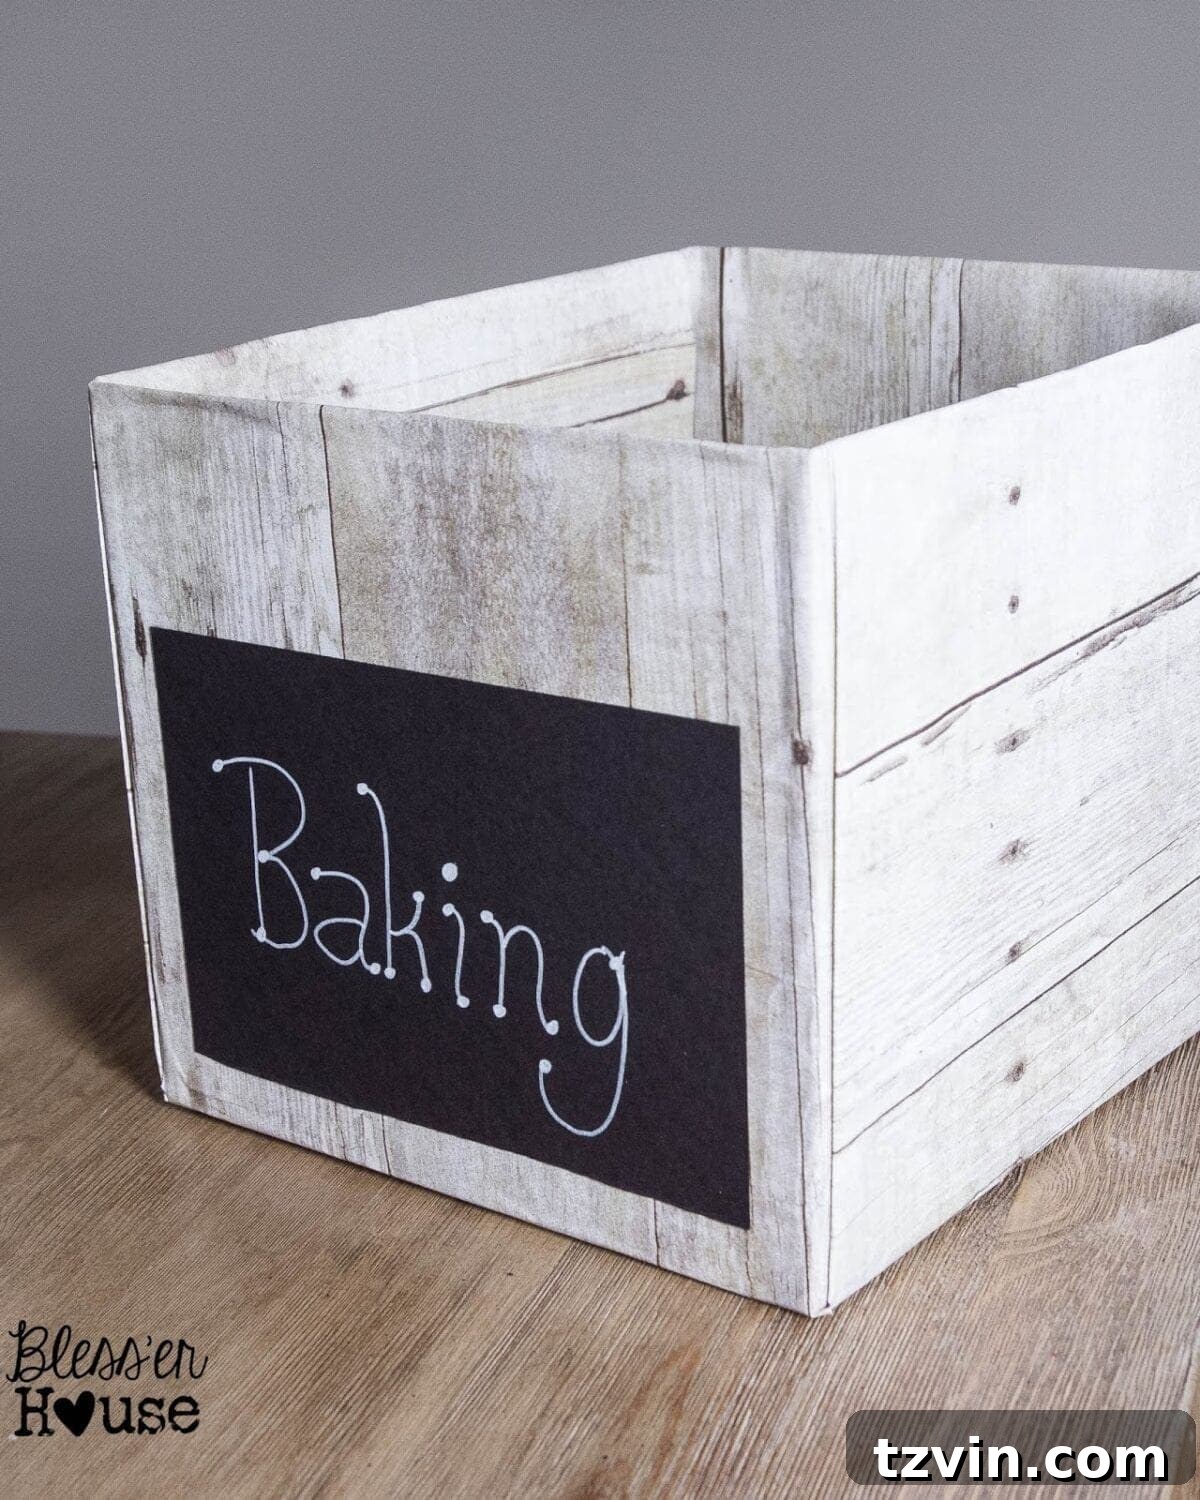
No organization system is complete without clear labels. To create versatile “chalkboard” labels, I simply folded pieces of black card stock in half, cut them to size, and attached them to the crates using removable scrapbook adhesive strips. The beauty of these removable strips is their flexibility: if I decide to reorganize or relabel the crates in the future, I can do so without damaging the faux wood paper. Just write on them with a permanent chalk marker for a classic, clean look.
Before embarking on this DIY, I had considered purchasing actual wood crates or even cheaper, unfinished ones from stores like Walmart to stain myself. However, even those options can cost around $15 a piece, plus the additional materials for staining and sealing. For 10 crates, that quickly adds up to over $150! My free, upcycled storage solution saved me a significant amount of money without compromising on style or functionality.
At the moment, my kitchen is undergoing a complete pantry overhaul, leading to a temporary state of delightful chaos. But this project is so worth it! You’ll see more of the finished pantry tomorrow, along with some additional organization tips I’ve picked up along the way. Cheers to sticking with New Year’s goals!
Finding Clarity Through Organization
I’m finally getting the hang of this organizing thing, and it truly feels like a form of “yoga for the brain”—or at least, that’s what I imagine yoga feels like for those who don’t pass out! There’s an undeniable clarity that comes with an uncluttered space. When your physical surroundings are organized, your mind feels liberated, allowing for clearer thought and increased productivity. It makes me wonder if I should give yoga another try… this time, without the unplanned nap. 😉
Namaste,

Follow me on
Or find me on
Facebook| Twitter| Pinterest| Google+