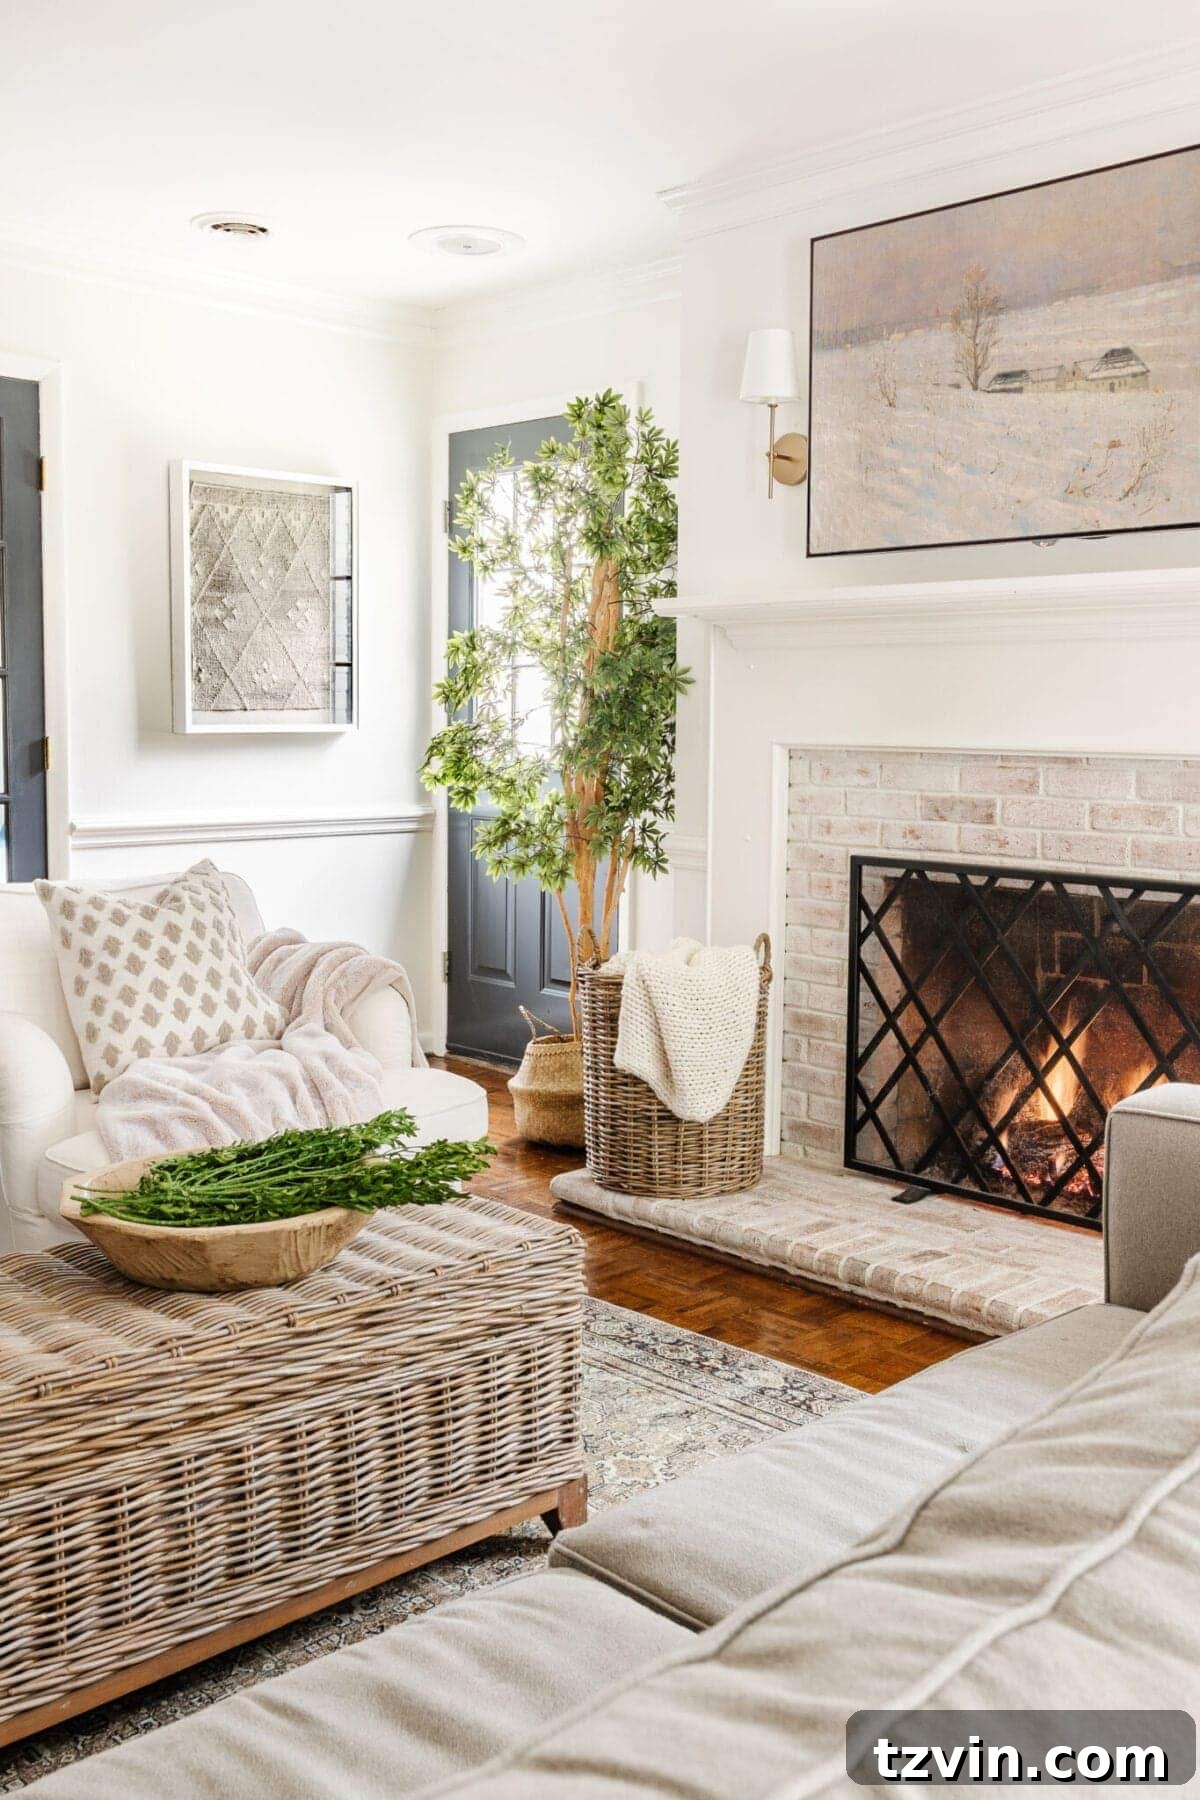
DIY Designer Textile Art: Transform an Old Rug into Stunning Wall Decor in Minutes
Are you a fan of unique, character-filled home decor but not a fan of the hefty price tags that often come with it? If so, you’re in for a treat! We believe that anything with a bit of potential, whether it fits in a frame or can be stretched like a canvas, deserves a spot on our walls. Over the years, our home has become a testament to the art of repurposing, transforming everyday items into extraordinary wall art.
From the delicate charm of vintage sheet music to the natural beauty of aged book pages, and even the unexpected elegance of a patterned shower curtain, we’ve explored countless ways to infuse personality into our living spaces without breaking the bank. We’ve pressed vibrant flowers and autumn leaves, proving that true art often lies in the overlooked. This time, our creative radar locked onto a trend that often carries an exorbitant cost: designer textile art.
During a recent virtual window shopping spree on some of my favorite high-end decor websites, I couldn’t help but notice the stunning textile art pieces. They offered incredible texture and visual interest, but their prices – ranging from $500 to $1,000 – were a quick deterrent. My immediate thought was, “Absolutely beautiful, but no thank you!”
However, a spark of inspiration ignited when I remembered an old, flatweave rug in our kitchen that was destined for retirement. A simple, yet profound realization hit me: “I’m cutting it up and putting it in a frame!” And just like that, a plan was born to create a high-end look for a fraction of the cost, demonstrating the magic of budget-friendly DIY home decor.
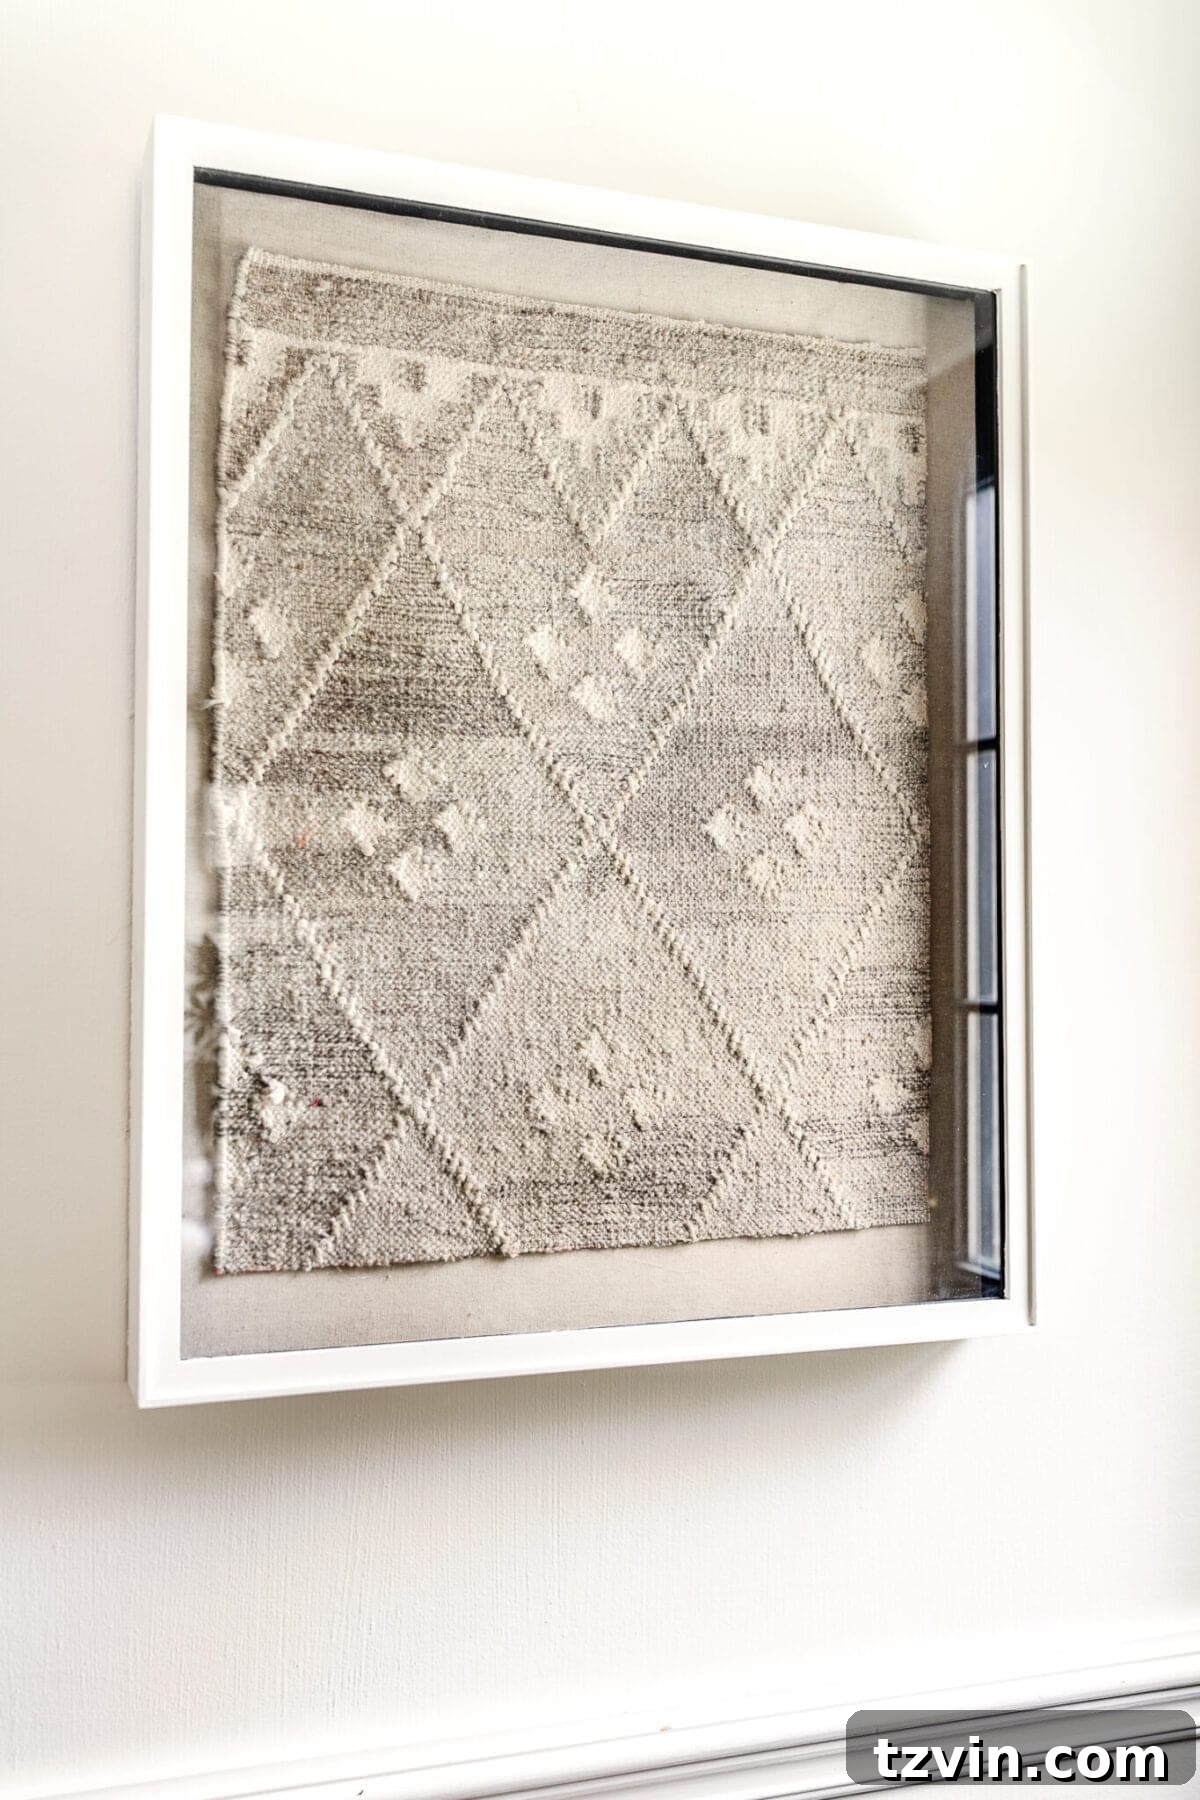
The result? Ten minutes and exactly zero dollars later, I had a piece of designer-inspired textile art that added warmth and unique texture to our home. This project is a testament to how easy and affordable it can be to achieve a custom, high-end look with materials you might already have on hand.
Craft Your Own High-End Textile Art: A DIY Rug Upcycling Guide
(Please note: Some affiliate links are included below for your convenience. Full disclosure can be found here.)
Why Choose Textile Art for Your Home?
Textile art brings a unique dimension to any space. Unlike traditional prints or paintings, textiles introduce a tactile quality, adding depth, warmth, and visual softness. They can complement various design styles, from bohemian and rustic to modern minimalist, simply by changing the texture, pattern, and color of the fabric. It’s an excellent way to add a cozy, inviting feel to a room while also serving as a compelling focal point that sparks conversation.
Essential Supplies for Your Designer Knock-Off
The beauty of this project lies in its simplicity and minimal material requirements. Chances are, you might already have most of these items, especially if you’re a seasoned DIY enthusiast. Here’s what you’ll need to create your stunning repurposed rug wall art:
- Shadow Box (20″x30″ or similar): A shadow box is ideal because it provides depth, allowing the rug’s texture to truly pop without being pressed flat. This specific size works wonderfully for accent pieces, but you can adjust based on your desired art scale. Alternatively, this option offers various colors, providing more flexibility to match your existing decor.
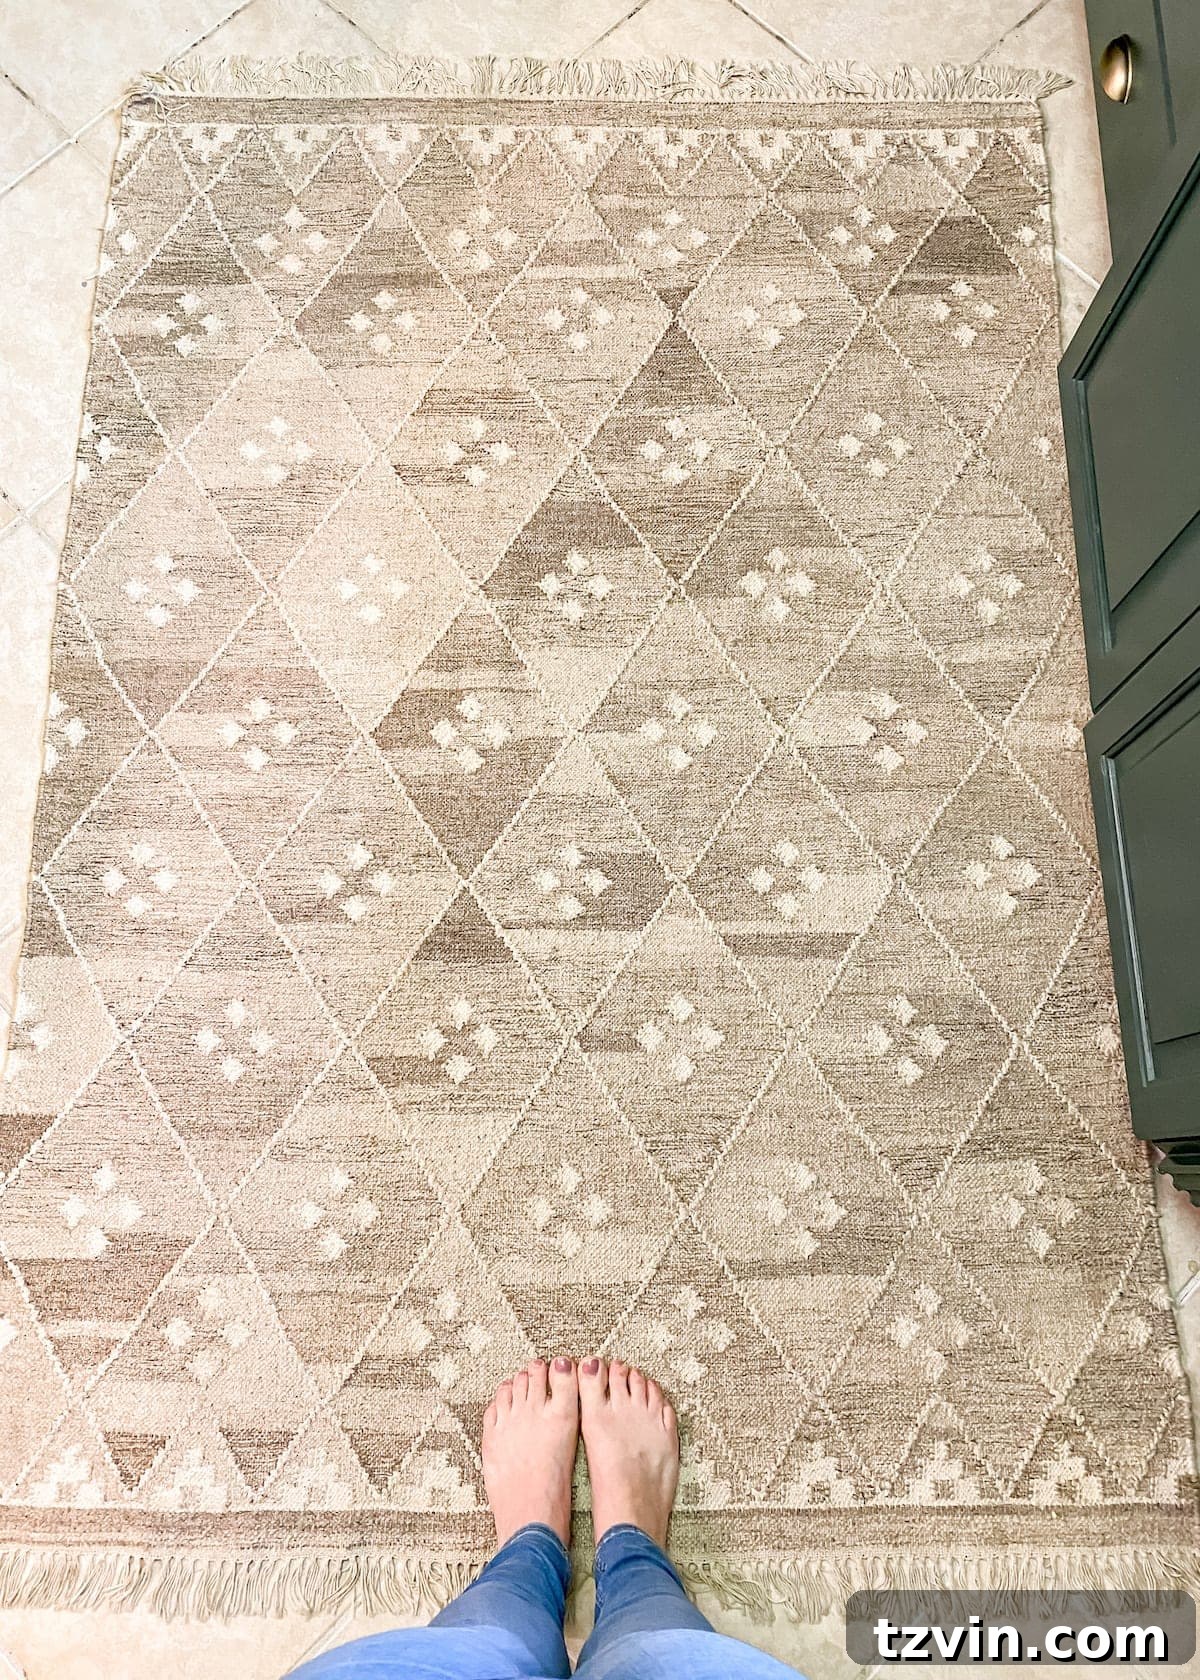
- Flatweave Cotton or Wool Rug: The star of our show! Look for a low-pile, flatweave rug. An old rug you’re planning to replace, a small accent rug, or even rug samples work perfectly. The key is a material that’s easy to cut and won’t fray excessively. This is the style of rug I used.
- Tape Measure: For precise measurements to ensure your rug piece fits perfectly within the shadow box.
- Fabric Scissors: Essential for clean, crisp cuts through the rug material. Regular scissors might struggle and leave jagged edges.
- Fabric Pen or Sharpie: To mark your cutting lines clearly on the rug.
- Hot Glue Gun and Hot Glue Sticks: For securely attaching the rug piece to the shadow box backer. Hot glue offers a strong, fast bond.
- Canvas Drop Cloth (optional): For creating a sophisticated, linen-look backer board. This step elevates the overall aesthetic of your finished art.
- Spray Adhesive (optional): If using the canvas drop cloth, spray adhesive ensures a smooth, wrinkle-free application to the backer board.
- Chalk Paint (optional): To refresh or change the color of your shadow box frame, allowing for complete customization.
Step-by-Step Guide: Crafting Your Repurposed Rug Art
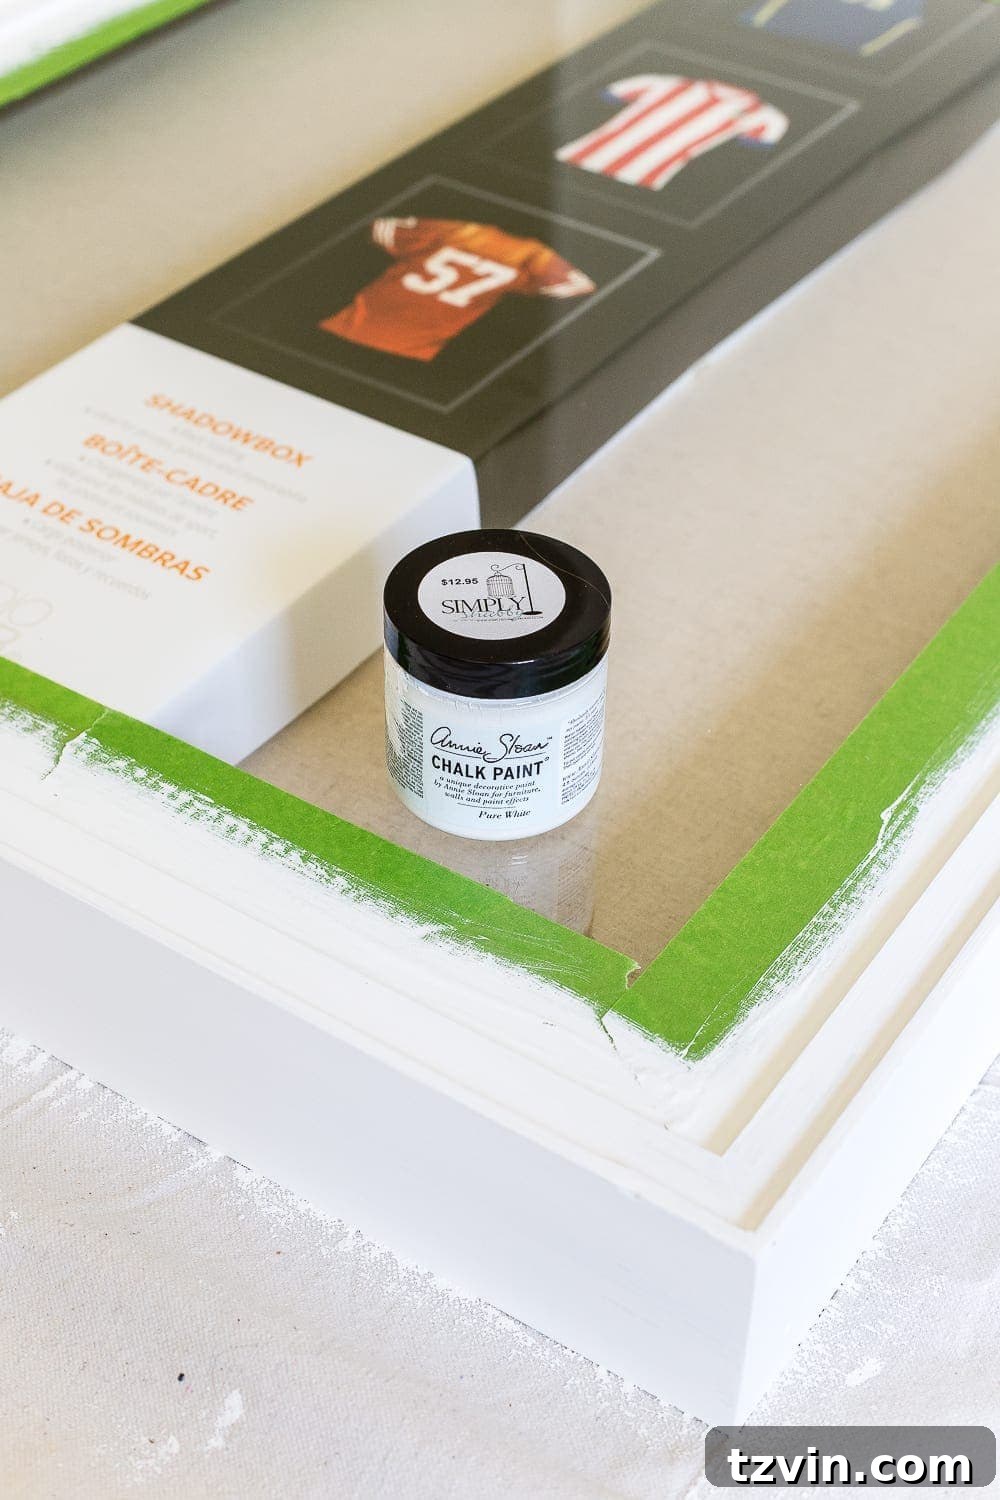
1. Prepare Your Shadow Box for a Fresh Look
Before diving into the rug, let’s get your shadow box ready. I repurposed a shadow box from a previous project (Olivia’s butterfly display art) that I had already painted white using Annie Sloan Pure White chalk paint. If your shadow box is a dark color or doesn’t match your decor, this is the perfect opportunity for a transformation. Chalk paint is fantastic for frames as it adheres well and provides a lovely matte finish, instantly brightening up your piece. A clean, fresh frame provides the perfect canvas for your textile masterpiece.
2. Create a Linen-Look Backer Board (Optional, but Recommended)
To give your textile art an even more refined, gallery-quality appearance, consider adding a linen-look backer board. This simple step can dramatically enhance the final product. Cut a piece of canvas drop cloth to the exact size of your shadow box’s backer board. Using spray adhesive, carefully attach the canvas to the board, smoothing out any wrinkles as you go. This creates a beautiful, neutral background that allows the texture of your rug to stand out. While entirely optional, this step is highly recommended, especially if you want to elevate an all-black shadow box and make it feel more custom and airy.
3. Measure and Mark Your Rug Piece Accurately
Now it’s time to prepare your rug! Carefully measure the interior dimensions of your shadow box. To create a pleasant border and ensure the rug isn’t cramped, subtract approximately 3 inches from both the width and length of your frame measurements. This will give your rug piece enough breathing room within the shadow box. Using a tape measure and a fabric pen or Sharpie, clearly mark these dimensions on the back of your rug. Double-check your measurements before moving to the next step to avoid any mistakes.
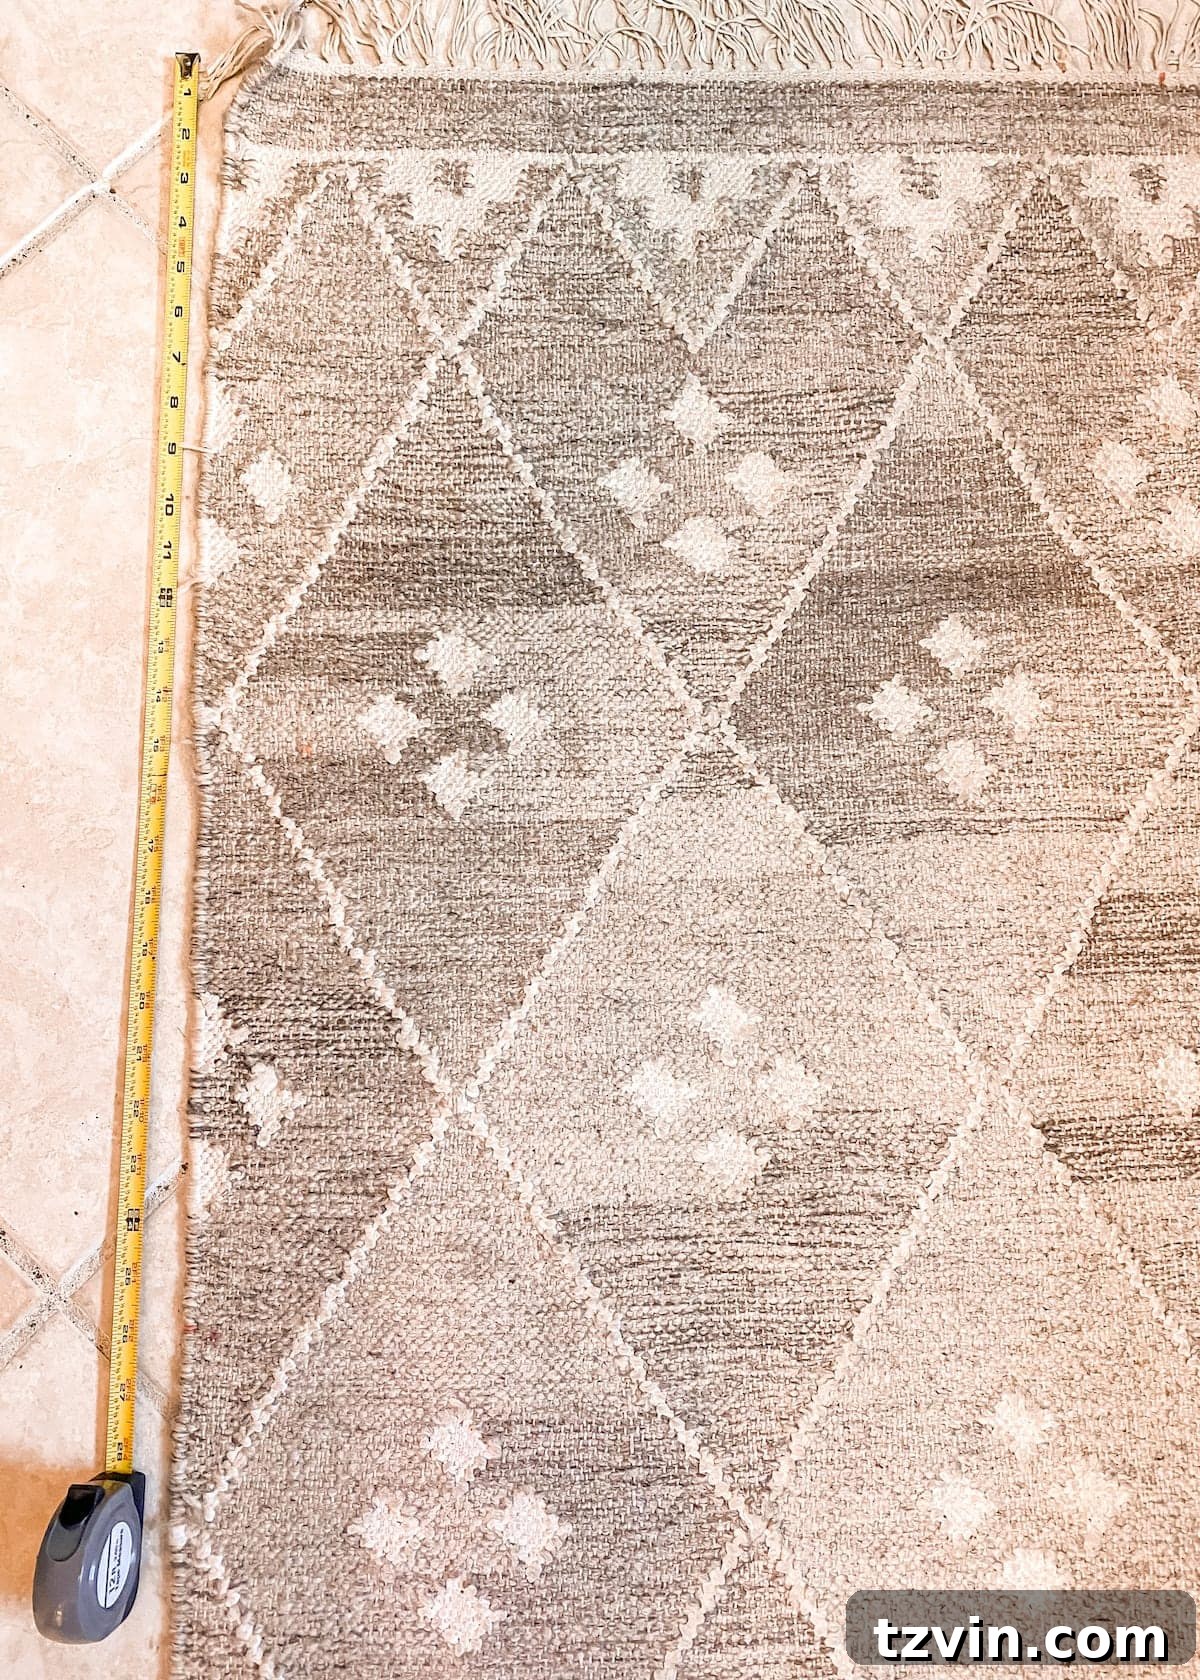
4. Precisely Cut Your Rug Piece
Using sharp fabric scissors, carefully cut along the lines you’ve marked on your rug. Take your time to ensure straight and clean cuts. The type of rug you use will impact how easily it cuts and if it frays. Flatweave cotton or wool rugs are generally excellent for this. As for tassels, you have a design choice: I opted to cut off the rug’s tassels for a cleaner, more contemporary look, but you can absolutely leave them on if you prefer a more bohemian or rustic aesthetic. If your rug shows signs of fraying after cutting, a thin line of fabric glue or fray check along the cut edges can help maintain its integrity, though often with flatweave rugs, this isn’t strictly necessary once glued down.
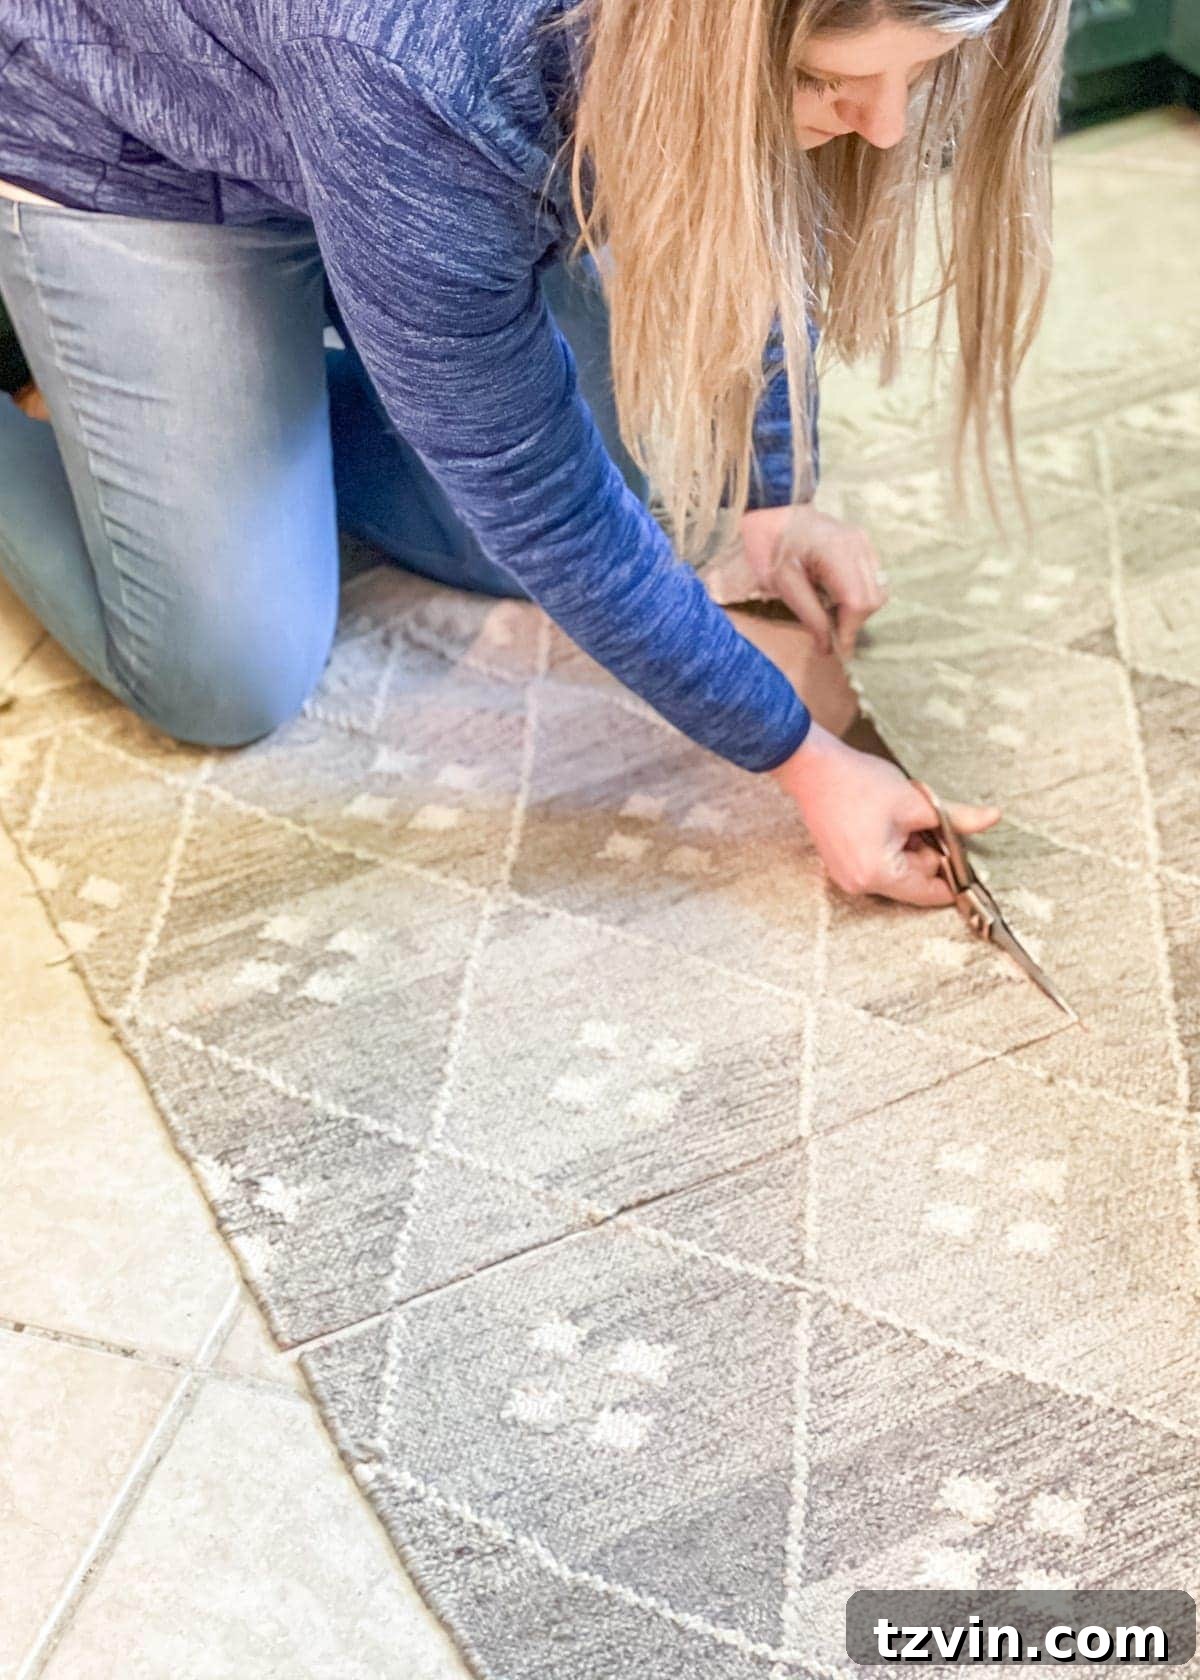
5. Secure Your Rug Remnant to the Backer Board
With your rug piece cut to size, it’s time to adhere it to the prepared backer board. Apply a generous, even amount of hot glue to the back of the rug piece, or directly onto the center of the backer board. Carefully position the rug remnant onto the backer board, ensuring it is centered and straight. Press down firmly across the entire surface of the rug to ensure a strong bond. Hold it in place for a few moments until the hot glue sets. The texture of the rug will now be beautifully showcased.
6. Frame and Hang Your New Masterpiece!
Once the glue has dried completely, carefully reassemble your shadow box, securing the backer board with the attached rug firmly within the frame. Clean the glass of your shadow box, and choose the perfect spot on your wall to display your brand-new, designer-inspired textile art. Step back and admire your handiwork!
This project might just be a new personal record for the fastest, cheapest, and most impactful designer knock-off ever created. It truly is a “Captain Obvious” tutorial in its simplicity, yet the results are anything but ordinary. It’s a powerful reminder that creative solutions for home decor are often hiding in plain sight.
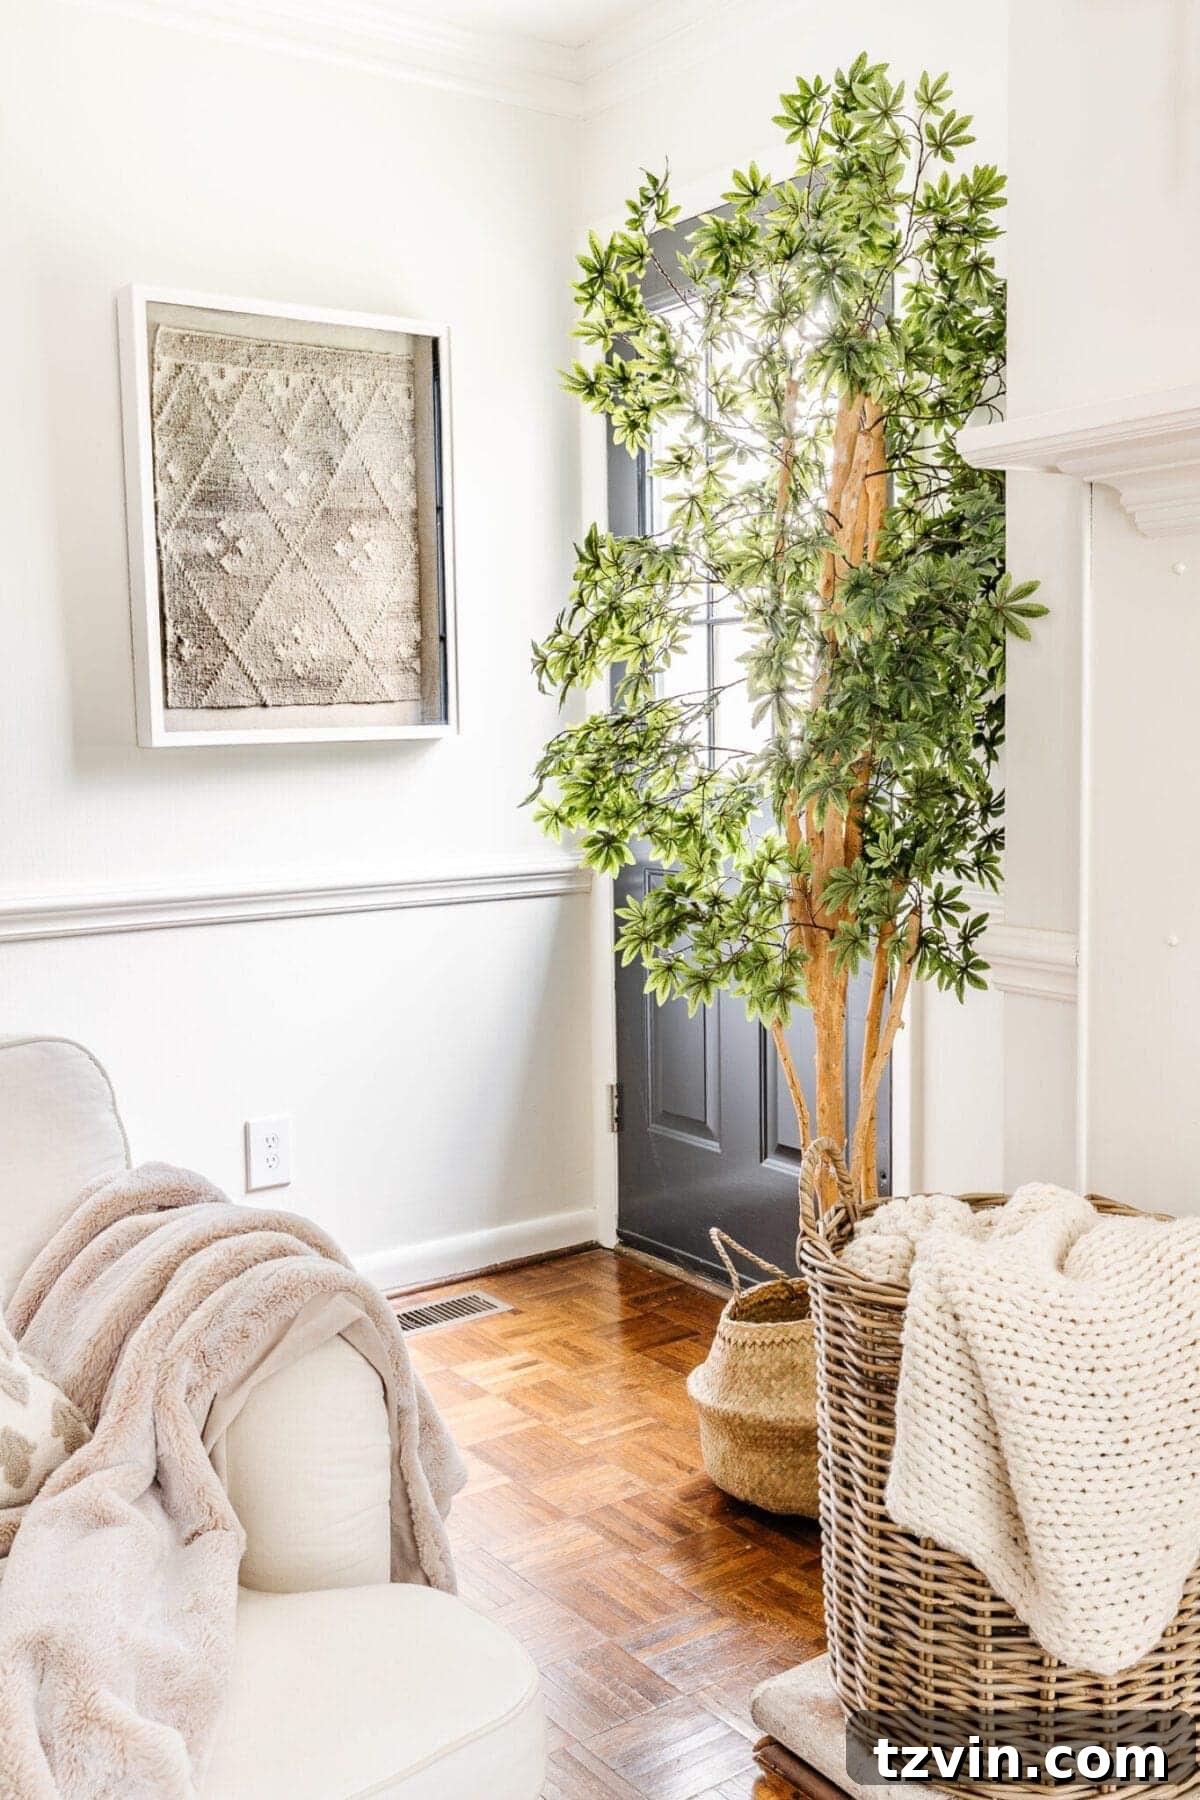
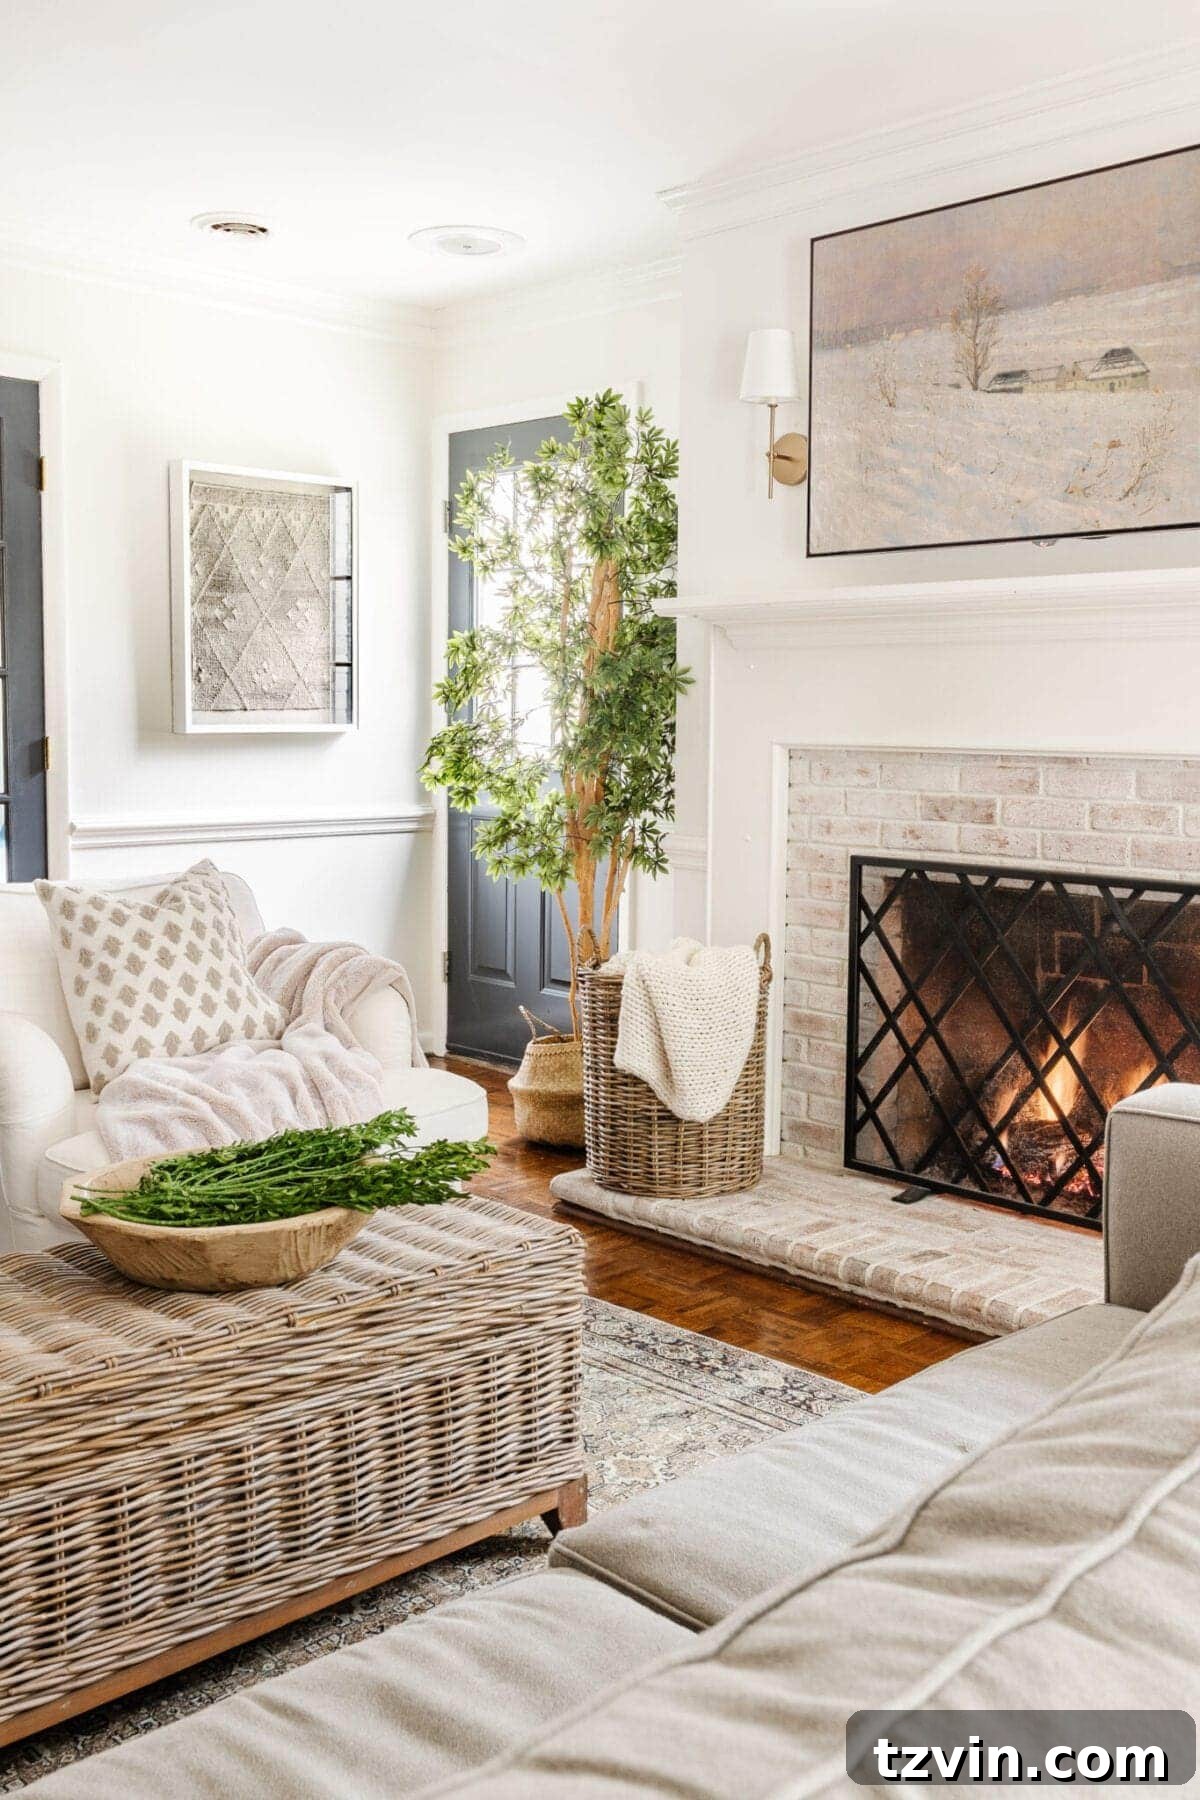
I absolutely adore the rich texture and visual interest this piece adds to that cozy little corner in our living room! It breaks up the monotony of flat wall surfaces and introduces a sense of handcrafted elegance that feels incredibly personal and warm.
No Old Rugs? No Problem! Affordable Alternatives
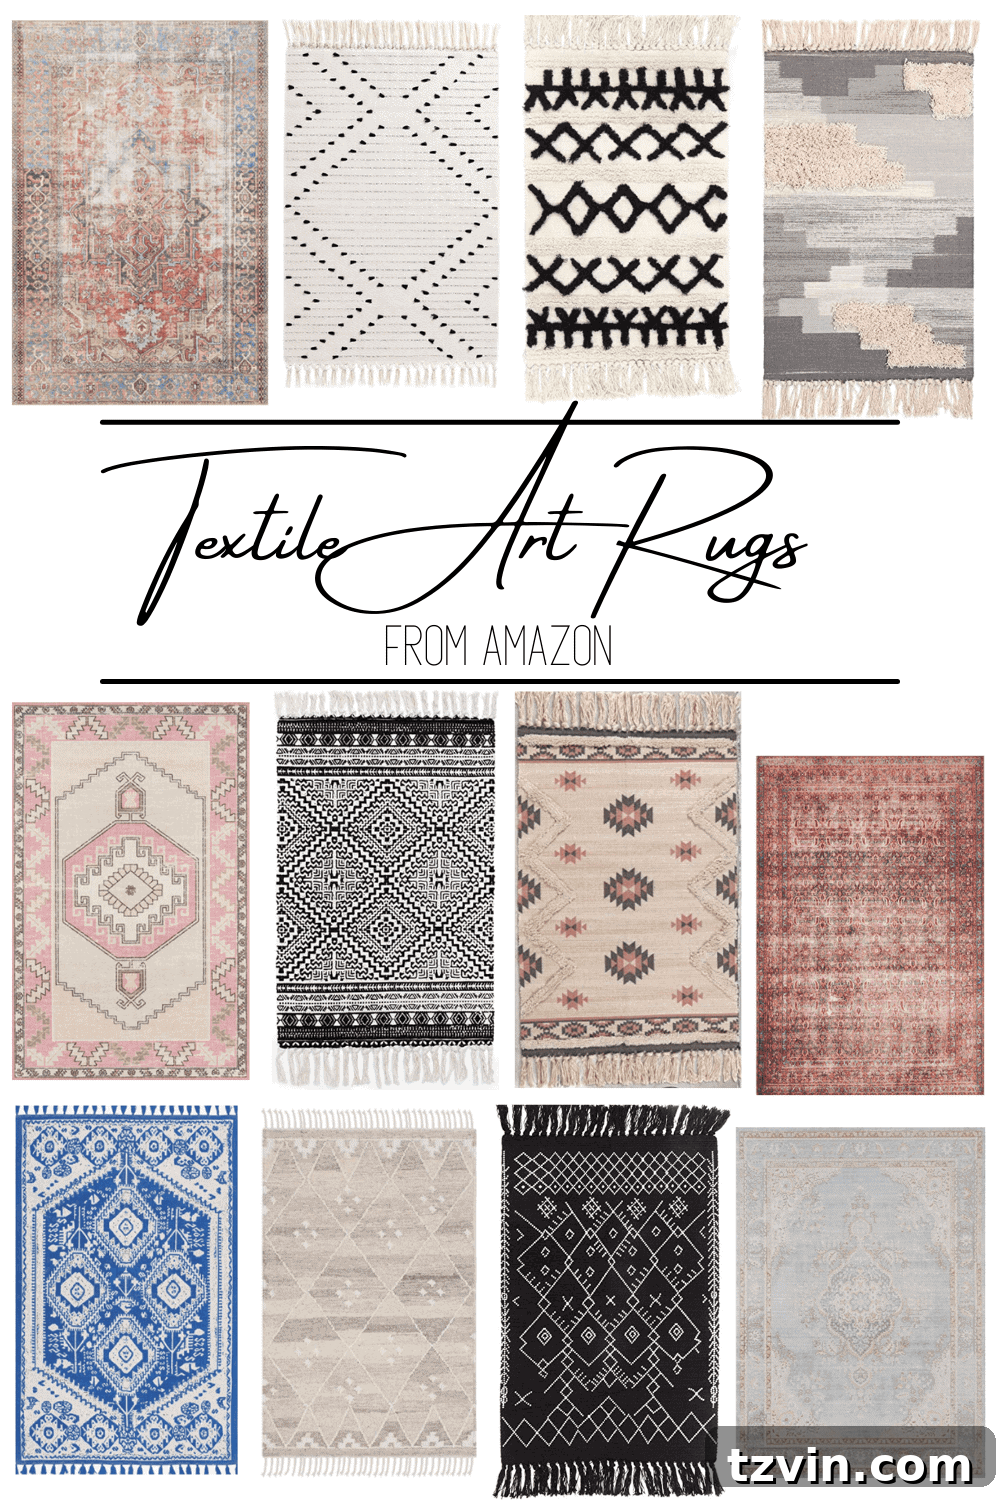
If you’re eager to mimic this designer look but don’t have an old rug ready for repurposing, don’t despair! There are plenty of charming and affordable accent rugs available that would look absolutely stunning framed. Many retailers offer small flatweave rugs in beautiful patterns and colors, often ranging from just $15 to $30. Look for bath mats, doormats, or small runner rugs that catch your eye. These budget-friendly options provide the perfect material to create your own unique textile art without having to hunt for an old, worn-out piece.
Beyond Rugs: Exploring More DIY Designer Dupes
This project is just the tip of the iceberg when it comes to creating designer dupes. The satisfaction of transforming inexpensive materials into high-end decor is incredibly rewarding. I’m genuinely excited to share even more DIY designer knock-off ideas in the coming weeks, as they bring so much joy and creative fulfillment.
What do you think of this simple yet impactful textile art project? Are there any specific designer items or decor trends you’d love to see reimagined as DIY dupes? My creative wheels are already turning with new possibilities, and I’d love to hear your suggestions!
For more inspiration and innovative ways to decorate your home on a budget, explore our extensive collection of DIY wall decor ideas and affordable art projects. Happy crafting!