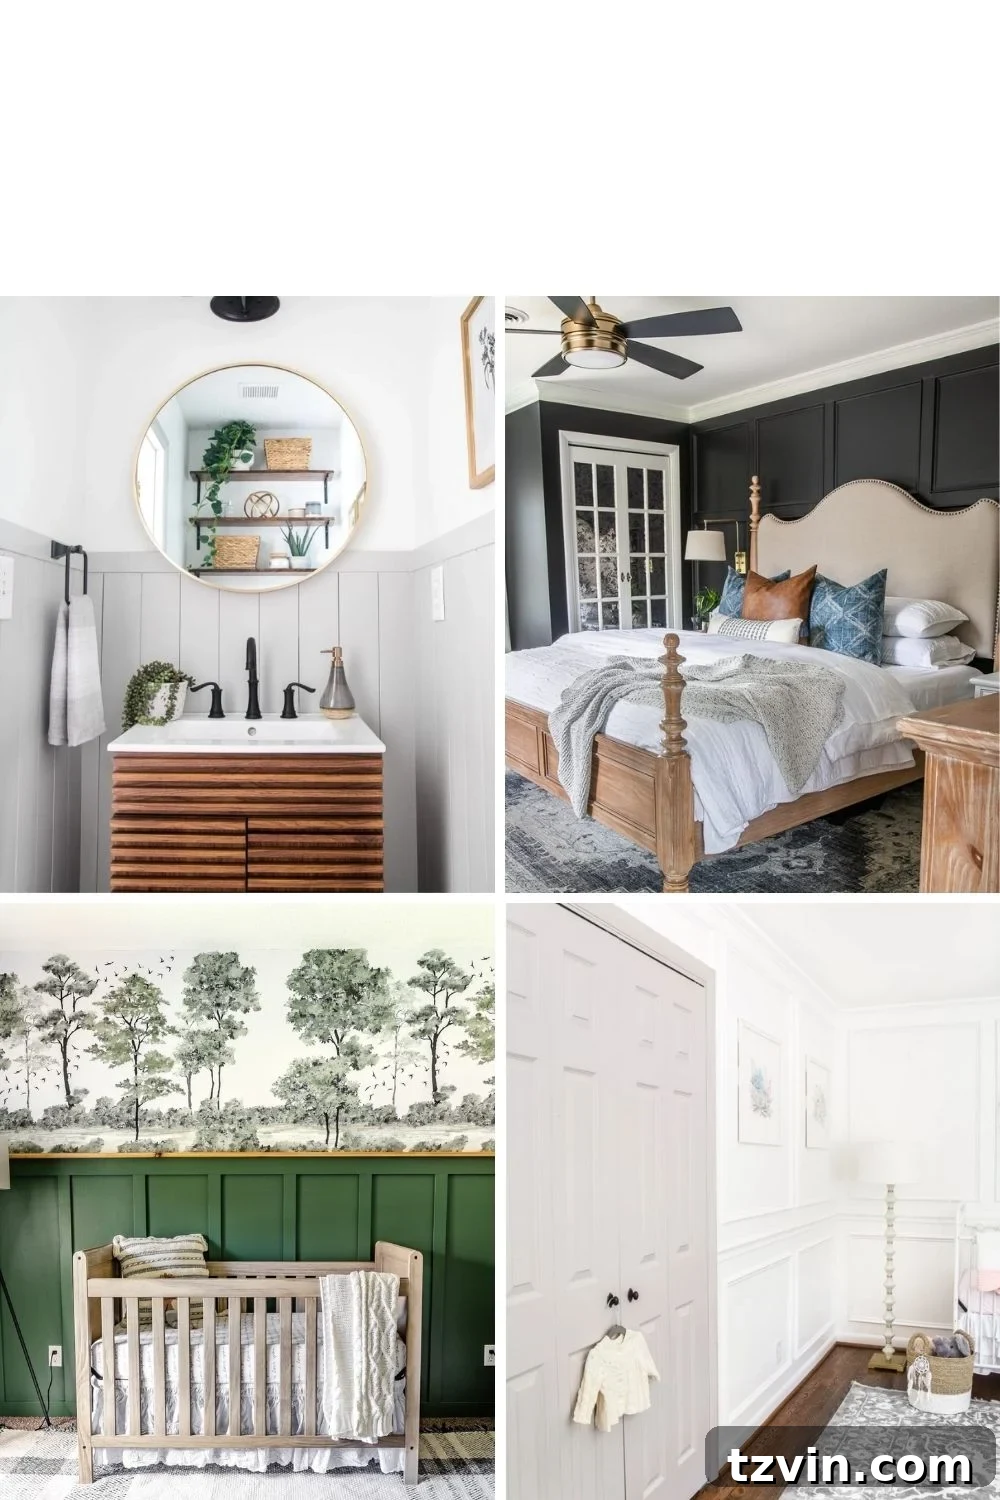
Transform Your Home with DIY Wall Molding Ideas for an Upscale Look
Are you dreaming of a home that exudes elegance and custom craftsmanship, but without the hefty price tag of professional designers? Adding wall molding and decorative trim is one of the most impactful and budget-friendly ways to achieve this sophisticated aesthetic. These simple DIY wall molding tutorials will guide you through creating an upscale, custom feel in your home, often for a mere fraction of what a professional would charge.
Many modern homes, especially builder-grade new constructions, often lack the architectural character found in older, more charming houses. This absence can leave rooms feeling flat, uninspired, and generic. The good news is that you don’t need extensive DIY experience to inject personality and visual interest into your living spaces. Installing trim details is significantly easier than you might imagine, making it an ideal project for even novice home improvers.
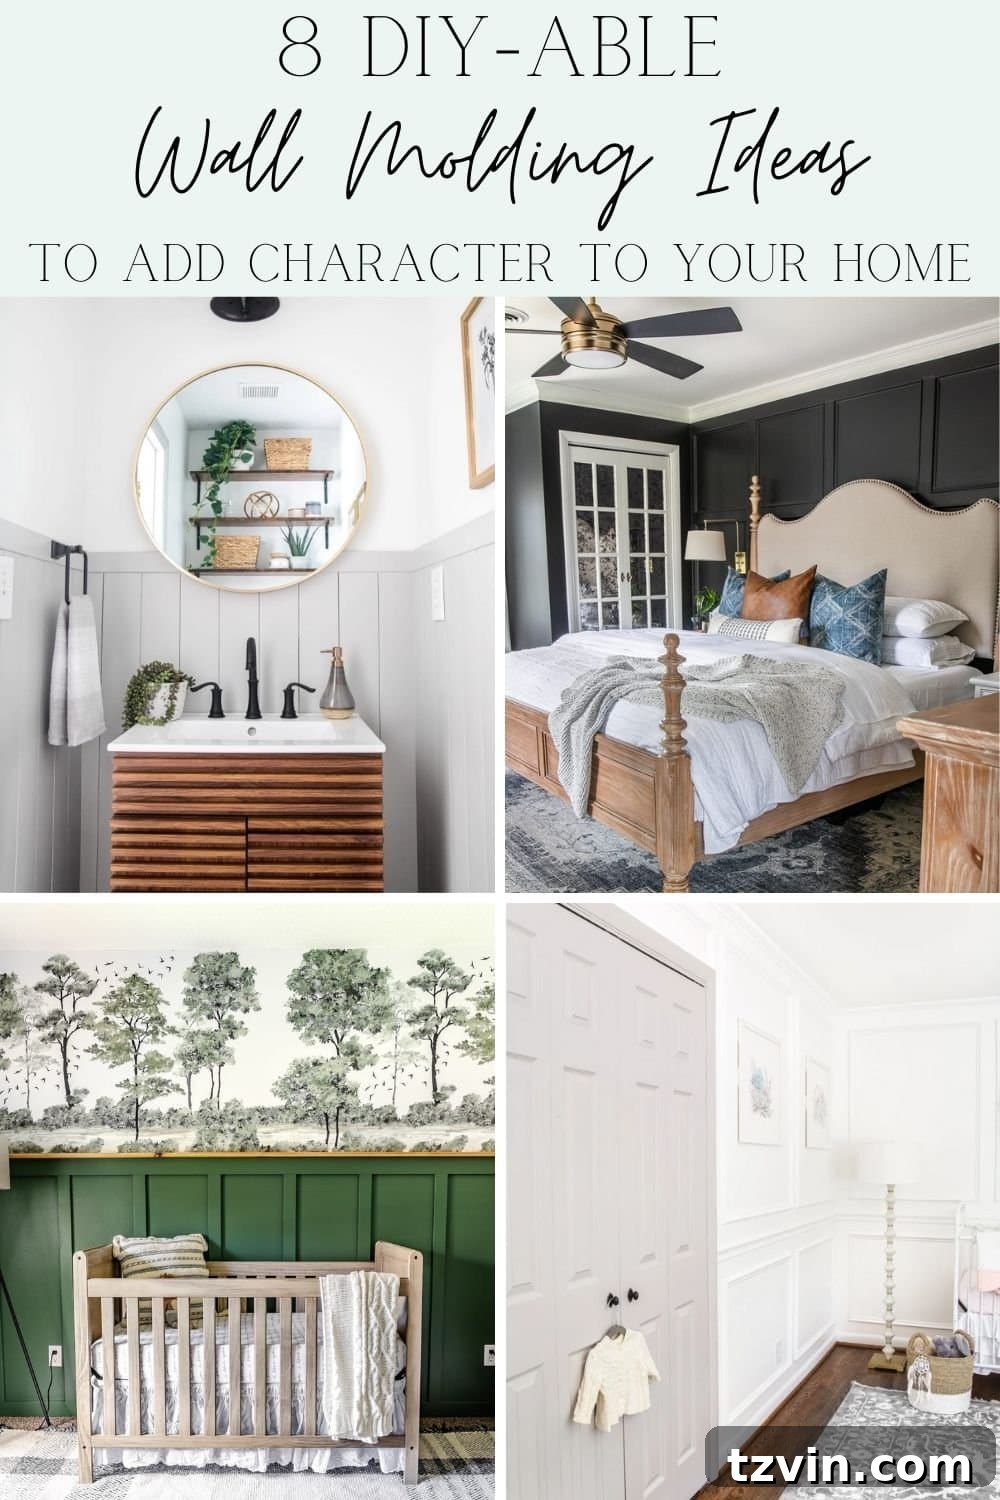
Over the years, we’ve discovered the transformative power of decorative trim pieces. They’re not just functional elements; they are design statements that instantly elevate a room from ordinary to extraordinary. This guide provides comprehensive tips for selecting the best paint for interior trim and decorative wall molding, along with a list of recommended tools to ensure your project is completed correctly and beautifully. Get ready to unlock the magic of wall trim and watch your home transform!
9 Wall Molding Tutorials to Elevate Your Home
If you’re eager to add decorative trim to your home but find yourself overwhelmed by the sheer variety of molding types, you’ve come to the right place. Our collection of 9 detailed tutorials will help you confidently choose the perfect style for your space and walk you through the installation process.
When we first moved into our traditional colonial home in 2017, the concept of installing decorative molding felt daunting. Our DIY experience was limited to basic tasks like nailing shiplap wood paneling. However, we envisioned our new house brimming with architectural details and ornate designs, bringing it to life with character and charm. Fast forward several years, and through a series of easy-to-tackle projects, we’ve successfully infused each room with unique personality and a custom feel. Let our journey inspire yours!
1. DIY Picture Frame Molding
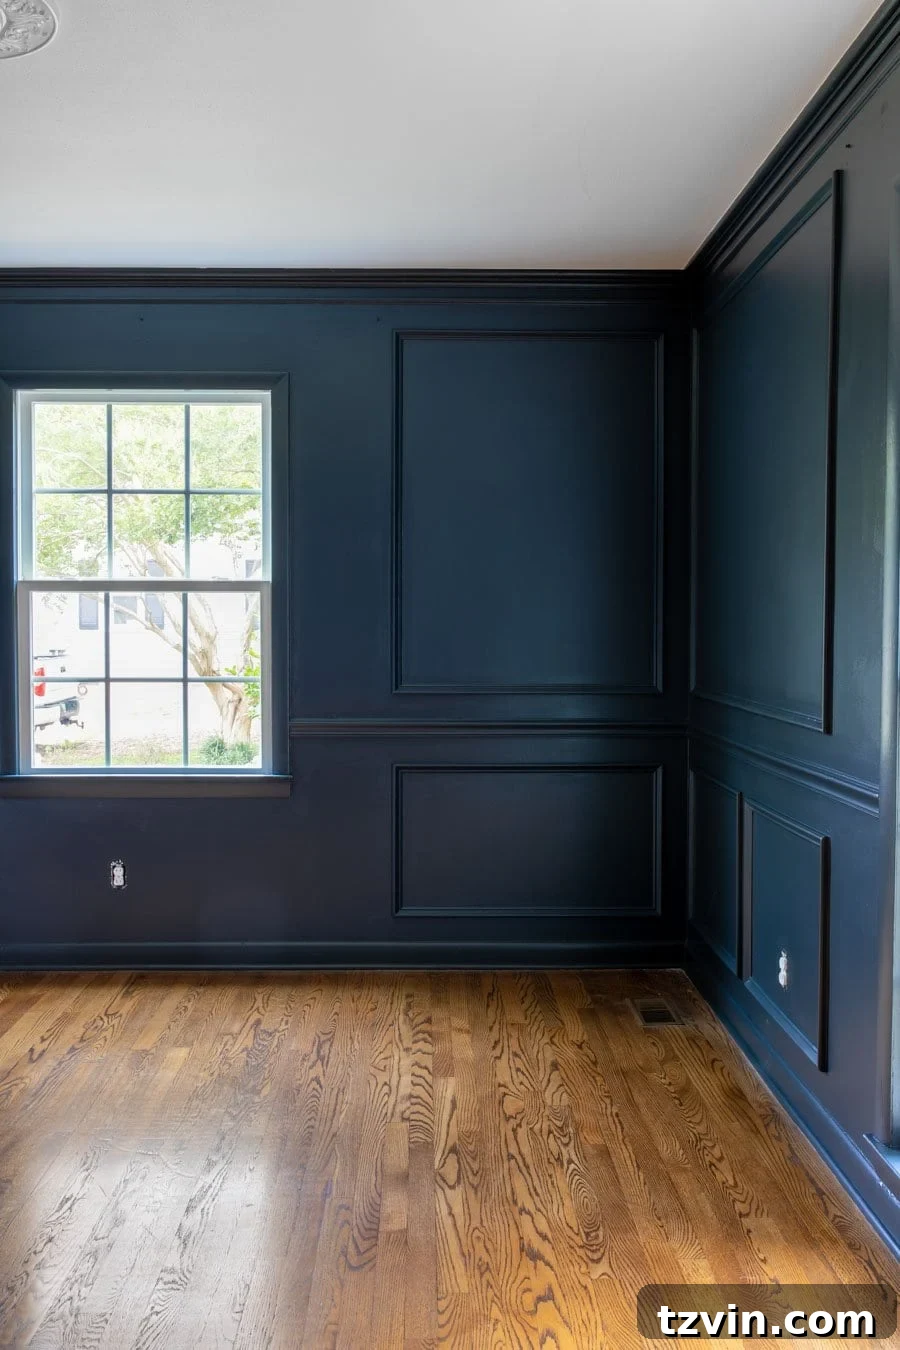
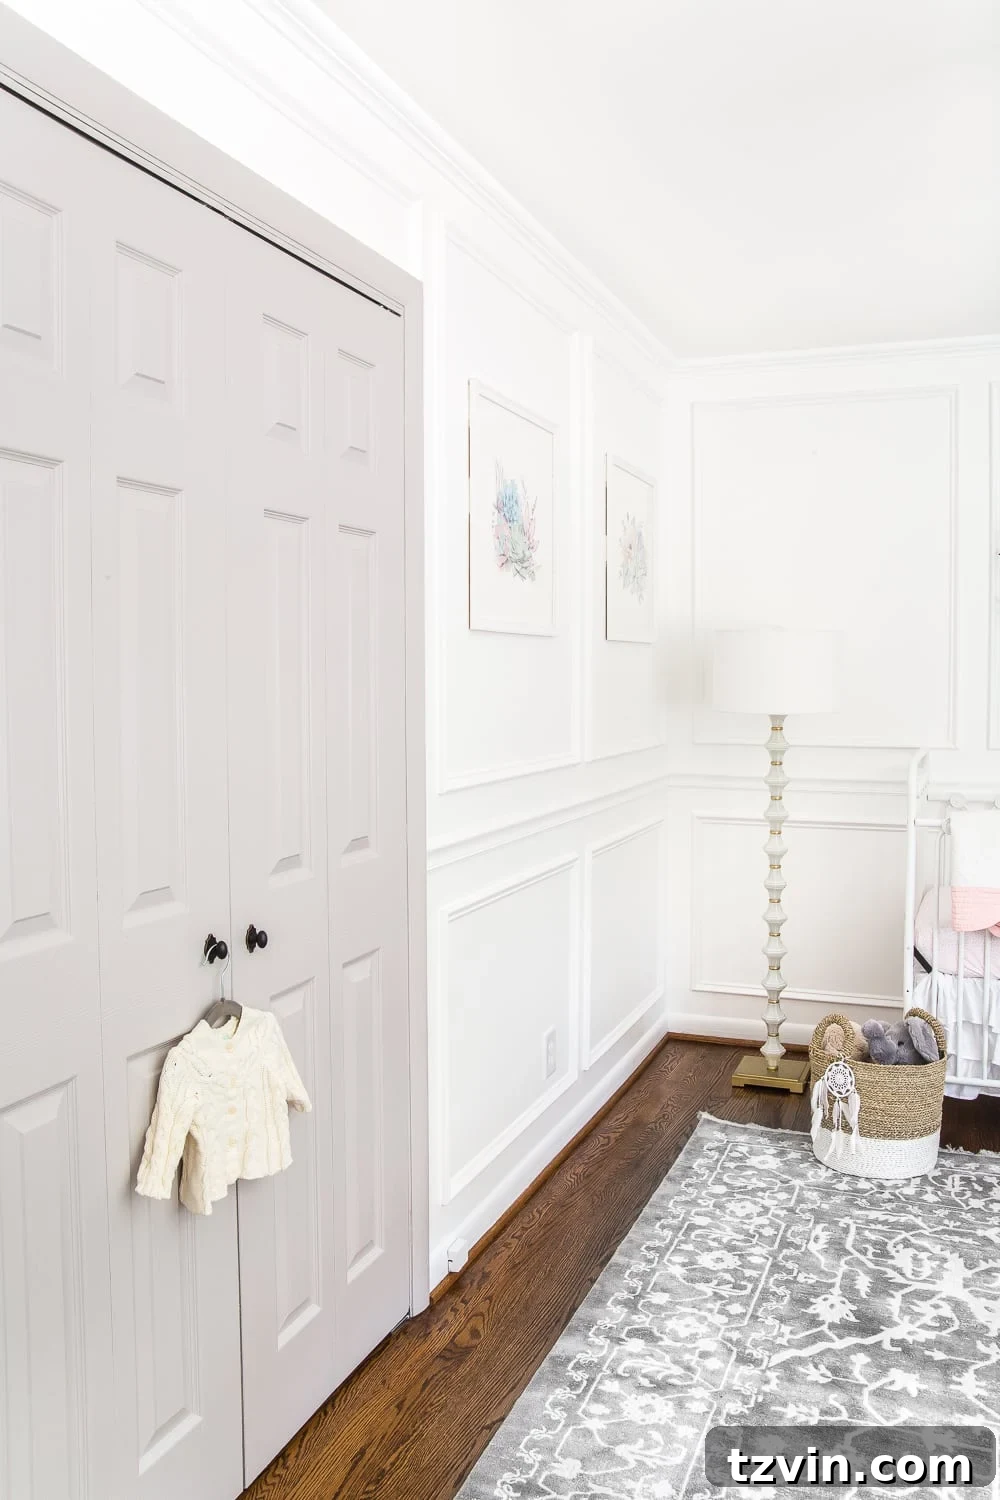
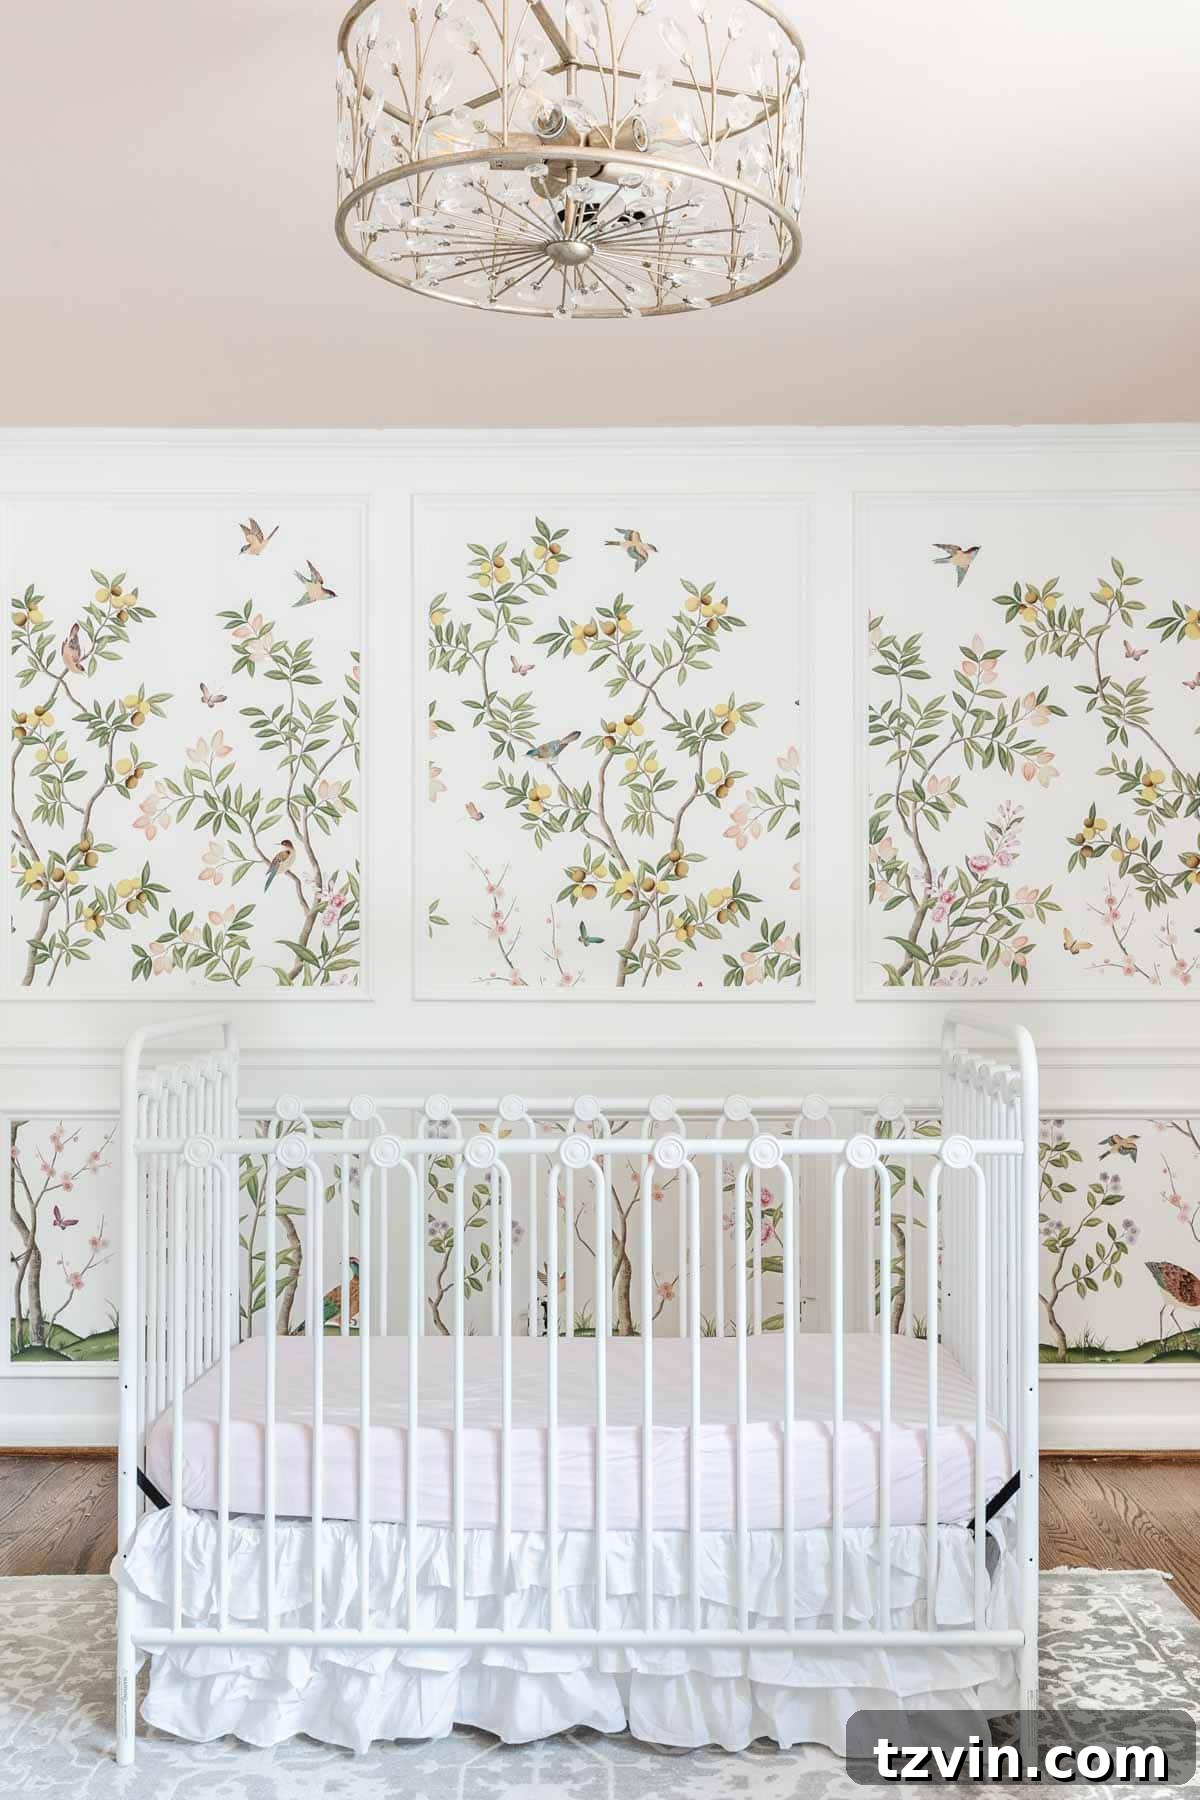
Picture frame molding, also known as box molding or panel molding, is a timeless architectural detail that instantly adds a layer of traditional elegance and luxury to any room. This classic style involves creating rectangular or square frames on your walls, mimicking the look of framed artwork without the need for actual art within each box. It’s particularly effective in formal living areas, dining rooms, and master bedrooms where a sophisticated ambiance is desired.
For a seamless and expansive feel, paint the trim, molding, and walls all the same color, opting for a satin sheen. This monochromatic approach can cleverly make a small room appear larger and more open, as the eye isn’t interrupted by contrasting lines. Interior designers frequently utilize picture frame molding in long hallways, where its repetitive pattern breaks up an otherwise narrow and monotonous space, adding crucial visual interest and rhythm.
Design Tip: Beyond its standalone beauty, picture frame molding offers incredible versatility. You can use it to create a stunning accent wall by framing sections of a wallpaper mural or even a different paint color. This technique allows you to highlight specific areas and create a focal point. Discover how to effortlessly hang wallpaper inside box molding to craft a truly unique and personalized statement in any bedroom or living area.
2. Beefed Up Crown Molding and Baseboards
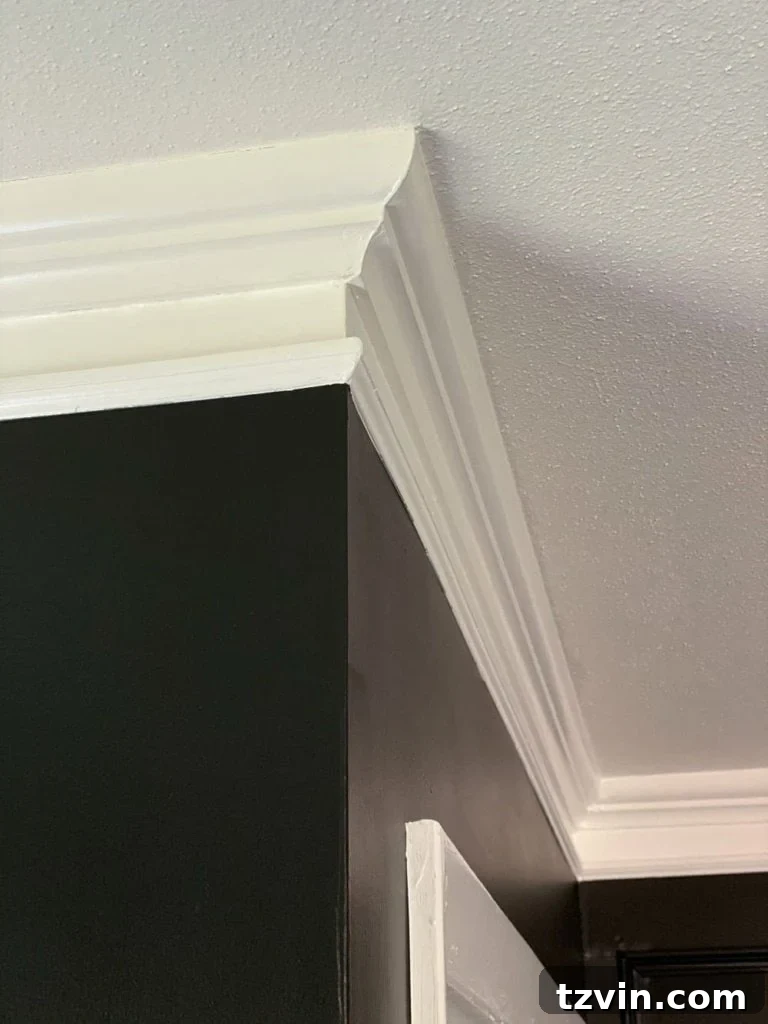
If your home already features crown molding and baseboards, but they appear thin or unsubstantial, there’s an ingenious and cost-effective trick to enhance their presence. This technique involves adding a simple, thin piece of trim—an inch or two—just below your existing crown molding and a similar piece above your baseboards. This creates an optical illusion, making your original trim appear much thicker and more substantial without the expense of replacing it entirely.
This “beefing up” method works wonders in elevating the perceived quality and architectural detail of a room. It’s particularly effective for achieving a grander, more custom look, mimicking the robust trim found in high-end homes. You can also apply this same clever trick to enhance Craftsman design style trim, giving it a more pronounced and authentic character. To maximize the illusion, paint the newly added trim and the small strip of wall in between the same color as your existing crown molding. This cohesive finish seamlessly blends the elements, making your crown molding appear significantly thicker and more impressive, quickly and for far less money than a complete overhaul.
3. Grid Molding
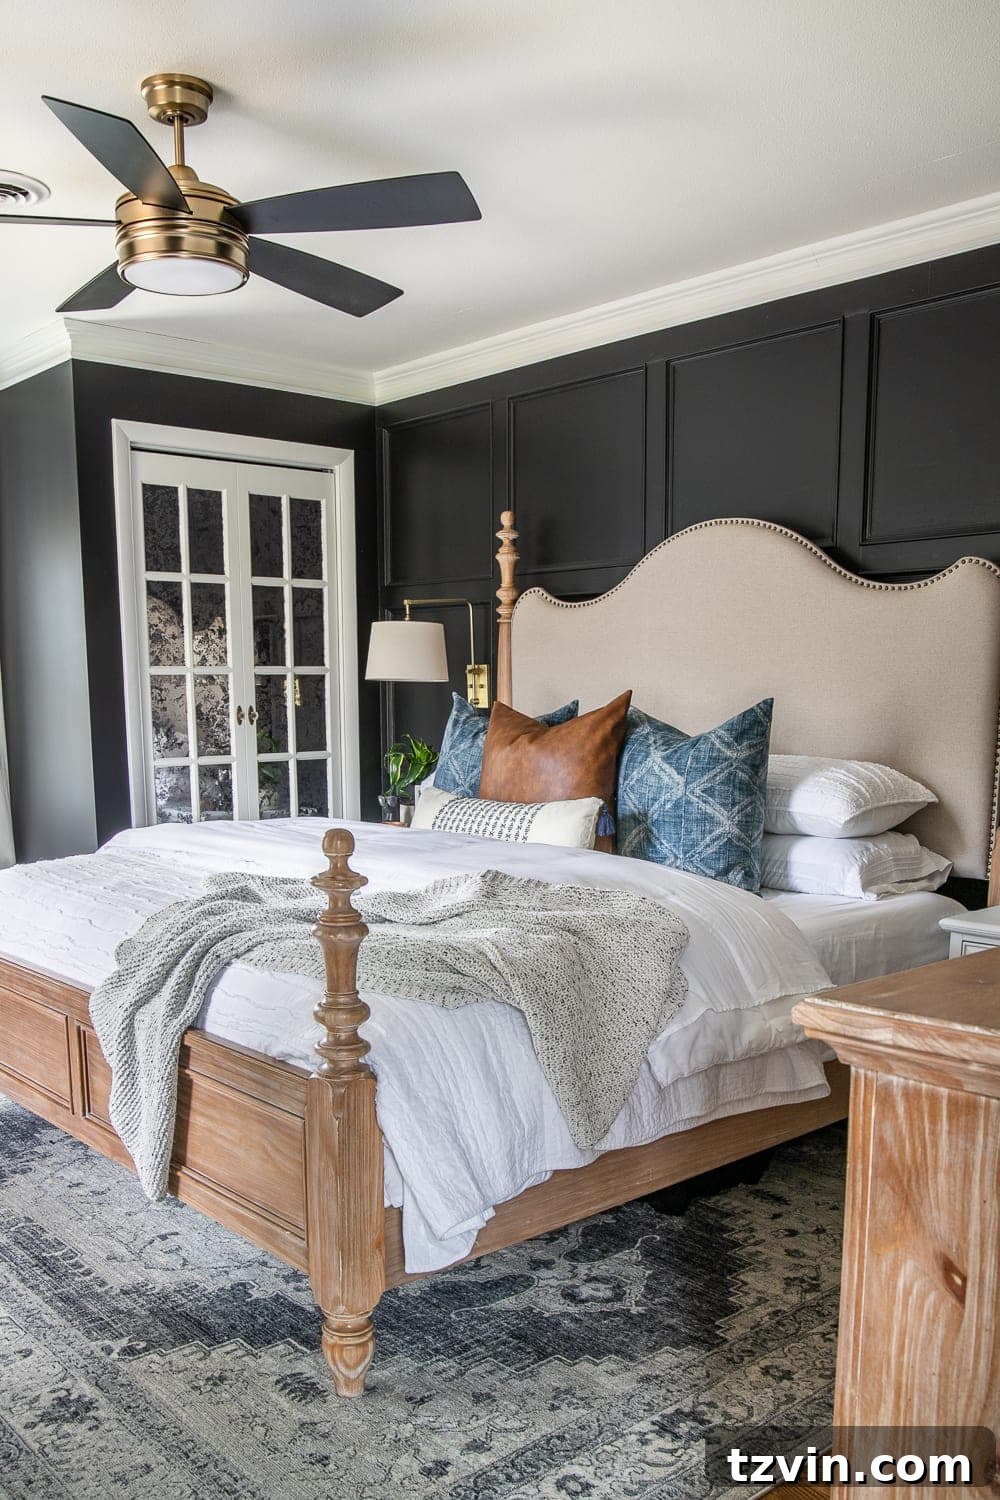
Grid molding, often a blend of traditional and contemporary aesthetics, is an excellent choice for creating a captivating focal wall in various spaces. This wall molding style involves arranging trim pieces in a clean, geometric grid pattern, offering a modern yet classic visual impact. It’s perfect for transforming large, blank walls that feel overwhelming or empty, such as a feature wall behind a bed, a prominent wall in a staircase landing, or an expansive surface behind a sofa. With grid molding, the wall itself becomes the art, eliminating the need for additional wall hangings or complicated decor.
One of the most appealing aspects of grid molding for DIY enthusiasts is its relative simplicity. The straightforward design often means you can achieve impressive results without the need for complex mitered saw cuts, making it a fantastic first trim project for beginners. It’s an easy way to add architectural depth and sophistication. You can vary the size and spacing of your grid to suit the scale of your room and your personal style, from large, bold squares to smaller, intricate rectangles. (Explore more of our stunning primary bedroom transformation featuring grid molding here to see its full effect.)
4. Vertical Shiplap
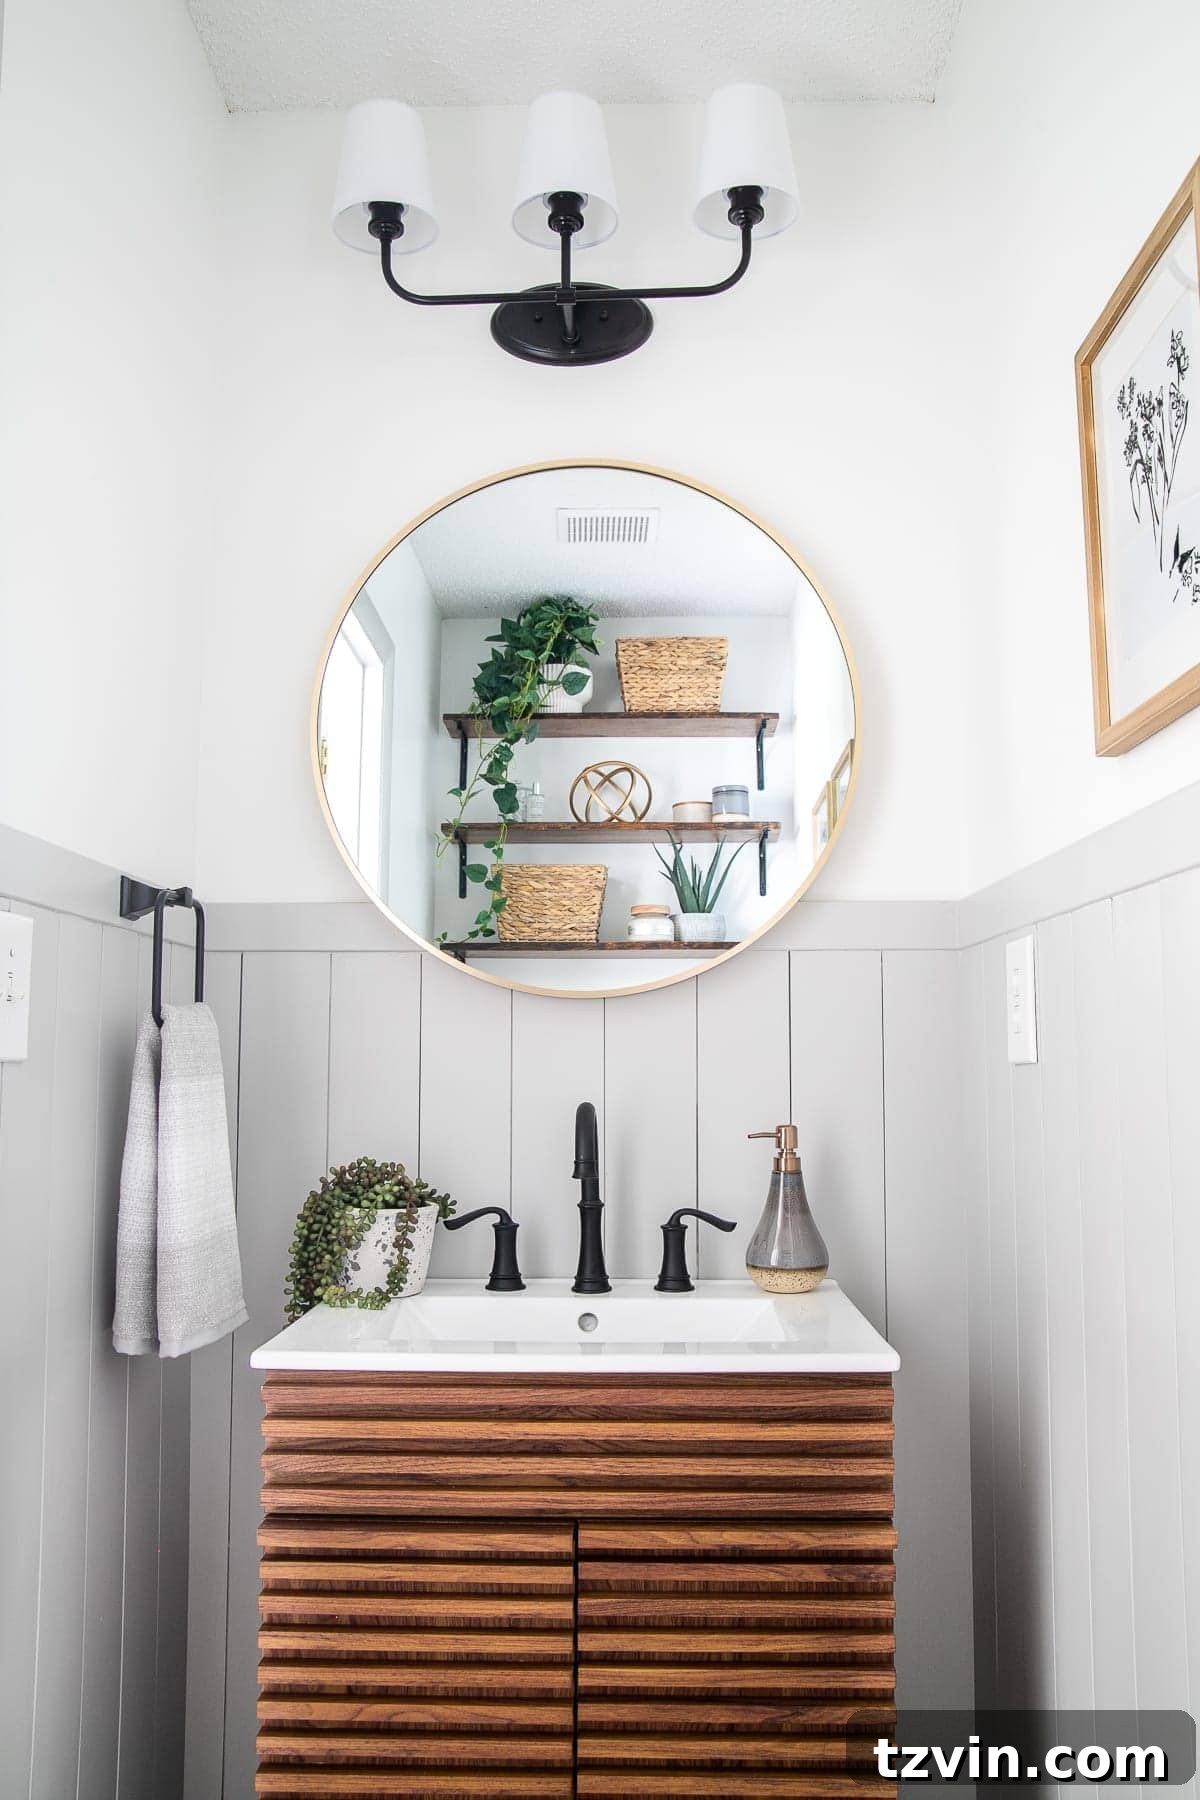
While traditional shiplap often evokes a farmhouse aesthetic with horizontal lines, vertical shiplap offers a refreshing, modern take that brings a sense of height and contemporary sophistication. This style is incredibly versatile and works particularly well as wainscoting in bathrooms, mudrooms, and hallways, where it can brighten up small, tight spaces and introduce subtle yet impactful texture. The vertical lines draw the eye upward, making ceilings feel higher and rooms feel more expansive, contributing to an open and airy atmosphere.
Beyond its application as wainscoting, vertical shiplap is also a beautiful choice for full wall treatments or integrated into more intricate designs like coffered ceilings in living rooms or dining rooms. Its clean lines and simple construction make it a relatively straightforward DIY project, allowing homeowners to achieve a custom look with minimal fuss. Whether painted a crisp white for a coastal feel or a deep charcoal for a moody modern vibe, vertical shiplap provides a durable and stylish surface that stands the test of time. (Discover more design inspiration from this stunning California casual powder room makeover, showcasing the beauty of vertical shiplap.)
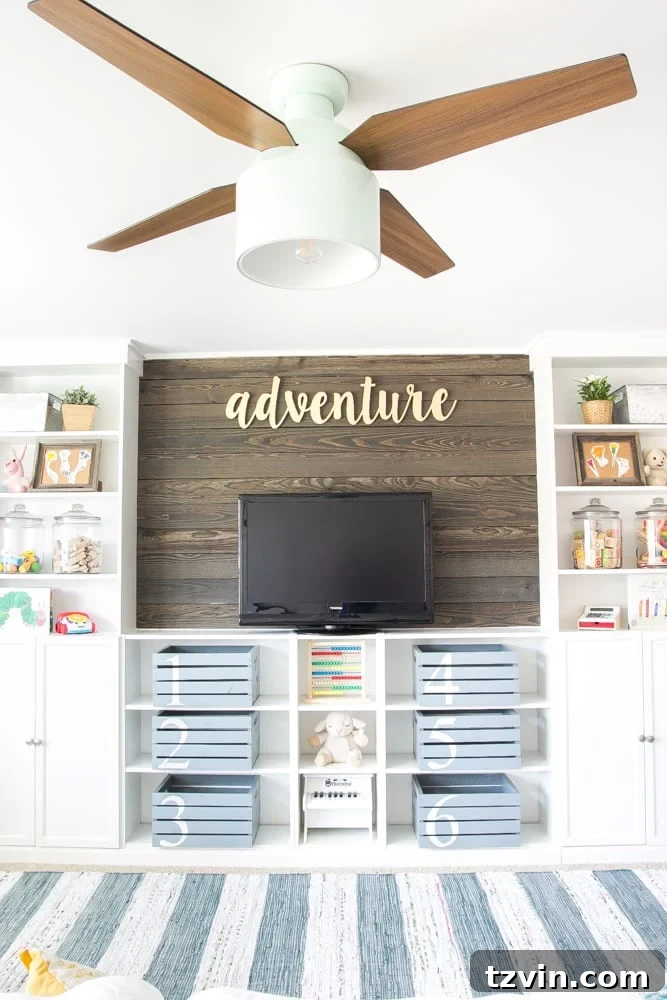
5. Wood Planking
For those who adore rustic decorative elements and seek to infuse their home with warm, organic textures, a stained wood plank wall is an exceptional choice. This DIY project adds an immense amount of character and a cozy, inviting ambiance, often for a very modest expense compared to other wall treatments. Wood planking can transform an ordinary wall into a captivating focal point, bringing natural beauty and a sense of history into your space.
The beauty of wood planking lies in its versatility. You can choose from various wood species, each reacting differently to stains, allowing for a wide range of colors and finishes—from light and airy to rich and deep. We highly recommend staining the wood prior to nailing it to the wall; this ensures an even coat and prevents drips or uneven absorption once installed. Alternatively, for an eco-friendly and budget-conscious option, explore how to create a natural, inexpensive stain using basic items readily available in your pantry. This approach makes the project even more accessible and unique. (See the full transformation of this eclectic farmhouse playroom featuring a beautiful wood plank wall here.)
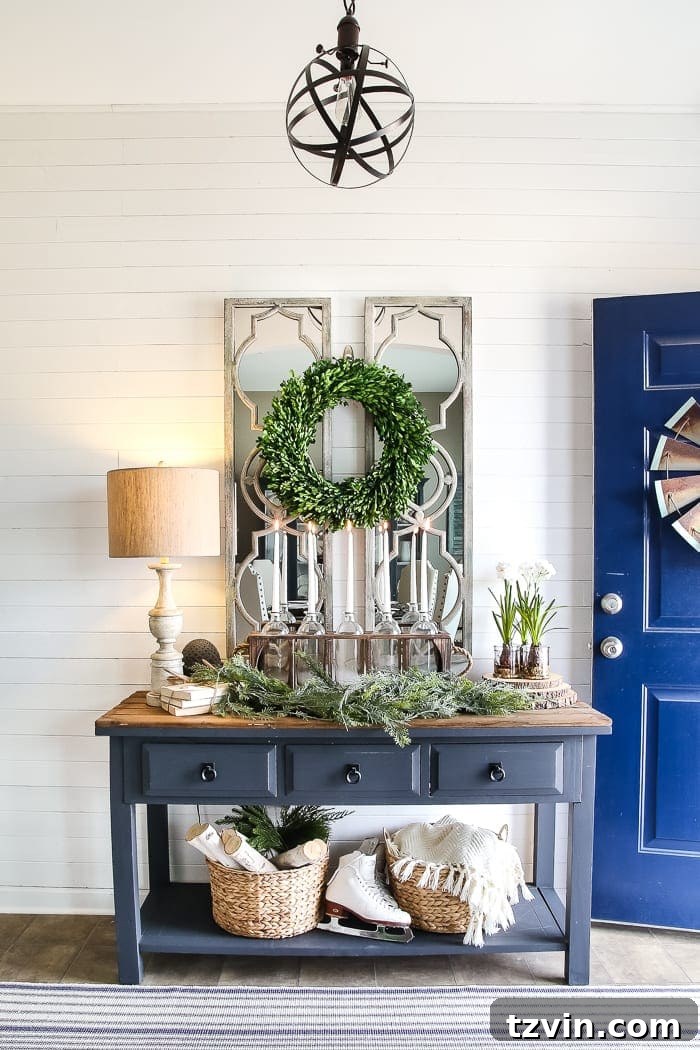
6. Traditional Shiplap
Traditional shiplap, characterized by its horizontal planks and distinctive nickel gap, remains a perennial classic for a reason. While deeply rooted in farmhouse and coastal aesthetics, its clean lines and appealing texture offer a timeless charm that adapts to various interior design styles. Installing shiplap is a relatively straightforward DIY project, especially when using pre-made tongue and groove planks readily available at hardware stores. This type of planking ensures a quick and seamless installation, allowing you to achieve a professional-looking finish with ease.
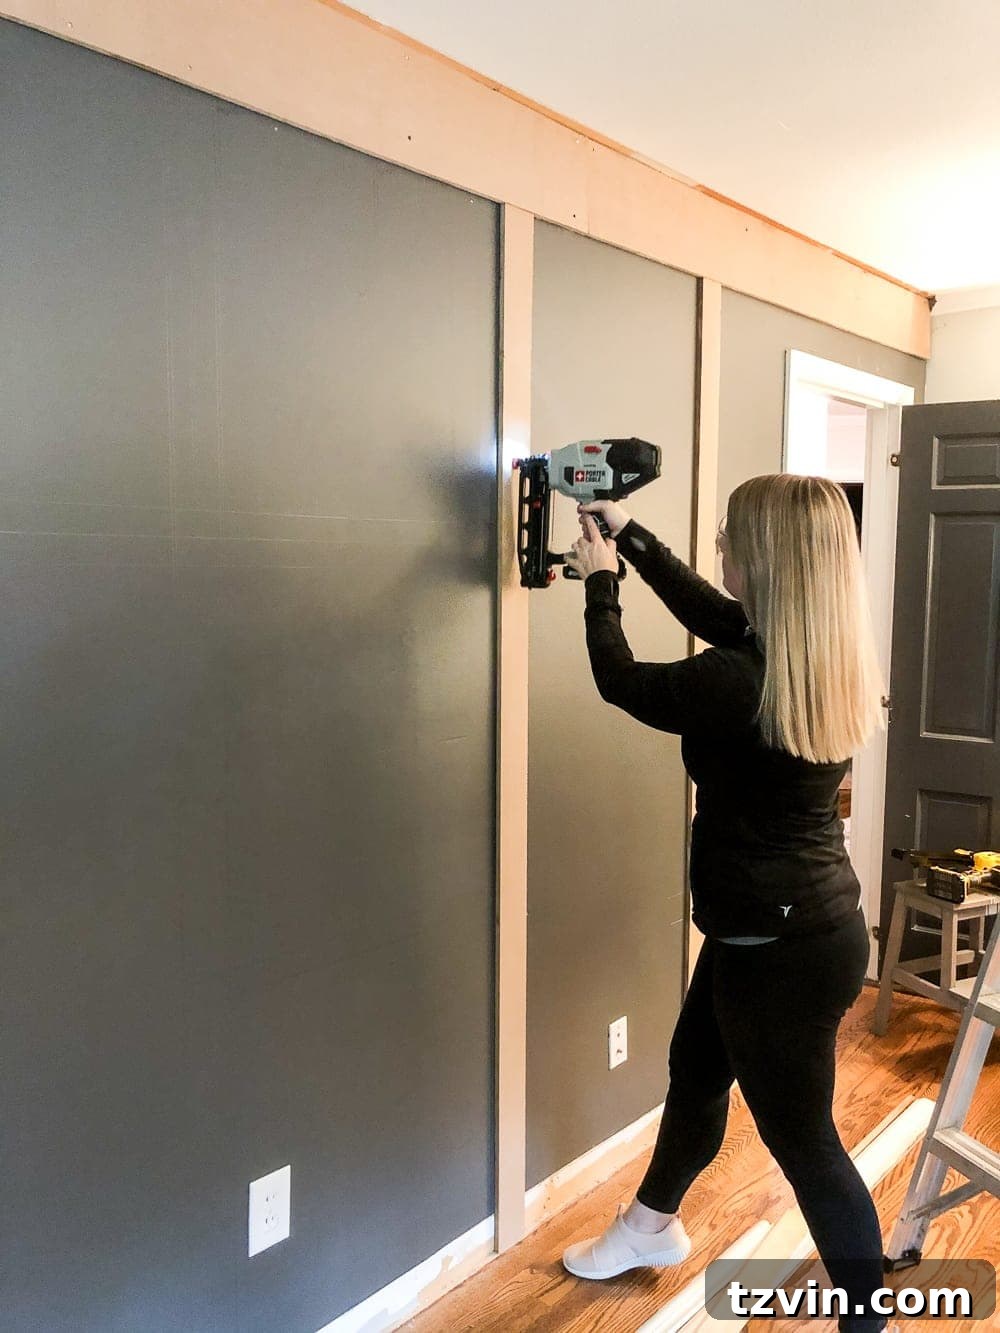
The versatility of traditional shiplap extends to its finishing options. Paint it a crisp white to embrace the classic farmhouse or serene coastal style, instantly brightening any room and creating a feeling of spaciousness. For a bolder, more contemporary or industrial vibe, consider painting it a darker hue, which can add dramatic depth and sophistication. Shiplap is ideal for accent walls, an entire room, or as wainscoting in entryways, bathrooms, or bedrooms, offering a durable and visually appealing surface that adds character and warmth. (Discover more ideas for decorating a winter foyer featuring traditional shiplap in our previous home.)
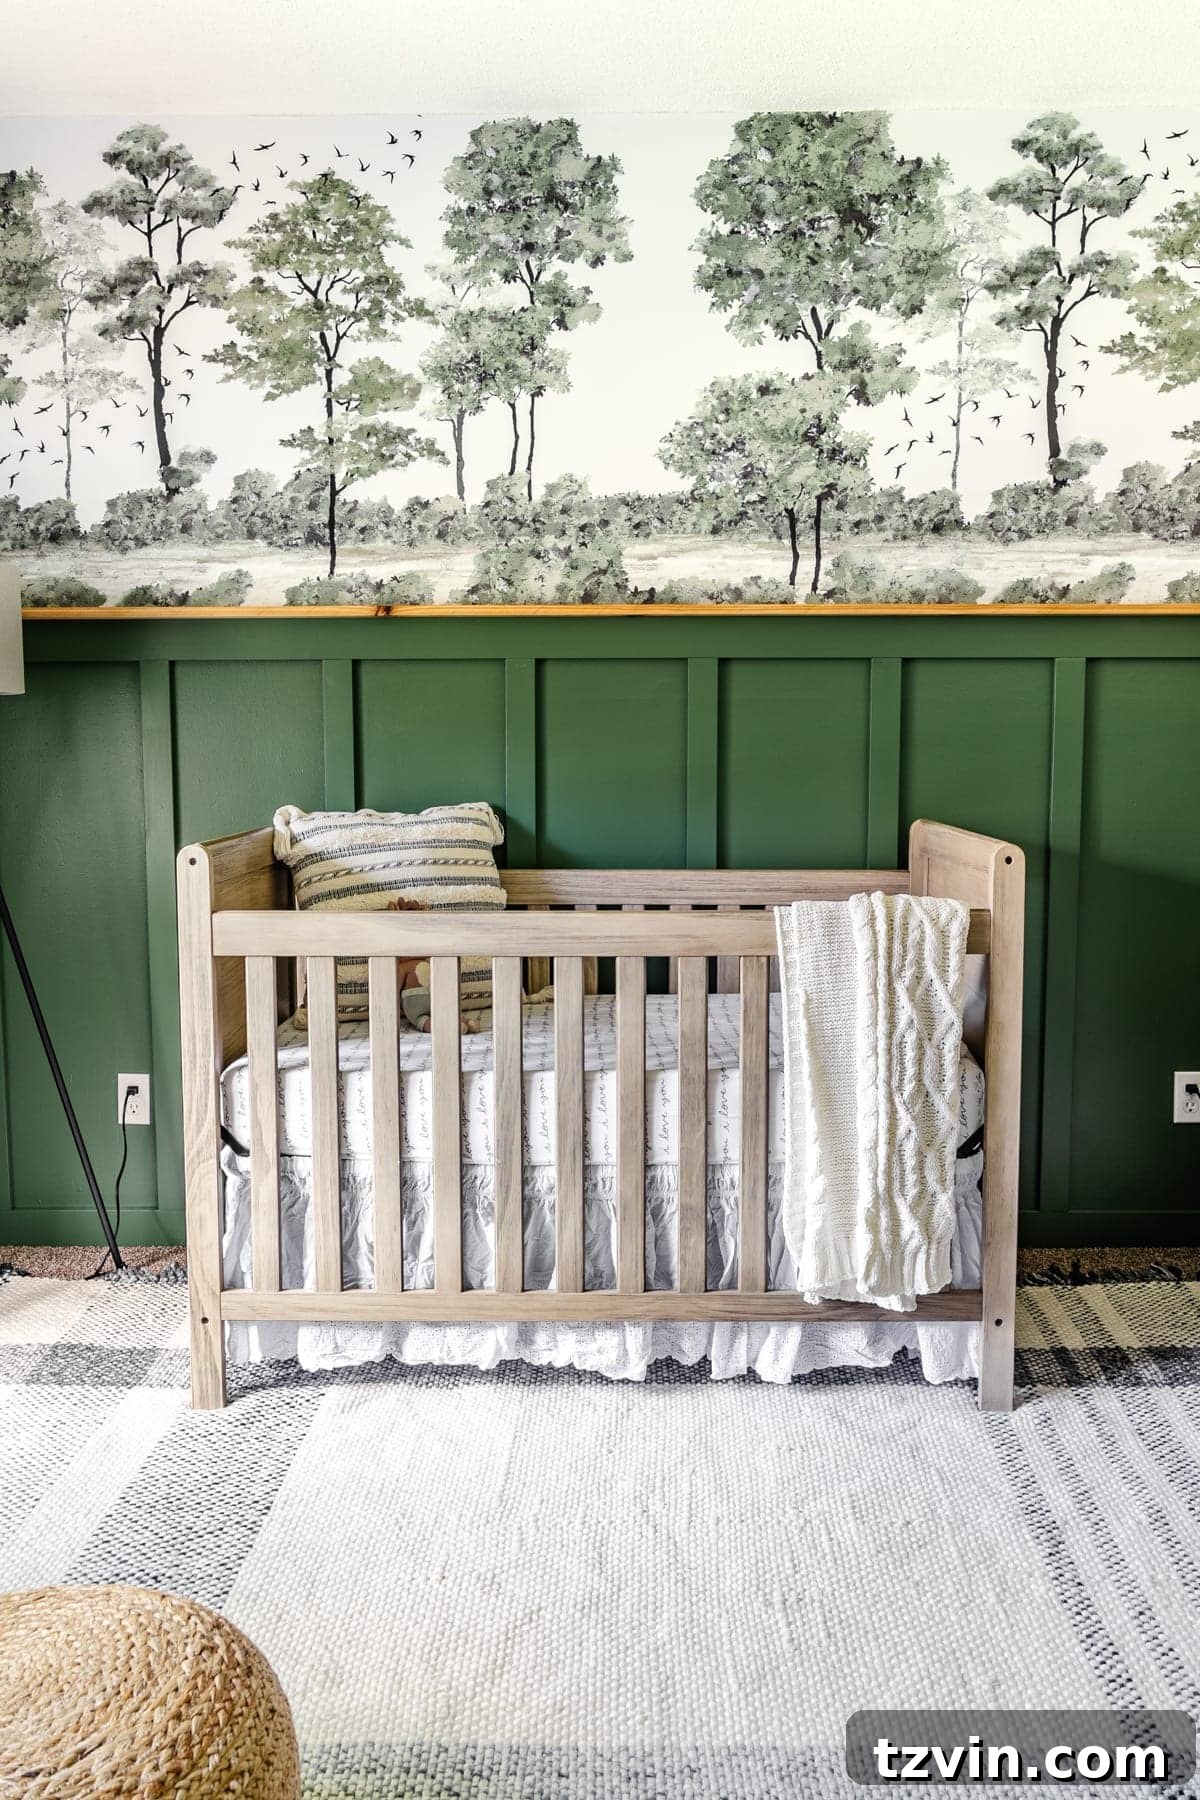
7. Traditional Board & Batten
Traditional board and batten is a beloved wall treatment known for its classic charm and remarkable versatility. Characterized by vertical strips of wood (battens) applied over a flat board or directly onto a wall, it creates a clean, architectural look with distinct shadows and depth. This style works exceptionally well in high-traffic areas like entryways, mudrooms, and hallways, where it offers both decorative appeal and a durable surface that can withstand daily wear and tear. However, its aesthetic appeal isn’t limited to functional spaces; board and batten is perfect for virtually any room in the house, from living rooms to bedrooms and nurseries.
One of the great advantages of board and batten is its adaptability. You can install it as a wainscoting, running it halfway or two-thirds up the wall to add character and protect lower wall surfaces. Alternatively, for a more dramatic and encompassing effect, extend the board and batten all the way up to the ceiling. This full-wall treatment can make a powerful design statement, enhancing visual height and creating a cohesive, custom look. Whether you opt for a crisp white or a bold color, board and batten introduces a layer of sophistication and craftsmanship that transforms ordinary walls into stunning architectural features. (Explore the charming details of this baby boy nursery featuring traditional board and batten for inspiration.)
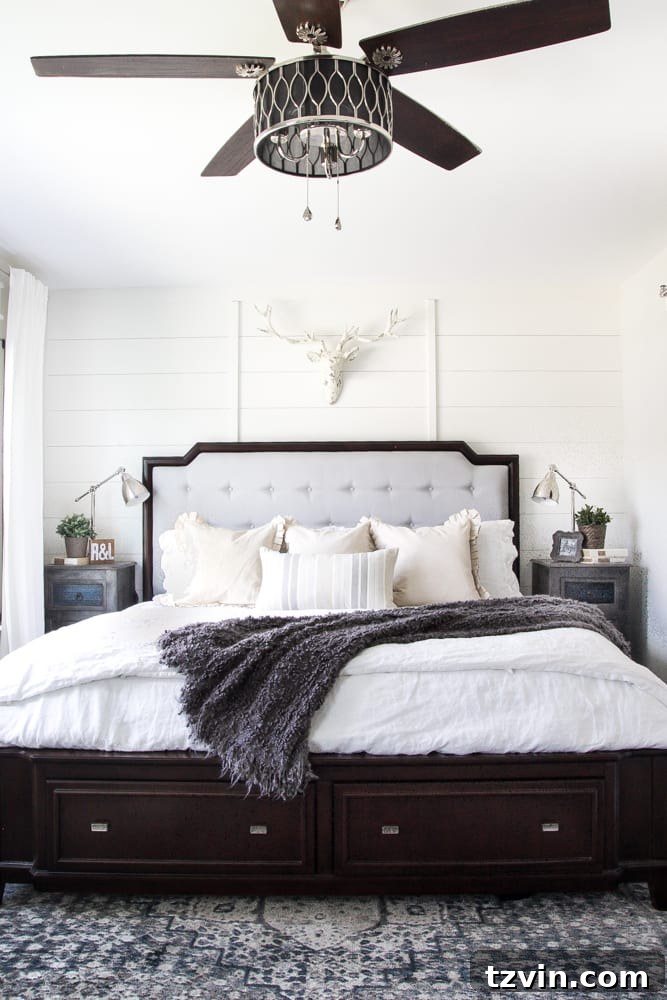
8. Planked Board & Batten
If you’re torn between the classic appeal of shiplap and the architectural depth of board and batten, then planked board and batten offers the perfect harmonious blend of both styles. This innovative wall treatment combines the textured look of horizontal planks (like shiplap) with the structural definition of vertical battens, resulting in a dynamic and visually rich surface. It’s an exceptional choice for creating a show-stopping focal wall in a bedroom, living room, or even on a ceiling, where it can add unexpected character and interest.
Planked board and batten introduces a unique layering effect, adding more dimension than either style could achieve on its own. The horizontal lines provide a subtle texture and sense of expanse, while the vertical battens create strong visual breaks and architectural articulation. This hybrid approach allows for creative expression, whether you opt for a monochrome paint scheme to highlight the shadows and depth, or choose contrasting colors to emphasize the different elements. It’s a fantastic way to introduce a bespoke, high-end finish that truly elevates a room. (For a closer look at how this distinctive style transformed a space, explore our primary bedroom in our last house, featuring a stunning planked board and batten accent wall.)
9. Beadboard
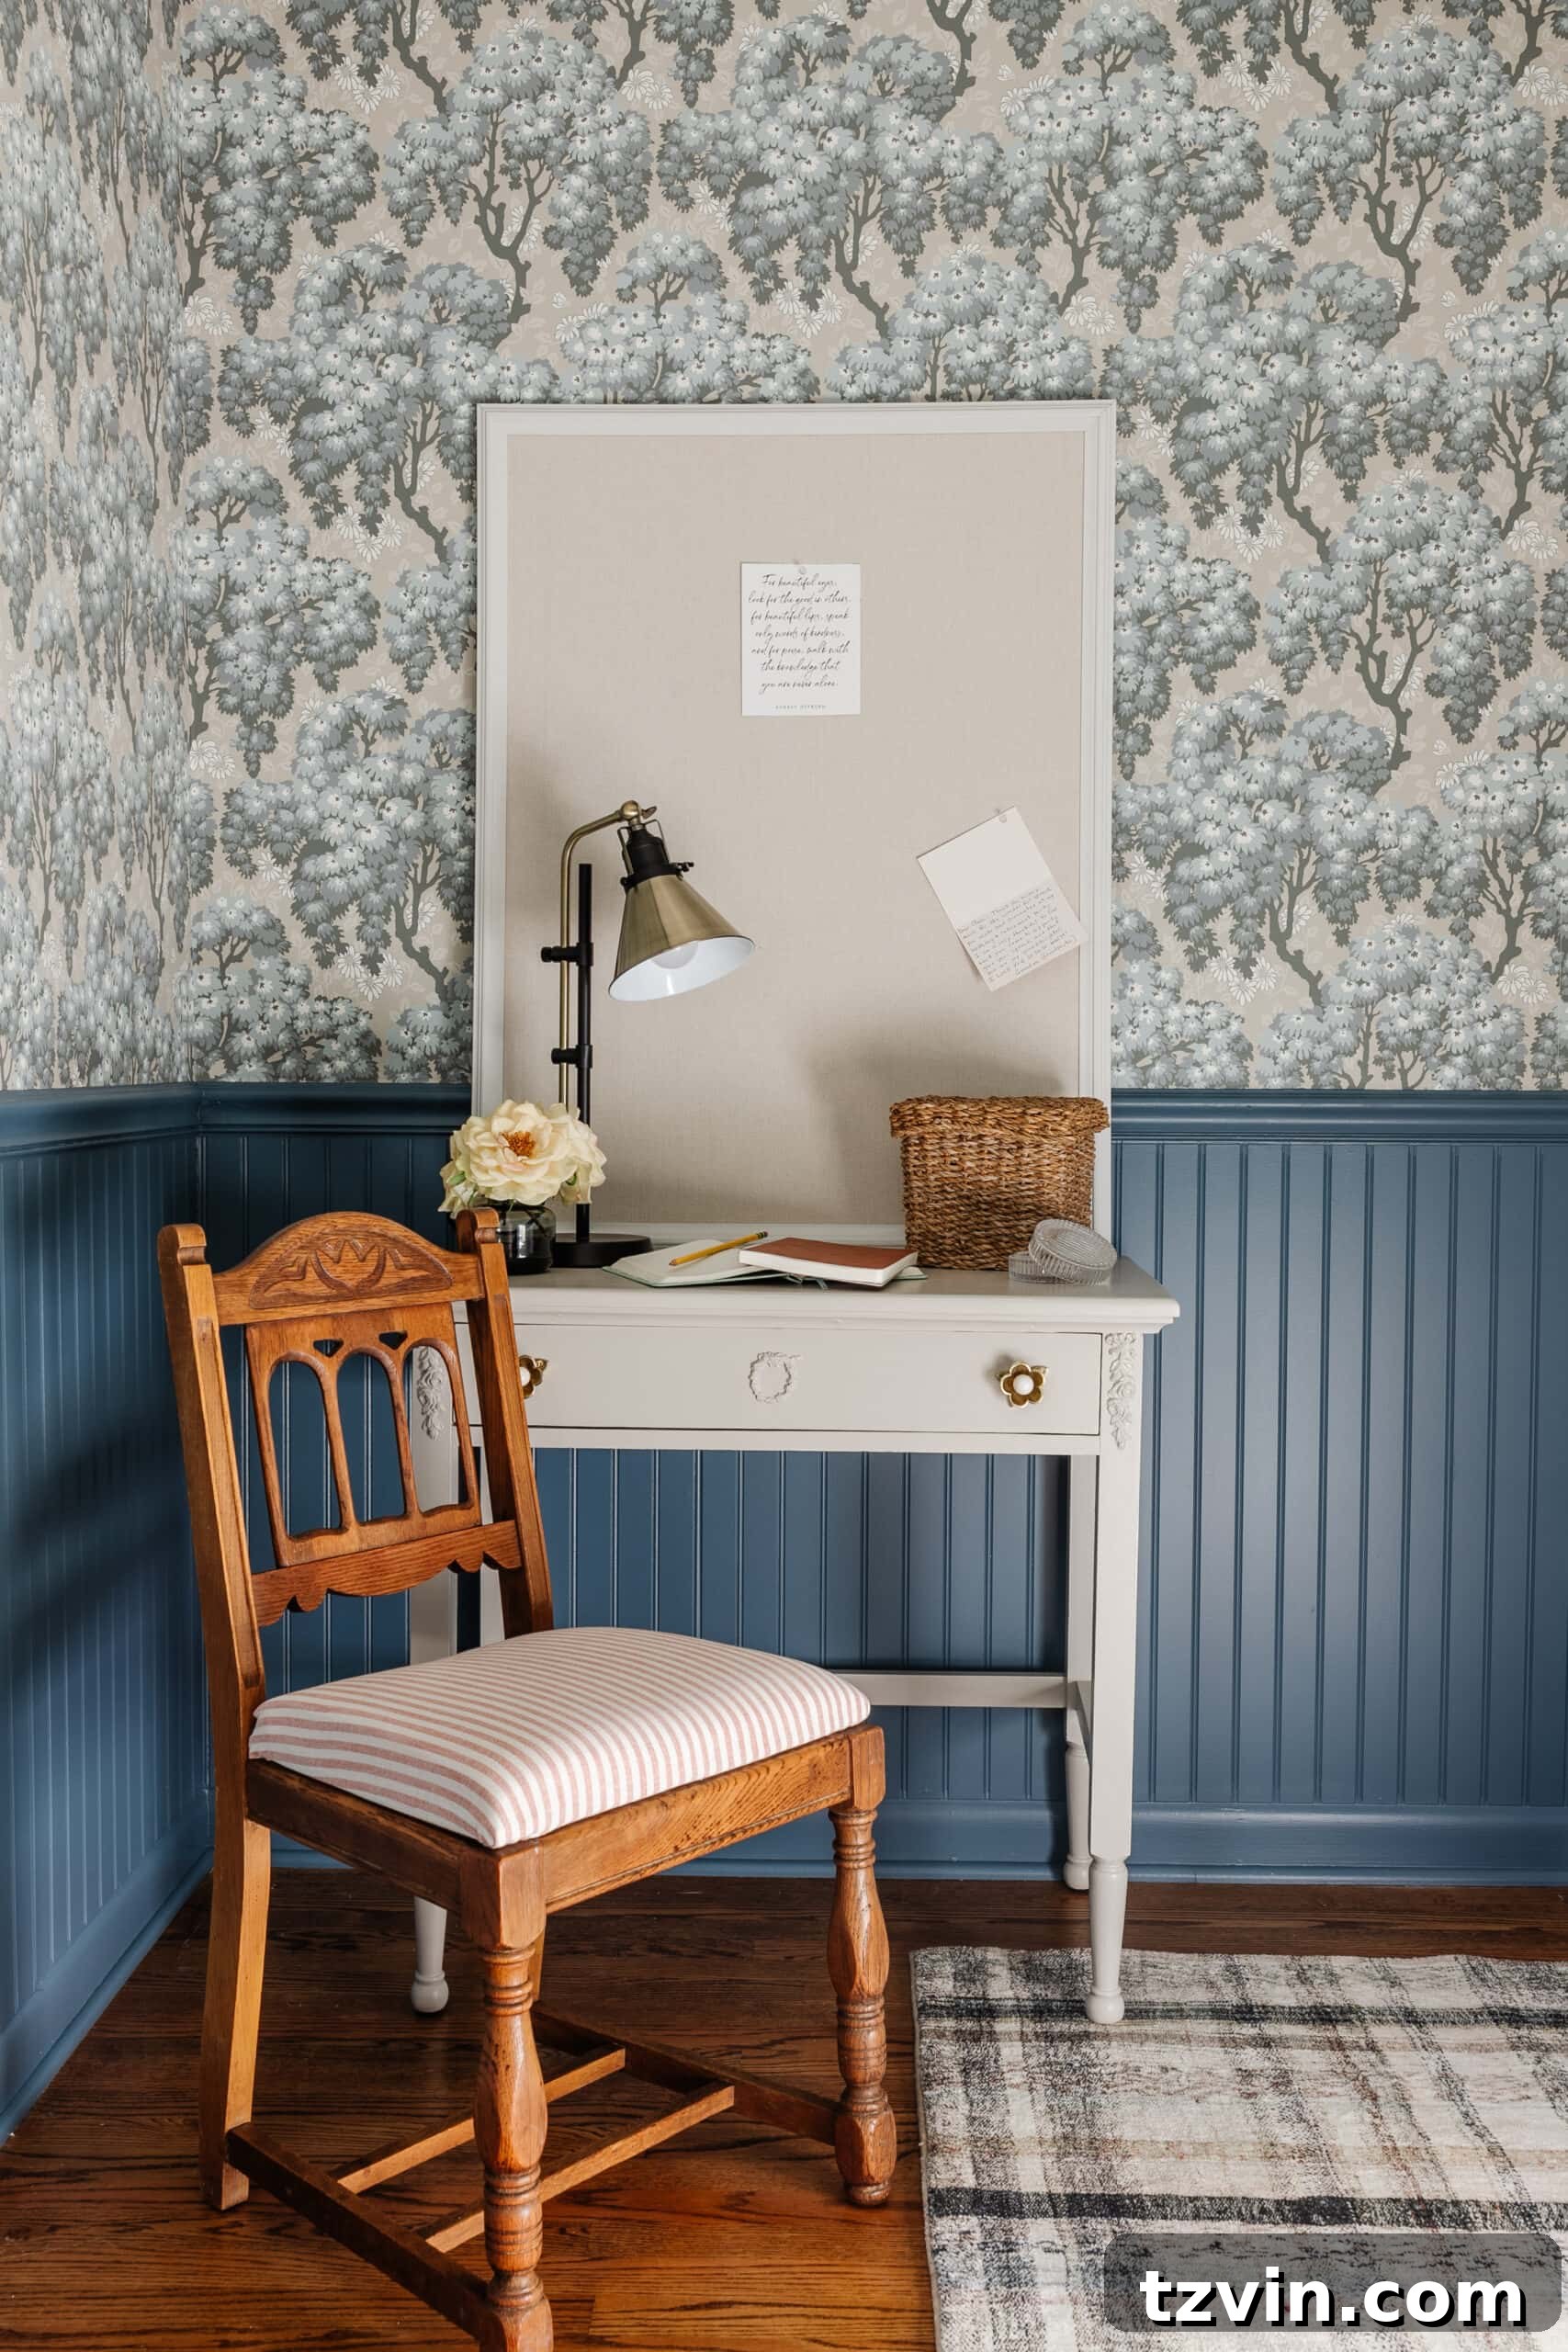
Beadboard is a beloved classic, instantly recognizable by its distinctive vertical grooves and raised beads, which create a charming, cottage-like aesthetic. It’s one of the most accessible and DIY-friendly trim ideas, often available in large panels that can be quickly installed as wainscoting or full wall coverings. Its simple yet elegant texture adds visual interest and a comforting warmth to any space, making it a perfect choice for various rooms.
In our daughter’s bedroom, for instance, we found existing chair rail molding, which provided the ideal foundation for adding beadboard panels as wainscoting. This simple addition transformed the room, lending it a delightful decorative feature and a touch of timeless charm. Beadboard isn’t just for walls; its uniform pattern and ease of installation make it an excellent solution for covering up imperfections on ceilings, such as outdated popcorn textures, providing a smooth, finished look without extensive plasterwork. Whether used in a bathroom, kitchen, nursery, or hallway, beadboard delivers a fresh, clean, and classic appeal that enhances any home.
Frequently Asked Questions About Wall Molding
What type of paint finish do you use on molding and trim?
What tools should you use for installing molding?
a compound miter saw (for precise angle cuts), a coping saw (for fitting intricate profiles), a jigsaw (for irregular cuts), a cordless finish nailer (for quick and secure fastening), construction adhesive (for extra hold), a level (to ensure straight lines), a tape measure (for accurate measurements), wood filler (to patch nail holes), caulk (to seal gaps), and fine grit sandpaper (for a smooth finish). Having these tools on hand will streamline your installation process and help you achieve professional-looking results.

What are the best paint colors for trim and molding?
Is it spelled molding or moulding?
While there are countless other types of molding we’d love to experiment with one day—a DIY reeded wall, for instance, evokes an absolute swoon—these 9 tutorials provide a fantastic foundation for mastering the basics and achieving impressive results. We hope this comprehensive guide inspires you to take on your next home improvement project!
Have you ever installed wall molding? Or perhaps you’ve been dreaming of adding architectural details to your home? Don’t let hesitation hold you back; those gorgeously molded walls are SO WORTH IT for the custom, high-end feel they bring to your living spaces!
More DIY Ideas That Add Architectural Interest
Easy DIY Faux Plaster Fireplace With Electric Insert
DIY Faux Brick Walls Using Paneling
DIY Built-In Bookshelves Using the IKEA Billy Bookcase Hack