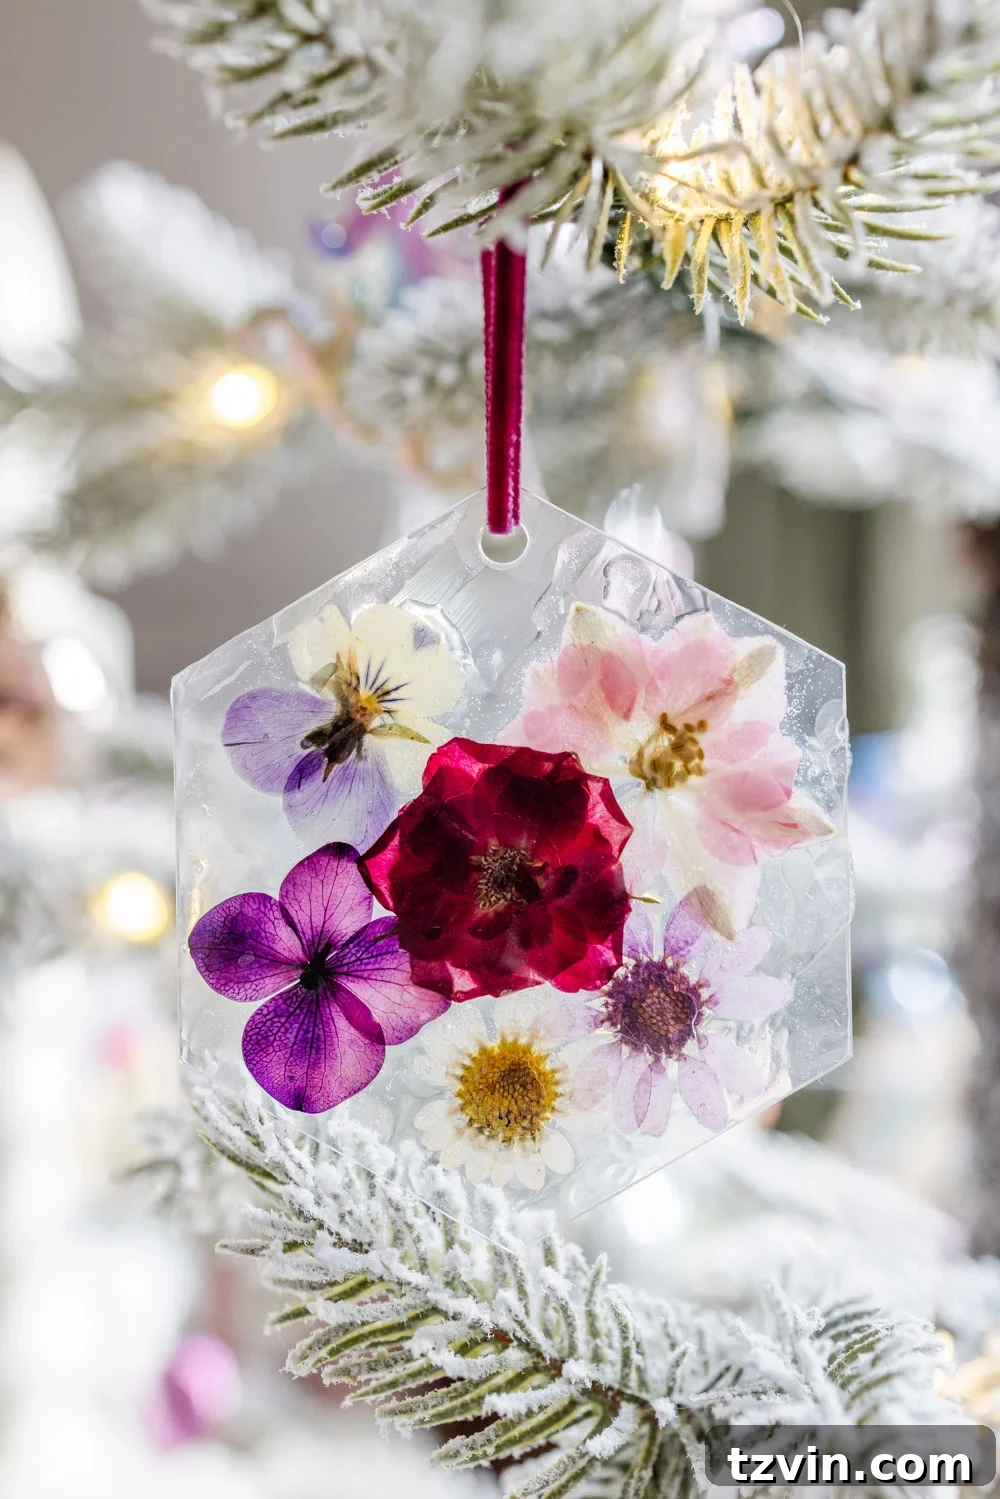
DIY Pressed Flower Ornaments: A Touch of Nature for Your Christmas Tree
Every year, the joy of the holiday season inspires us to add a personal touch to our Christmas decor. This year, I’m thrilled to share a project that’s not only beautiful but incredibly simple: DIY pressed flower ornaments. These delicate creations are a fantastic way to bring the beauty of nature indoors and add a unique, handmade element to your Christmas tree.
These pressed flower ornaments are so easy to make, it’s almost magical. In just five minutes, you can transform simple materials into exquisite decorations that look like they came straight from a high-end boutique or Etsy shop. The best part? You can create a whole collection for around $1 each! My youngest daughter, Regan, was so captivated by these ornaments that she immediately hung hers on the little Christmas tree in her bedroom and is now eager to make even more.
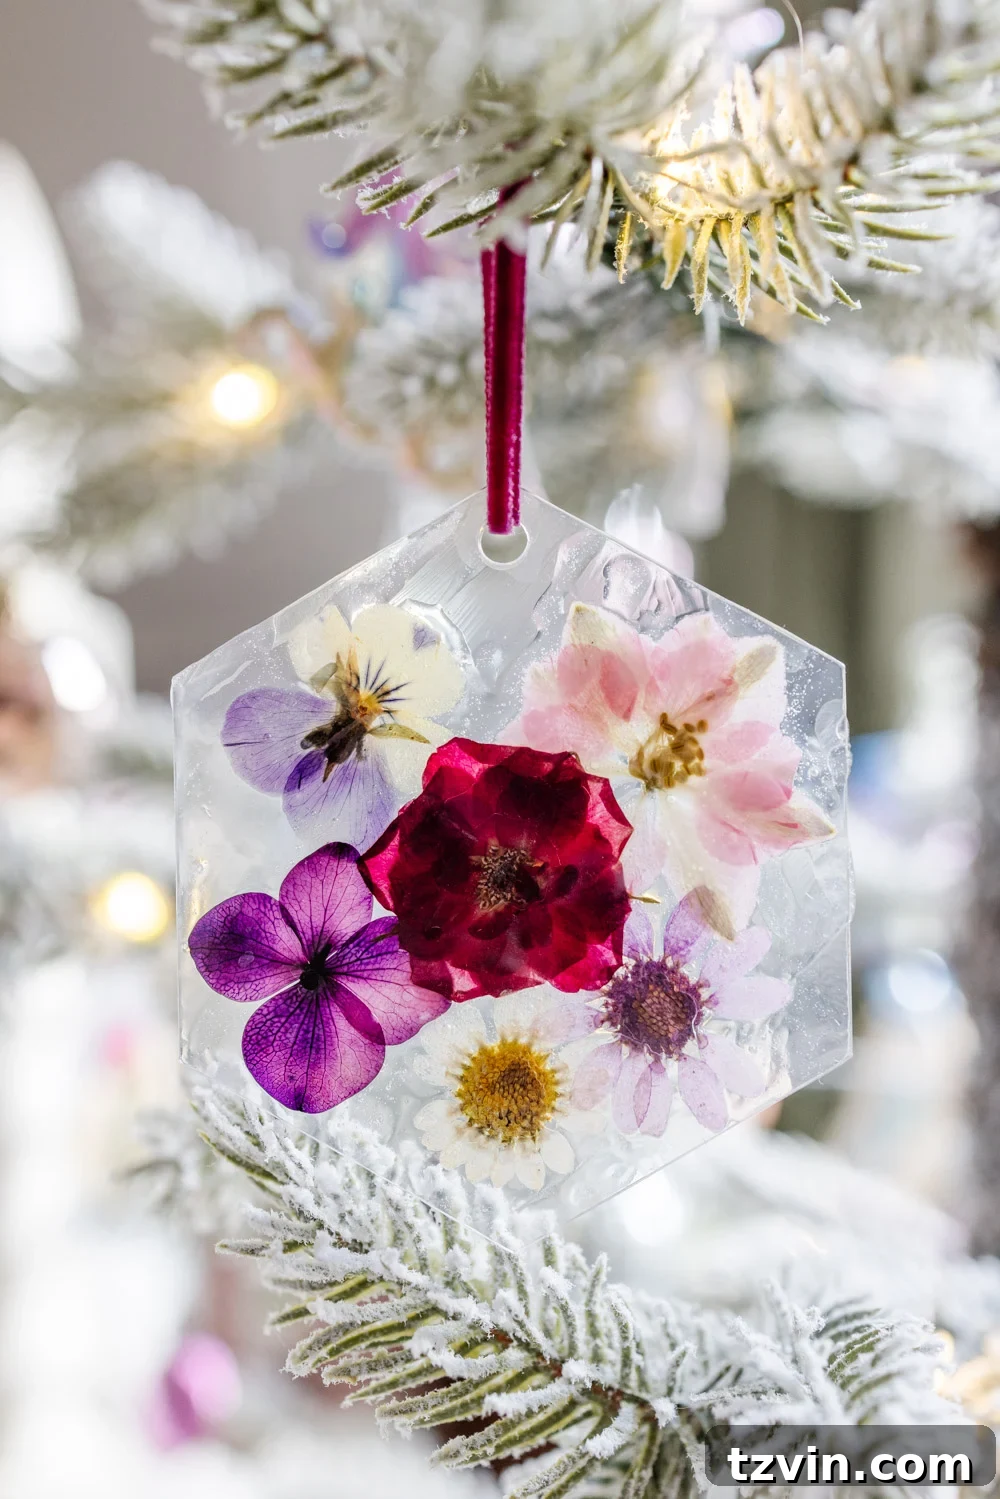
If you’re looking for a charming and affordable craft project for a girls’ night, a fun activity for kids, or thoughtful teacher gifts, these flower ornaments are an ideal choice. To make them even more special, consider selecting the recipient’s birth month flower. This small detail adds a personal touch that elevates the ornament from a simple decoration to a cherished keepsake.
As an Amazon Associate, I earn from qualifying purchases. Full Disclosure
Supplies You’ll Need to Create Your Pressed Flower Ornaments
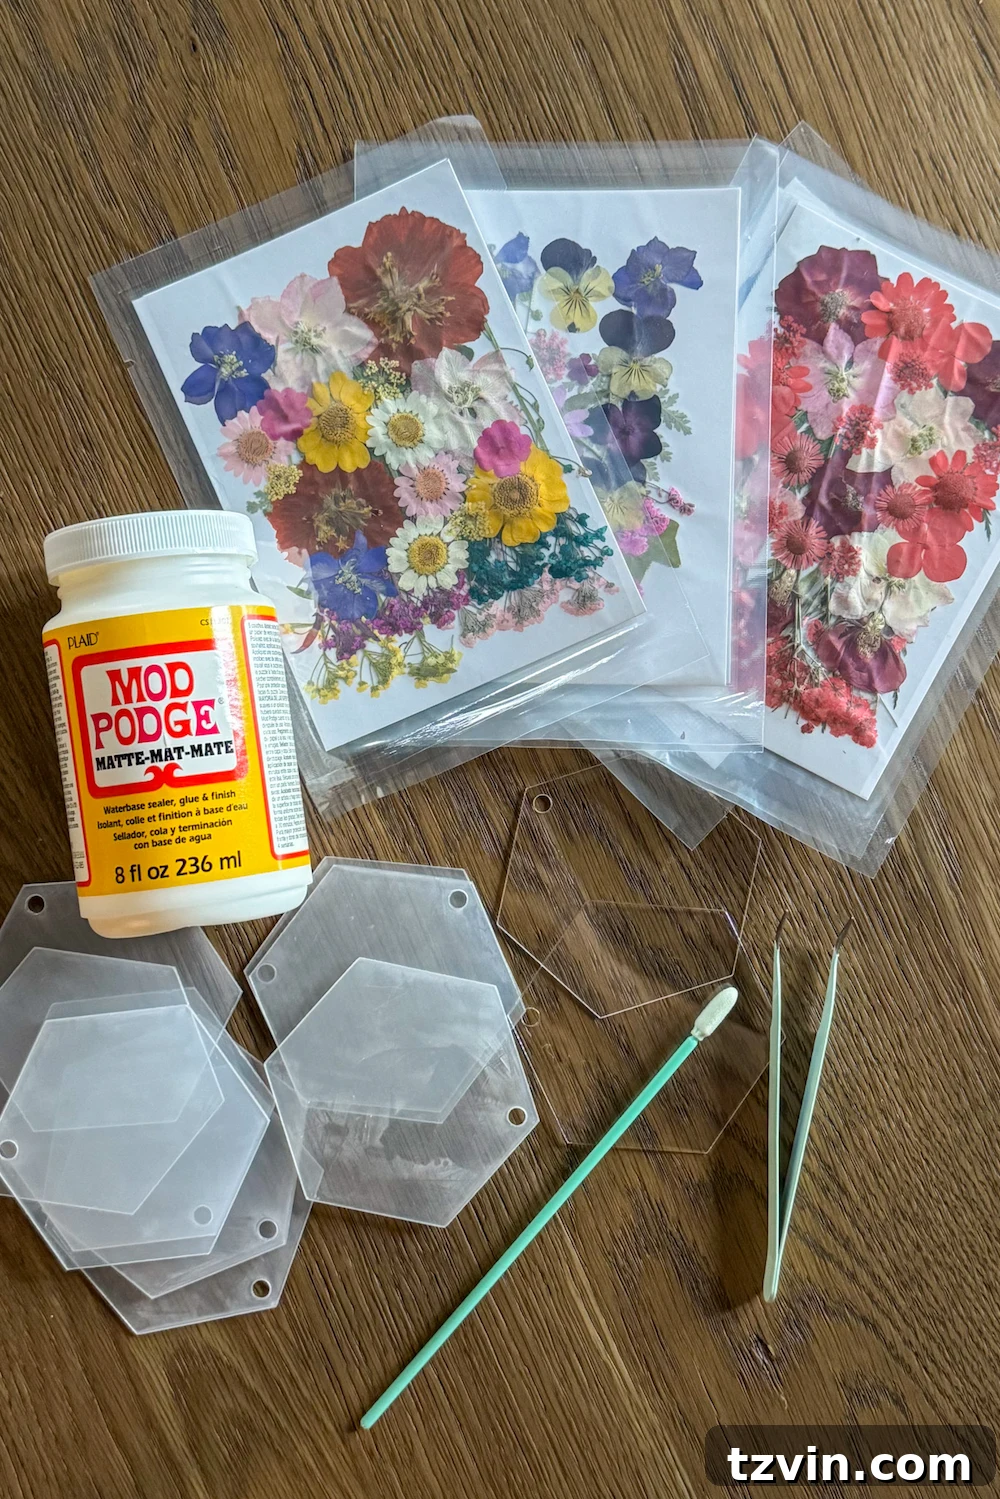
Gathering the right supplies is the first step to creating your beautiful pressed flower ornaments. Here’s a list of everything you’ll need:
- Clear acrylic tags: These serve as the base for your ornaments. Choose the size and shape that you prefer.
- Matte Mod Podge: This acts as both the adhesive and sealant for your pressed flowers. The matte finish provides a subtle, elegant look.
- Craft brush: Use this to apply the Mod Podge smoothly and evenly.
- 1/8″ ribbon: This will be used to hang your ornaments on the Christmas tree or elsewhere. Choose a color that complements your flowers.
- Pack of pressed flowers: You can find these at most craft stores, or you can press your own using fresh flowers.
Step-by-Step Guide: How to Make Pressed Flower Ornaments
Now that you have all your supplies, let’s dive into the step-by-step process of creating these enchanting pressed flower ornaments. This craft is simple enough for beginners, but the results are truly stunning.
Step 1: Plan Your Floral Designs
Before you start gluing, take some time to experiment with different arrangements. Lay out your pressed flowers on a table and play around with various combinations on top of the acrylic tags. This is your chance to get creative and personalize each ornament.
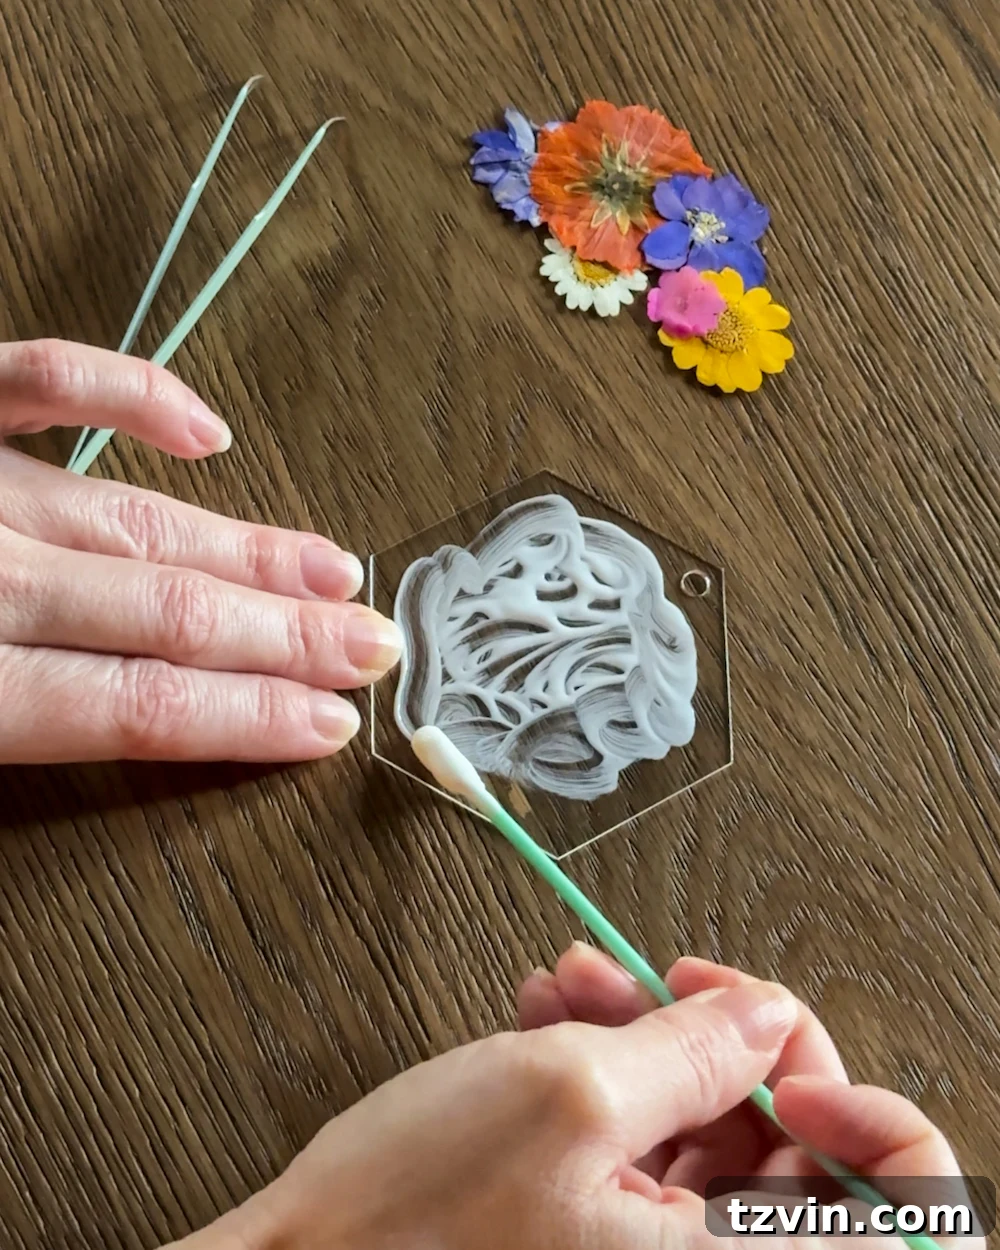
Step 2: Apply the Adhesive
Once you’re happy with your design, carefully remove the flowers and brush a thin, even layer of Mod Podge onto the acrylic tag. Be sure to cover the entire surface where you’ll be placing the flowers.
Step 3: Place the Pressed Flowers
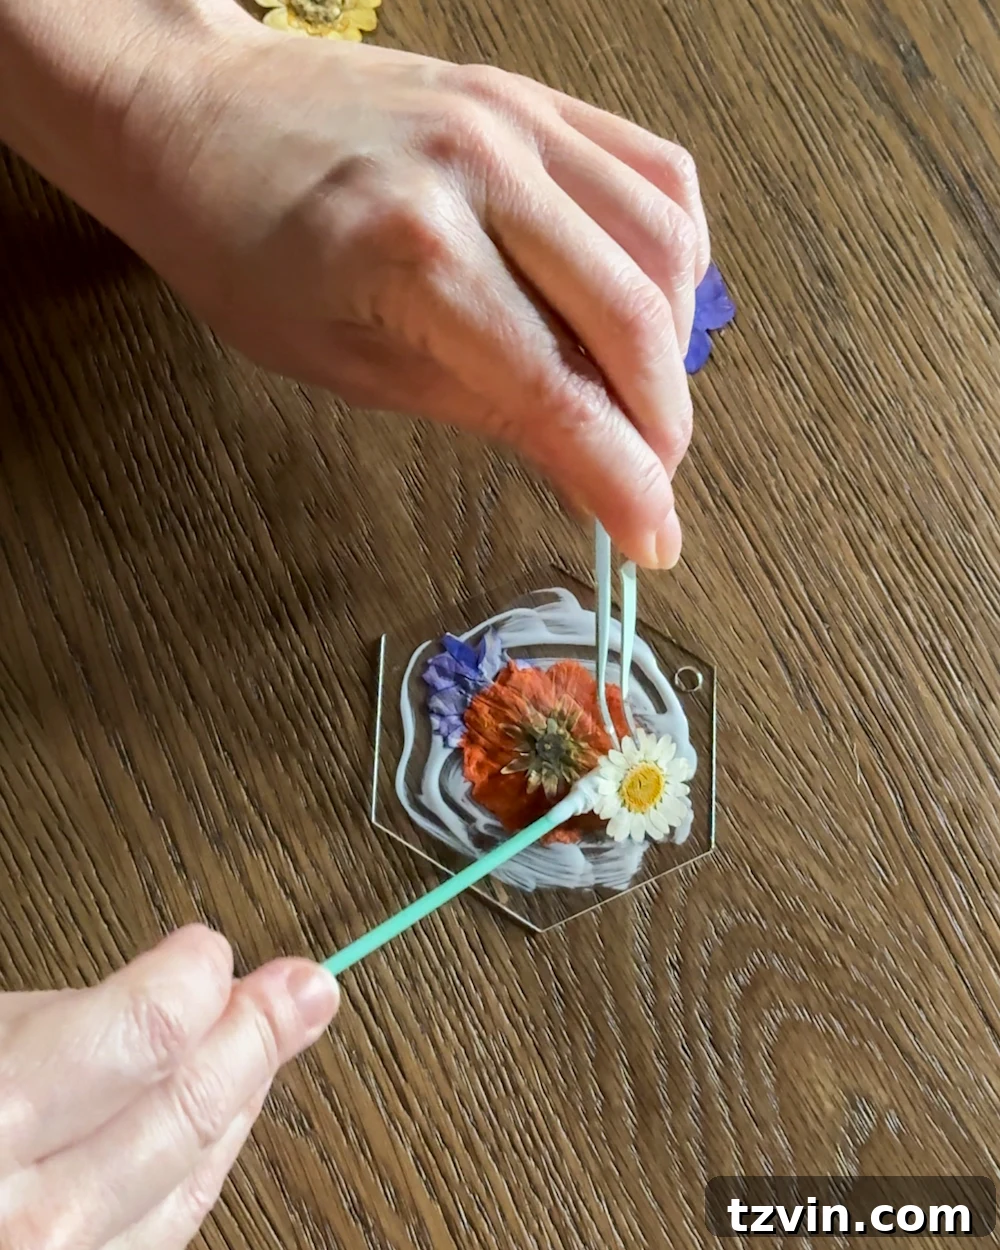
While the Mod Podge is still wet, gently set your pressed flowers in place according to your chosen arrangement. Use a craft brush to carefully press the petals into the adhesive, ensuring they lay flat and adhere properly. Allow the Mod Podge to dry completely.
Step 4: Seal the Ornament
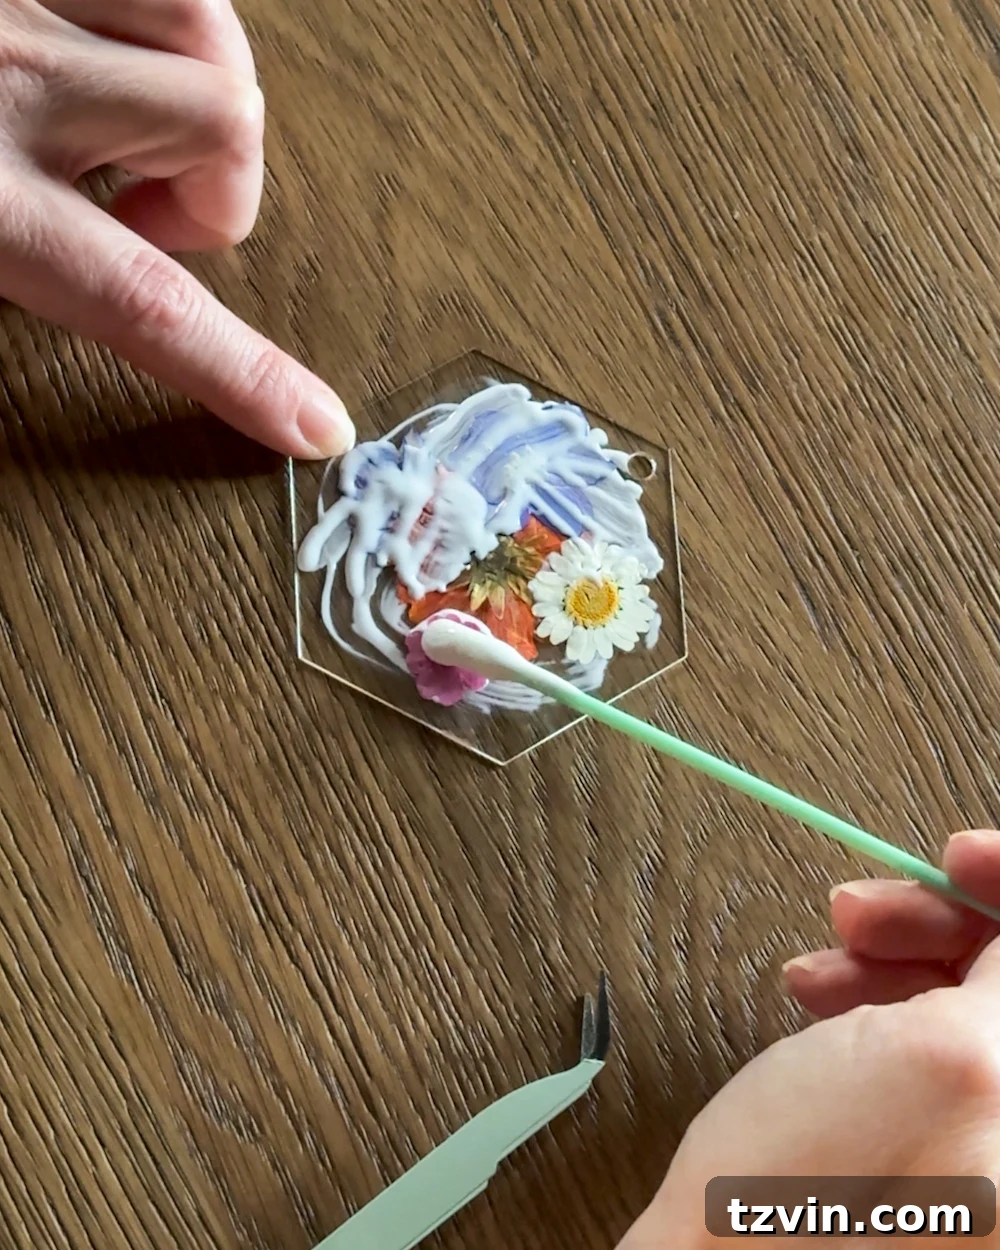
To protect your design and ensure the longevity of your ornament, brush another thin layer of Mod Podge over the entire tag, covering both the flowers and the acrylic surface. This will seal everything in place and give the ornament a polished finish. Allow the Mod Podge to dry completely.
Step 5: Add the Ribbon
The final step is to add a ribbon so you can hang your beautiful ornament. Simply loop a ribbon through the hole in the acrylic tag, tie it in a knot or bow, and your pressed flower ornament is ready to adorn your Christmas tree!
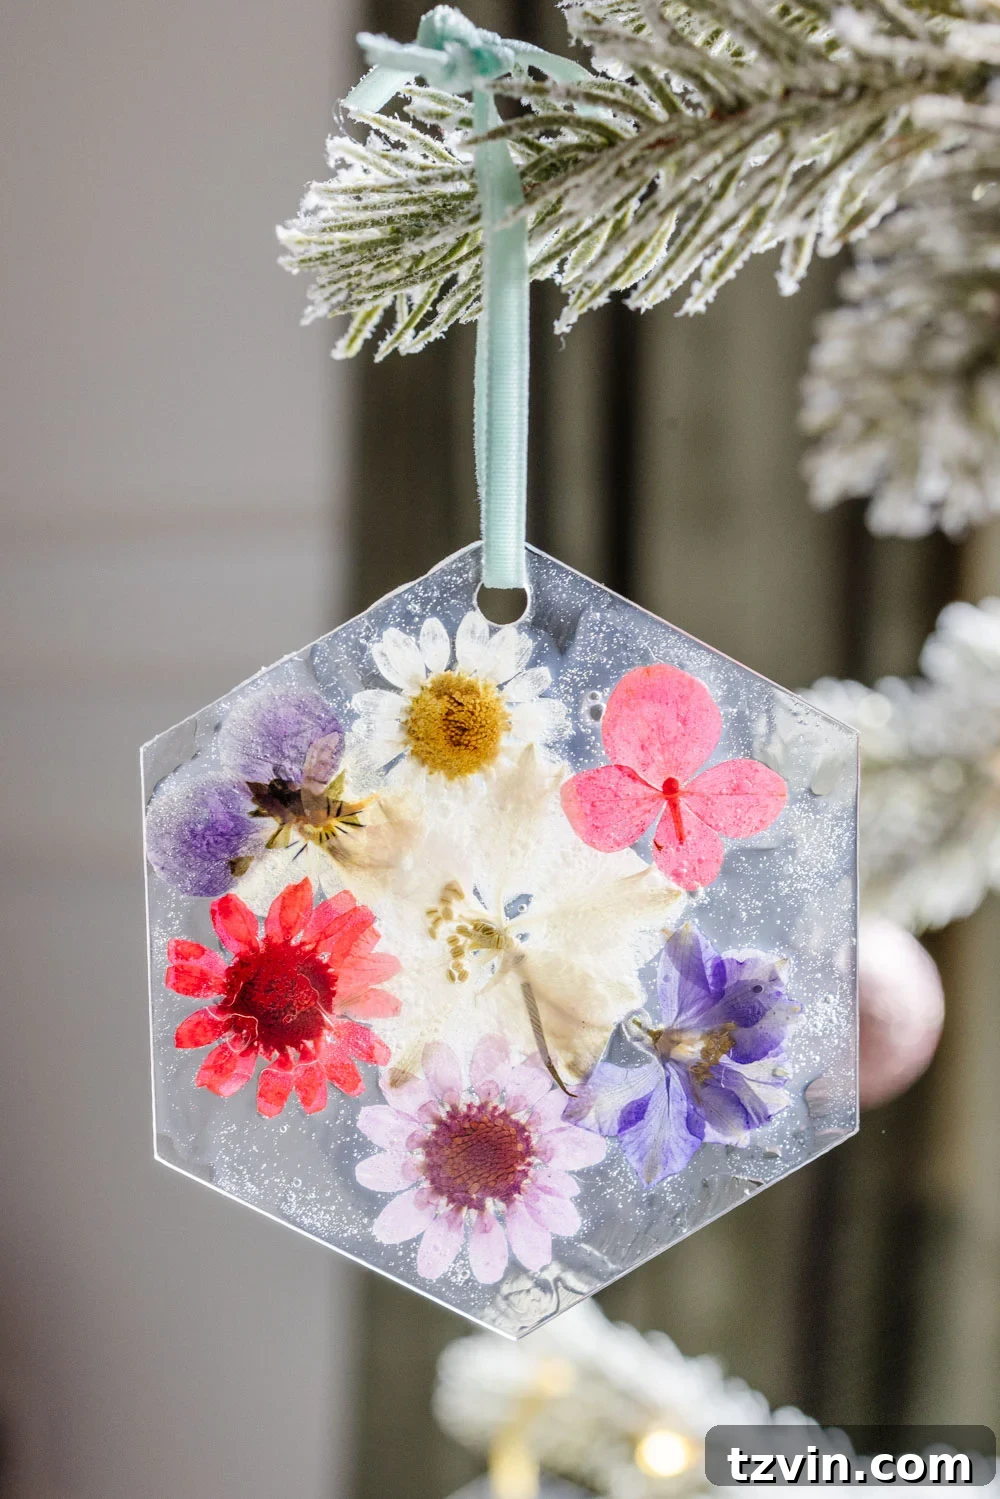
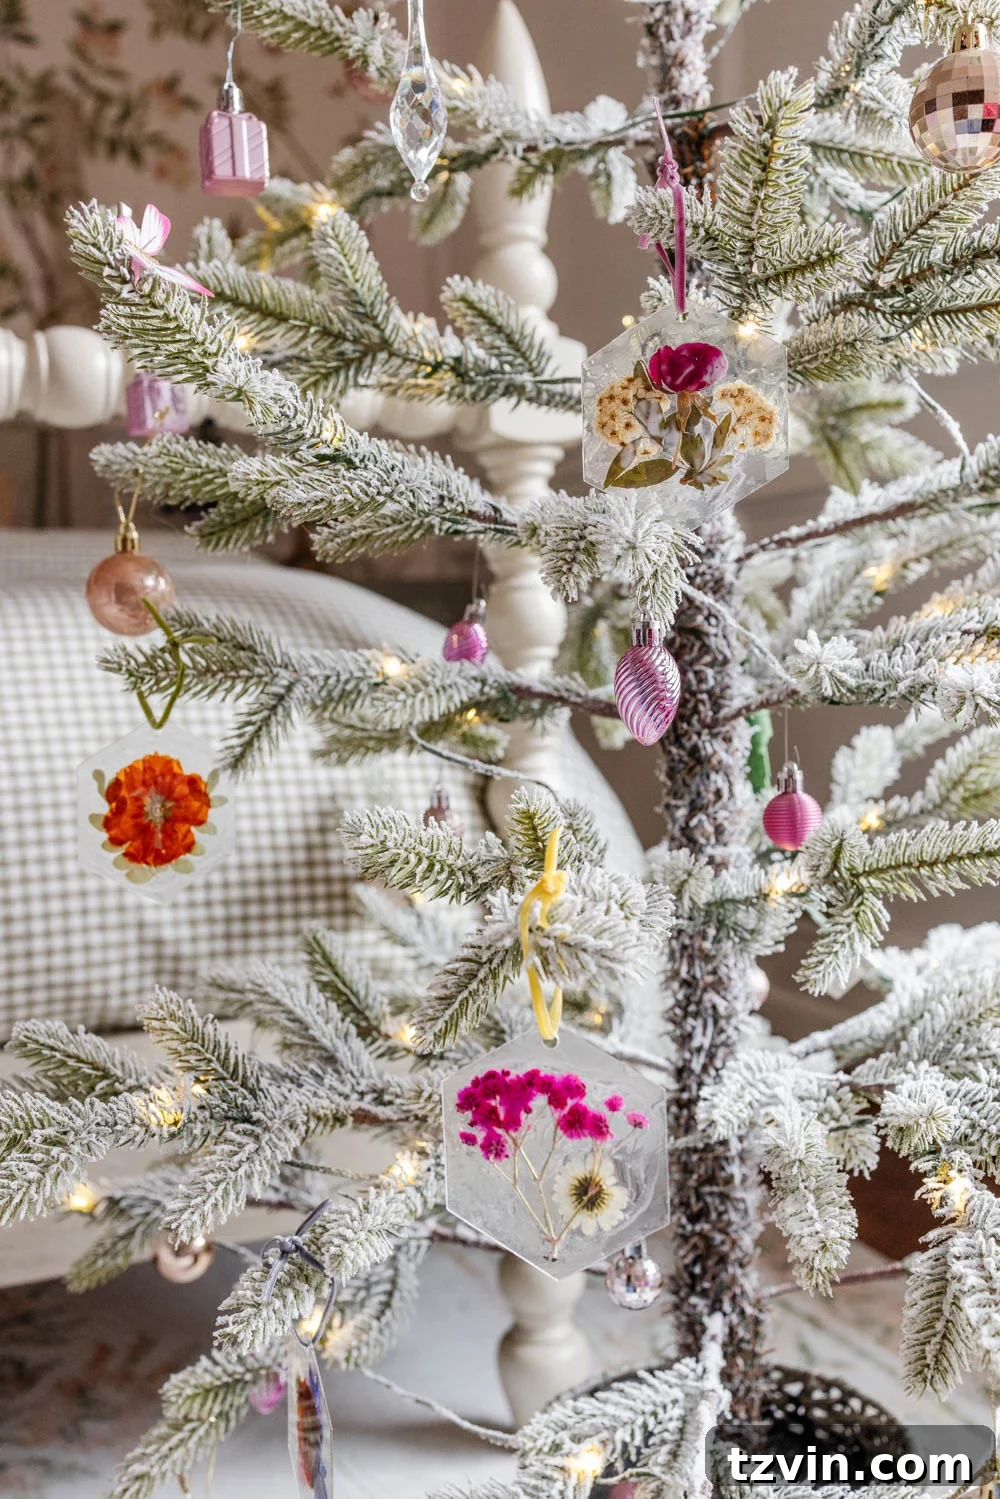
And that’s all there is to it! The way the light shines through these ornaments gives them an ethereal, stained-glass-like quality. My daughter Regan’s absolute favorite is the one I made to resemble Mickey Mouse, showcasing the endless possibilities for customization.
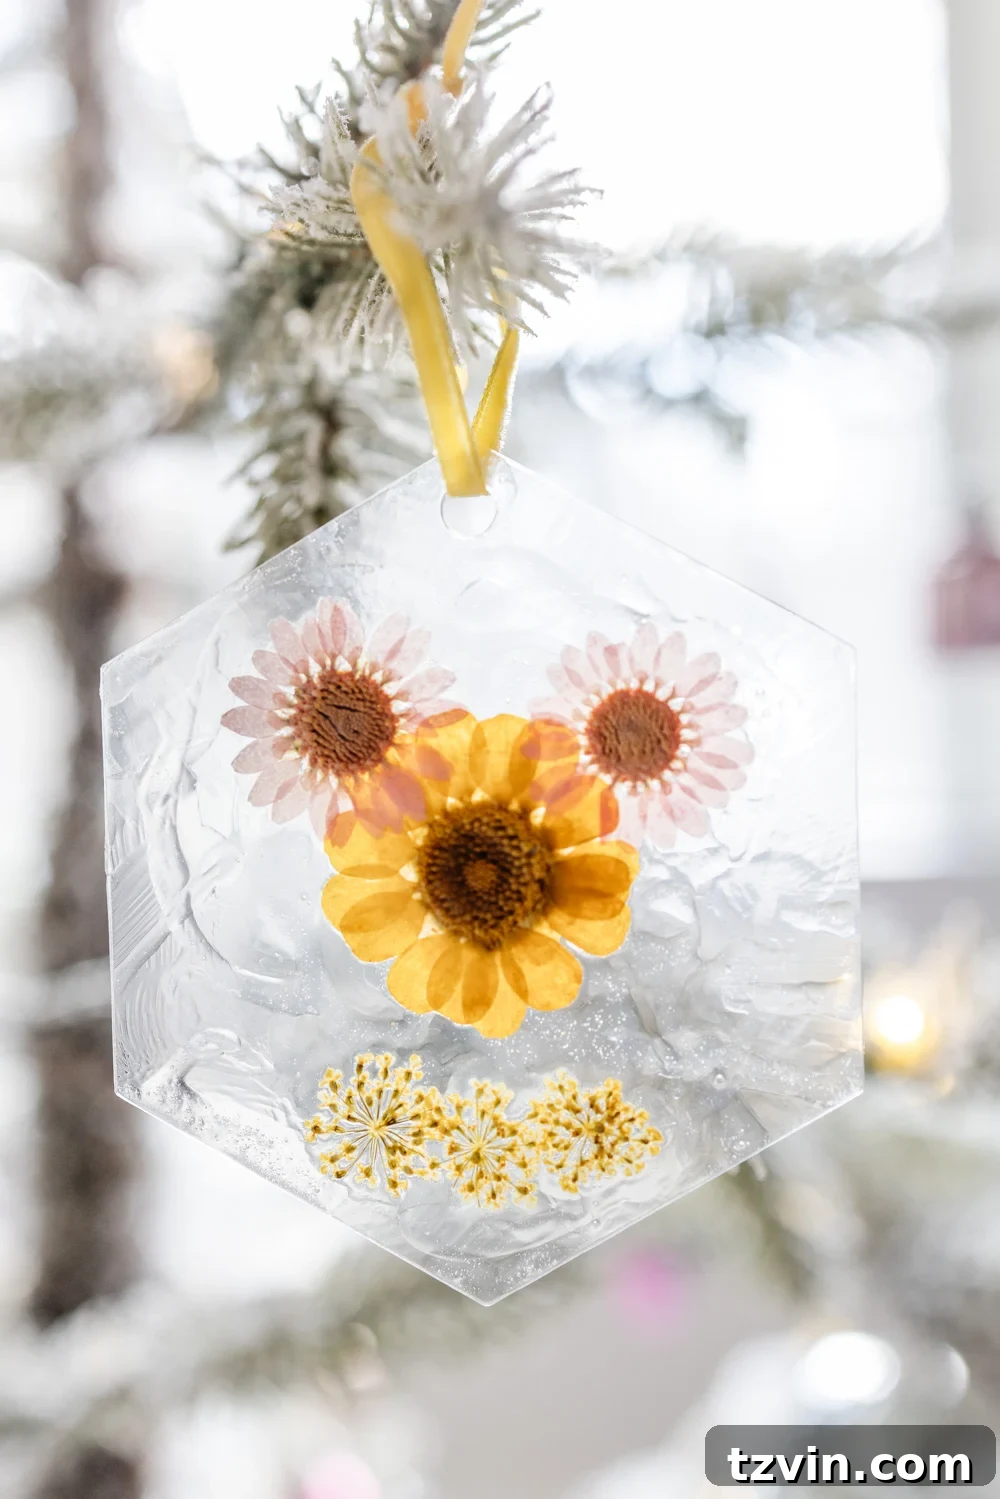
These pressed flower ornaments are surprisingly simple to create, yet they exude an undeniable beauty. They fall into that category of projects that feel far more sophisticated than the effort required. Considering that similar ornaments on Etsy can cost around $8 each, the satisfaction of crafting 48 of them for approximately $1 apiece is truly rewarding.
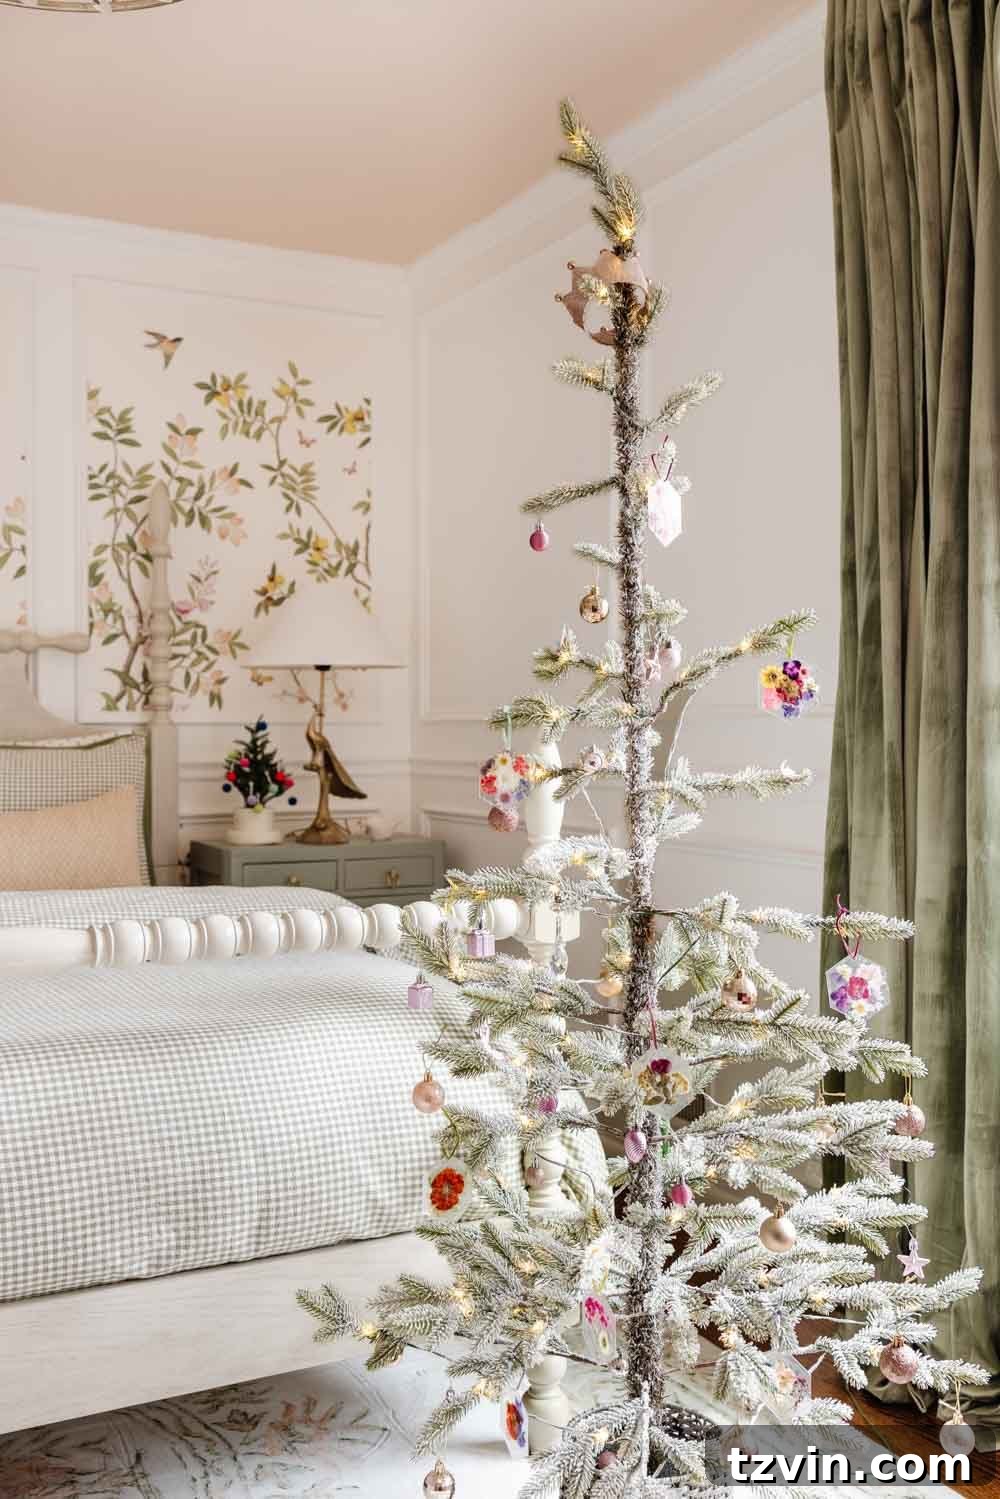
They look even more enchanting sprinkled across my daughter’s tree, and I have no doubt she’ll proudly take all the credit for the ones she makes herself. This project is not only a creative outlet but also a wonderful way to spend quality time with loved ones during the holiday season.
Looking for More DIY Christmas Inspiration?
If you enjoyed making these pressed flower ornaments and are eager to explore more DIY Christmas projects, here are a few ideas to spark your creativity:
- How to Make a DIY Christmas Tree Stand Using a Planter
- Easy DIY Stocking Name Tags
- How to Make Antique Style Christmas Tree Candles
- How to Make DIY Dried Orange Garland
- DIY Cinnamon Salt Dough Ornaments