
Transforming the Ordinary: An Industrial Chic Laundry Hamper Makeover
“Waste not, want not” – a timeless adage that truly resonates with my passion for discovering hidden gems at local thrift stores. It’s a philosophy that often leads me to stumble upon items brimming with potential, sparking countless ideas for incredible transformations. While many of these visions remain delightful concepts in my mind, occasionally, a project materializes exactly as I’ve envisioned, bringing immense satisfaction. This industrial-style laundry hamper makeover is one such success story, proving that with a little creativity and effort, even the most unassuming find can be elevated into a statement piece for your home.
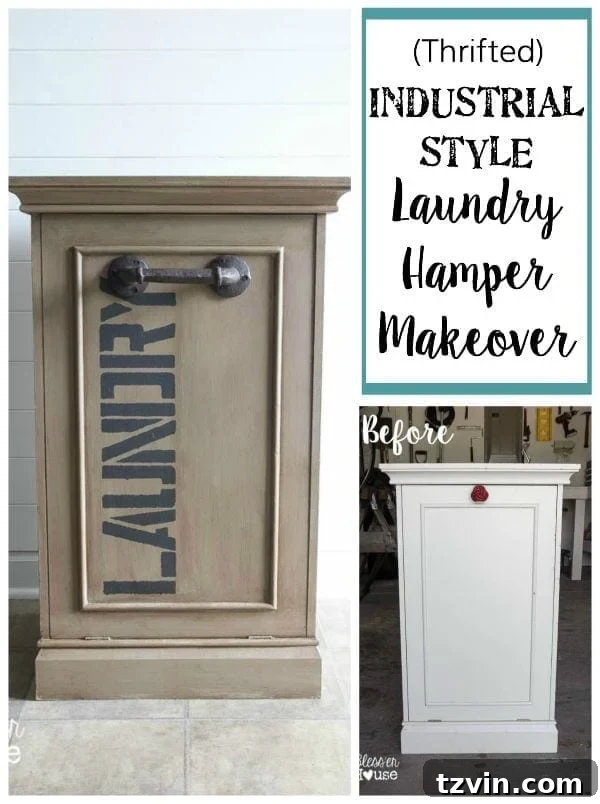
There’s an undeniable thrill in breathing new life into forgotten objects, turning ‘trash’ into ‘treasure.’ This month, I’m excited to share this transformation as part of a special series called “Trash to Treasure Transformations,” where I collaborate with four other incredibly talented blogging friends. Every second Tuesday of the month, we dive into the world of thrift store and yard sale finds, challenging ourselves to reinvent them. It’s truly a labor of love, allowing us to indulge in what we adore most: upcycling and creating unique home decor.

Discovering Our Diamond in the Rough: The Humble Hamper
For this inaugural transformation, my chosen “victim” was this unassuming metal container. The potential was immediately apparent.
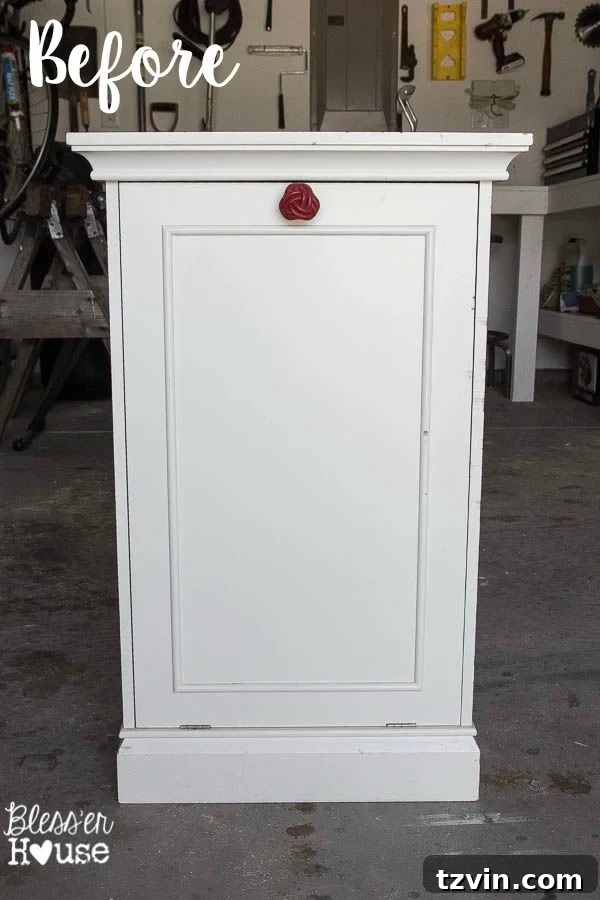
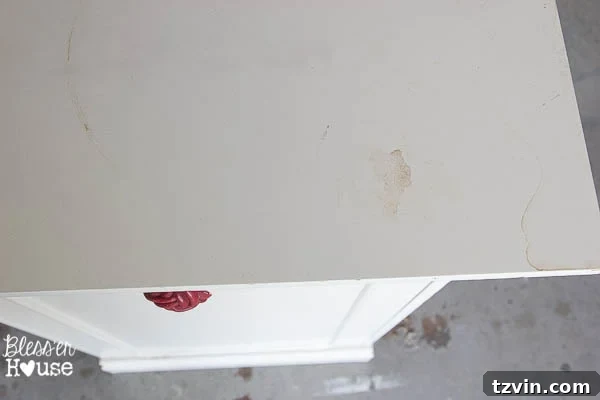
To be entirely fair, this versatile item—whether you saw it as a laundry hamper, a chic trash can, or even a stylish pet food container—wasn’t inherently hideous. It possessed a certain rustic charm from the outset. However, those who have followed my creative journey for any length of time know my penchant for transformation. I rarely leave well enough alone when I spot an opportunity for improvement. While its top surface showed a bit of wear and tear, it was nothing a fresh coat of paint couldn’t effortlessly remedy.
Step-by-Step: Crafting an Industrial Look
The beauty of DIY projects lies in the process, and this makeover was both simple and incredibly rewarding. Here’s how we transformed this ordinary find into a captivating industrial-style laundry hamper.
Preparation and Painting the Base
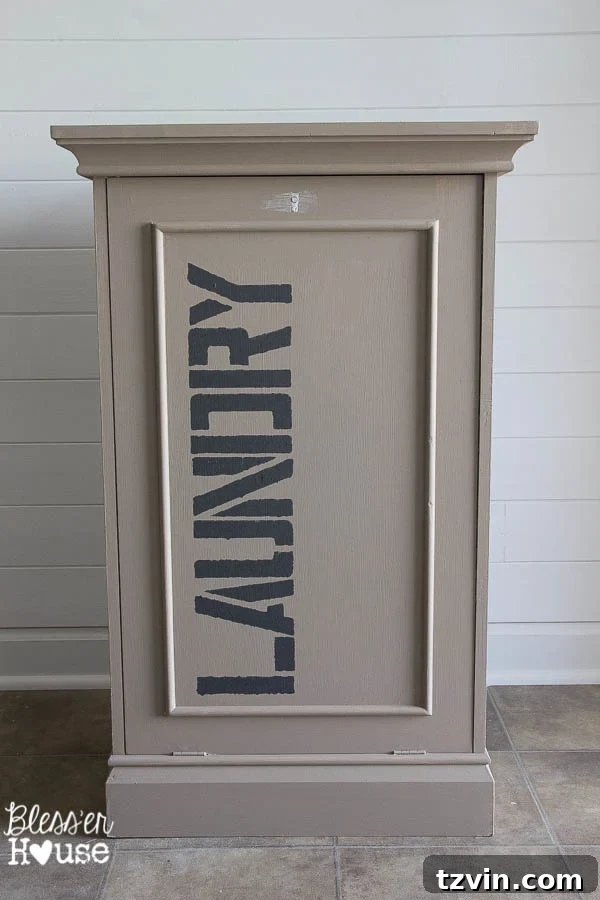
Before diving into the fun part, a thorough cleaning was essential. I wiped down the entire surface to remove any dirt or grime accumulated over its previous life. For painting, I opted for Annie Sloan Chalk Paint in Coco. This particular shade offers a beautiful, earthy neutral tone that serves as an excellent foundation for achieving that desired industrial aesthetic. Chalk paint is a dream for upcycling projects as it typically requires minimal to no prep work like sanding or priming, making the process much faster. I applied two even coats, allowing ample drying time between each to ensure a smooth, opaque finish. This deep, warm beige provided the perfect canvas for our vision.
Adding Industrial Flair with Stenciling
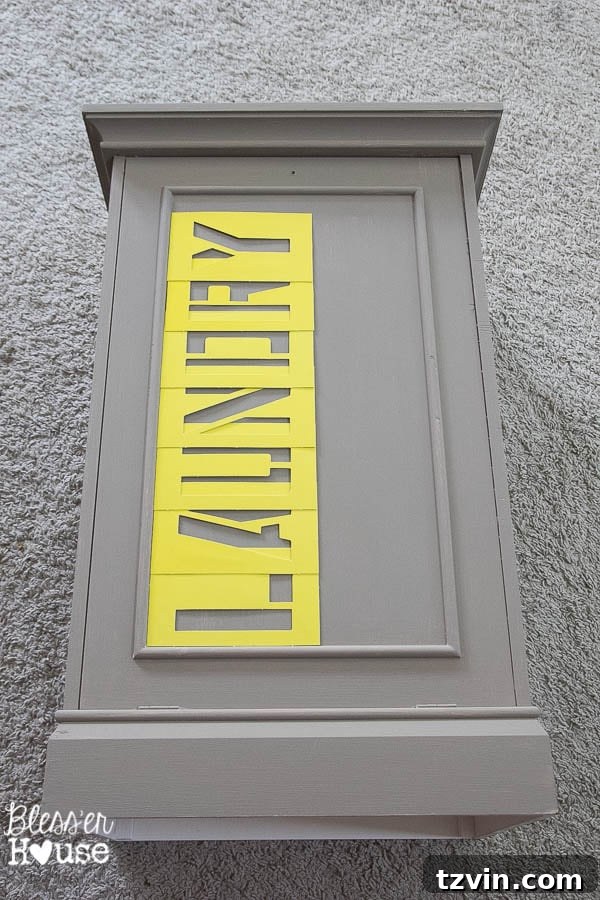
Once the base paint was dry, it was time to introduce the signature industrial element. I found these fantastic letter stencils in the hardware aisle, which were absolutely perfect for the look I was aiming for. Using black craft paint, I carefully stenciled a design onto the hamper. The key to crisp stencil lines is to use a minimal amount of paint, dabbing it on with a stencil brush rather than brushing, and ensuring the stencil is securely held in place. This step instantly elevated the piece, giving it a utilitarian, factory-inspired feel that is so characteristic of industrial design. You could experiment with numbers, geometric patterns, or even a simple distressed stripe for a similar effect.
Minor Repairs and Distressing
The original knob hole needed to be addressed for a seamless finish. A quick patch with spackling compound, followed by light sanding once dry, rendered the surface perfectly smooth and ready for the next step. This small detail ensures a professional look and prepares the surface for new hardware. After the paint and stencil work were complete and fully dried, I applied a single coat of Annie Sloan Dark Wax. This magical wax is fantastic for creating an aged, antique, or ‘wood-like’ appearance. I worked in small sections, applying the wax and then immediately wiping back any excess, leaving just enough residue to highlight the texture and deepen the color, giving the piece a rich, worn patina that perfectly complements the industrial aesthetic.
The Perfect Industrial Handle
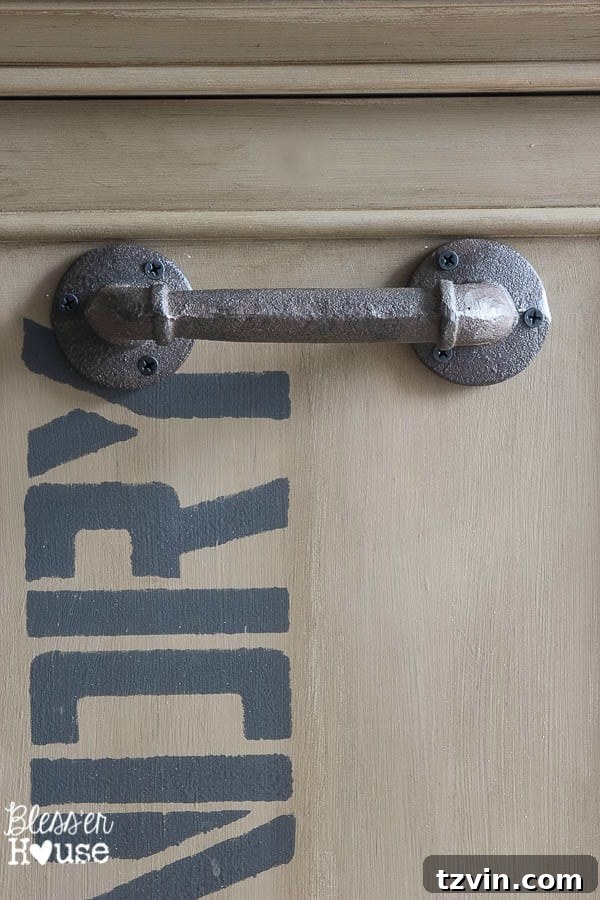
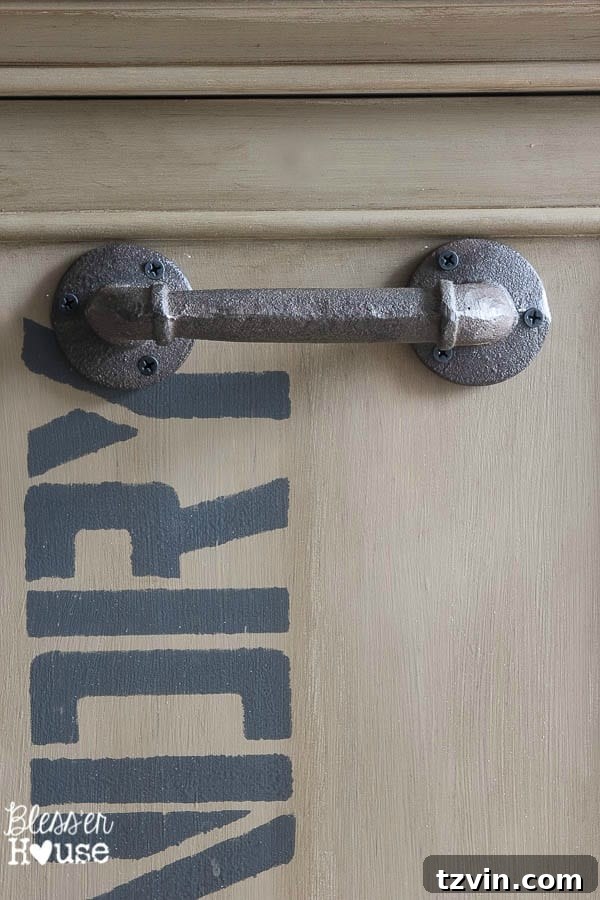
Choosing the right hardware can make all the difference in a makeover. While searching for knobs for our bathroom cabinet, I serendipitously discovered this incredibly cool, pipe-looking handle at Hobby Lobby, on sale for 50% off! It was the ideal finishing touch, perfectly embodying the rugged, utilitarian charm of industrial design. Installing it was simple, but its impact on the overall look was profound, completing the transformation from a basic container to a thoughtfully designed piece.
The Final Reveal: A Functional and Stylish Addition
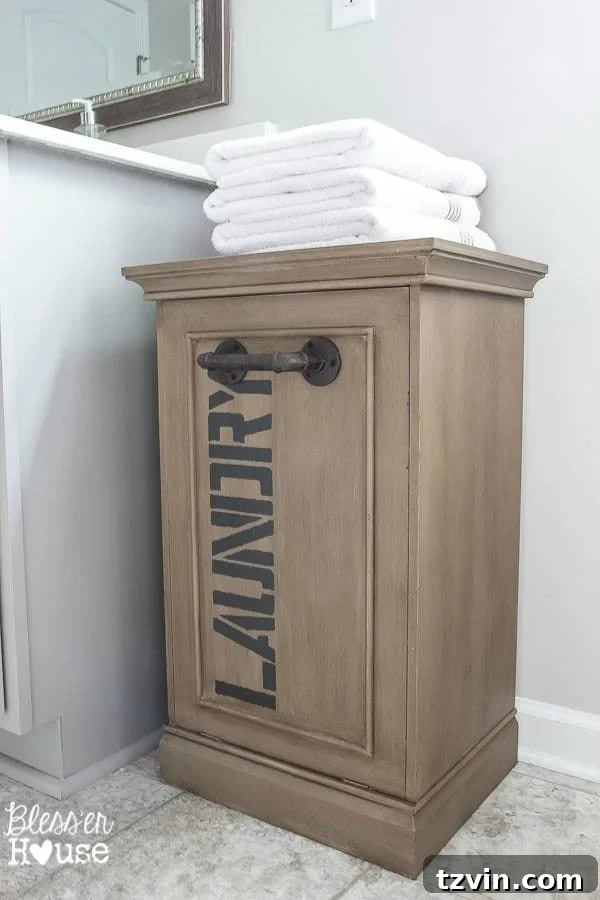
Ta-da! I couldn’t be happier with how this project turned out! The finished laundry hamper exceeded my expectations and fits seamlessly into our home. I even took a moment to showcase it against my new DIY shiplap backdrop, which truly made the industrial details pop.
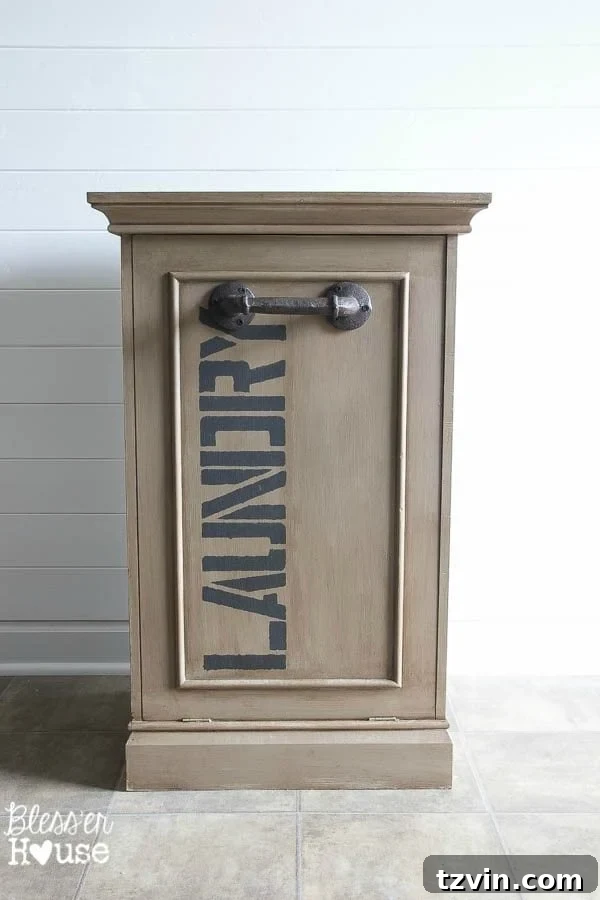
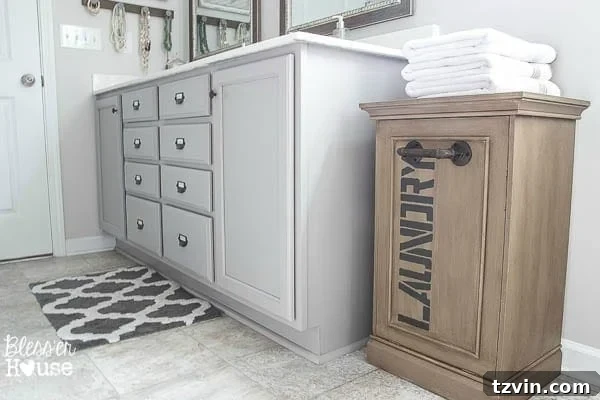
Our master bathroom was in desperate need of a dedicated laundry hamper. Before this makeover, dirty clothes would often pile up on the floor beside our cabinet, creating an unsightly mess. This transformed hamper not only solves that organizational challenge but also introduces a touch of stylish function. Its rich color and industrial elements integrate perfectly with the existing decor, bringing a cohesive and polished look to the space.
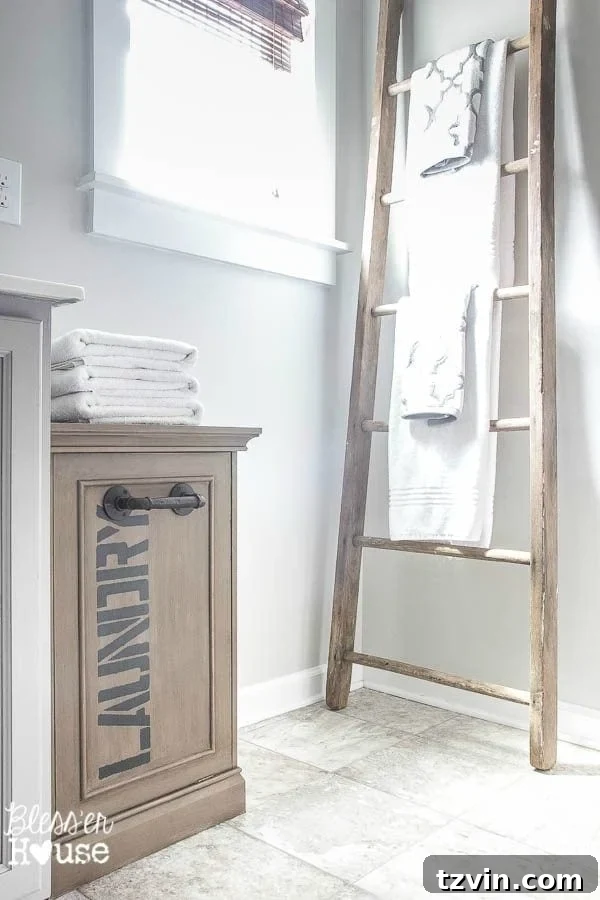
It also harmonizes beautifully with our existing rustic ladder towel rack, creating a balanced blend of textures and styles. The overall effect is a bathroom that feels more organized, intentional, and inviting, proving that even practical items can contribute significantly to a room’s aesthetic appeal.
Budget-Friendly Brilliance: The Cost of Creativity
What do you think of the transformation? Does it fit the space? I’m genuinely thrilled with the outcome, especially considering the minimal investment. The original hamper was a steal at just $9! By utilizing paint and wax I already had on hand, and purchasing the stencils and the stylish new handle, the total cost for this custom, industrial-style laundry hamper came out to be approximately $20. This truly highlights the incredible value and satisfaction that comes from upcycling and DIY projects. For a fraction of the cost of a new, similar item, we created a unique piece that not only serves its purpose but also enhances our home’s decor. It’s a testament to how accessible and rewarding furniture makeovers can be, proving that you don’t need a large budget to achieve a high-end look.
Join the “Trash to Treasure” Movement!
I hope this industrial laundry hamper makeover inspires you to look at your thrift store finds with new eyes and imagine the possibilities! Be sure to visit my incredibly talented blogging friends to see their equally amazing transformations in this month’s “Trash to Treasure Transformations” series. Their creativity knows no bounds, and I guarantee you’ll be captivated by the magic they conjure. Get ready for a dose of serious DIY inspiration!
Confessions of a Serial DIYer
Prodigal Pieces
Artsy Chicks Rule
Girl in the Garage

Follow:
Facebook | Pinterest | Instagram | Twitter | Google+ | Bloglovin | Hometalk