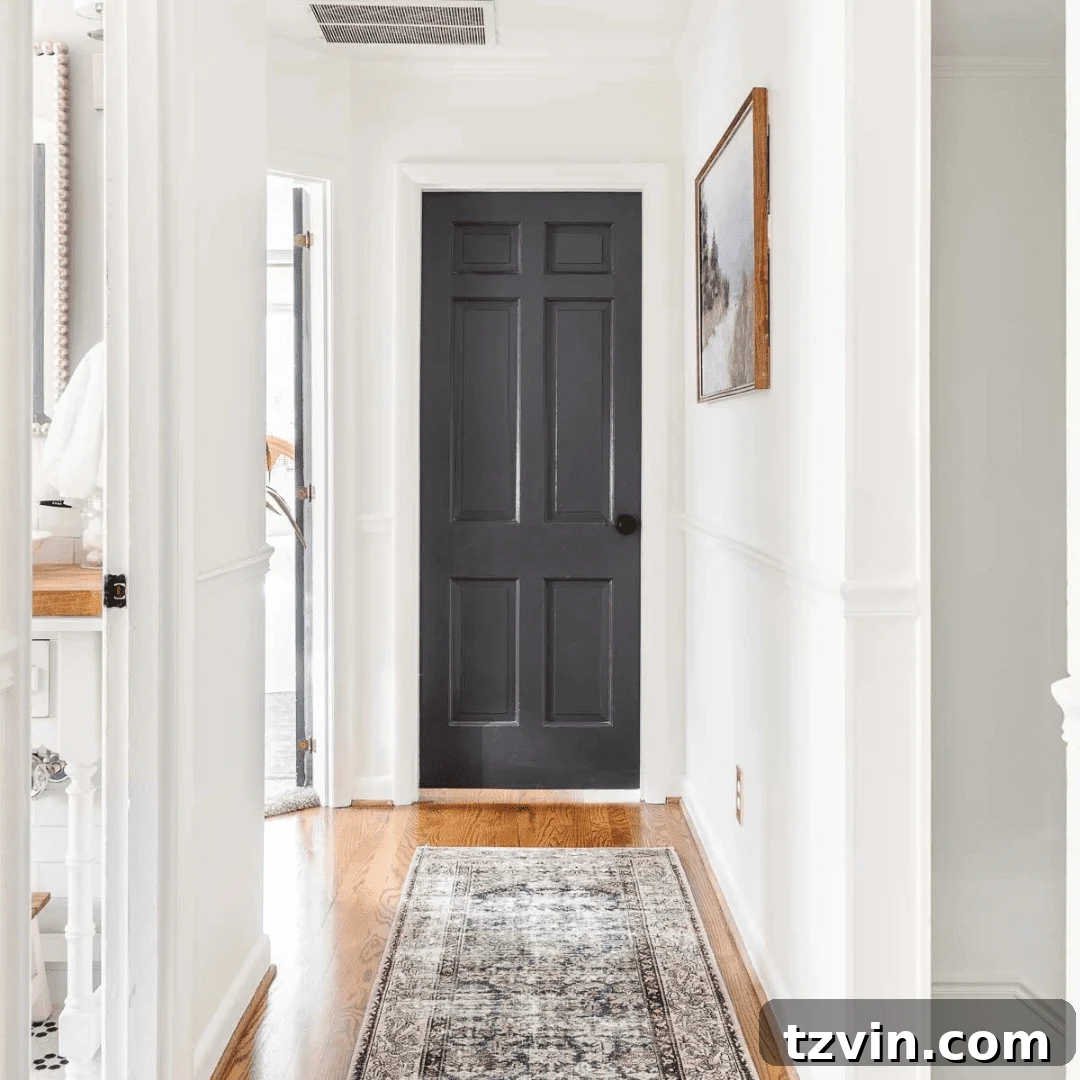
Transform Your Home: A Step-by-Step Guide to Painting Interior Doors for a Lasting Impression
Are you looking for an impactful yet achievable way to elevate your home’s aesthetic? Painting interior doors might just be the design secret you’ve been missing. A fresh coat of paint on your interior doors offers a unique opportunity to add character, depth, and a touch of sophistication to any room, transforming an often-overlooked architectural feature into a powerful design statement. While the idea of painting doors can seem daunting, this comprehensive guide will walk you through the entire process, ensuring a durable, professional-quality finish that will stand the test of time.
For years, I’ve championed the transformative power of painted doors. It’s truly one of the simplest and most cost-effective ways to make a significant visual impact. Many people hesitate, finding the process intimidating or unsure of how to achieve a lasting result. But trust me, dedicating just an hour or two to this project can drastically enhance your home’s design, making your doors an integral part of your decor.
This tutorial is designed to demystify the process, from selecting the perfect paint and sheen to applying it flawlessly. We’ll cover everything you need to know to ensure your freshly painted doors are not only beautiful but also incredibly durable, resisting the daily wear and tear of a busy home.
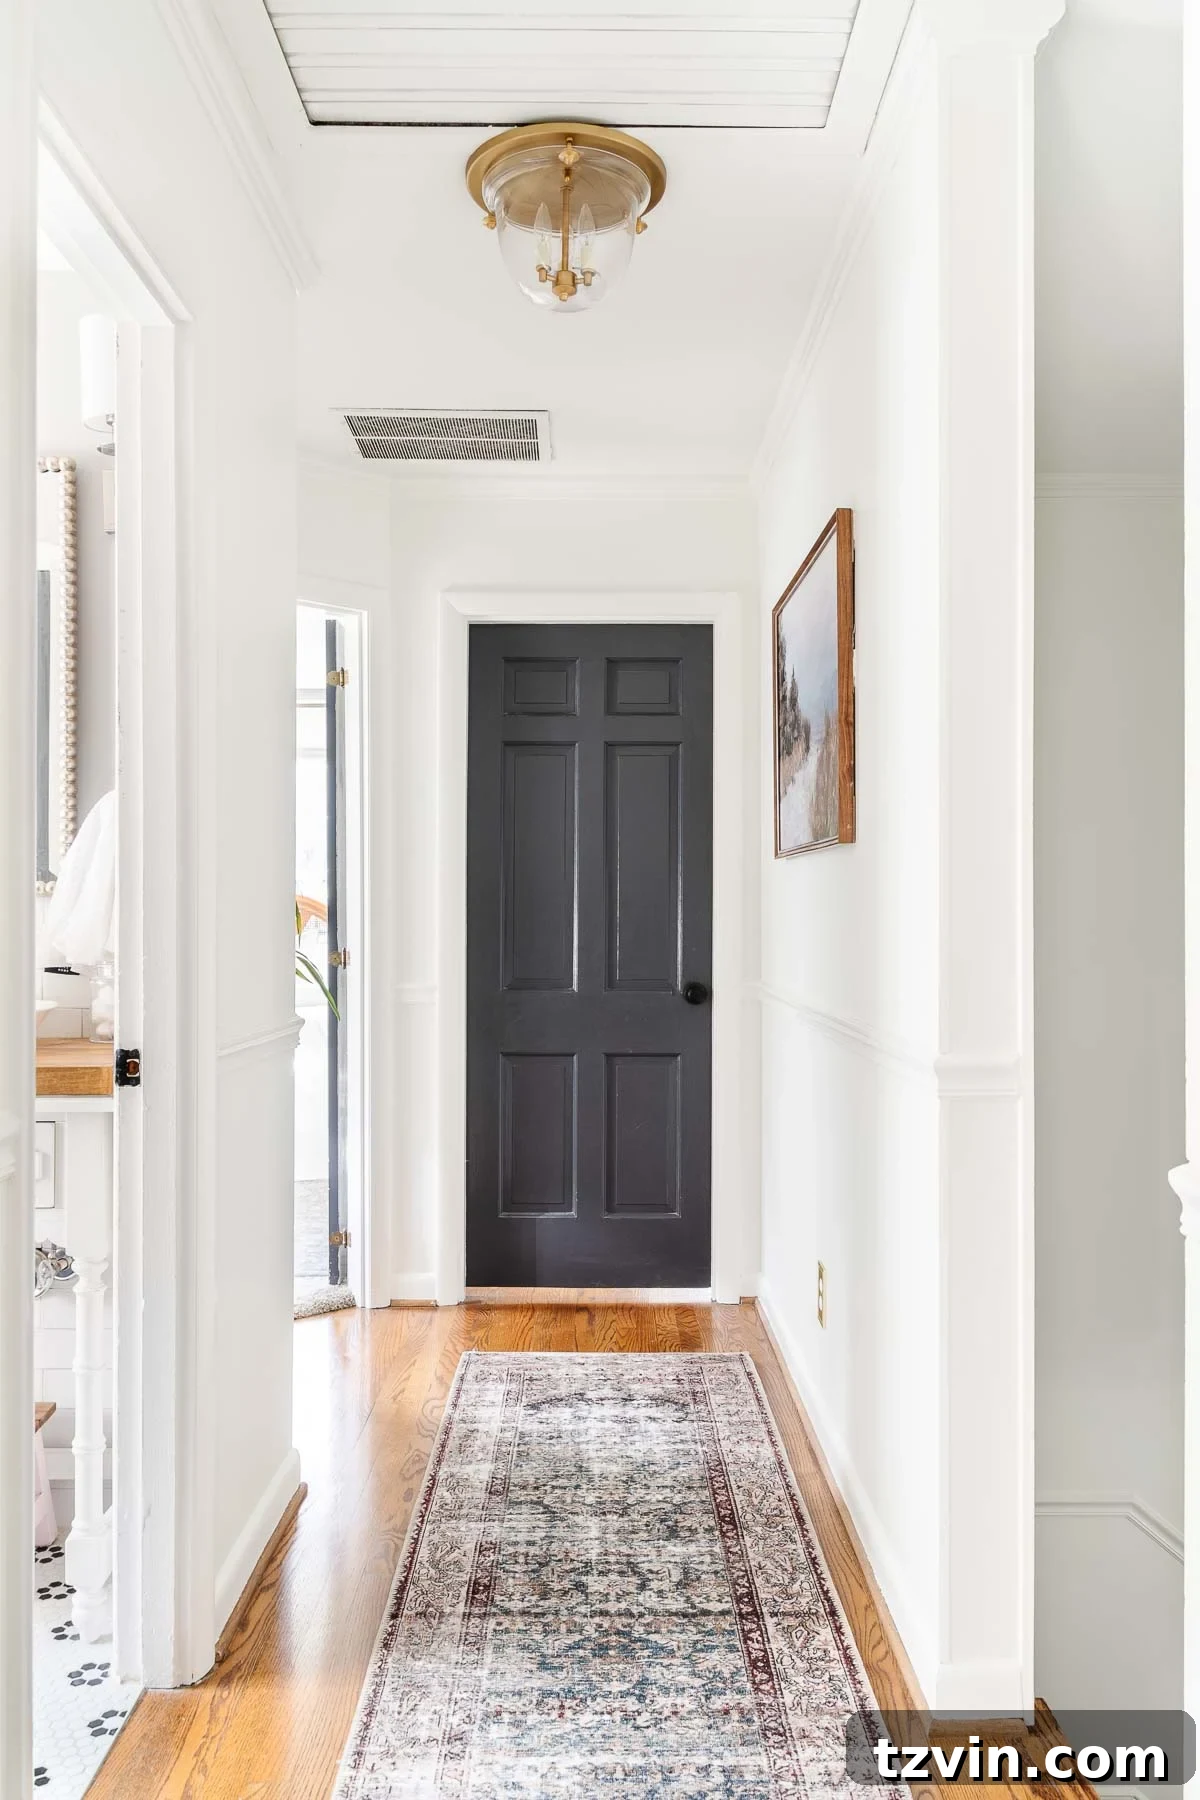
The moment I applied that first deep charcoal coat to a door in our new home, I knew there was no turning back. It was among the very first projects we tackled after moving in, driven by a vision of striking dark doors defining our living spaces. My partner and I embarked on a mission to paint every single door with Benjamin Moore Wrought Iron, a challenging but ultimately rewarding endeavor that spanned over time.
The result? Every room now exudes a palpably more high-end feel, all thanks to this single, relatively inexpensive design trick. The cost of a few cans of paint completely transformed the ambiance, proving that thoughtful details can make all the difference in interior design.
Choosing the Perfect Sheen for Your Interior Doors
Before you even pick up a brush, understanding paint sheen is crucial for achieving your desired look and ensuring the longevity of your painted interior doors. Paint sheen refers to the level of light reflected from a painted surface, directly impacting its appearance, durability, and ease of cleaning.
Higher Sheen Paints: Durability Meets Elegance
Paints with a higher sheen offer a more reflective finish, making them exceptionally easy to clean and more resistant to scratches, scuffs, and daily wear. This makes them ideal for high-traffic areas like doors and trim. However, it’s worth noting that higher sheens tend to highlight surface imperfections more readily.
- High Gloss: The most reflective and durable sheen, offering a mirror-like finish that is incredibly easy to clean. Perfect for a dramatic, luxurious statement, but it will emphasize every tiny flaw.
- Semi-Gloss: A popular choice for doors and trim due to its excellent durability and scrubbability. It offers a subtle sheen that adds a touch of sophistication without being overly reflective.
- Satin: A versatile and widely favored option, providing a smooth, soft luster that is slightly less reflective than semi-gloss but still very durable and easy to maintain. Satin offers a balance between hiding imperfections and providing practical benefits.
Lower Sheen Paints: Subtle Beauty and Flaw Forgiveness
Lower sheen paints absorb more light, resulting in a less reflective finish. They are excellent at concealing minor surface imperfections, offering a softer, more muted aesthetic. The trade-off is that they are generally less resistant to scuffs and can be more challenging to clean effectively.
- Flat: Offers a non-reflective, velvety finish that is superb for hiding imperfections. While beautiful, it’s generally not recommended for doors due to its lack of durability and difficulty in cleaning.
- Eggshell: A step up from flat, eggshell has a very subtle sheen, similar to an eggshell. It hides imperfections well and provides slightly more durability than flat, making it a possible choice for a modern, matte door finish in low-traffic areas.
While semi-gloss has traditionally been the go-to recommendation for interior doors and trim due to its balance of aesthetics and practicality, modern design trends often embrace different sheens. Don’t be afraid to break traditional rules to match your personal style! If you adore the opulent look of high gloss, go for it. If a contemporary, velvety matte finish is more your speed, consider satin or even eggshell. Just remember the practical implications of your choice regarding durability and maintenance, especially in busy households.
Selecting the Best Paint Type for Durable Interior Doors
Just as with kitchen cabinets and trim, the type of paint you choose for your interior doors significantly impacts their longevity and finish quality. My absolute top recommendation for interior door paint is Benjamin Moore Advance. This exceptional paint cures to an incredibly hard, furniture-quality finish that is specifically engineered to withstand heavy daily traffic and frequent handling.
What makes Benjamin Moore Advance truly stand out is its unique formulation. It offers the superior durability and hard-wearing qualities typically associated with oil-based paints, but with the convenient, easy cleanup of a water-based product. This means you get the best of both worlds: a tough, long-lasting finish that can endure repeated scrubbing without sacrificing ease of application or environmental benefits. Furthermore, this paint is self-leveling, a fantastic feature that causes brush marks to virtually disappear as the paint dries, resulting in an exceptionally smooth, professional-looking surface.
Why You Should Avoid Regular Latex Paint on Doors
In some instances, I’ve seen (and unfortunately, experienced) the pitfalls of straying from best practices by using regular latex paint on interior doors. The unfortunate reality is that a standard latex finish simply doesn’t hold up to the demands of high-traffic areas in a home. In contrast to the robust performance of Benjamin Moore Advance, latex paint can quickly show signs of wear, such as chipping, scuffing, and peeling, especially around door handles and edges.
While the initial cost of a high-quality waterborne alkyd paint like Benjamin Moore Advance might be slightly higher than standard latex, I promise you, it’s an investment that pays dividends in durability and peace of mind. Spending a little extra upfront will save you countless hours of touch-ups and repainting in the long run, ensuring your doors maintain their pristine look for years to come.
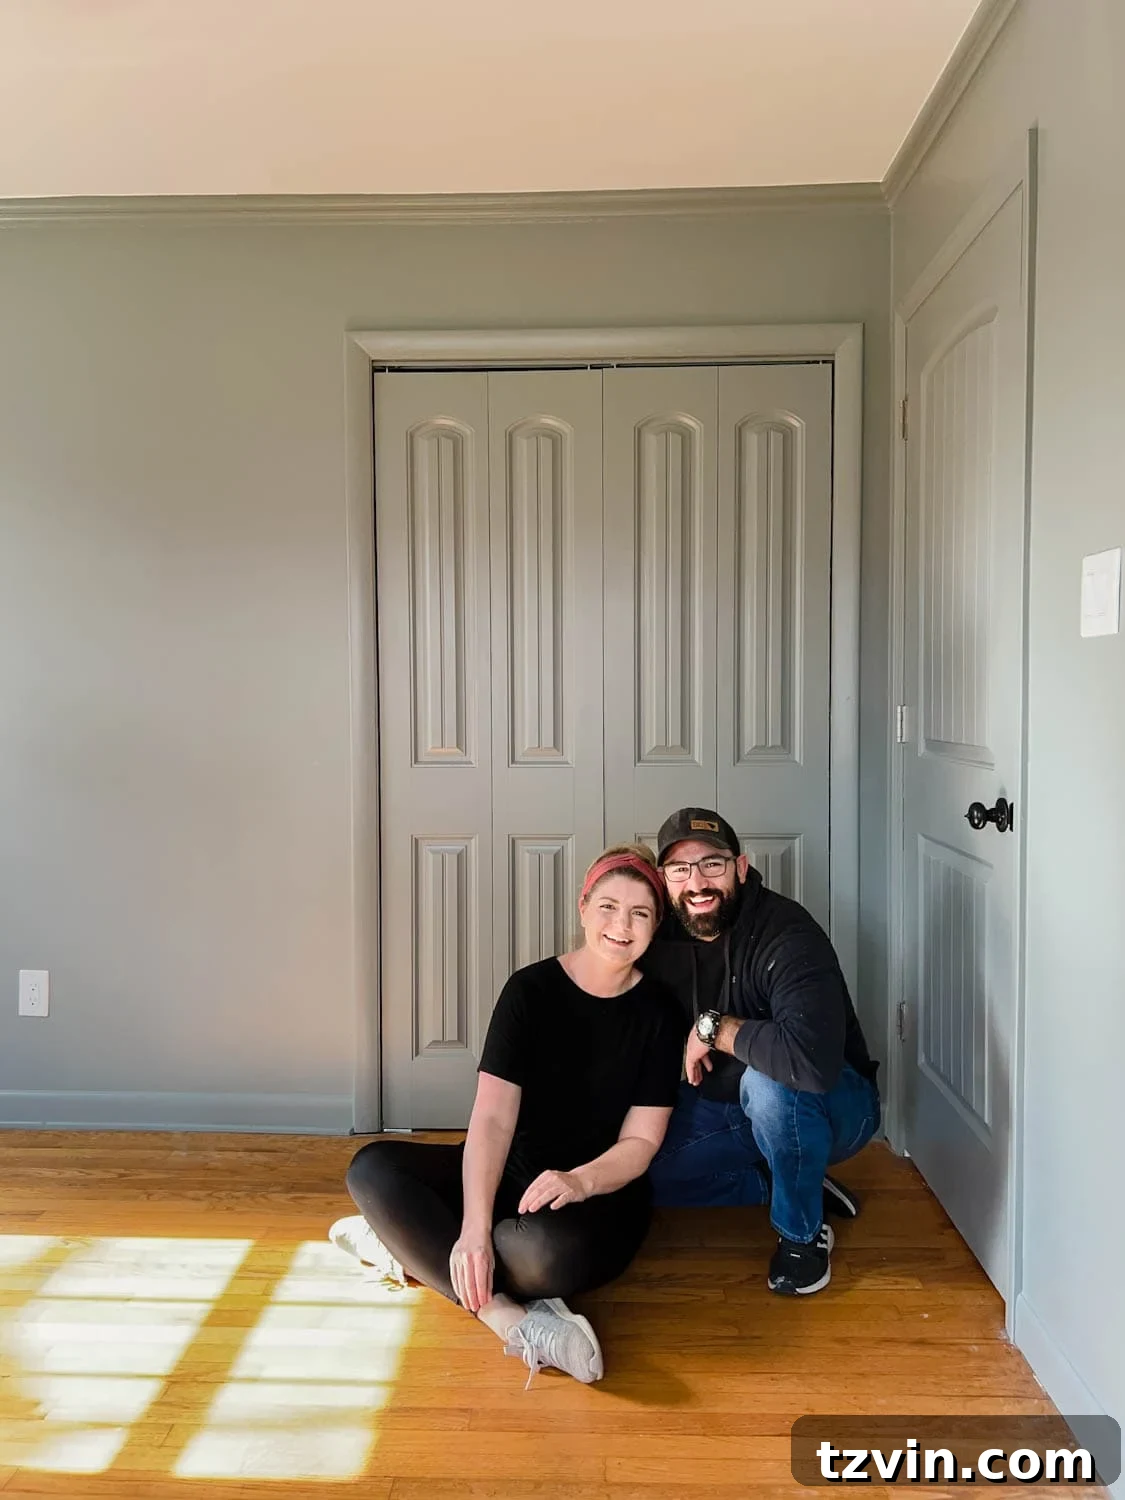
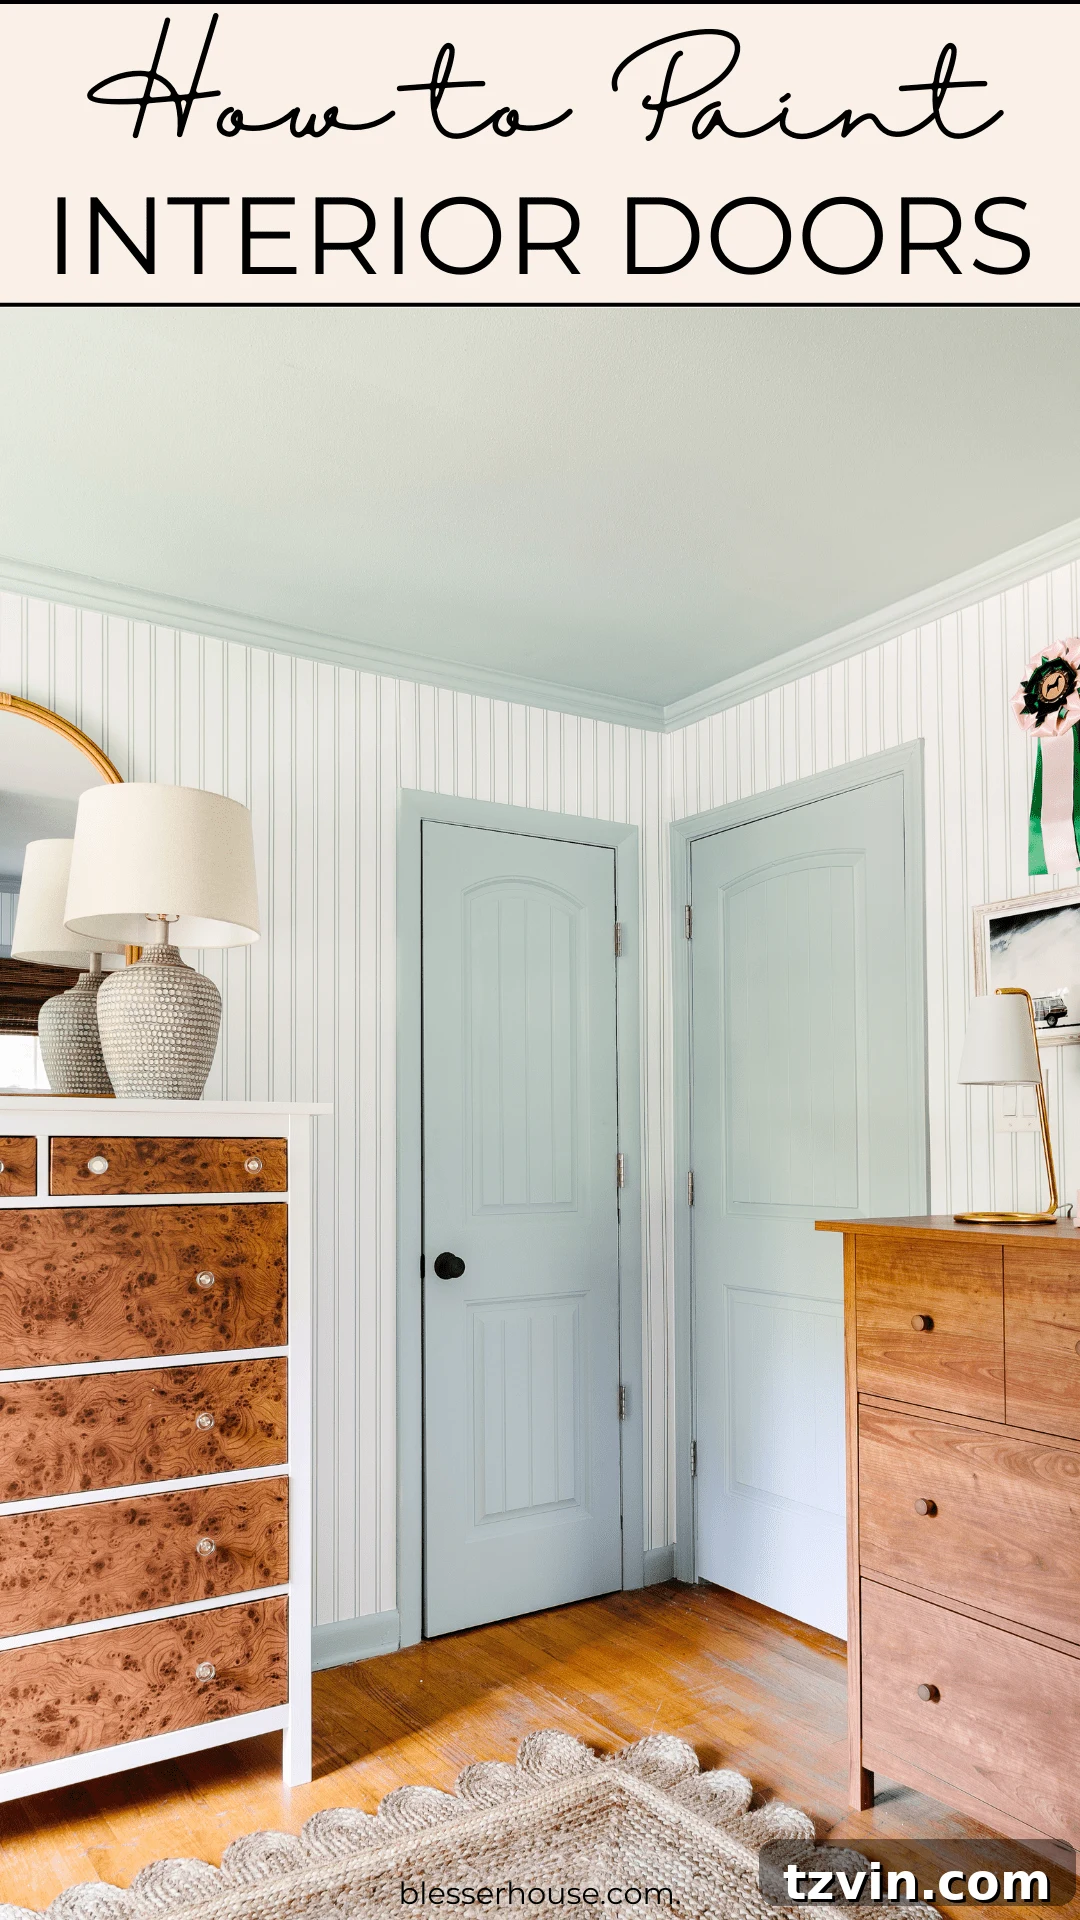
Painting these bedroom doors with Sherwin Williams Evergreen Fog, to perfectly match the walls, created a seamless and expansive feel, making this cottage-style teen bedroom appear significantly larger and more cohesive.
If your goal is to add drama, create a sense of spaciousness, and achieve a highly curated look, consider the technique known as “color drenching.” This involves painting your interior doors the exact same color as your walls and trim. This continuity blurs the lines between surfaces, making rooms feel larger and enveloping them in a rich, unified color palette.
How to Paint Interior Doors Without Removing Them: A Detailed Guide
As an Amazon Associate, I earn from qualifying purchases. Full disclosure.
Essential Paint Supplies for Your Door Transformation
Gathering the right tools and materials before you begin is key to a smooth and successful door painting project. Here’s what you’ll need:
- Liquid Deglosser/Degreaser: Essential for thoroughly cleaning the door surface and creating a bondable profile without heavy sanding.
- Clean Rags or Tack Cloths: For wiping surfaces clean and removing dust.
- Drop Cloths: To protect your floors and surrounding areas from paint drips.
- Rubbing Alcohol & Cotton Ball: For testing existing paint type.
- 120/150 Grit Sandpaper or Sanding Sponge: For light scuffing and smoothing patched areas.
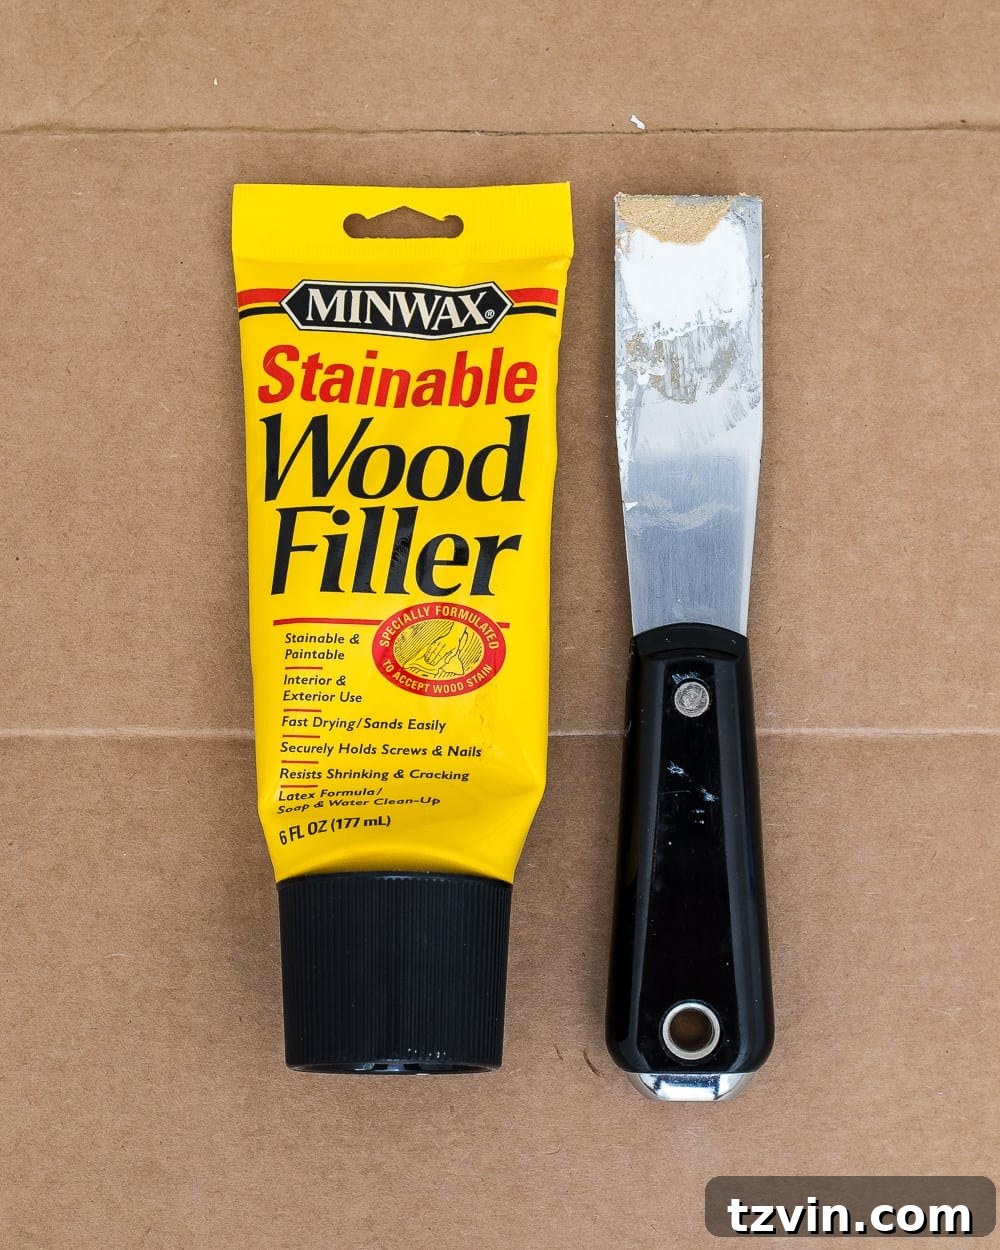
- Wood Filler: For patching holes, dents, and imperfections.
- Putty Knife: For applying wood filler smoothly.
- Waterborne Bonding Primer (e.g., INSL-X STIX Bonding Primer): Crucial for adhesion, especially over glossy or oil-based existing finishes.
- Paint Stir Sticks: For thoroughly mixing primer and paint.
- Painter’s Tape (Blue Tape): For masking off areas you don’t want to paint, like trim or hinges (optional for hinges if using foil).
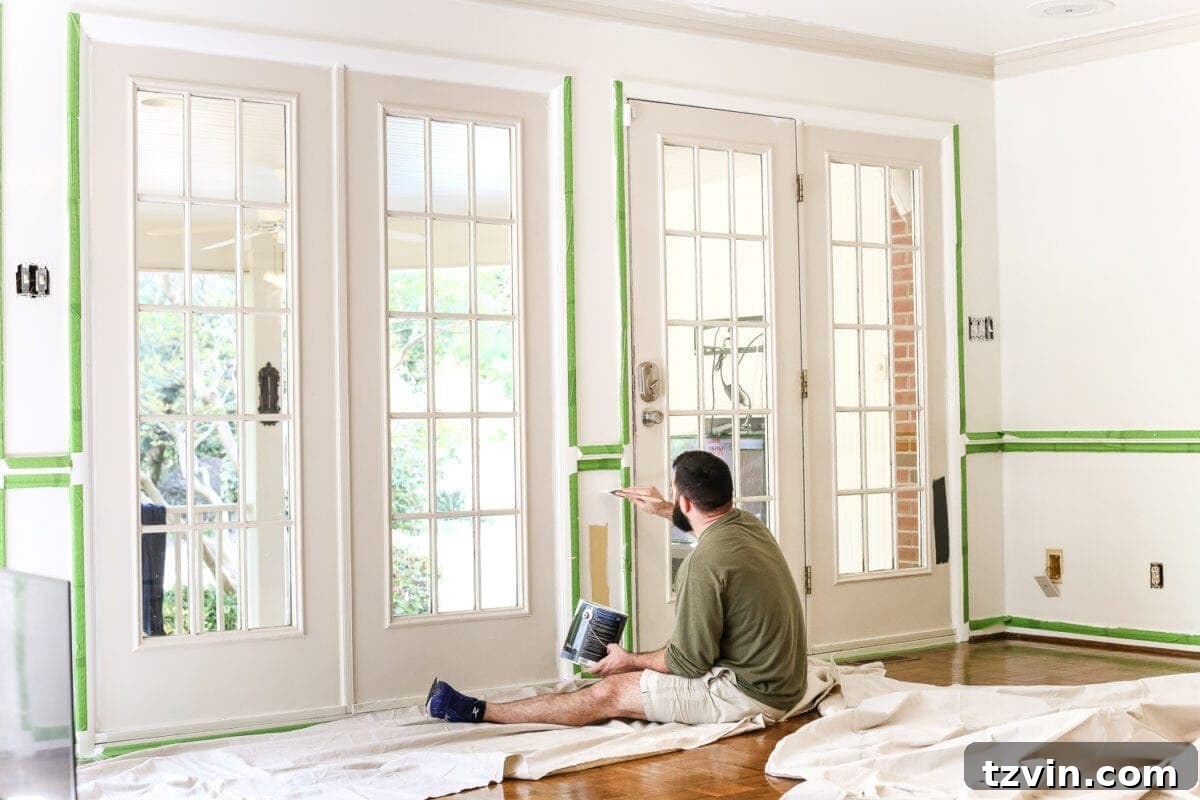
- Aluminum Foil: An excellent, moldable alternative for covering hinges and doorknobs.
- High-Quality Angled Paint Brush: I highly recommend brushes with a unique shape (like a triangular or angled sash brush) for precision painting around panels and intricate details.
- Benjamin Moore Advance Paint in your chosen sheen: The star of the show for a durable, professional finish.
- Mask and Peel liquid & Utility Knife: (Specifically if you’re painting French doors or doors with glass panes).
One of the best parts about this method is that you do not need to remove the door from its hinges, saving you a significant amount of effort and hassle. While you certainly can remove the door if you prefer, this guide focuses on achieving stunning results with the door still in place.
Special Considerations for French Doors or Doors with Glass Panels
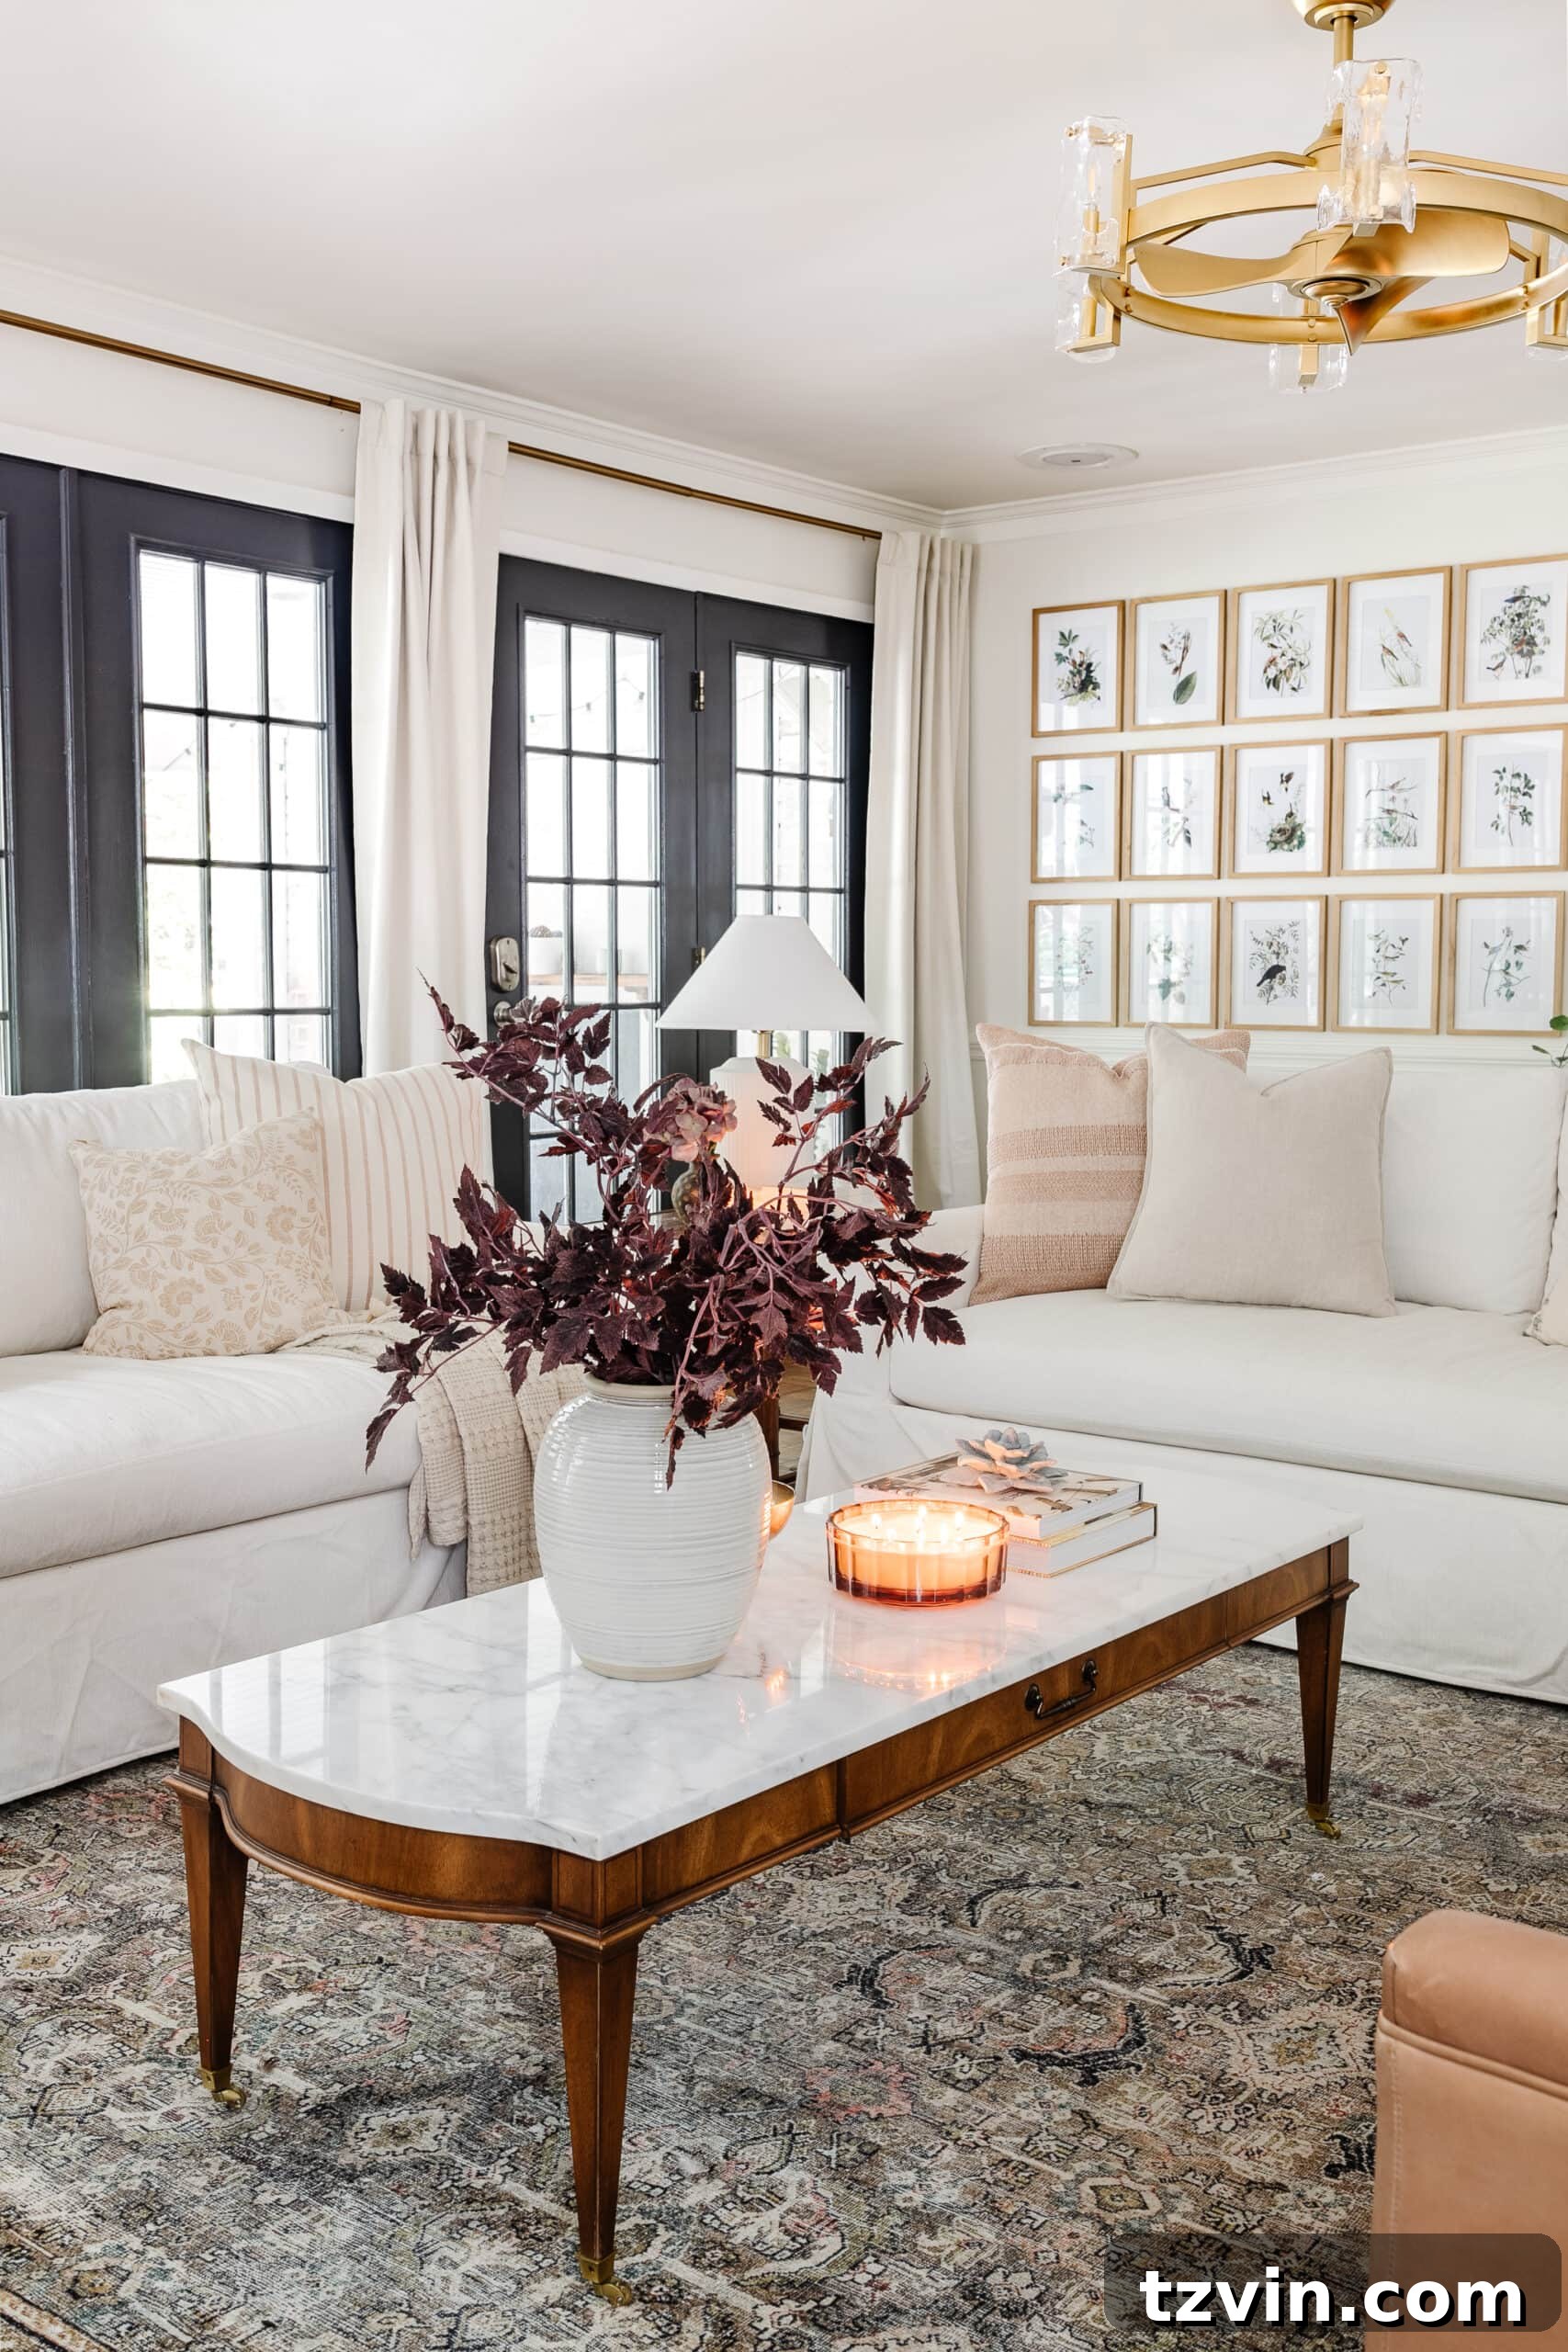
If you’re painting French doors or any interior door featuring glass panes, a preliminary step using masking liquid will save you immense time and frustration. Forget the tedious process of taping off each pane with painter’s tape! A professional painter introduced me to this technique years ago, and despite being an extra initial step, it dramatically simplifies the overall process and delivers impeccably crisp, clean lines around the glass. (If your doors don’t have glass, feel free to skip ahead to Step 4).
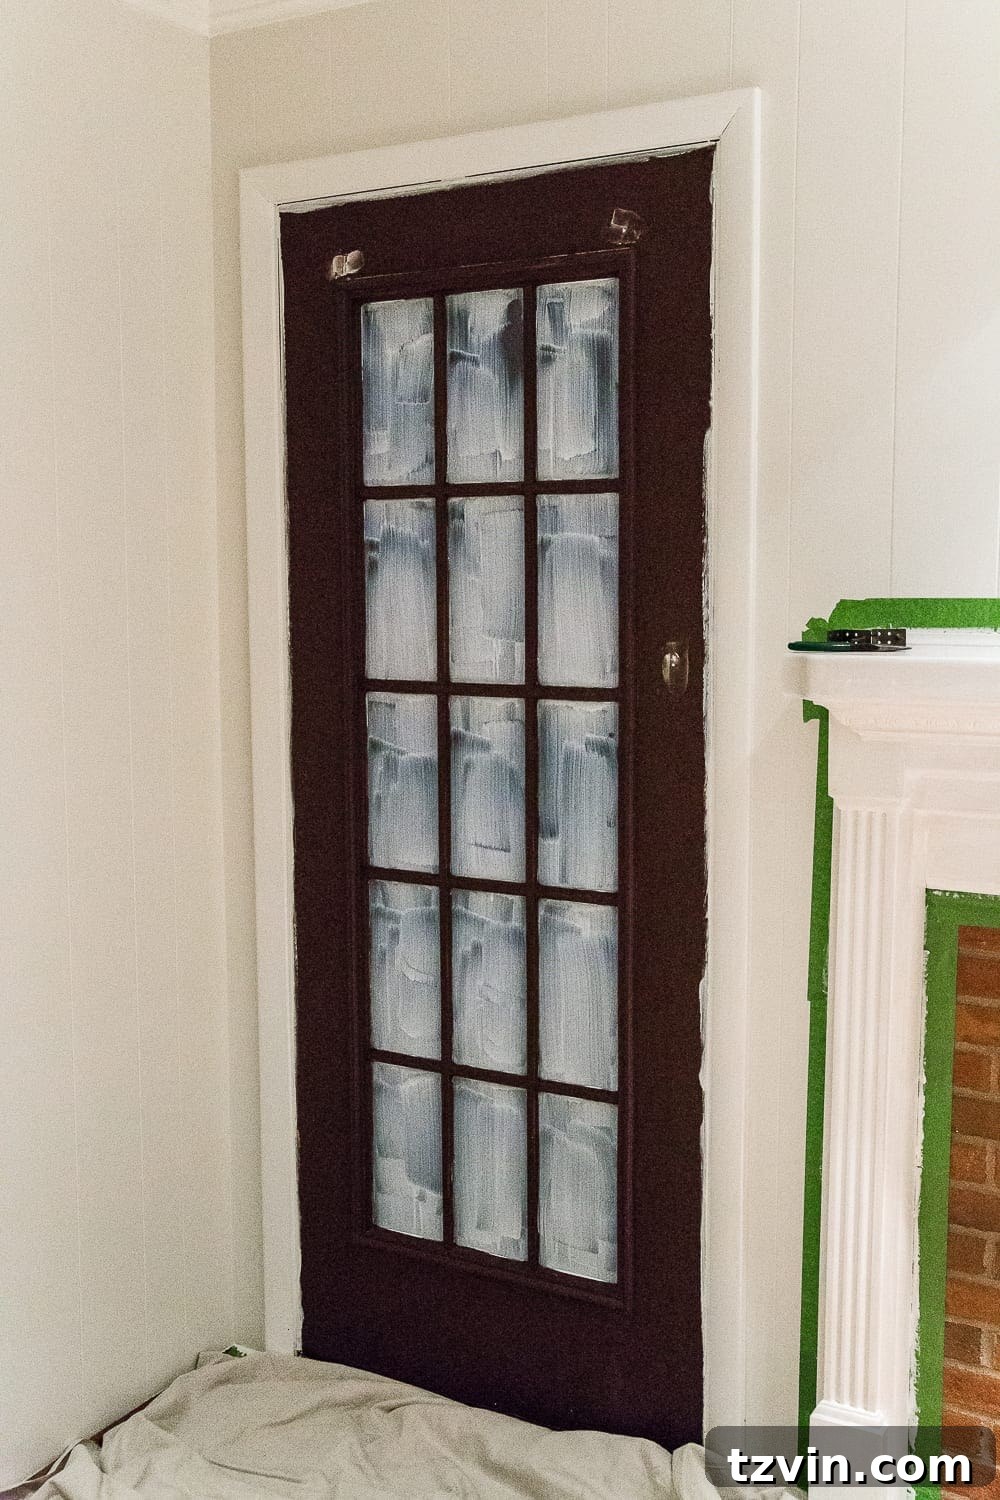
Step 1 – Apply Masking Liquid to Glass
Carefully apply a thick, even layer of the masking liquid to all the glass window panes. The liquid will appear white and opaque at first, resembling white glue. As it dries over a few hours, it will transform into a clear, flexible film. Once fully dry, you can proceed with the rest of the door painting steps outlined below.
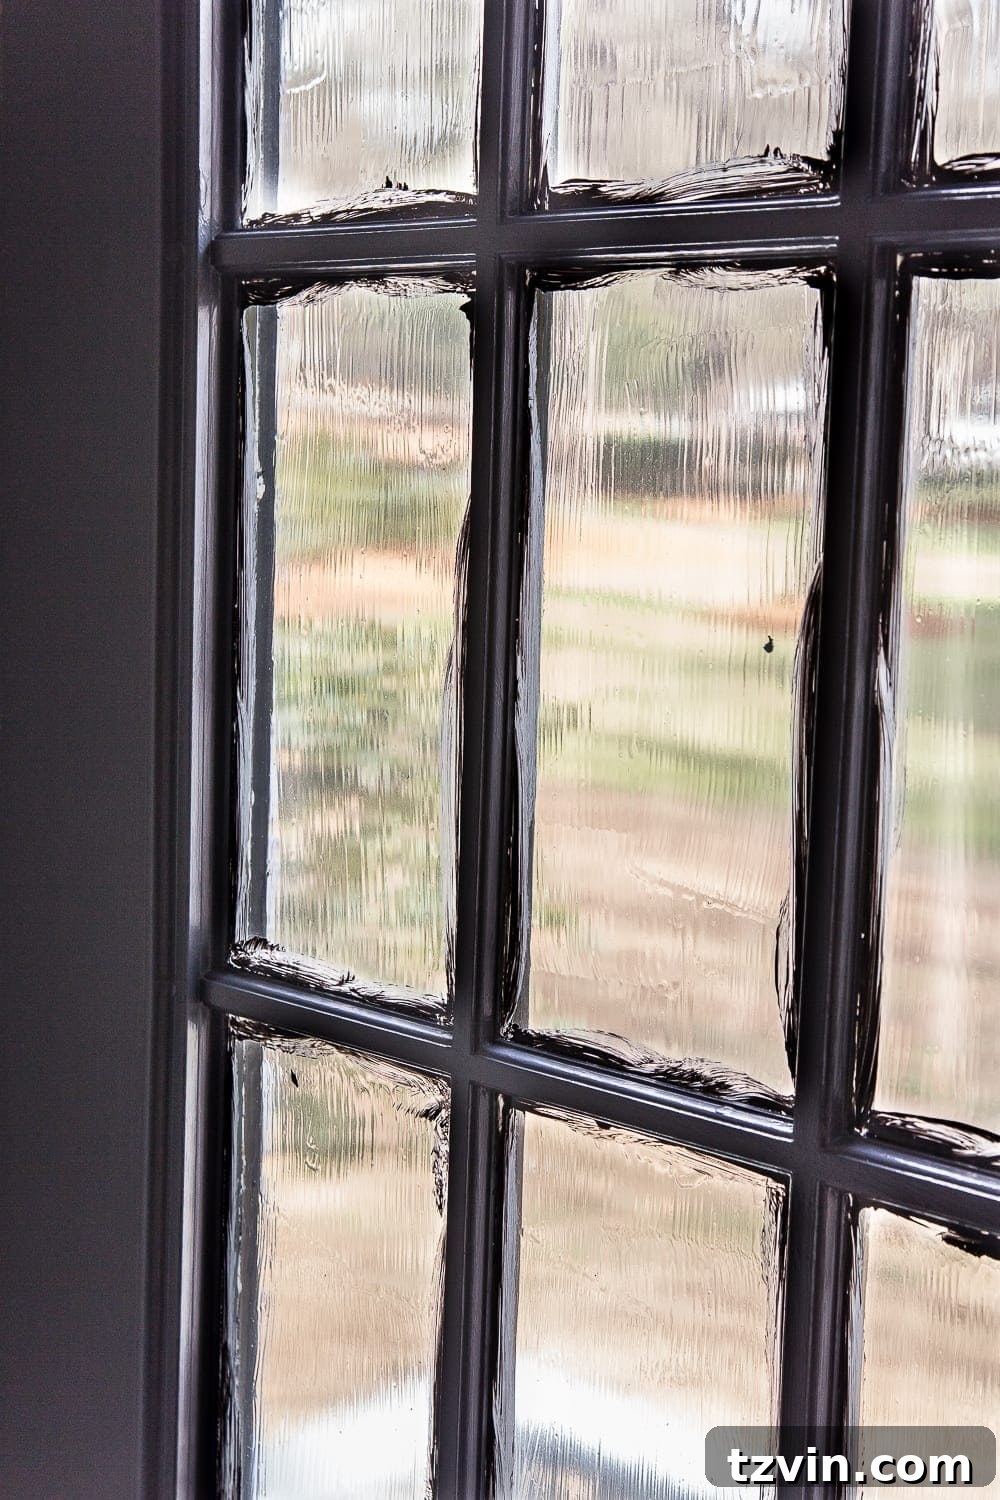
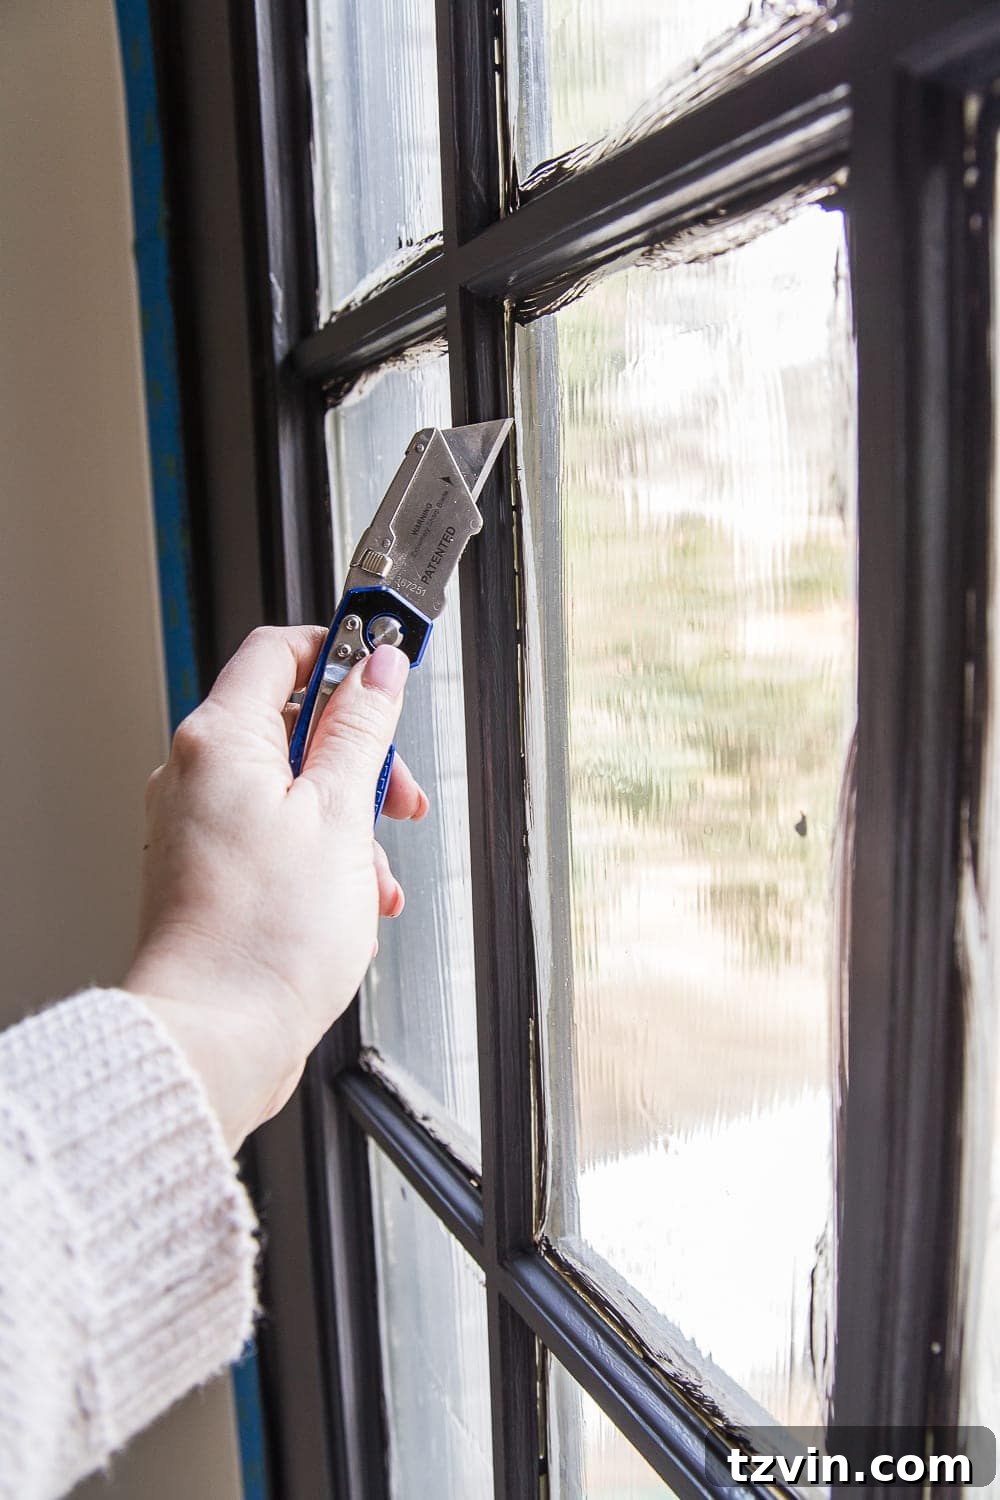
Step 2 – Score the Edges
After you have completely painted your French doors and the paint has thoroughly dried, it’s time for the magic. Using a sharp utility knife blade, gently score along the edges of each window pane where the paint meets the dried masking film. This creates a clean break line for easy removal.
Step 3 – Peel Away the Film After Painting
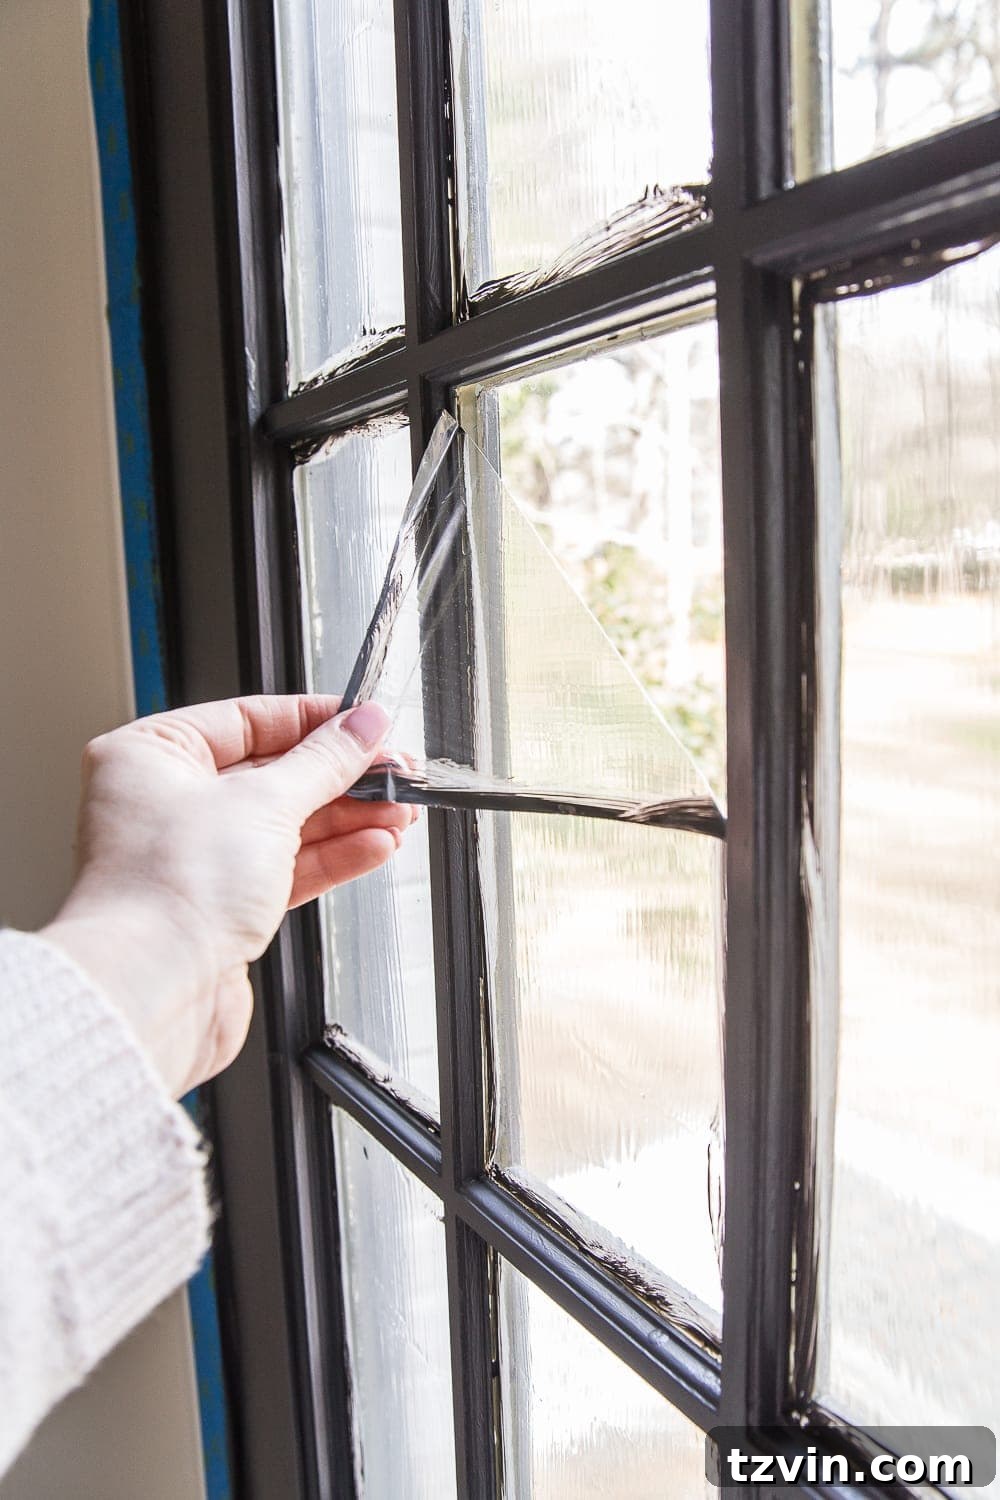
Once scored, gently lift a corner of the film on each pane and slowly peel it away. The film should come off in one clean sheet, revealing perfectly crisp, unpainted glass and sharp, freshly painted French door grids. This method provides a flawless finish that would be incredibly difficult and time-consuming to achieve with traditional painter’s tape.
Step 4 – Determine Your Existing Paint Type
This is arguably the most crucial preparatory step. Before applying any new product, you need to know if your existing door paint is oil-based or latex-based. This will dictate the type of primer you should use for optimal adhesion and to prevent issues like peeling or bubbling.
To test, simply dab some rubbing alcohol onto a cotton ball and rub a small, inconspicuous spot on your door. If the paint softens and comes off onto the cotton ball, you have latex paint. If the paint remains intact and doesn’t transfer, it’s an oil-based paint. For oil-based paint, you absolutely must use an oil-based primer or a high-quality bonding primer (like INSL-X STIX) that specifically states it adheres to glossy and oil-based surfaces.
Important Note for Older Homes: If you live in an older home (built before 1978), it’s highly advisable to test your doors for lead paint. Working with lead paint can be hazardous, and proper safety measures, including containment and personal protective equipment, are essential. Consider consulting a professional if lead paint is detected.
Step 5 – Lightly Sand the Surface
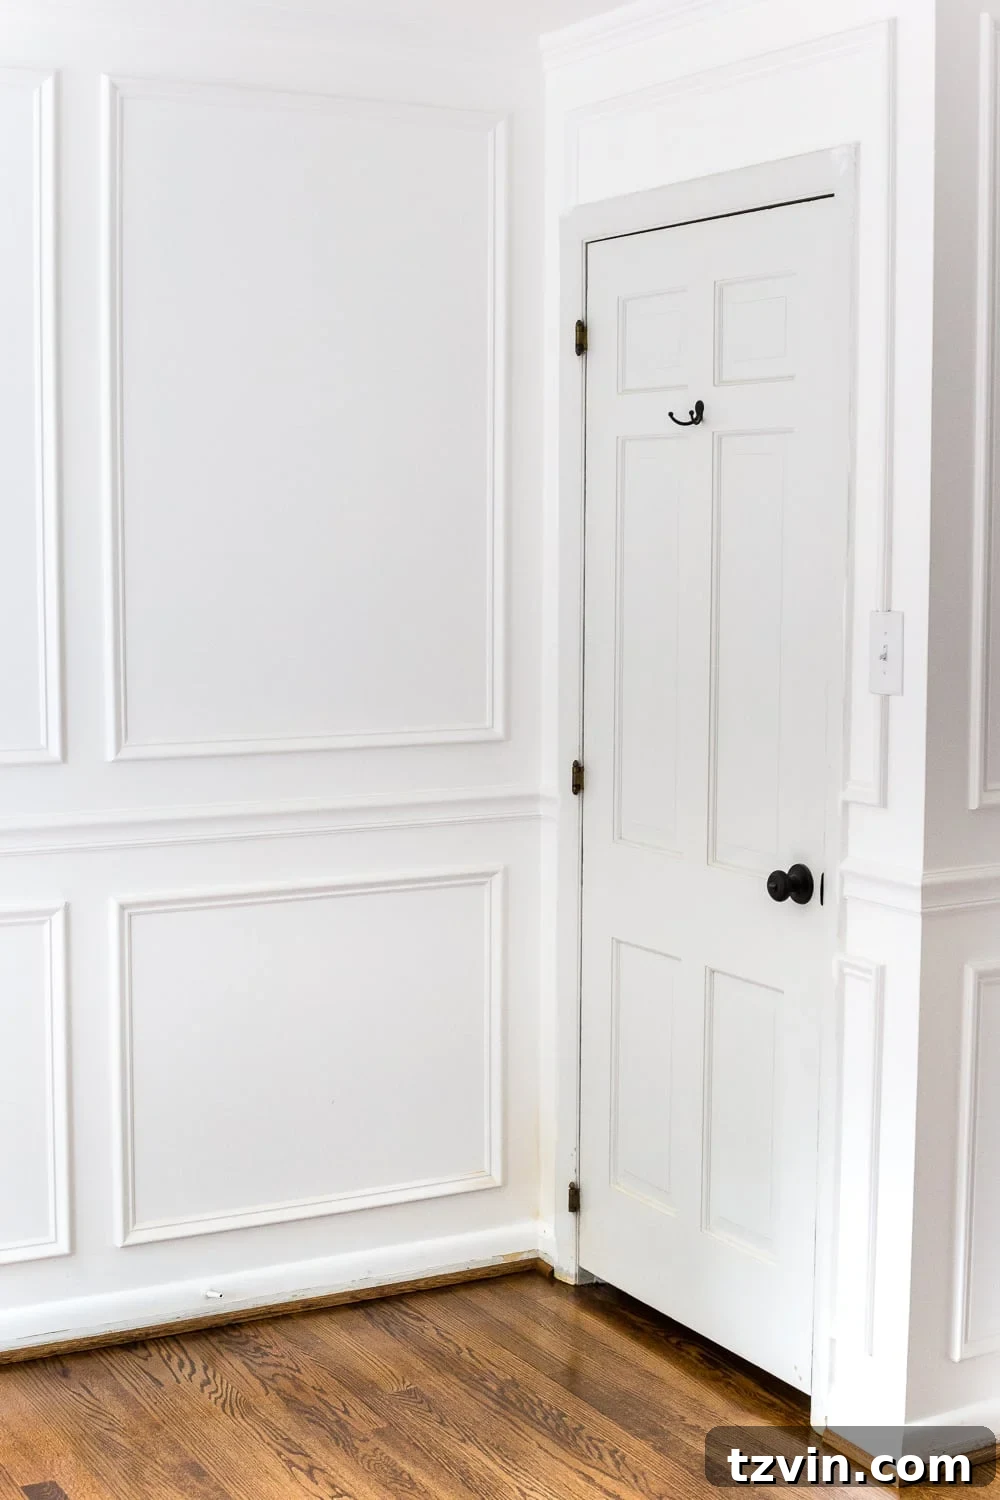
Even if your deglosser is highly effective, a light sanding is crucial for proper adhesion. Using 120 or 150 grit sandpaper (or a sanding sponge), gently scuff the entire surface of the door in the direction of the wood grain. This creates microscopic scratches, providing a “tooth” for the primer and paint to grip onto. Once sanded, meticulously remove all sanding dust using a tack cloth or a slightly damp cloth, allowing the surface to dry completely before moving on.
Step 6 – Apply Liquid Sander Deglosser
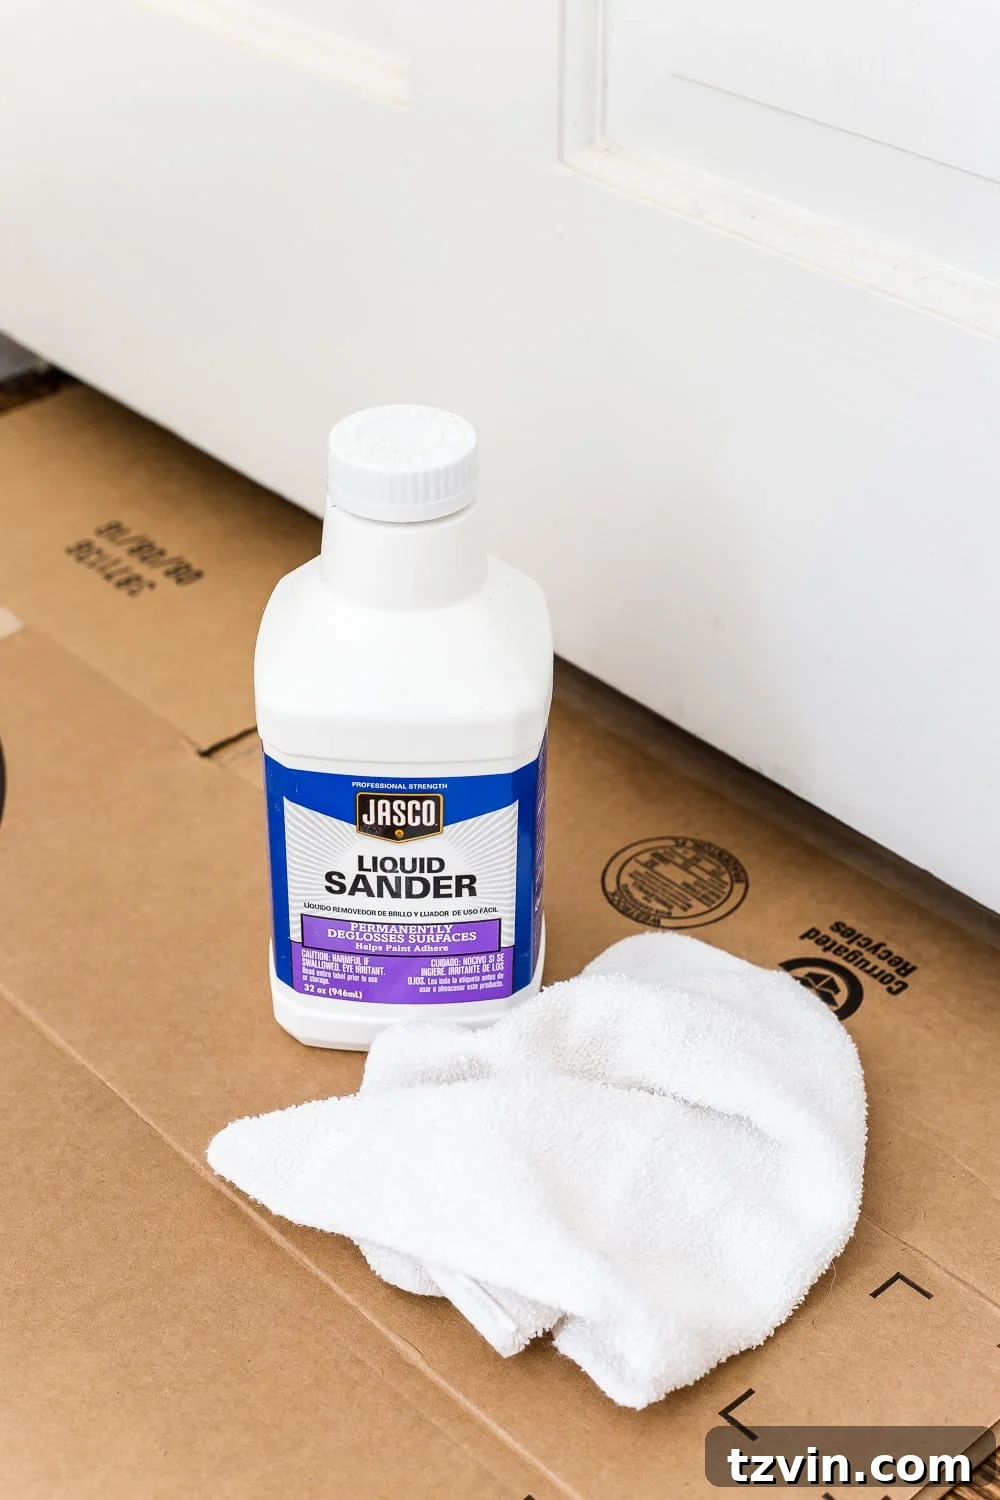
Following the sanding, thoroughly wipe down the entire door surface with a liquid deglosser and a clean rag. This step is vital for removing any lingering grime, grease, or residue that could interfere with paint adhesion. Pay extra attention to areas around the doorknob and edges, where natural oils from hands and general dirt tend to accumulate. The deglosser also further dulls the existing finish, preparing it for the new coat.
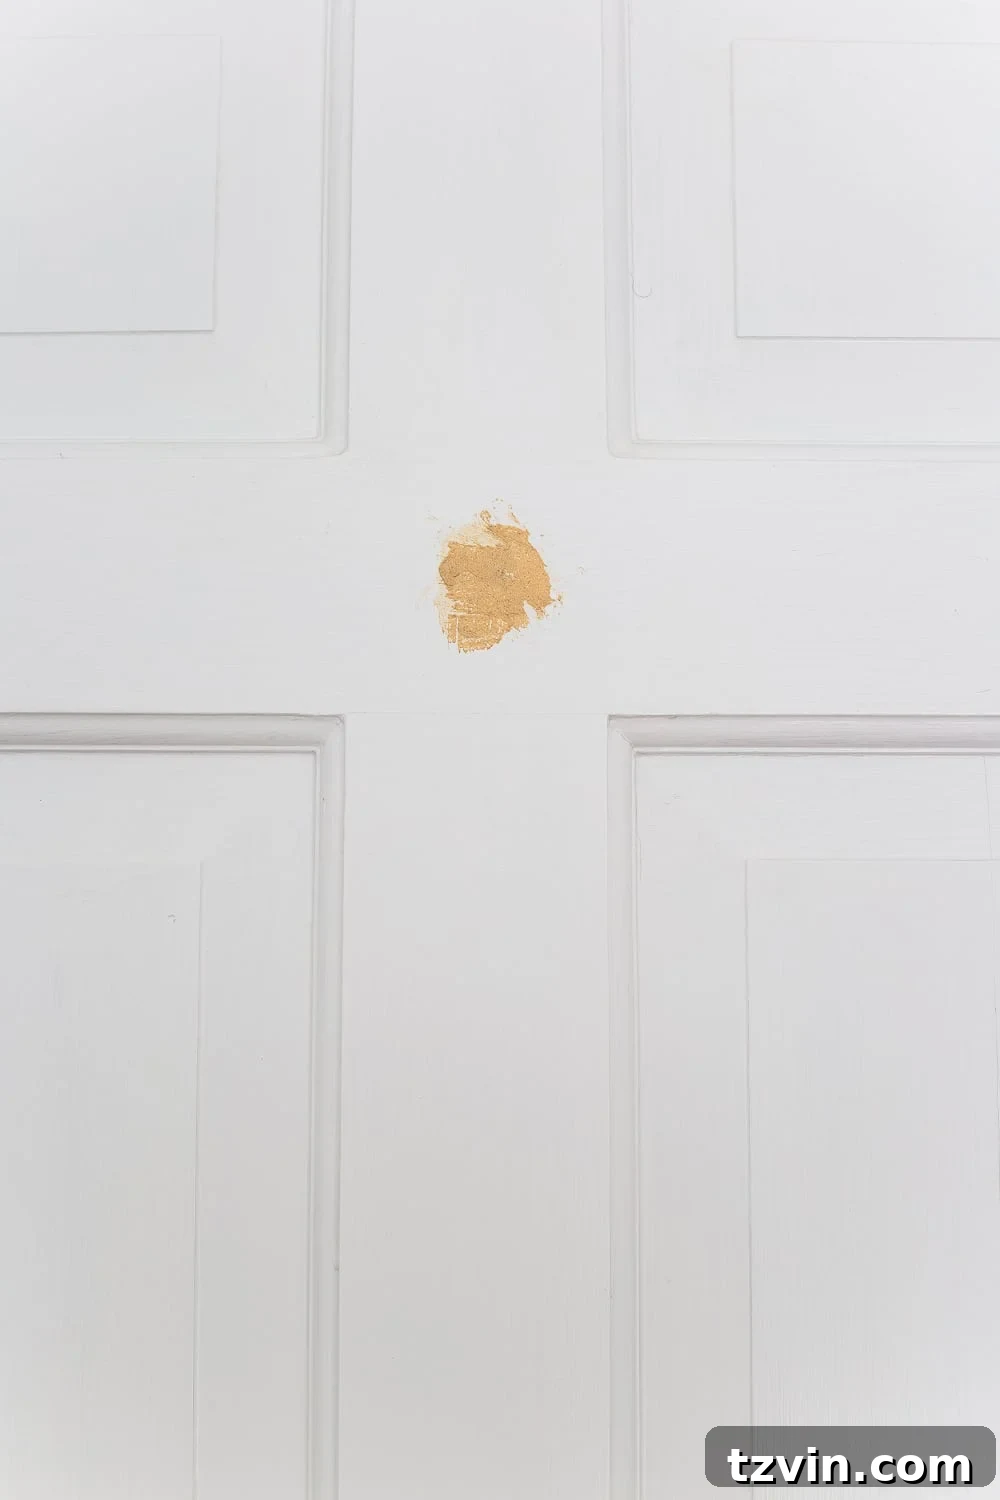
Step 7 – Patch Holes and Dents
Carefully inspect your door for any small holes, dents, or other imperfections. Using a putty knife, apply wood filler to these damaged areas, smoothing it out as much as possible. Allow the wood filler to dry completely according to the manufacturer’s instructions, then lightly sand the patched areas until they are perfectly smooth and flush with the surrounding door surface. Wipe away any dust.
Pro Tip: Never use caulk or wall spackle to fill holes on doors, as these materials are not designed for high-traffic surfaces. They can shrink, crack, and fail over time, compromising the durability and appearance of your finished door. Wood filler is specifically formulated for this purpose, providing a strong, stable repair.
Step 8 – Protect Hardware: Hinges and Doorknobs
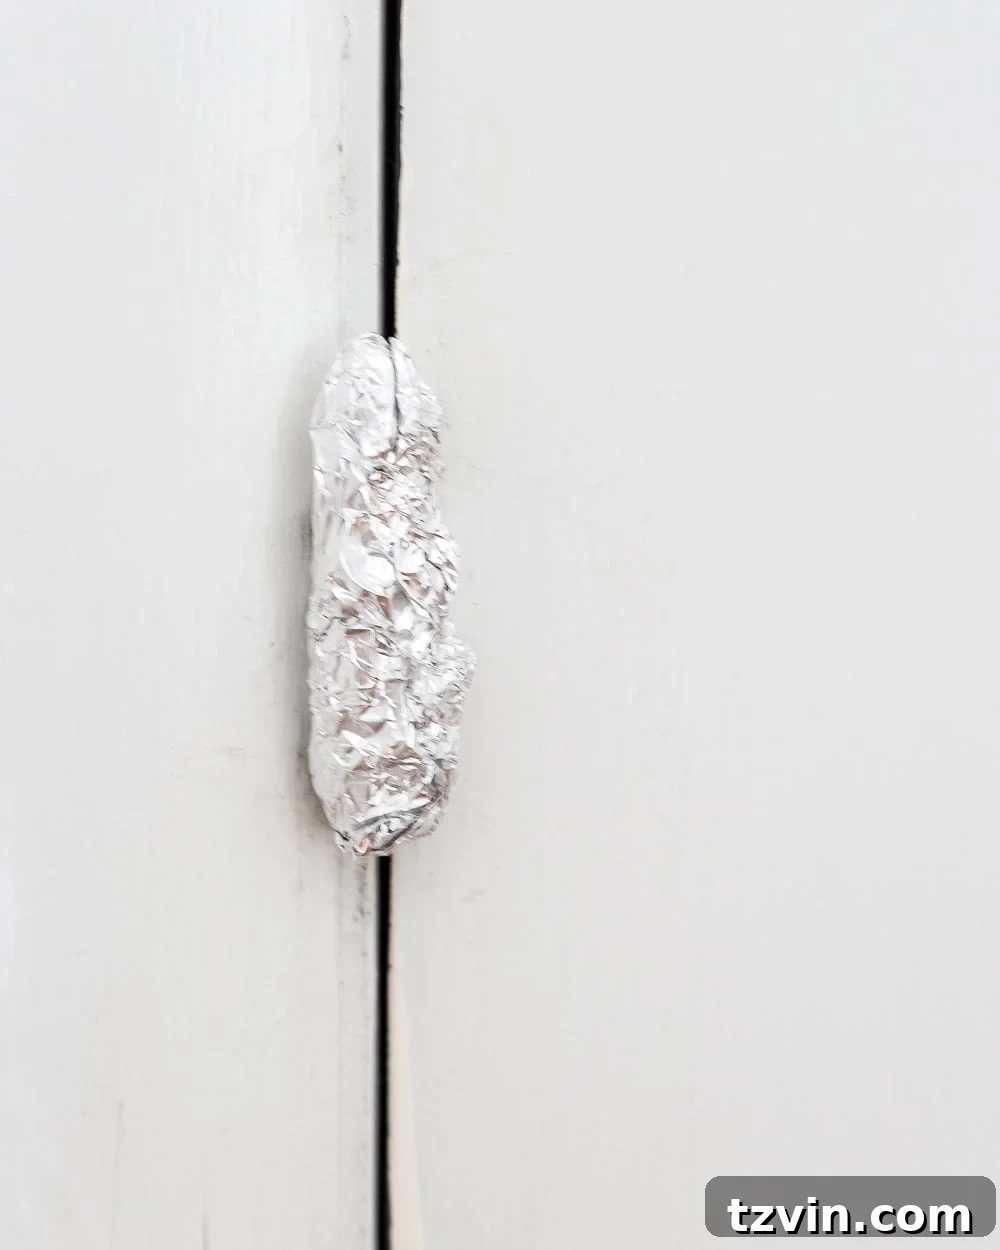
Once the deglosser has dried completely, you can proceed to protect your door hardware. While you can certainly remove doorknobs and hinges for the cleanest possible finish, an easier alternative is to use aluminum foil and/or painter’s tape. Aluminum foil is an excellent choice for hinges and doorknobs because it can be easily molded around their intricate shapes, providing a custom-fit protective barrier against paint.
Carefully wrap hinges and doorknobs with aluminum foil, pressing it firmly to conform to the contours. For areas that foil can’t easily cover, or for cleaner lines around the door jamb, apply painter’s tape. Ensure all edges are pressed down securely to prevent paint bleed.
Step 9 – Apply a High-Quality Primer
Priming is a non-negotiable step for achieving a durable, long-lasting finish on your interior doors, especially if you have previously painted surfaces, or if your door is an unprimed new door (though new, pre-primed doors can often skip this step).
Brush on an even coat of your chosen primer. My go-to is INSL-X STIX Bonding Primer, renowned for its excellent adhesion to challenging surfaces. This primer creates a strong bond, ensuring your topcoat adheres properly and doesn’t chip or peel prematurely.
Pro Tip for Dark Colors: If you’re painting a white or light-colored door with a dark paint color, ask your local hardware store paint desk to tint your primer. Tinting the primer to a similar shade as your topcoat significantly reduces the number of paint coats required, saving you time and paint.
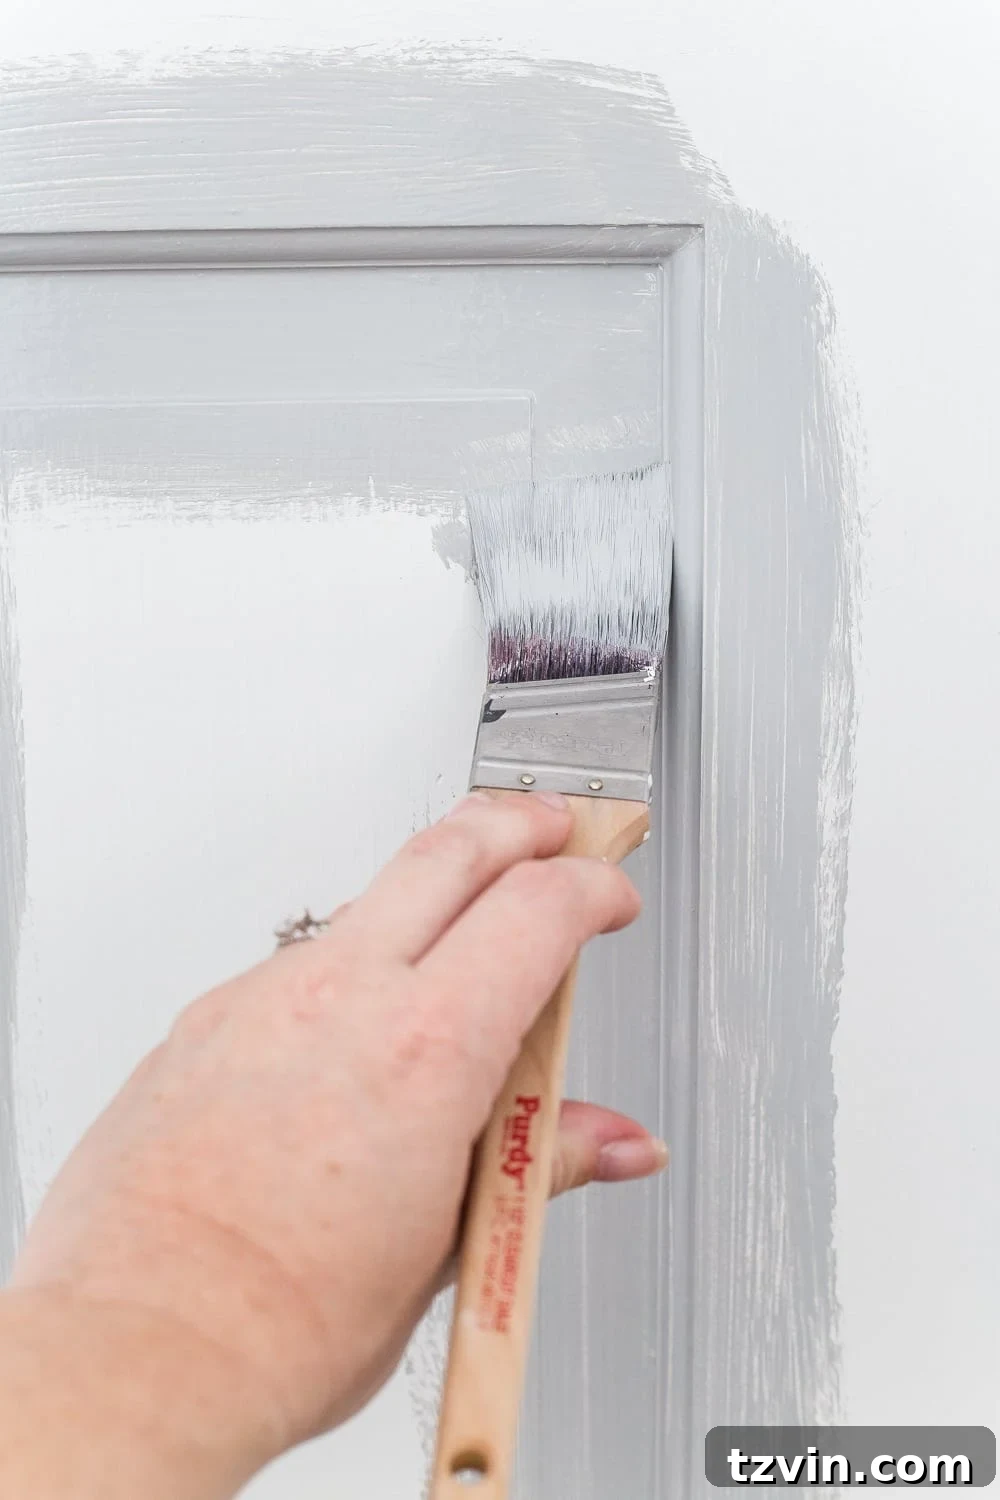
For application, I highly recommend a high-quality angled brush, such as a triangular Zibra brush. Its unique shape allows for smoother finishes and makes it easier to navigate into the edges and corners of paneled doors or those with intricate molding. Always stir your primer thoroughly before use.
Begin by priming the edges of the door first. These areas typically require the longest drying time. If you only plan to paint one side of the door, paint only the edges that will be visible when the door is open towards the painted side. Leave the edges unpainted that would show on the unpainted side when the door is open. Next, apply primer to any details and grooves on paneled doors. Finish by priming the flat surfaces. Throughout the process, regularly check for and smooth out any drips or pooling before the primer dries.
Critical Warning: If your door has an existing oil-based paint finish (as determined in Step 4), absolutely do not skip this primer step. Attempting to paint directly over oil-based paint with a water-based product without a proper bonding primer will inevitably lead to adhesion failure, resulting in frustrating paint peeling and a much bigger headache down the line!
Step 10 – Lightly Sand Between Coats
Once the primer is completely dry (refer to the product’s recommended drying time, usually a few hours), lightly sand the entire primed surface with fine-grit sandpaper (around 220 grit). This step removes any minor bumps or brush marks from the primer, creating an ultra-smooth base for your topcoat. After sanding, use a clean, dry tack cloth or rag to meticulously remove all dust. A dust-free surface is essential for a flawless paint finish.
To ensure optimal coverage and prevent drips, here is the recommended order for priming and painting your door:
- Begin with the edges of the door.
- Next, tackle any recessed grooves or details.
- Then, paint the inside panels (if applicable).
- Finally, paint the remaining flat surfaces of the door.
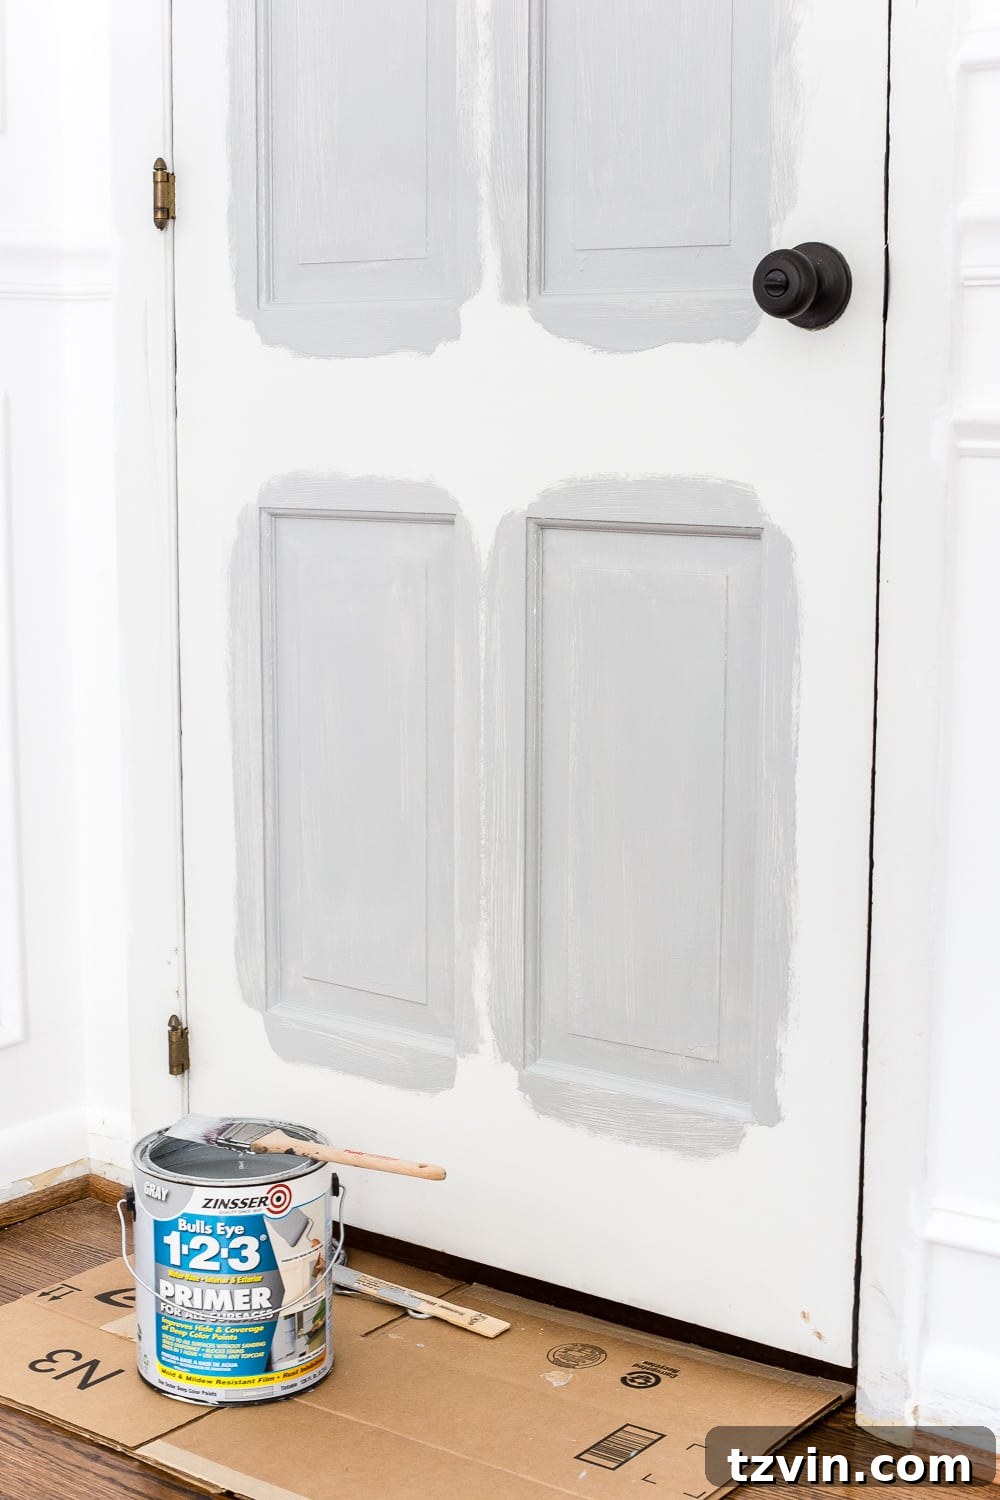
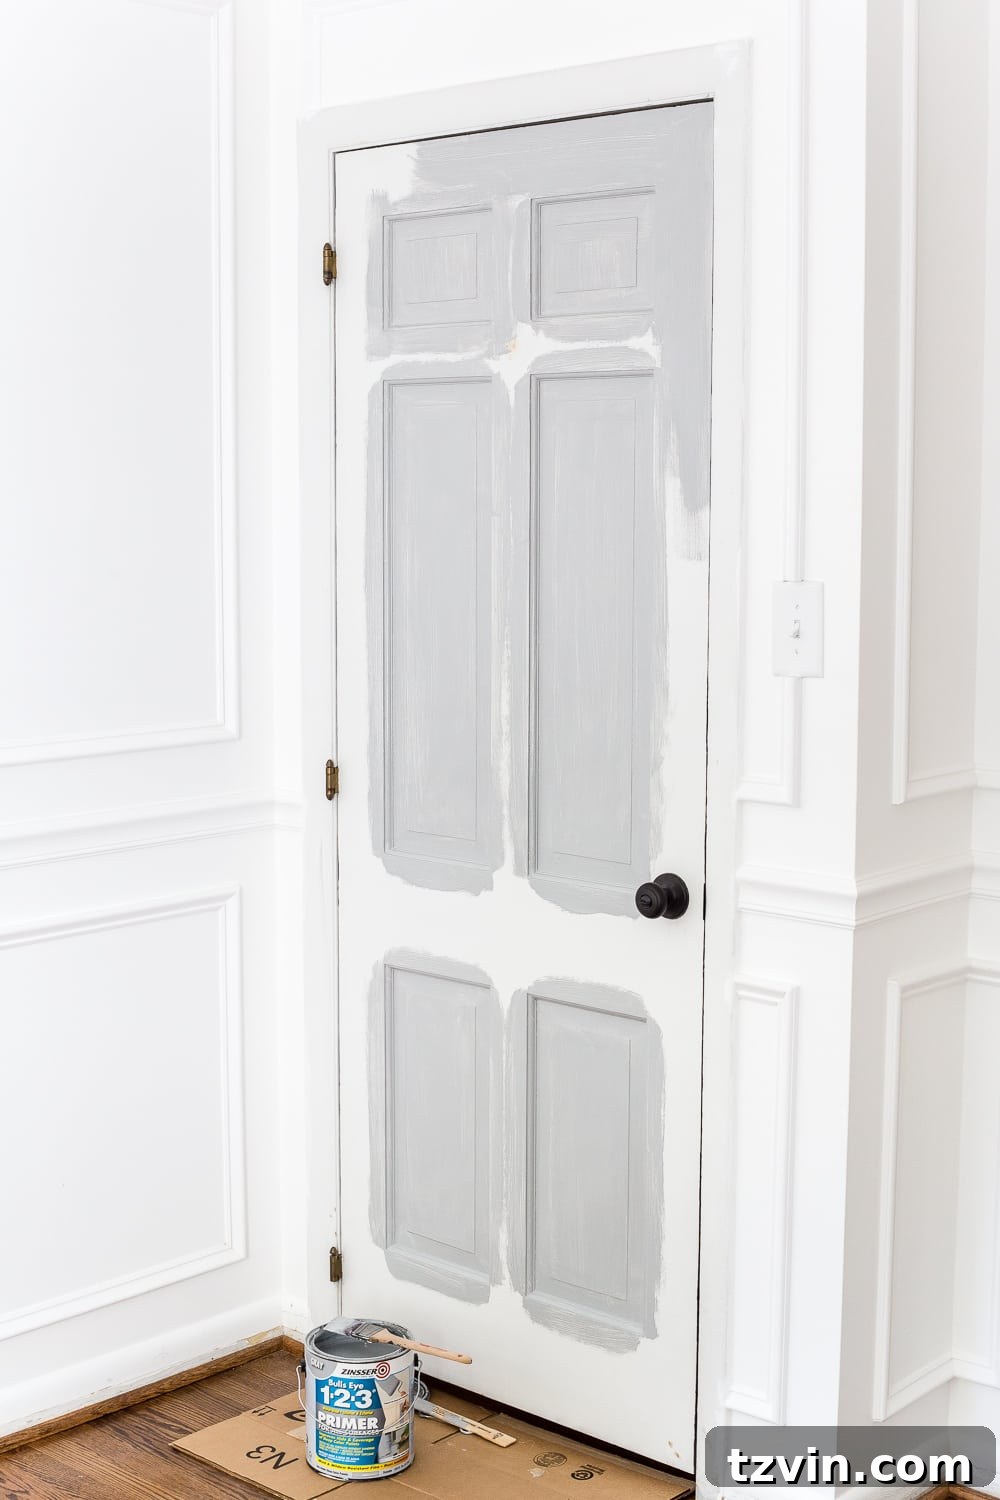
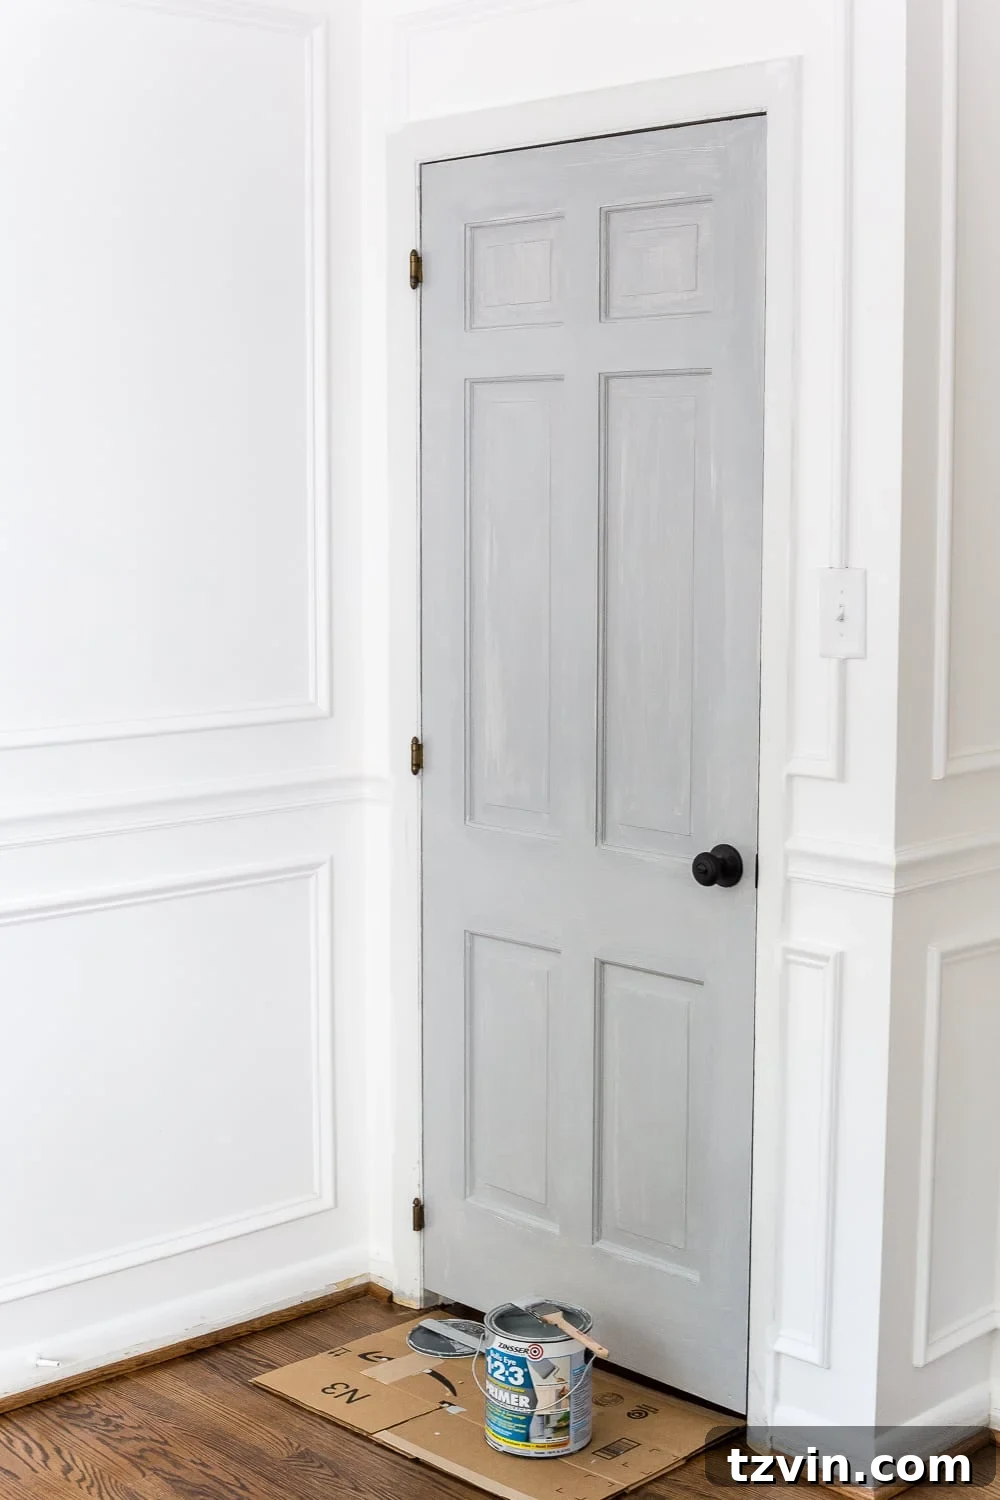
Step 11 – Apply Paint Coats
Once the primer is fully dry, it’s time for the star of the show: your Benjamin Moore Advance paint. Using your high-quality triangular brush, apply the first coat of paint following the same order as with the primer (edges, grooves, panels, flat surfaces). Benjamin Moore Advance is a waterborne alkyd paint known for its self-leveling properties, which means brush strokes will virtually disappear as it dries, resulting in an exceptionally smooth finish. For this reason, I typically don’t use a foam roller, as the brush alone provides a fantastic result.
You will likely need two, and possibly even three, thin, even coats of paint to achieve full, rich color and optimal durability. It is always better to apply multiple thin coats rather than one thick coat, as thick coats are prone to drips, uneven drying, and an inferior finish. Allow each coat to dry completely according to the manufacturer’s recommendations before applying the next. Between coats, you can lightly sand with very fine-grit sandpaper (e.g., 220-320 grit) and wipe with a tack cloth for an even smoother result, though with Advance paint, this is often not strictly necessary due to its self-leveling nature.
Throughout the painting process, continuously check for any paint drips or excess paint accumulating, especially in grooves or along edges. Smooth these out immediately with your brush before the paint begins to set. For the most professional, factory-like finish, a paint sprayer can be used, but the quality of Benjamin Moore Advance ensures excellent results even with a brush.
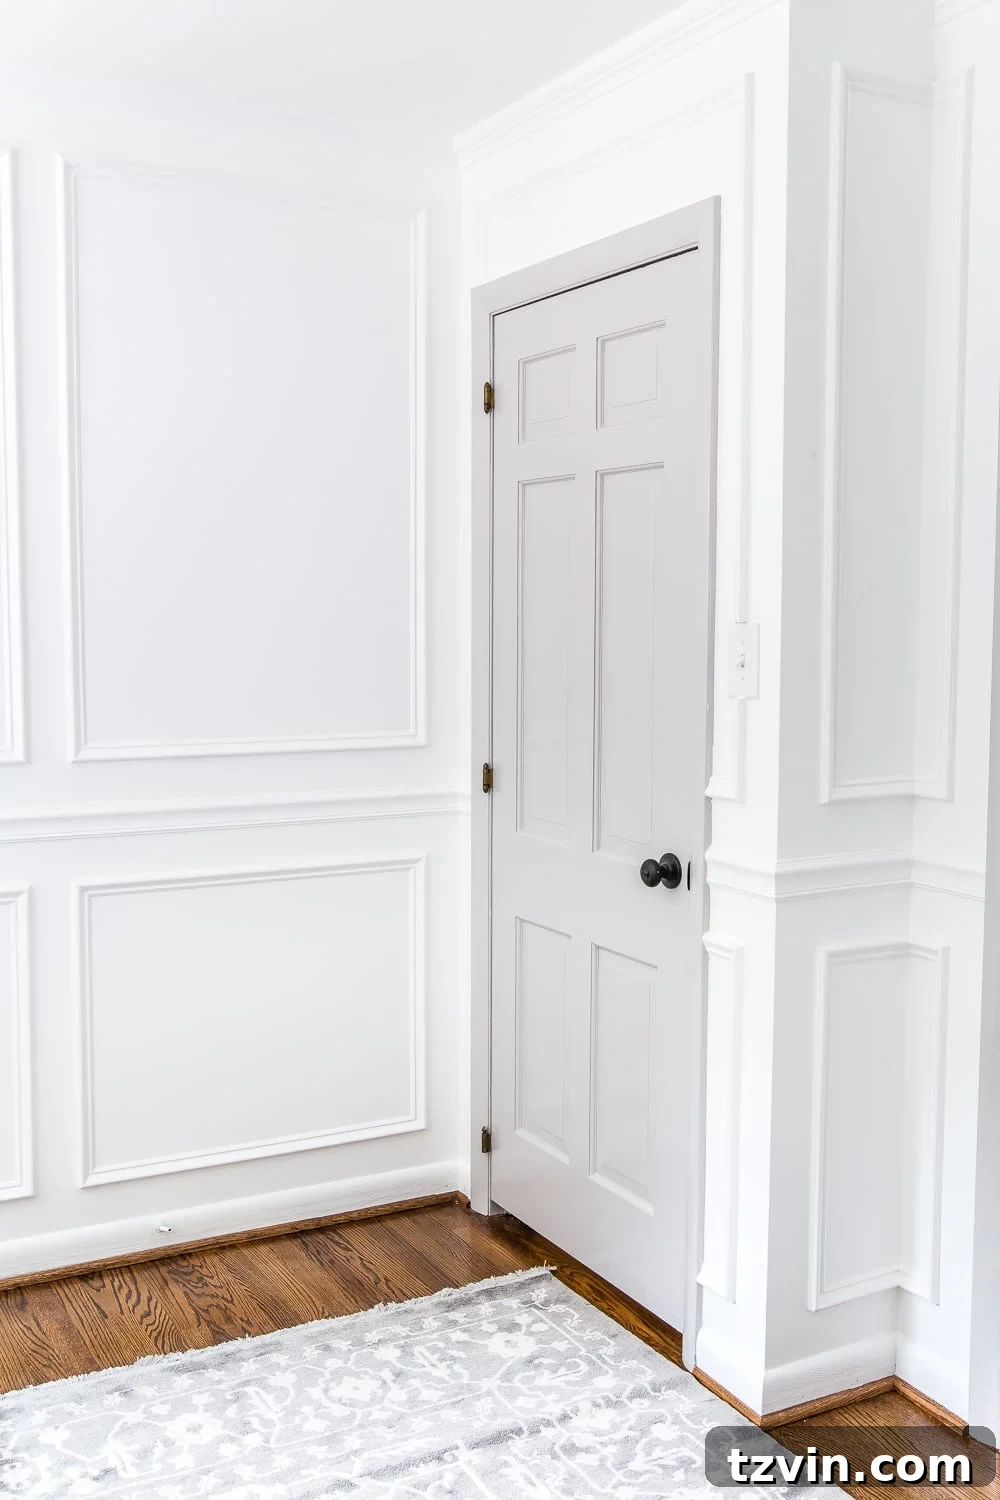
Step 12 – Remove Protective Tape/Foil While Paint is Wet
This final step is crucial for achieving clean lines and preventing paint from peeling along the edges. After you’ve applied your final coat of paint and while it is still wet (but not so wet that it will drip), carefully remove any painter’s tape or aluminum foil from your hinges and doorknob. Removing the tape when the paint is wet allows for a clean break, preventing the paint film from curing onto the tape and potentially peeling off with it.
If the paint has already started to dry, you can use a utility knife to lightly score along the edge of the tape where it meets the newly painted surface. This scoring action will ensure a crisp line and prevent the paint from tearing as you pull the tape away.
Having painted 26 doors in my own home, I can confidently say the process becomes incredibly intuitive and much faster with practice. It might seem like a lot of steps initially, but each one contributes to a significantly more durable and beautiful result. You’ll be amazed at the transformation and the high-end feel your home gains with this simple yet powerful update!
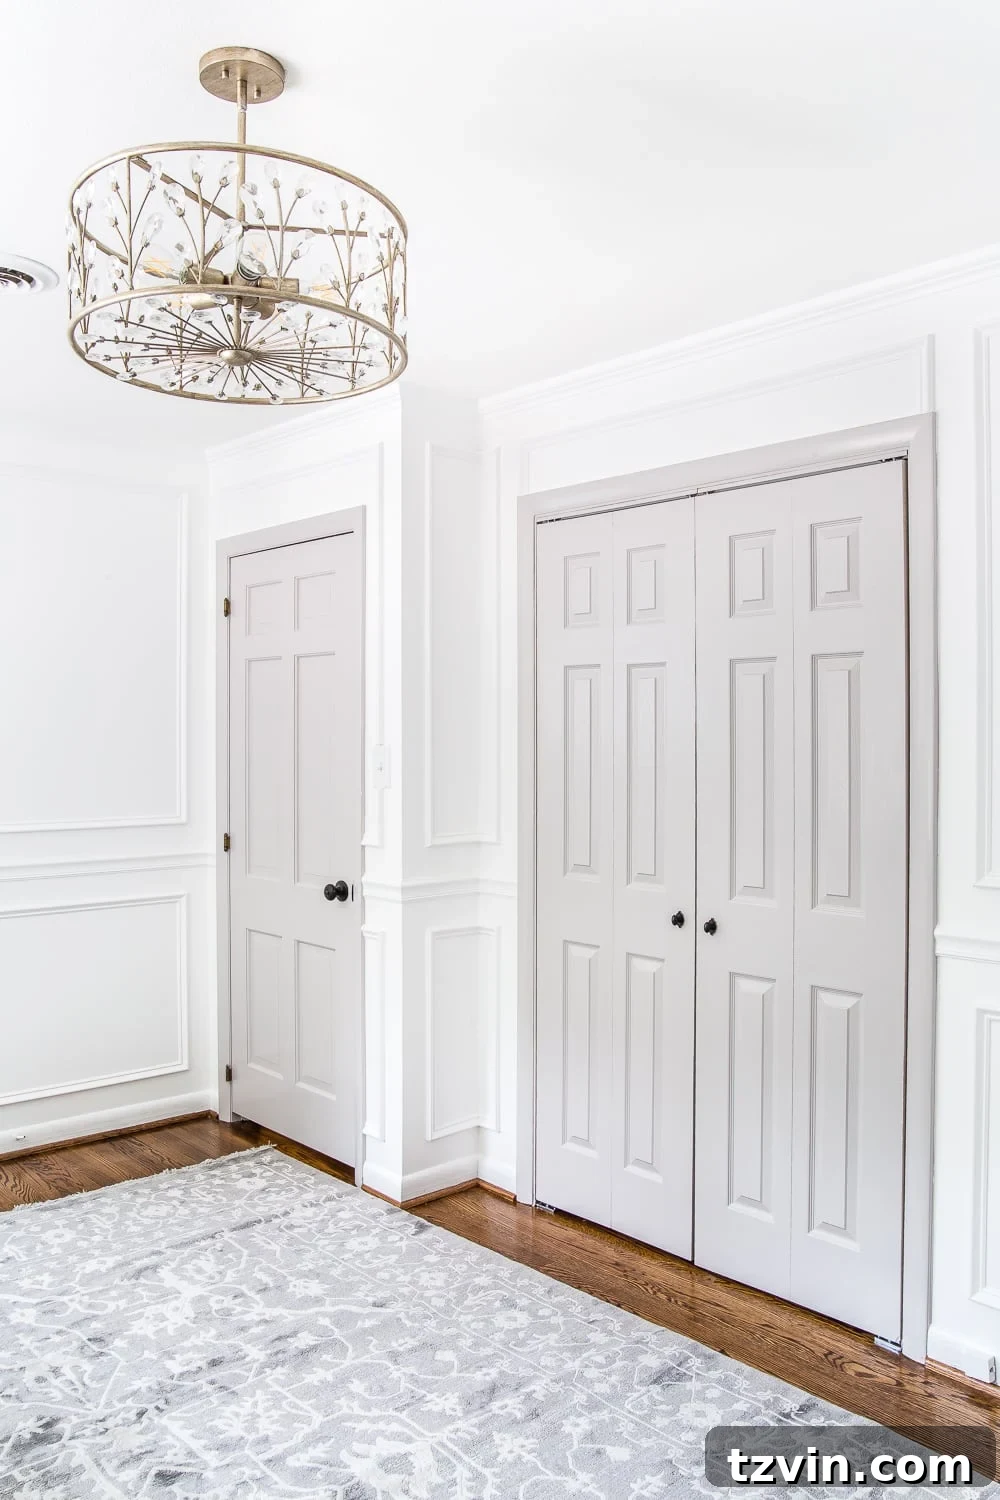
While most of the doors in our home feature the bold Benjamin Moore Wrought Iron, I opted for a softer, more serene aesthetic in Regan’s room. Against the backdrop of crisp white walls, Benjamin Moore Stonington Gray proved to be the perfect choice. It’s a beautifully warm medium gray that avoids any blue undertones, making it incredibly versatile (and would look absolutely stunning on kitchen cabinets, too!).
By now, I hope I’ve convinced you of the immense potential held within your plain white doors. Taking the time to paint them truly is a game-changer, adding personality, elegance, and a custom touch that elevates your entire living space.
Frequently Asked Questions About Painting Interior Doors
For the best results, especially with self-leveling waterborne alkyd paints like Benjamin Moore Advance, a high-quality angled paint brush is often preferred to minimize visible brush strokes. If your door has panels, always start by painting the panels and details with a brush. You can then use a small foam roller for the flat surfaces to achieve a very smooth finish. For the most professional and flawless look, a paint sprayer will deliver unparalleled results.
Yes, light sanding is highly recommended. After thoroughly cleaning the door with a degreaser and filling any holes with wood filler, lightly sand the entire surface with 120-150 grit sandpaper. This step creates a crucial “tooth” for the primer and paint to adhere to, significantly enhancing the durability and longevity of your paint finish. Always remove all sanding dust with a tack cloth before priming.
Absolutely! Painting a door while it remains on its hinges is a common and efficient method. To do so successfully, thoroughly protect the hinges, doorknobs, and any other hardware with painter’s tape and/or aluminum foil. This approach allows you to paint both sides of the door and its edges without needing to detach and rehang it, saving considerable time and effort.
More Inspiring Door Makeover Ideas
DIY Door Update: Quickly Change Hinge Colors for a Cohesive Look
Transform Your Closet: How to Turn Bi-Fold Doors Into Elegant Double French Doors
Glamorous Closet Upgrade: Easy DIY Mirrored French Bi-Fold Closet Door Makeover