
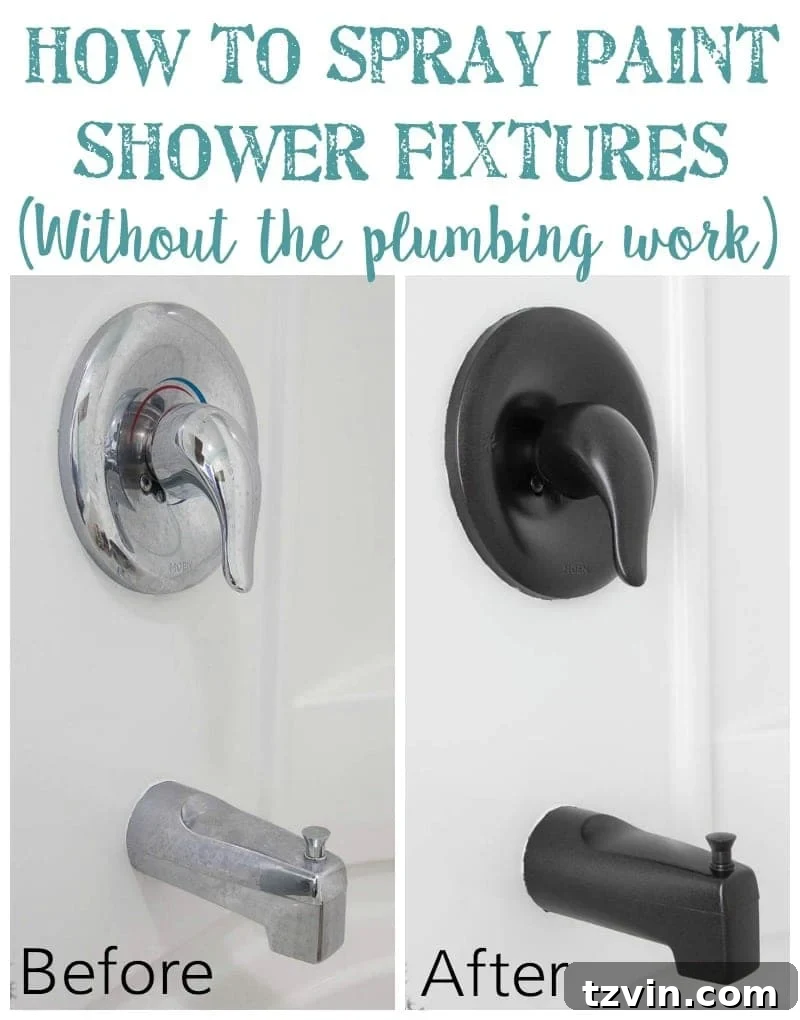
Transform Your Bathroom on a Budget: Easy DIY Spray Painting Shower Fixtures (No Plumbing Required!)
Are you dreaming of a bathroom refresh but dreading the thought of expensive renovations or complicated plumbing work? Upgrading outdated bathroom fixtures, like showerheads, faucets, and knobs, can dramatically change the look and feel of your space. However, the cost of new hardware and the potential hassle of professional installation can often deter even the most enthusiastic DIYer. What if there was a simple, affordable, and incredibly effective way to achieve a high-end look without touching a single pipe? This comprehensive DIY guide will show you exactly how to spray paint your bathroom fixtures, giving your shower a stunning makeover without the plumbing headaches.
Sometimes, my spontaneous home improvement projects keep things interesting around here. My husband, Robert, often jokes that he never knows what exciting (or occasionally chaotic) DIY adventure awaits him when he walks through the door.
Some days, I might greet him with a beaming smile, eager to unveil our latest home transformation, like our newly painted bathroom cabinets.
Then again, there are those other days where he might find me utterly defeated, perhaps wrestling with a disastrous project like trying to strip varnish from our dining room chairs – a task I’ve solemnly vowed never to repeat!
Fortunately, Robert is always ready to either celebrate my triumphs with enthusiasm or offer a comforting pint of Chunky Monkey ice cream for my DIY mishaps. This particular project, I’m thrilled to report, was definitely in the celebration category.
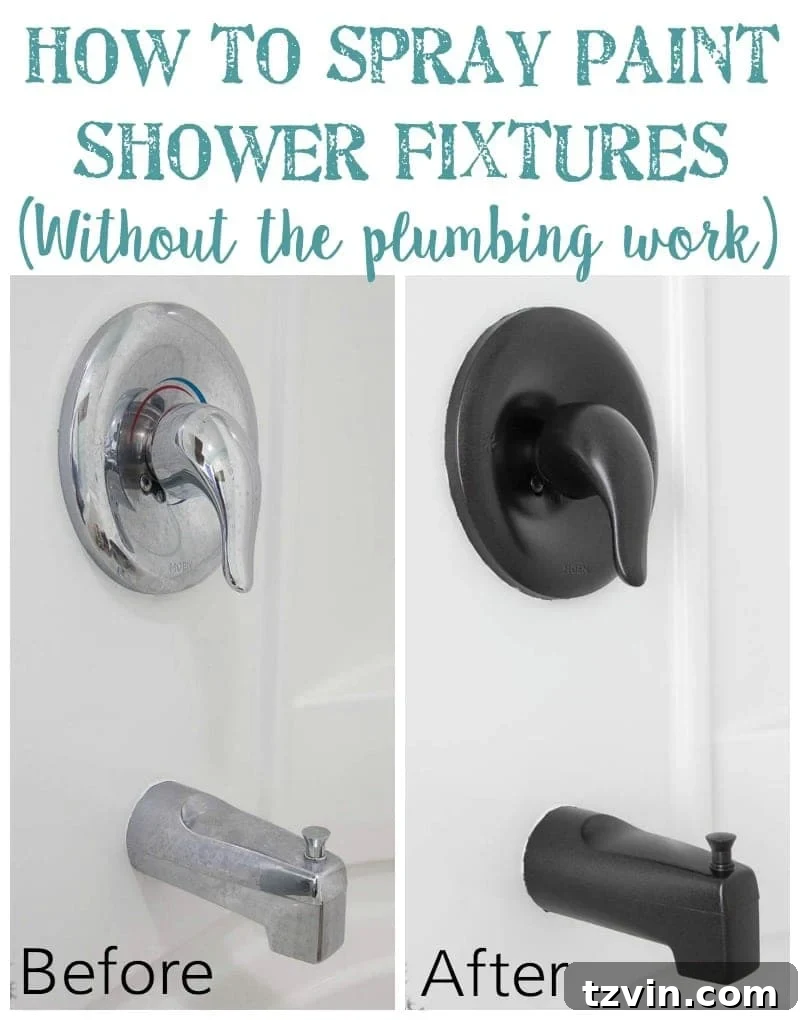
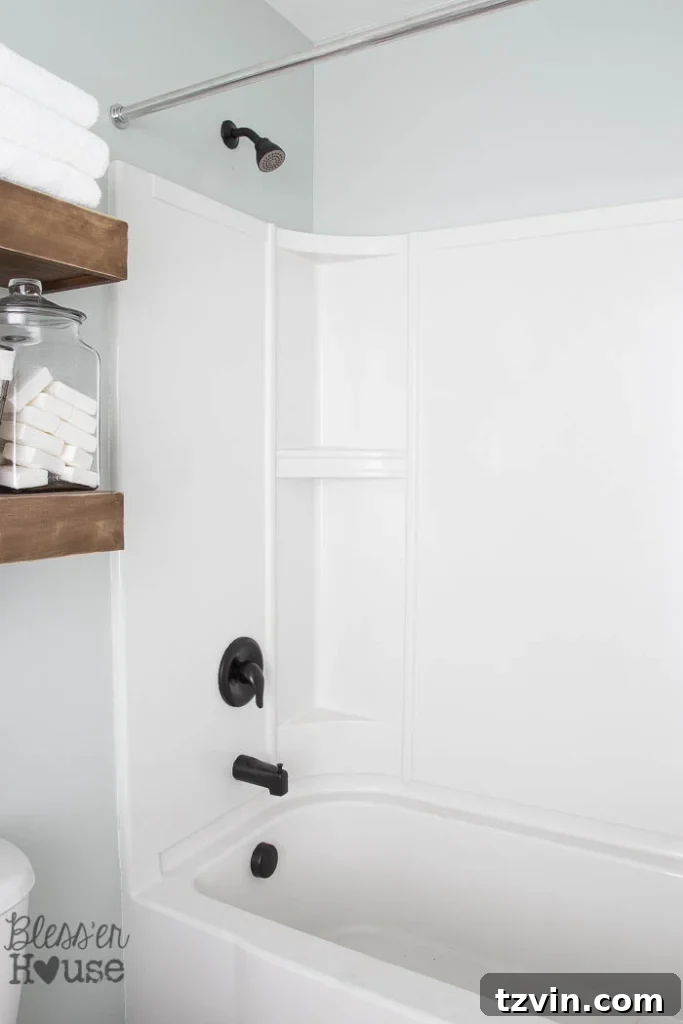
Our hallway bathroom makeover is officially complete, and the full reveal is just around the corner! The crowning glory? Beautifully spray-painted shower fixtures. They look absolutely fantastic, and the best part is I didn’t have to touch a single plumbing wrench. Frankly, I wouldn’t even know where to begin with plumbing, and in this specific shower, the lack of an access panel meant removing the fixtures would have required a professional plumber – a cost I was keen to avoid.
This project proves that with the right materials and a little patience, you can achieve a sophisticated, updated look for your bathroom without breaking the bank or hiring expensive professionals. Say goodbye to dull, outdated chrome and hello to stylish, personalized finishes.
UPDATE: See the complete bathroom makeover reveal here!
Related: The Best Gold Spray Paints: Ranked for Your Next DIY Project
How to Spray Paint Faucets and Shower Fixtures for a Flawless Finish
Embarking on a spray painting project for your bathroom fixtures requires careful preparation and the right tools. The key to a durable and professional-looking finish lies in using high-quality products designed for adhesion and resistance in a humid environment. Here’s everything you’ll need to transform your chrome or dated fixtures into a fresh, modern statement piece.
Essential Supplies for Your Fixture Makeover
- Coarse Grit Sandpaper: Essential for roughing up the existing surface to ensure proper adhesion of primer and paint. Look for 100-150 grit.
- Painter’s Tape: High-quality tape is crucial for sharp lines and protecting surrounding surfaces. I highly recommend this specific kind for its reliability.
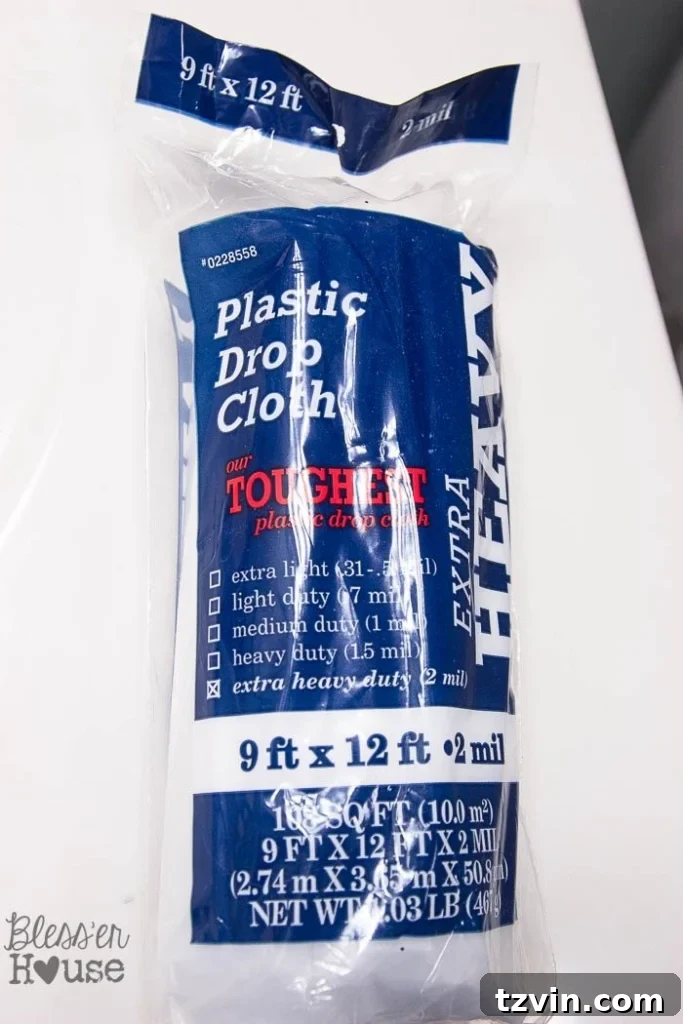
- Plastic Drop Cloth: You’ll need plenty of this to protect every inch of your bathroom not being painted. Don’t skimp on coverage! A large plastic drop cloth works best.
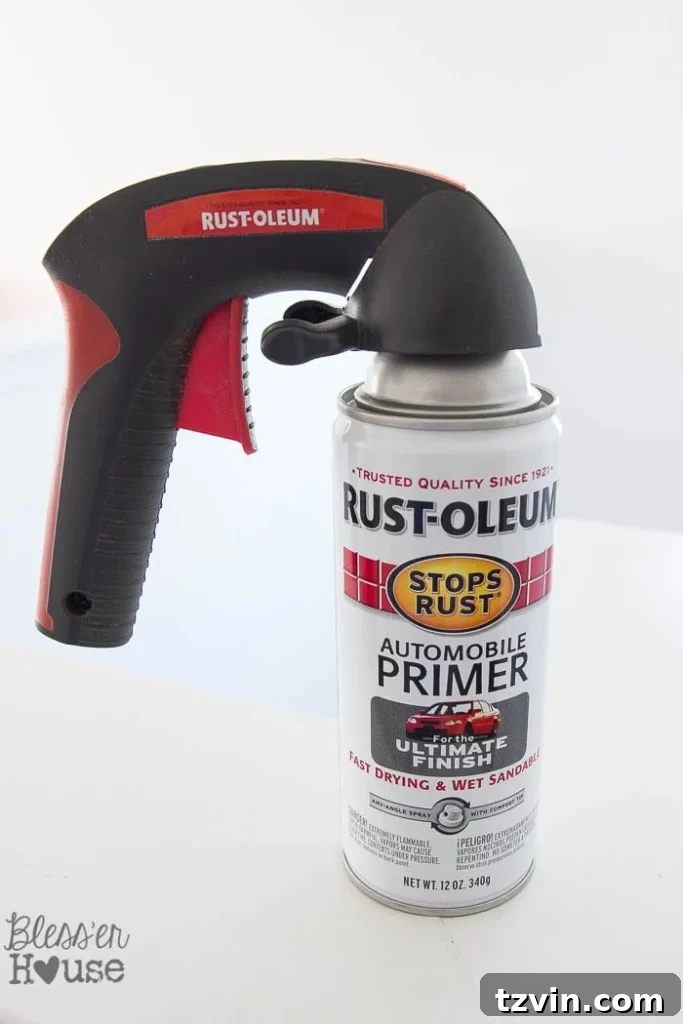
- Automobile Spray Primer: This type of primer is incredibly durable and designed for tough surfaces, making it perfect for high-traffic, moisture-prone bathroom fixtures. I’m a huge fan of Rustoleum products; their automobile spray primer is excellent.
- Rustoleum Universal Oil Rubbed Bronze Spray Paint: This provides a beautiful, rich finish. The “Universal” line means it adheres well to many surfaces. This is my go-to choice for many projects, including this one.
- High Gloss Lacquer Spray: A clear topcoat is vital for sealing and protecting your painted finish from moisture, wear, and tear, ensuring longevity. Opt for a high gloss lacquer spray for added durability and shine.
- Respirator Mask: Safety first! Always wear a respirator mask to protect yourself from inhaling paint fumes. Ensure good ventilation.
- Safety Glasses: Protect your eyes from overspray and dust during sanding.
- Razor Blade or Utility Knife: Essential for scoring the edges of the painter’s tape before removal, preventing paint from peeling. A sharp utility knife or razor blade will do the trick.
Estimated Total Cost: Approximately $35 for non-reusable materials. This modest investment can save you hundreds, even thousands, compared to replacing all your bathroom fixtures.
Before diving in, I dedicated considerable time to researching the best methods for spray painting fixtures to ensure maximum durability. Drawing inspiration from insightful tutorials on eHow and particularly this fantastic durability post from DIY ShowOff, I felt confident in my approach. The results truly speak for themselves!
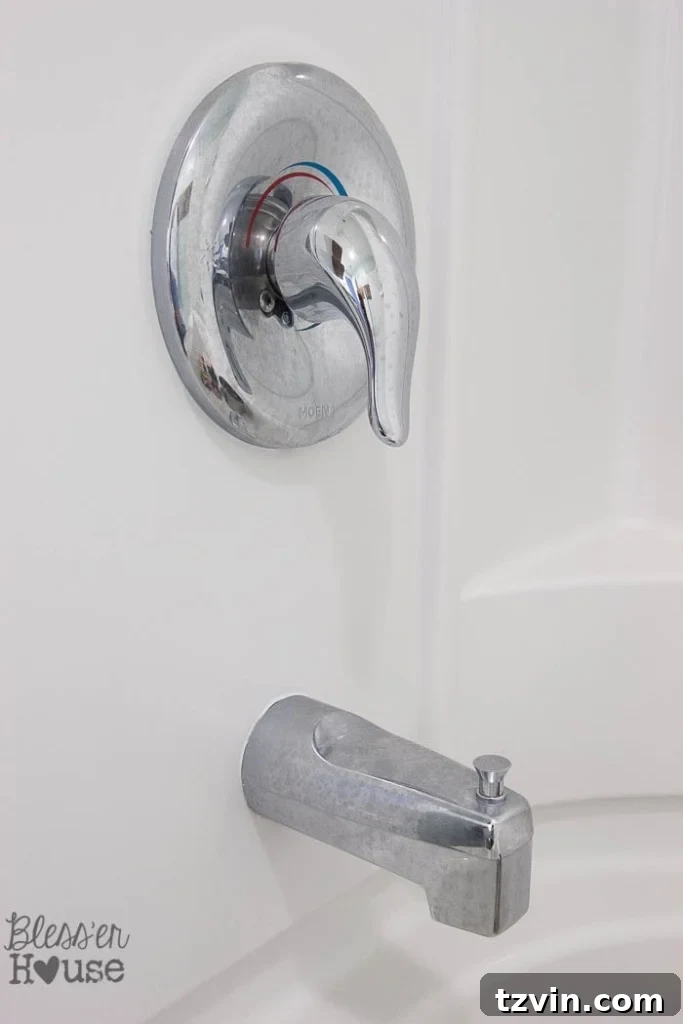
Here’s a look at the “before” state of our bathroom fixtures:
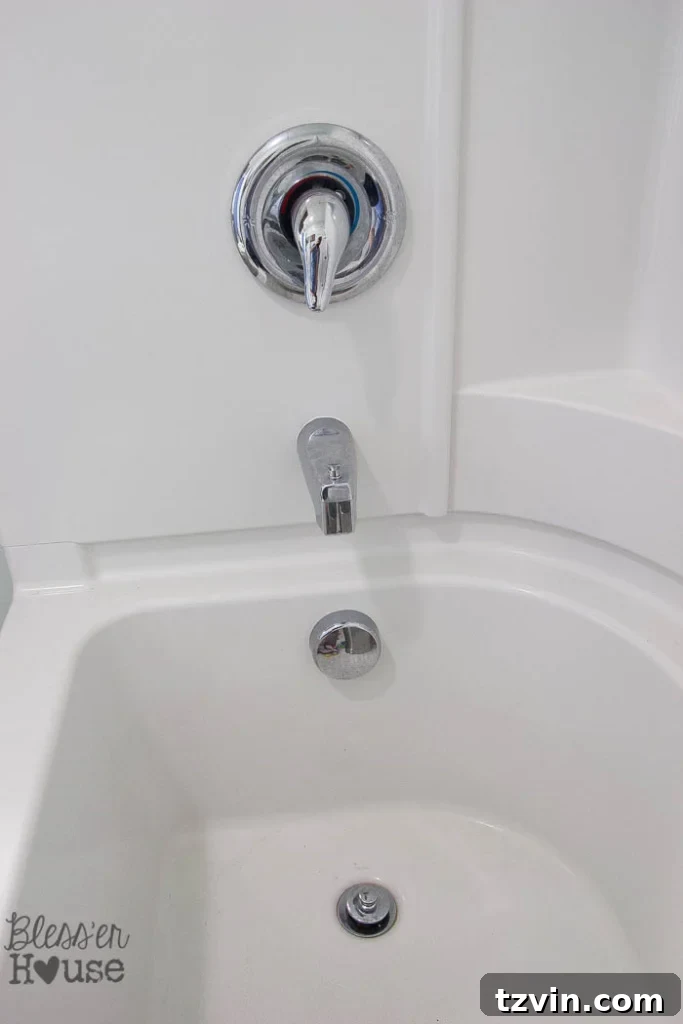
While there was nothing inherently “wrong” with the existing chrome finish, it simply didn’t align with the new aesthetic of our bathroom, especially after installing a gorgeous bronze faucet elsewhere. Replacing all these fixtures with new bronze ones would have easily cost several hundred dollars – a significant expense for a purely aesthetic change. Given my limited plumbing expertise, the idea of completely removing and reinstalling them was daunting and impractical. This spray painting method offered the perfect, budget-friendly solution.
Related: DIY Painted Bathroom Sink, Shower, Tub, and Countertop for a Full Refresh
Step-by-Step Guide to Spray Painting Your Bathroom Fixtures
The success of this project hinges on thorough preparation and patient application. We began by ensuring the shower would not be used for at least 48 hours to guarantee that all surfaces were completely dry and free of moisture, which is critical for paint adhesion.
Step 1 – Thoroughly Clean and Dry Fixtures
Before any sanding or taping, meticulously clean all fixtures you plan to paint. Use a strong degreaser or a mixture of vinegar and water to remove any soap scum, hard water stains, oils, or grime. Rinse thoroughly and allow the fixtures to air dry completely for at least 24-48 hours. Any residual moisture can cause adhesion issues and bubbles in your paint finish.
Step 2 – Sand the Surface for Optimal Adhesion
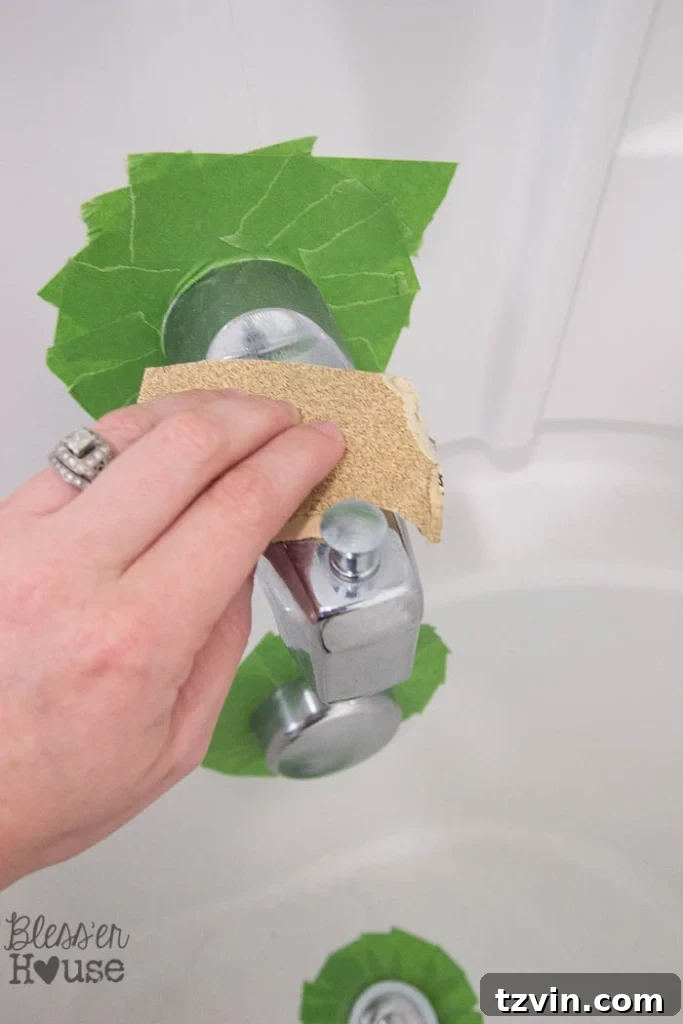
With your fixtures completely dry, it’s time for sanding. This step is crucial for creating a “tooth” on the smooth chrome surface, allowing the primer and paint to grip effectively. Using coarse grit sandpaper (100-150 grit), meticulously scuff up all areas you intend to paint. You don’t need to remove the chrome entirely, just create a dull, scratched surface. After sanding, carefully wipe away all dust and debris with a damp cloth, followed by a dry cloth. Ensure no dust particles remain, as they can lead to a bumpy finish.
Step 3 – Precisely Tape Around Fixtures
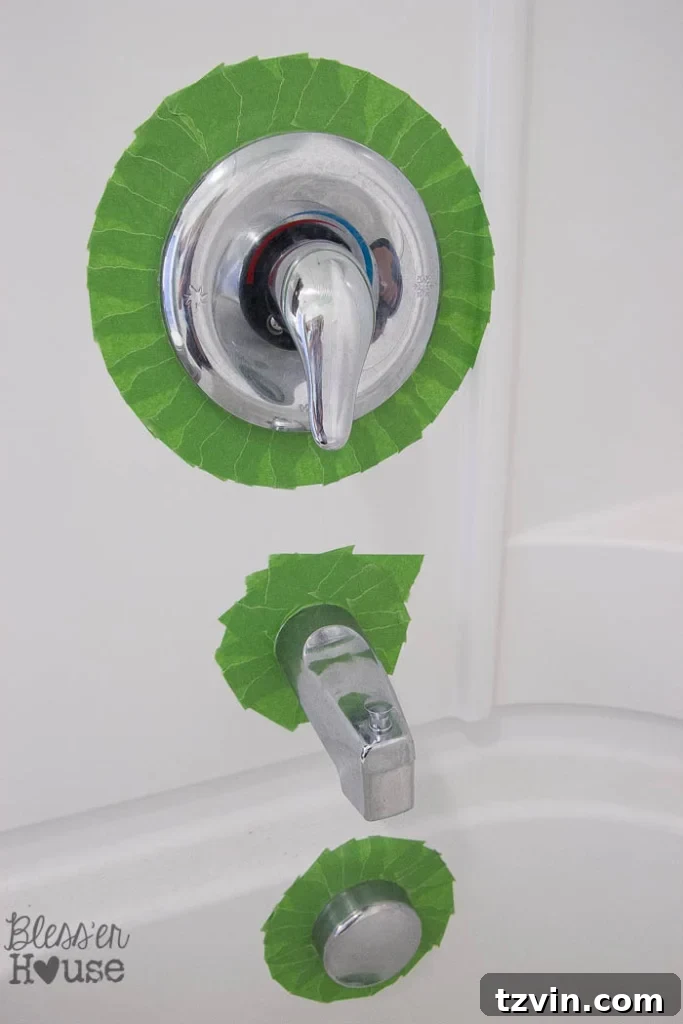
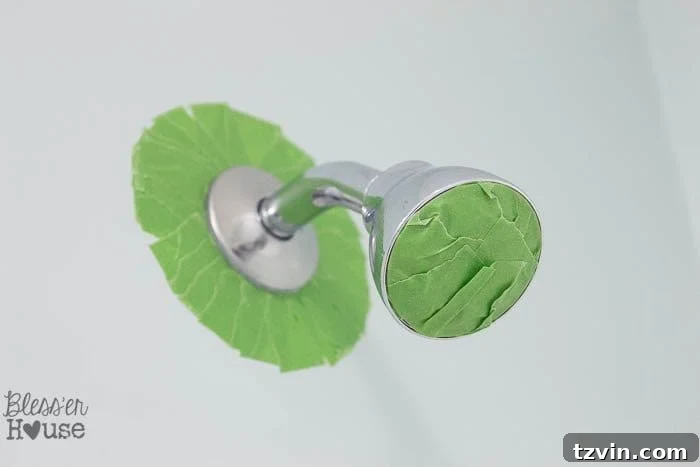
Now for the meticulous task of taping. Using high-quality painter’s tape, carefully mask off all areas you do NOT want to paint. This includes the surrounding tile, grout lines, rubber gaskets, and any parts of the fixtures themselves that should remain unpainted. Achieving perfect circles around faucet bases and shower arm connections can be tricky, so take your time and press the tape down firmly to create a tight seal. I initially jumped ahead and taped before sanding, but I recommend sanding first for better adhesion to the fixture, then taping.
Step 4 – Create a “Quarantine Zone” to Protect Your Bathroom
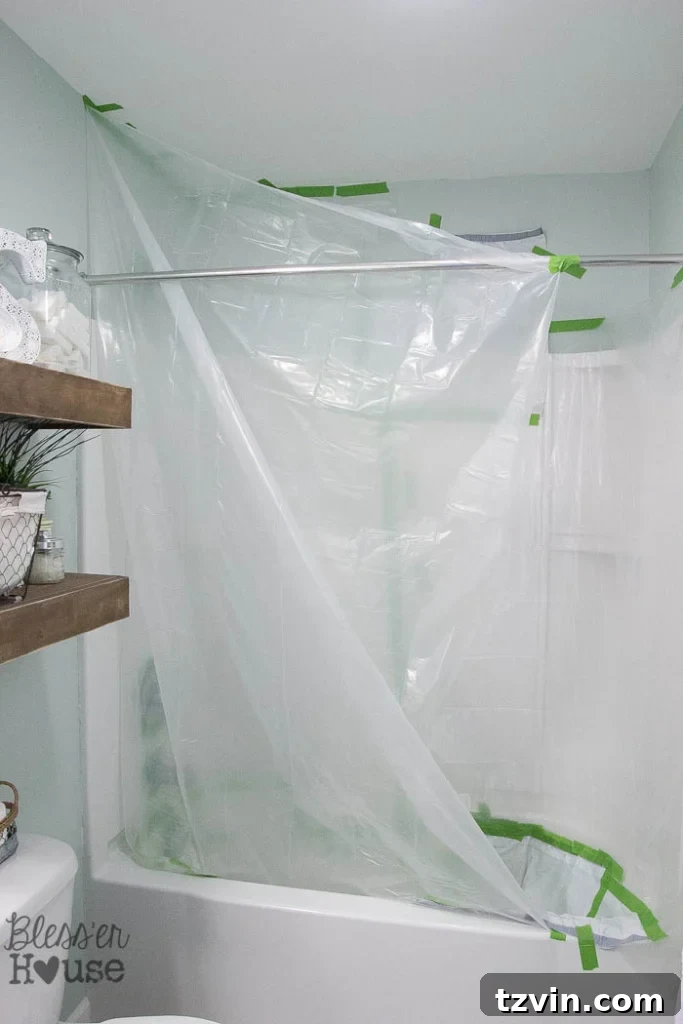
This is where your bathroom will transform into a veritable “crime scene” – or rather, a highly protected spray painting zone! Drape plastic drop cloths over every surface you wish to protect from overspray: the shower walls, floor, toilet, vanity, and any nearby towel racks or decor. Use painter’s tape to secure the drop cloths completely, ensuring there are no gaps or loose edges. Trust me, overspray travels further than you think, and a little extra effort here saves a lot of cleanup later. I learned this lesson the hard way from spray painting our primary bathroom shower door!
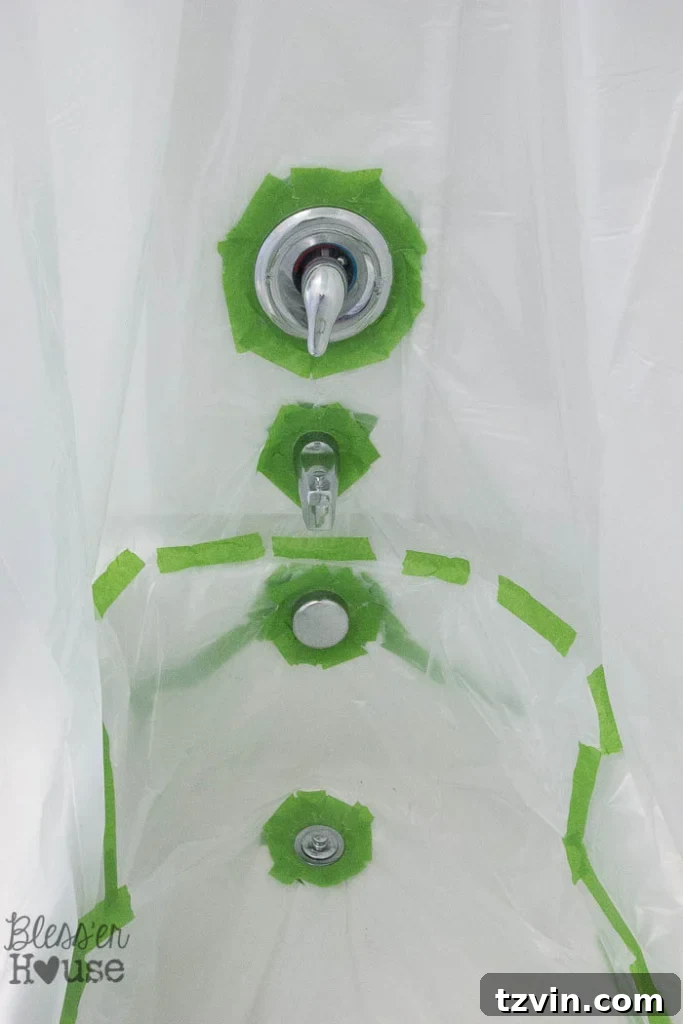
It was during this elaborate taping phase that Robert walked in, giving me that knowing “what are you up to now?” look. Thankfully, he usually finds these projects as exciting as I do!
Step 5 – Prime for Durability and Even Coverage
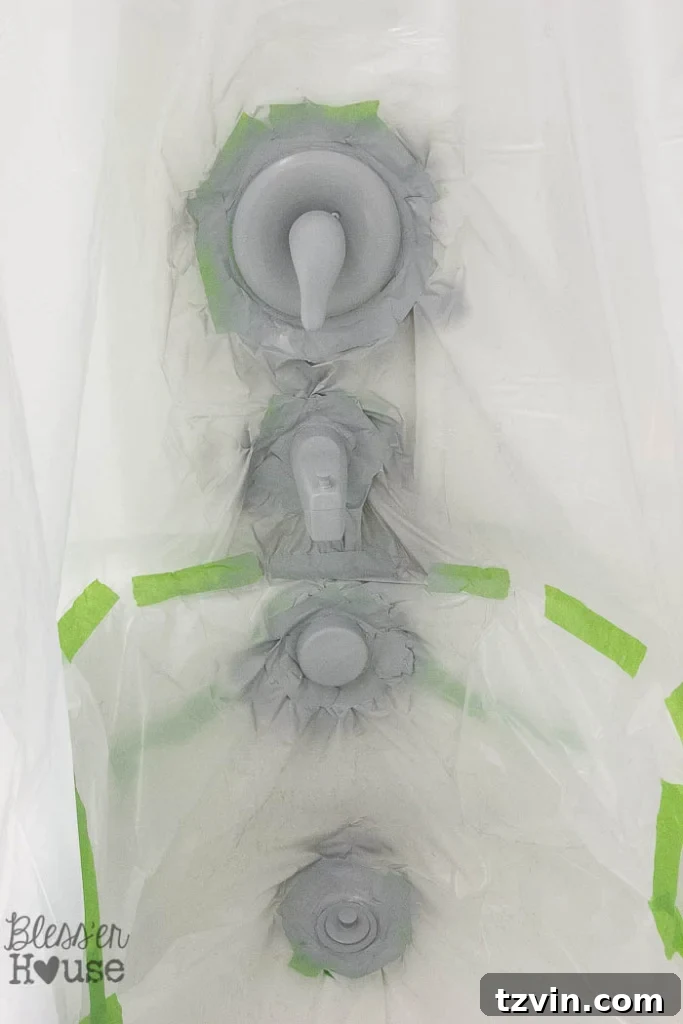
Now, wearing your respirator mask and safety glasses, it’s time to apply the automobile primer. Hold the spray can approximately 10-12 inches away from the fixture and apply two very light, even coats. The goal here is not full coverage on the first pass, but a thin, consistent layer that will help the topcoat adhere and prevent chipping. Move your hand in a steady, sweeping motion to avoid drips and splotches. Allow adequate drying time between coats as per the manufacturer’s instructions, typically 15-30 minutes. This primer step is critical for ensuring your paint job lasts in a humid environment.
Always err on the side of caution with multiple light coats rather than one or two heavy ones. This technique yields a much smoother, more professional, and chip-resistant finish. Heavy coats are prone to drips, unevenness, and longer drying times, increasing the risk of imperfections.
Step 6 – Apply Color in Light, Even Coats
Approximately an hour after the final primer coat has dried (or as recommended by the manufacturer), it’s time for the color. Using your chosen spray paint, apply three light, even coats of the oil-rubbed bronze. Maintain the same distance and sweeping motion as with the primer. Allow sufficient drying time between each coat – usually 15-30 minutes, but always check the can. Patience here is paramount for achieving a smooth, consistent, and beautiful finish that will stand the test of time.
Step 7 – Seal With Spray Lacquer for Maximum Protection
Once the final coat of color has fully dried (this might take a few hours), it’s time for the protective topcoat. Apply two light, even coats of the high gloss lacquer spray. This clear sealant is your ultimate defense against moisture, scratches, and daily wear, significantly enhancing the durability and longevity of your newly painted fixtures. Just like with the paint, ensure each coat is thin and allowed to dry thoroughly according to the product instructions. The entire spray painting process, while not technically difficult, does require a good amount of waiting time for each coat to dry, but the stunning, long-lasting results are absolutely worth every minute.
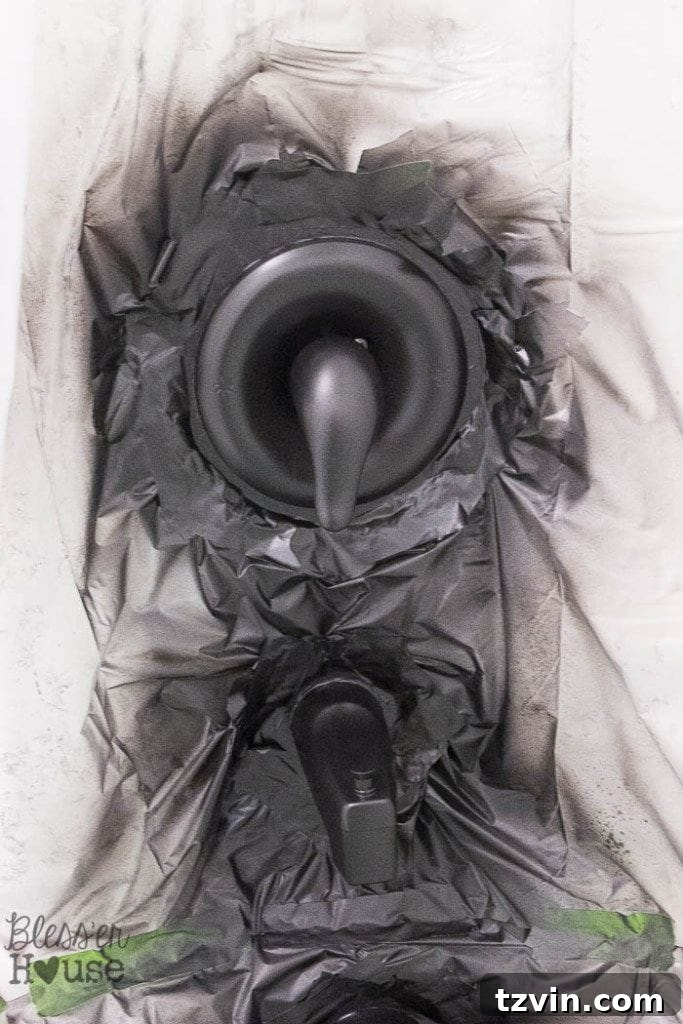
Step 8 – Score Tape Edges to Prevent Paint Peeling
This is a critical step that often gets overlooked, leading to frustrating paint peel. BEFORE attempting to remove ANY painter’s tape, carefully score along all taped edges with a sharp razor blade or utility knife. This cuts through the dried paint and lacquer layers that have formed over the tape, preventing the paint from tearing or peeling away from your newly finished fixtures when the tape is removed. This was another hard-earned lesson from a previous shower door painting project – live and learn!
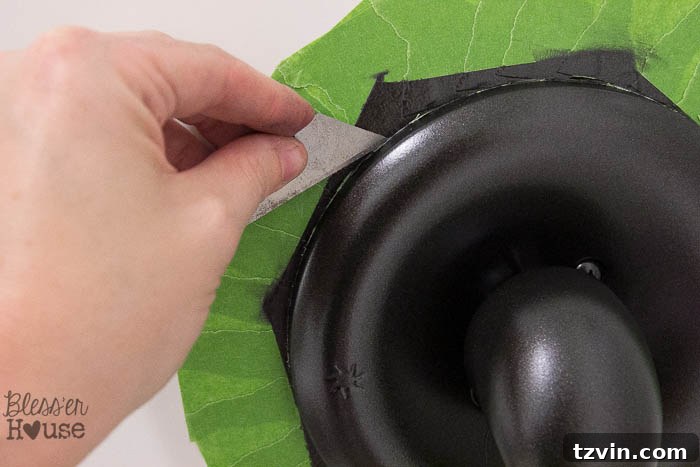
Step 9 – Carefully Remove Tape and Reveal Your New Look
Once the tape edges are scored, slowly and carefully peel away all painter’s tape and drop cloths. Pull the tape back at a 45-degree angle, making sure none of the freshly painted finish lifts with it. Take your time with this step to avoid any last-minute imperfections. You’ll be amazed by the crisp lines and the transformation of your bathroom fixtures! I was absolutely delighted with the final outcome.
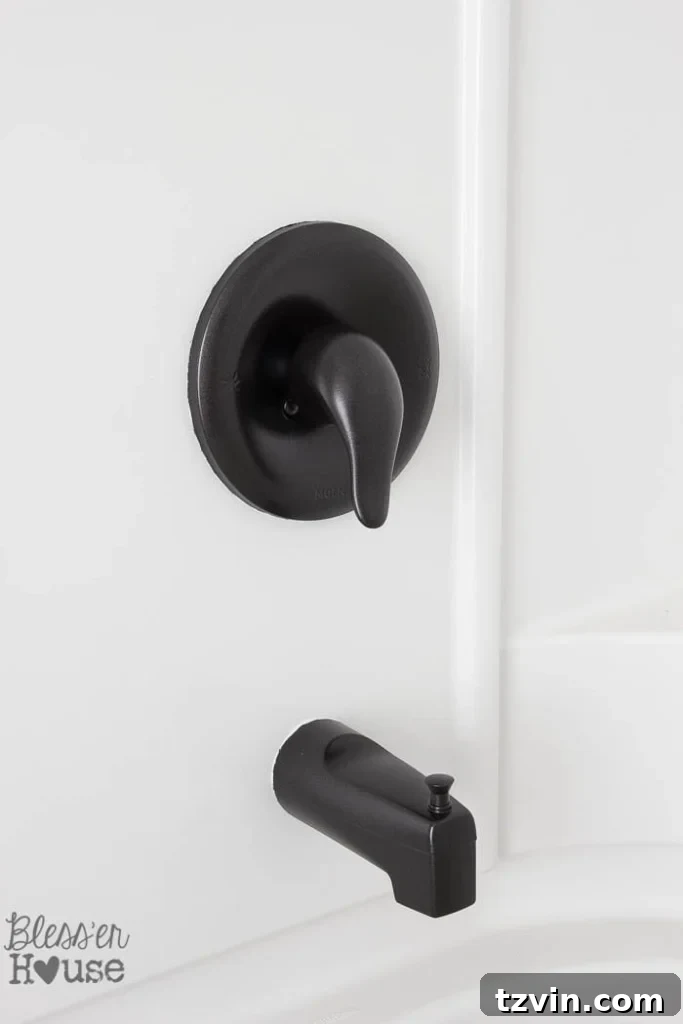
Step 10 – Allow Full Cure Time and Final Clean-up
After removing all the tape and plastic, allow the paint to fully cure for a minimum of 24-48 hours before exposing it to water or heavy use. This curing period is essential for the paint to achieve its maximum hardness and durability. Once cured, give the entire tub and shower area a gentle scrub to remove any lingering spray paint dust or residue. To complete the updated look, I also swapped out the old shower curtain rod for a matching bronze one, tying the whole space together beautifully.
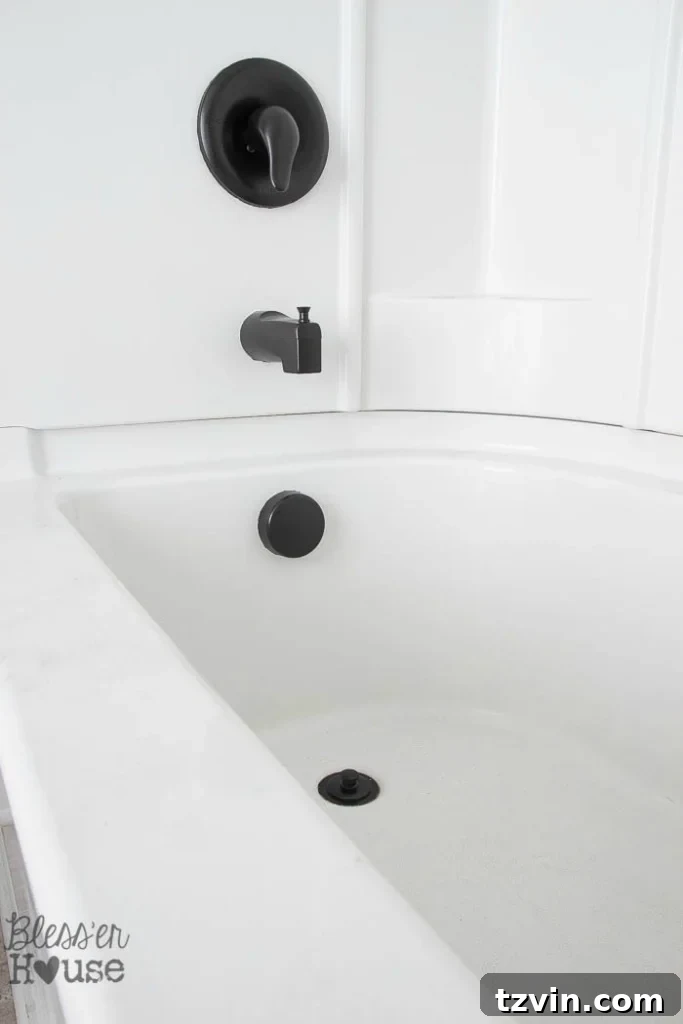
The Incredible Longevity of Spray Painted Bathroom Fixtures
One of the most common questions about this DIY project is, “How long does it really last?” I’m thrilled to report that it has been an astounding SIX years since I originally spray painted these very shower fixtures! We moved out of this house a year and a half after the project, and the finish remained as perfect as the day I painted them. Even better, the new homeowners have since confirmed that the fixtures are still holding up exceptionally well, maintaining their beautiful finish years later. This is a testament to the quality of materials and the meticulous application process detailed in this guide. With proper care, your spray-painted fixtures can offer years of stylish, durable performance, proving that this is far more than just a temporary fix.
How to Clean Painted Shower Fixtures for Long-Term Beauty
Maintaining the beauty and integrity of your newly painted fixtures is simple, as long as you adhere to a few basic cleaning guidelines. The most important rule is to avoid anything abrasive. Harsh chemical cleaners, scouring pads, or abrasive sponges can scratch and compromise the sealed painted surface. Instead, opt for a soft, microfiber cleaning cloth and a gentle, all-purpose cleaning spray. Simply wipe down the fixtures regularly to prevent soap scum and mineral buildup. While the lacquer provides excellent protection, extremely hard water could potentially affect the finish over a very long period, so consistent gentle cleaning is key. With this approach, your fixtures should retain their fresh, updated look for a considerable time!
Related: Whole House Deep Cleaning Checklist Printable: Simplify Your Routine
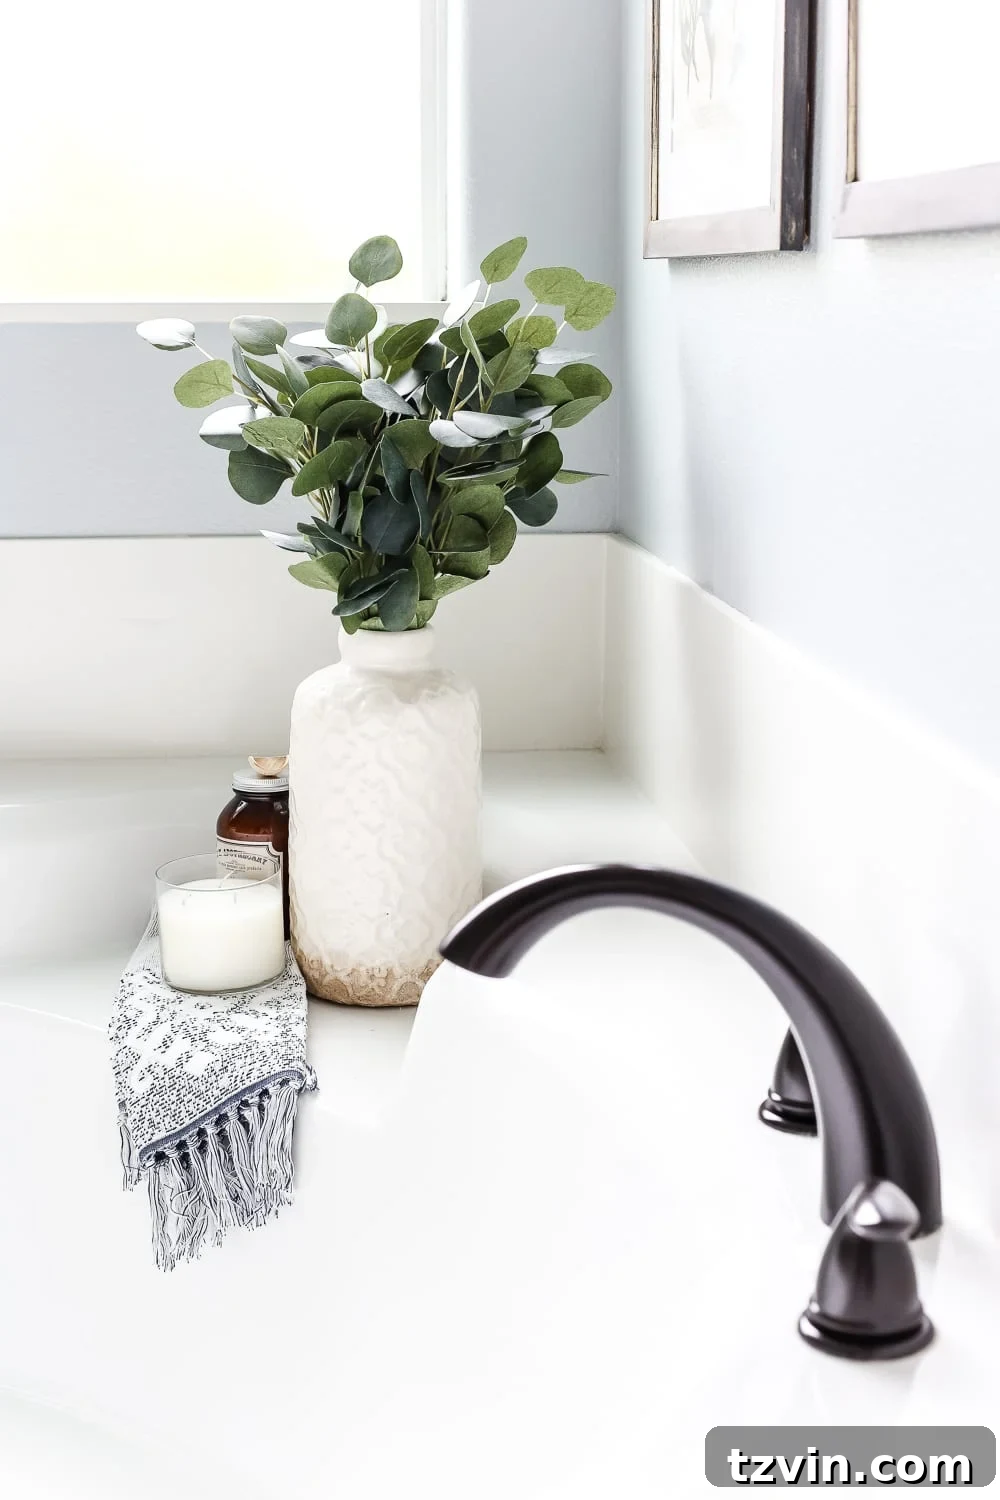
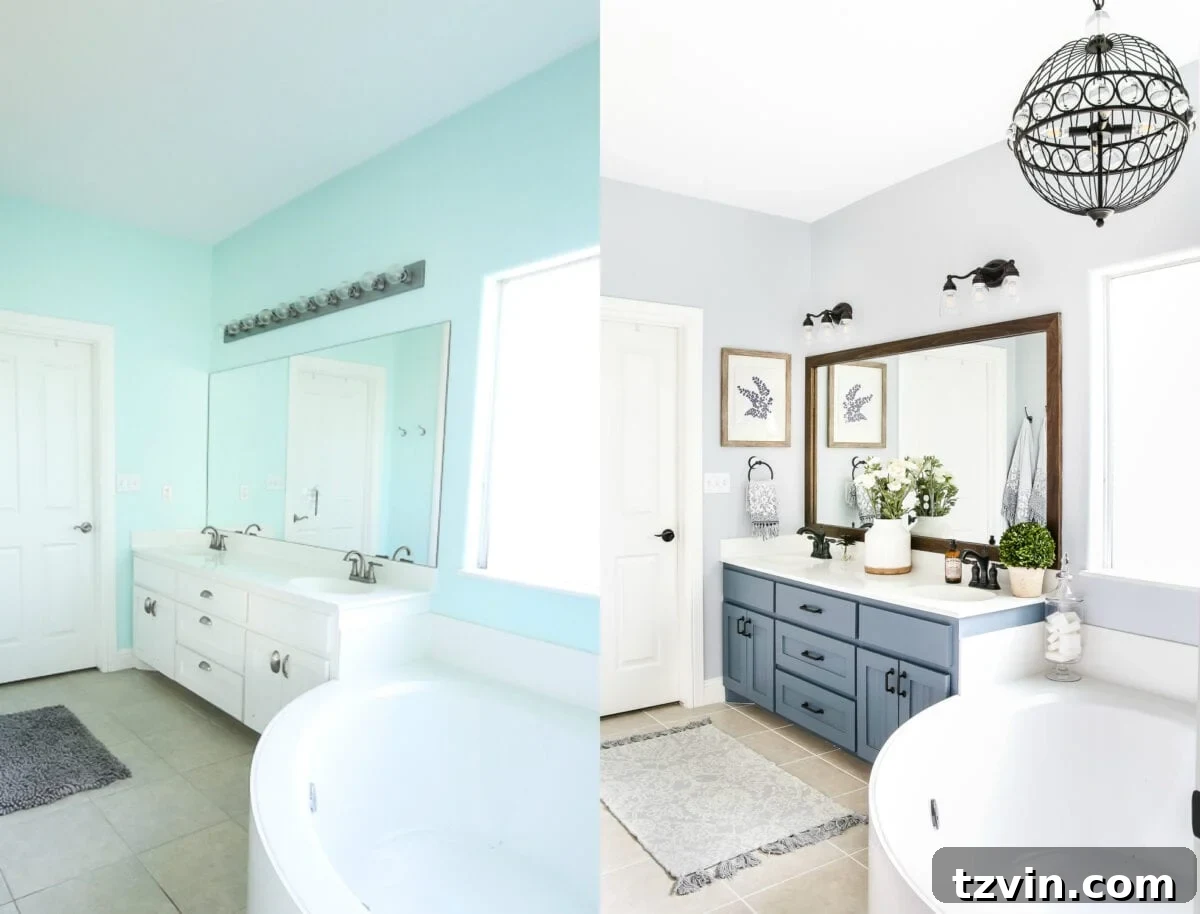
UPDATE: The success of this spray painting method was so impressive that we replicated it in another project just a couple of years later! We used the same technique on shower fixtures and a tub faucet in a budget-friendly DIY bathroom makeover, achieving equally fantastic results. This consistency further solidifies our confidence in this easy, impactful renovation strategy.
And, ahem… do you spot a little glimpse of those rustic shelves in the background? Eep! I promise I’ll stop teasing you all about the full reveal soon. Robert and I are currently having a celebratory, Ben & Jerry’s-fueled dance party over here, reveling in the success of this makeover. And I pinky promise a brief respite from the home improvement surprises… well, for at least a week!
Have you ever tackled spray painting bathroom fixtures or surprised your spouse with an amazing (or slightly disastrous) home improvement project? Share your stories in the comments below!
Explore More Simple & Impactful DIY Bathroom Ideas
Seamless Style: How to Install Sheet Vinyl Flooring Over Old Tile
Budget Makeover: DIY Painted Bathroom Sink, Shower, Tub, and Countertop
Serene Escapes: 10 Simple Spa Bathroom Ideas to Create Luxury for Less at Home