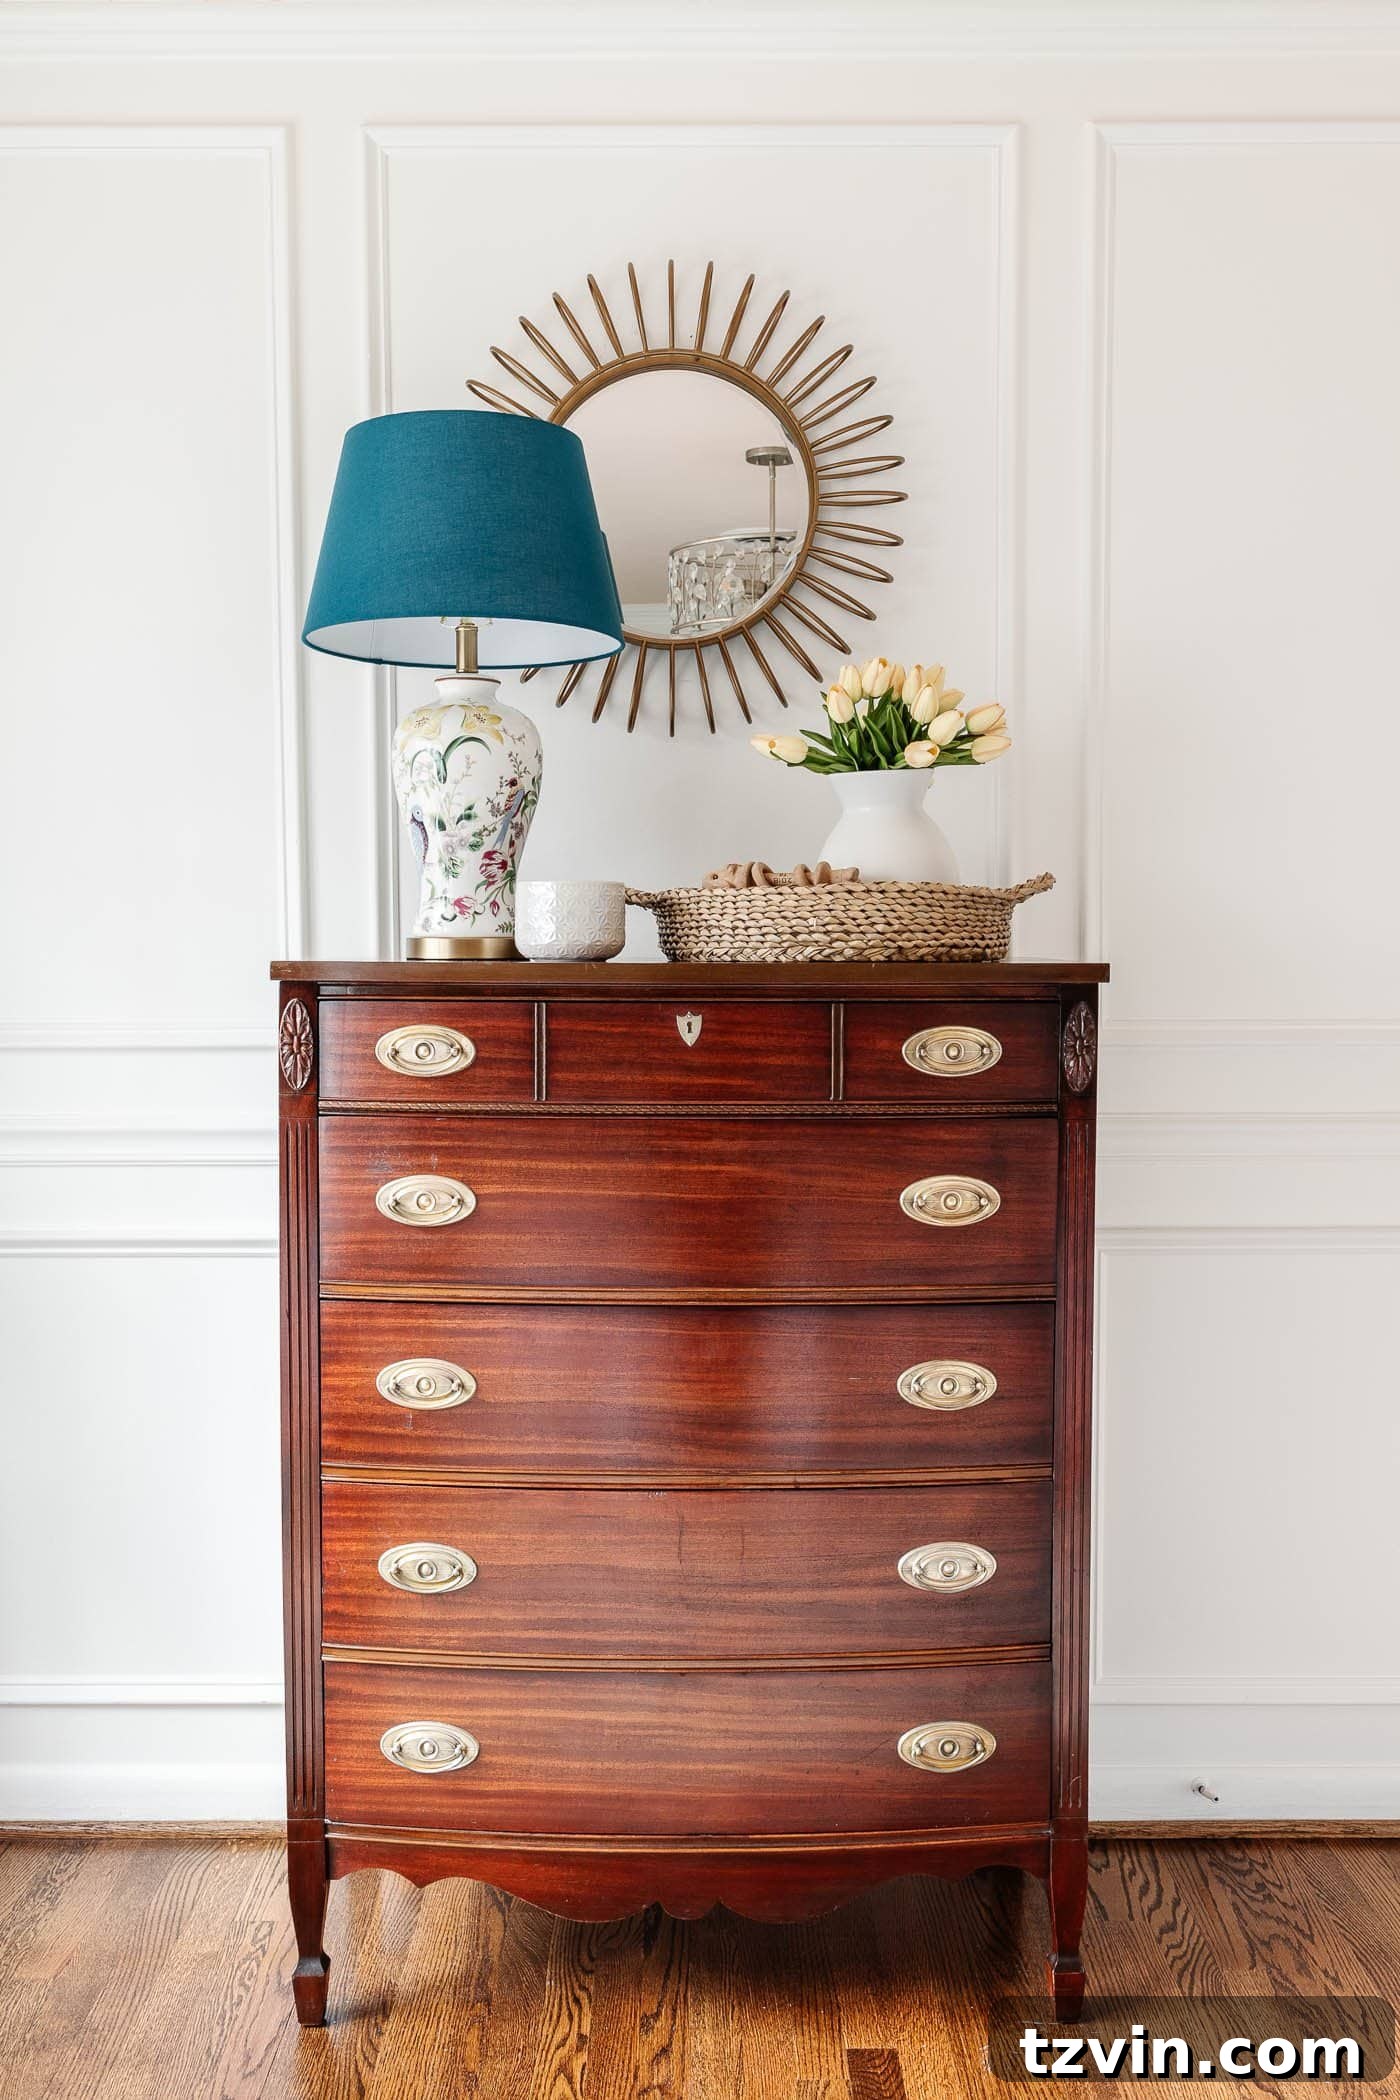
Uncover the proven methods and essential supplies for impeccably cleaning wooden furniture, banishing stubborn grime, and eliminating musty odors from treasured antique pieces.
There’s an undeniable thrill in discovering a vintage furniture gem, a “diamond in the rough” piece that promises to gleam with a touch of tender loving care. Whether you’ve just secured a fantastic secondhand coffee table, inherited a family heirloom, or simply wish to revive your existing solid wood furniture, this comprehensive guide will equip you with the knowledge to restore its beauty and breathe new life into your beloved wooden items.
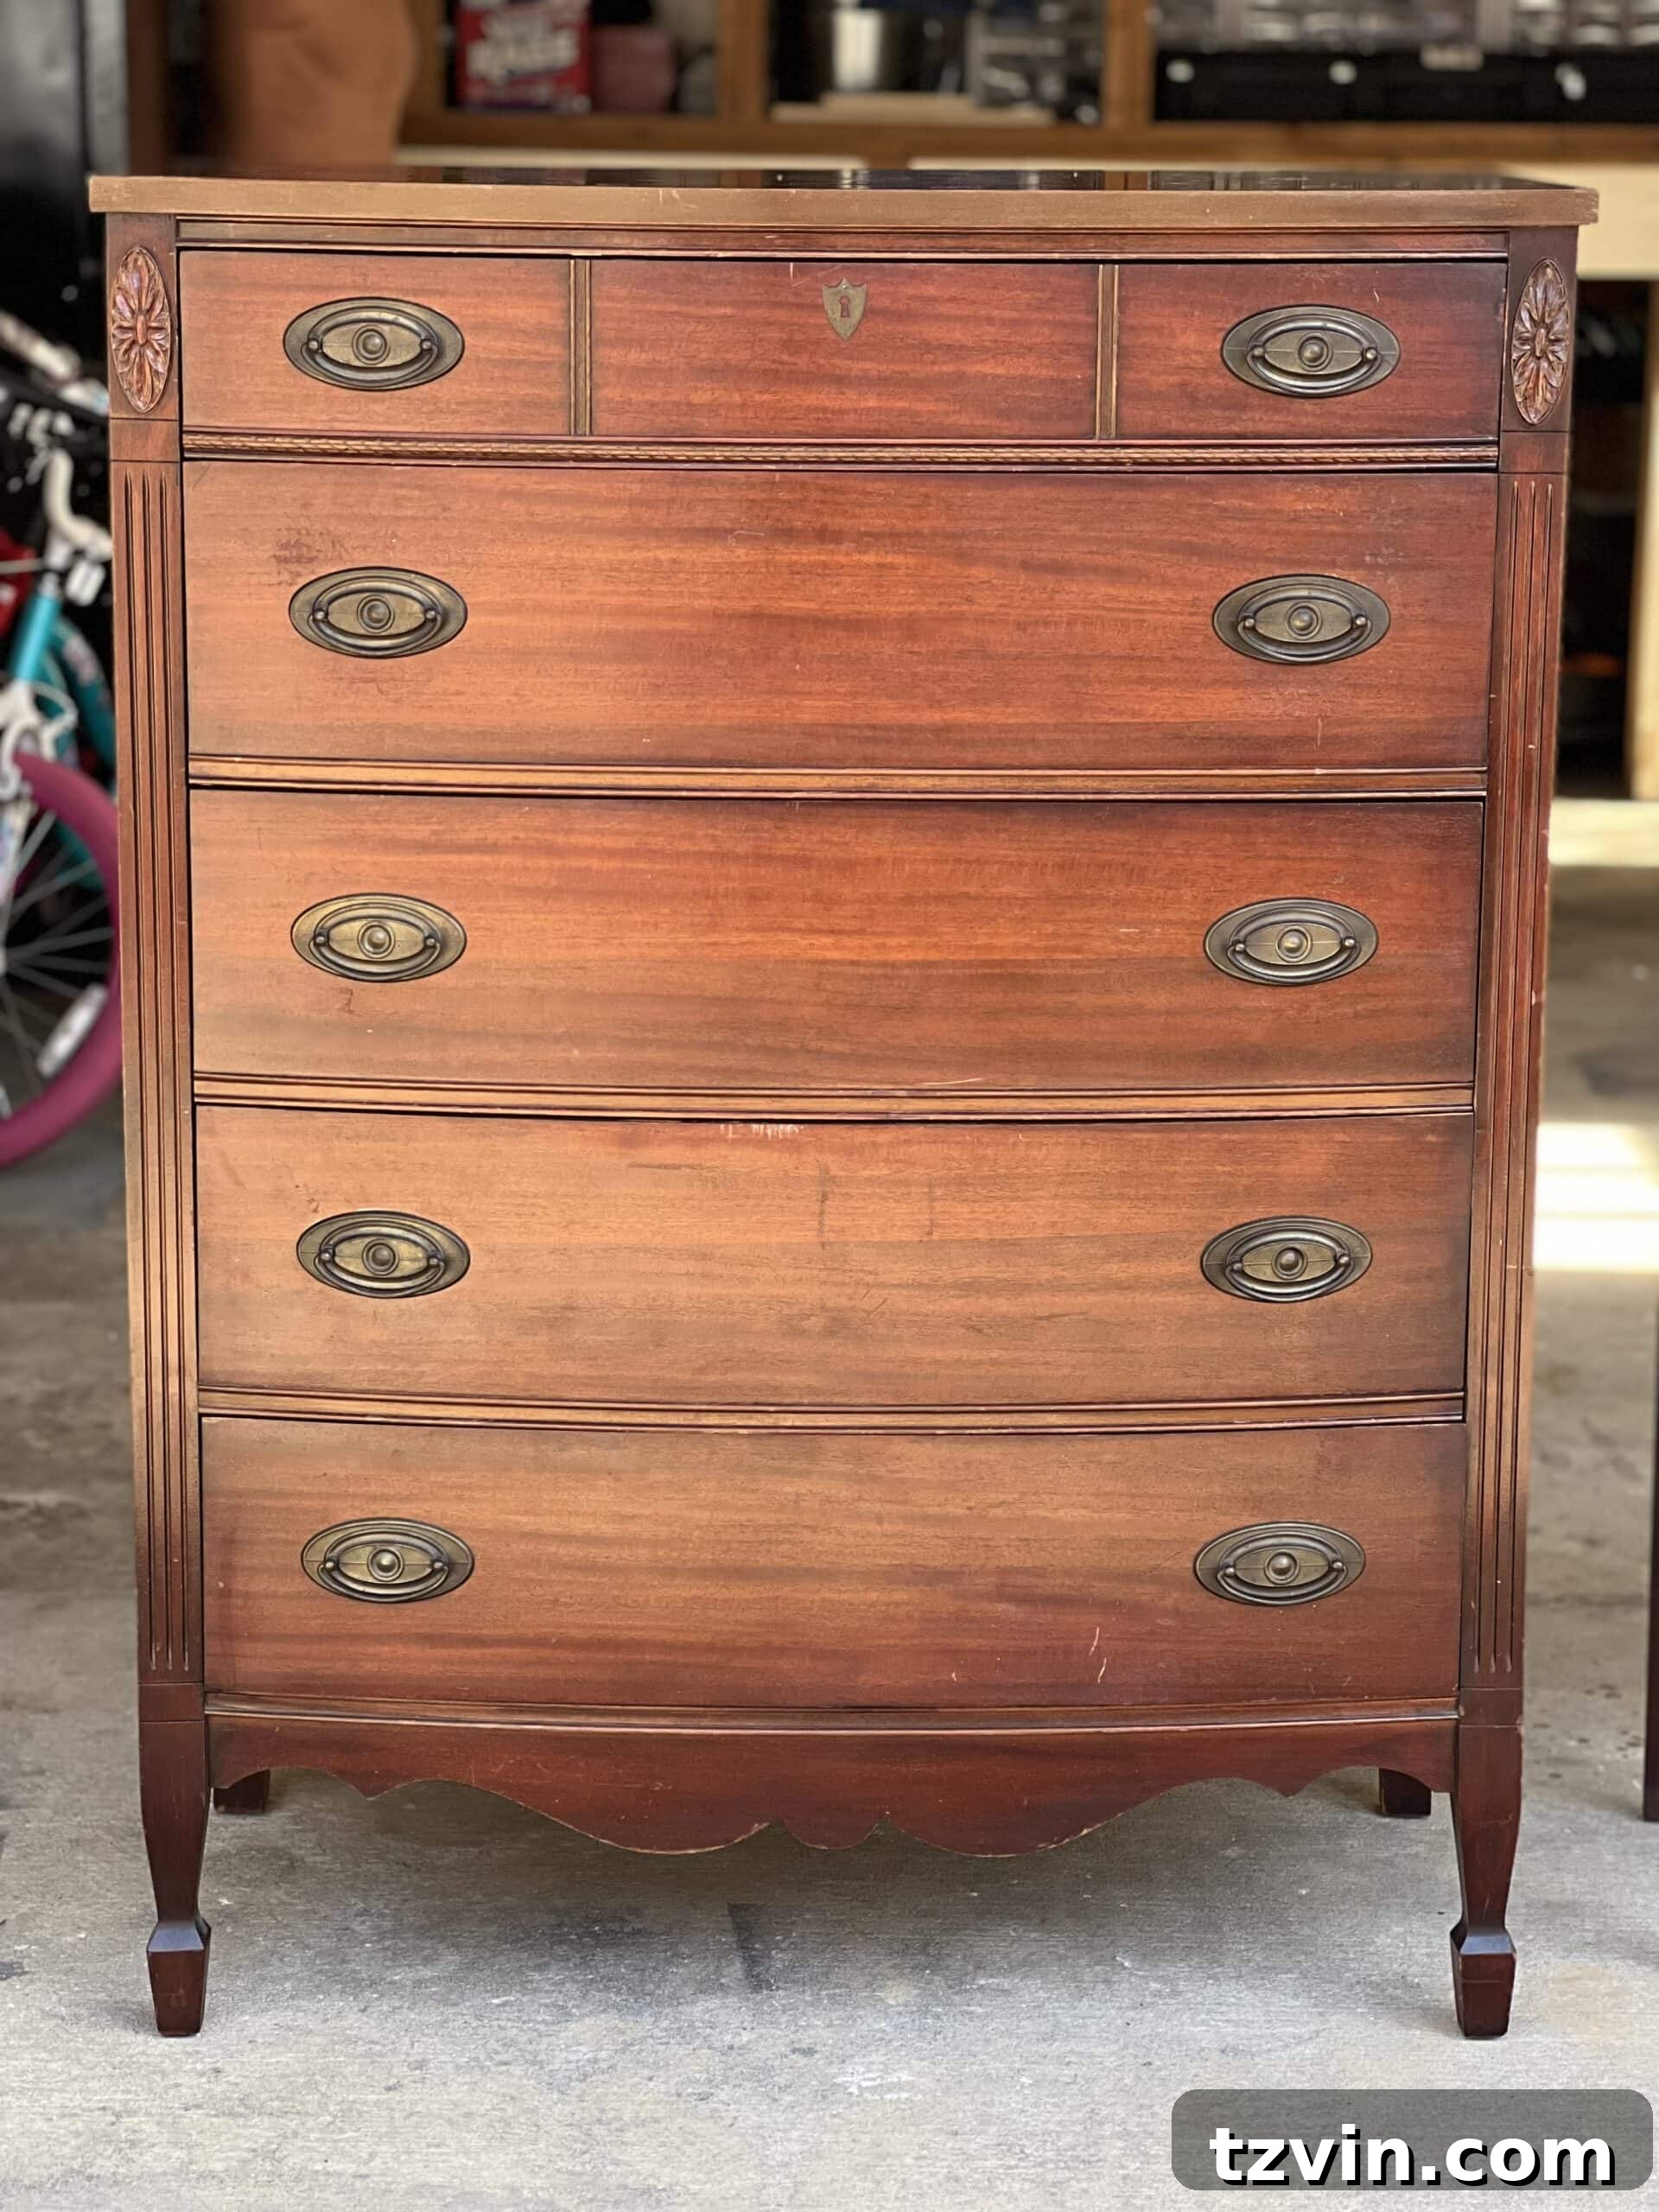
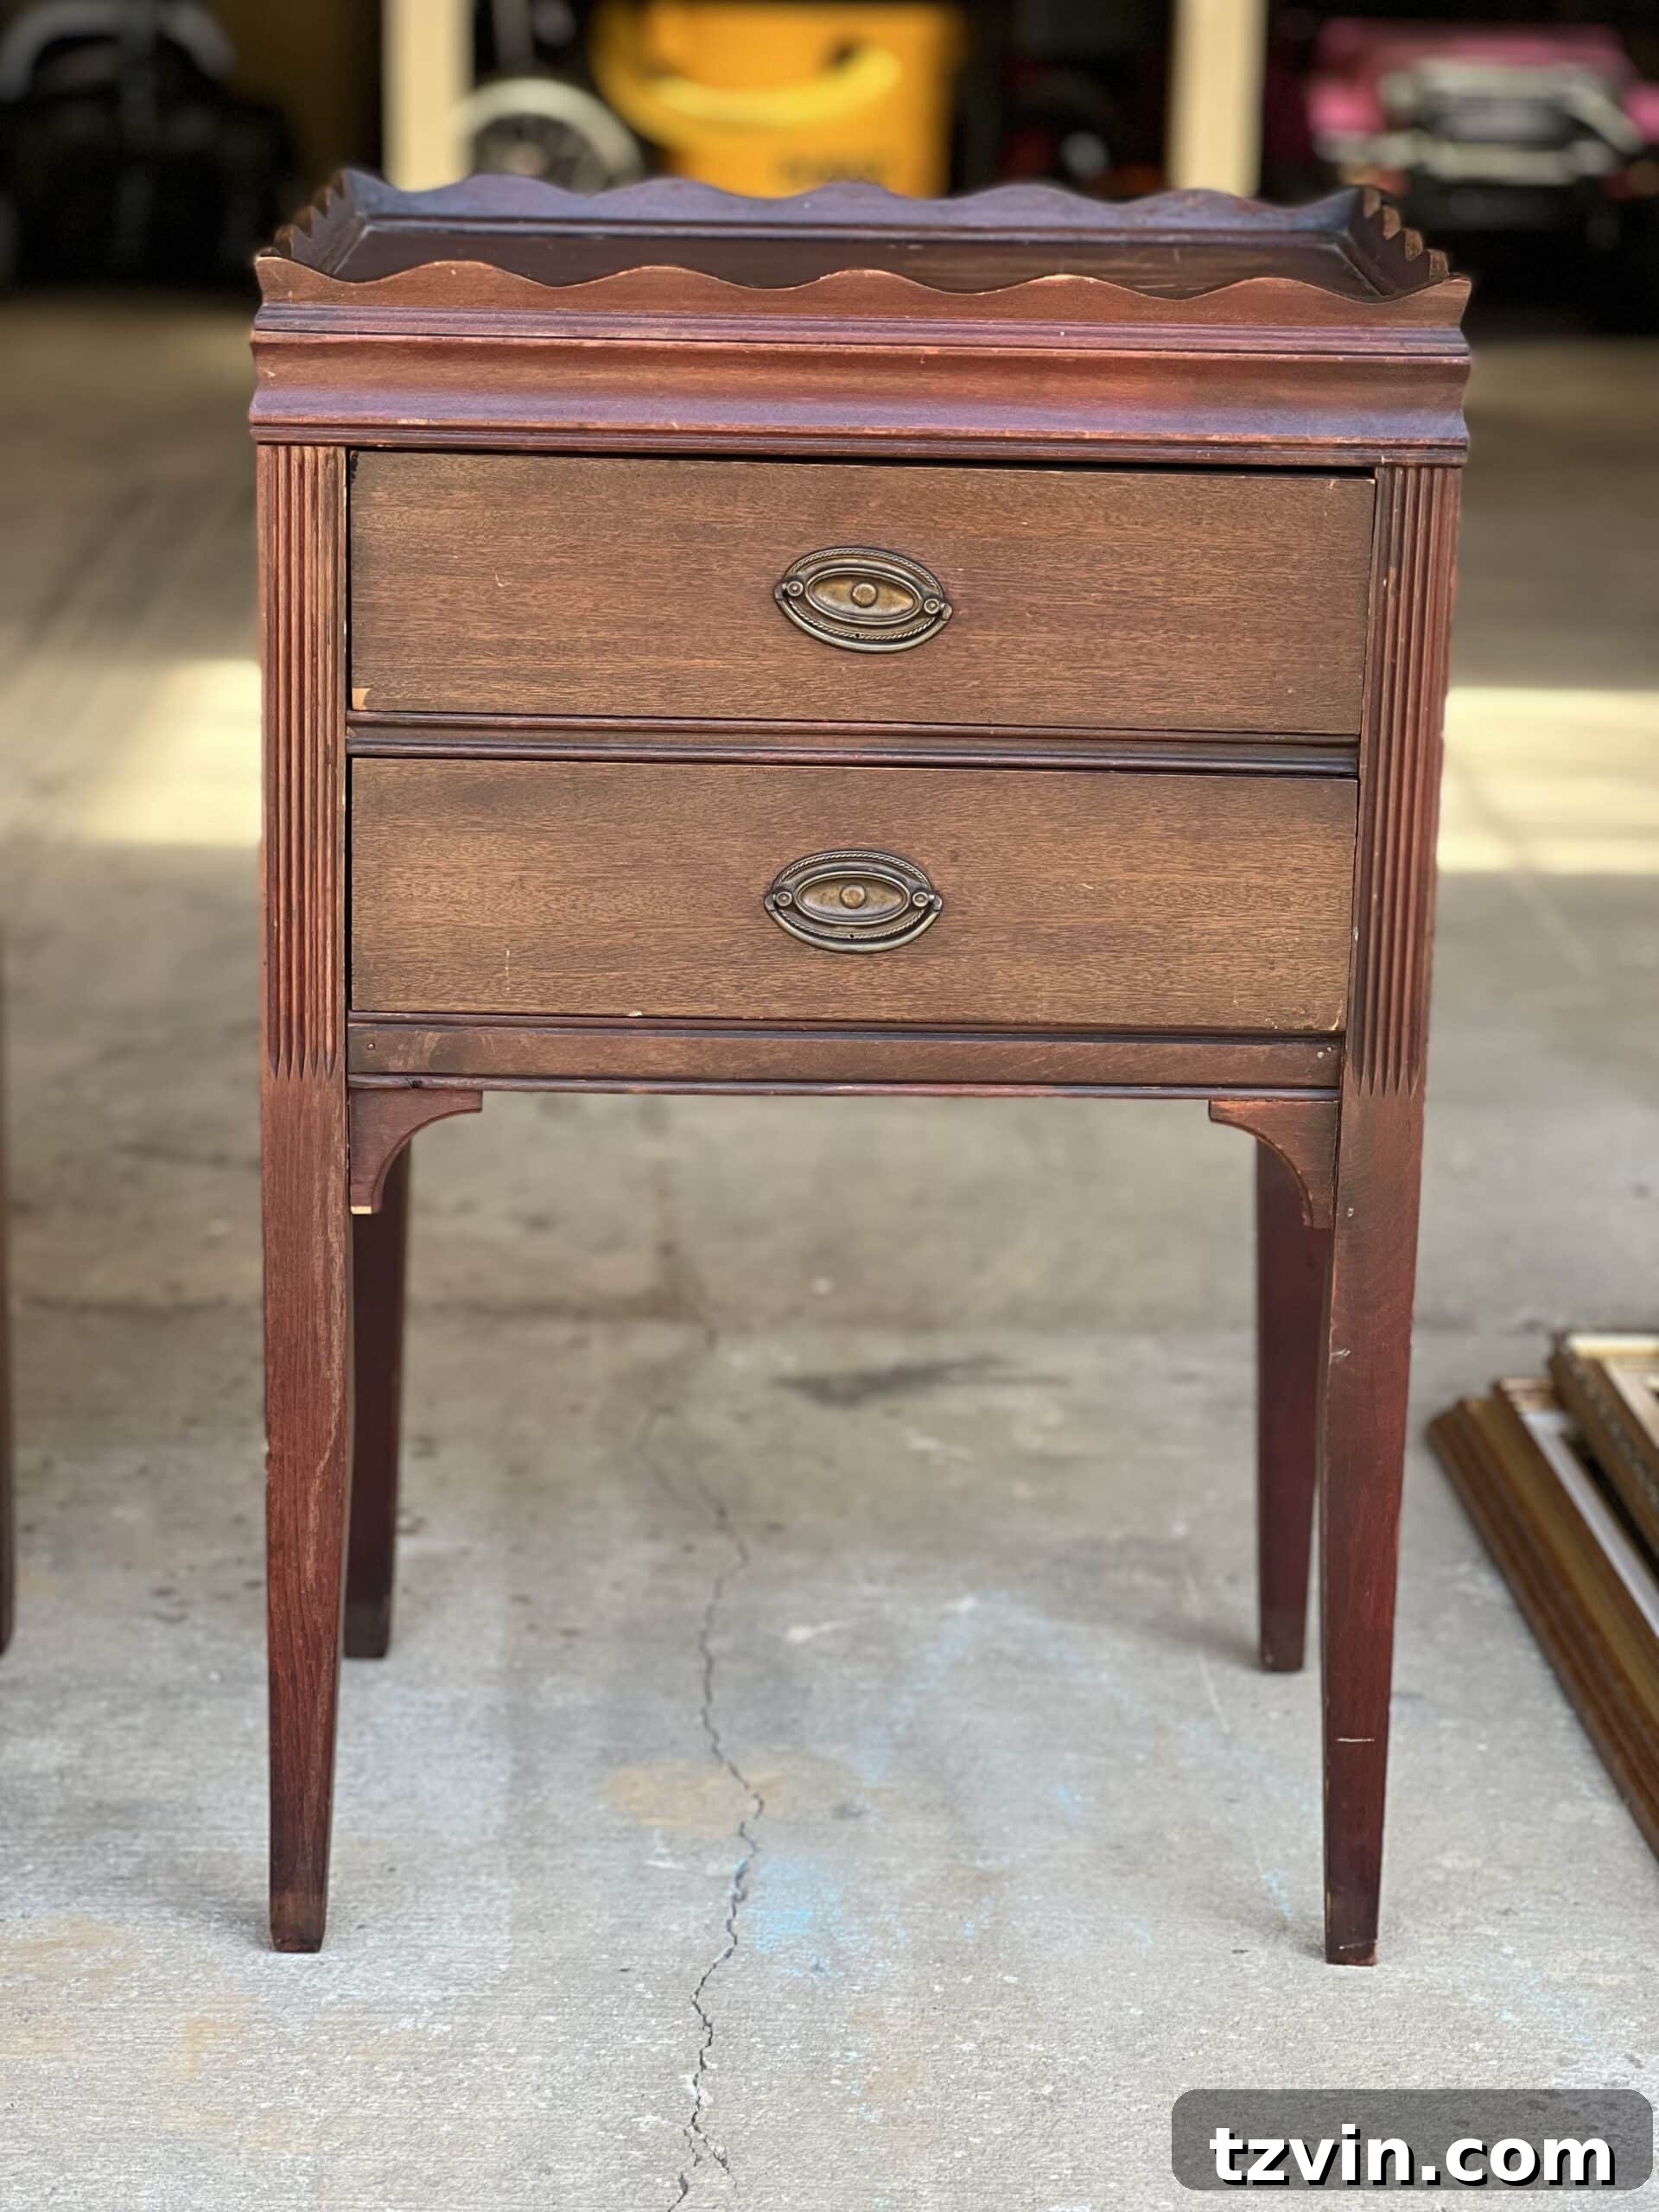
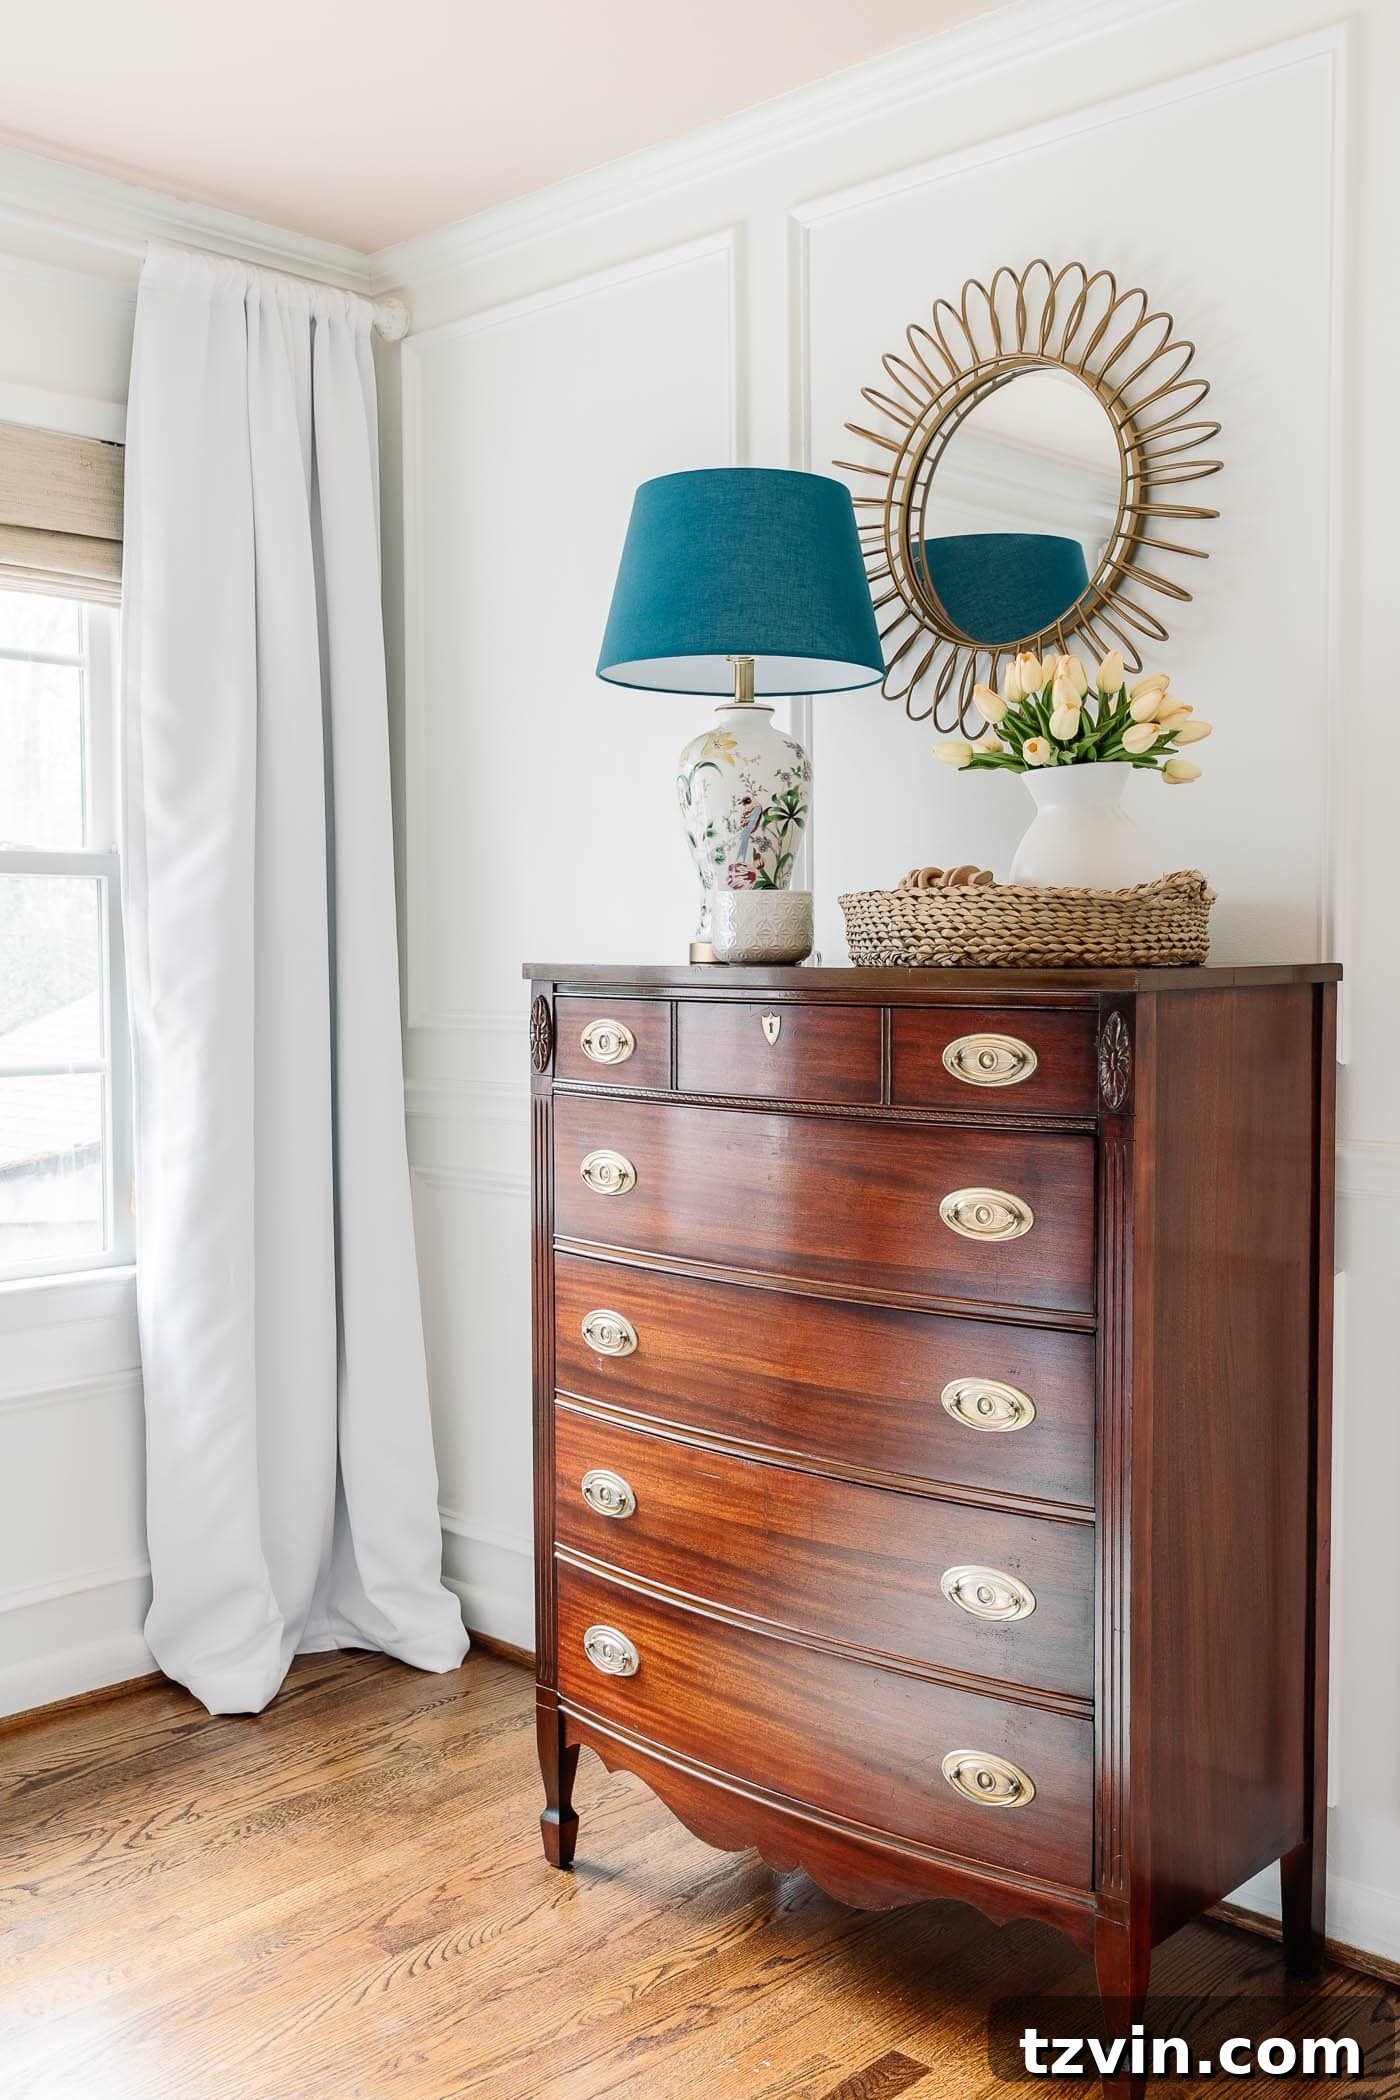
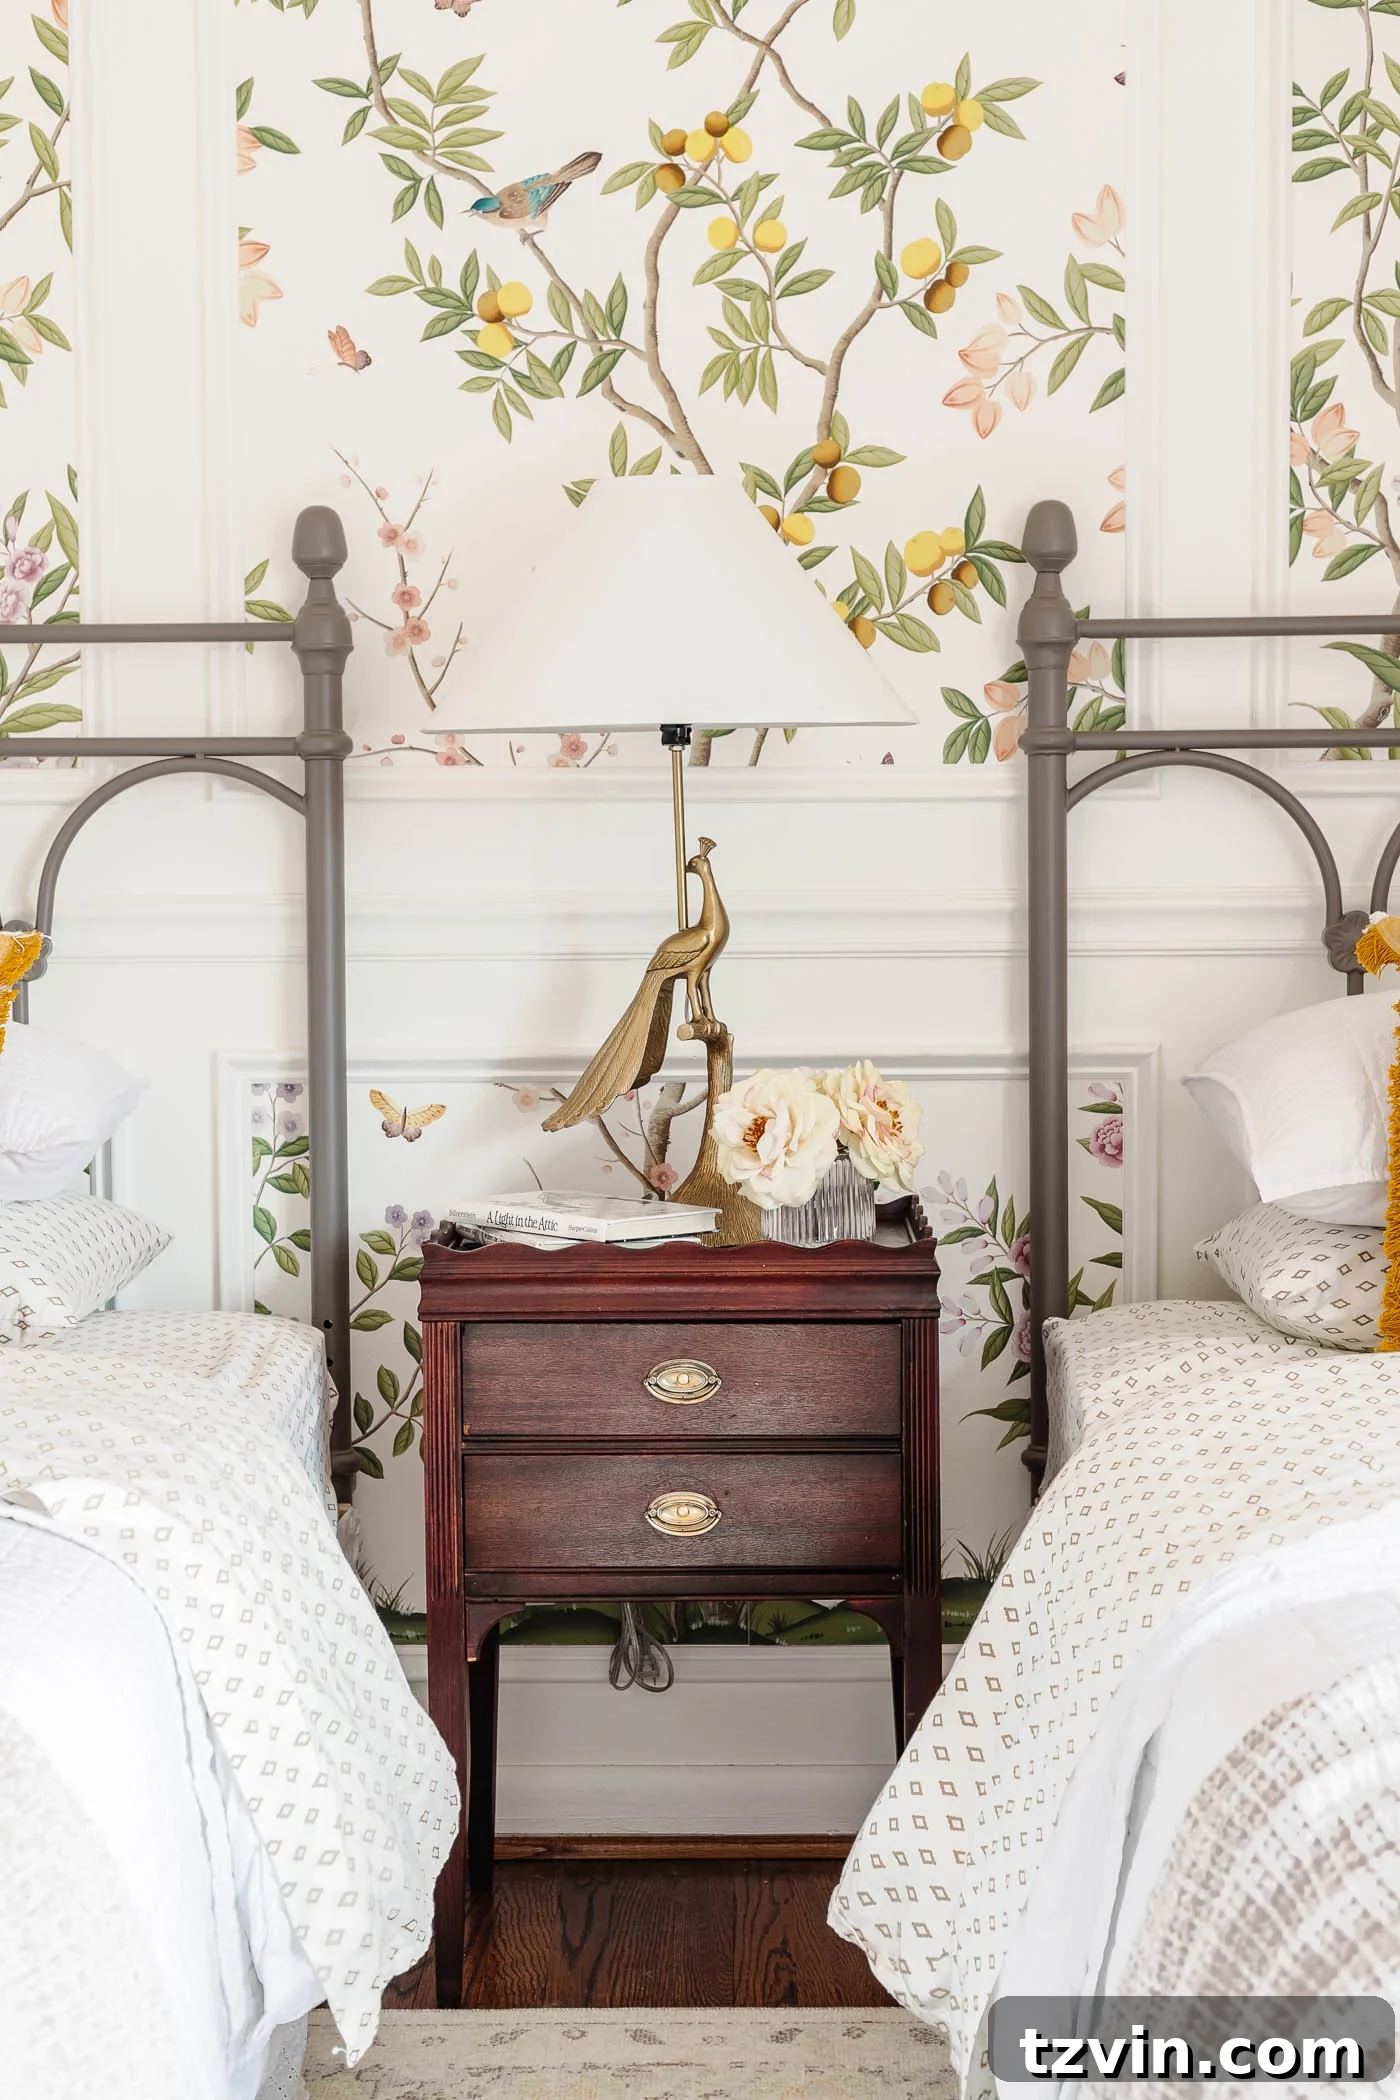
Recently, I stumbled upon a stunning dark walnut wood dresser and a matching nightstand on Facebook Marketplace. To my own surprise, I made the decision not to paint them! (A collective gasp from those who know my usual inclination for painted makeovers!) The natural beauty of the wood grain simply called for a different approach.
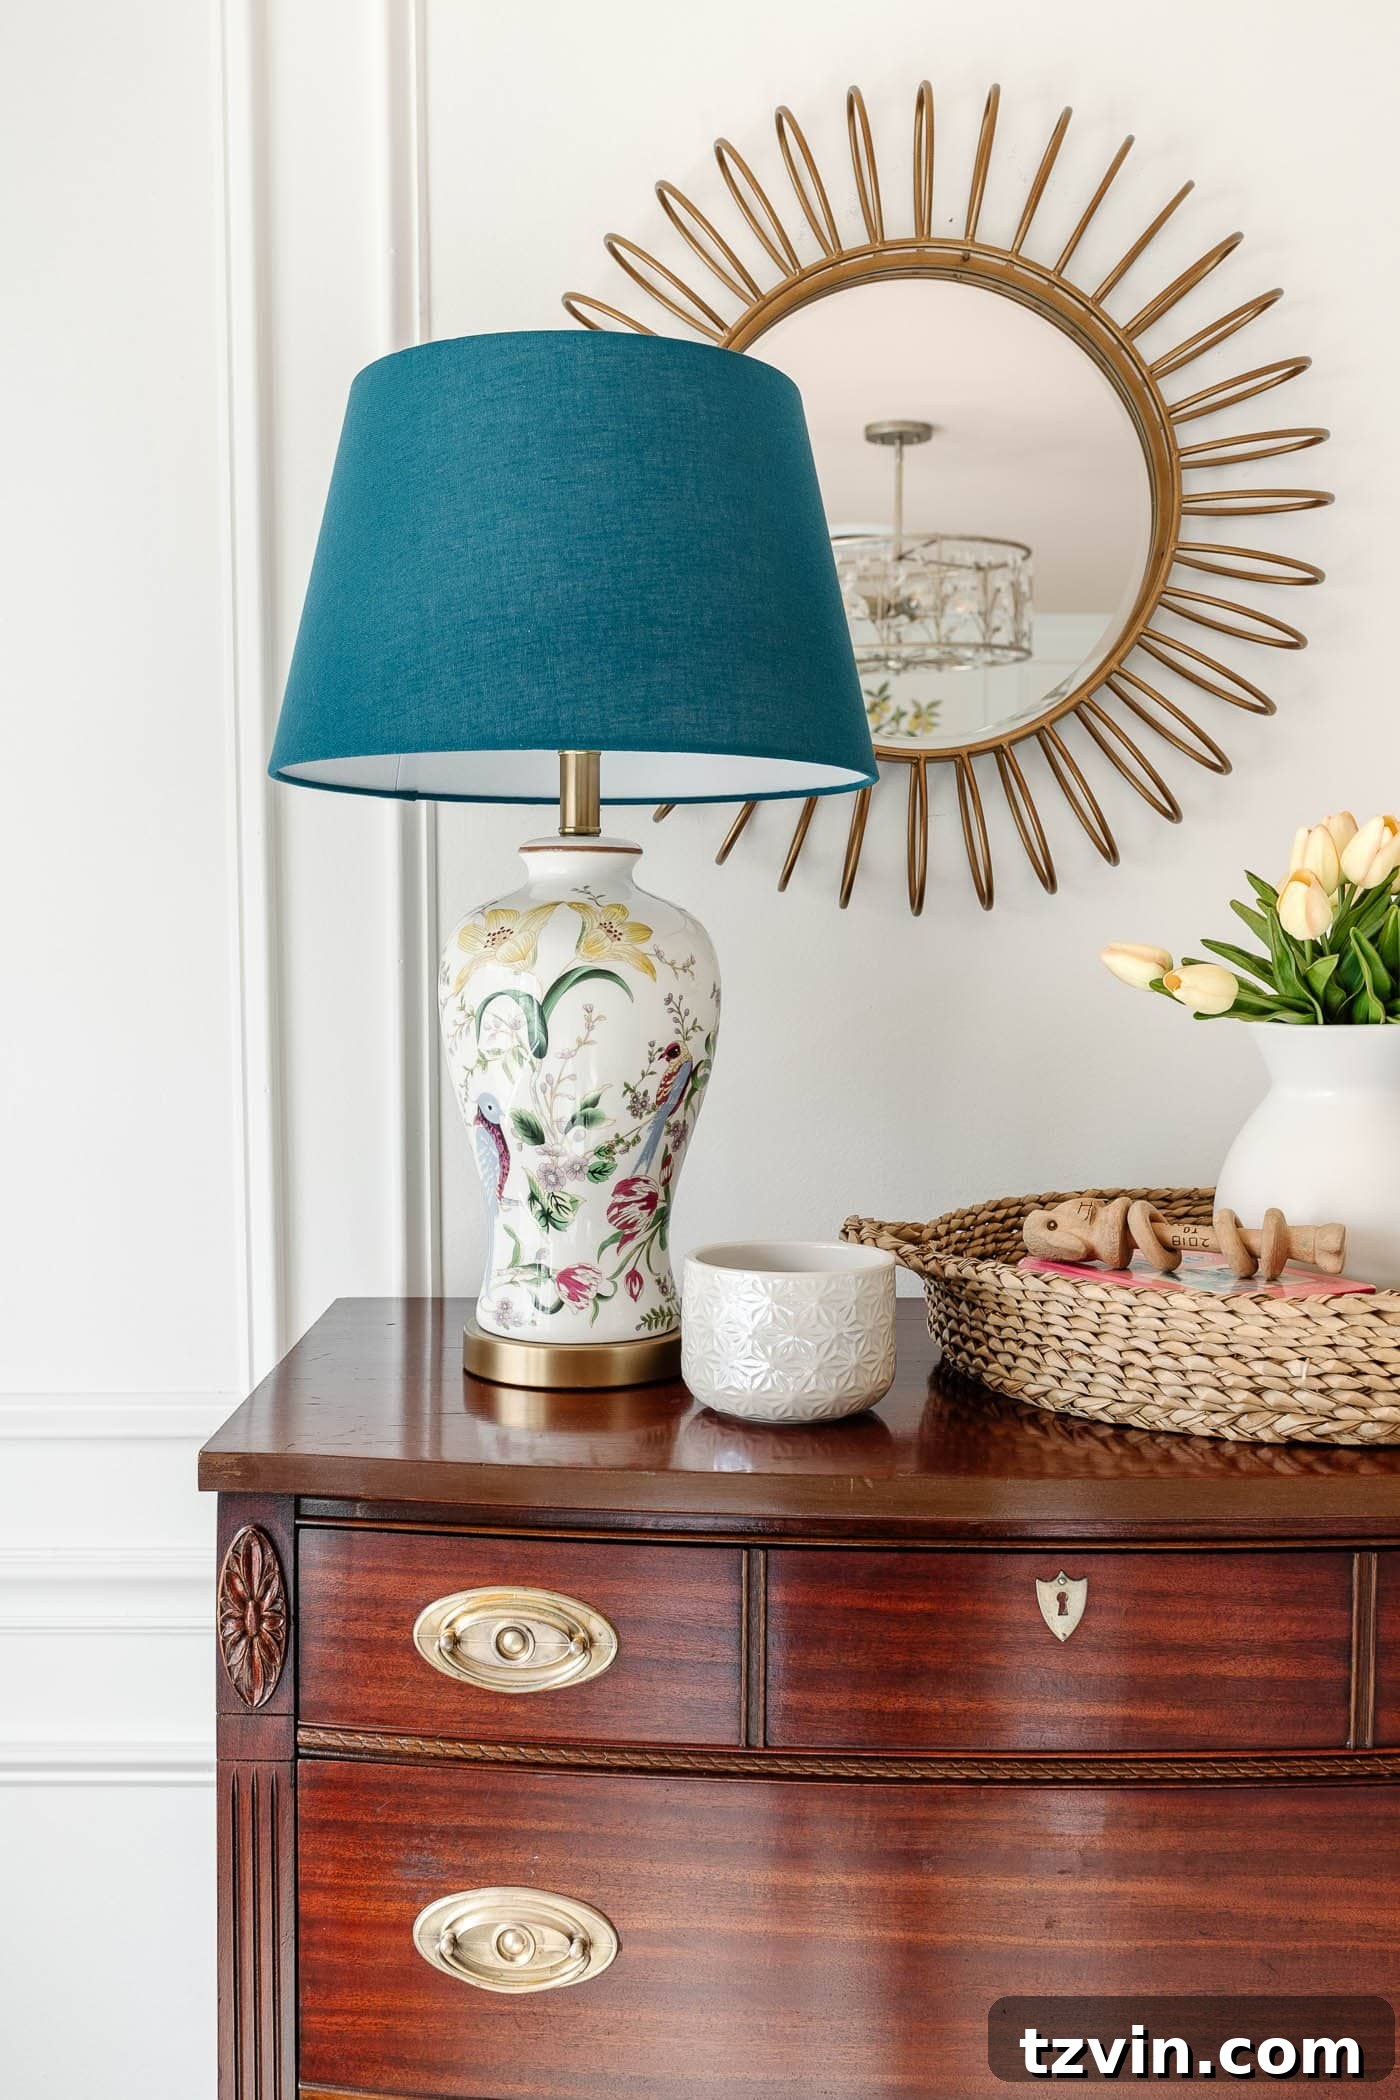
While I adored the color of my daughter’s former laminate dresser, it simply didn’t provide the rich, nostalgic warmth I envisioned for her vintage-inspired bedroom. By undertaking a deep cleaning of the dull wood surface, these pieces have added immense depth and character to the room, all while giving me peace of mind that they are perfectly safe and hygienic for our three-year-old. This guide presents the most effective method to give your cherished wooden furniture a comprehensive, revitalizing deep clean.
Why Wood Furniture is Making a Trend Comeback
In recent times, traditional furniture styles have been making a significant resurgence in the interior design landscape. With the current popularity of cottagecore aesthetics and a general appreciation for classic design, embracing natural wood furniture felt like the perfect opportunity to return to the roots of enduring style. The objective was to restore that old wood to its original, lustrous shine, allowing its inherent beauty to take center stage.
For the better part of the last decade, farmhouse style dominated, characterized by heavily distressed chalk-painted pieces or rustic, weathered reclaimed wood. While charming in its own right, design trends, much like a pendulum, inevitably swing back. Every action truly does have an equal but opposite reaction, even in the world of interior aesthetics. As time has shown with the cyclical nature of what’s considered “in style,” the natural evolution from the farmhouse craze is a renewed appreciation for the rich, elegant, and lustrous qualities of traditional wood furniture. This shift reflects a desire for timeless quality, durability, and a connection to craftsmanship that natural wood effortlessly provides, making it a sustainable and stylish choice for any home.

How to Deep Clean and Restore Wood Furniture
I absolutely love finding hidden treasures on Facebook Marketplace. However, vintage and secondhand pieces often arrive with decades of accumulated dirt, grime, surface scratches, and a sticky residue from old cleaning products, furniture waxes, and polishes. This buildup not only detracts from the wood’s natural beauty but can also trap odors. The method outlined here is specifically designed to meticulously clean and revitalize even the most neglected wooden furniture, making it look as good as new.
Essential Wood Furniture Cleaning Supplies
Gathering the right tools is the first step to successful furniture restoration. Here’s what you’ll need:
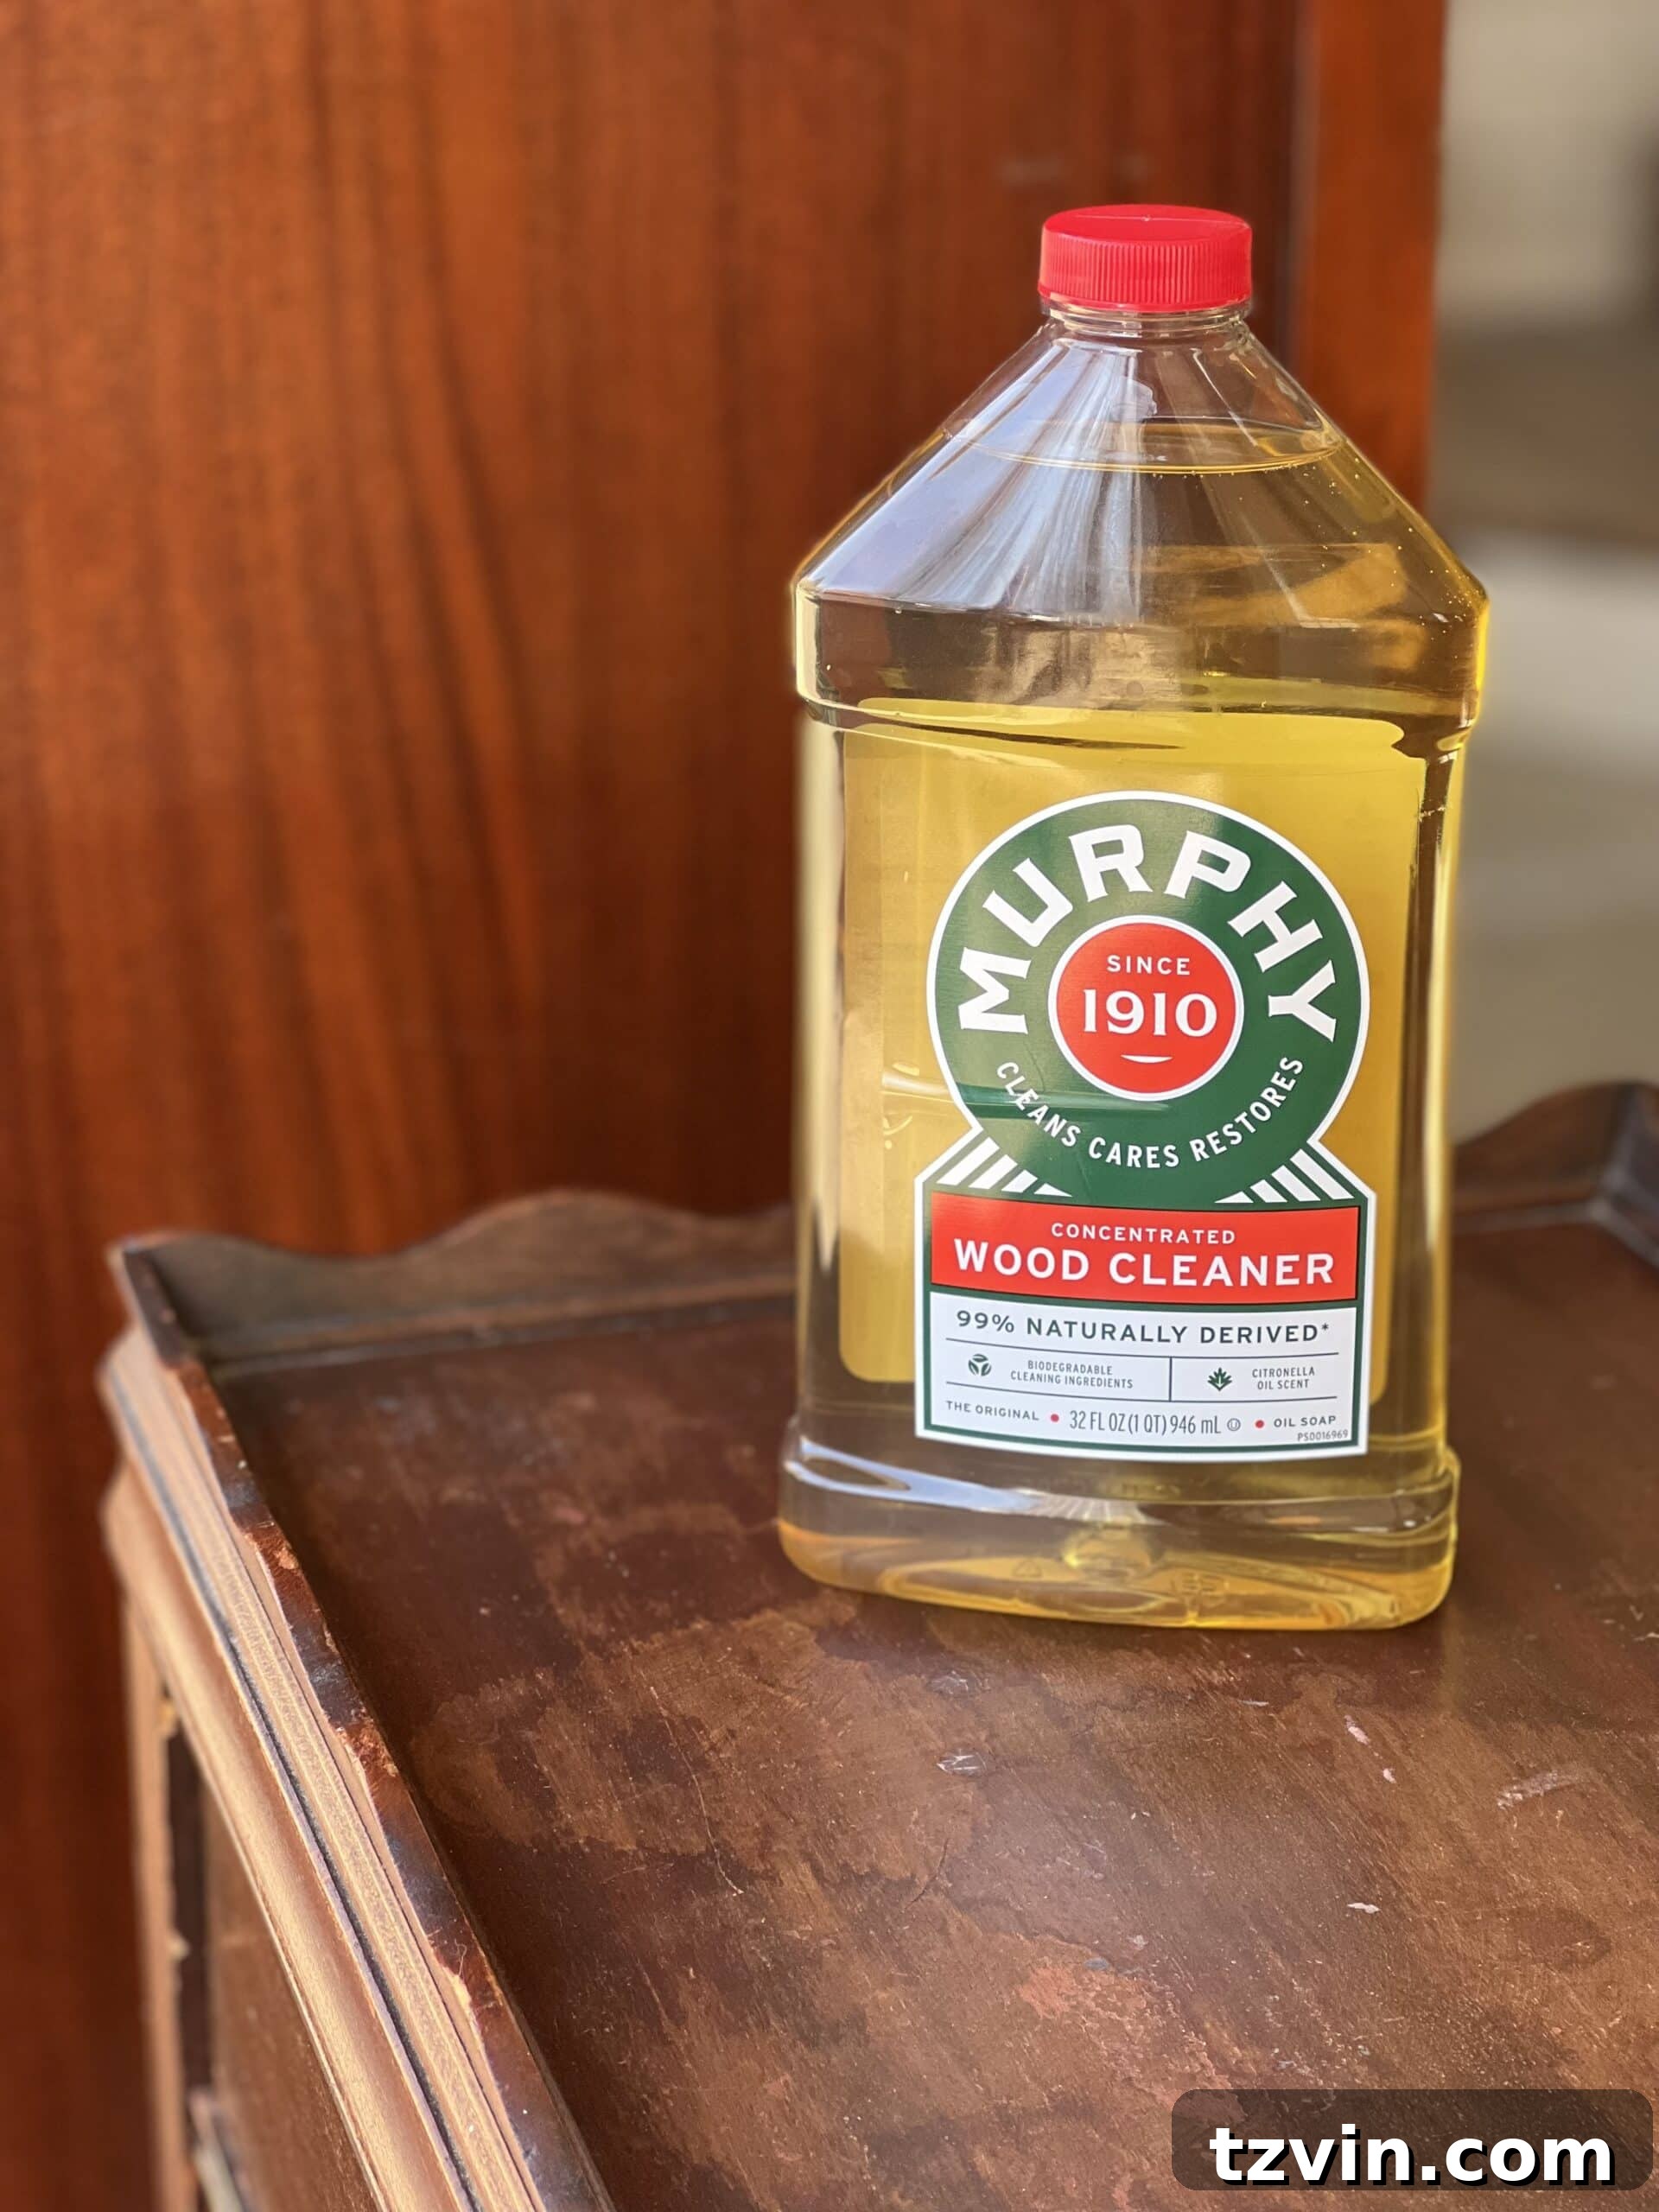
- Murphy Oil Soap: A gentle yet effective cleaner known for its ability to cut through grime without harming wood.
- 1.5 gallon bucket: For mixing your cleaning solution.
- 2 clean, soft rags or microfiber cloths: One for applying the cleaning solution, another for wiping dry.
- Protective gloves: Essential for hand protection, especially when using stronger solvents.
- Mineral spirits (optional, for heavy stains): A powerful solvent for stubborn residue, old wax, or paint splatters.
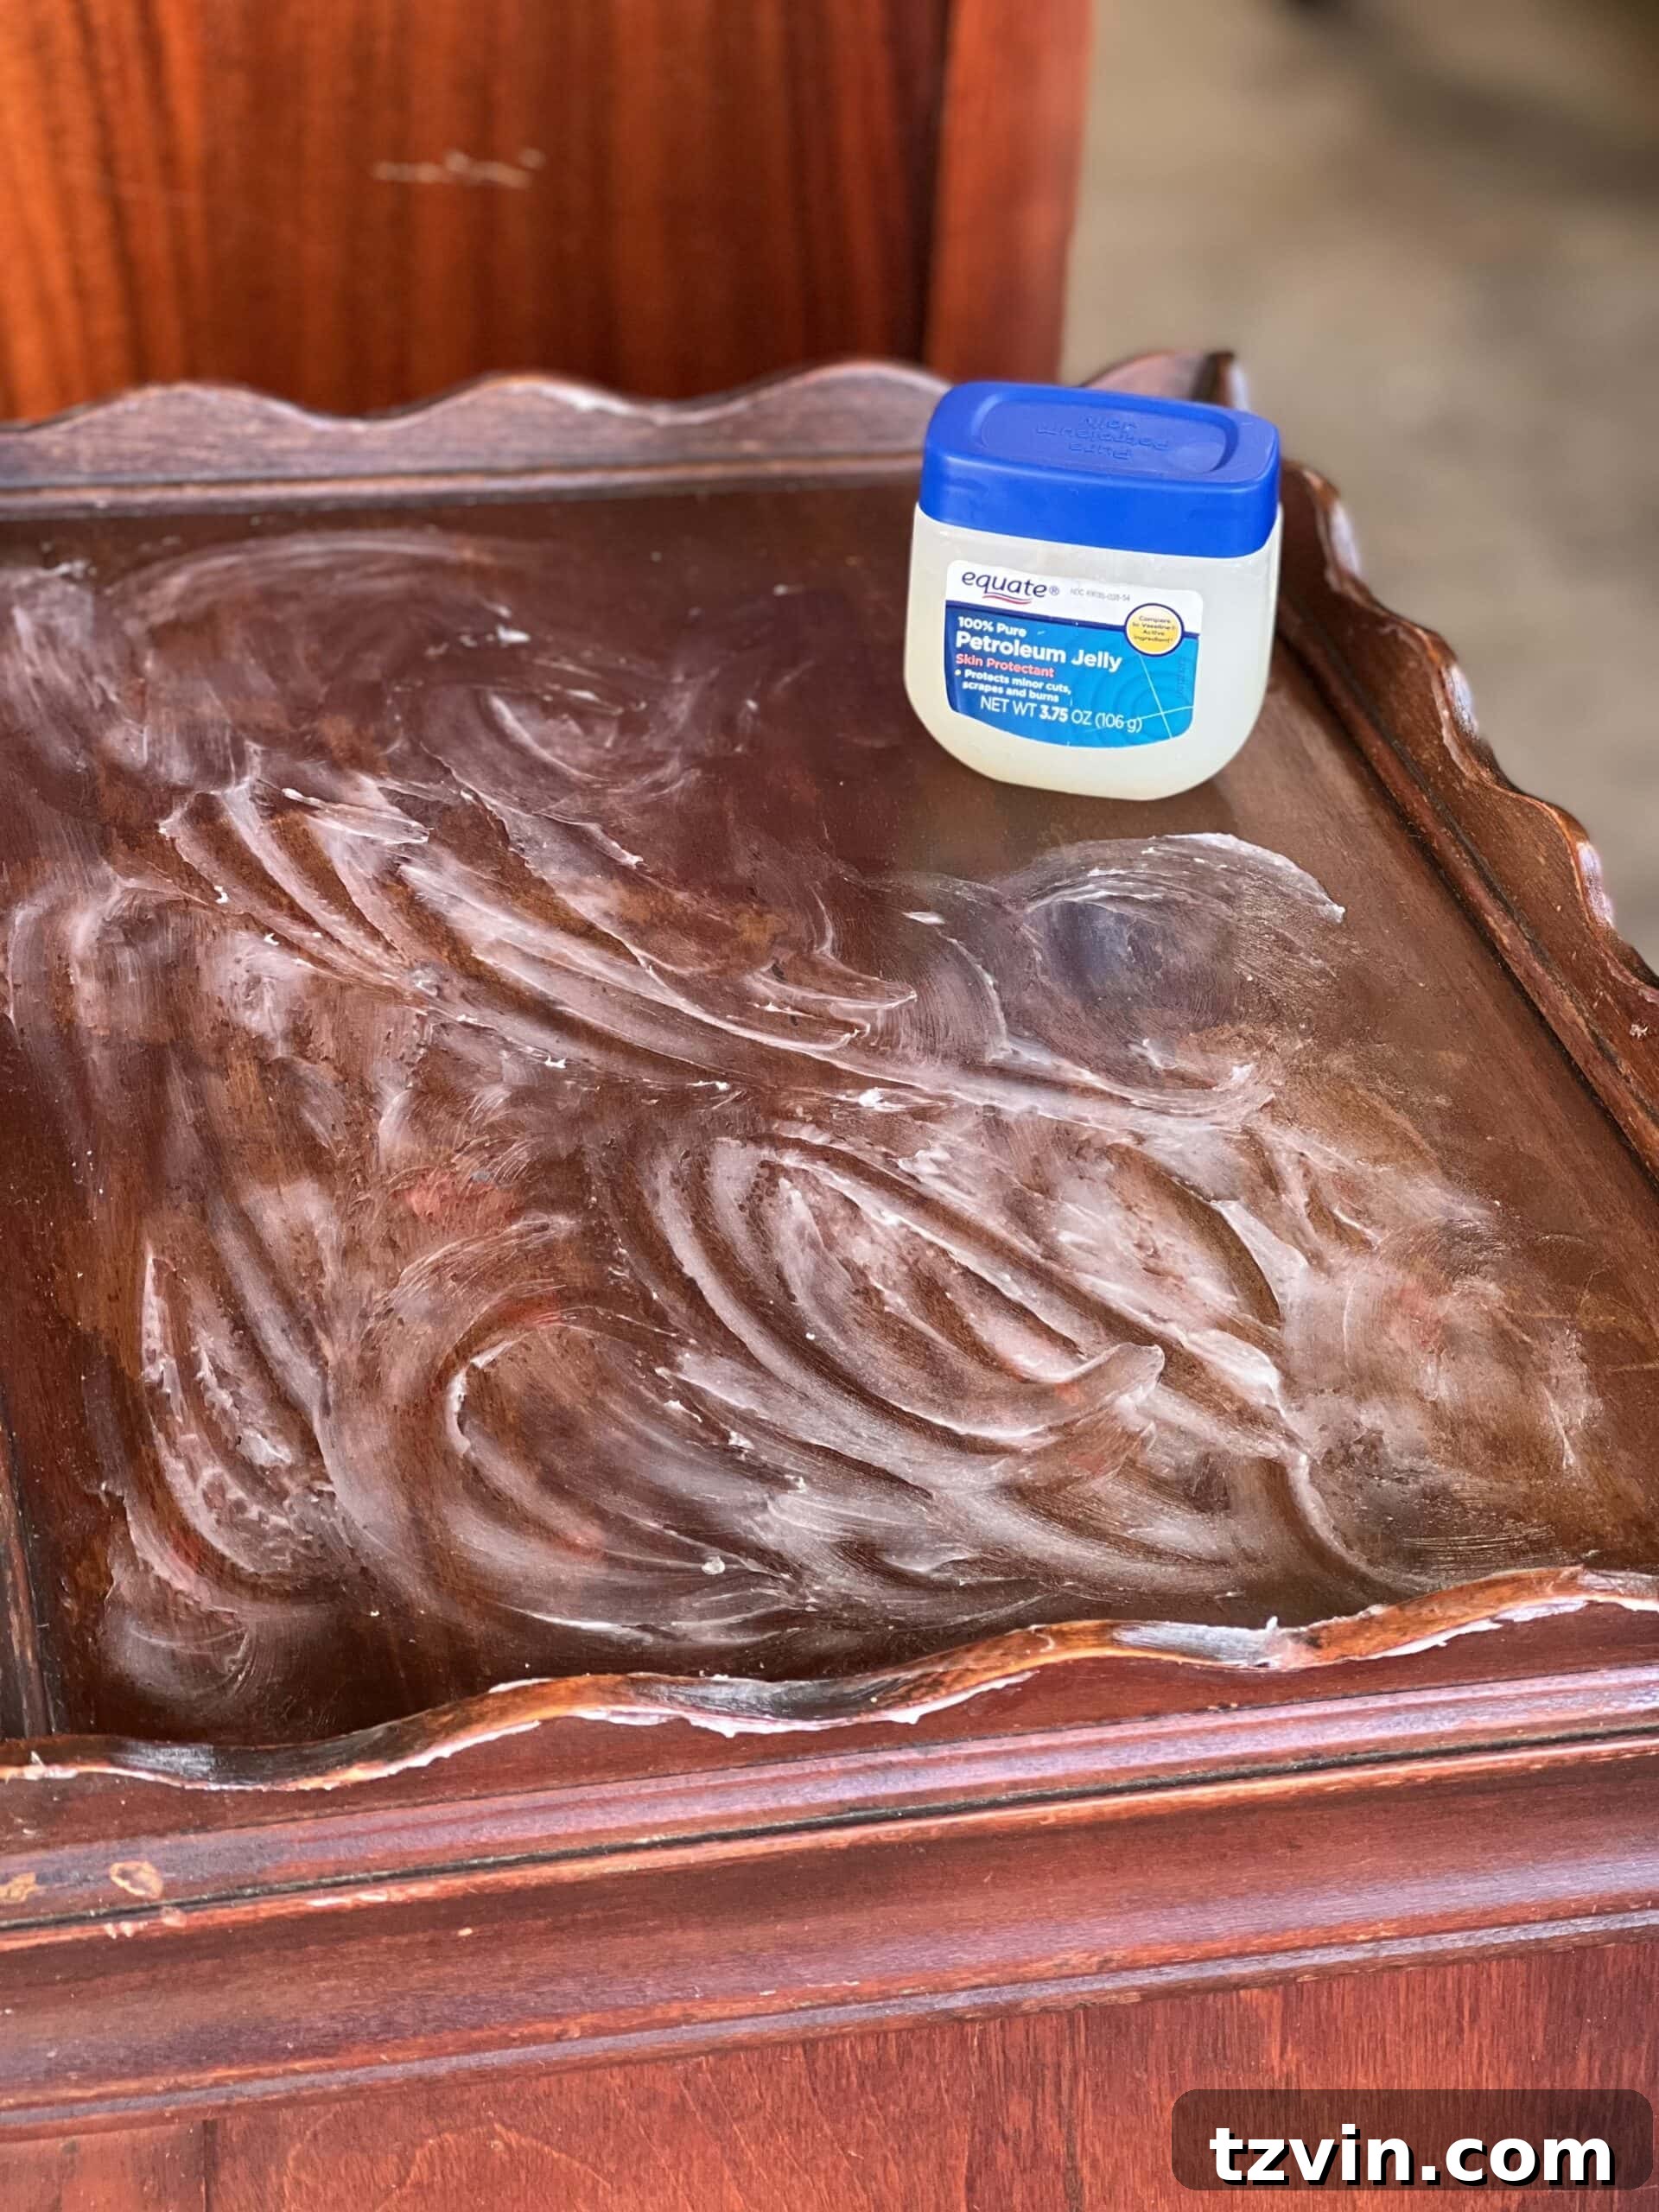
- Vaseline or mayonnaise: Surprisingly effective for removing pesky water rings and hydrating dry wood.
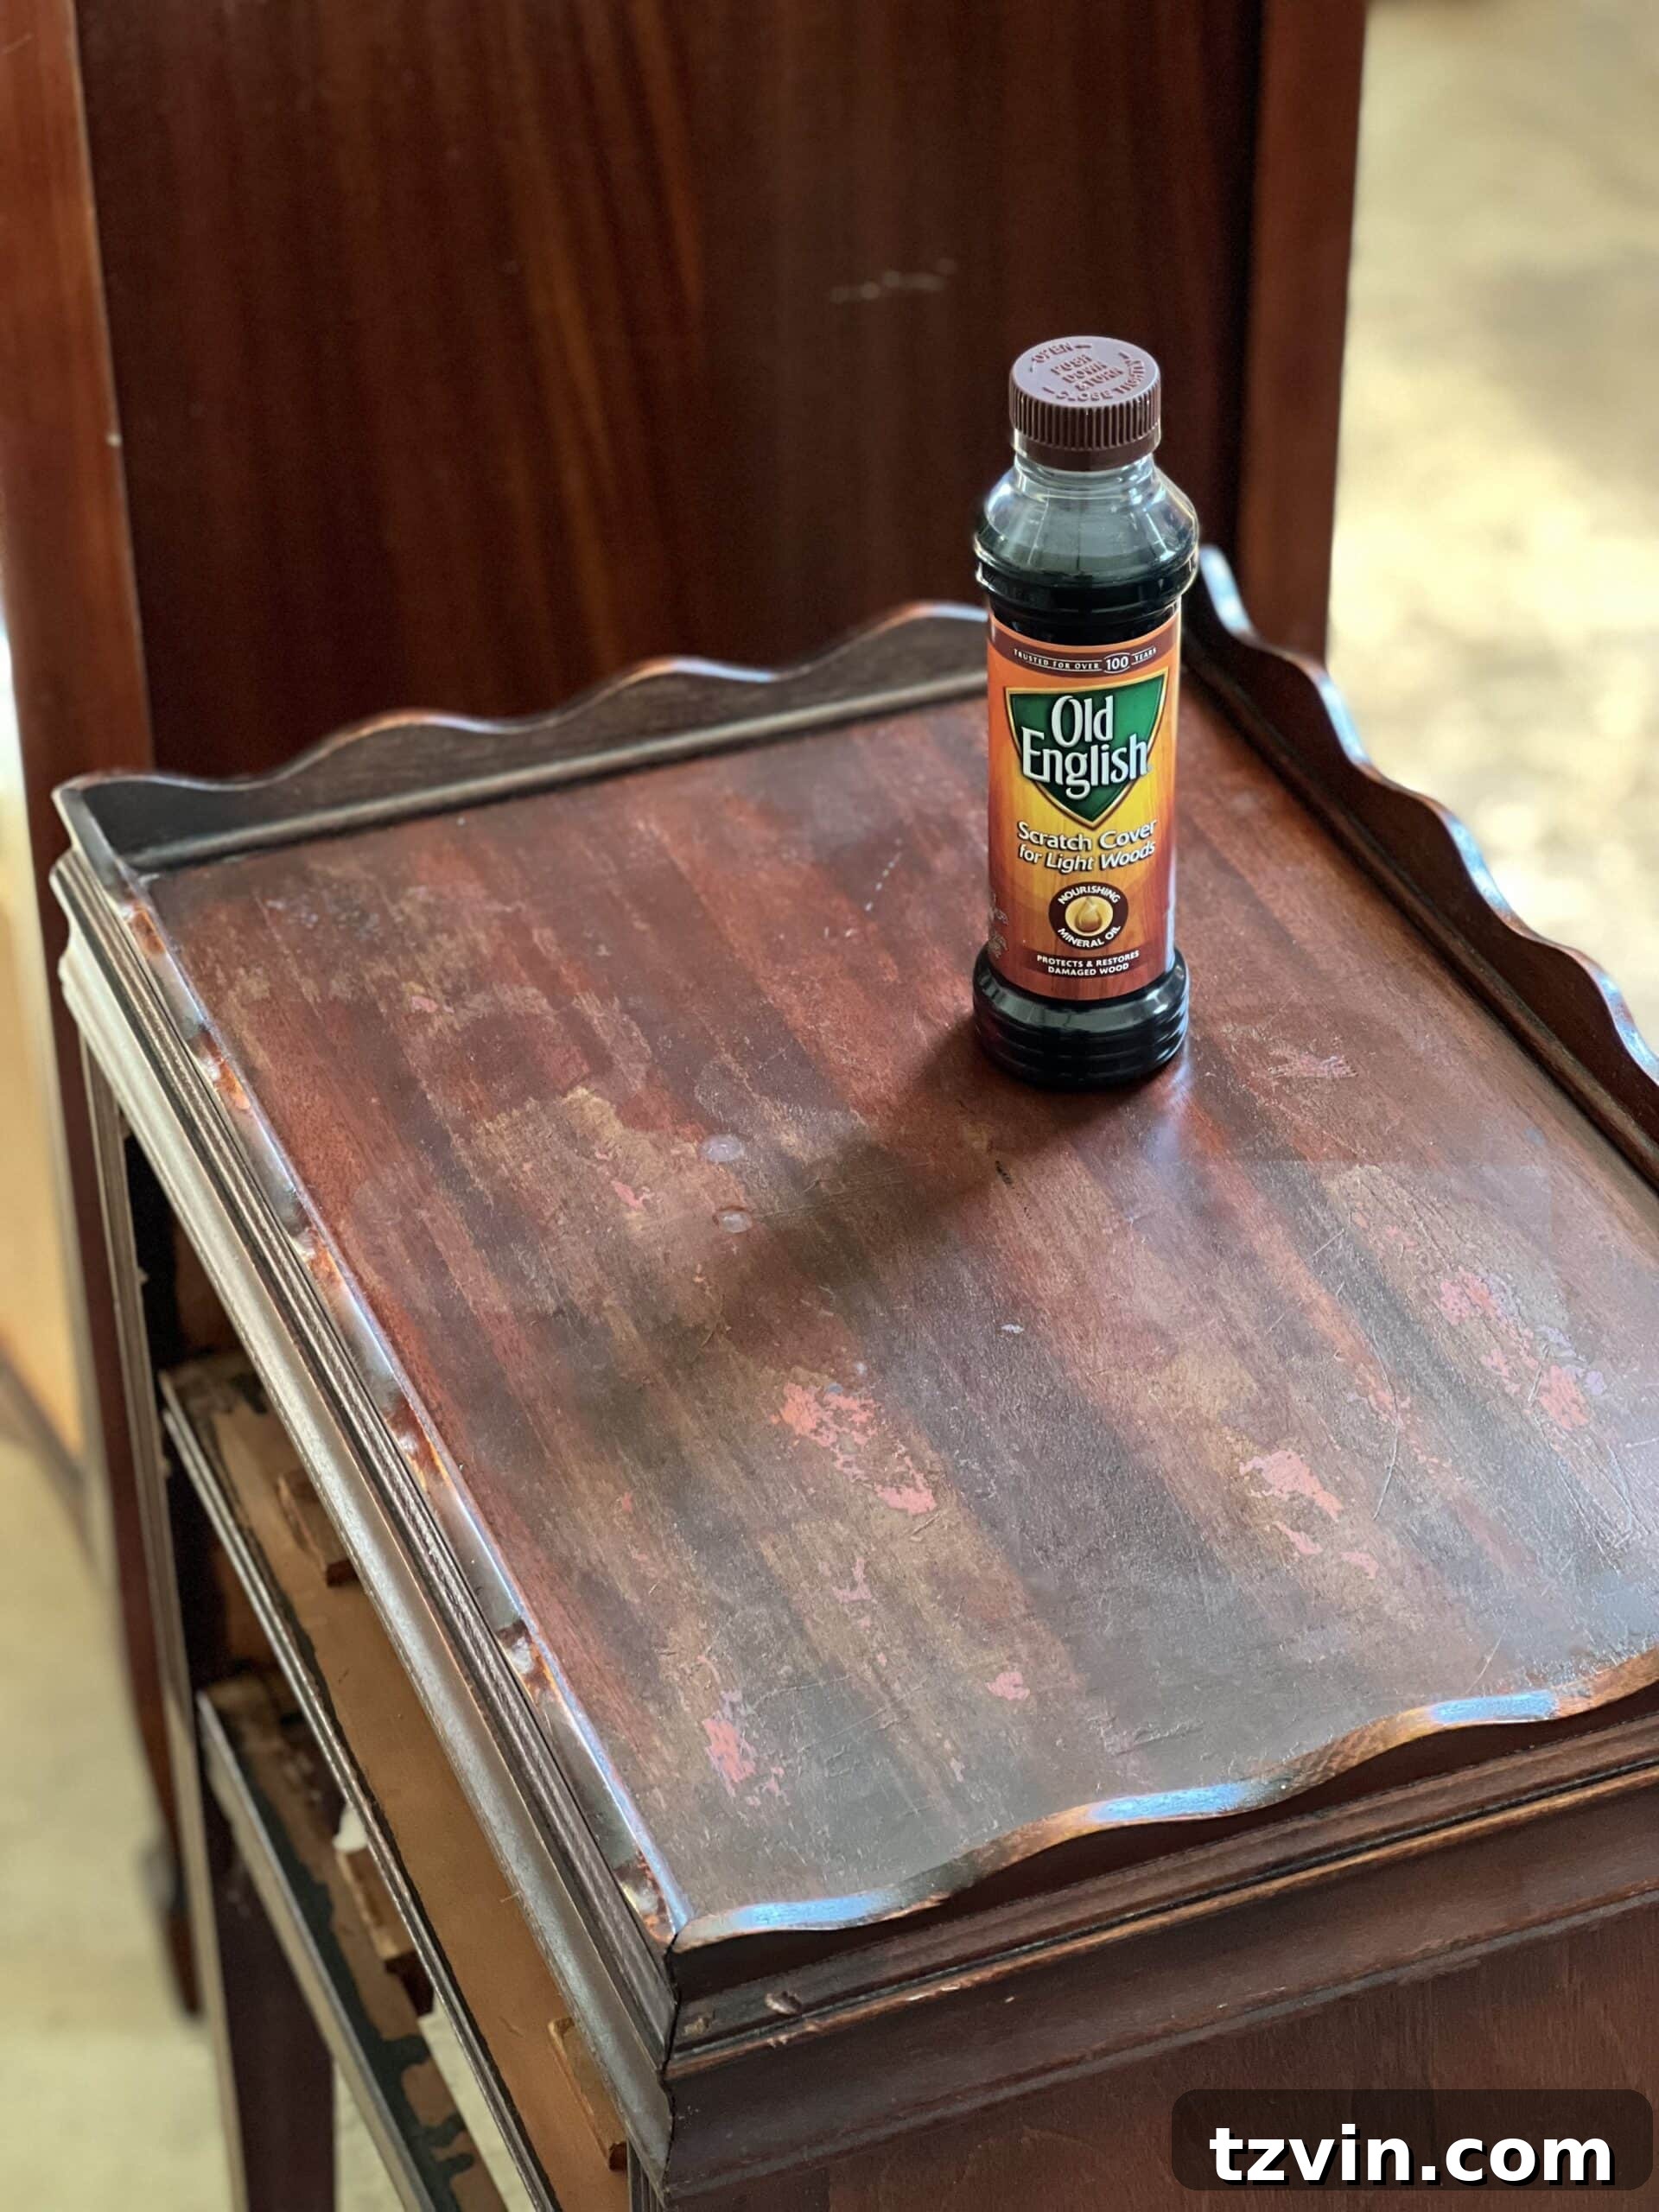
- Old English Wood Furniture Polish or *Howard Restore-A-Finish (*preferred): These products are designed to replenish oils, hide minor scratches, and restore shine.
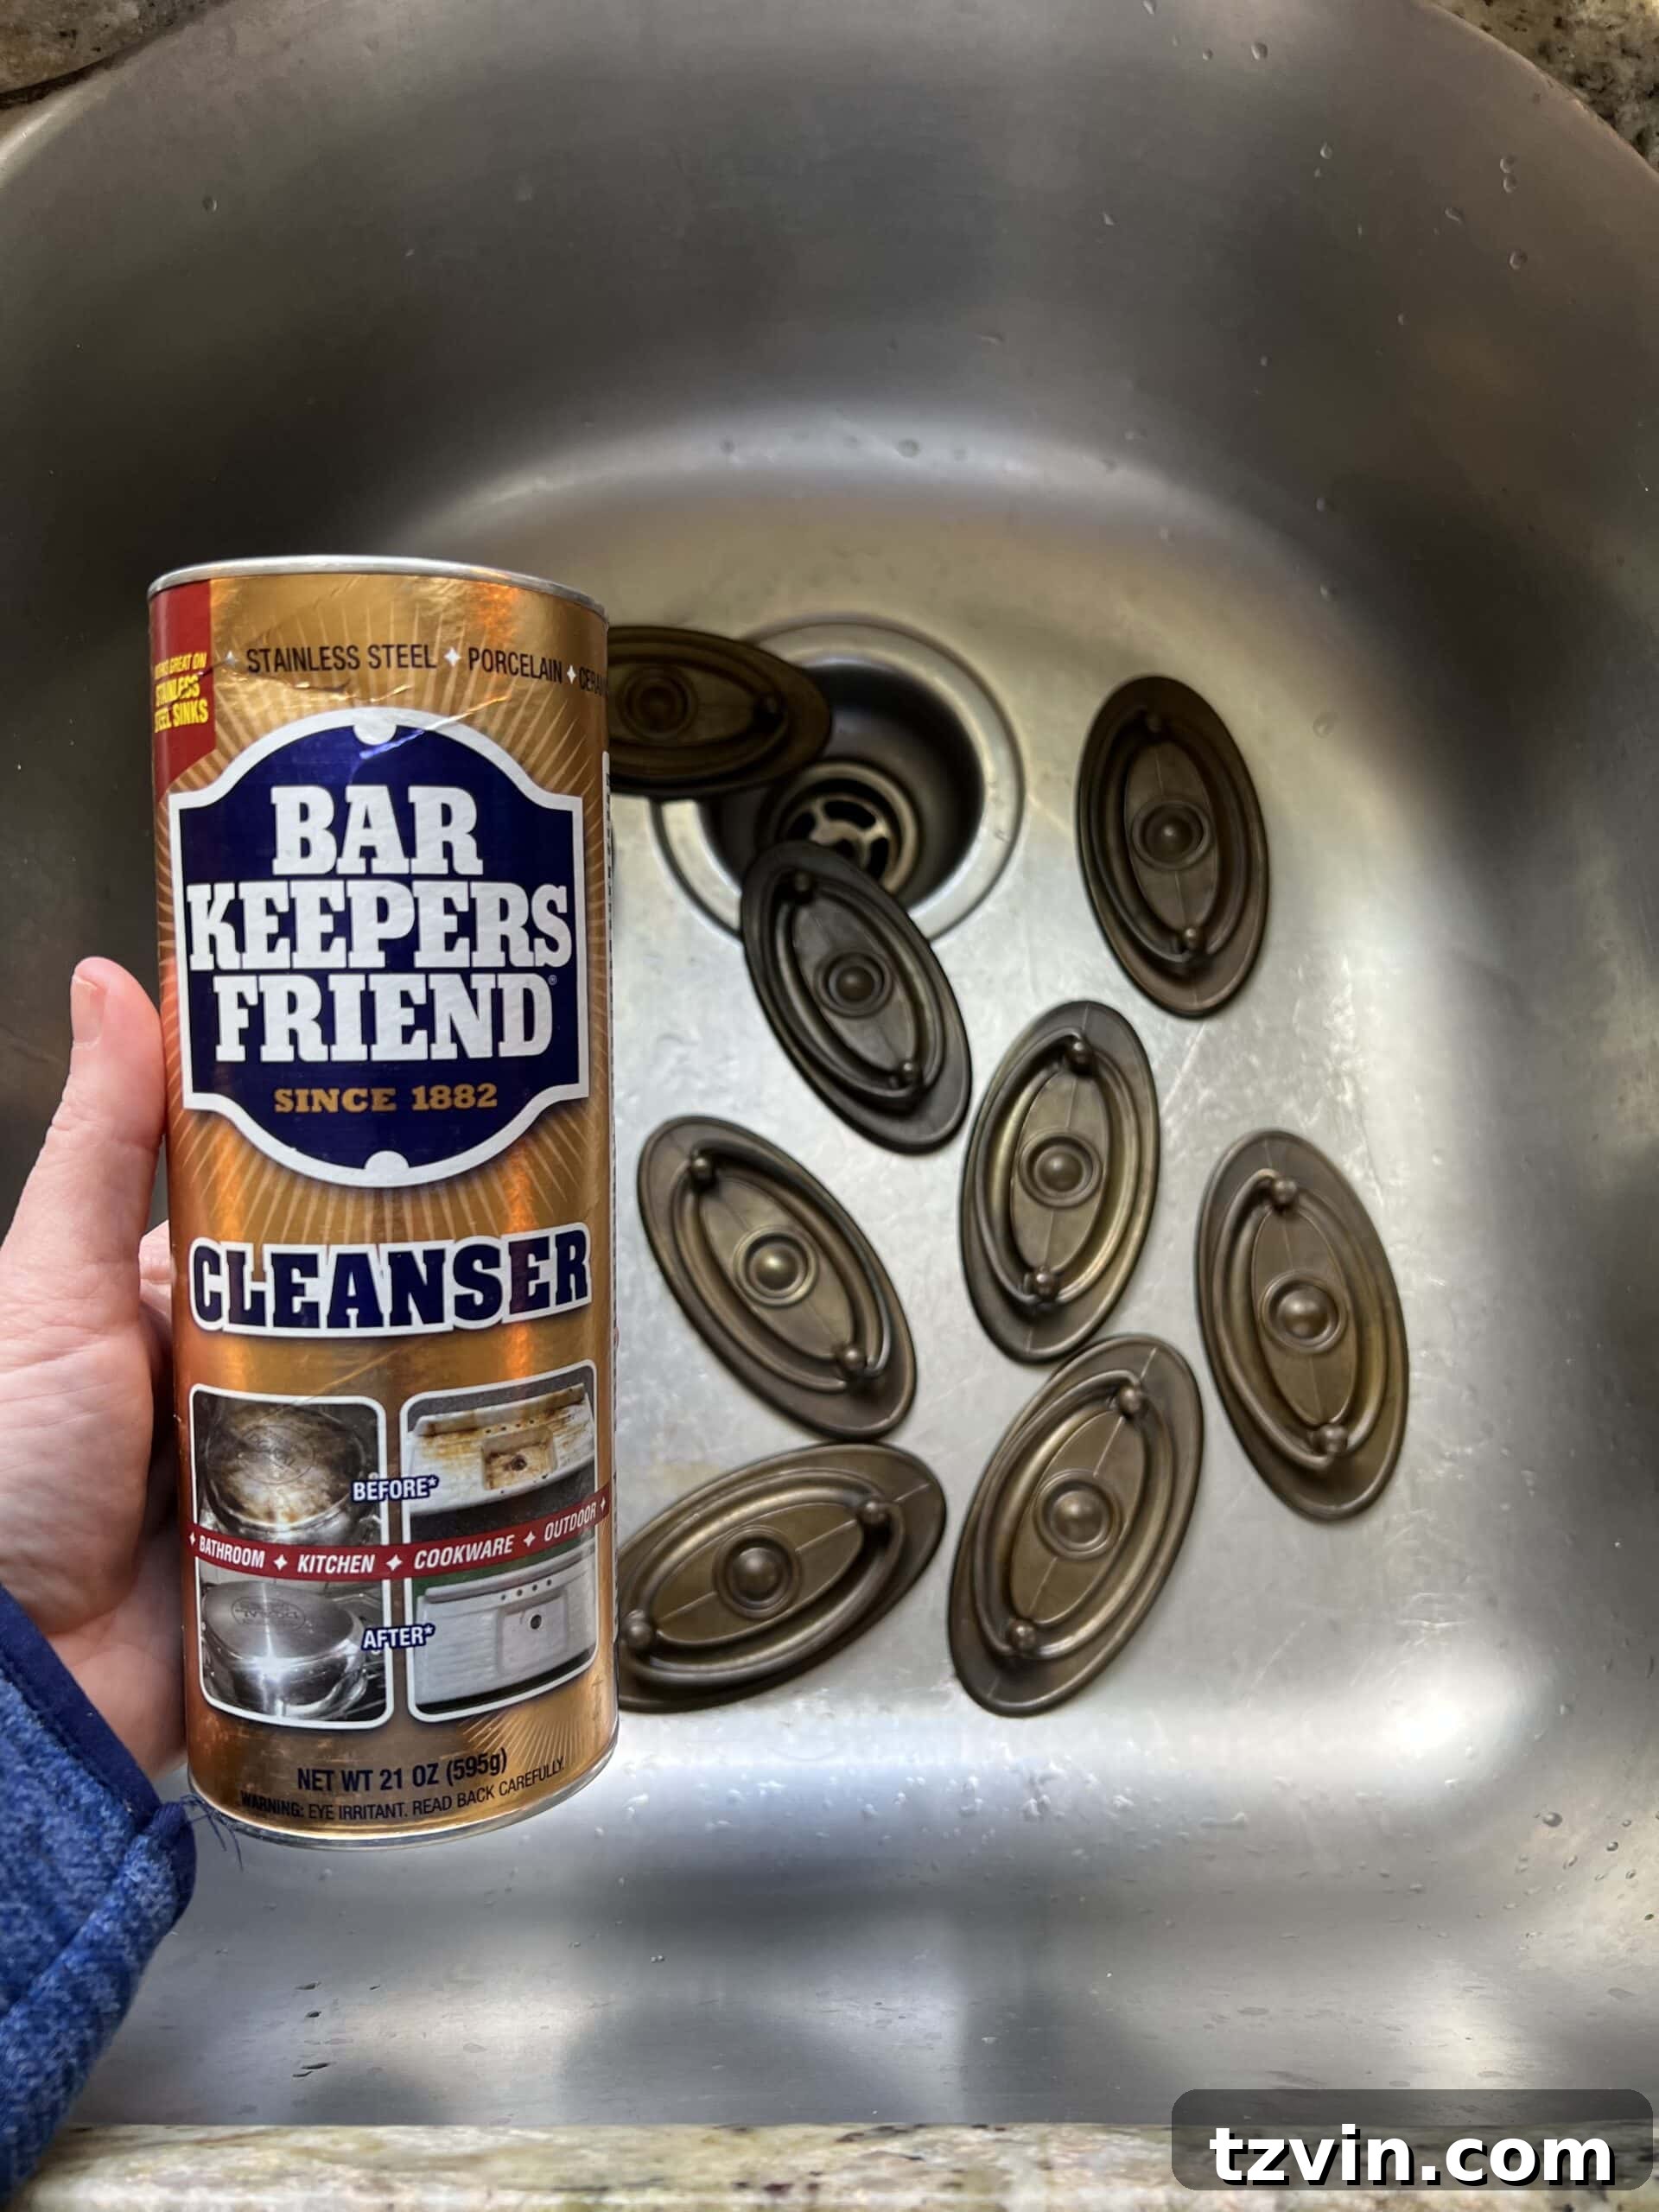
- Bar Keepers Friend: Excellent for cleaning and polishing metal hardware.
- Old toothbrush: Perfect for scrubbing intricate details on hardware or in wood crevices.
- Cotton balls or swabs: For testing products on inconspicuous areas.
*Important Note for Best Results: Before you begin the main cleaning process, always perform a patch test. Apply a small amount of each cleaning product (especially mineral spirits and polishes) to an inconspicuous area of your furniture (like the underside or back) using a cotton ball. This ensures that the product does not damage or discolor your specific type of wood finish. Not all furniture pieces are alike, and finishes can vary greatly.
Step-by-Step Wood Furniture Cleaning Guide
Follow these detailed steps to thoroughly clean, restore, and protect your wooden furniture, bringing out its inherent beauty and removing years of buildup.
- Prepare and Clean with Oil Soap
Begin by preparing your workspace in a well-ventilated area, ideally outdoors or in a garage, to ensure good airflow. Remove any loose dust or debris from the furniture with a soft brush or vacuum cleaner attachment. You might also want to carefully remove any hardware at this stage, setting it aside for separate cleaning. In a 1.5-gallon bucket, mix 1/2 cup of Murphy Oil Soap into a gallon of warm water. Put on your protective gloves. Dip a clean, soft cloth into the soapy mixture, wring it out so it’s damp but not dripping, and carefully wipe down the entire piece of furniture. Pay close attention to intricate carvings, crevices, and any areas with heavy grime buildup. Murphy’s Oil Soap is excellent for cutting through accumulated dirt, sticky residue from old polishes, and effectively neutralizing musty smells due to its citronella oil content. Once you’ve cleaned an area, immediately follow up with a second clean, dry cloth or paper towel to wipe away any soapy residue and excess moisture. It’s crucial to dry the wood surface thoroughly to prevent water marks or damage. While dish soap or an all-purpose cleaner like Simple Green can be used, Murphy’s Oil Soap provides superior results for deep cleaning and odor elimination. For persistent musty odors, placing the furniture in direct sunlight for an hour or two can work wonders, but always avoid prolonged exposure as it can fade wood finishes. After this initial clean, if you still notice stubborn stains or sticky spots that refuse to budge, it’s time for a deeper treatment. Using a damp microfiber cloth with a small amount of mineral spirits, gently rub the affected area for a few minutes. Mineral spirits are fantastic for dissolving old wax, grease, and tough grime. Don’t be alarmed if the spot appears dull after applying mineral spirits; this is normal. The wood oil will rehydrate and restore the luster in the subsequent steps.

- Remove Water Spots and Hydrate Wood
Water stains, particularly the dreaded white water rings, are a common issue on wooden furniture. To effectively rehydrate the wood and diminish or eliminate these imperfections, apply a moderate layer of Vaseline or mayonnaise directly onto the affected area using a lint-free cloth. The oils in these substances work by drawing out the moisture that caused the stain. Allow the Vaseline or mayonnaise to sit on the surface overnight, or for up to 24 hours, giving it ample time to work its magic. After the waiting period, wipe the area clean to reveal a significantly more even and restored wood tone on the furniture’s surface. If the stain is particularly stubborn or deep, you may need to repeat this process to achieve the desired results. We’ve seen incredible improvements on severely water-damaged tabletops using this simple yet effective technique.
- Clean Vaseline Residue
After treating the water spots, it’s crucial to remove any lingering Vaseline or mayonnaise residue. This ensures that the wood surface is clean and ready to properly absorb the polish in the next step. Use your Murphy Oil Soap solution again, applied with a clean, damp cloth, to gently wipe down the areas where you applied the Vaseline. Follow immediately with a dry cloth to thoroughly remove all traces of soap and moisture.
- Polish and Recondition Wood
Now it’s time to nourish and protect the wood. Using a soft cotton cloth, apply your chosen wood polish – either Old English Wood Furniture Polish or the highly recommended Howard Restore-A-Finish. Apply the polish in circular motions, working it into the wood grain. This step is particularly important for reconditioning wooden surfaces that may have dried out over time, and it helps to enhance the natural beauty of the wood while providing a protective layer. Pay special attention to any minor scratches or dings, ensuring they are adequately covered, as the polish can help them blend in. The mineral oil content in these polishes will begin to penetrate the wood, restoring its natural luster and creating a beautiful, subtle sheen. Linseed oil can also be used as an alternative for conditioning. After 2-3 minutes, allowing the wood to absorb the polish, use a clean, dry cloth to gently wipe away any excess moisture or residue, buffing the surface to a desired finish. This process not only makes the furniture look better but also helps to protect it from future damage.
- Clean and Reattach Hardware
If your furniture has any metal hardware that appears grimy, tarnished, or dull, it’s the perfect time to give it a thorough cleaning. Take each piece of hardware and scrub it with Bar Keepers Friend and an old toothbrush, using a little warm water. Bar Keepers Friend is excellent for removing tarnish and restoring shine to most metals. Alternatively, non-gel toothpaste or a solution of white vinegar and water can also work wonders, especially on brass or chrome. Once scrubbed, rinse the hardware thoroughly under running water and allow it to dry completely. Ensure there’s no moisture left to prevent rust or water spots. Once dry and sparkling, carefully reattach the hardware to your newly cleaned and polished wood furniture, completing its transformation.
Related: Discover the Best Places to Find Furniture Hardware
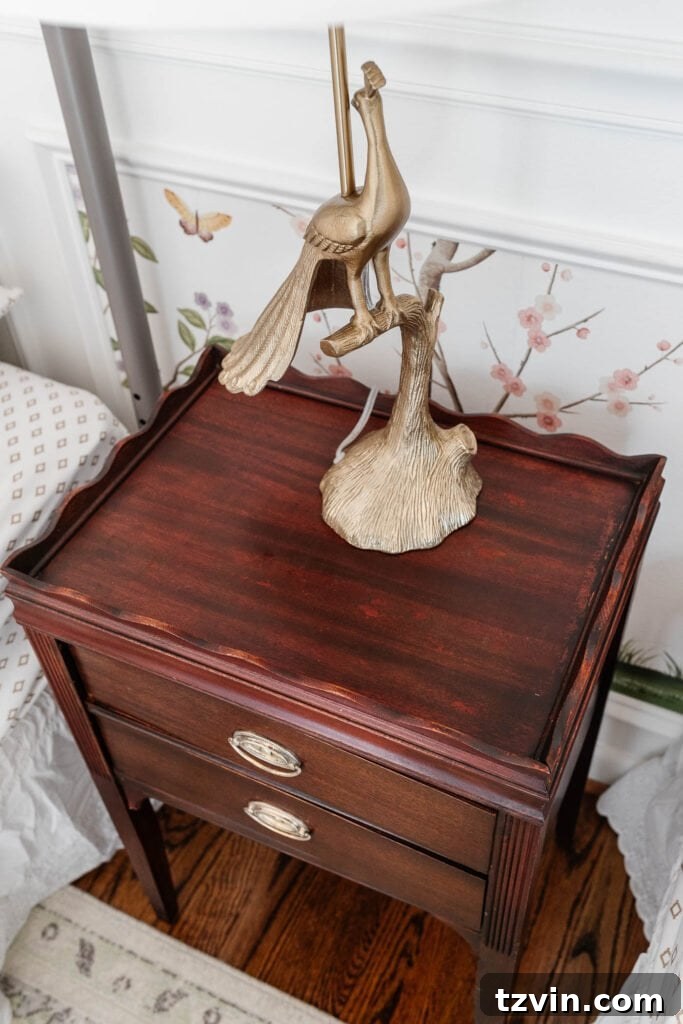
To keep your furniture in excellent condition and maintain its newfound glow, it’s a good practice to follow these simple cleaning steps every couple of years as part of a regular maintenance routine. Additionally, consistent light dusting will prevent dust and grime buildup, preserving the beauty and longevity of your cherished wooden pieces.
The Finished Wood Furniture: A Stunning Transformation
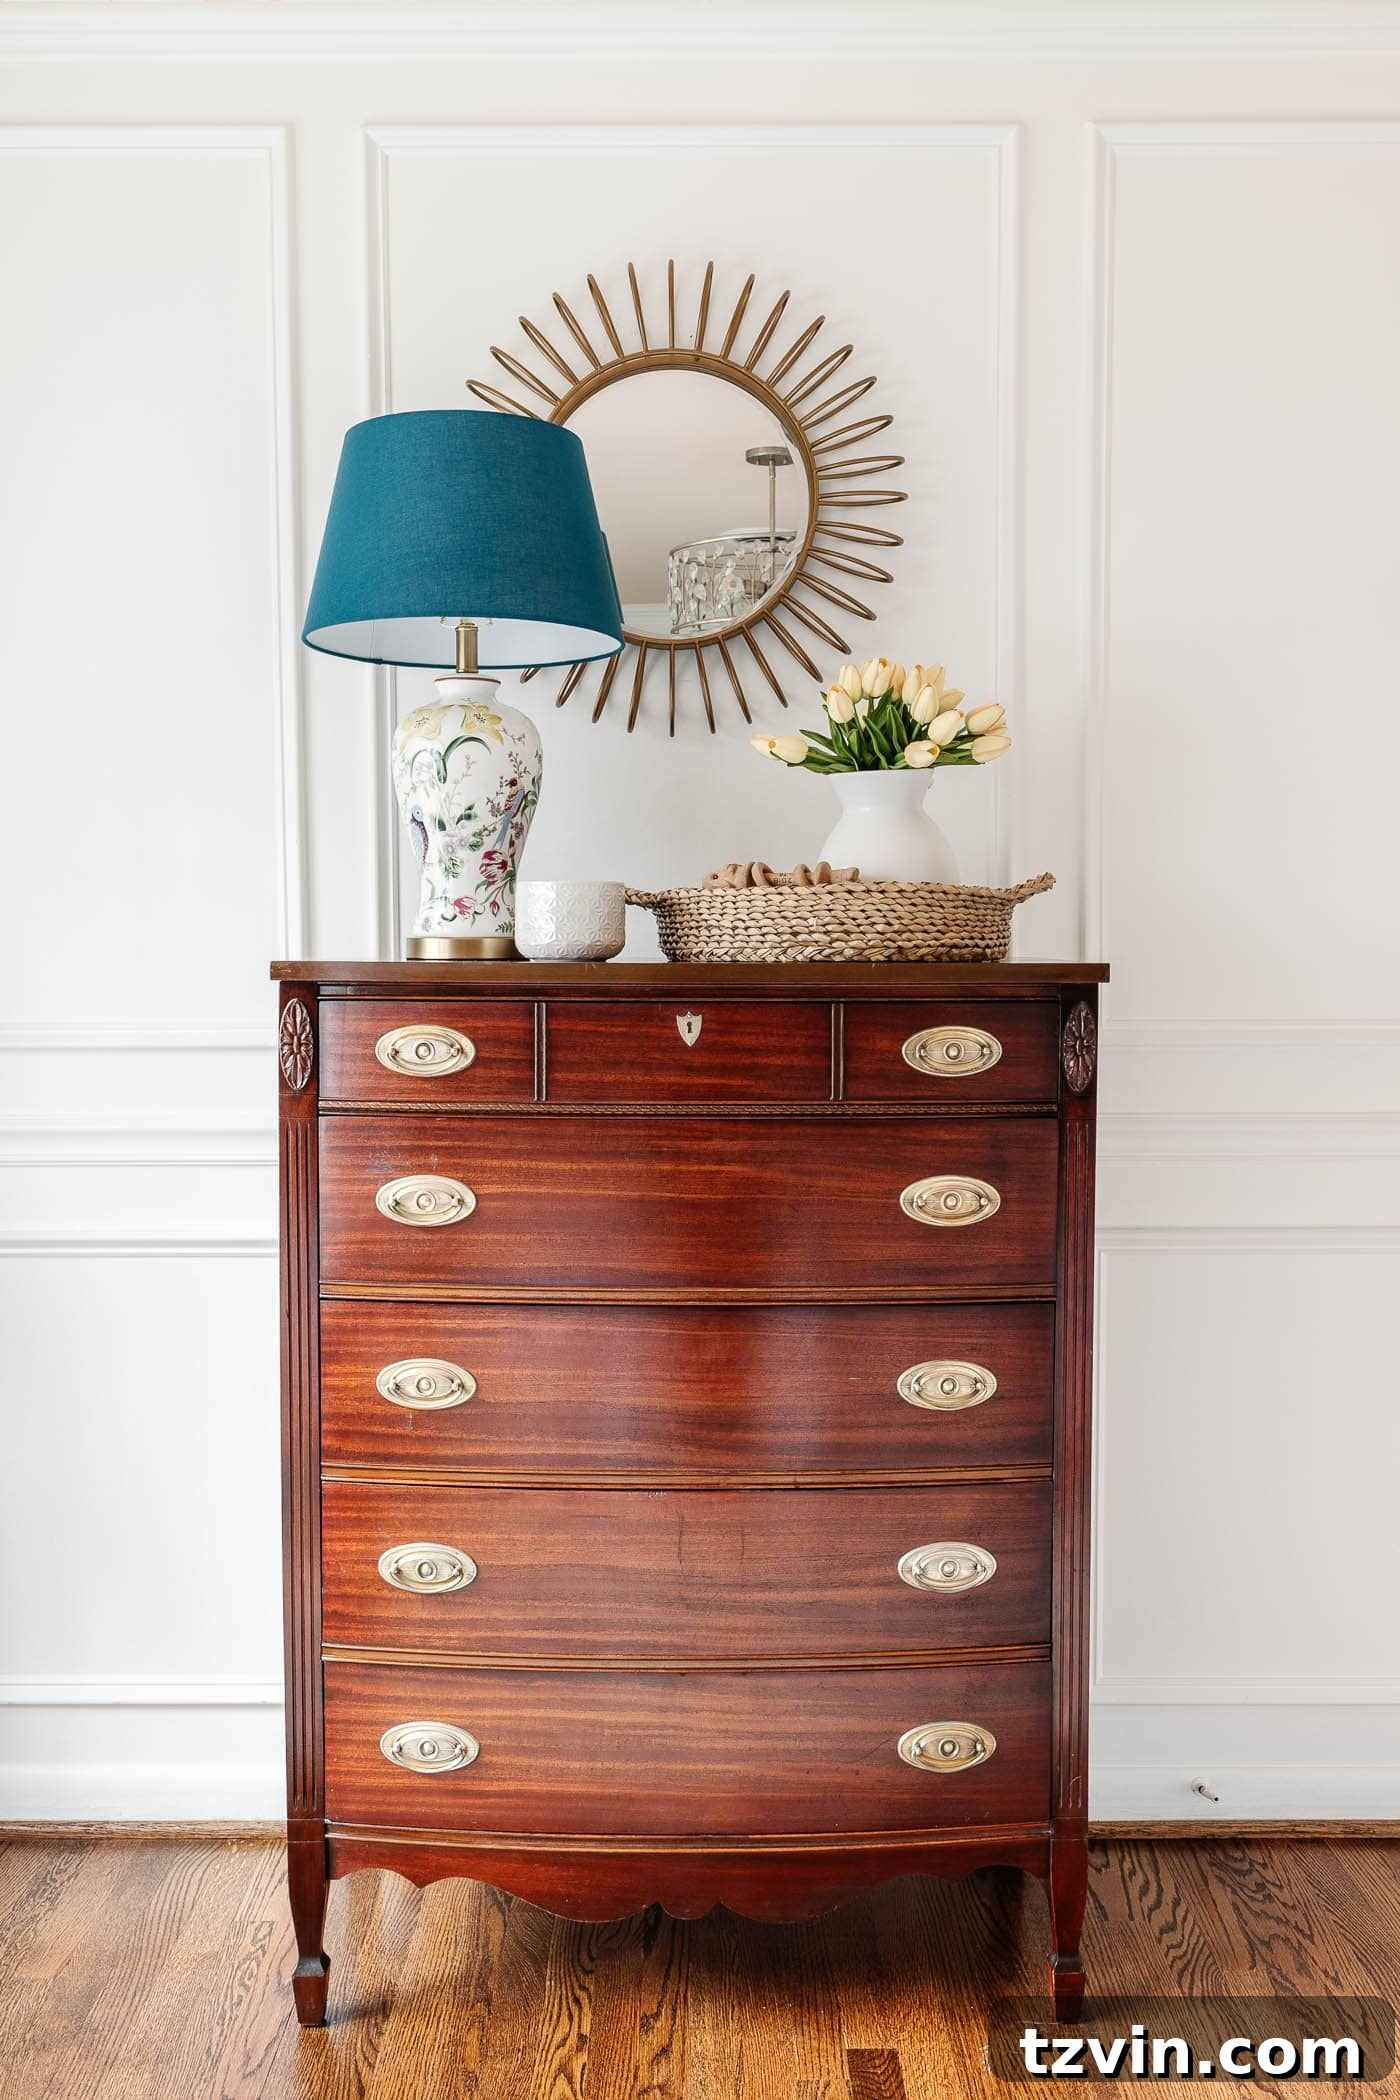
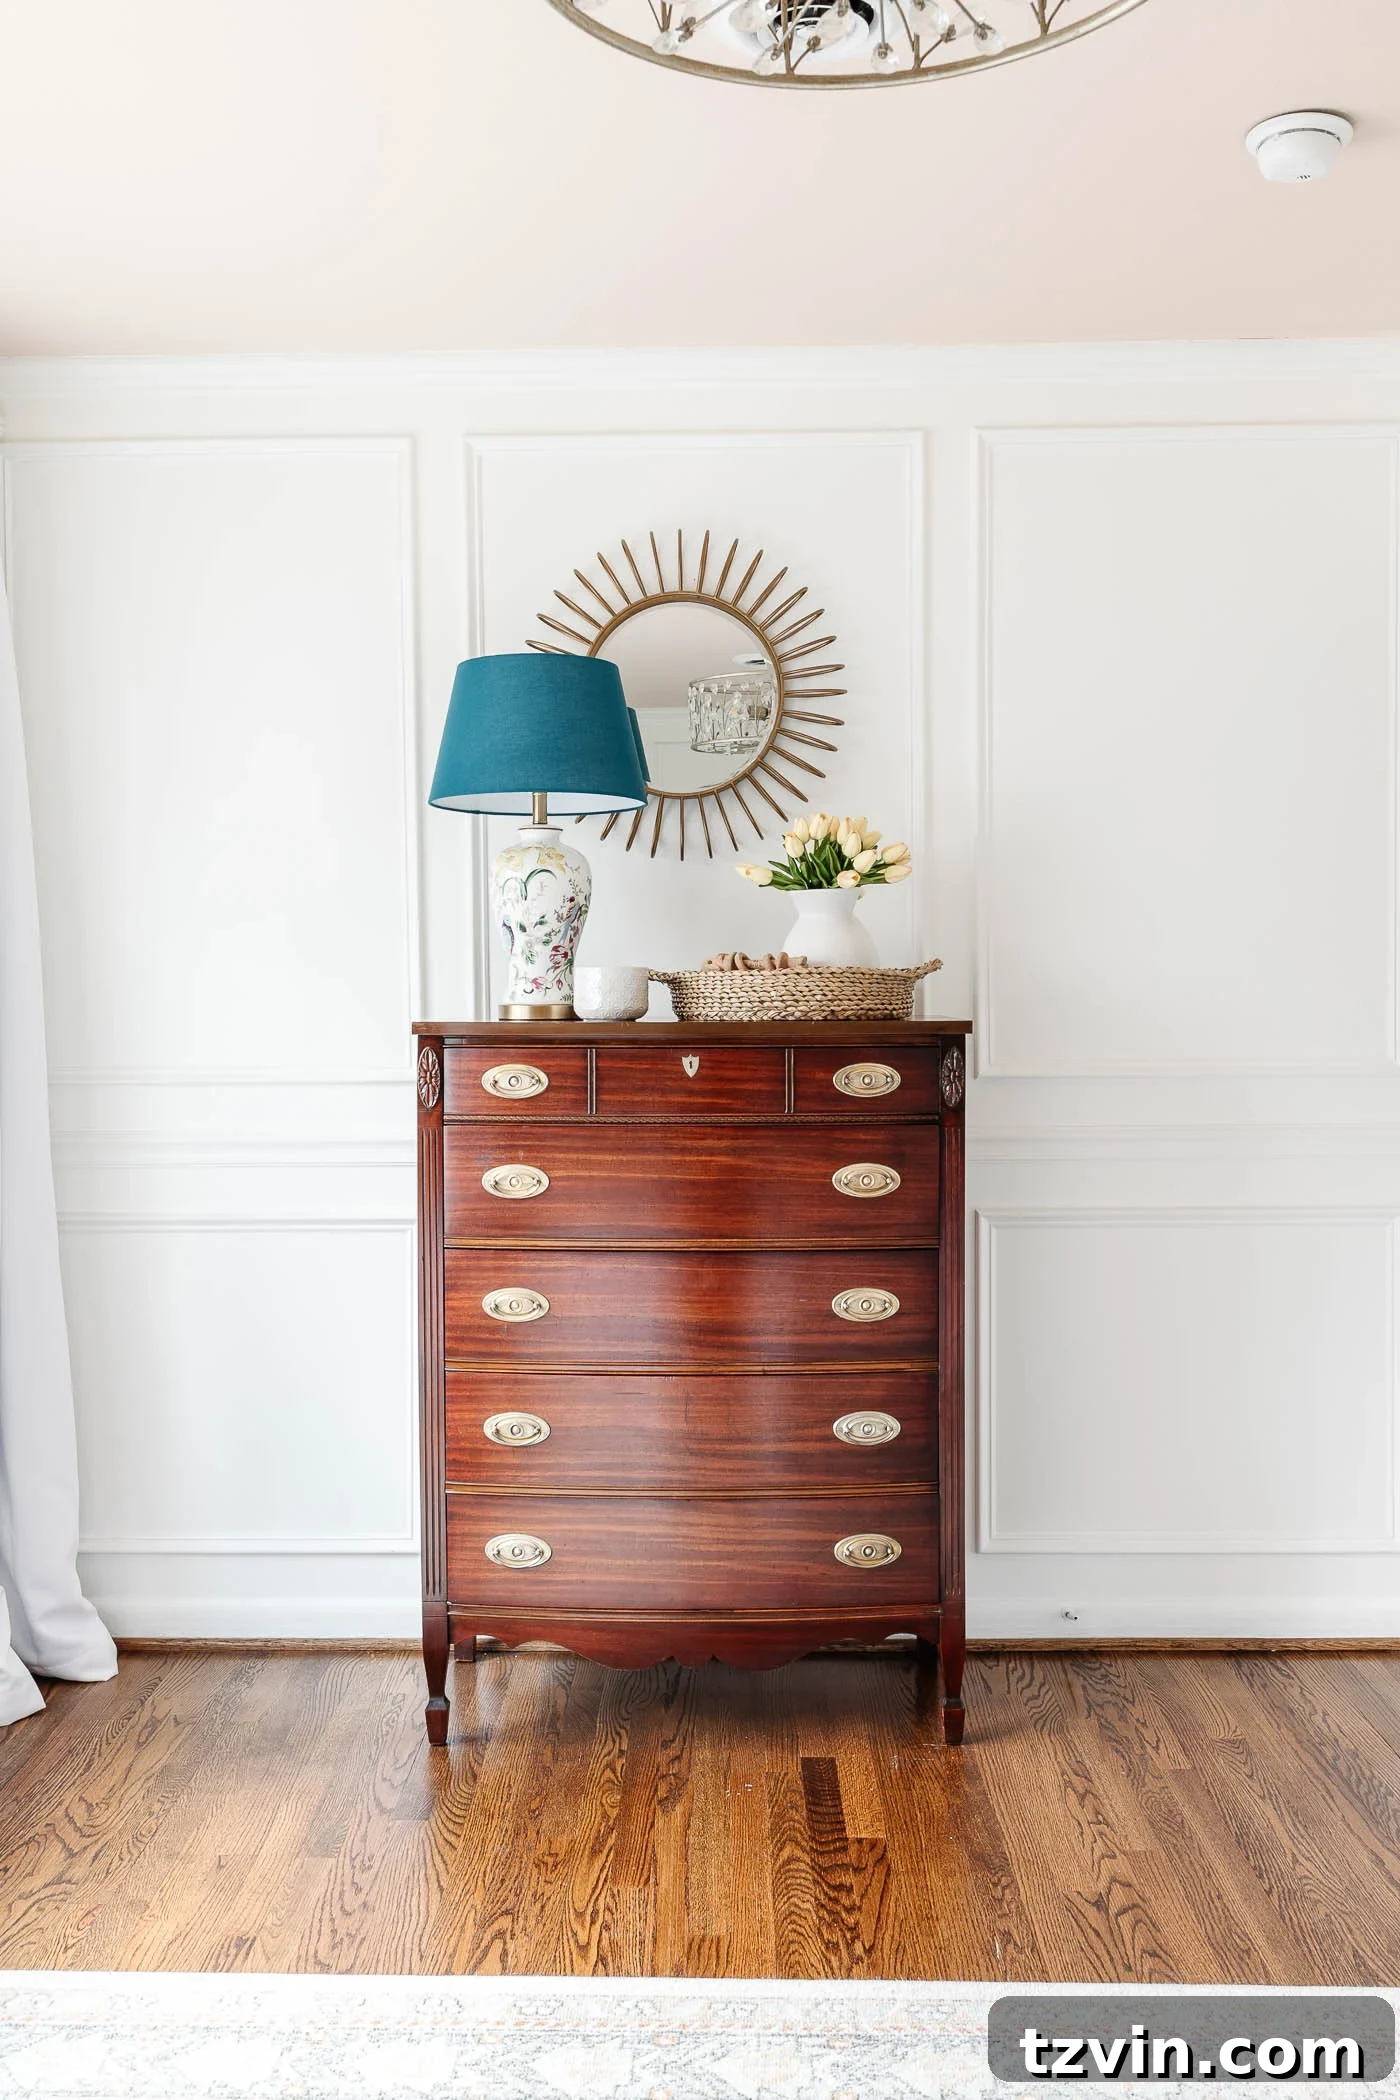
Witnessing the transformation of these wooden pieces is truly remarkable! They now look like brand new dresser and nightstand, brimming with character and a renewed lease on life. The best part? The entire cleaning and polishing process wasn’t overly strenuous. (I’d argue the most challenging part was actually Robert and me hauling this rather hefty chest of drawers up our staircase!) But the effort was well worth it.
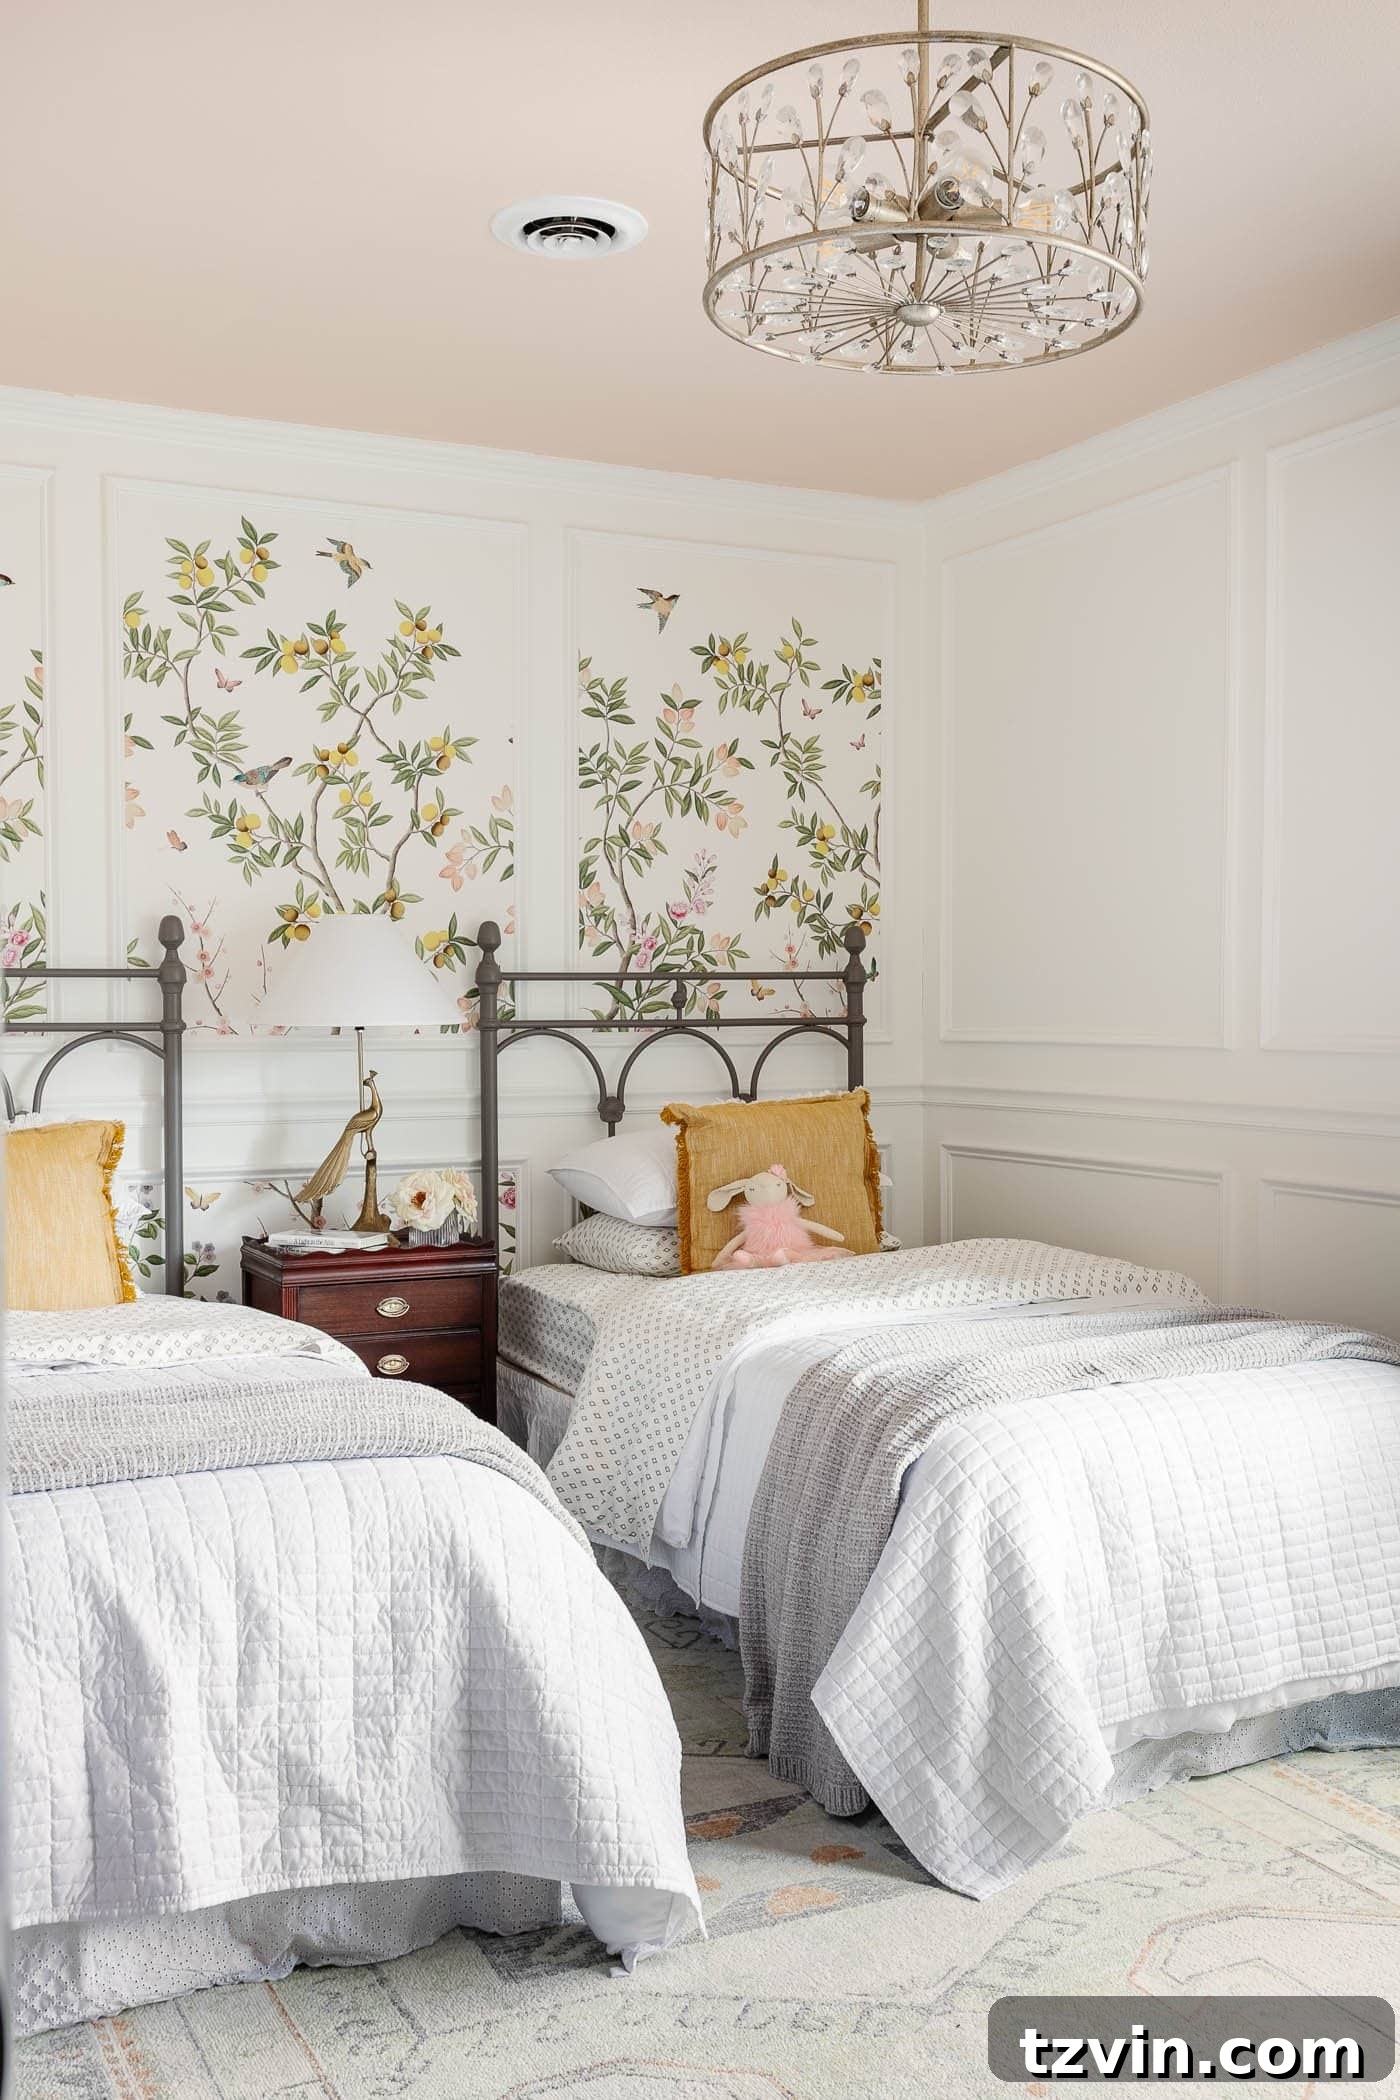
Don’t you agree that Regan’s room looks incredibly charming with these beautifully restored pieces? I am absolutely captivated by how much better they look after undergoing this deep cleaning and conditioning method. The rich wood grain now shines through, adding a sophisticated warmth and vintage elegance that perfectly complements the room’s aesthetic. It’s proof that sometimes, the best “makeover” is simply a meticulous clean and polish, allowing the natural beauty of the wood to truly radiate.
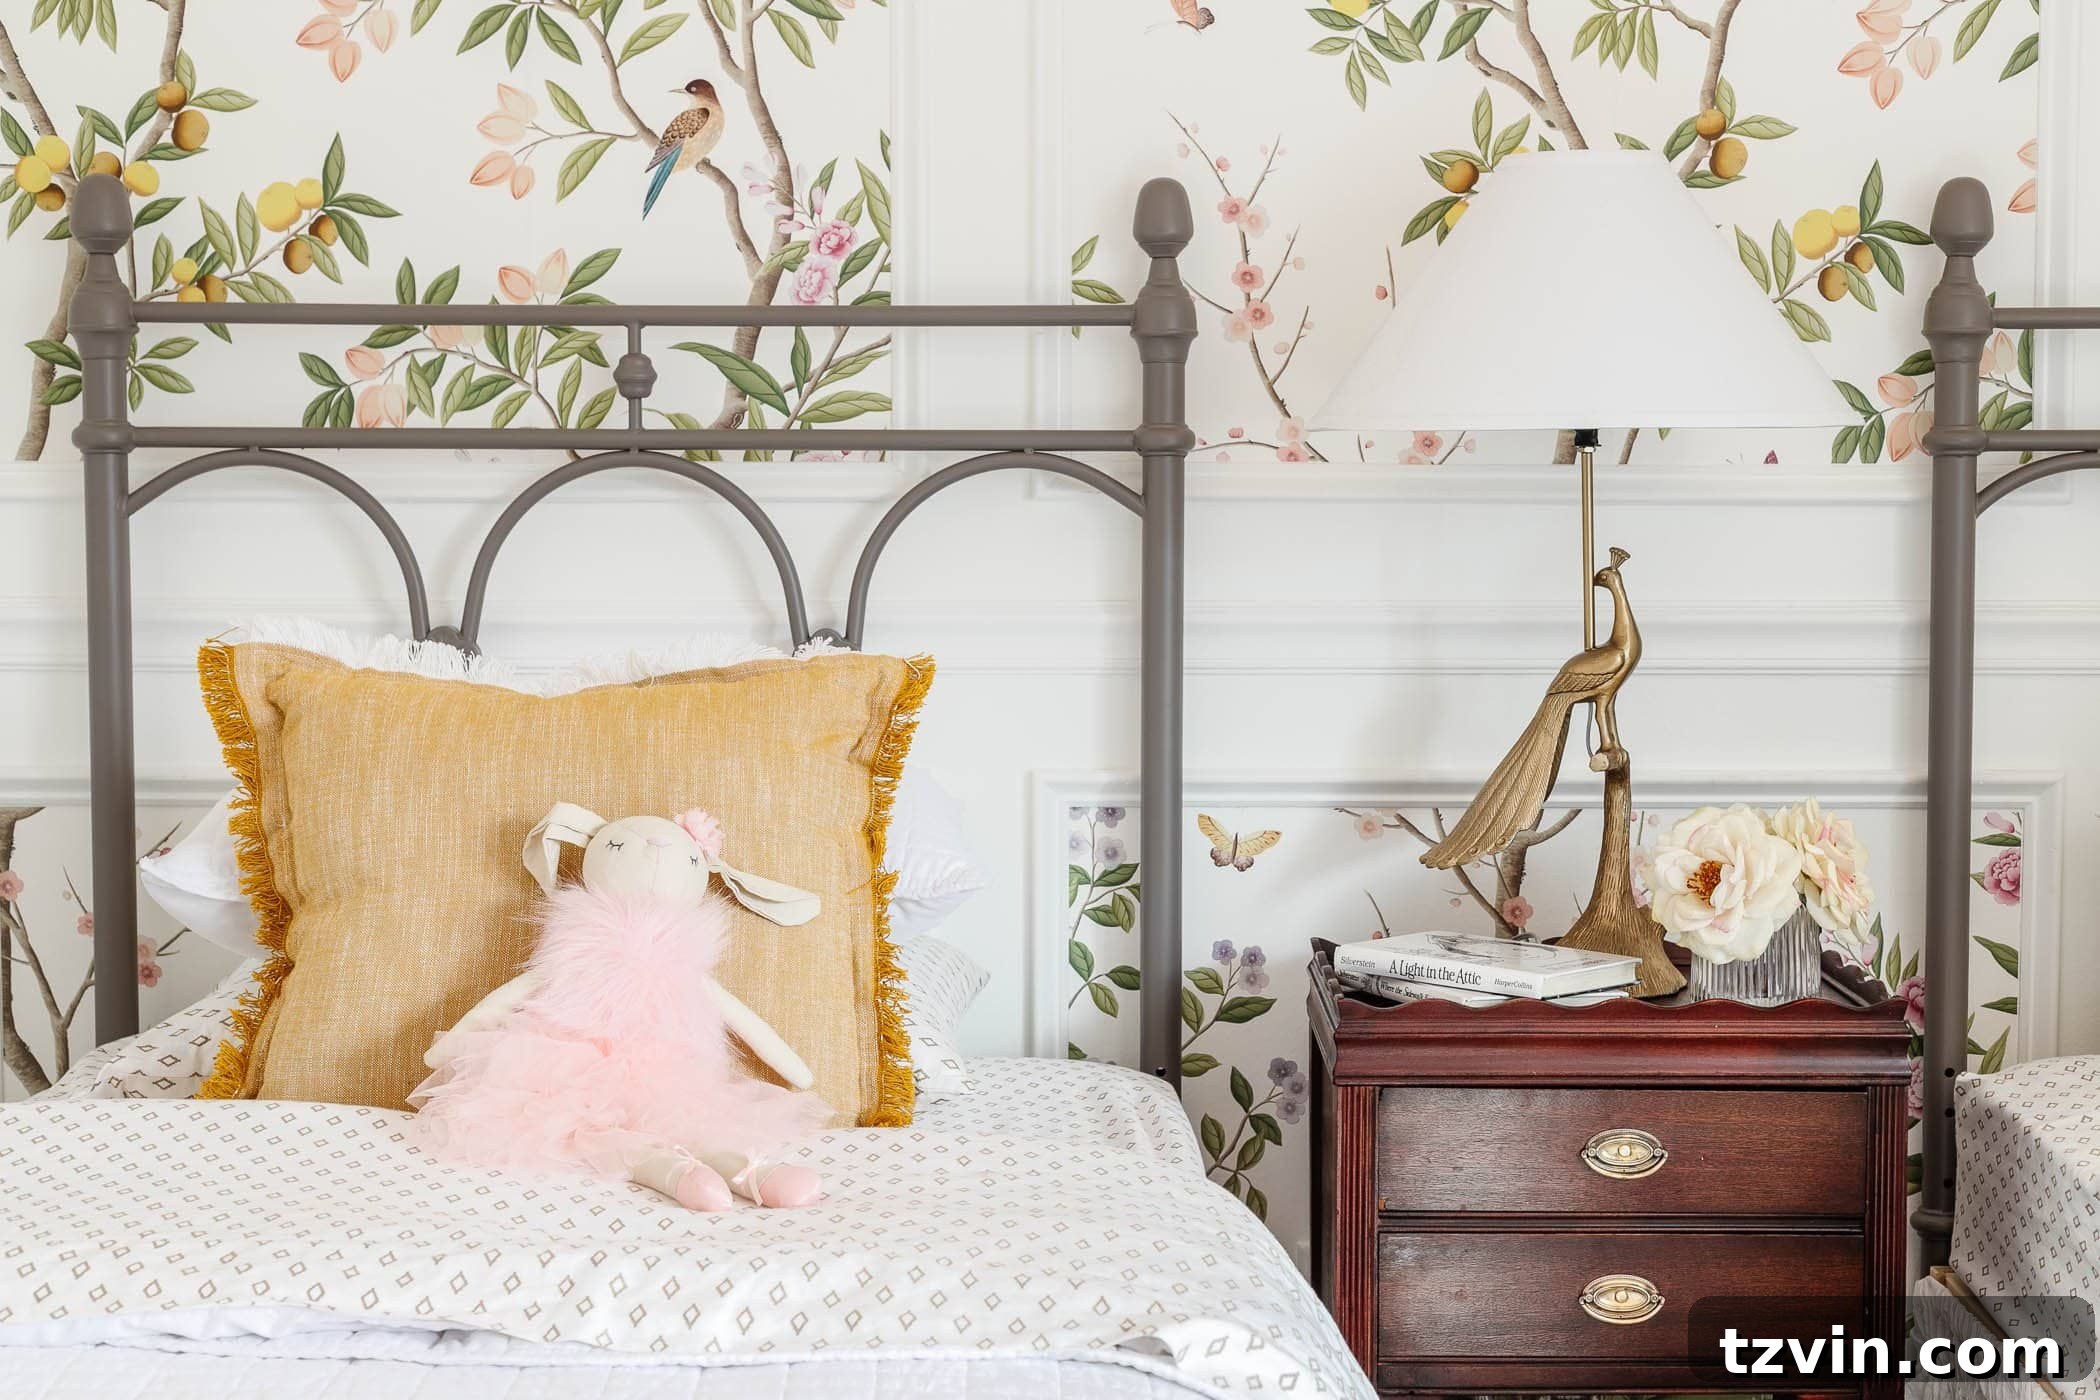
Long live the beauty and durability of wood furniture! Perhaps this successful project will even embolden me to tackle stripping painted furniture again… although I confess I’m still recovering from a few rather challenging incidents with a wooden dining table and chairs many years ago. Some memories linger!
Are you fully embracing the comeback of traditional and natural wood furniture, or do you still find yourself on “Team Painted Furniture”? There’s no right or wrong answer, of course. The most important thing is to do what your soul loves and decorate your home with pieces that genuinely bring you joy and reflect your personal style. That’s what truly matters in creating a space you love.
The me from five years ago would have undoubtedly slapped distressed chalk paint onto these two beautiful wood furniture pieces without a second thought. But today, I realize that their exquisite wood grain truly deserves to be in the spotlight, celebrated for its unique patterns and enduring elegance.
Frequently Asked Questions About Wood Furniture Care
Musty smells are a common problem with older furniture, often caused by trapped moisture or mildew. For an incredibly effective solution, try placing charcoal bags inside the drawers. These bags are natural odor absorbers and work wonders for all kinds of unpleasant furniture smells. Leave one in each affected drawer for several days, and let it draw out the odors. You can also achieve good results by sprinkling a generous amount of baking soda into the drawer, along with a few scented dryer sheets, and leaving them for a week or more. The baking soda will absorb odors, and the dryer sheets can impart a fresh scent. For particularly stubborn smells, gently clean the inside of the drawer with a 50/50 mixture of white vinegar and water, then allow it to air dry completely outdoors on a sunny, non-humid day (if possible) to ensure any mildew is eradicated.
For those who prefer a more natural, DIY approach to cleaning wood furniture, a simple yet effective solution can be made at home. In a spray bottle, combine 4 parts warm water with 1 part white vinegar and 1 part olive oil. Shake the mixture well before each use, as the oil and water can separate. Lightly spritz this solution all over your wood furniture surface. The vinegar acts as a gentle cleaner and disinfectant, while the olive oil helps to condition the wood, providing moisture and a subtle shine. Immediately after spraying, wipe the furniture thoroughly with a clean, soft cloth, buffing it gently to remove any residue and bring out the luster. Always test this solution on an inconspicuous area first to ensure it reacts well with your specific wood finish.
Preventing musty smells requires managing moisture and ensuring good air circulation. After deep cleaning, consider using drawer liners or cedar blocks inside drawers and cabinets – cedar is a natural insect repellent and has a pleasant, fresh scent. Keep furniture away from damp walls or areas with high humidity. Regularly open drawers and cabinet doors to allow for air circulation. If you live in a humid climate, using a dehumidifier in the room where the furniture resides can be very beneficial in controlling moisture levels and preventing mold or mildew growth, which are often the culprits behind musty odors.
Sometimes, years of old polish and grime can create a very stubborn, sticky residue that even oil soap struggles to fully remove. In such cases, mineral spirits are your best friend. As mentioned in the main steps, apply mineral spirits to a clean cloth and gently rub the sticky areas. It’s a powerful solvent that breaks down old wax, oil-based polishes, and other sticky substances without damaging the wood finish underneath. Work in small sections, and ensure good ventilation. Once the residue is removed, wipe the area clean with a fresh cloth and proceed with your chosen wood polish to recondition the surface.
More Furniture Makeover Tips and Inspiration
If you’re eager to continue your furniture restoration journey or simply looking for more creative ways to enhance your home decor, explore these helpful guides:
How to Restore Worn Cane Furniture
The Trick to Painting Laminate IKEA Furniture for a Durable Finish
Discover the Best Places to Buy Unique Furniture Hardware