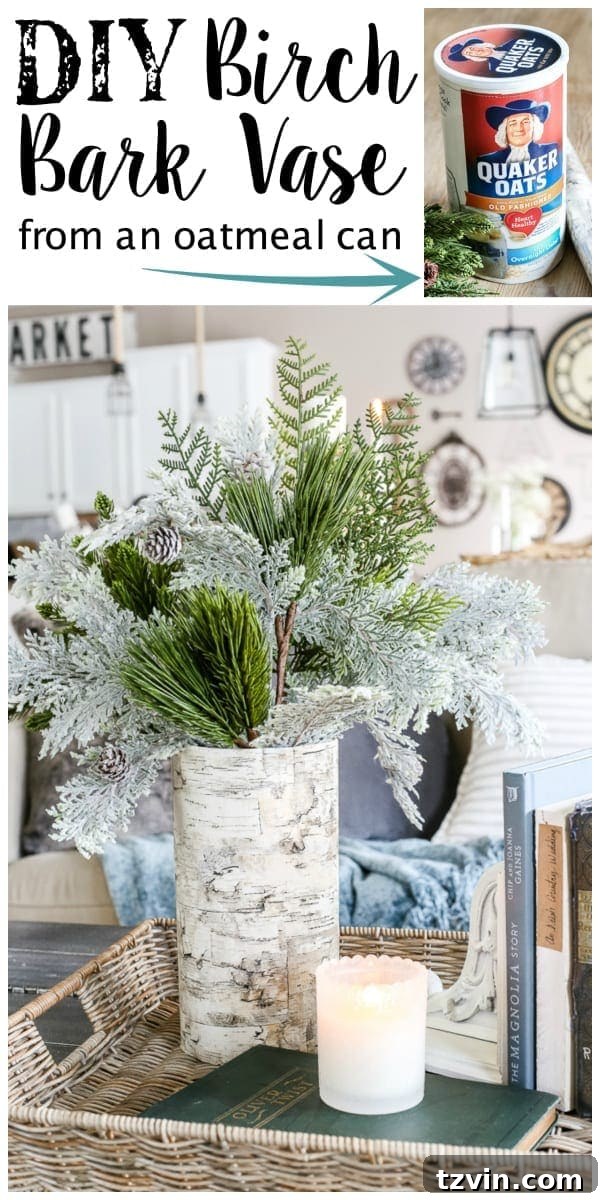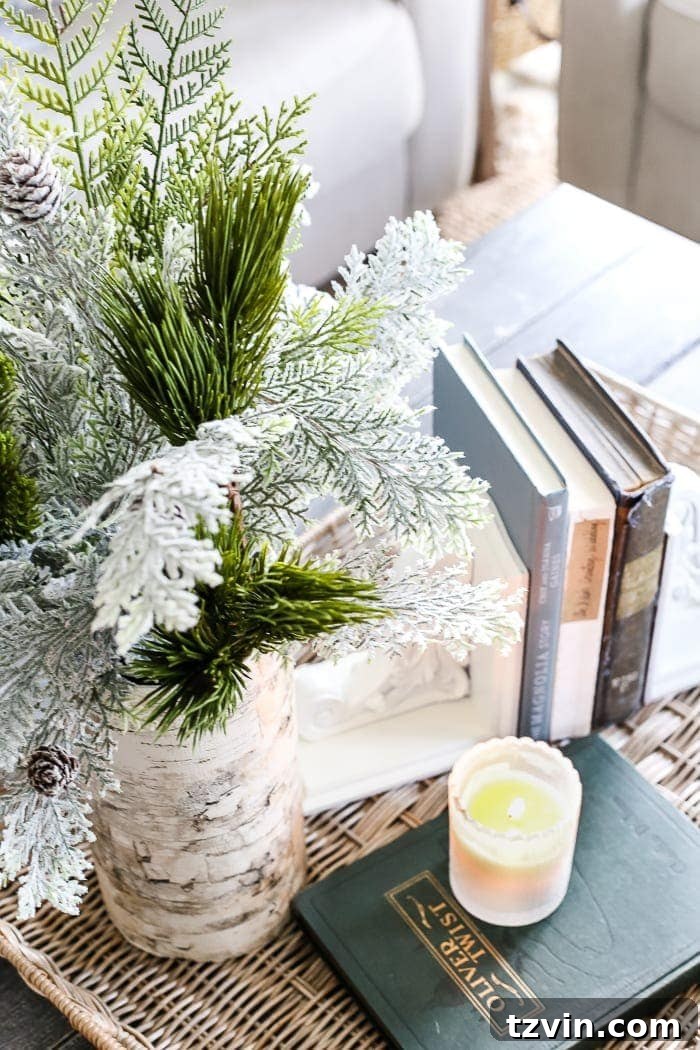
Welcome to a truly extraordinary day – a “trash to treasure” transformation like no other! While I’m not one to rummage through back alley dumpsters for decor finds, our own kitchen pantry? That’s a different story. It’s amazing what hidden potential lies within our everyday waste, just waiting to be reimagined into something beautiful and functional for our homes. This particular project is a testament to the power of upcycling, proving that stunning home accents don’t have to come with a hefty price tag or require extensive crafting skills.
Picture this: you’re casually browsing your pantry, perhaps reaching for breakfast supplies, when suddenly, an empty oatmeal can catches your eye. Instead of seeing a discarded container destined for the recycling bin, a flash of inspiration strikes: “This would make an incredible vase!” Sound a little quirky? Perhaps. But for those of us who love a good DIY project, this moment of creative revelation is perfectly normal. It’s about seeing beyond the obvious and finding beauty in the ordinary.
Just yesterday, when I shared a glimpse of our winter-themed living room and mantel, beautifully adorned for the post-Christmas season, I briefly showcased a stunning birch bark vase. What I didn’t get a chance to mention then was the incredible backstory behind this piece – its origin as a humble oatmeal can and the budget-friendly secret to its elegant appearance. This isn’t just a vase; it’s a steal, a craft triumph, and a charming addition to our home that cost next to nothing.
A couple of weeks prior, while browsing the after-Christmas clearance aisles, I stumbled upon a roll of embossed birch bark printed wrapping paper. It was a treasure trove of rustic charm, available for an unbelievable price: less than two dollars! At that moment, I knew exactly what it was destined for. The little oatmeal can, patiently waiting its turn in our pantry, seemed to call out to it. It was, quite simply, fate. This isn’t the first time I’ve transformed what some might call “trash” into chic home decor using paper. It’s a trick I’ve mastered, proving that creativity can often trump expensive purchases.
(P.S. On the topic of keeping things tidy and organized, especially if you’re in a post-holiday cleaning frenzy this month, don’t miss out on the last chance to grab a free Mrs. Meyer’s Cleaning Kit! It’s the perfect complement to a newly spruced-up space.)
Now, prepare yourself for what might just be the simplest, most rewarding DIY project you’ve ever encountered on this blog. This quick tutorial demonstrates how easily you can transform an everyday item into a captivating decor piece, showcasing that sometimes the most impactful designs come from the most unexpected sources. Forget complex techniques or expensive materials; this project champions simplicity, affordability, and maximum style impact. You’ll be amazed at how quickly you can achieve a high-end look with minimal effort.
Crafting Your Own Birch Bark Vase: The Easiest DIY Ever!
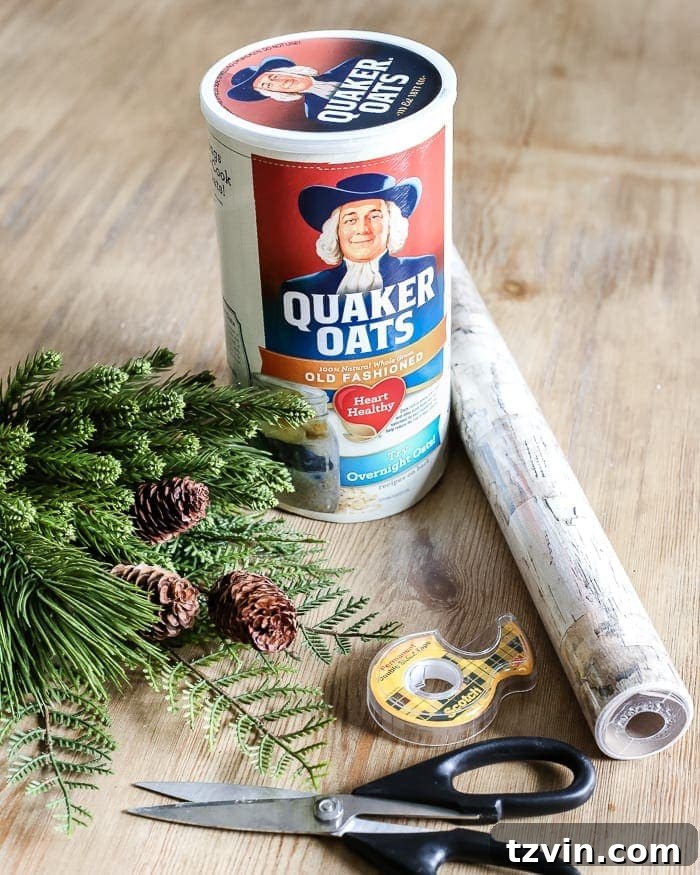
Creating your own birch bark vase is an incredibly straightforward process, perfect for beginners and seasoned crafters alike. This project requires minimal supplies, many of which you might already have around your home. The beauty of this DIY lies in its accessibility and the stunning results you can achieve in mere minutes. Let’s gather our essentials and transform that humble oatmeal can into a rustic masterpiece.
Supplies You’ll Need:
(For your convenience, affiliate links are provided below to help you find similar items easily.)
- Birch Bark Wrapping Paper: The star of our show! I was fortunate to find mine for under $2 during a clearance sale. While my exact find might be out of stock, you can often find similar beautiful embossed or printed birch bark paper readily available online. Check out options on Amazon or Etsy for various styles and textures. The key is to find a paper that genuinely mimics the organic look of natural birch bark, complete with its characteristic markings and subtle textures.
- Oatmeal Can (or similar cylinder): This is our base. An empty oatmeal can is ideal due to its sturdy structure and common cylindrical shape. However, feel free to experiment with other readily available containers such as a Pringles can, a coffee can, or even a larger food can. The main requirement is a clean, dry, cylindrical shape. Ensure it’s free from any food residue or lingering odors.
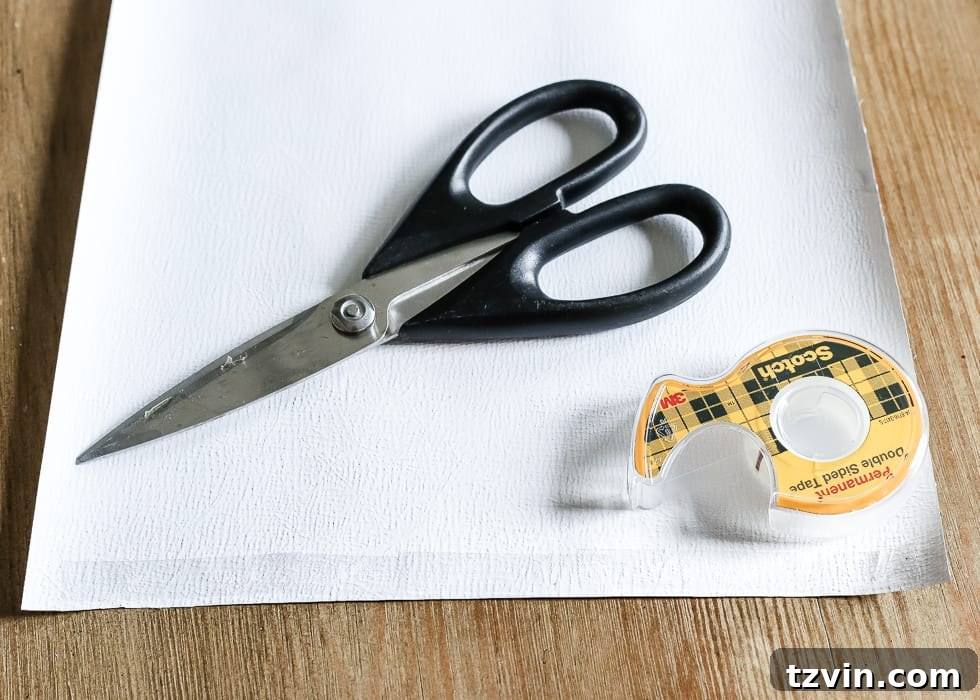
- Sharp Scissors: Essential for precise cutting of the wrapping paper. A good pair of craft scissors will ensure clean edges and a professional finish, preventing any jagged tears that could detract from the vase’s aesthetic.
- Double-Sided Tape: This is our adhesive of choice. Double-sided tape offers a strong, clean hold without the mess of liquid glue. It’s particularly effective for creating seamless seams and securing the paper firmly to the can, ensuring a smooth, wrinkle-free finish that will last.
Step-by-Step Instructions for Your DIY Birch Bark Vase:
Ready to begin? This project is incredibly forgiving and yields beautiful results with minimal effort. Follow these simple steps to transform your oatmeal can into a charming birch bark vase:
Step 1: Measure and Cut Your Paper
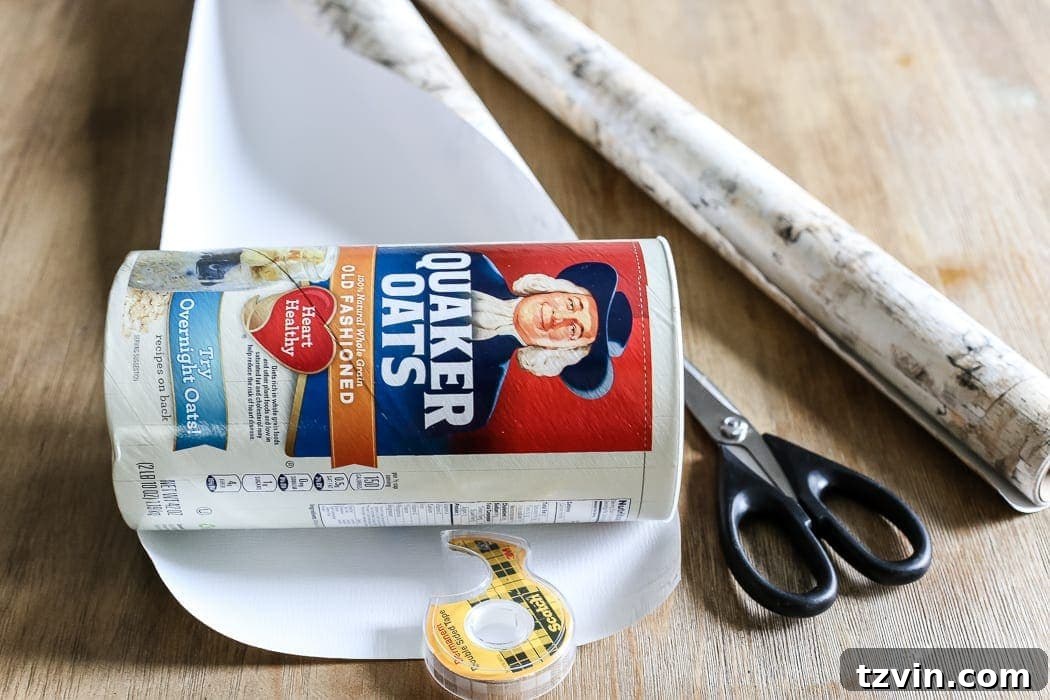
Start by laying your oatmeal can on its side directly onto the birch bark wrapping paper. Carefully measure the length of the can. Then, cut the paper so it’s approximately half an inch wider than the can’s length. This extra margin will give you enough paper to neatly fold and secure over the top and bottom edges of the can, creating a tidy, finished look that hides the original container completely. It’s better to have a little extra to trim than to come up short.
Step 2: Apply the First Strip of Tape
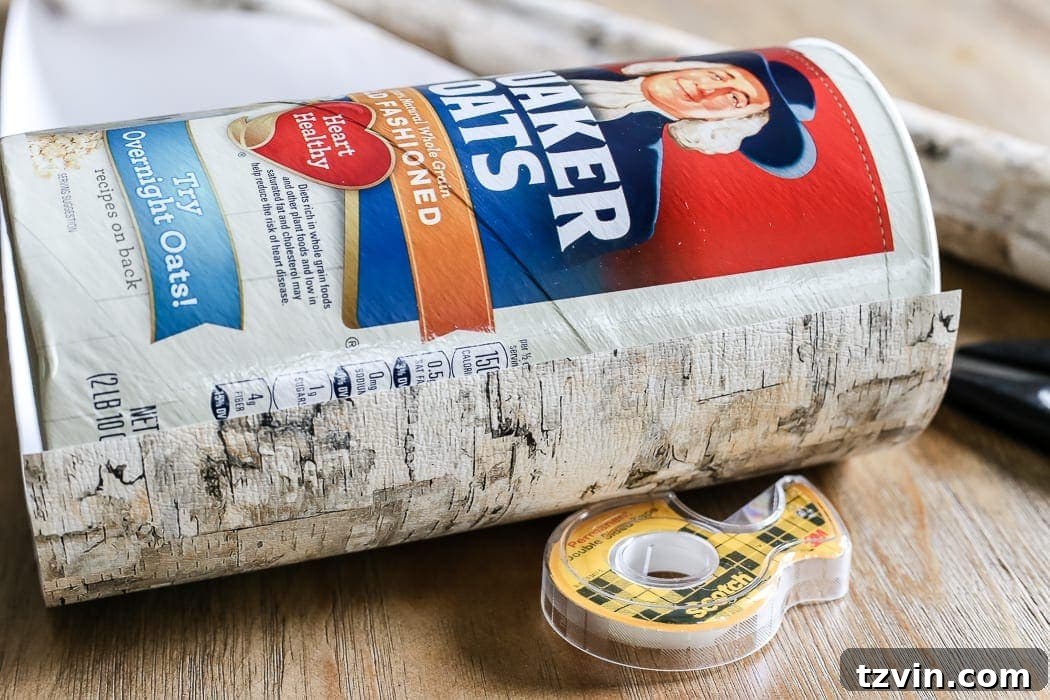
Take your cut piece of wrapping paper and lay it flat with the patterned side facing down. Along one of the shorter edges (the edge that will run vertically along the can), apply a continuous line of double-sided tape. Press it down firmly to ensure good adhesion to the paper. This initial strip will be the starting point for securing the paper to your can, providing a strong anchor for the entire wrap.
Step 3: Secure and Roll the Can
Carefully peel off the backing from the double-sided tape. Position the oatmeal can at the very beginning of the taped edge, making sure the paper is aligned straight with the can’s top and bottom. Press the can firmly onto the tape. Then, gently and evenly roll the can along the entire length of the paper. As you roll, ensure the paper wraps smoothly around the can, avoiding any wrinkles or bubbles. Maintain consistent tension to achieve a seamless, professional finish.
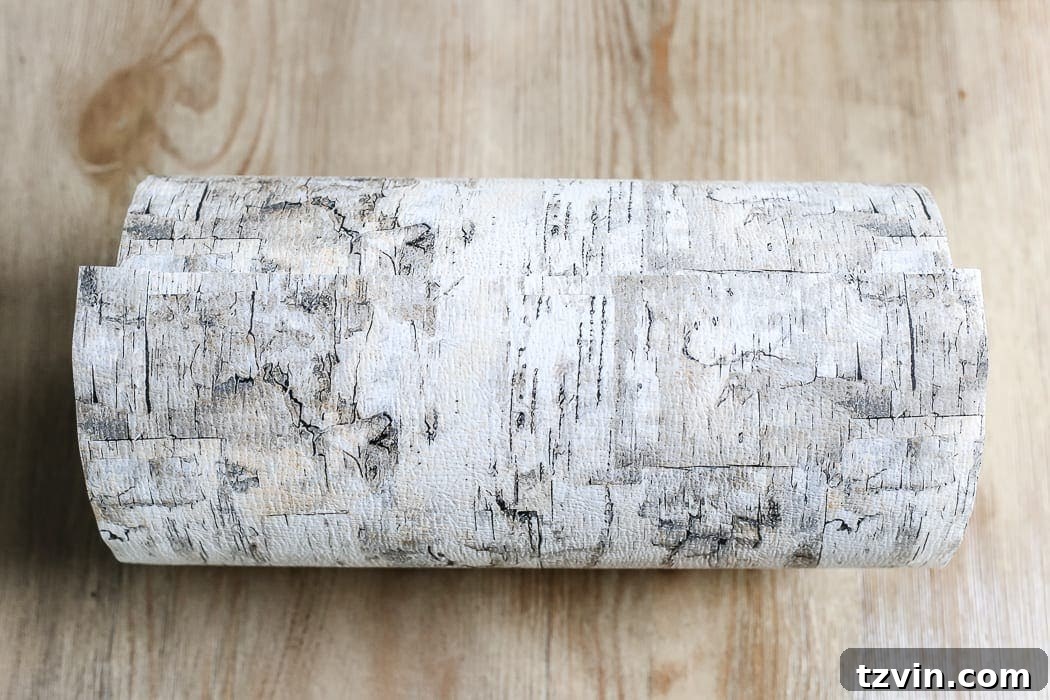
Once you’ve rolled the can almost entirely around, apply another strip of double-sided tape to the remaining edge of the paper. This final strip will secure the overlap, completing the wrap. Press firmly along the seam to ensure it’s well-adhered and almost invisible. The result should look like a perfectly wrapped, charming birch bark “burrito”!
Step 4: Finishing Touches and Trimming
With the paper securely wrapped, it’s time to refine the edges. At the bottom of the can, carefully trim any excess paper that extends beyond the base. For the top edge, you have a couple of options: you can either trim it flush with the rim of the can for a clean look, or if you prefer a more natural, organic finish, gently press the excess paper down around the inside of the opening. Use small pieces of double-sided tape to secure the folded-down paper, ensuring it stays neatly in place and gives a polished interior edge. This helps the vase look complete and intentional.
And just like that – ta-da! In hardly more than five minutes, you’ve transformed a simple oatmeal can into a sophisticated birch bark vase. Doesn’t it look like something you might discover in a high-end boutique? The beauty of this project is not only its simplicity but also its incredible versatility. Imagine creating a collection of these inexpensive vases for a rustic wedding or a charming outdoor gathering. Just remember, since the base is an oatmeal can, it’s best suited for displaying faux florals, or you can place a small glass vase inside for real flowers to prevent water damage.
Styling Your New Birch Bark Vase: Versatility for Every Season
One of the most appealing aspects of this DIY birch bark vase is its incredible adaptability to various decor styles and seasons. While it currently embodies a wonderfully cozy winter vibe, its natural aesthetic allows it to seamlessly integrate into your home throughout the year. The subtle texture and earthy tones of the birch bark provide a timeless foundation for countless styling possibilities.
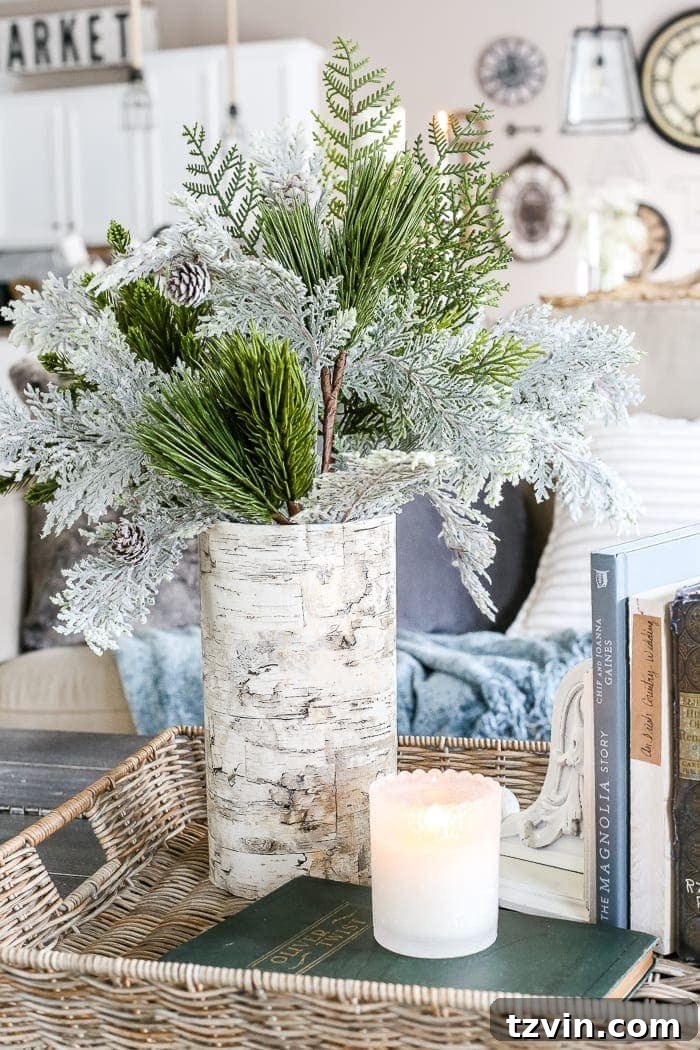
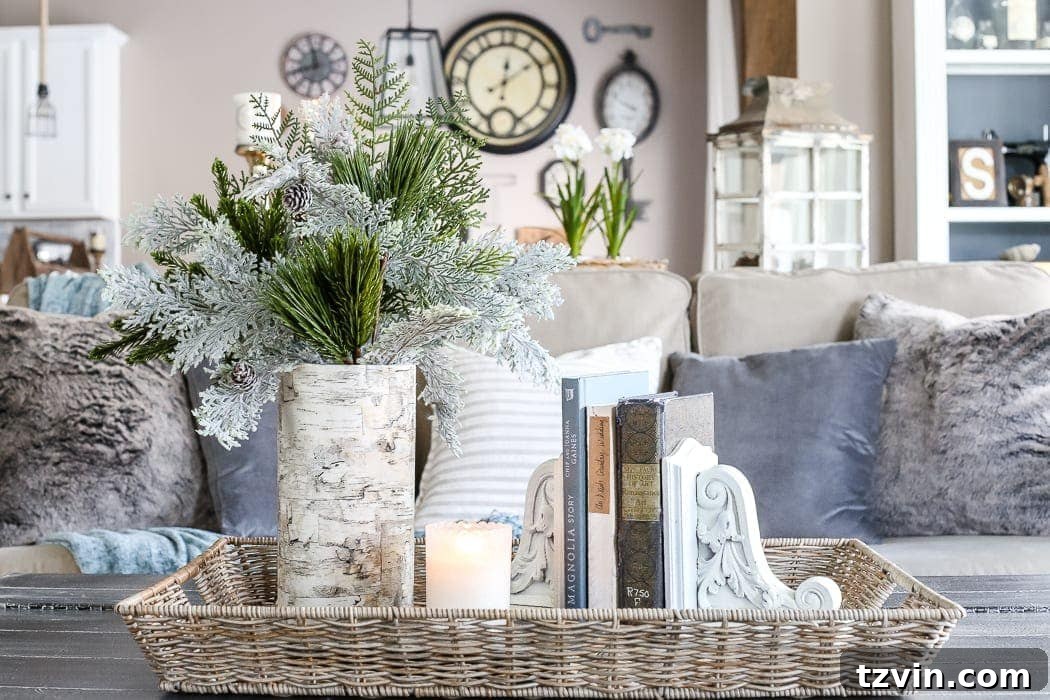
For a winter display, fill your vase with frosted branches, white berries, or pine sprigs to evoke a serene, snowy landscape. Pair it with soft knit throws, warm candlelight, and natural wood elements to enhance that inviting, hygge atmosphere. As spring arrives, transition to delicate faux cherry blossoms, vibrant green ferns, or soft pastel blooms to bring a touch of awakening nature indoors. In the summer, consider adding bright faux sunflowers, tall grasses, or even a collection of seashells for a coastal-inspired look. And when autumn rolls around, embrace rich jewel tones with faux fall foliage, dried wheat stalks, or mini decorative gourds.
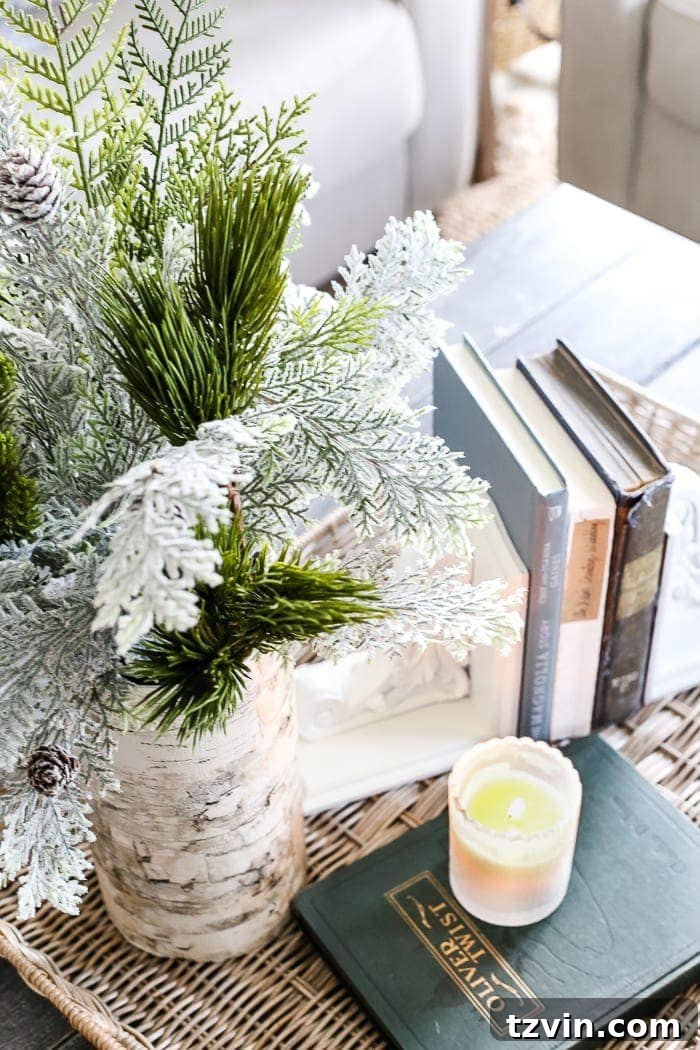
This birch bark vase is not just a seasonal accent; it’s a versatile foundation for your creative expression. Its rustic elegance complements a wide range of interior designs, from farmhouse chic and Scandinavian minimalism to bohemian eclectic and traditional styles. Place it on your mantelpiece as a focal point, arrange it on a side table to add natural texture, or use it as a centerpiece on your dining table. You can even group several vases of varying sizes for a dynamic display, creating a mini forest of charming, upcycled decor.
Embrace the Art of Upcycling: A Sustainable and Stylish Choice
This project serves as a wonderful reminder of the untapped potential in everyday items we often overlook. Upcycling isn’t just a trend; it’s a mindful approach to consumption, allowing us to reduce waste, save money, and infuse our homes with unique, personalized touches. Every time you create something new from something old, you’re contributing to a more sustainable lifestyle and adding character that mass-produced items simply can’t offer.
Have you ever ventured into the world of transforming “trash” into home decor treasures? Perhaps you’ve given an old piece of furniture a new lease on life with a fresh coat of paint, or wrapped a mundane object in beautiful paper to completely redefine its purpose. There’s an undeniable satisfaction in crafting something beautiful with your own hands, especially when it costs next to nothing. This project definitely makes me think I should raid our pantry more often for hidden gems!
Beyond the immediate satisfaction of creating something beautiful, upcycling projects like this birch bark vase offer a host of benefits. They encourage problem-solving, ignite creativity, and provide an opportunity to personalize your living space in a way that truly reflects your style and values. Imagine the conversations this little vase could spark, telling the story of its humble beginnings and its beautiful transformation. It’s more than just a decor item; it’s a piece of art with a story, born from a brilliant idea and a simple oatmeal can.
So, next time you finish a can of oatmeal, a container of chips, or a coffee canister, pause before tossing it. Look at its shape, consider its potential, and let your imagination wander. You might just be holding the next beautiful, budget-friendly accent piece for your home.
Loved this project and want to remember it for later? Pin it to your favorite DIY or home decor board!