From Forgotten to Faux-Vintage: Mastering the Art of the Rusted Kitchen Scale Makeover
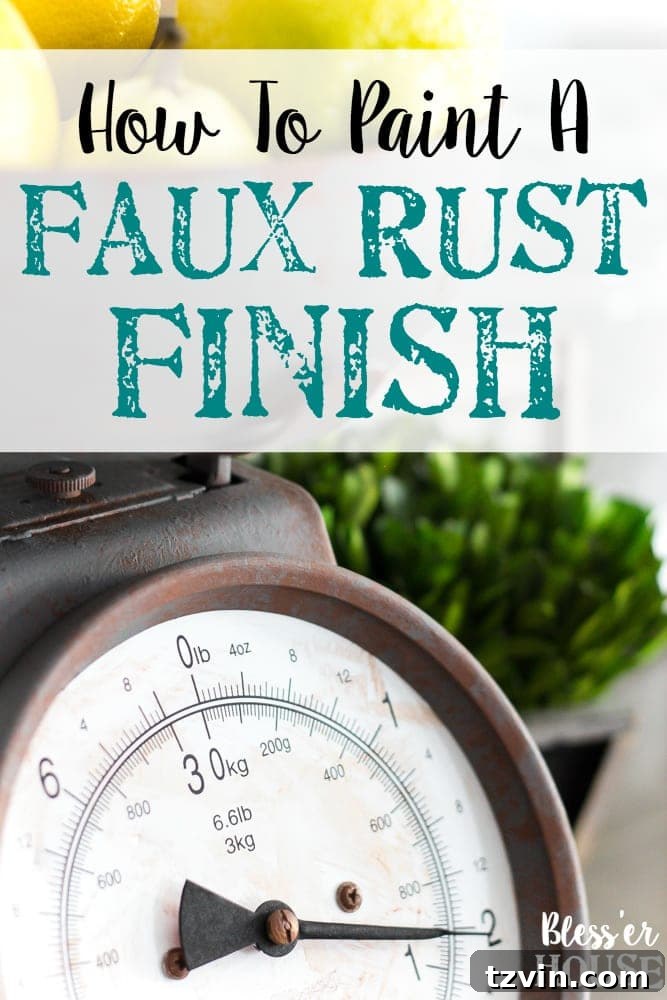
Welcome to another exciting episode of “fake it ’til you make it” – where hidden potential is unearthed from the most unlikely places, and a little creativity goes a long way. Today, we’re diving into the incredible transformation of a humble, discarded, and frankly, quite sad-looking thrift store kitchen scale. What started as a dusty, unloved item has become a stunning piece of faux-rusted vintage decor, proving that with the right vision and technique, anything can be reimagined.
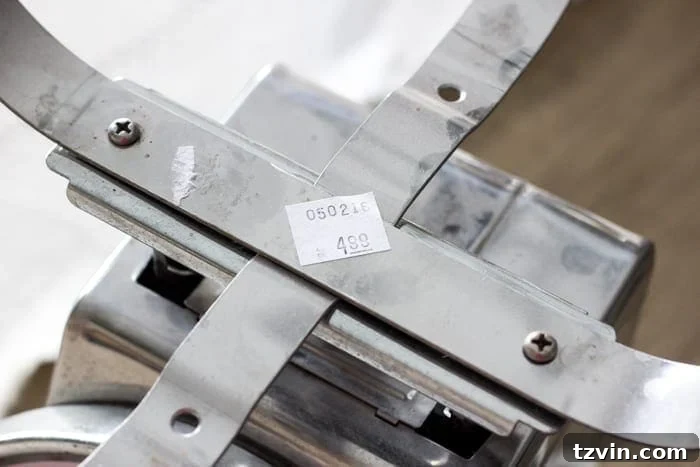
The allure of vintage items often comes with a hefty price tag, especially when it comes to charming kitchen scales that add character and a touch of nostalgia to any space. My quest for an affordable, aesthetically pleasing vintage kitchen scale had been ongoing, fruitless, and frankly, expensive. Online, pristine vintage-style scales easily fetch upwards of $90, and even in antique shops, I struggled to find anything under $45. This made stumbling upon a forlorn kitchen scale at a local thrift store for just $5 an absolute revelation. It wasn’t charmingly distressed; it was genuinely broken-down and desperate for a new lease on life. But even in its pathetic state, I saw the glimmer of an opportunity – a chance to create something truly special without breaking the bank.
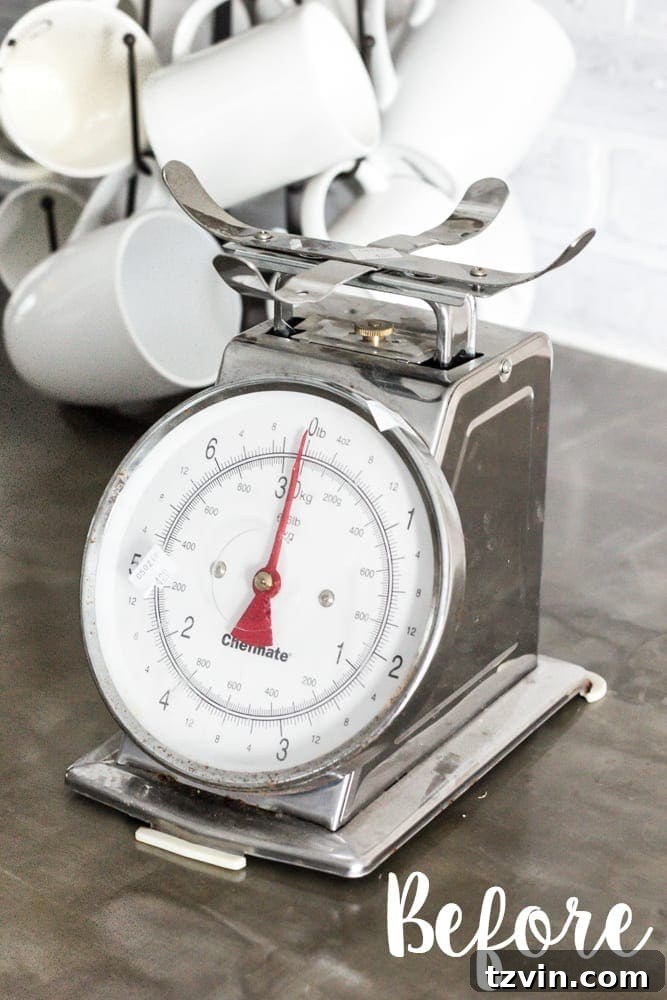
My goal was clear: transform this cheap thrift store find into a convincing replica of a weathered, vintage kitchen scale, complete with an authentic-looking rust finish. What I discovered in the process was a remarkably simple yet incredibly effective method to achieve a beautiful faux rust effect on virtually any surface. This technique has quickly become a new favorite in my DIY arsenal, opening up a world of possibilities for future projects. So, get ready to unleash your inner artist and learn how to give pretty much anything a gorgeously aged, faux rust finish!
The Charm of Faux Rust: Achieving Vintage Aesthetics on a Budget
The appeal of rusted items lies in their character, the story they tell of time and exposure to the elements. However, genuine rust can be messy, destructive, and often not ideal for indoor decor, especially in a kitchen. This is where the magic of a faux rust finish comes in. It allows us to replicate that beloved weathered aesthetic without any of the drawbacks of actual corrosion. This project perfectly embodies the spirit of our monthly “Trash to Treasure Transformation Tuesday” series, where we celebrate the power of upcycling and creative reuse. If you love giving discarded items a second chance, you can explore all my past Trash to Treasure projects here for more inspiration and DIY ideas.
The beauty of DIY lies not just in the cost savings, but also in the personal touch you add to your home. This particular project allowed me to create a custom piece that perfectly complements the vintage-inspired aesthetic of our new kitchen, which is nearing completion. It’s a testament to how accessible and rewarding creative transformations can be. By investing just a little time and a few affordable supplies, I achieved a high-end look that would otherwise cost a fortune.
Gather Your Toolkit: Supplies for a Perfect Faux Rust Finish
Creating this stunning faux rust finish requires only a handful of readily available supplies. The total cost for transforming my $5 thrift store find was approximately $16, a truly remarkable saving compared to the $90+ price tag of new vintage-style scales online. Here’s what you’ll need to embark on your own faux rust adventure:
- Rustoleum Hammered Copper Spray Paint: This forms the foundational layer, providing a metallic sheen and the initial hint of warmth often found beneath true rust. The hammered texture adds subtle dimension from the start.
- Folk Art Bark Brown Matte Acrylic Paint: This is crucial for mimicking the deep, earthy tones of aged rust. Its matte finish enhances the realistic look, absorbing light rather than reflecting it.
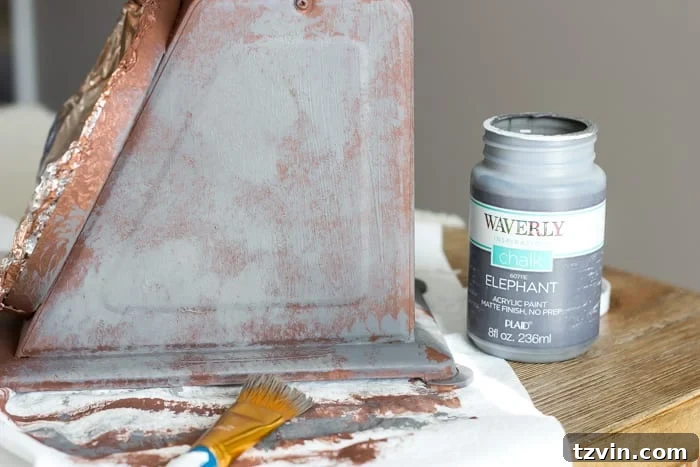
- Waverly Chalk Paint in Elephant (or similar matte gray): A cool, muted gray is essential for achieving the weathered, almost oxidized appearance that often accompanies rust, especially on older metal. Any other matte gray paint color you prefer will work beautifully.
- Large craft brush: A stiff-bristled craft brush is ideal for the “pouncing” technique we’ll use, allowing for excellent texture application and control.
- A stainless steel scale (or item to transform): While I found a bargain at the thrift store, any existing stainless steel scale or metal object can be given this unique makeover. The bonus, of course, is if you can find one for cheap at a local second-hand shop!
(Affiliate links are provided above for your convenience. These links help support this blog at no extra cost to you. For more information, please see my full disclosure here.)
Step-by-Step Guide: Creating Your Faux Rusted Vintage Scale
1. Preparation is Key: Cleaning and Base Coat Application
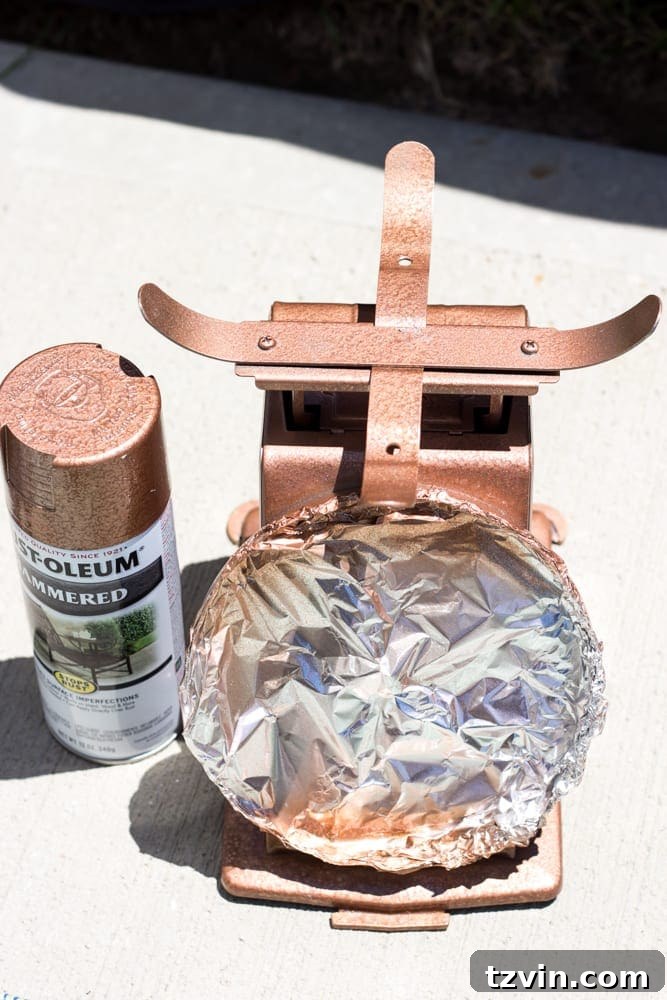
Before any paint touches your scale, a thorough cleaning is essential. Remove any dust, grime, or existing rust (if it’s real rust you’re painting over) to ensure optimal paint adhesion. Once clean and dry, carefully cover the face or dial of the scale with tin foil or painter’s tape to protect it from the initial spray paint. This ensures the functional parts remain clean and visible. With the face protected, apply an even coat of the Rustoleum Hammered Copper Spray Paint to the entire exterior of the scale. The hammered texture of this paint immediately adds an intriguing dimension, creating a subtle, almost pitted surface that perfectly sets the stage for our rust effect. Allow this layer to dry completely according to the manufacturer’s instructions, which typically takes a few hours.
2. Adding Depth: The Bark Brown Effect
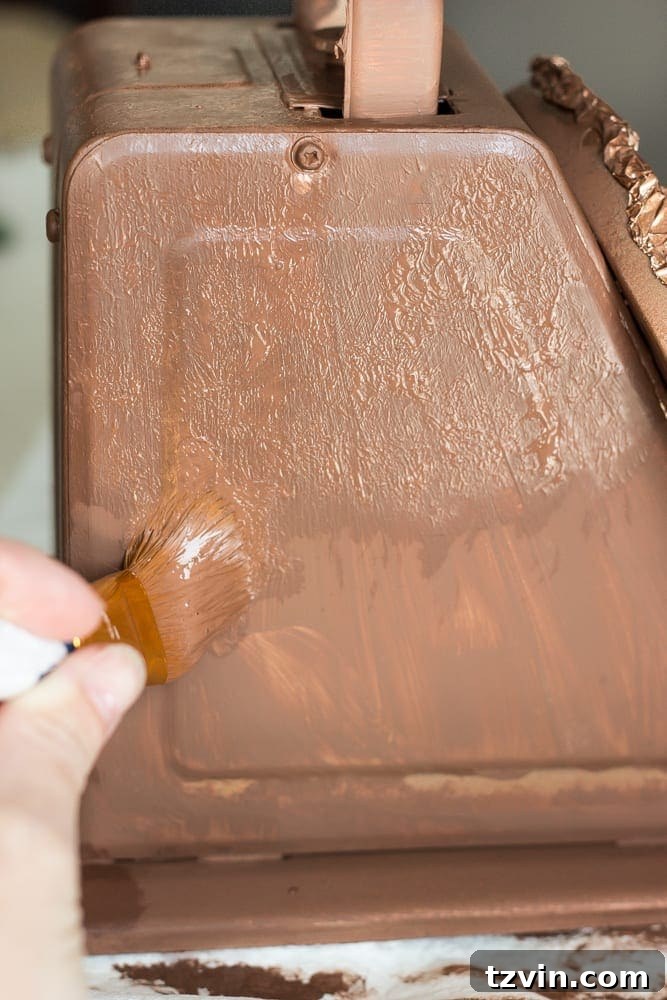
Once your copper base is fully dry, it’s time to introduce the rich, earthy tones of rust. Using your large craft brush, dab on a coat of the Folk Art Bark Brown Matte Acrylic Paint. The technique here is not to brush smoothly, but rather to “pounce” your brush, gently pressing and lifting it against the surface of the scale. This creates an uneven, textured application, mimicking the natural, inconsistent patterns of actual rust. Focus on areas where rust would naturally accumulate, such as crevices, edges, and points of wear. This layering technique is crucial for building realistic depth. Don’t aim for full, opaque coverage; let some of the copper shimmer through in places. Allow this brown layer to dry to the touch, which usually takes about 15-30 minutes, depending on humidity.
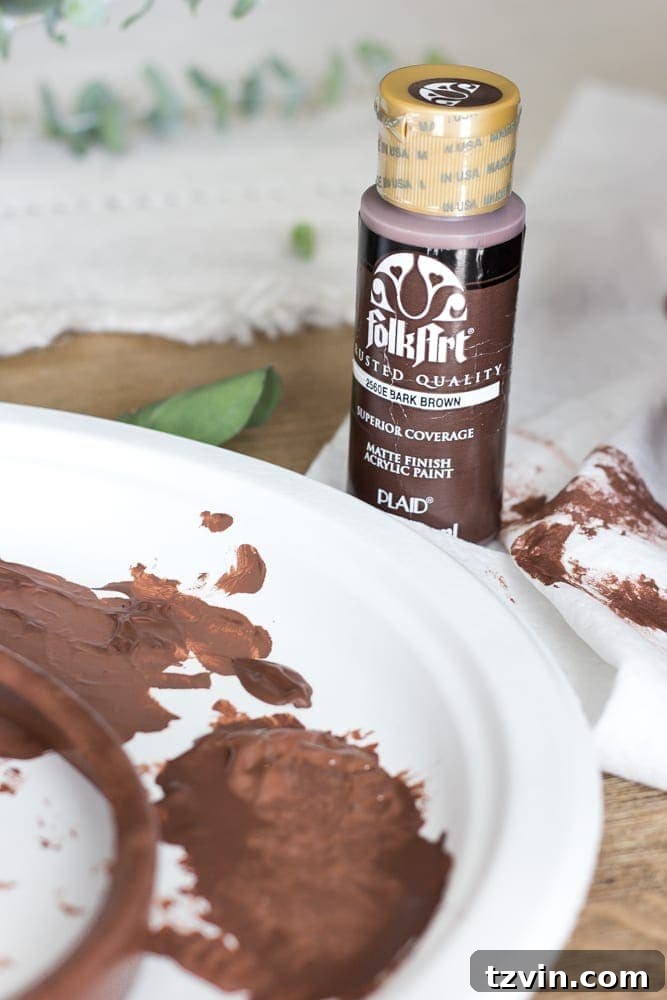
The “pouncing” action is key here. Instead of smooth strokes, repeatedly tap the brush against the surface. This creates a speckled, variegated look that is far more convincing than a flat coat of paint. It adds an organic, almost granular texture that perfectly emulates the irregular surface of oxidized metal. Embrace the imperfection; it’s what makes the faux rust so realistic!
3. The Weathered Look: Gray Highlights and Peeking Rust
Once the brown layer is dry, it’s time to add the final touch of aged authenticity with the Waverly Elephant gray chalk paint. Using the same pouncing technique with your craft brush, lightly dab the gray paint onto the surface. The trick here is to be sparing and strategic. You want to leave plenty of the brown and copper showing through, allowing them to peek out from underneath the gray. This creates the illusion of layers of oxidation and wear over time, where patches of deeper rust and original metal are still visible. The gray acts as a subtle, weathered film that would develop on older metal, enhancing the overall vintage aesthetic. Continue to pounce until you achieve a natural, uneven distribution that pleases your eye.
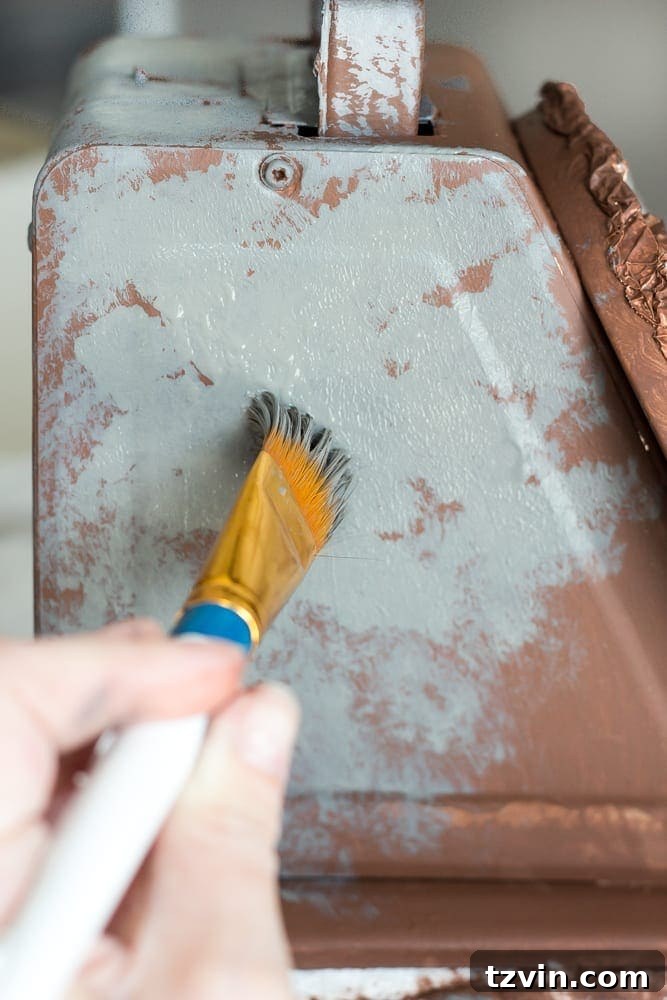
This layering process, from metallic copper to earthy brown and finally to a dusty gray, is what truly sells the faux rust effect. The combination creates a rich visual texture that convinces the eye it’s looking at genuinely aged metal. The entire process, apart from waiting for paint to dry, is surprisingly quick and straightforward.
4. Refining the Details and Expanding the Transformation
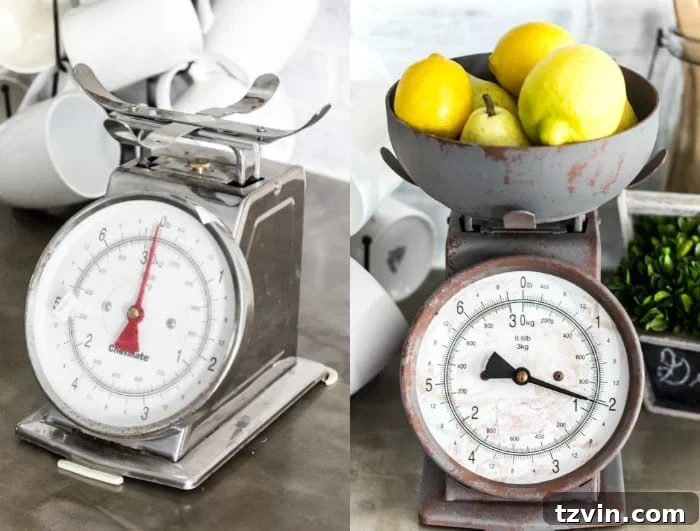
To further enhance the vintage appeal, I gently removed the plastic face covering on the scale. A light dry brushing with a tiny bit of the brown acrylic paint around the edges and on the plastic itself added a subtle layer of age, making it blend seamlessly with the newly rusted body. The original red dial was also painted over with black acrylic paint, giving it a more classic, muted look that better suits the aged aesthetic. These small details make a significant difference in the overall authenticity of the piece.
What’s truly exciting about this technique is its versatility. The original scale I purchased was missing its bowl piece. I simply repurposed a plastic bowl I already had at home and applied the exact same faux rust painting process to it. The results were astounding – the plastic bowl now perfectly matches the “rusted” scale, proving that this method works beautifully even on non-metal surfaces like plastic. This opens up endless possibilities for transforming various items around your home with a convincing aged, industrial, or farmhouse look.
I am consistently amazed at how much the finished scale resembles a genuine, naturally rusted antique. The depth, texture, and color variations truly capture the essence of years of weathering.
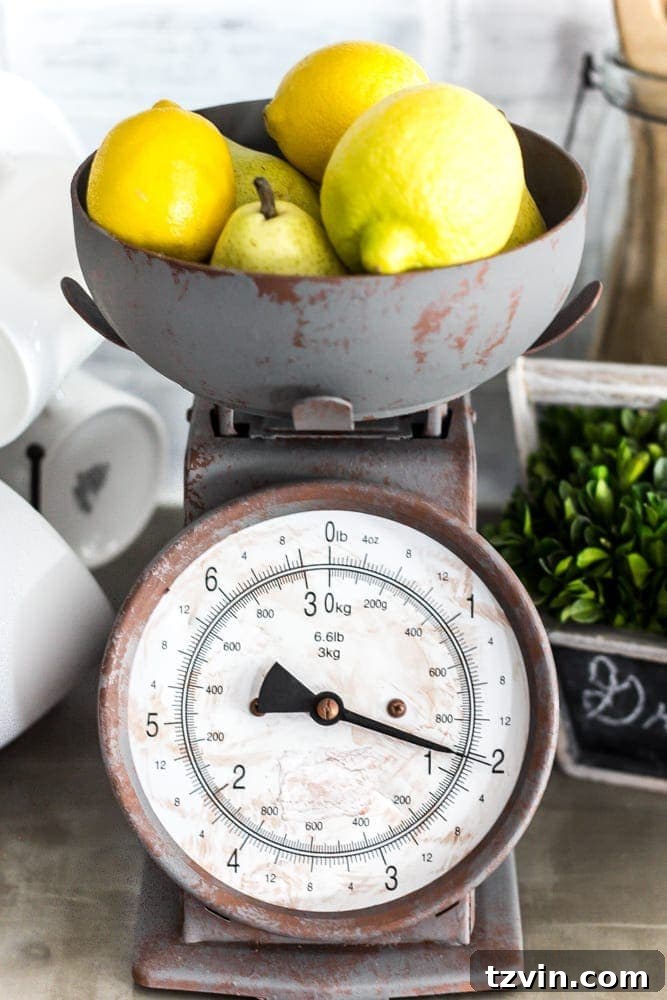
The Stunning Transformation: A Perfect Addition to Our New Kitchen
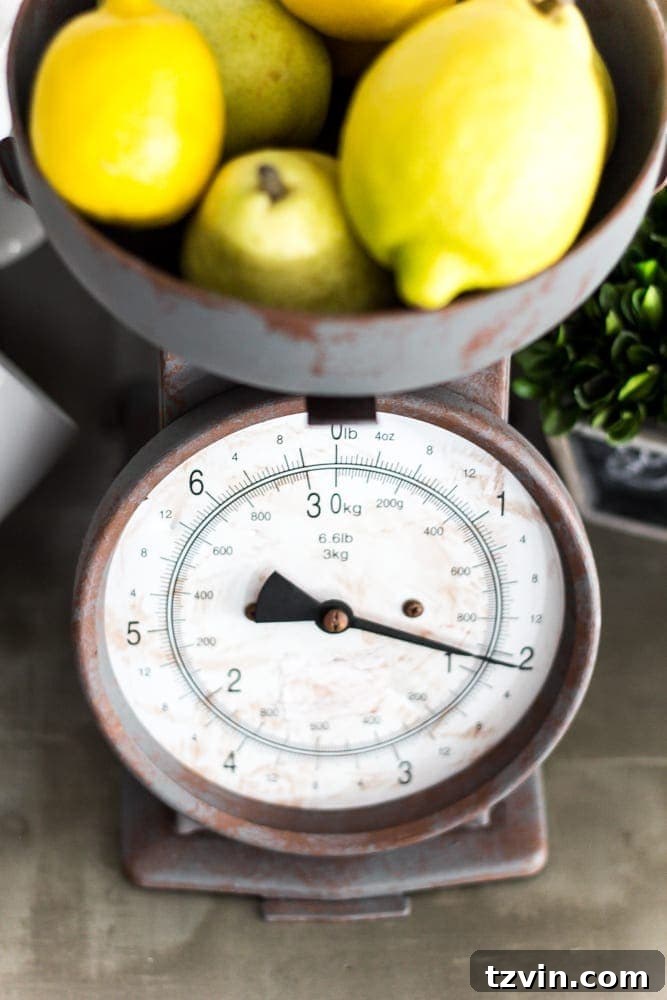
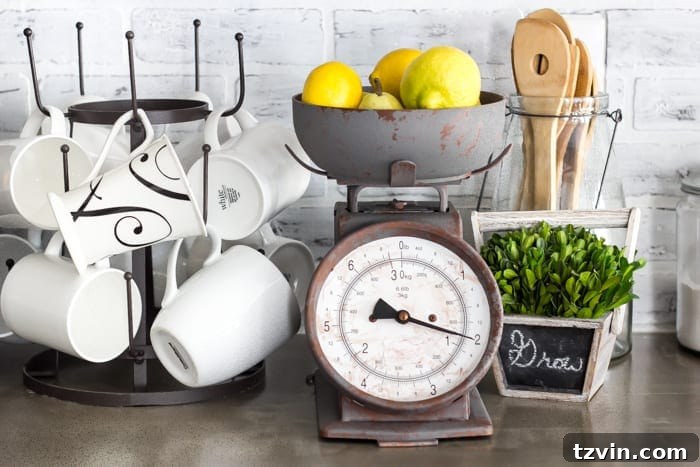
The end result is nothing short of breathtaking. What was once a sadly neglected thrift store item is now a captivating piece of decor. And now, even though it still retains a “shabby” appearance, it’s the *good kind* of shabby – the kind that exudes character, history, and deliberate charm. This scale has gone from busted to beautifully antique-inspired, and I couldn’t be more thrilled to finally have such a unique piece for our new kitchen.
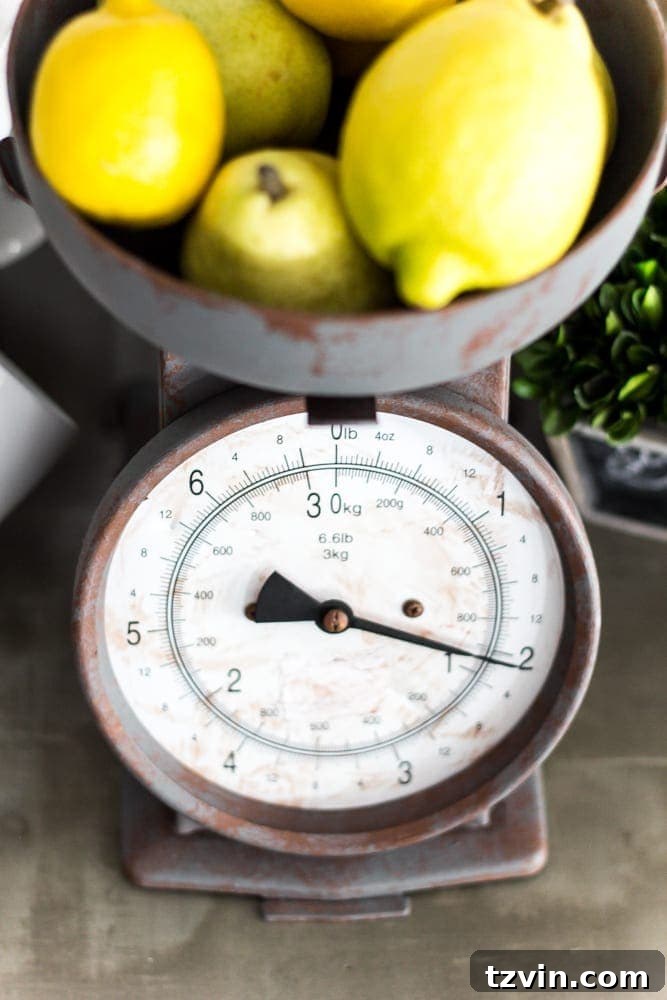
I’m absolutely delighted to integrate this faux-vintage scale into our new kitchen, which is so incredibly close to being finished I can hardly contain my excitement! It perfectly complements the aesthetic we’re building, adding that rustic, farmhouse touch that feels both authentic and welcoming. It’s truly amazing how a little paint can completely alter the perception of an object, turning something ordinary into extraordinary.
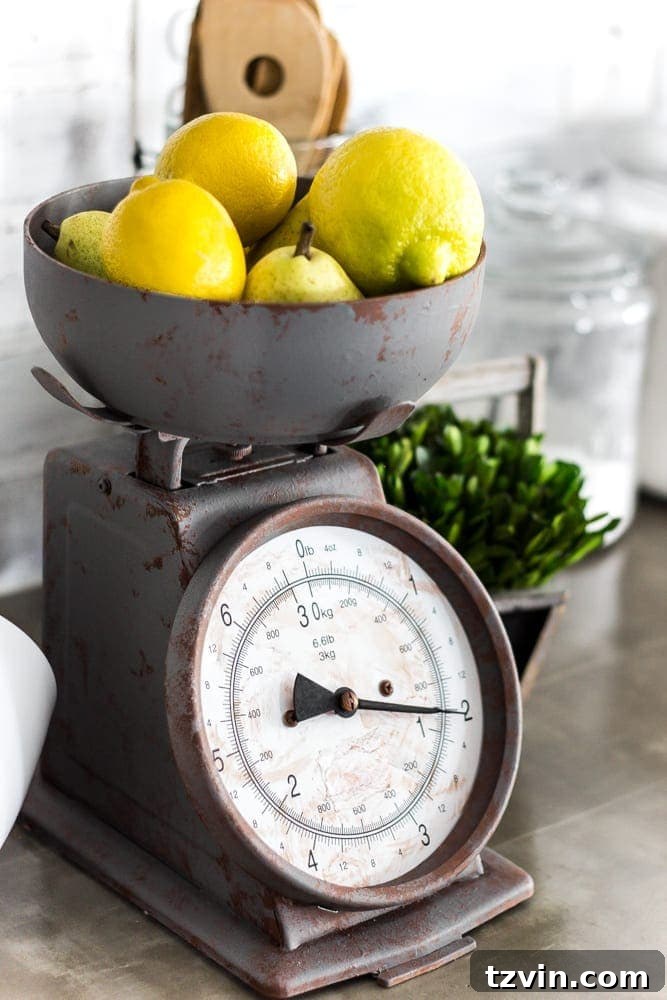
It’s pretty crazy, right? This little guy truly doesn’t even look like the same scale. The transformation is so complete that it’s hard to remember its original sad state. This project is a powerful reminder that with a bit of imagination and some DIY spirit, you can create stunning, custom pieces for your home that reflect your unique style and save a significant amount of money.
Join the Transformation Community: More Thrifty Makeovers
This faux rust kitchen scale is just one example of the incredible transformations that happen during our Trash to Treasure Transformation Tuesday series. It’s a fantastic community where fellow DIY enthusiasts share their creative upcycling projects, turning forgotten items into cherished treasures. If you’re looking for more inspiration, be sure to check out the other amazing makeovers from my talented Trash to Treasure Transformation friends. You’ll find a wealth of ideas for breathing new life into old furniture, decor, and more, proving that beauty can indeed be found in the most unexpected places.
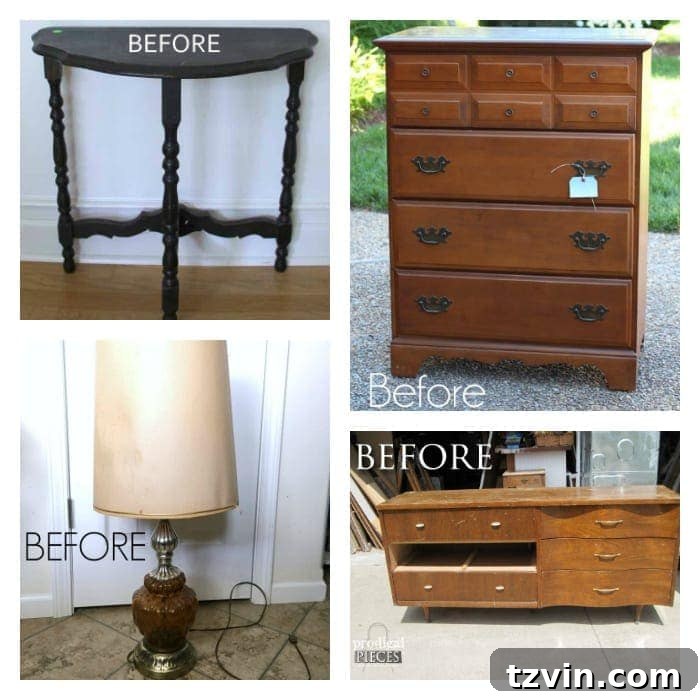
(Clockwise from top left):
Artsy Chicks Rule | Confessions of a Serial DIYer
Prodigal Pieces | Girl in the Garage
Pin It for Later: Inspire Your Next DIY Project!
If this incredible faux rust finish has inspired you to get your “fake on” and transform a thrift store find of your own, don’t forget to pin this post! It’s the perfect way to save this step-by-step guide for future reference when you’re ready to tackle your next creative project. Share the inspiration with your friends and fellow DIY enthusiasts, and let’s bring more forgotten treasures back to life!