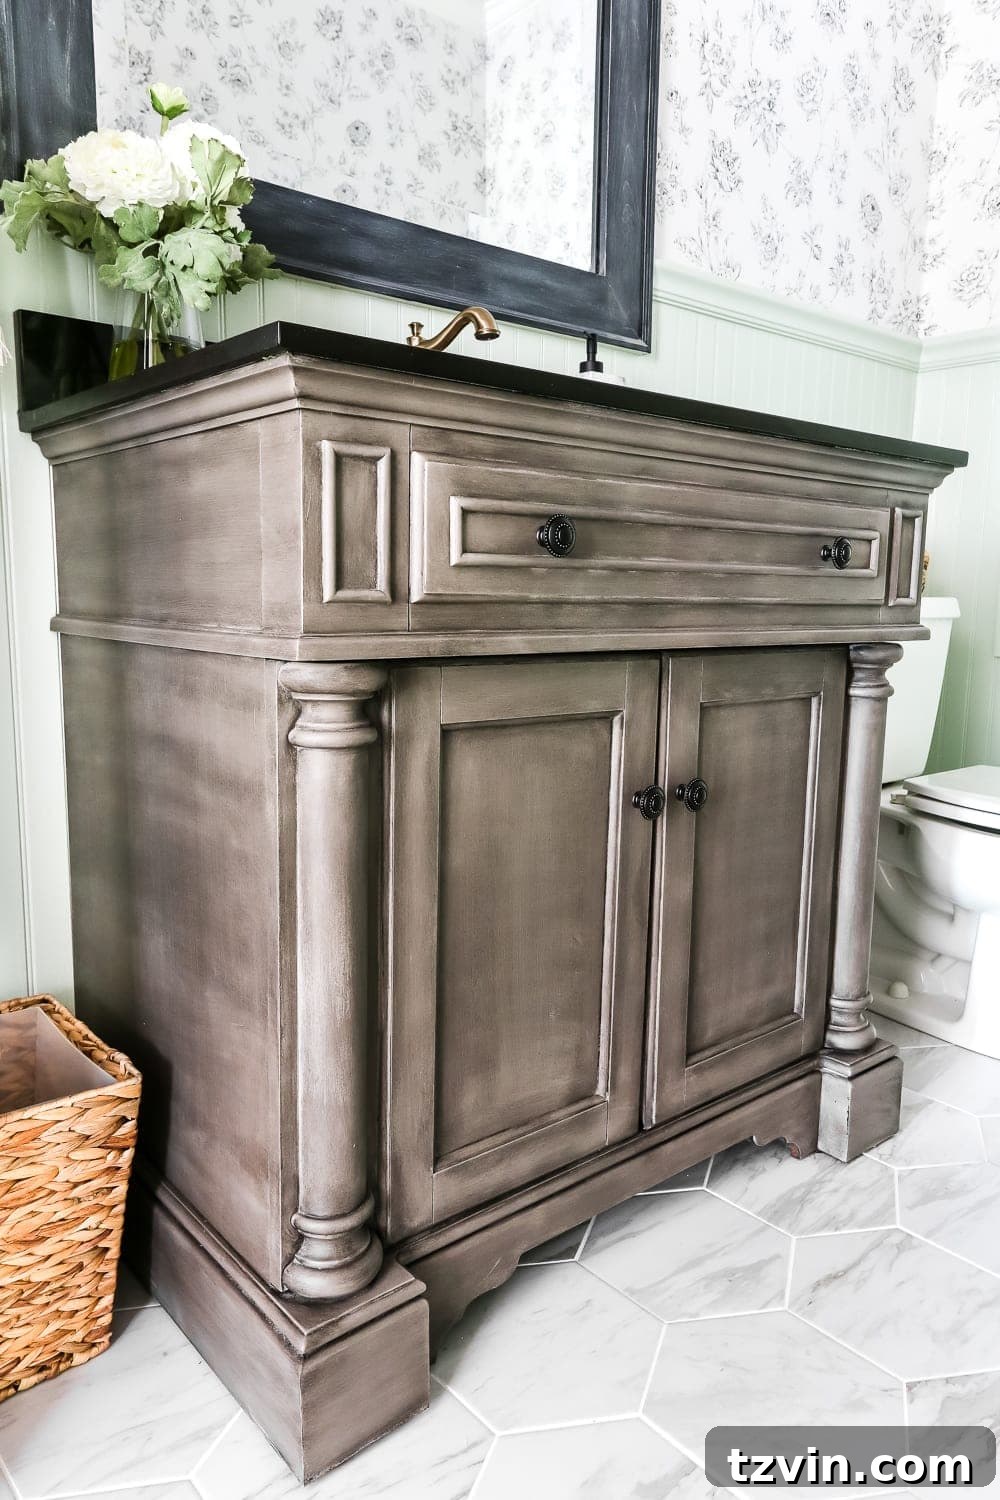
Transform Your Bathroom: Achieve a Stunning Weathered Gray Wood Vanity Look with Chalk Paint & Wax
Effortless Elegance: A DIY Guide to a Weathered Gray Wood Vanity with Chalk Paint and Wax
The journey to a beautifully transformed powder room is often filled with anticipation, a touch of chaos, and ultimately, immense satisfaction. We’re almost at the finish line for our latest bathroom renovation, a project that, for a while, seemed unending. It’s challenging to maintain patience when a significant piece of your bathroom, like the vanity, has temporarily taken residence in the middle of your living room. And yes, that means navigating a flight of stairs for every single trip to the restroom for an entire month! But the wait, and the temporary inconvenience, are always worth it when you see the stunning results.
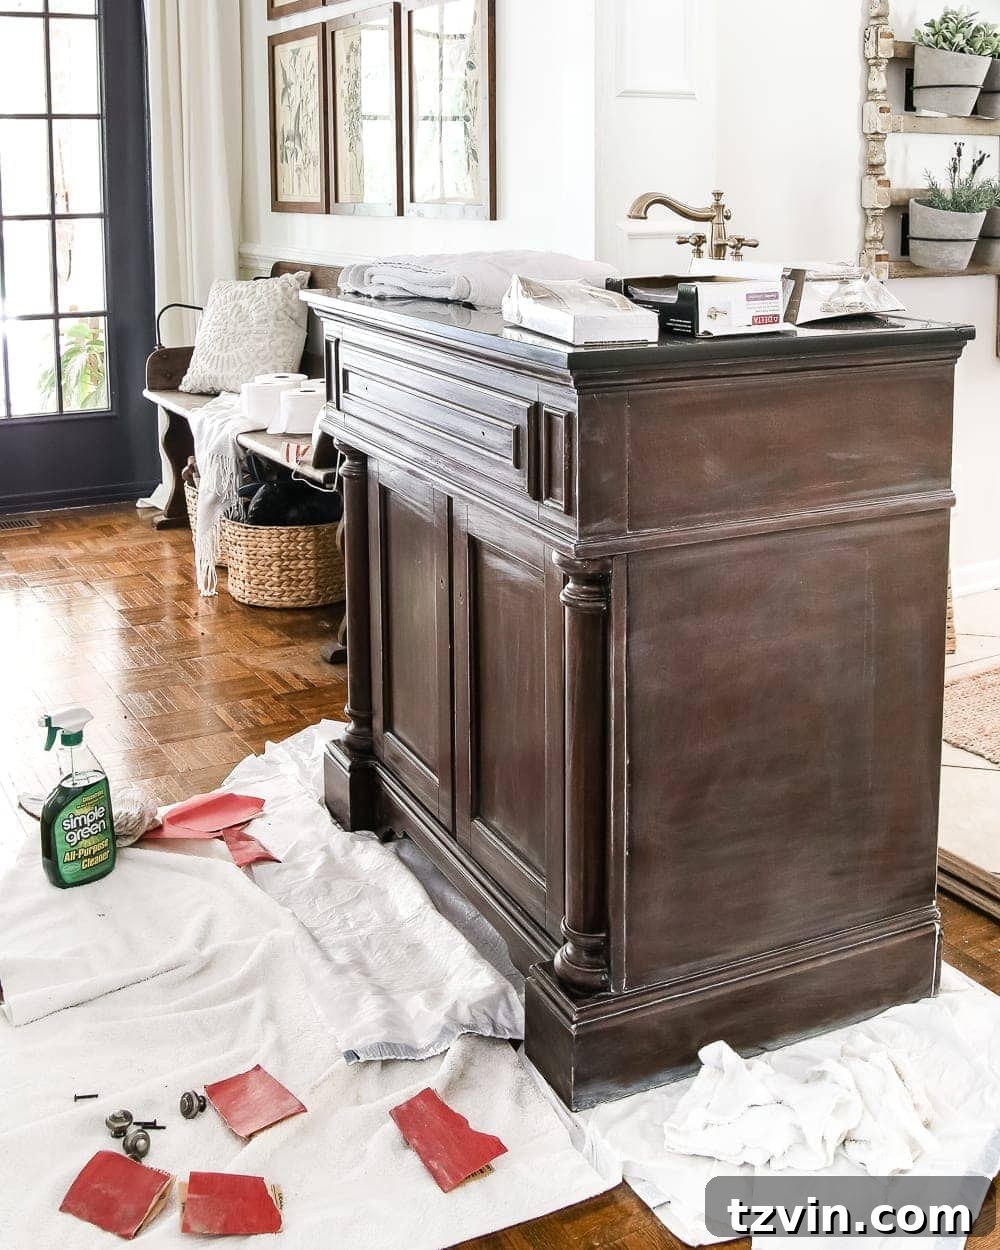
(Curious about the full transformation? Click here for the complete powder room reveal and “after” tour!)
For those who’ve been following our daily updates on Instagram Stories, you already know the good news: we survived the renovation, and it’s finally complete! Hooray! However, I anticipate a flurry of questions about our amazing vanity makeover when I share the full room reveal next week. So, I’m getting a head start to share this quick, yet incredibly impactful, tutorial. If your own bathroom vanity is in need of a serious style upgrade, you’re in the right place.
Why Choose the Weathered Gray Wood Aesthetic?
When we first moved into our home, the existing powder room vanity was relatively new, but it had accumulated enough minor scrapes and nicks to make leaving it “as-is” an impossible thought. While the idea of a simple gray wash was initially considered, the lack of prominent wood grain meant it wouldn’t achieve the depth and character I envisioned. Instead, I opted for a technique I’m already quite familiar with – painting furniture to mimic real wood. I’ve successfully transformed pieces like our “wood” guest bed and a charming “wood” sofa table. This time, however, I wanted to explore a distinct weathered gray wood tone, moving away from the more traditional browns.
The allure of a weathered gray wood finish is undeniable. It brings a sense of history, texture, and understated elegance to any space. This versatile look can seamlessly blend with various design styles, from rustic farmhouse to industrial chic, and even modern minimalist aesthetics. It adds warmth and character, making a piece feel lived-in and cherished, without the high cost or maintenance often associated with reclaimed wood. Moreover, the gray tones provide a sophisticated neutral base that complements a wide range of color palettes, making it an ideal choice for a lasting design statement in a busy space like a powder room.
Mastering the Weathered Gray Wood Look with Chalk Paint
Essential Supplies for Your Vanity Makeover:
To embark on this stunning transformation, you’ll need a few key materials. (Some affiliate links are provided below for your convenience, helping you find the exact products easily.)
- Annie Sloan Chalk Paint in French Linen
- Annie Sloan Chalk Paint Wax in Black
- High-quality wax brush
- Clean, dry lint-free rags
- Mild cleaner (like Simple Green)
- Fine-grit sandpaper (optional, but recommended for smoothing)
Preparation: Setting the Stage for Success
My initial attempt with a gray wash (a mix of 1 part gray paint to 3 parts water) didn’t quite hit the mark. The vanity’s smooth surface, lacking any raised wood grain, simply didn’t absorb the wash in a way that mimicked natural weathering. After a late-night, less-than-successful experiment (which, trust me, you didn’t miss anything by not seeing!), I knew a different approach was necessary. This hiccup actually reaffirmed my confidence in chalk paint!
Before diving into the chalk paint, I gave the vanity a thorough cleaning with Simple Green to remove any dust, grime, and residue from my previous attempt. A light sanding followed, not to strip the existing finish, but merely to smooth out the surface from my gray wash experiment and ensure optimal adhesion for the chalk paint. While chalk paint is famously known for requiring minimal prep, a clean, smooth surface always yields the best results for a refined finish. (If you prefer Fusion Mineral Paint, you can achieve a similar look with their Bedford paint color and Homestead House Black Wax. I simply didn’t have those on hand at the time, but they offer fantastic alternatives.)
Step-by-Step Guide: Achieving the Weathered Gray Look
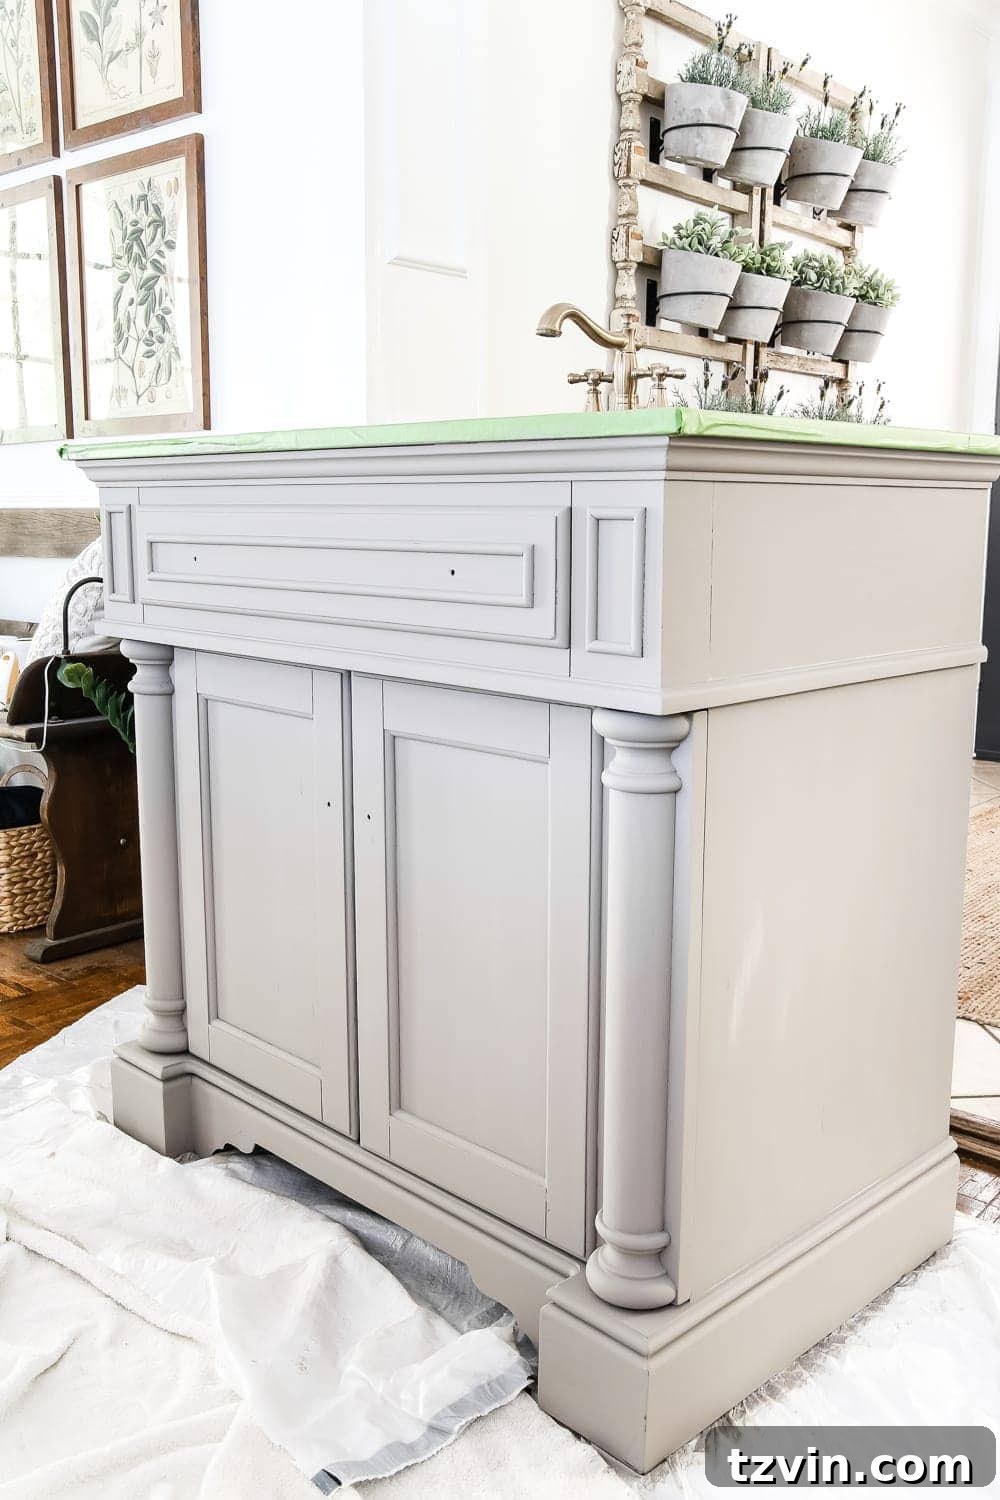
1. Apply the Base Coats of Chalk Paint
Begin by applying two smooth, even coats of Annie Sloan French Linen chalk paint. This shade provides the perfect neutral gray base, offering a sophisticated foundation for the weathered effect. Ensure each coat dries completely before applying the next. Chalk paint dries relatively quickly, making this step efficient. For the best finish, use a good quality brush and try to brush in the direction of what would naturally be the wood grain, even if there isn’t one. This will help create subtle texture that enhances the weathered illusion later.
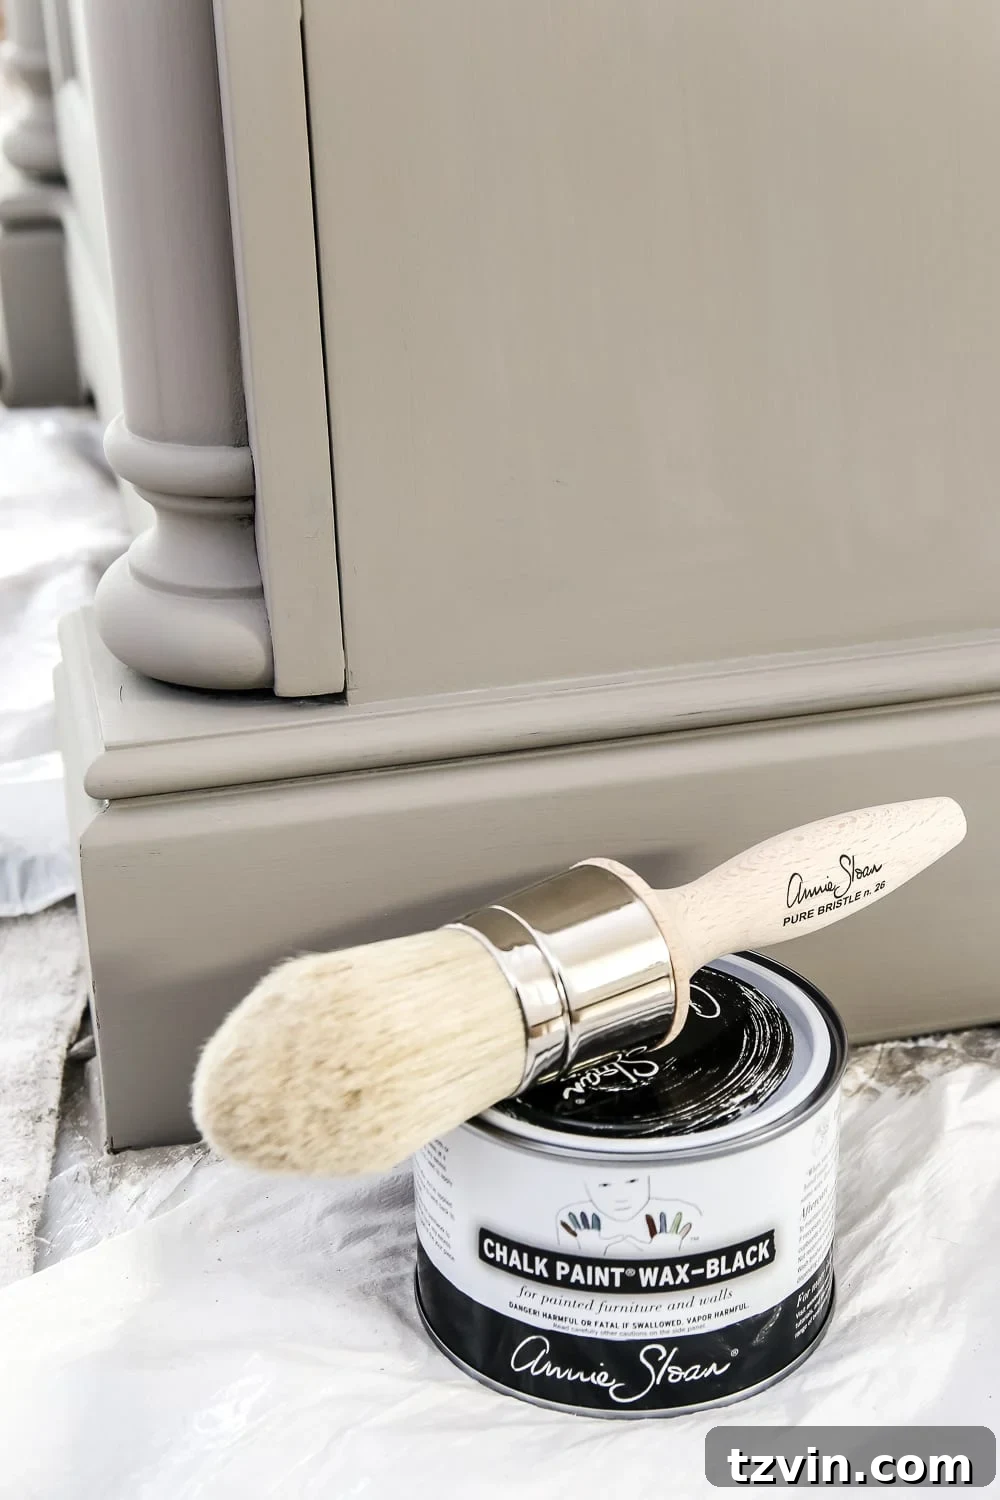
2. Work Your Magic with Black Wax
Once your final coat of French Linen paint is completely dry, it’s time for the transformative power of black wax. This is where the magic happens, giving your vanity that authentic weathered appearance. Work in small sections, roughly 2-3 square feet at a time, to ensure you have full control over the application and removal process. Dip your wax brush lightly into the Annie Sloan Black Wax. Using a circular or sweeping motion, rub the wax onto the painted surface, making sure to work it into any crevices, details, or faux wood grain you’ve created.
The key to a realistic weathered look is how you wipe it away. Immediately after applying the wax to a section, use a clean, dry, lint-free rag to lightly wipe away any excess. This process is similar to painting with wax, but with a bit more elbow grease and attention to detail. The black wax will settle into the depressions and textures, creating shadows and depth that mimic the natural aging of wood, while the higher points of the vanity retain more of the French Linen base coat. The contrast is what truly sells the weathered illusion. You can control the intensity of the weathered effect by how much wax you apply and how much you wipe away – more wax and less wiping will result in a darker, more aged look, while less wax and more wiping will create a subtle, gently aged effect.
If you’re new to waxing furniture, or simply prefer a visual guide, Marian Parsons (Miss Mustard Seed) offers an excellent video tutorial that demonstrates the waxing technique beautifully.
This entire process, from painting to waxing, is essentially a two-step method, though one might argue it’s four if you count the final details of adding hardware and the strenuous task of hauling the newly transformed vanity back into the bathroom! I managed to complete this entire transformation in just two hours, a testament to the efficiency of chalk paint and wax, especially since I was racing against the clock before our flooring contractor needed to finish setting the room after installing the new faux marble tile floor.
Yes, I confess: this vanity had indeed spent an entire month in our living room, and I only decided to give it this makeover mere hours before it absolutely had to be moved. Procrastinators of the world, unite! …Tomorrow.
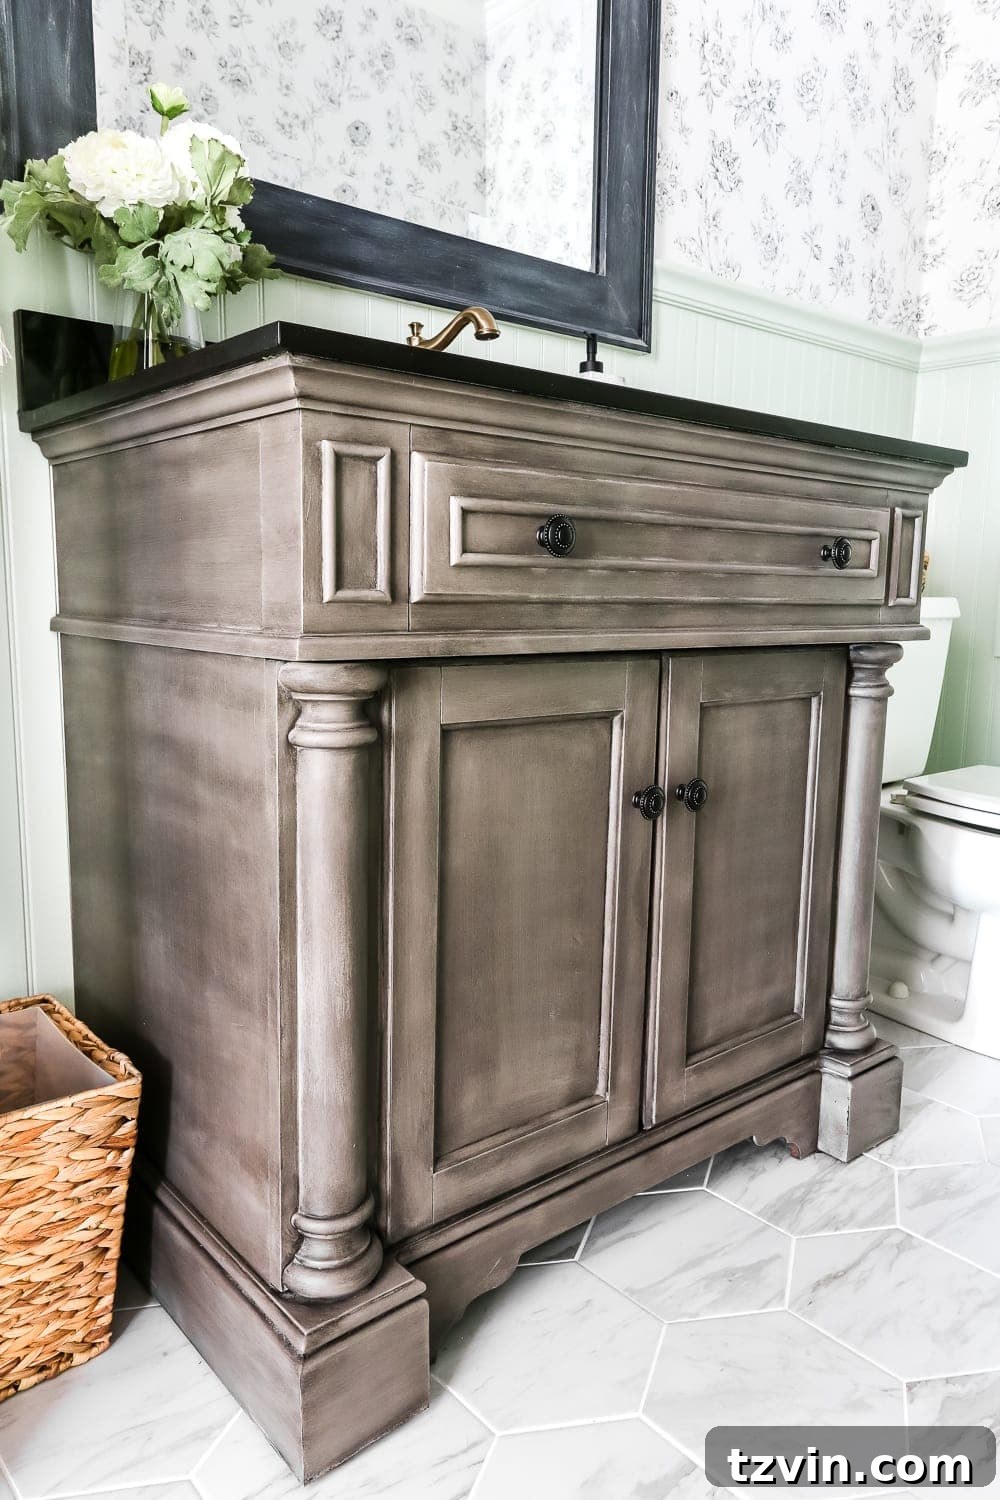
While the photographs might not fully capture the subtle nuances of the gray tones (you can blame the photographer, a.k.a. me!), I assure you, in person, this piece radiates an authentic weathered gray wood character.
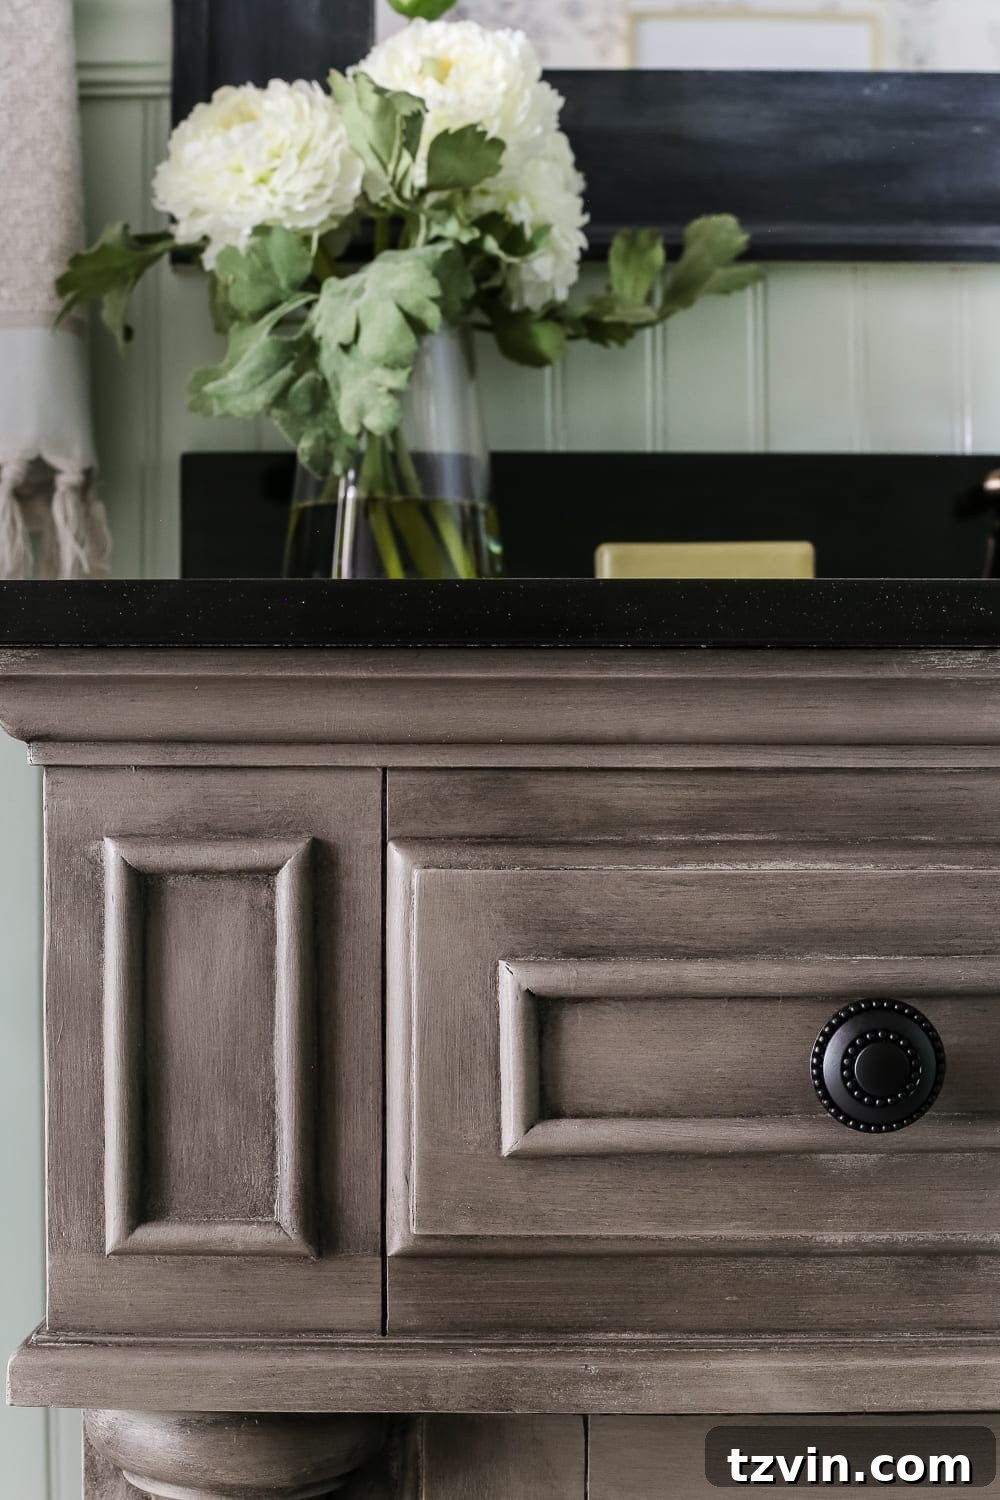
It genuinely looks like naturally weathered wood, doesn’t it? The best part is, it required none of the messy stripping, heavy sanding, or hours of staining typically associated with achieving such a look. If you’ve been following this blog for a while, this technique might be old news, but it’s a “goodie” for a reason – consistently delivering beautiful, convincing results with minimal fuss.
Beyond the Finish: The Joy of DIY & Evolving Style
Between our recent coffee bar project, this vanity, our elegant foyer chest, and the various pieces in our bedroom furniture collection, I’ve definitely been on a “wood furniture” kick lately. It’s fascinating how my design preferences have evolved in this house compared to our previous home, which was practically a testament to anything and everything painted in vibrant hues. There’s an undeniable appeal in simplicity, isn’t there? While a piece can be beautifully transformed with countless colors, there’s a unique, natural elegance that wood, even the “pretend” kind, brings to a space.
I’m finding myself drifting subtly from a purely farmhouse aesthetic, incorporating more traditional and natural elements into our decor. Whether it’s a reflection of getting older or simply this new house inspiring a different direction, I’m letting the space guide me. It’s a journey of discovery, allowing the home to speak its own language and inform my design choices.
Your Next DIY Adventure Awaits!
Once I’ve had a chance to photograph more of this unique powder room – a blend of farmhouse charm and city sophistication – it will be ready to share with you all next week! I truly cannot wait to reveal the full transformation. Walking into our powder room now feels like a mini-vacation. I genuinely do a tiny victory dance every time I pass by it, not just because of its beauty, but mostly because I no longer have to climb stairs as often for a quick break… and our living room is finally free of a large, misplaced sink!
It’s these small victories, these little transformations, that often bring the biggest joy, wouldn’t you agree?
If you’ve missed any of the exciting progress in this space’s journey, you can catch up on its transformation from the very beginning with these previous posts:
- Powder Room Design Plan and Before Shot
- Adding Vintage Green Bead Board
- Beginner’s Guide to Hanging Wallpaper
- Creating a Faux Marble Tile Floor