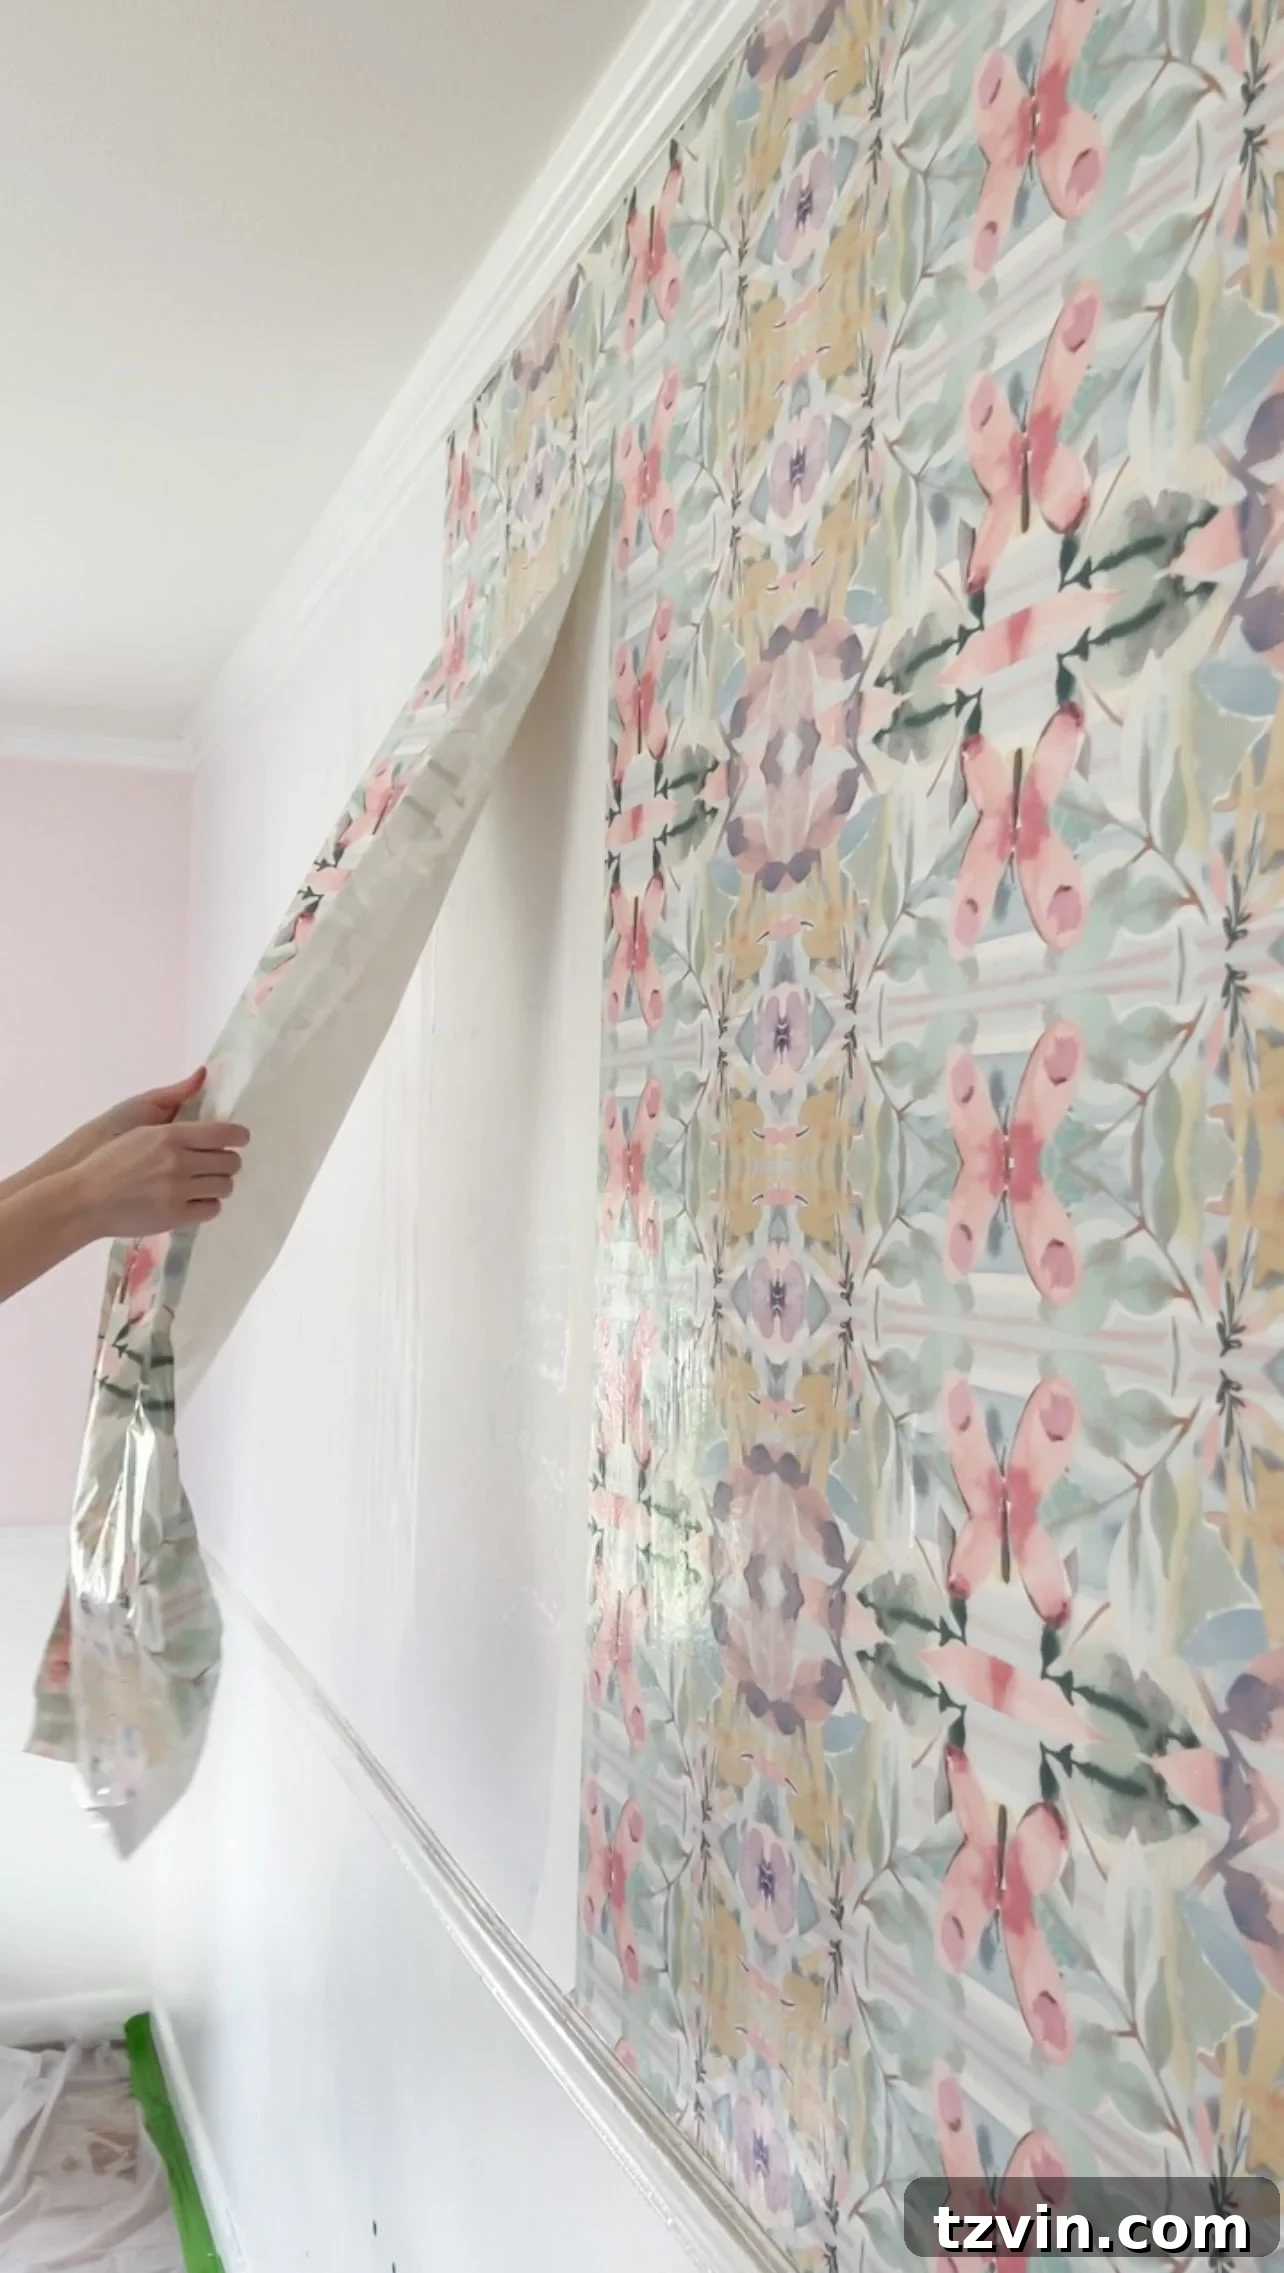
Effortless Wallpaper Removal: Discover the Best Methods to Strip Wallpaper Easily
Wallpaper can transform a room, adding character, depth, and a unique aesthetic. However, when it’s time for a change, the thought of removing old wallpaper can feel like a daunting task. Many homeowners dread the mess, the sticky residue, and the potential for wall damage. But what if there was an easier way? What if you could strip wallpaper quickly and effectively, turning a dreaded chore into a manageable DIY project?
I recently embarked on an extensive wallpaper removal experiment, meticulously testing three distinct methods to determine the most efficient and user-friendly approach. My goal was to equip fellow DIY enthusiasts with the knowledge and confidence to tackle this project head-on, armed with the best techniques and supplies. Join me as we explore these methods, from commercial solutions to homemade concoctions, and uncover the ultimate strategy for seamless wallpaper removal.
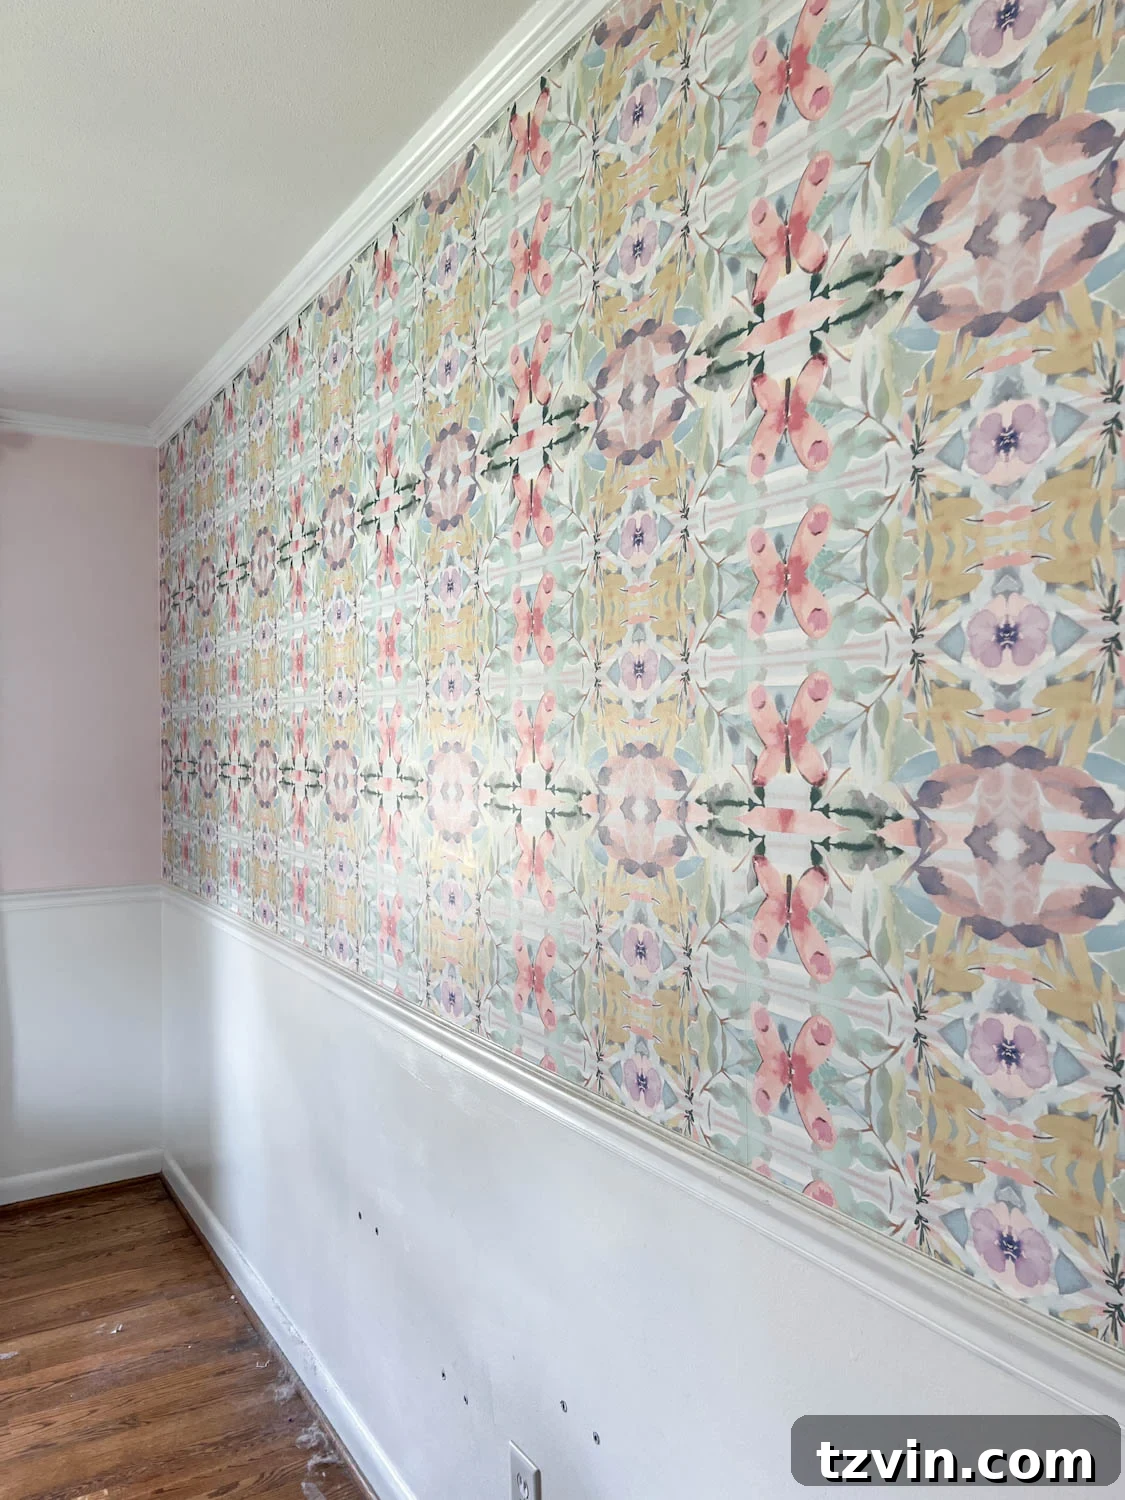
It’s truly hard to believe that it has been five years since this very wallpaper was lovingly applied in Olivia’s room. Now, as she transitions into her preteen years, it’s time for a fresh look, which means this wallpaper has to go. This personal project served as the perfect testing ground to discover the simplest, most effective way to remove wallpaper without causing unnecessary hassle or damage.
Uncovering the Best Wallpaper Removal Method: A Comparative Test
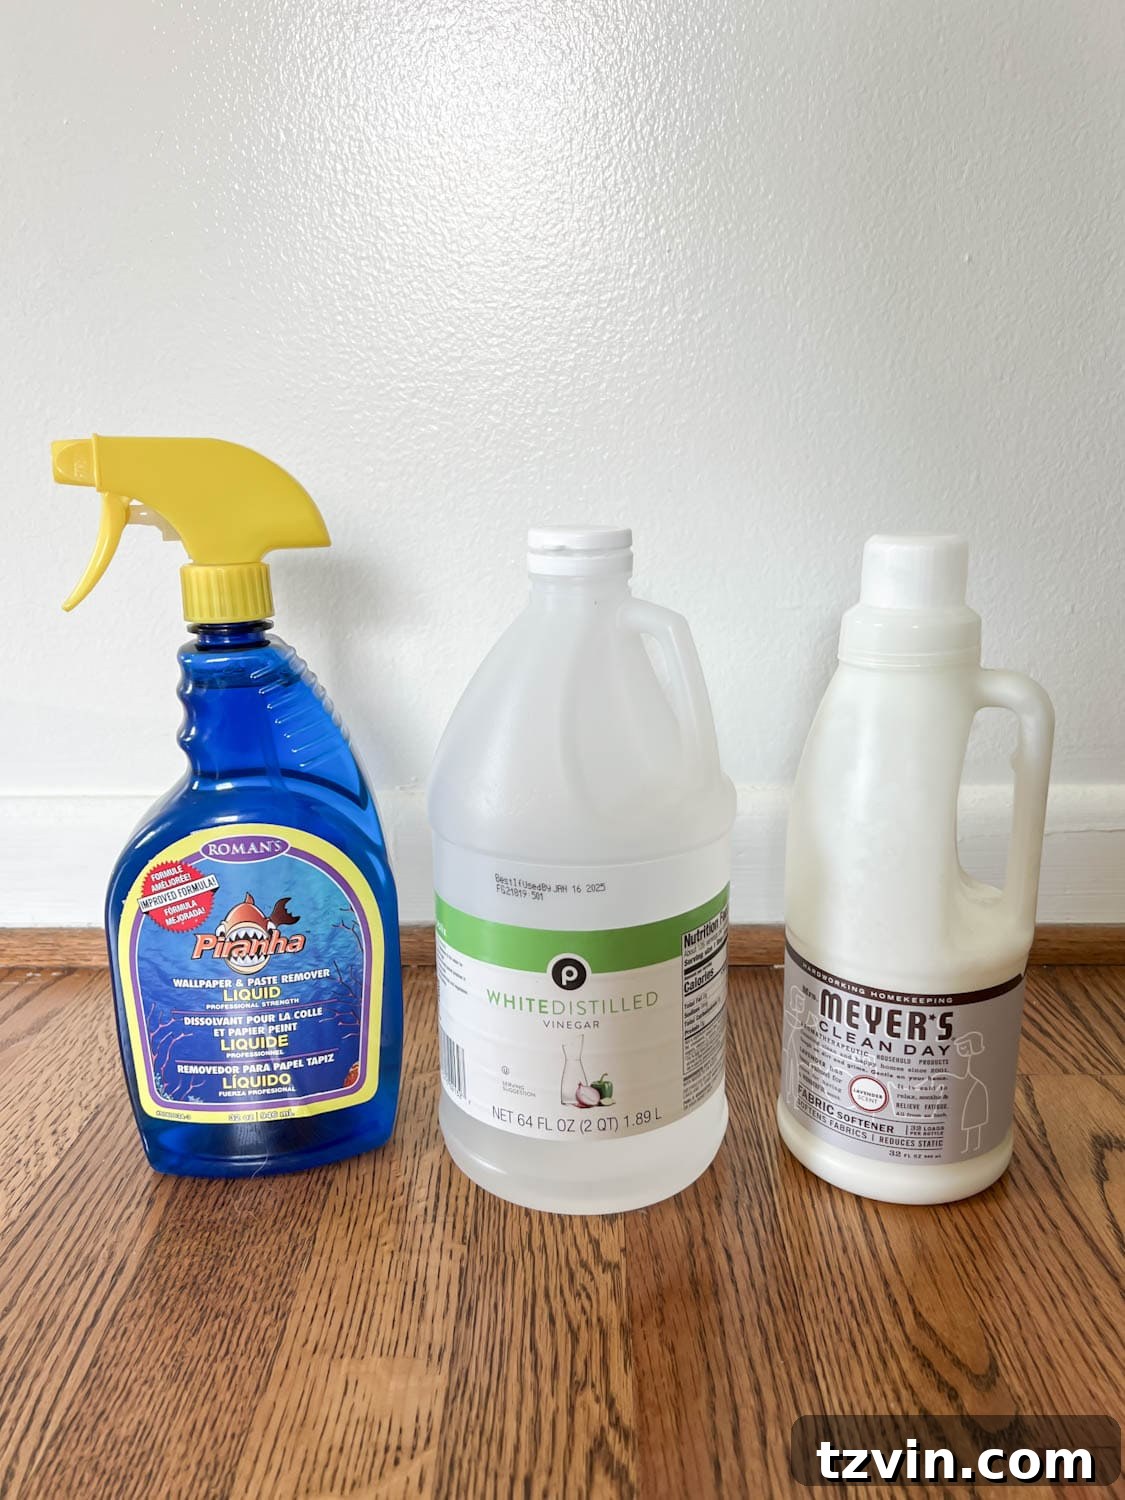
To provide a comprehensive guide, I meticulously tested three distinct wallpaper stripping methods. Each approach was evaluated based on its effectiveness, ease of use, and overall outcome. My objective was to pinpoint which method truly delivers the quickest and easiest wallpaper removal experience:
- Commercial Wallpaper Remover (specifically the Piranha Brand)
- DIY Vinegar Wallpaper Stripping Solution
- DIY Fabric Softener Wallpaper Stripping Solution
While wallpaper steamers are often recommended for stubborn or older wallpaper, my experiment focused on methods accessible with common household items or basic store-bought solutions, avoiding the need for specialized equipment. This ensures that anyone can replicate these techniques without investing in new tools. However, for extremely old, multi-layered, or improperly installed wallpaper, renting or purchasing a steamer can indeed be a game-changer, providing powerful heat and moisture to break down even the toughest adhesives.
Step-by-Step Guide: How to Efficiently Remove Wallpaper
Before diving into the stripping solutions, proper preparation is key to a smooth and successful wallpaper removal project. Gathering your supplies and safeguarding your workspace will prevent damage and minimize clean-up.
Essential Supplies for Wallpaper Removal
- Your chosen wallpaper remover solution (commercial, vinegar, or fabric softener – we’ll determine the best one shortly)
- Sturdy Putty Knife or Wallpaper Stripping Tool
- Painter’s Tape
- Durable Waterproof Drop Cloths
- Wallpaper Scoring Tool (essential for effective penetration)
- Spray Bottle (necessary for DIY solutions, optional for some commercial products)
- Electric Kettle (optional, but highly recommended for DIY hot water solutions)
- Clean Rags or Sponges
- Stable Step Stool or Ladder
- Large Trash Can or Waste Bag
- Safety Glasses and Gloves (always recommended for chemical and messy tasks)
Step 1: Secure Your Workspace and Protect Floors
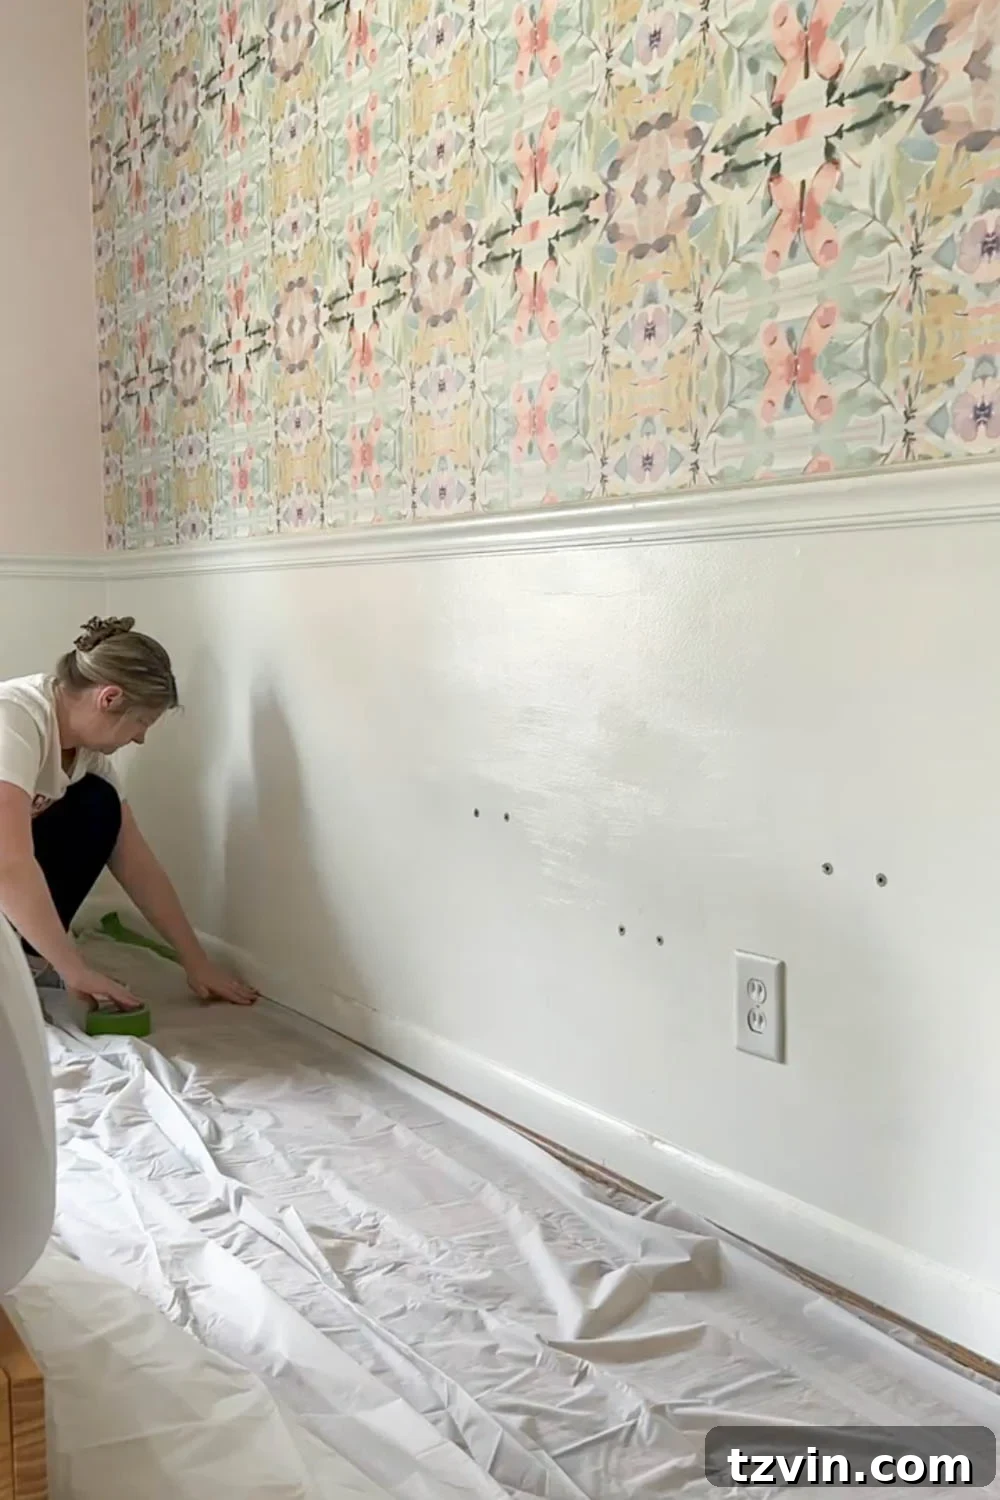
Wallpaper removal is inherently messy. Expect sticky, pasty water and scraps of wallpaper to fall, so adequately protecting your floors and surrounding furniture is non-negotiable. Lay down heavy-duty waterproof drop cloths across the entire floor area beneath the walls you’re working on. Overlap them slightly to ensure no gaps, and secure the edges firmly with painter’s tape to prevent slipping and to create a barrier against any liquid runoff. This simple step will save you significant clean-up time later.
Step 2: Prioritize Safety – Remove Electrical Covers & Cut Power
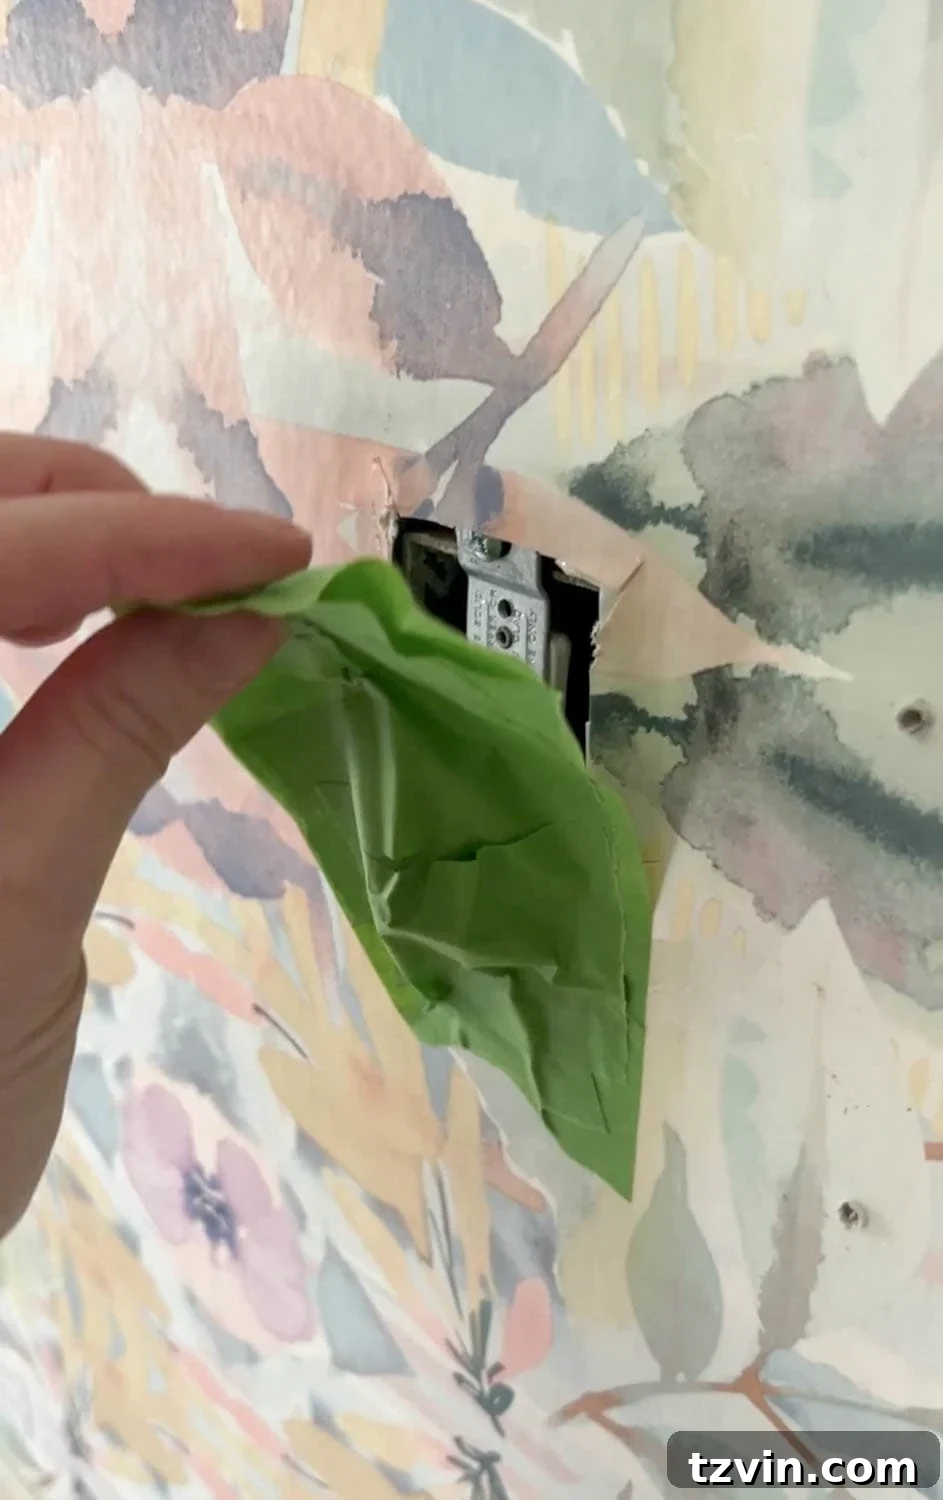
Working with liquids near electrical outlets and switches poses a significant safety risk. Before any spraying begins, you must turn off the power to the room at your main circuit breaker. Once the power is safely off, carefully remove all switch plates and electrical outlet covers. This allows you to remove wallpaper from behind these fixtures completely. To further safeguard against moisture exposure, cover the exposed outlets and switches with painter’s tape, creating a temporary seal. Do not restore power until all work is complete and the walls are dry.
Step 3: Score the Wallpaper for Optimal Penetration
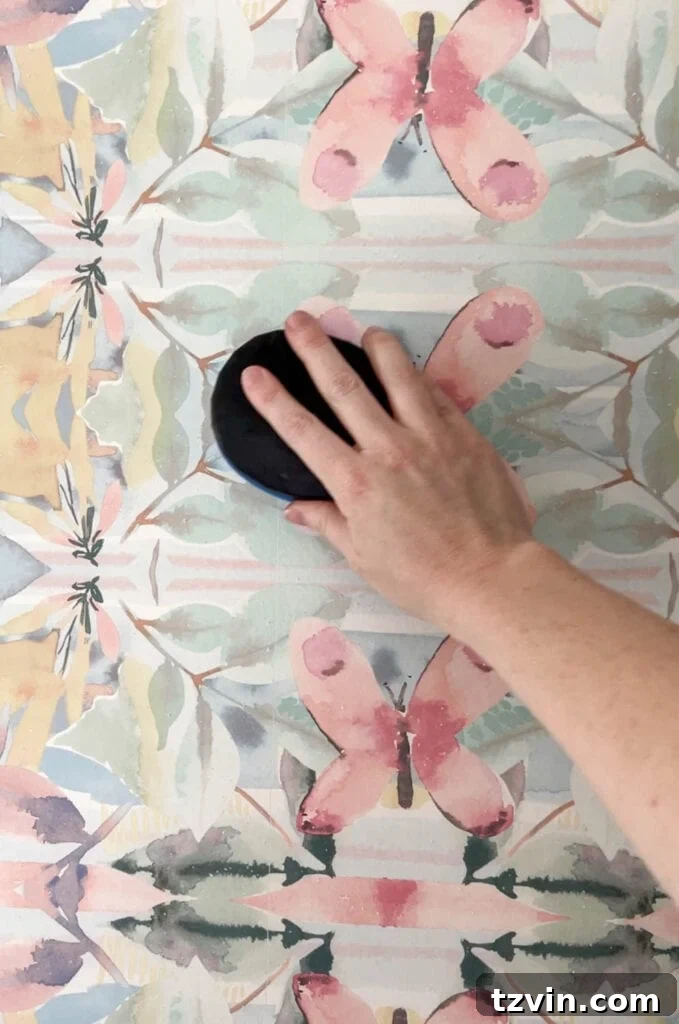
The scoring tool is a simple yet indispensable device in your wallpaper removal arsenal. Using a wallpaper scoring tool, gently perforate the entire surface of the wallpaper in a circular motion. Apply light, consistent pressure; the goal is to create tiny holes in the top layer of the wallpaper without puncturing the drywall beneath. These perforations are crucial because they allow your chosen wallpaper remover solution to penetrate the waterproof top layer of the wallpaper, reach the adhesive underneath, and begin reactivating it. Without proper scoring, many solutions will simply sit on the surface, rendering them ineffective.

Three Proven Methods to Strip Wallpaper: A Detailed Comparison
With all the necessary preparation complete, it’s time to delve into the core of our experiment: testing the three wallpaper stripping methods. But first, a quick tip: before applying any liquid solution, always try a dry peel. Find a corner or seam of the wallpaper and attempt to gently lift it with a putty knife. Some modern, high-quality wallpapers, particularly peel-and-stick varieties or those installed with a good primer, might come off cleanly without any need for chemicals or moisture. If you get lucky and it peels off easily, consider yourself fortunate – and perhaps buy a lottery ticket!
Method 1: Commercial Wallpaper Stripper (Piranha Brand Test)
Commercial wallpaper removers are specifically formulated to dissolve wallpaper adhesive quickly and efficiently. For this test, I used the Piranha brand, which is a widely available option, but many other brands offer similar effectiveness. Always remember to work in manageable sections, typically two wallpaper panels at a time, to prevent the solution from drying out before you can remove the paper.
I followed the manufacturer’s directions diligently, generously spraying the Piranha wallpaper remover over two scored wallpaper panels until they were thoroughly saturated. After application, I allowed the solution to dwell for the recommended 15 minutes. This crucial waiting period gives the chemicals time to penetrate the paper through the scoring marks and reactivate the adhesive, turning it from a stubborn bond into a gooey, releasable substance.
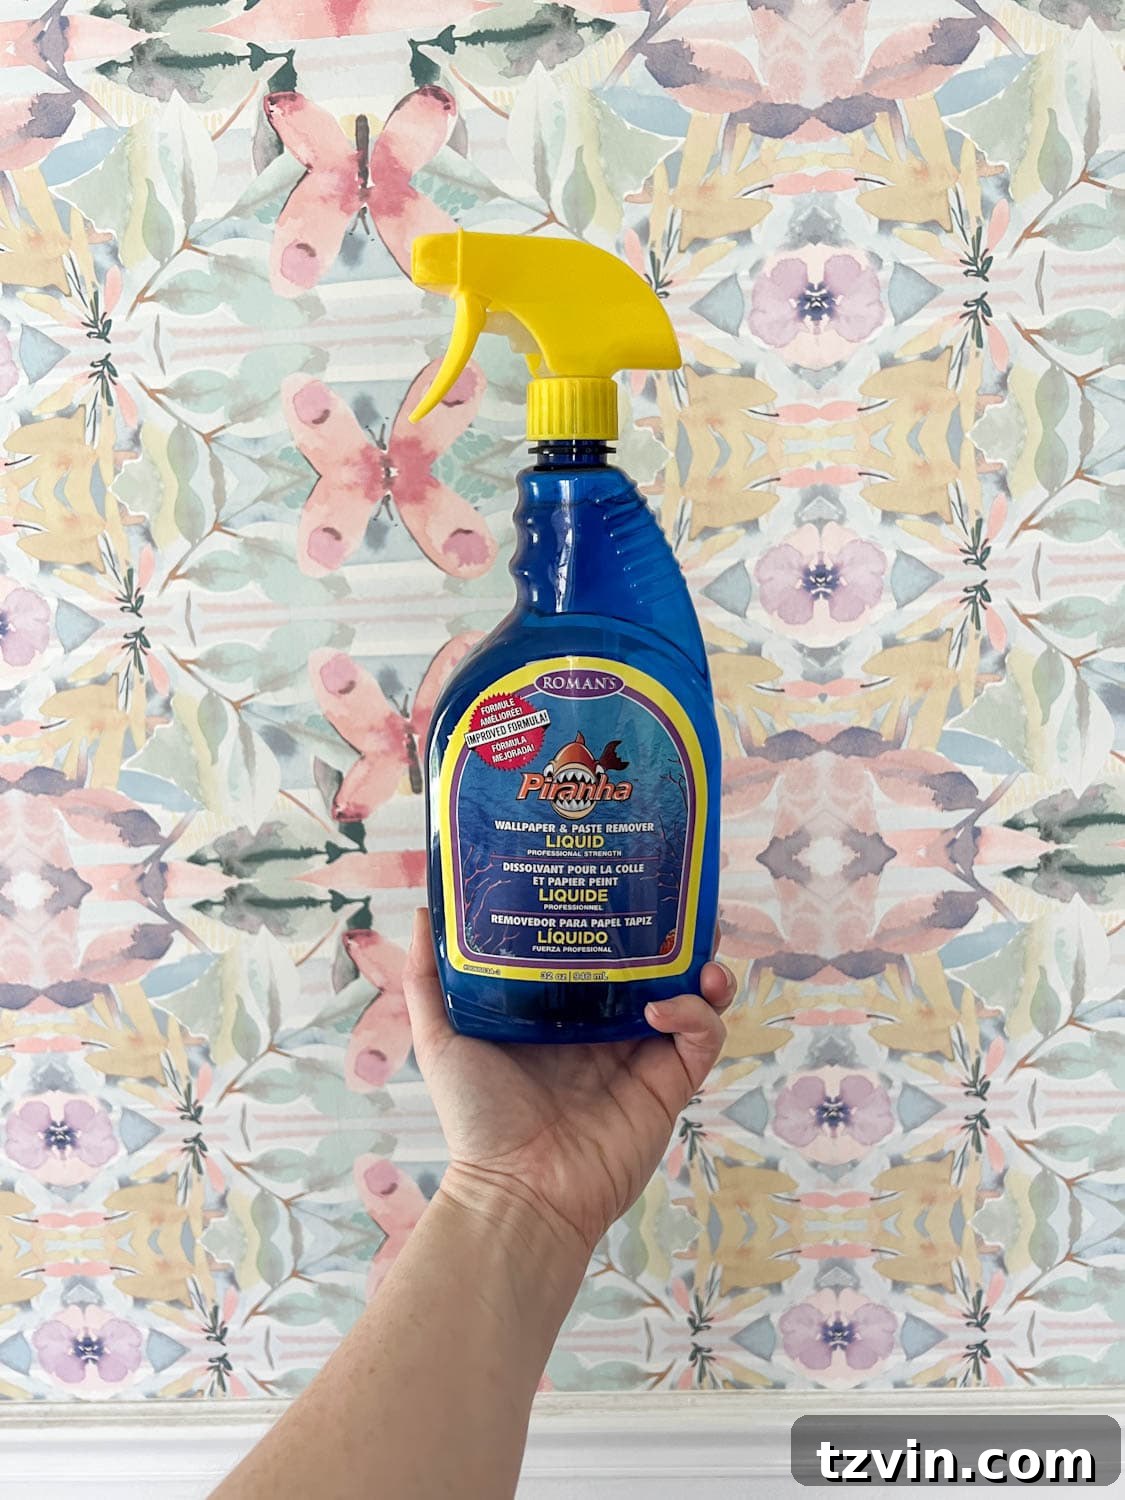
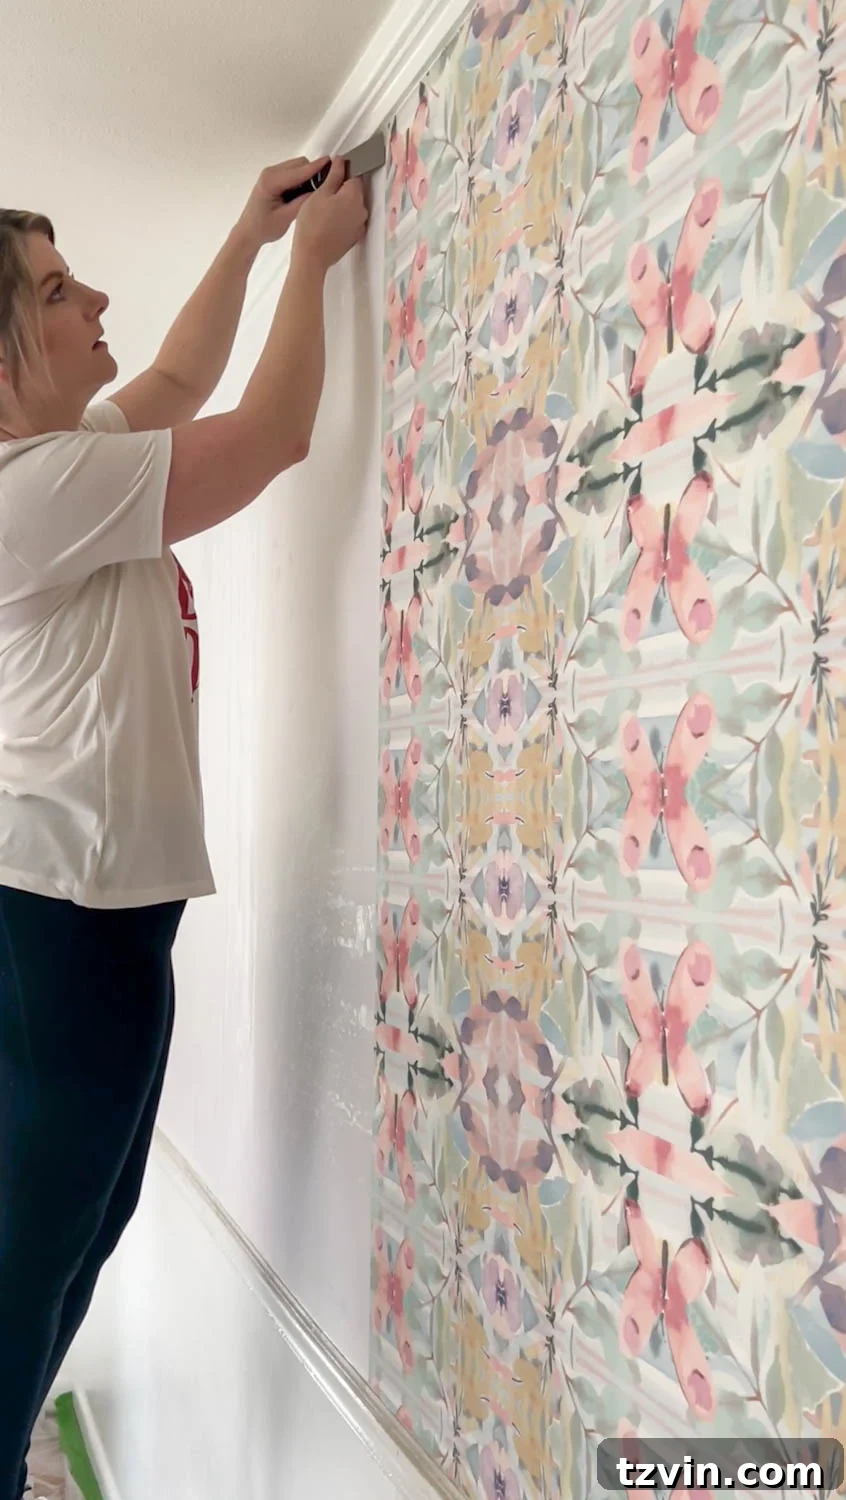
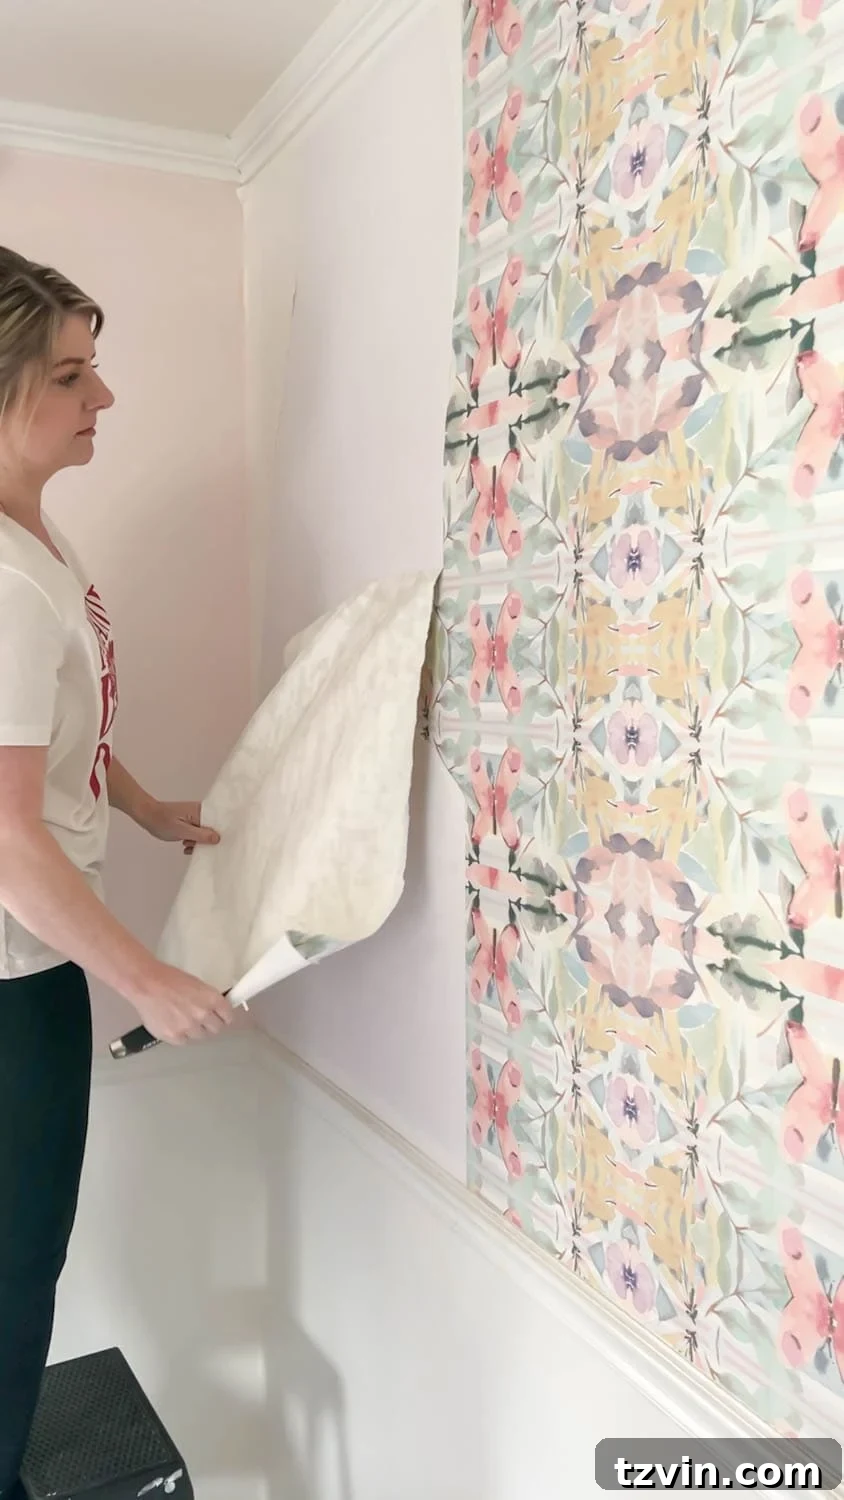
After the activation time, I used a putty knife to gently lift a corner or edge of the wallpaper. To my delight, this commercial stripper proved incredibly effective! The wallpaper peeled away in large, satisfying sheets with minimal effort, leaving behind a relatively clean wall surface. Both panels were completely removed in a remarkable 4 minutes and 38 seconds, which is exceptionally fast for wallpaper removal. The solution maintained its efficacy, keeping the adhesive wet long enough that no reapplication was necessary during the stripping of these sections.
For particularly stubborn wallpaper, especially older varieties or those applied directly to unprimed drywall, you might find that only the top vinyl layer comes off initially. In such cases, you’ll need to repeat the solution application process on the remaining paper backing to fully dissolve the adhesive and remove the second layer.
Piranha Brand Wallpaper Stripper: Evaluation
Pros:
- Speed: Undeniably the fastest method tested, significantly cutting down removal time.
- Efficiency: Often eliminates the need for repeated applications, streamlining the process.
- Convenience: Ready-to-use, requiring no pre-mixing or preparation.
- Effectiveness: Highly potent at reactivating and dissolving old adhesives.
Cons:
- Cost: Typically more expensive than DIY homemade alternatives.
- Chemical-Based: May contain stronger chemicals, requiring good ventilation and protective gear.
Method 2: DIY Vinegar Wallpaper Stripper – An Eco-Friendly Option
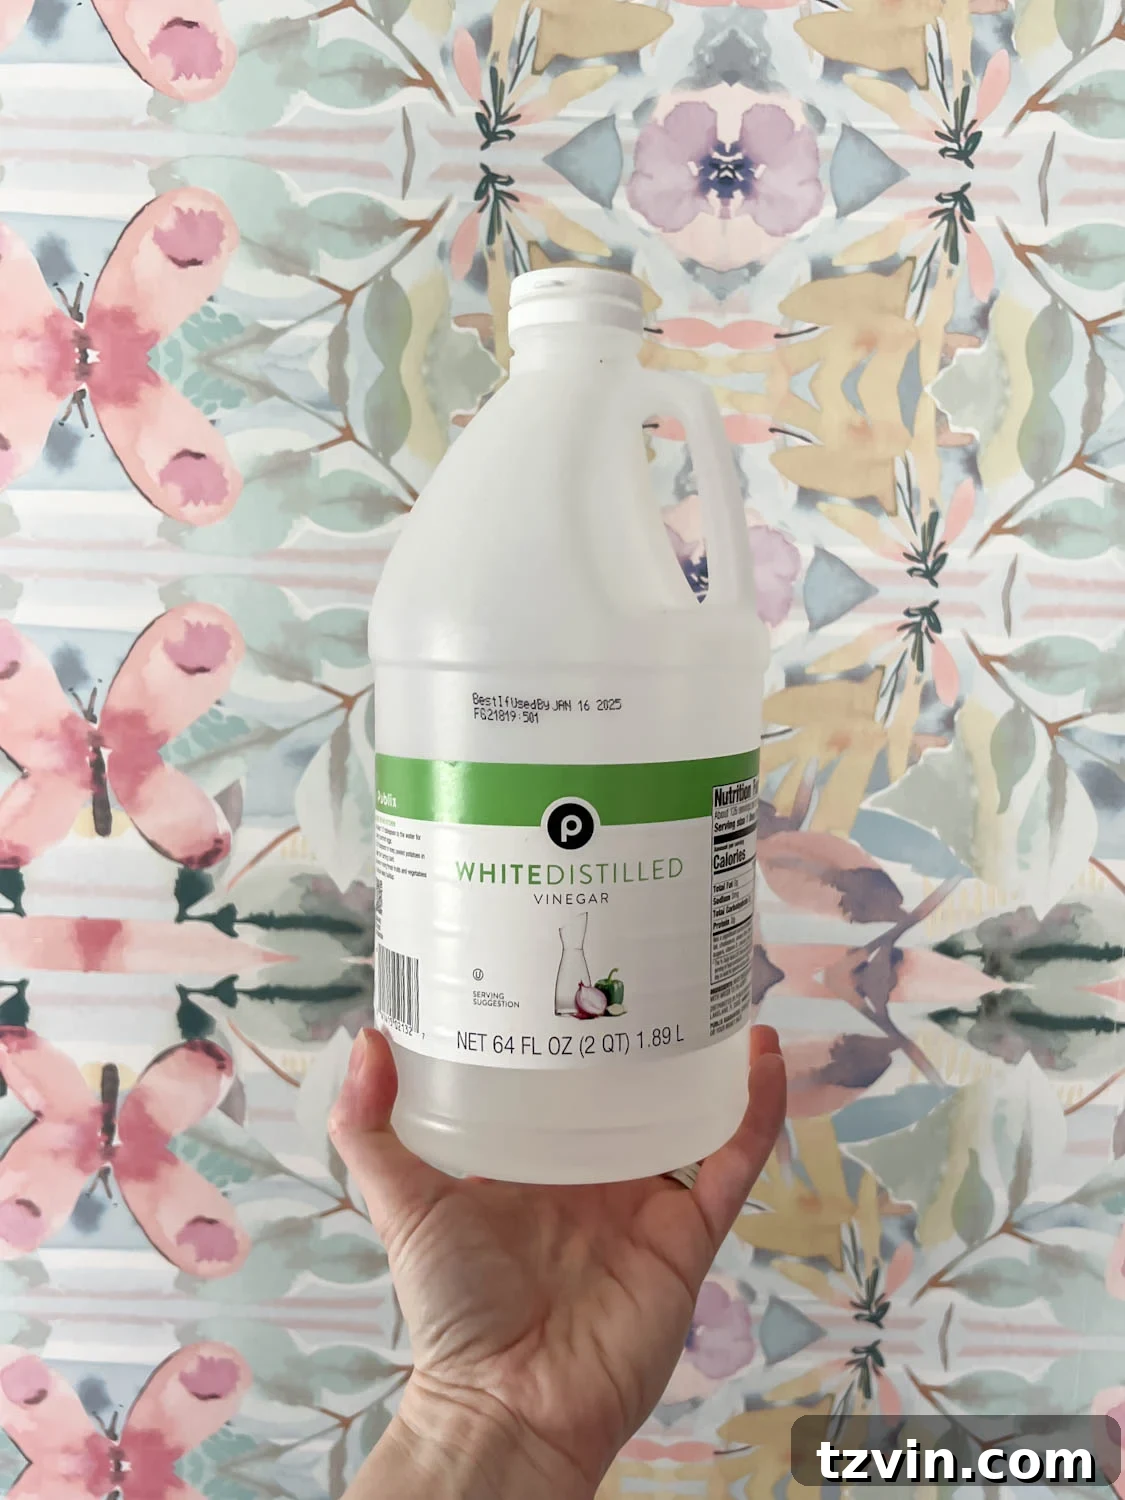
For those seeking a more natural, budget-friendly alternative, a homemade wallpaper stripper using white vinegar and hot water is a popular choice. It’s incredibly inexpensive to prepare and offers the added benefit of being eco-friendly and non-toxic, making it safer for households with children or pets, provided there is good ventilation to disperse the vinegar smell.
DIY Vinegar Solution Recipe:
- 1/3 part white vinegar
- 2/3 parts hot water
- A clean spray bottle
To prepare your solution, simply combine 1/3 white vinegar with 2/3 hot water in a spray bottle. The hotter the water, the more effective it will be at reactivating the wallpaper glue. I found an electric kettle to be extremely useful for quickly heating water to the optimal temperature. It’s advisable to prepare smaller batches of the solution as you work, frequently mixing in fresh hot water to maintain consistent effectiveness, as cold water will diminish its adhesive-loosening power. Work on small sections of the wall at a time to ensure the solution remains hot and active on the wallpaper.
Recommended Activation Time: Approximately 2-5 Minutes
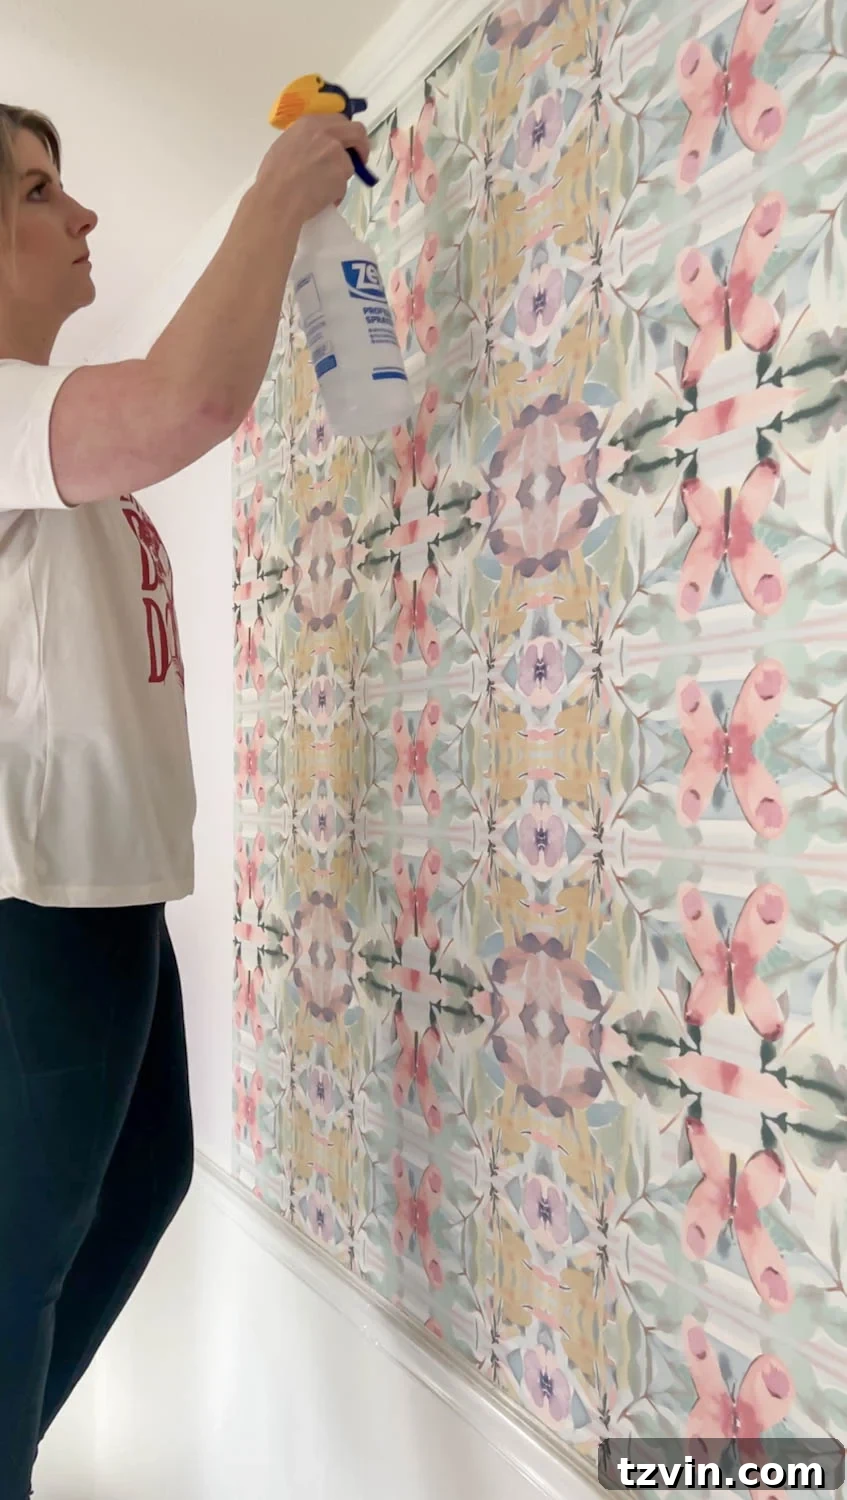
I applied the DIY vinegar solution to two scored wallpaper panels, ensuring full saturation, and waited approximately 2 minutes for the adhesive to reactivate. As noted, the key to this method’s success is maintaining the water’s heat. You will likely need to mix new batches of the vinegar solution frequently in your spray bottle to ensure optimal effectiveness, especially if covering a large area. The warmer the solution, the better it works to break down the adhesive.
While this vinegar method did eventually work, it required considerably more effort compared to the commercial stripper. The wallpaper tended to rip and come off in smaller, stubborn shreds, rather than peeling away cleanly. This meant more scraping, more reapplication, and more patience. Of the three methods tested, the vinegar solution was by far the least efficient, demanding more physical exertion and time.
Despite its lower efficiency, the vinegar solution remains an attractive option due to its affordability and non-toxic nature. It’s an excellent choice for those sensitive to chemical fumes or working on a very tight budget, provided they are prepared for a more labor-intensive process.
DIY Vinegar Wallpaper Stripper: Evaluation
Pros:
- Cost-Effective: Extremely inexpensive to prepare using common household ingredients.
- Non-Toxic: Environmentally friendly and safer for indoor use, though ventilation is still recommended for the scent.
Cons:
- Preparation Required: Involves mixing ingredients and frequent reheating of water.
- Frequent Reapplication: Often requires multiple applications to fully penetrate and loosen adhesive.
- Least Effective: Demands more physical effort and results in more fragmented wallpaper removal compared to other methods.
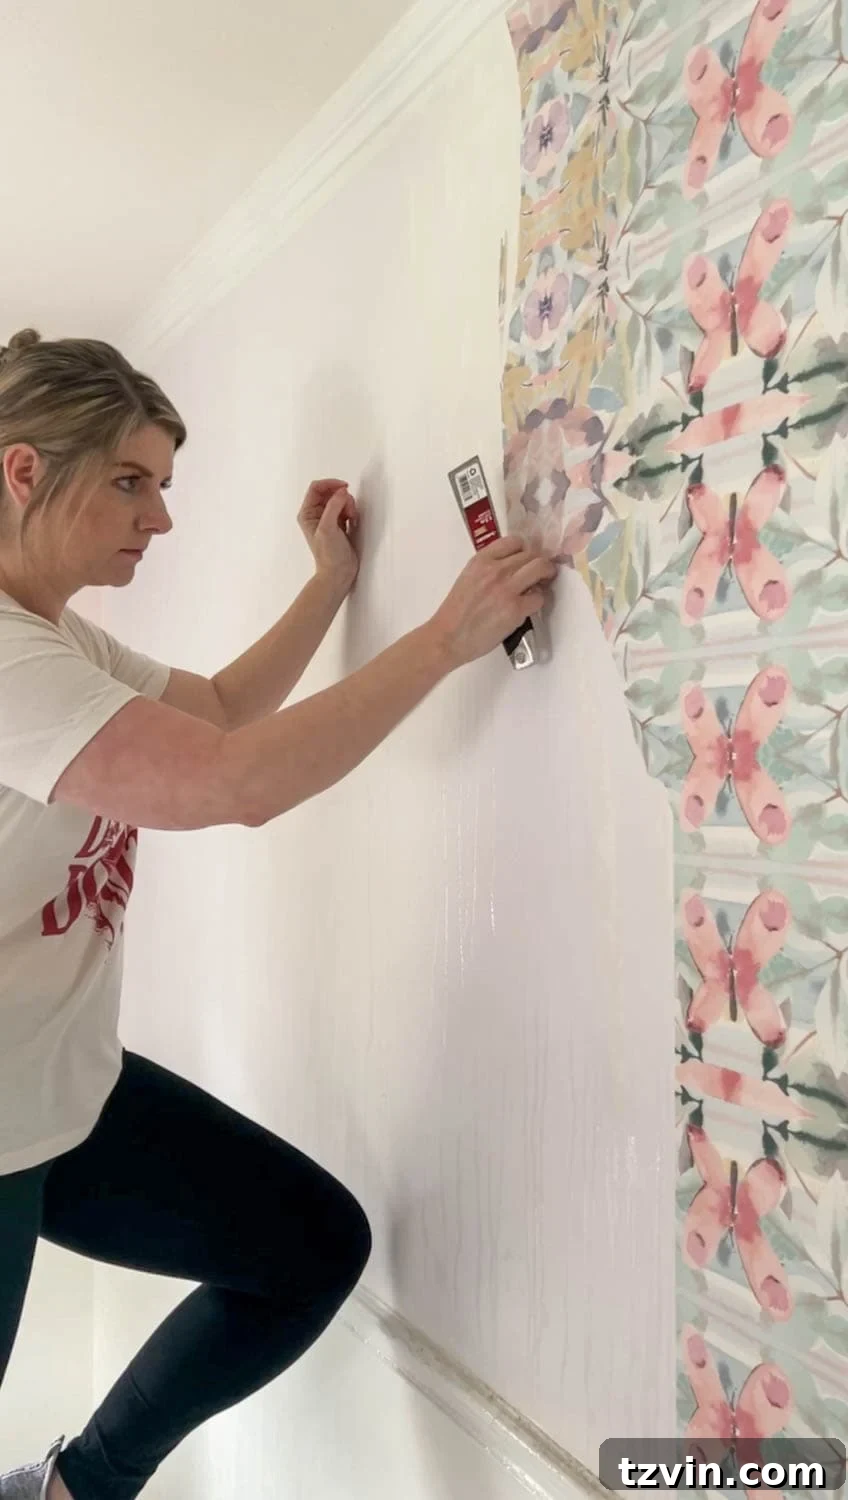
Method 3: DIY Fabric Softener Wallpaper Stripper – A Pleasantly Scented Solution
Another popular DIY method for wallpaper removal involves using fabric softener mixed with hot water. This solution is also very inexpensive to create and offers a delightful bonus: it leaves your room smelling wonderfully fresh, a welcome change from chemical fumes or vinegar odors. The softeners in the solution help to break down the paper fibers and adhesive, making it easier to scrape away.
DIY Fabric Softener Solution Recipe:
- 1/4 part liquid fabric softener
- 3/4 parts hot water
- A clean spray bottle
To create this simple yet effective wallpaper remover, combine 1/4 liquid fabric softener with 3/4 hot water in a spray bottle. Similar to the vinegar method, using an electric kettle to ensure the water is as hot as possible will significantly enhance the solution’s ability to activate and loosen the wallpaper adhesive. Always mix the solution well before each application.
Recommended Activation Time: Approximately 2-5 Minutes
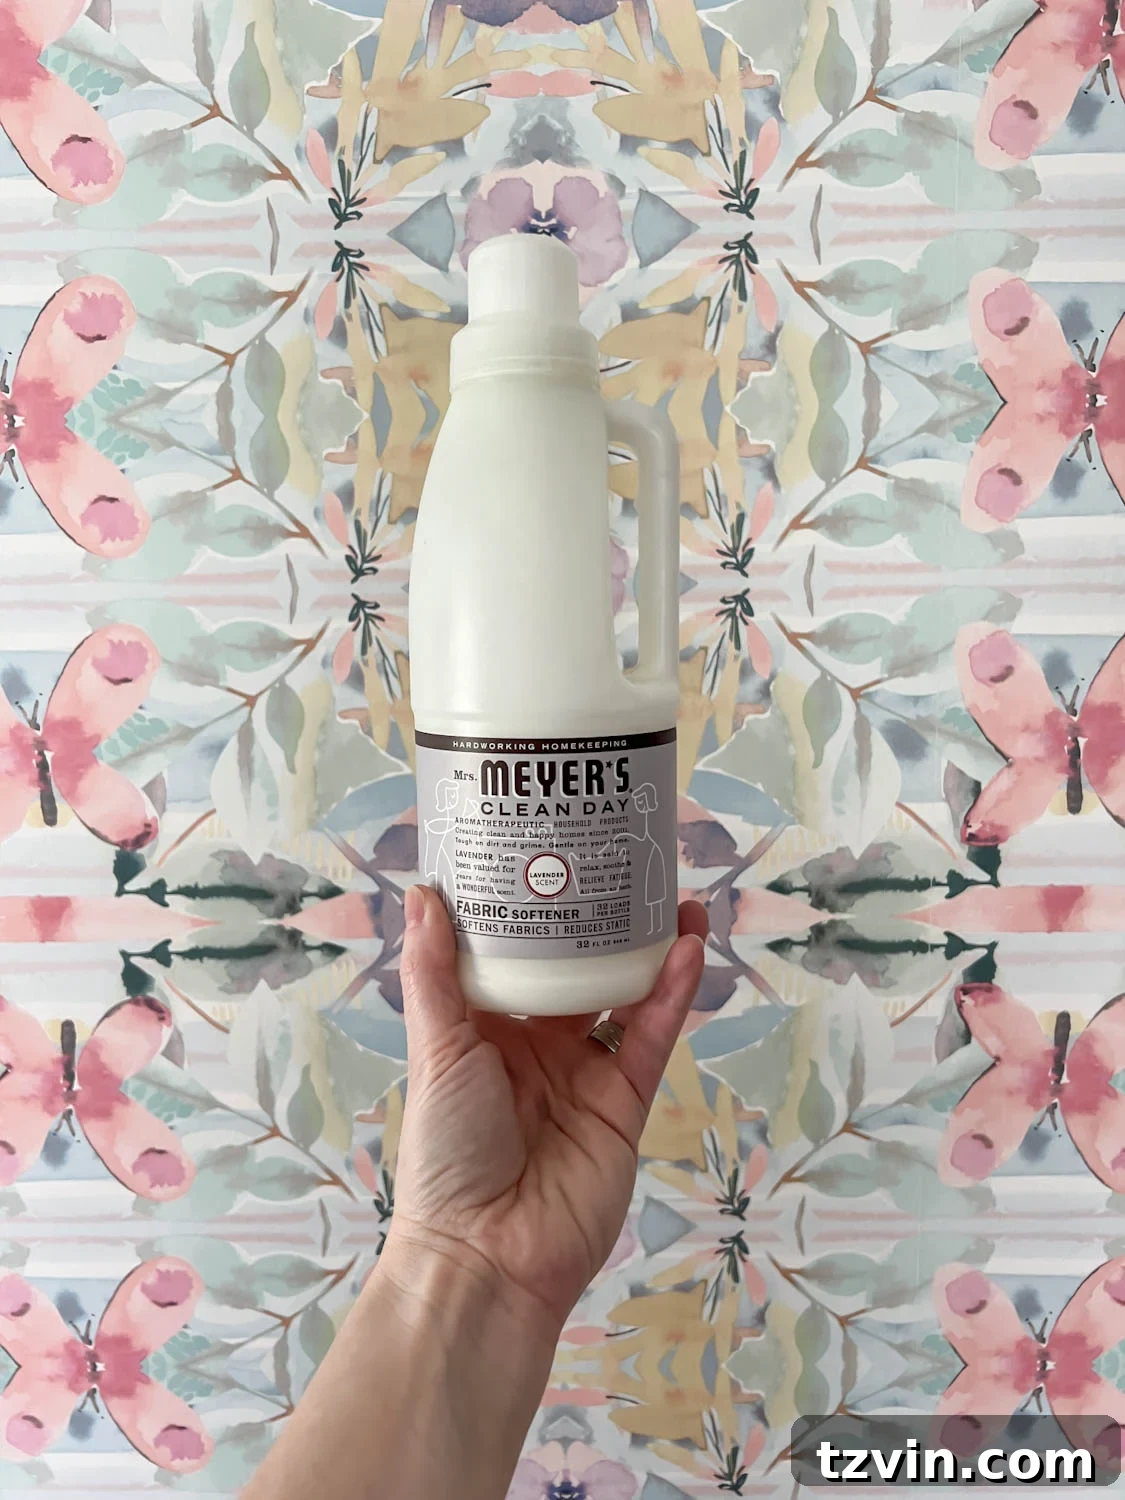
I sprayed two scored wallpaper panels with the DIY fabric softener solution and allowed it to penetrate for about 2 minutes. Just like with the vinegar solution, maintaining the hot temperature of the water is critical for optimal performance. Be prepared to frequently replenish your spray bottle with freshly mixed, hot fabric softener solution to ensure consistent effectiveness as you work your way across the wall.
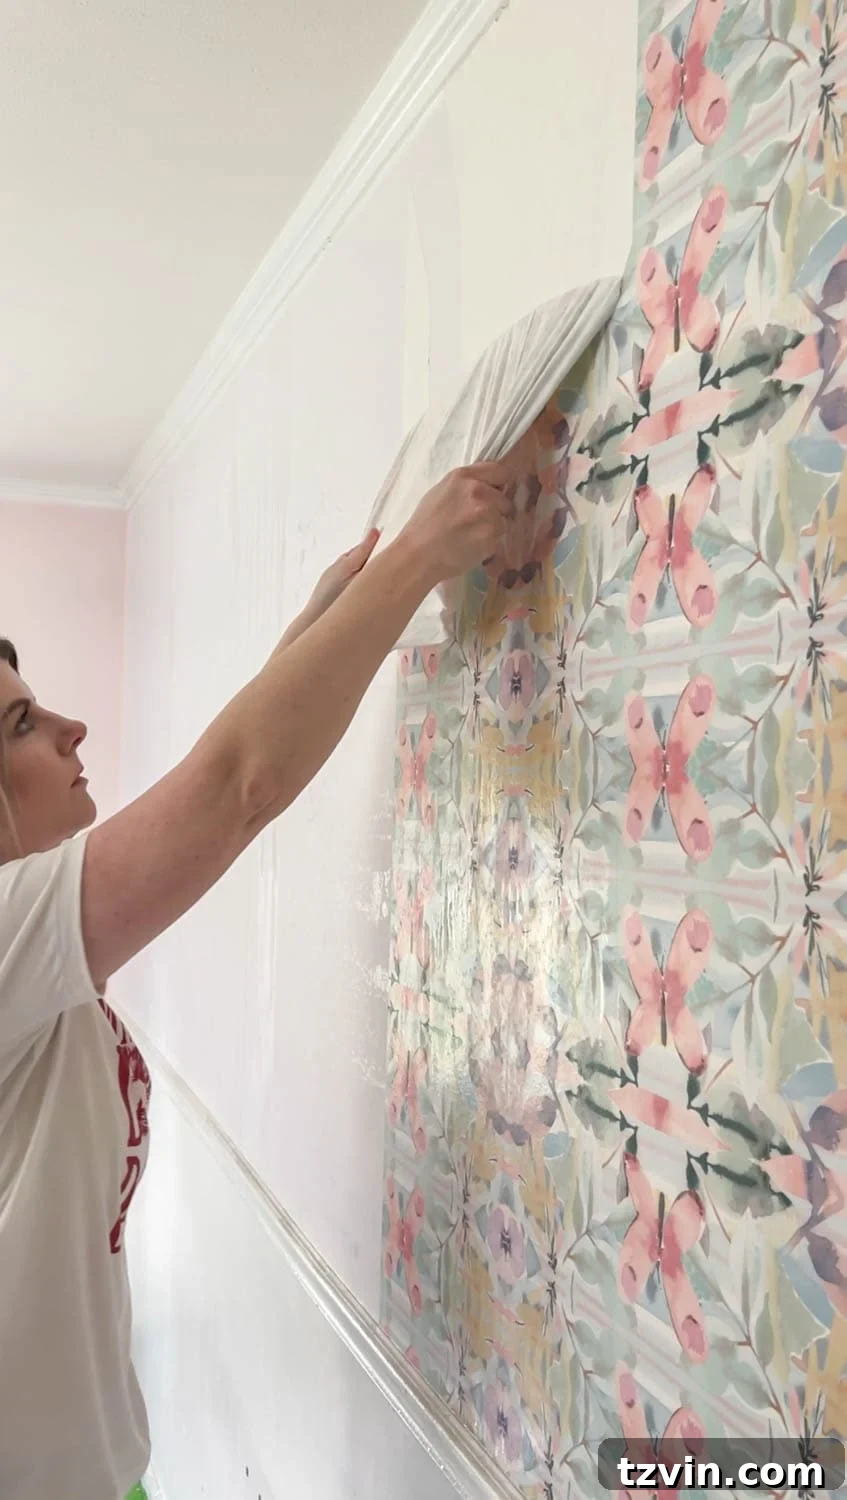
This fabric softener method performed surprisingly well, offering a significant improvement over the vinegar solution. While it did require a bit more effort and scraping than the commercial stripper, it was considerably more effective than the pure vinegar mix. I noticed the wallpaper absorbed the solution quickly, leading to faster drying and necessitating reapplication a few times during the process to keep the paper moist and the adhesive active. However, the wallpaper came off in larger pieces, making the removal process less frustrating than with vinegar.
If you’re looking for an inexpensive, pleasant-smelling, and reasonably effective DIY alternative to commercial products, the fabric softener solution is an excellent second choice. It strikes a good balance between cost and performance.
DIY Fabric Softener Wallpaper Stripper: Evaluation
Pros:
- Decently Fast: Works fairly quickly, making the removal process efficient for a DIY method.
- Budget-Friendly: Very inexpensive to create using readily available household items.
- Pleasant Scent: Leaves a fresh, clean aroma, a definite advantage over other methods.
Cons:
- Reapplication Needed: Requires repeated spraying as the solution tends to dry quickly.
- Premixing Required: Involves preparation and frequent mixing of hot water.
- Moderate Effort: More effective than vinegar but still demands more physical effort than commercial strippers.
Once you’ve successfully stripped all the wallpaper, the job isn’t quite finished. It’s essential to thoroughly clean the walls to remove any lingering adhesive residue. Spray the wall one more time with your chosen solution, or simply warm water, and use a clean rag or sponge to wipe away all excess glue. This final step ensures a smooth, clean surface, perfectly prepared for painting or new wallpaper installation.
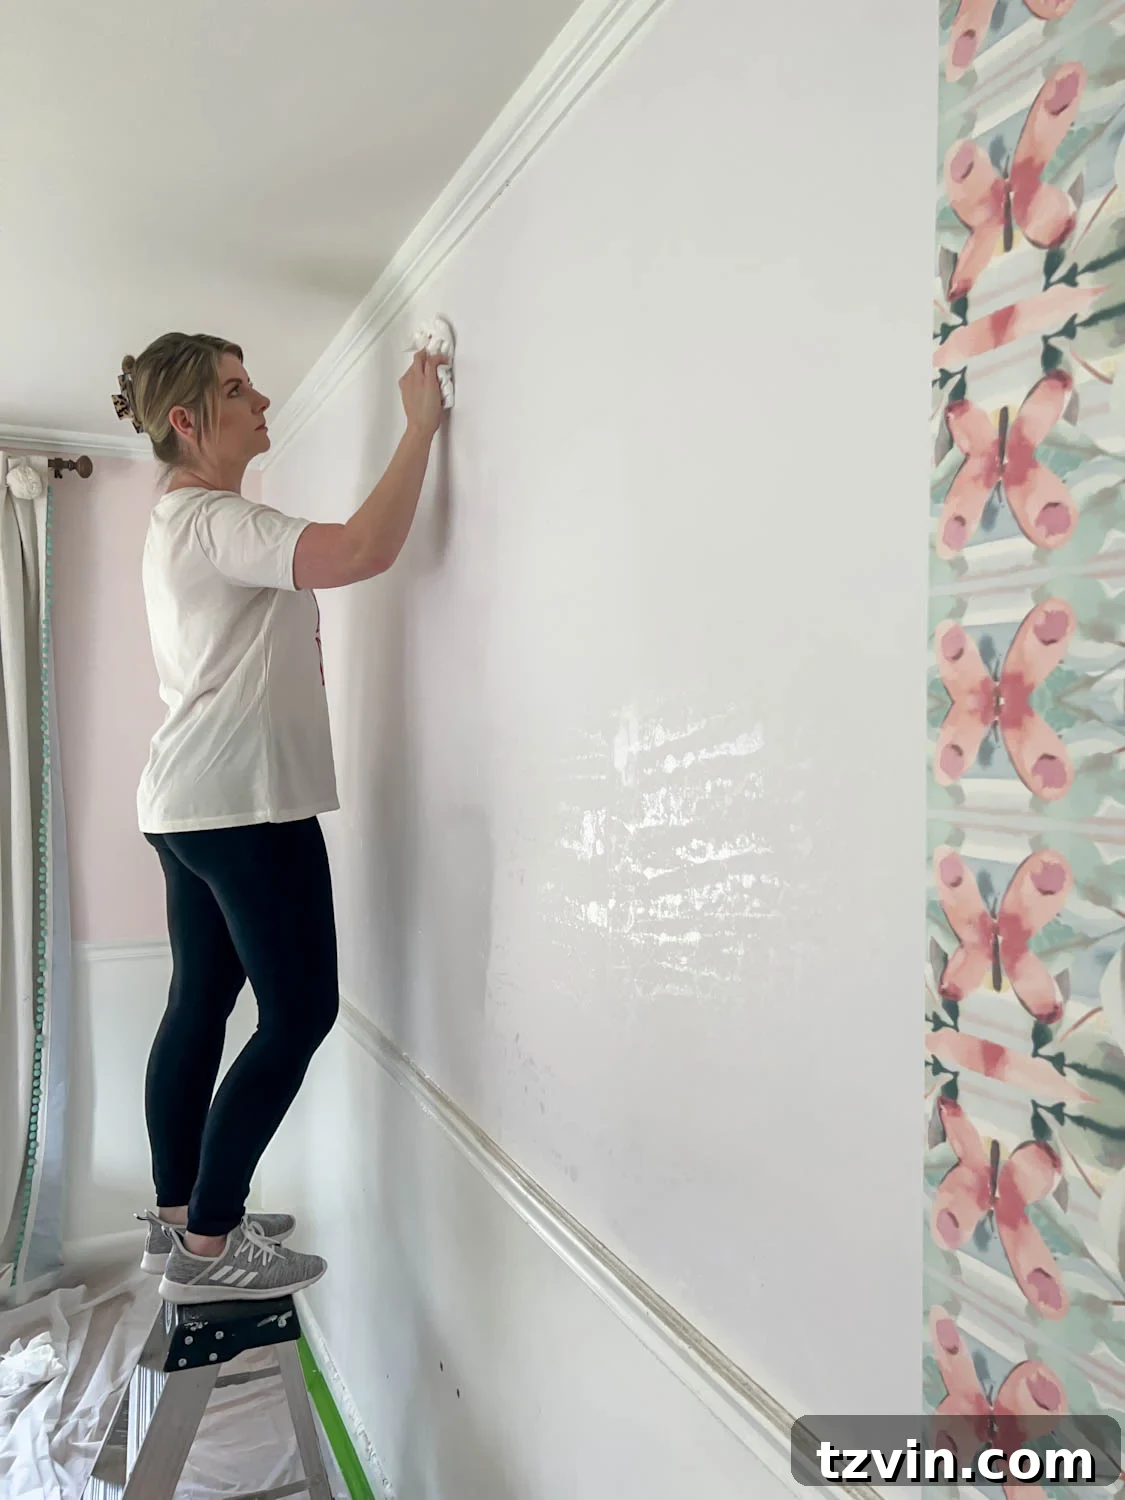
These wallpaper removal techniques are effective on various wall surfaces, including plaster walls. When planning to apply new wallpaper in the future, a crucial preventative step is to apply a size primer to your walls beforehand. This primer creates a barrier that allows for easy, “strippable” wallpaper removal later on, saving you immense effort and potential damage down the line.
While the thought of wallpaper removal can be daunting, this experiment showed that with the right preparation and method, it’s a perfectly manageable DIY project. There’s something oddly therapeutic about stripping away the old to make way for the new – almost like tearing frustrations away, piece by piece. I can’t wait to start painting and adding the new wallpaper in this bedroom, creating a sweet new space!
Frequently Asked Questions About Wallpaper Removal
Generally, no. Peel and stick wallpaper is designed to be easily removable without the need for chemical strippers or extensive moistening. It should pull away cleanly from the wall, provided the wall was properly prepared (primed and smooth) before application. If you encounter any stubborn spots, a gentle application of warm water can help loosen the adhesive.
To minimize wall damage, always keep your putty knife or stripping tool as flat against the wall surface as possible. Avoid digging the corners of the tool into the drywall, as this can easily gouge the surface. Work slowly and patiently, allowing the solution to fully penetrate the adhesive. For extremely stubborn wallpaper that resists chemical or DIY solutions, a wallpaper steamer is often the safest bet, as the consistent heat and moisture can loosen even the most tenacious glue without requiring excessive scraping.
Yes, absolutely. Painting over wallpaper seals the surface, preventing removal solutions from penetrating the paper and reaching the adhesive. This makes the wallpaper significantly harder to remove later on, often requiring intensive scraping, sanding, or specialized tools. If you anticipate wanting to remove the wallpaper in the future, it is always best to remove it before painting.
It is almost always better to remove old wallpaper rather than applying new wallpaper or paint directly over it. Removing the old layer ensures a smooth, stable surface for new applications, preventing issues like bubbling, peeling, or visible seams from the underlying pattern. Overlapping wallpaper can also add unnecessary thickness and make future removal even more complicated. A clean slate guarantees better adhesion, a more professional finish, and greater durability for your new wall treatment.
Fabric softener sheets are not suitable for making a wallpaper stripping solution. They contain different chemicals and are designed for use in a dryer, not for dissolving adhesives. You need liquid fabric softener, which contains surfactants that help break down the wallpaper glue when mixed with hot water.
Inspiring Wallpaper Ideas for Your Next Renovation
- Antique Painting Mural Wallpaper for Elegant Dining Rooms
- Creative Ways to Wallpaper Inside Picture Frame Molding
- Timeless Vintage Wallpaper Favorites for Teenage Bedrooms and Kids’ Playrooms
- Chinoiserie Wallpaper for All Budgets: Splurge vs. Save Options
- Best Modern Farmhouse Wallpaper Designs on a Budget