
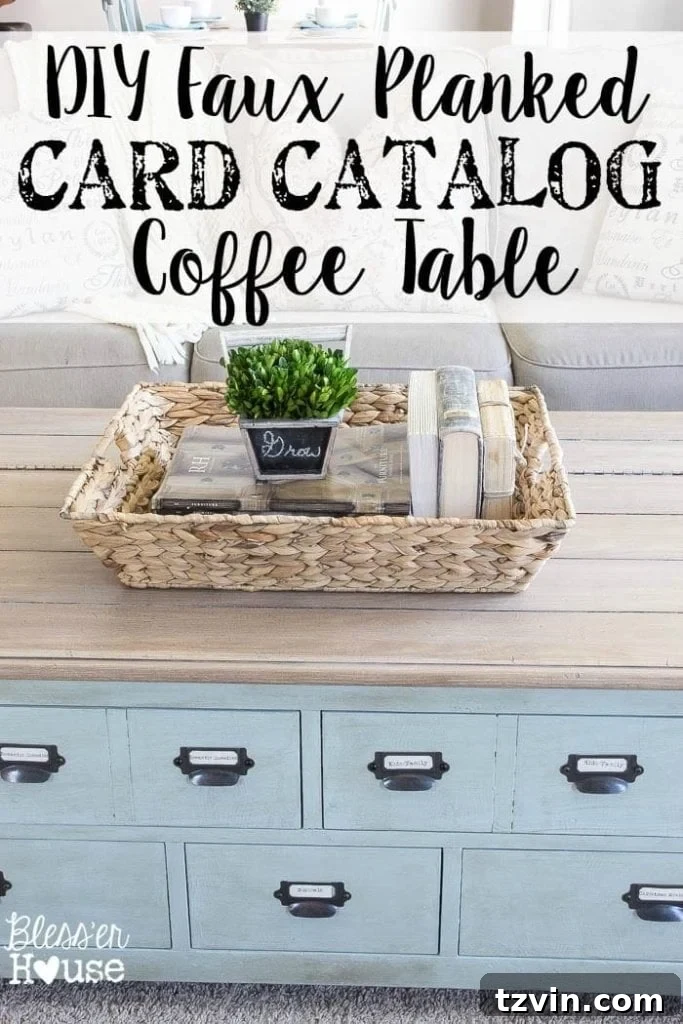
Transform Your Living Room: The Ultimate DIY Faux Planked Card Catalog Coffee Table Makeover
Have you ever fallen in love with a piece of furniture you saw online, only to find it’s a unique, one-of-a-kind treasure from a lucky bargain hunt? We hear you! One of the most common questions we receive is, “Where did you buy your coffee table?! I need one just like it!” And while the beauty of thrift store finds and Craigslist gems lies in their individuality, it also means they’re often impossible to replicate with a simple click and purchase. But what if you could create something incredibly similar, packed with character and unmatched storage, through a fulfilling DIY project?

This month, my fellow Trash To Treasure blogger friends and I are revisiting some of our most beloved archived projects, and my card catalog coffee table is undoubtedly a fan favorite. It’s a piece that consistently sparks curiosity and admiration, and for good reason! It’s not just a focal point in our living room; it’s a powerhouse of organization and a testament to the transformative potential of a little elbow grease and creativity.
The Hunt for a Hidden Gem: Our $50 Craigslist Discovery
The journey of this remarkable coffee table began with a thrilling $50 find on Craigslist. Yes, you read that right – fifty dollars! It was a sturdy, unassuming piece with incredible bones, just waiting for a new lease on life. From the moment I saw it, I knew it had the potential to become a central feature in our home, especially as a “beast” when it comes to keeping our living room organized. This table truly proves that some of the best pieces of furniture aren’t found in a high-end showroom but rather through patient searching and a keen eye for potential.
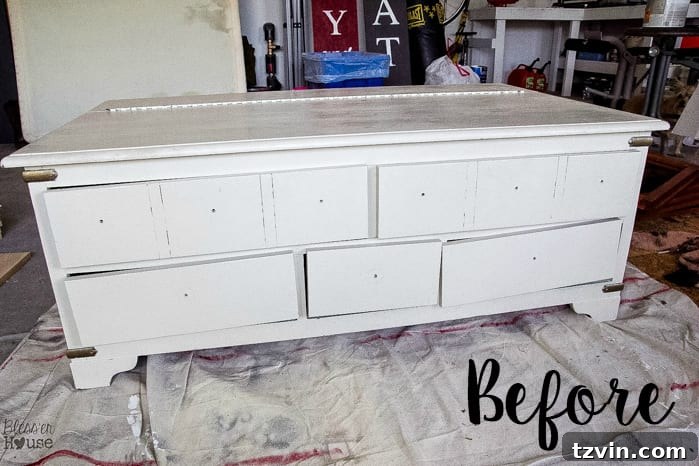
In fact, this transformation was one of my very first furniture makeovers. It wasn’t about achieving showroom perfection; it was about creating a functional, beautiful piece that could withstand the rigors of family life. I love that our daughter, Olivia, can scuff it up, and I’m totally okay with it. This DIY faux planked card catalog coffee table embodies rustic charm and practicality, making it the ideal addition to any busy household.
Crafting Your Own Card Catalog Coffee Table: Supplies You’ll Need
Ready to embark on your own furniture makeover adventure? Here’s a detailed list of the supplies you’ll need to create a stunning faux planked card catalog coffee table. Remember, investing in quality tools and materials can make a significant difference in your finished product and overall enjoyment of the process. (Affiliate links are provided below for convenience. For more information, please see my full disclosure here.)
- Annie Sloan Chalk Paint in Duck Egg (for its lovely muted blue-green tone and excellent coverage)
- Annie Sloan Chalk Paint in Pure White (for blending and brightening)
- Minwax Clear Paste Finish Wax (essential for sealing and protecting your painted surface)
- Annie Sloan Dark Wax (to add depth, age, and a beautiful distressed effect)
- Purdy 1.5″ angle brush (my absolute favorite for smooth, even paint application and precise lines)
- Wax brush (for effortless application of wax finishes)
- Tape measure (for accurate plank spacing and overall dimensions)
- Chalk line (for creating perfectly straight, visible lines for your faux planks)
- Circular saw (for cutting the shallow grooves that define your planks; safety first!)
- Medium and fine grit sandpaper (for preparing surfaces and achieving a smooth finish)
- Wood grain tool (the star of the show for creating realistic faux wood texture)
- Valspar sample pot in Woodrow Wilson Putty (base color for faux wood)
- Valspar sample pot in Arid Plains (mid-tone for faux wood)
- Valspar sample pot in Asiago (darker tone for faux wood)
- Valspar clear mixing glaze (to create a workable, translucent paint mixture for graining)
- General Finishes Gel Stain in Antique Walnut (for a rich, deep wood finish)
- Dry paint brush (for blending and detailing)
- Paper towels and/or clean, dry rags (for wiping excess wax, glaze, and stain)
- Matte polyurethane (for durable protection of the finished surface)
- Card catalog label pulls (the iconic touch for that authentic card catalog look and functional labeling)
Step-by-Step Guide: Crafting Your Faux Planked Card Catalog Coffee Table
The Base: A Touch of Distressed Elegance
To begin, we’ll transform the base of your coffee table. First, I mixed equal parts Annie Sloan Duck Egg paint with Pure White paint. This custom blend creates a beautiful, soft, muted blue-green shade that is both inviting and versatile. Using my trusty Purdy brush, I applied two even coats to the entire base of the coffee table, allowing ample drying time between coats. Chalk paint is wonderful for its minimal prep requirements, often adhering beautifully without sanding or priming, making this step relatively quick and satisfying.
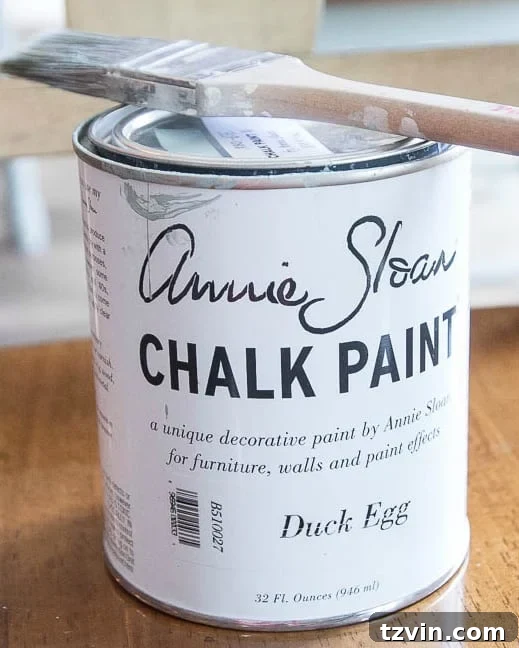
Once the paint was completely dry, I moved on to waxing, a crucial step for both protection and aesthetic. I first applied a generous coat of Minwax Clear Paste Finish Wax over the entire painted base. This not only seals the chalk paint but also creates a barrier. Following the clear wax, I applied a light coat of Annie Sloan Dark Wax. The clear wax underneath helps to make the dark wax much more subtle and controllable, allowing you to achieve a beautiful, aged, and slightly distressed look without making the piece too dark. It settles into crevices and edges, highlighting the table’s character.
Creating the “Planked” Top: A Rustic Illusion
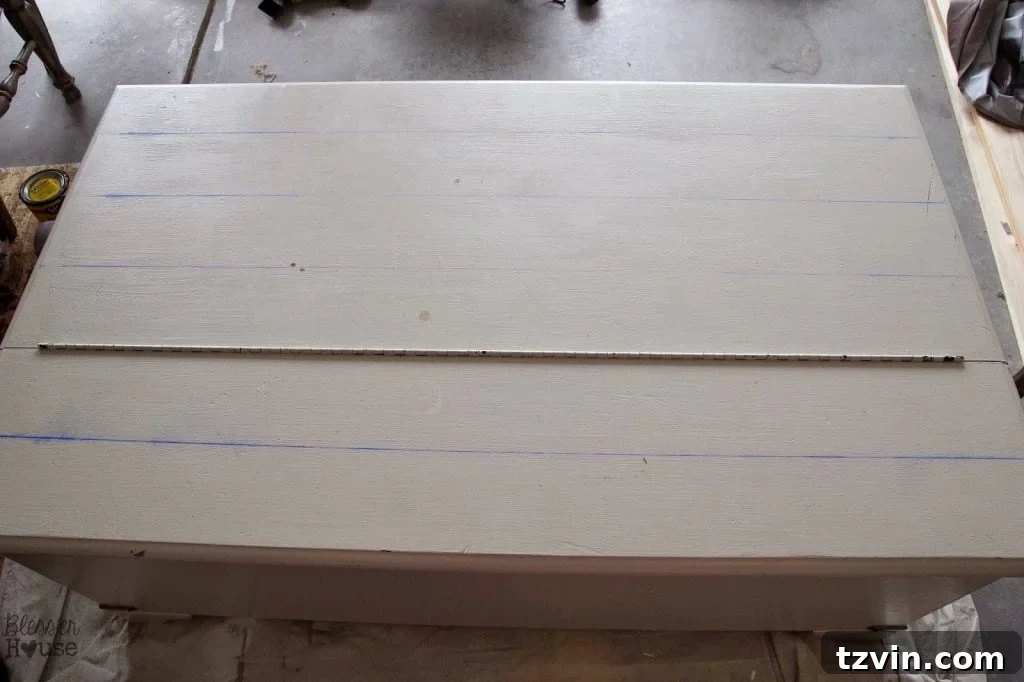
The magic of this coffee table lies in its faux planked top, which adds incredible texture and a rustic, reclaimed wood feel. To achieve this, I started by carefully measuring the width of the tabletop. I then decided on the number of planks I wanted to create, aiming for a balanced and authentic appearance. Conveniently, a pre-existing hinge on my table was exactly at the one-third mark, which helped guide my spacing. For a 30-inch wide top, I marked my faux planks at every 5-inch interval, ensuring even distribution.
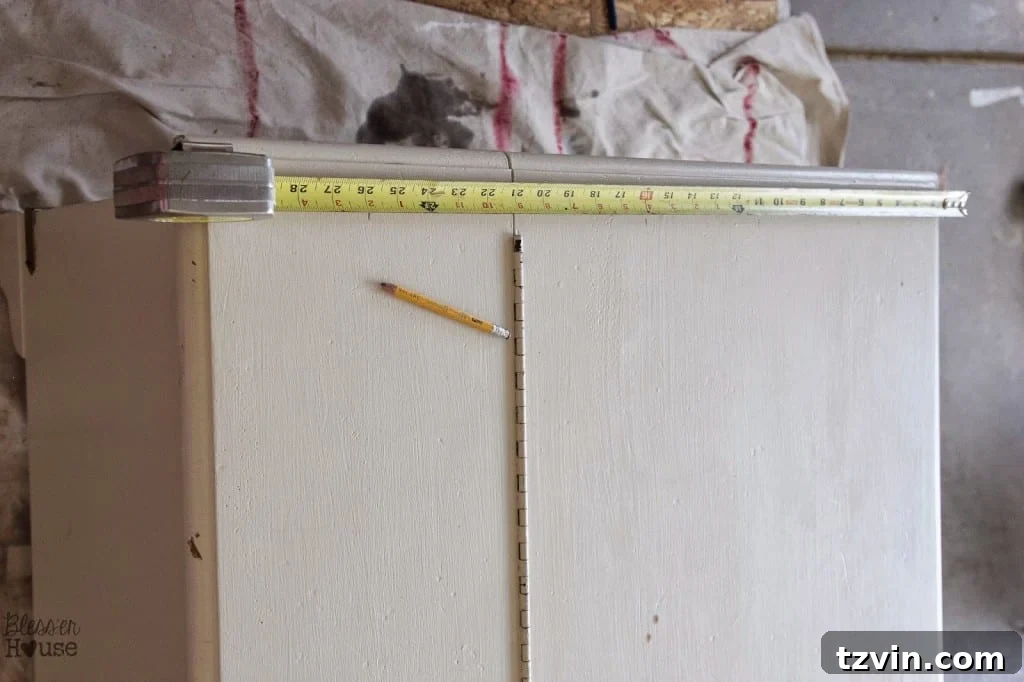
Once my measurements were precise, I used a chalk line to snap perfectly straight, visible guides across the tabletop. These lines are critical for ensuring your cuts are even and professional-looking. With the lines marked, my incredibly helpful husband used a circular saw, set to a shallow depth of 1/8 of an inch, to carefully cut along these chalk lines on both the top surface and the sides of the tabletop. These shallow grooves mimic the natural separation between planks, giving the illusion of individually laid boards.

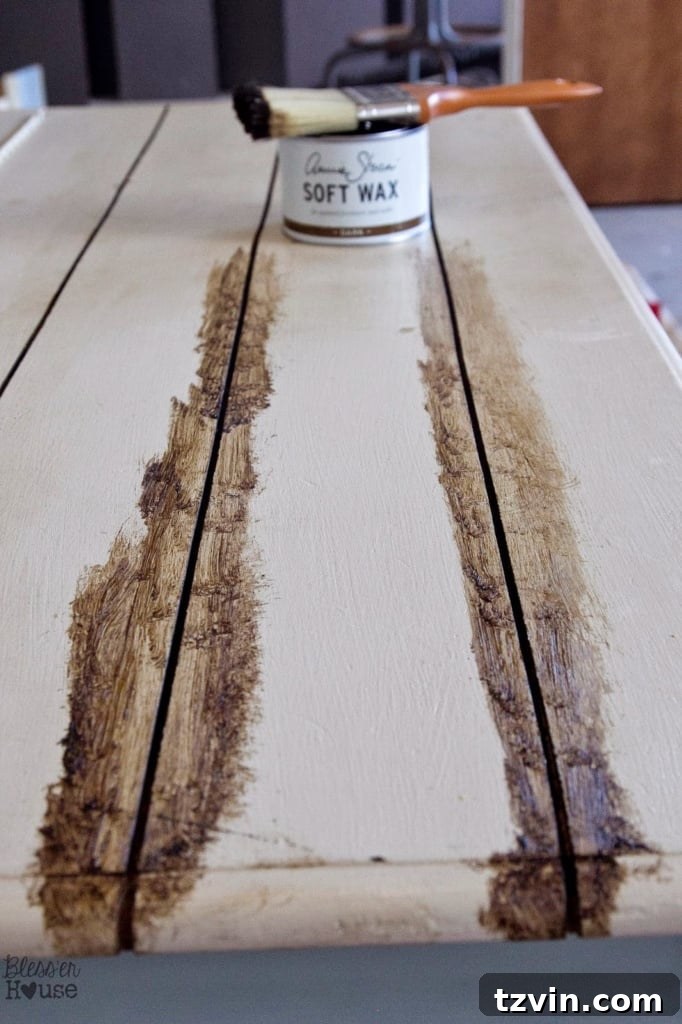
To further enhance the definition and create an aged appearance, I worked Annie Sloan Dark Wax directly into these newly cut grooves. Using a small brush or even a rag, I carefully pushed the dark wax into the lines, then wiped away the excess from the surrounding surface. This technique deepens the shadows in the grooves, making the faux planks appear more pronounced and weathered, just like authentic reclaimed wood.
The Faux Wood Finish: A Multi-Layered Masterpiece
Creating a realistic faux wood grain is where this project truly shines, though it does require a bit of patience and technique. Looking back, one key lesson learned was the importance of thorough surface preparation. I initially skipped sanding the entire tabletop, which left some minor dents and dings from the original paint job visible. For an extra smooth, professional-looking finish, I highly recommend sanding the entire top with medium and then fine-grit sandpaper before starting this stage. Proper prep work truly lays the foundation for success.
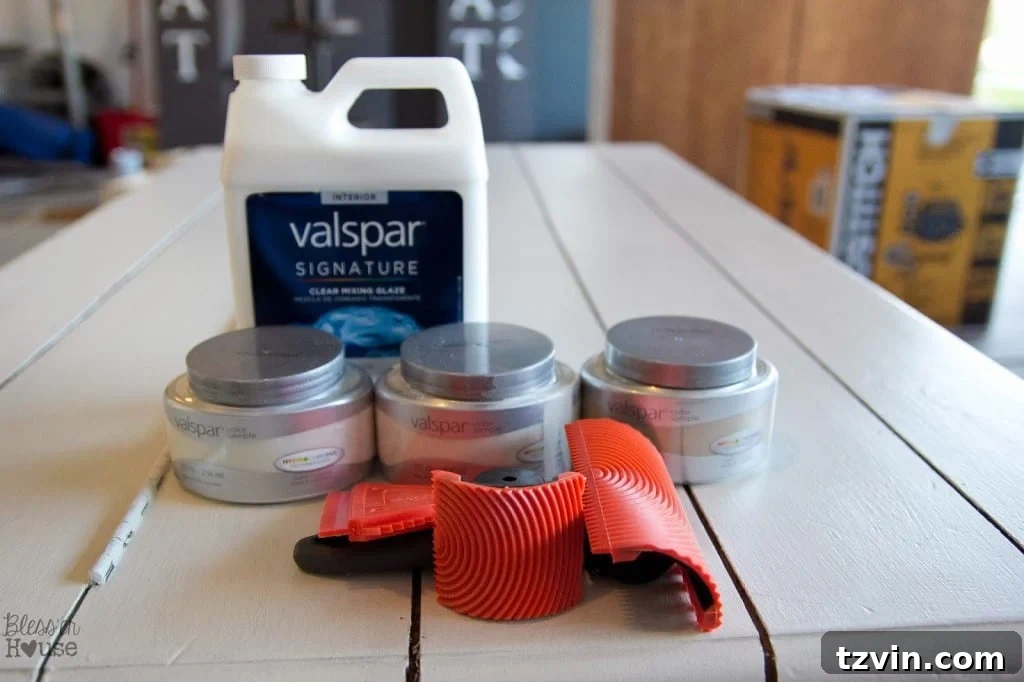
To build our faux wood grain, I started with a base coat using Valspar Woodrow Wilson Putty. After this base was completely dry, I mixed Valspar Arid Plains (a slightly darker paint) with Valspar clear mixing glaze. This glaze is crucial as it extends the drying time of the paint, giving you more time to work with the wood graining tool. I brushed a light, translucent coat of this mixture over the base coat, ensuring some of the lighter base still peeked through, adding depth.
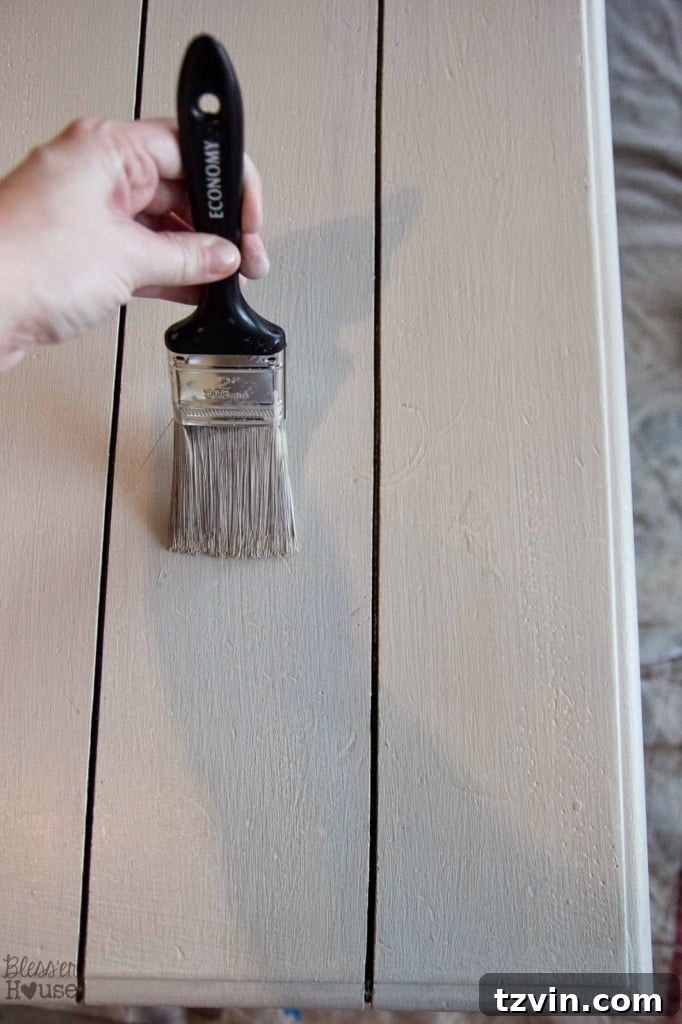
Now for the fun part: creating the grain! Once the medium glaze layer was dry, I applied another coat of the glaze/darker paint mixture (Valspar Asiago mixed with clear glaze), working one faux plank at a time. This methodical approach allows you to focus on achieving a consistent grain pattern.
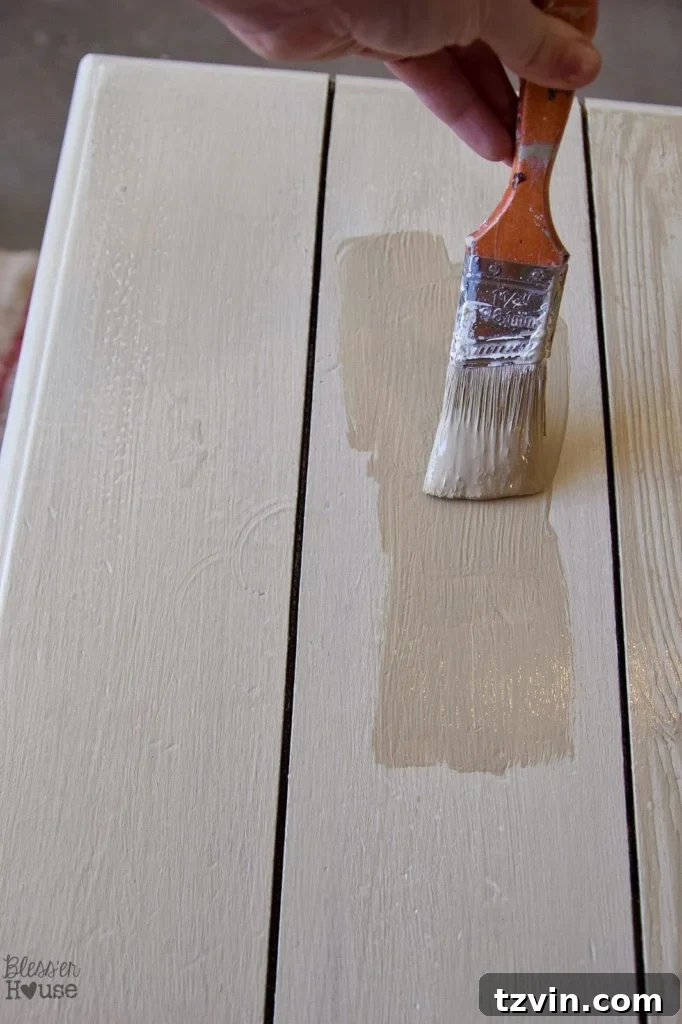
While the glaze mixture was still wet, I used a wood graining tool. The key is to drag the tool smoothly through the wet paint glaze, gently rocking it as you go to create the characteristic knots and lines of natural wood grain. Practice makes perfect with this tool! I highly recommend testing it out on a scrap piece of wood or even poster board until you get the hang of the movement and desired effect. Don’t be afraid to experiment with pressure and motion.
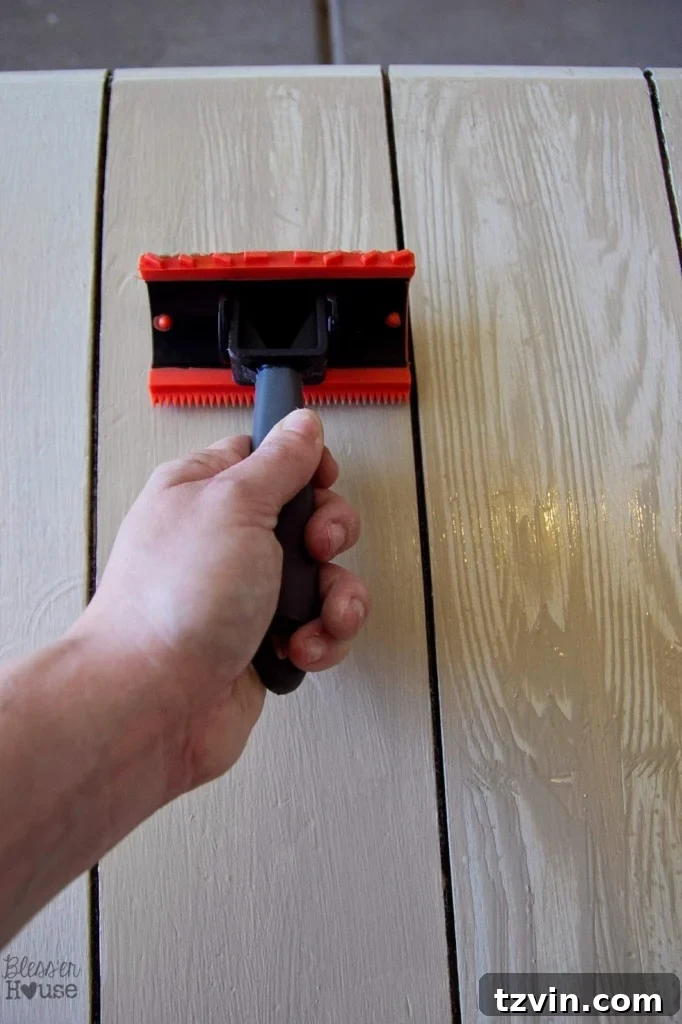
Don’t forget the sides of your tabletop! A smaller wood graining tool or a careful application with the larger one can help extend the faux wood effect seamlessly around the edges, enhancing the realistic planked appearance.
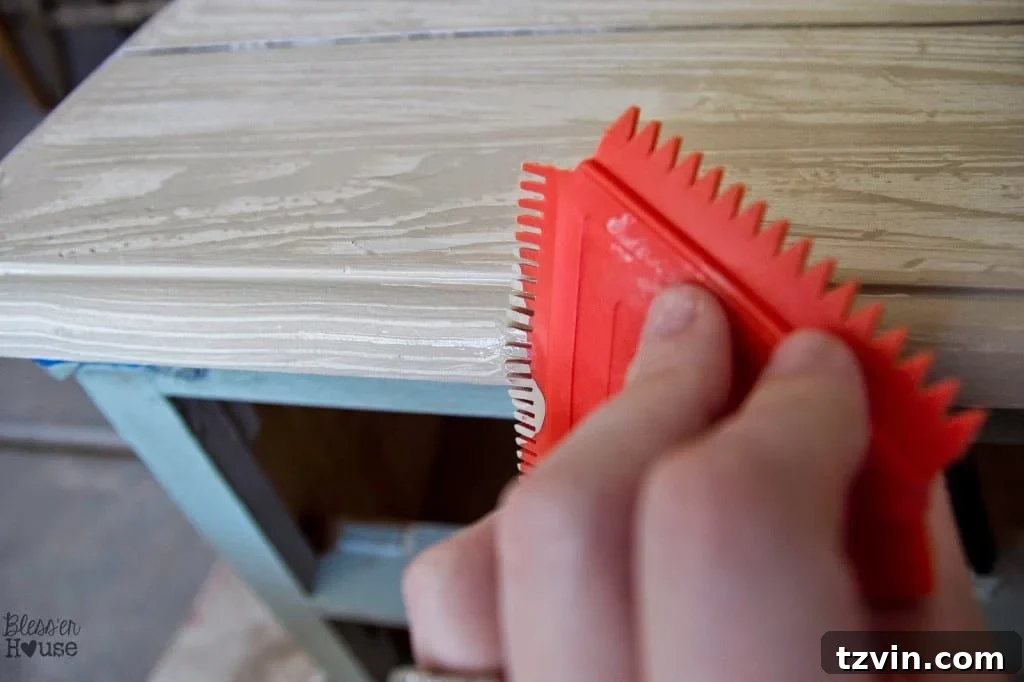
Once the darker paint glaze was dry, I added another layer of interest by brushing on a very light, almost transparent glaze randomly over the grain. This subtle touch adds depth and variation, mimicking the natural imperfections and nuances of real wood.
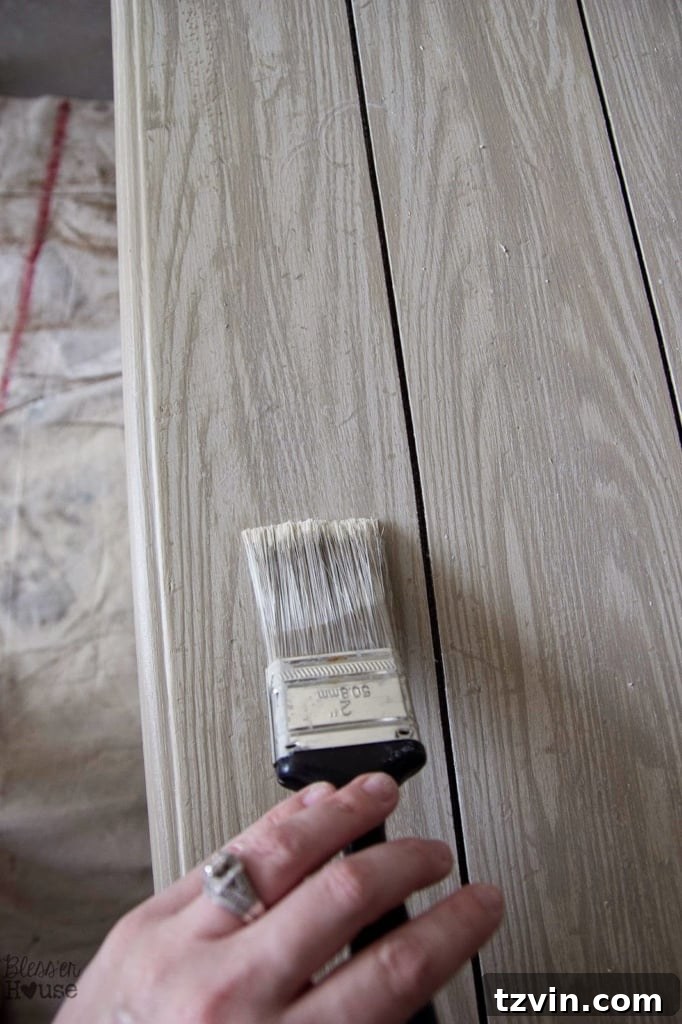
The final touch for the faux wood top was applying General Finishes Gel Stain in Antique Walnut. If you’ve never worked with gel stain, you’re in for a treat! It has a unique, almost pudding-like texture, making it incredibly easy to work with and far less prone to drips than traditional liquid stains. I simply swiped it on one plank at a time with a dry brush, then immediately wiped away the excess with a clean rag. This step deepened the rich wood tones and pulled all the layers of glaze and graining together beautifully.
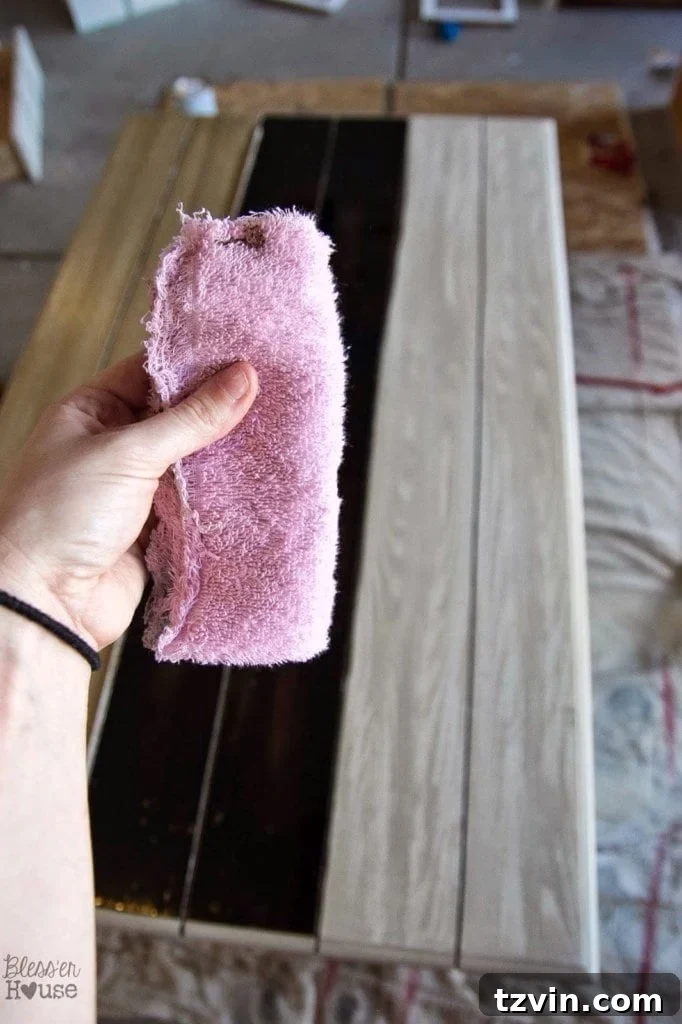
And there you have it: a faux reclaimed wood tabletop! I’ll admit, it involves several steps, but the layering creates an incredibly convincing and beautiful finish. The end result was well worth every minute of effort, creating a unique centerpiece for our living room.
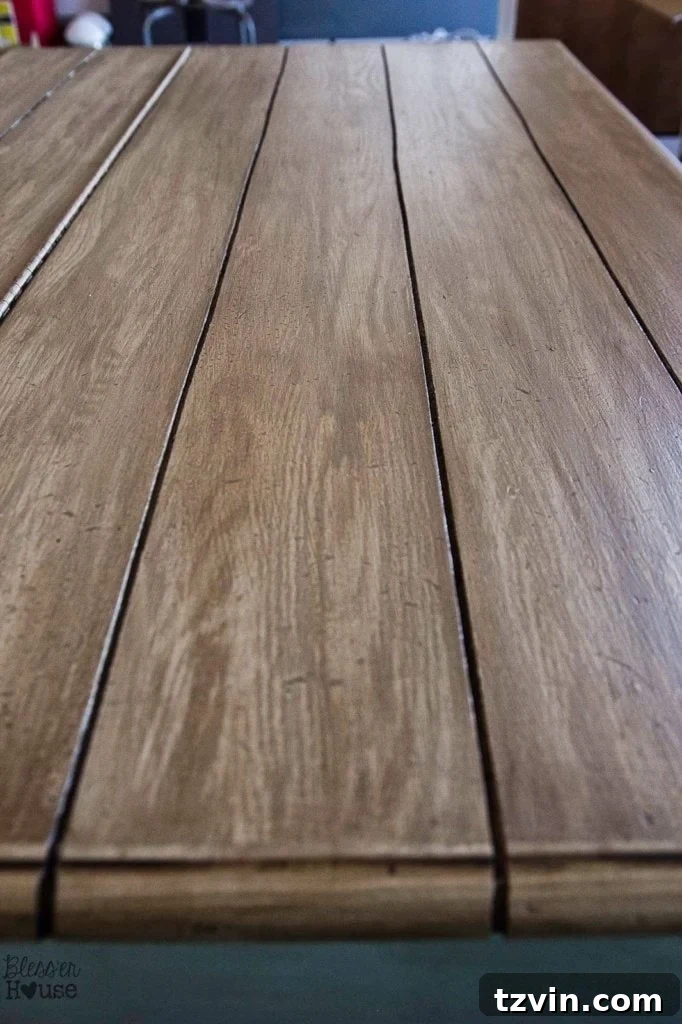
The Perfect Finishing Touch: Card Catalog Pulls for Ultimate Organization
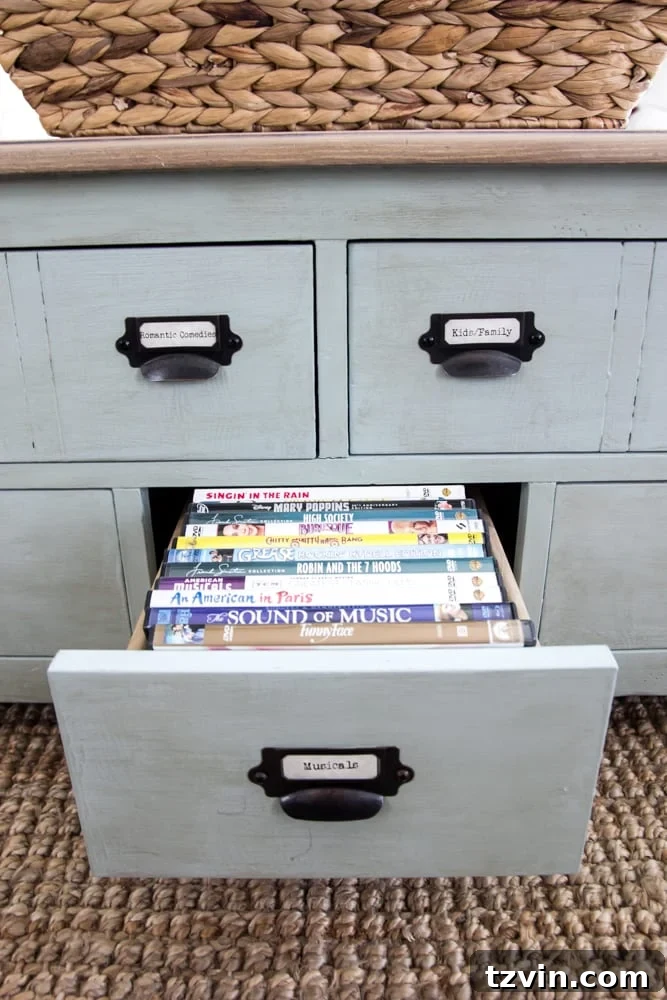
To truly transform this coffee table into a functional card catalog storage unit, I added classic card catalog pulls to the existing drawers. These elegant pulls are not just decorative; they serve a fantastic purpose. They allow us to add labels, turning the drawers into perfectly organized compartments. For us, this meant dedicated space for DVD storage, keeping our collection neatly out of sight but easily accessible. Imagine the possibilities for organizing remote controls, magazines, board games, or even craft supplies!
This versatile coffee table has been a staple in our living room for over a year and a half now, and we still absolutely adore how much it helps save our sanity! Beyond its incredible storage capabilities, it also injects a much-needed pop of color and personality into our otherwise neutral space. It’s amazing how one DIY project can truly elevate an entire room, and since its completion, several more DIYs have found their way into this beloved space.
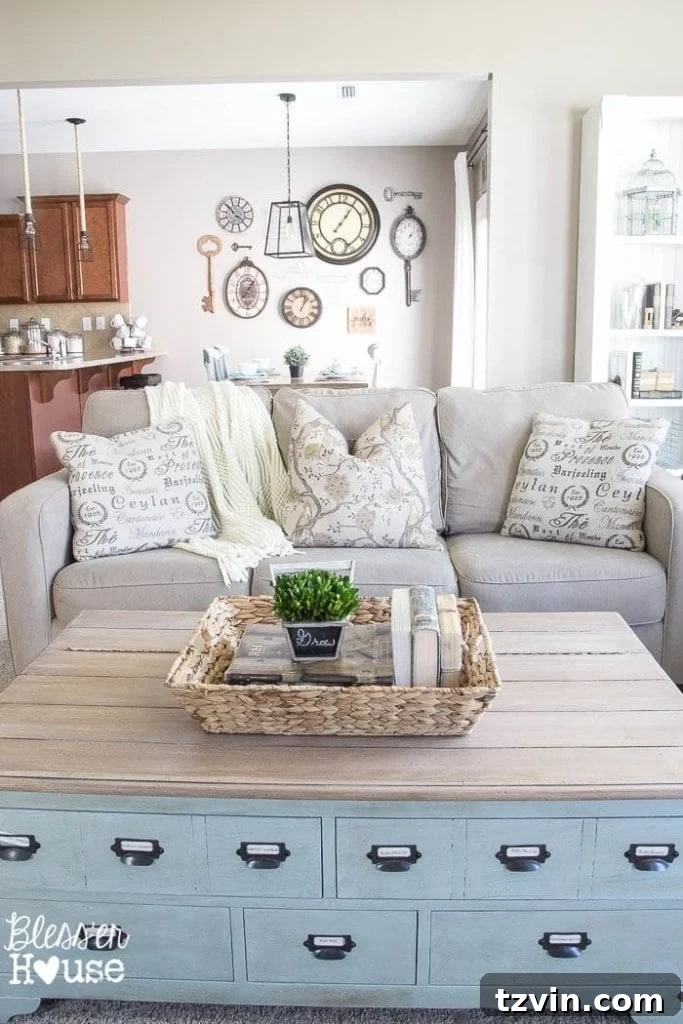
By the way, do you see our kitchen peeking into the top left of that picture? I’m already dreaming of painting those cabinets a bright, crisp white to continue the home transformation!
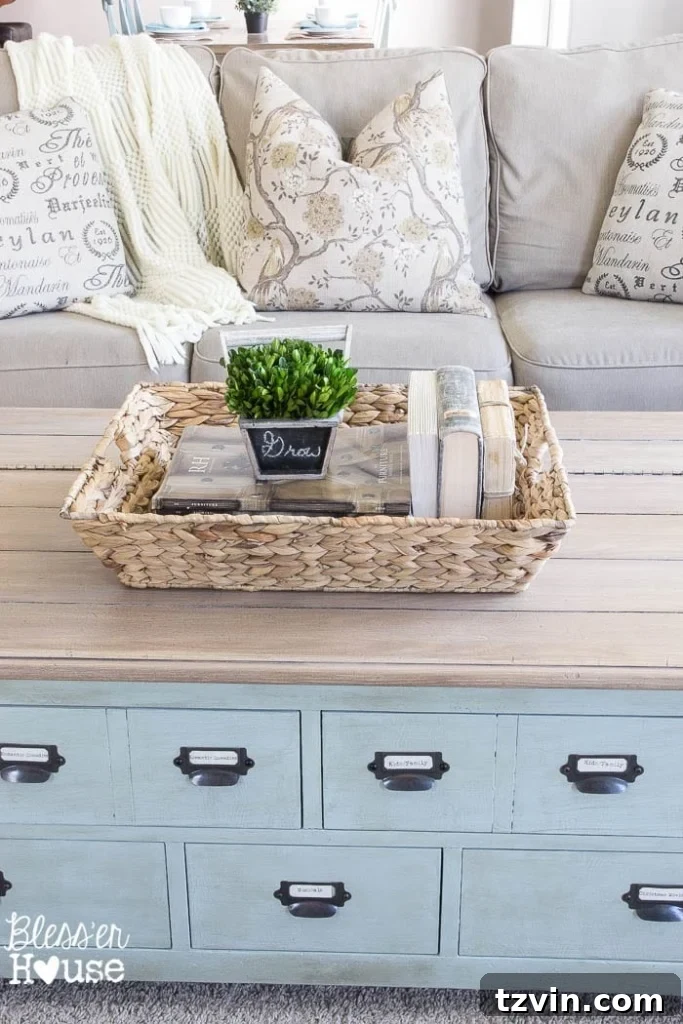
A Home for Everything: From DVDs to Toymageddon
Now, let’s talk about the real-life magic this table performs. Feast your eyes on this magnificent DVD storage! Hello, beautiful! No more unsightly stacks or lost movie cases. Each drawer holds a neatly organized collection, making family movie nights a breeze.
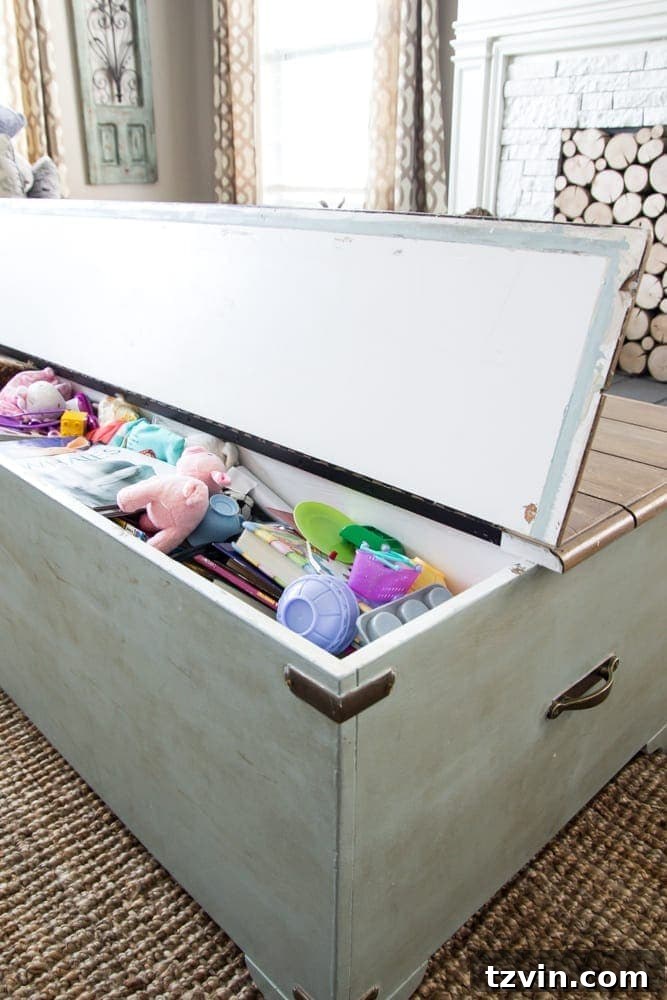
And THIS is the brilliant secret: the hidden toy drama inside! While I wish I could claim our living room is immaculately clean 24/7, let’s be realistic – HA! No. Olivia, like any spirited child, loves to climb all over this table and enthusiastically empty its contents. You’d think it was Toymageddon in here some days! But the beauty of this card catalog coffee table is that when playtime is over, all the chaos can be quickly tucked away, restoring a sense of calm and order to our living space. It’s functional, kid-friendly, and a true sanity-saver.
So now you know the inspiring story of the little coffee table that could. It had incredible potential all along; it just needed some creative vision and a whole lot of love to unlock its full glory. This DIY faux planked card catalog coffee table project is a testament to the transformative power of a budget-friendly furniture makeover, turning a simple find into a statement piece with unparalleled style and functionality.
Ready for more “Best of the Archives” inspiration? Be sure to hop over and see what amazing projects my fellow blogger friends are showcasing:
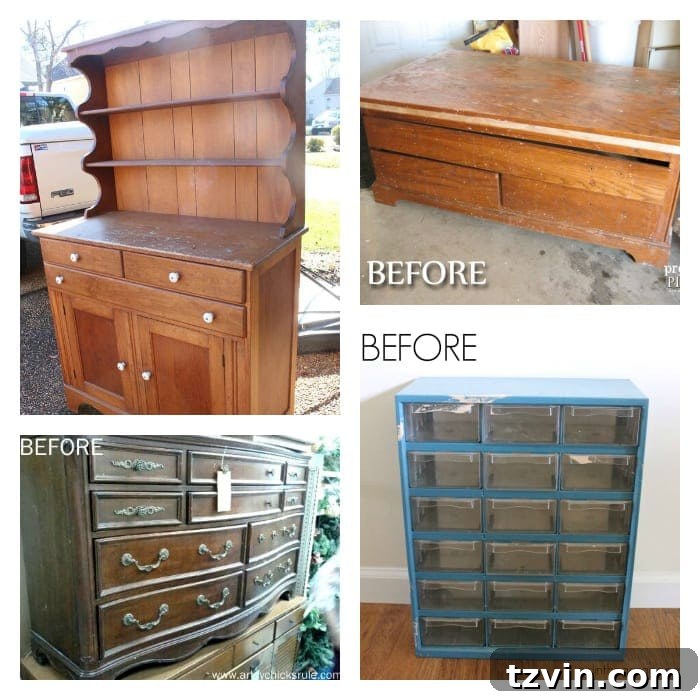
(Clockwise from top left): Confessions of a Serial DIYer | Prodigal Pieces | Girl in the Garage | Artsy Chicks Rule