Unlocking the Secret to a Picture-Perfect Gallery Wall: Your Ultimate DIY Guide
Welcome, fellow home decor enthusiasts! If you’re anything like me, the thought of creating a captivating gallery wall might fill you with equal parts excitement and dread. The desire to infuse personality into a blank canvas is strong, but the fear of a wall riddled with unnecessary nail holes and an unbalanced arrangement often holds us back. I confess, I’m a self-proclaimed perfectionist, and the journey to finally unveil our completed gallery wall felt like an endless loop of tweaking and analyzing. But after days of dedicated effort, the moment has arrived!
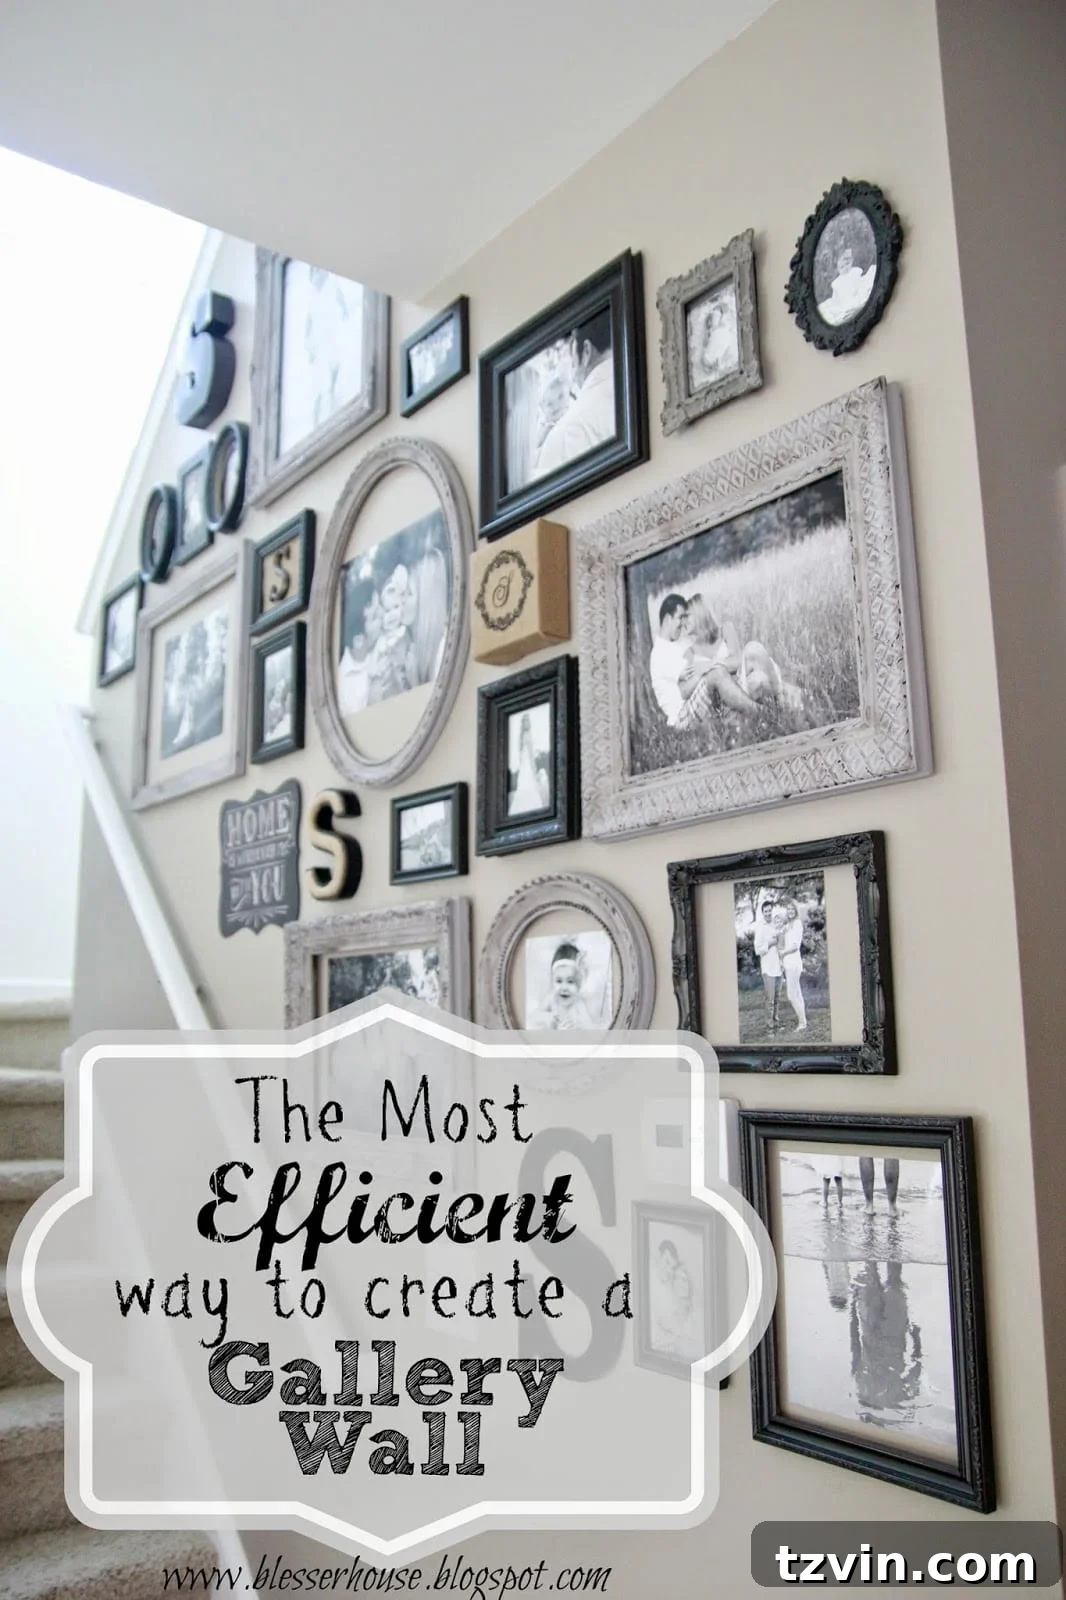
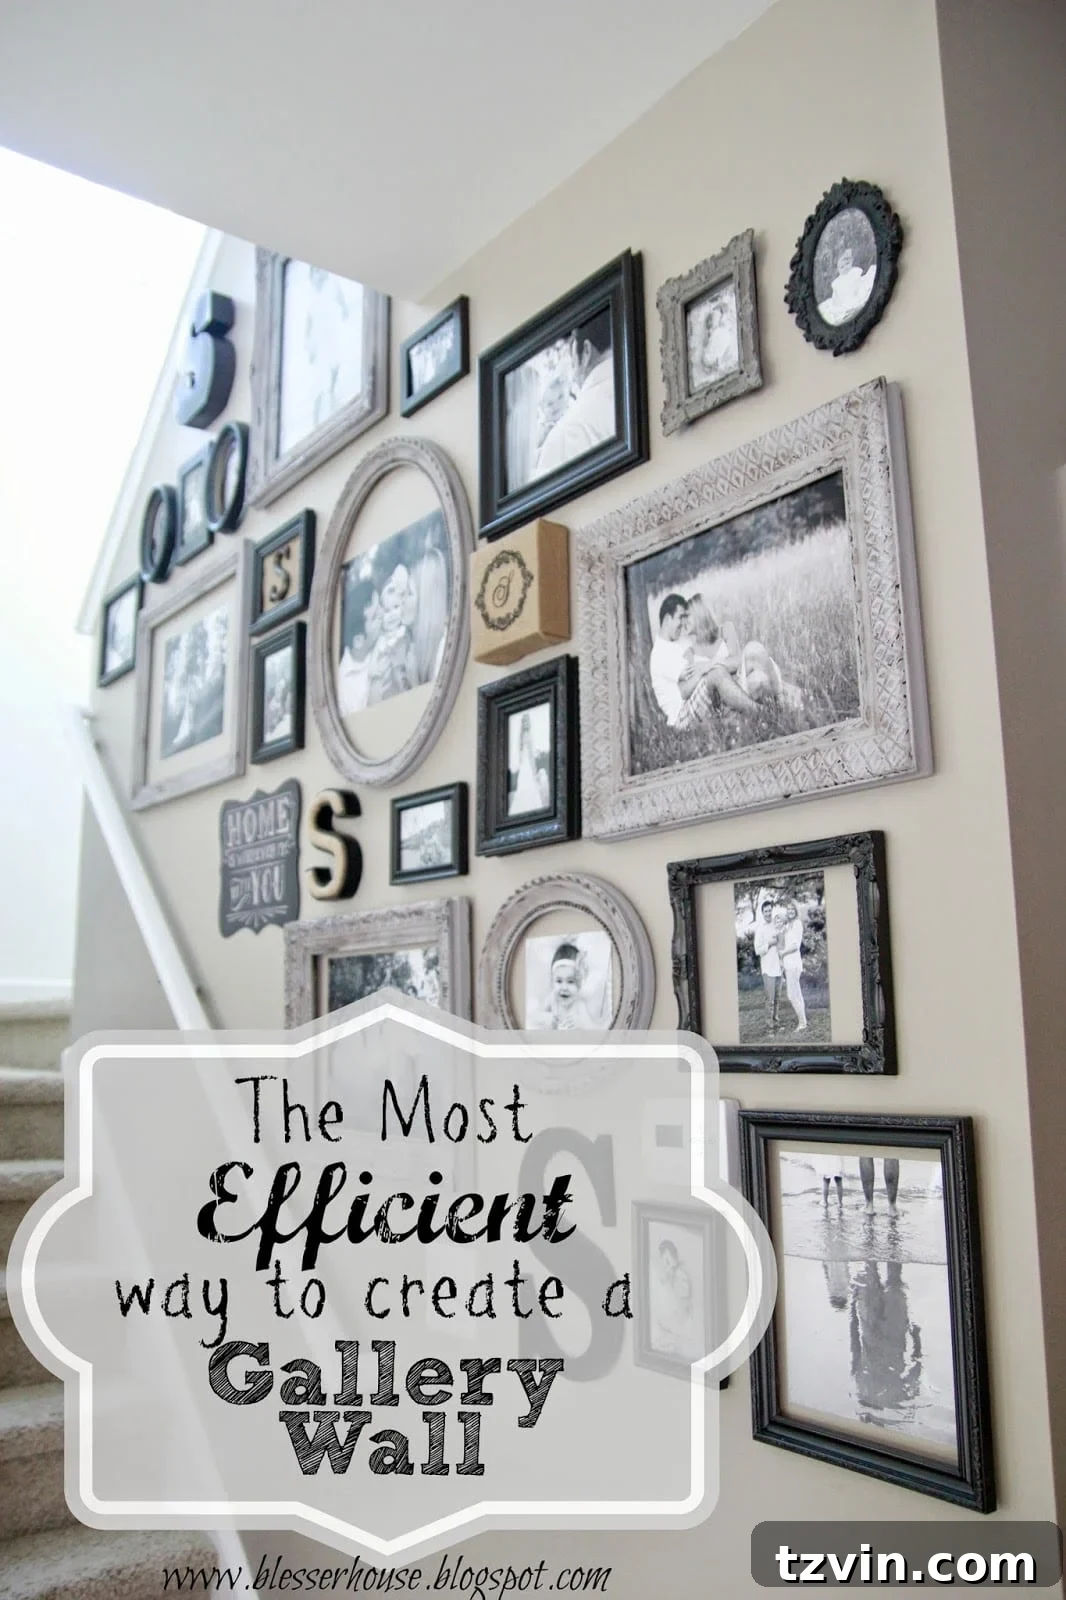
I am absolutely thrilled to share the transformation of what was once a daunting, empty wall into a vibrant focal point. What makes this achievement even more gratifying is the discovery of a truly simple, almost “hairbrained” strategy that even I, with my occasional creative chaos, could master. This method ensured a stunning result without a single misplaced nail hole – a true victory for any DIYer!
Just a couple of weeks ago, I embarked on a mini-project to give a new lease on life to some thrifted frames. Using chalk paint and a touch of Vaseline, I crafted these charming Distressed Frames, which ultimately became perfect anchors, adding a beautiful vintage flair to our evolving wall display. Inspired by ingenious techniques I’d encountered on various home decor blogs, I decided to put a popular gallery wall planning strategy to the test. And, as is my nature, I fine-tuned it slightly to fit my vision. After all, isn’t life about continuous refinement and striving for self-betterment? That’s certainly my mantra!
Step 1: The Blueprint – Creating Your Gallery Wall Templates
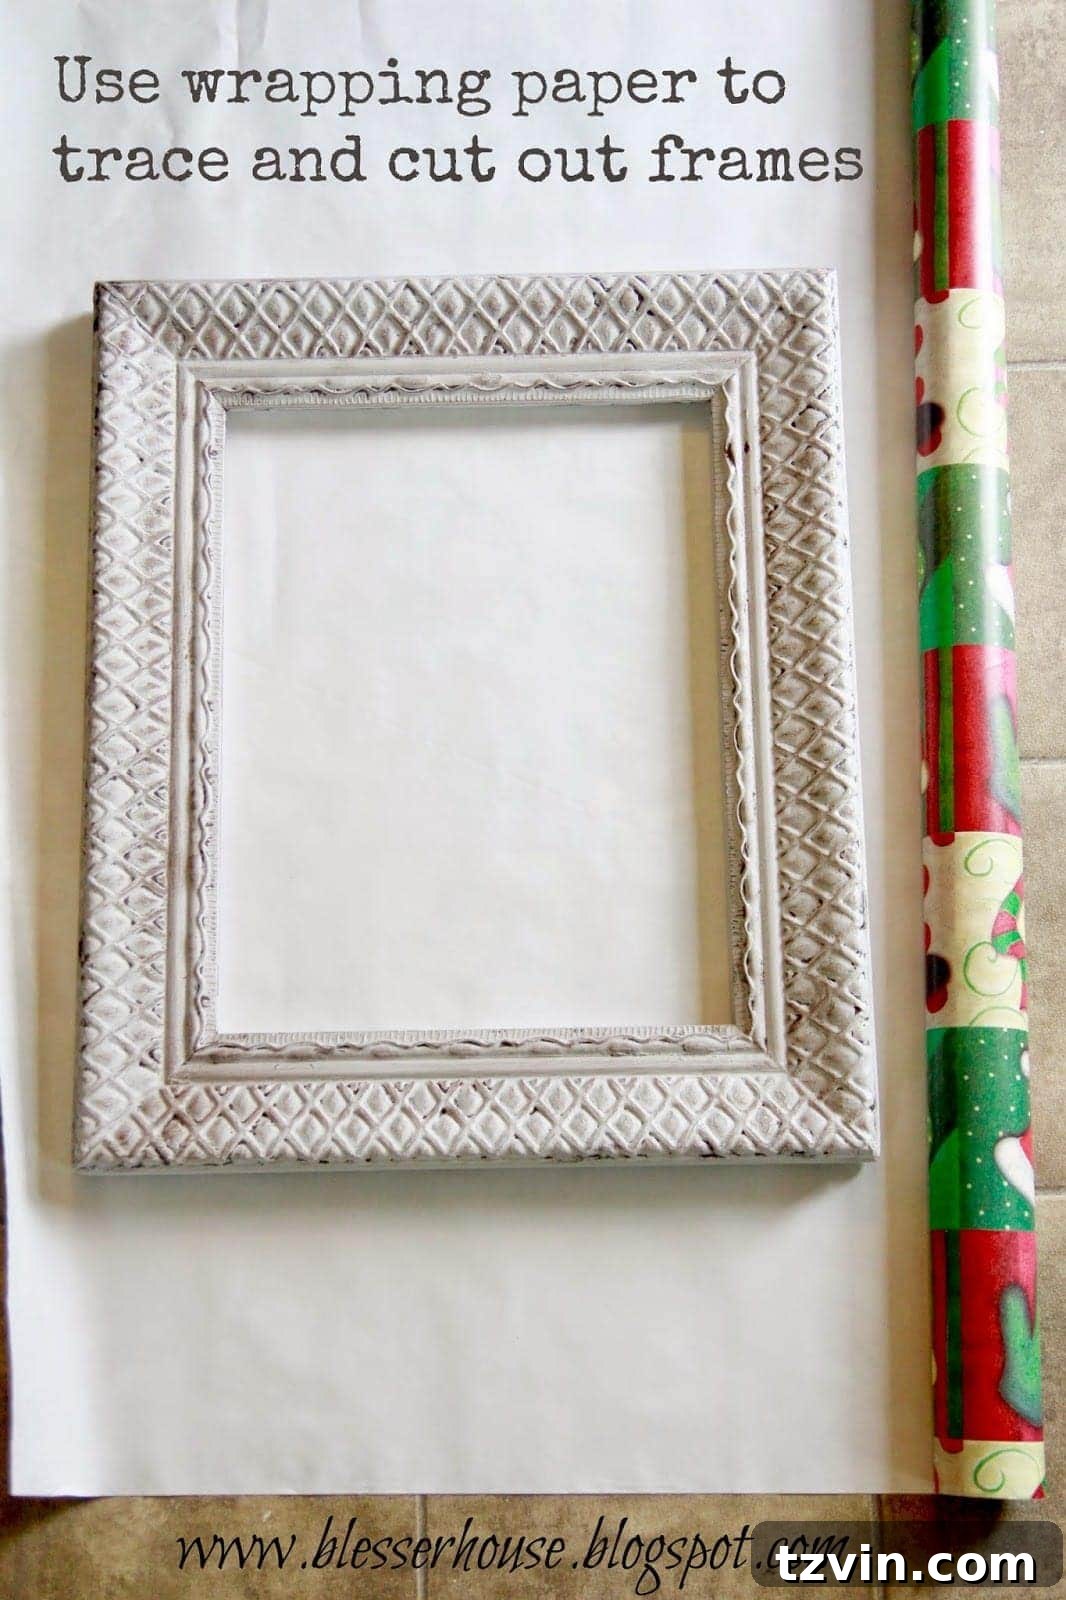
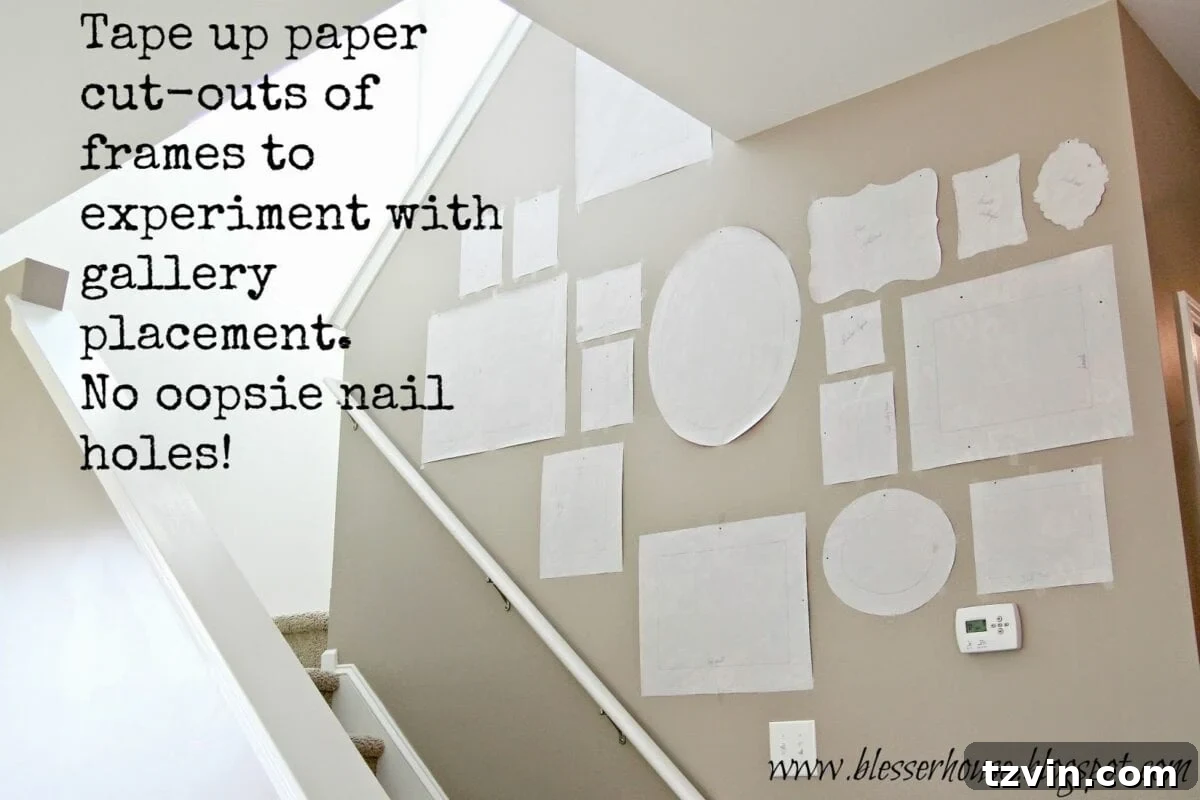
The very first and arguably most critical step in creating your perfect gallery wall involves a simple yet often underestimated tool: wrapping paper. I grabbed a roll of inexpensive dollar store Christmas wrapping paper (any large sheet of paper will do) and meticulously traced and cut out a paper template for each and every frame I intended to hang. As I meticulously cut each shape, a little voice of doubt nagged me, “Is this really necessary? This seems like such an overly cautious step. Couldn’t I just eyeball it and start hammering?” Let me tell you, silencing that voice of impatience is paramount. This initial planning phase, while seemingly tedious, is absolutely worth every moment. You will thank yourself later for not cutting corners, and I’ll explain why this meticulous preparation is a game-changer.
Marking Hanging Points for Precision
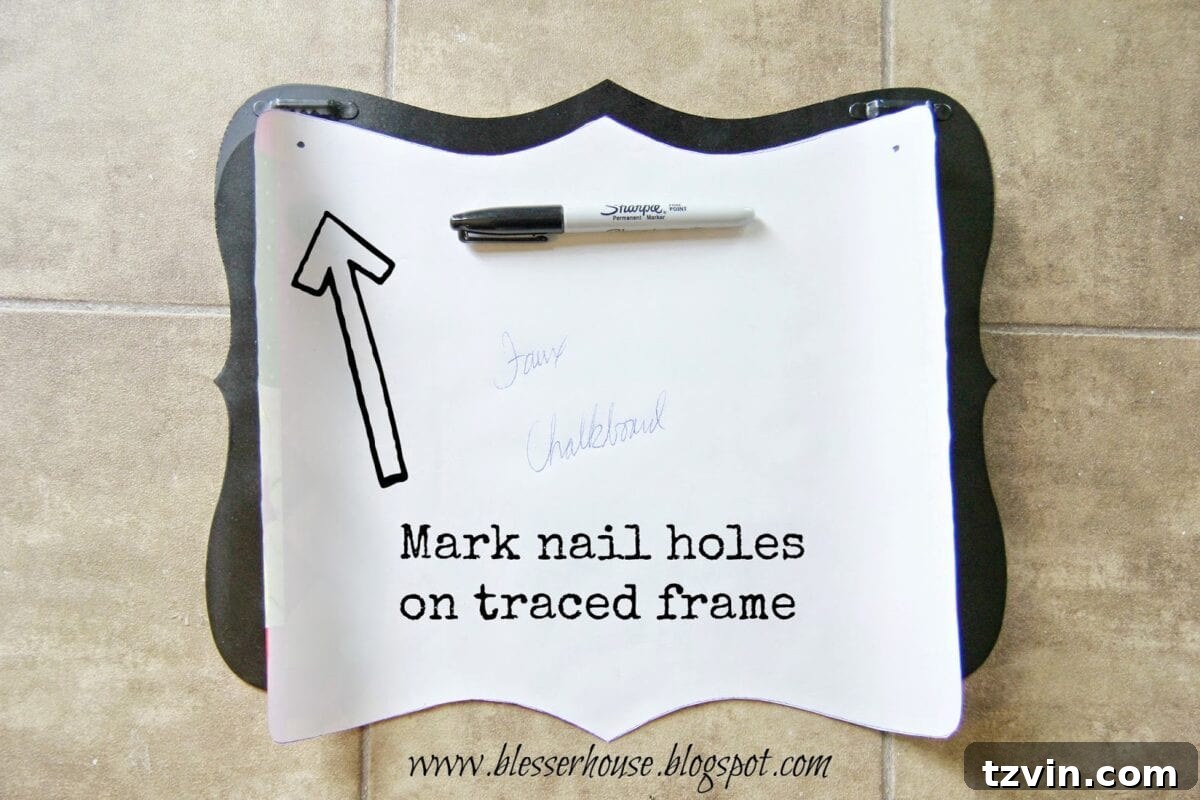
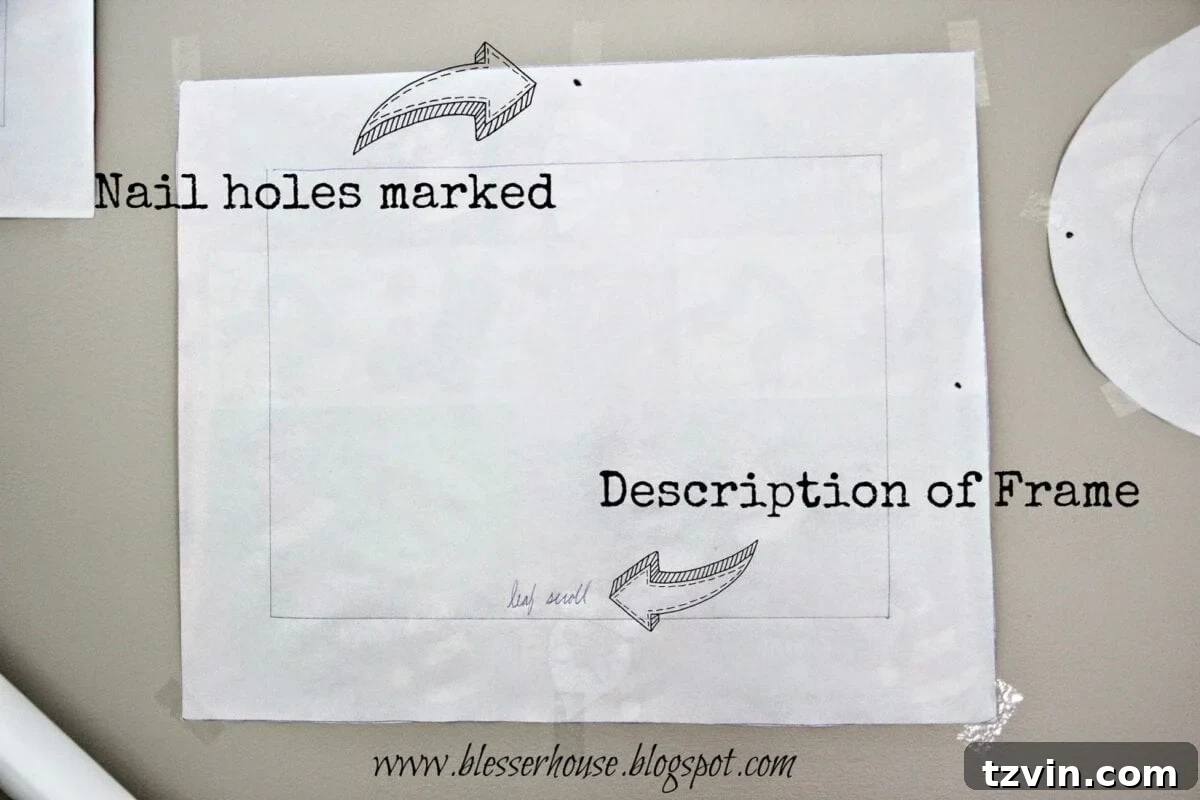
Once you have all your frame templates cut out, the next vital step is to accurately mark where the nail holes will go. Place each paper cutout directly over its corresponding physical frame. Carefully locate the hanging mechanism on the back of the frame (whether it’s a D-ring, sawtooth hanger, or wire) and mark that exact spot on your paper template. I also found it incredibly helpful to jot down a brief description of the frame or even what photo I envisioned in it (e.g., “large vintage gold,” “family beach photo 8×10”) directly on the paper. This simple detail greatly aided in visualizing the final arrangement during the planning stages.
Step 2: The Dry Run – Arranging Your Gallery Wall on the Wall
Now for the fun part: taking your paper templates to the actual wall! I used clear tape to affix my frame cut-outs to the wall. Clear tape was my preference because it allowed the wall itself to show through, making the visualization process much less distracting than brightly colored painter’s tape. However, if painter’s tape is all you have on hand, it will certainly still get the job done. The goal here is to be able to freely move, rearrange, and experiment with your layout without committing to any permanent holes just yet.

This “dry run” phase proved to be invaluable. As I started to see the arrangement take shape, I quickly realized I needed several more smaller frames to organically fill some of the emerging gaps. Furthermore, I decided to shift a few of the existing templates around to achieve a better balance. This was precisely the moment I felt an immense surge of gratitude for having invested the time in the tracing and cutting process. Imagine the frustration and the sheer number of regrettable nail holes I would have created if I had simply hammered frames into the wall only to discover I wasn’t 100% enamored with the placement!
Step 3: The Installation – Bringing Your Vision to Life
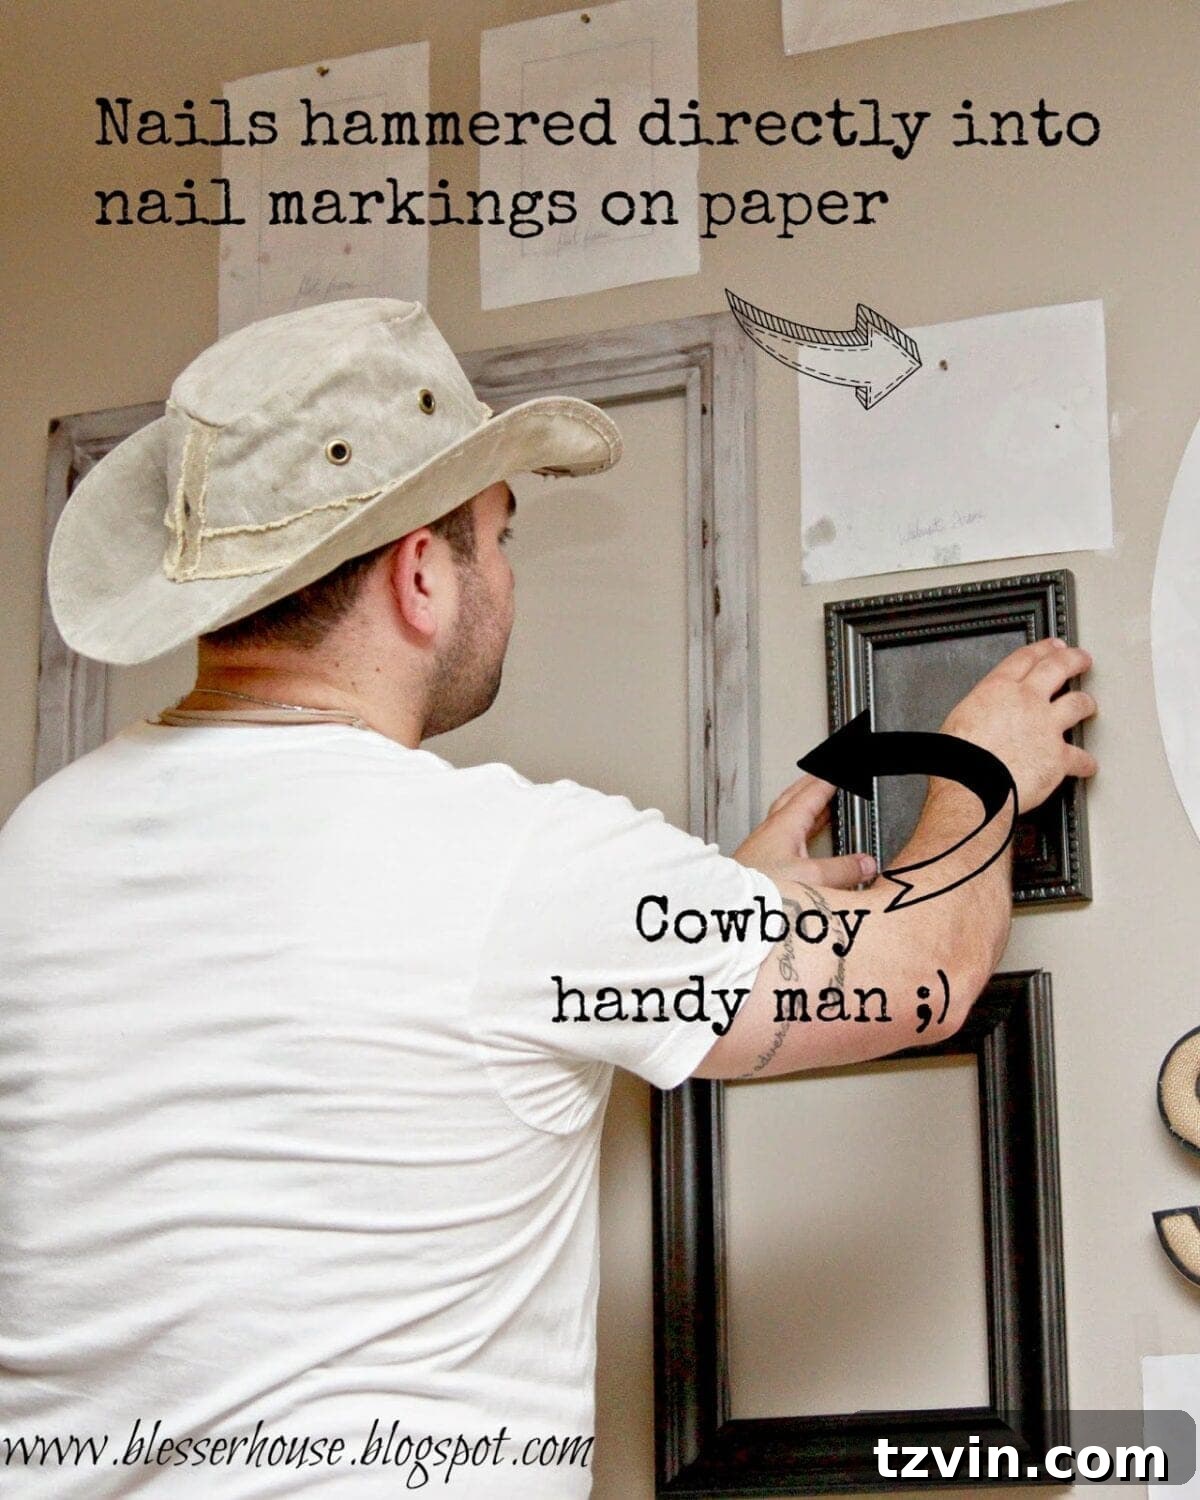
Once I reached a state of complete satisfaction with the placement of every single paper template, it was time to move from planning to execution. I enlisted the help of my wonderful husband, Robert, who truly deserves an award for his unwavering patience with my various decorating endeavors. (Although, to be fair, I probably could have handled this step myself, he graciously insisted on assisting – he’s just that awesome.) With the templates securely taped, we simply hammered the nails directly through the marked hanging points on the paper. This method ensures that your nails are perfectly aligned with your intended layout, eliminating any guesswork.
Mastering the Art of Arrangement: Tips for a Balanced Gallery Wall
Through all the experimentation and tweaking of frame placements, I discovered a highly efficient and aesthetically pleasing approach to creating a perfectly balanced gallery wall. Staring at a completely blank wall can be incredibly overwhelming, leaving you unsure of where to even begin. Here’s the strategy that worked wonders:
1. Anchor with Your Largest Pieces
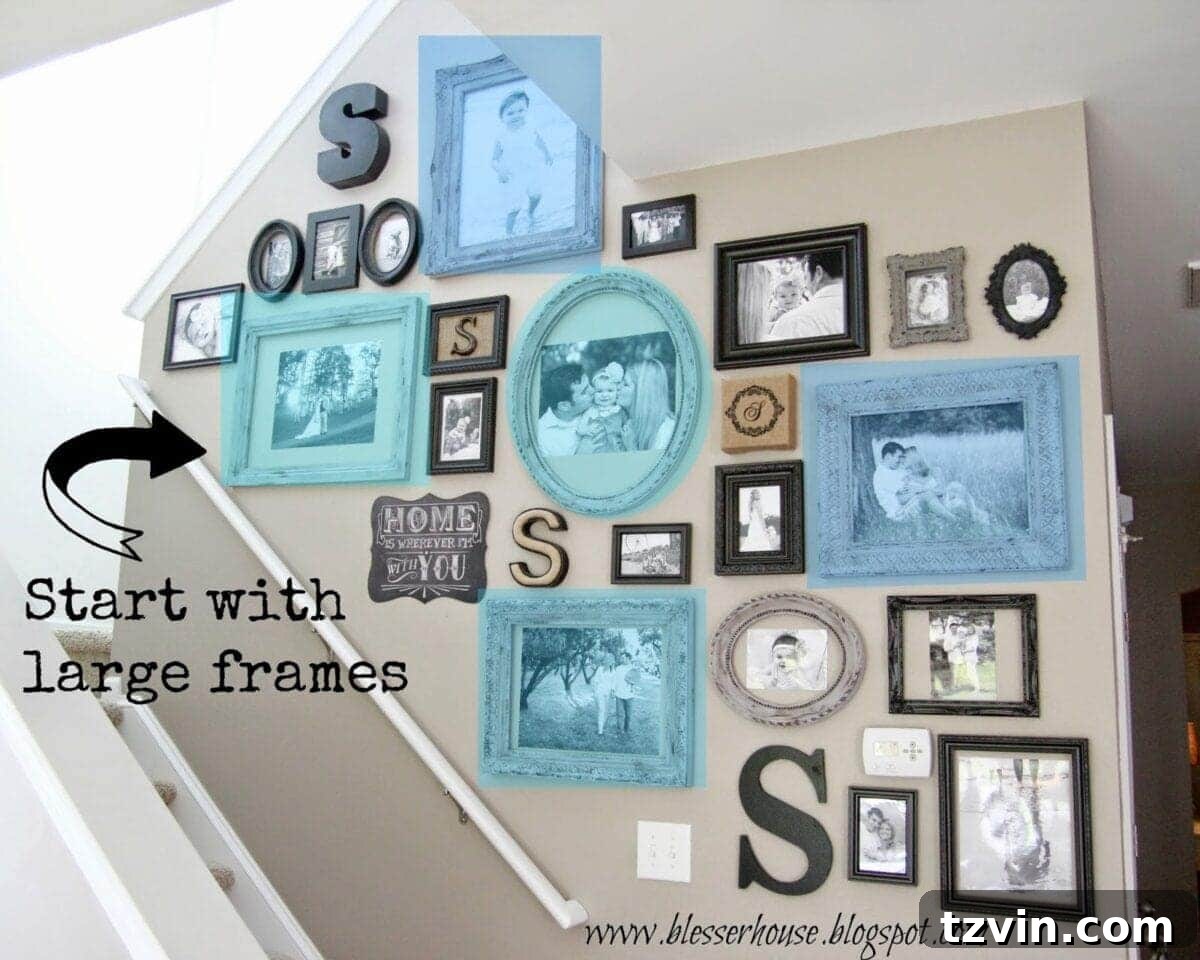
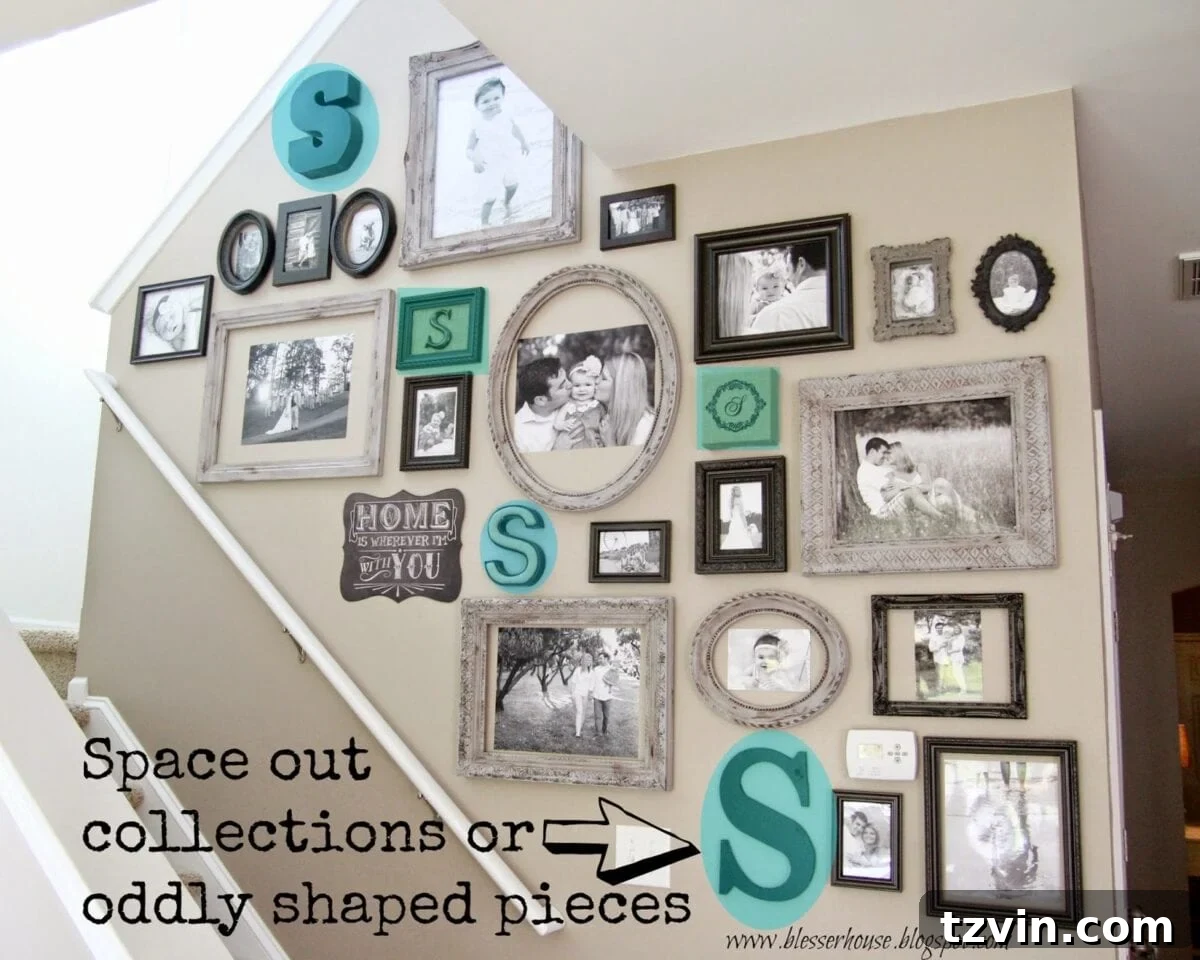
Begin by placing your largest frames first. These “anchor” pieces will define the overall scale and structure of your entire gallery. I started with five significant frames (highlighted in blue in the image below) on the wall, carefully positioning them to leave ample space in between for smaller frames – roughly enough for at least a 5×7 frame to comfortably fit. Think of these as the foundation upon which your visual story will be built. They establish the main rhythm and flow.
2. Fill in the Gaps with Smaller Frames
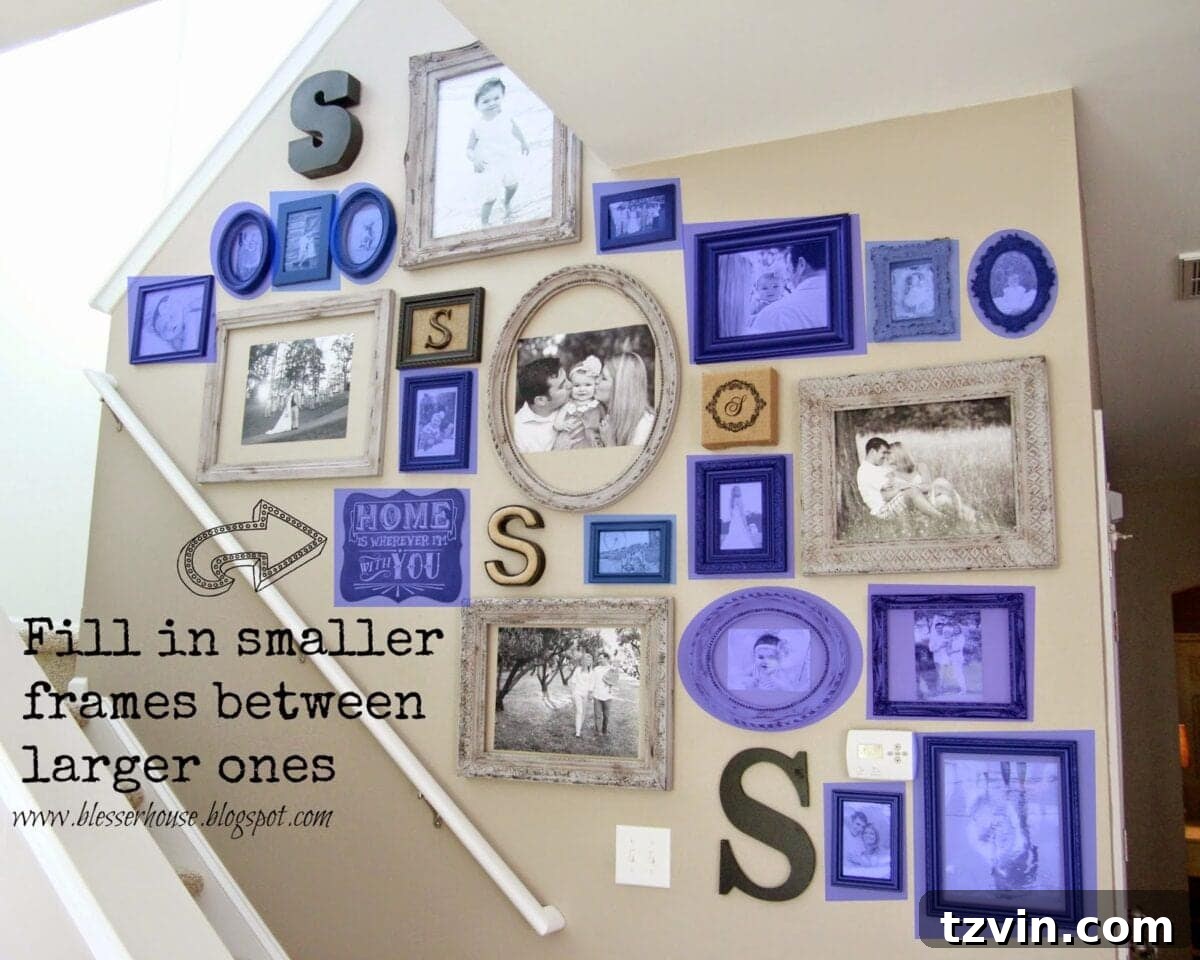
Once your main anchor frames are in place, turn your attention to the smaller pieces – those 8x10s and below. These are your fillers, the elements that connect your larger frames and create a cohesive, dynamic display. Strategically place them to fill the spaces between the larger ones, ensuring a sense of balance and avoiding clumping similar-sized frames together. This step is about creating visual interest and continuity. Don’t be afraid to mix orientations (portrait and landscape) to add more variety.
3. Pay Attention to Visual Details: Spacing, Texture, and Content
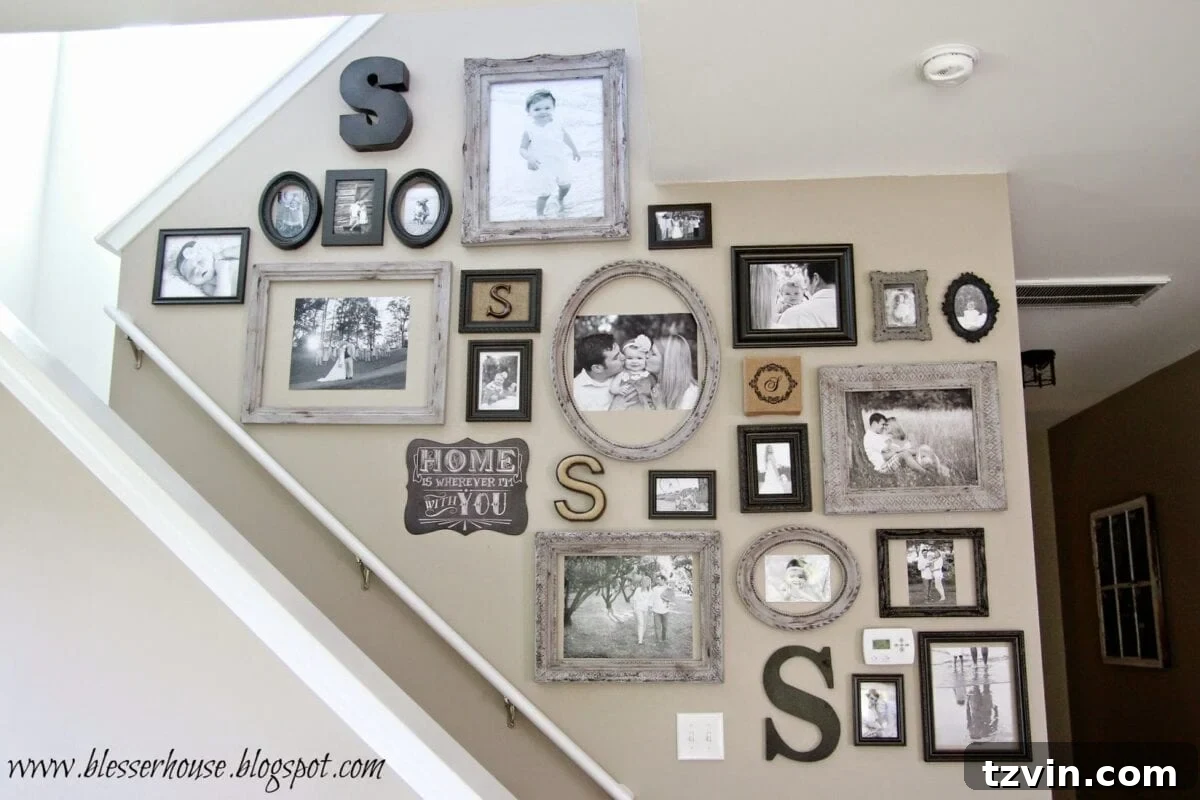
The final touch involves stepping back and scrutinizing the finer details. For my personal gallery, I made sure to space out items like my “S” initials so that no two similar elements ended up too close together. This attention to detail prevents visual monotony and creates a more engaging arrangement. Beyond spacing, consider mixing textures and materials. Combine smooth modern frames with rustic wooden ones, or integrate a canvas print alongside matted photographs. The interplay of different textures adds depth and character to your gallery wall, making it truly unique and visually rich.
The Big Reveal: A Wall Filled with Memories and Personality
And just like that, it was complete! While the strategic planning of the frames was incredibly satisfying, the process of selecting the actual photos to fill them was a delightful journey down memory lane. Sifting through countless cherished moments, each photograph brought back a wave of emotions and stories. You might even recognize some of the stunning sunrise shots from our recent Beach Trip a few weeks prior. Waking up before dawn to capture those breathtaking views was undeniably worth every sleepy minute for these beautiful additions to our wall. A gallery wall isn’t just about frames; it’s a curated collection of your life’s most precious moments, beautifully displayed for all to see.
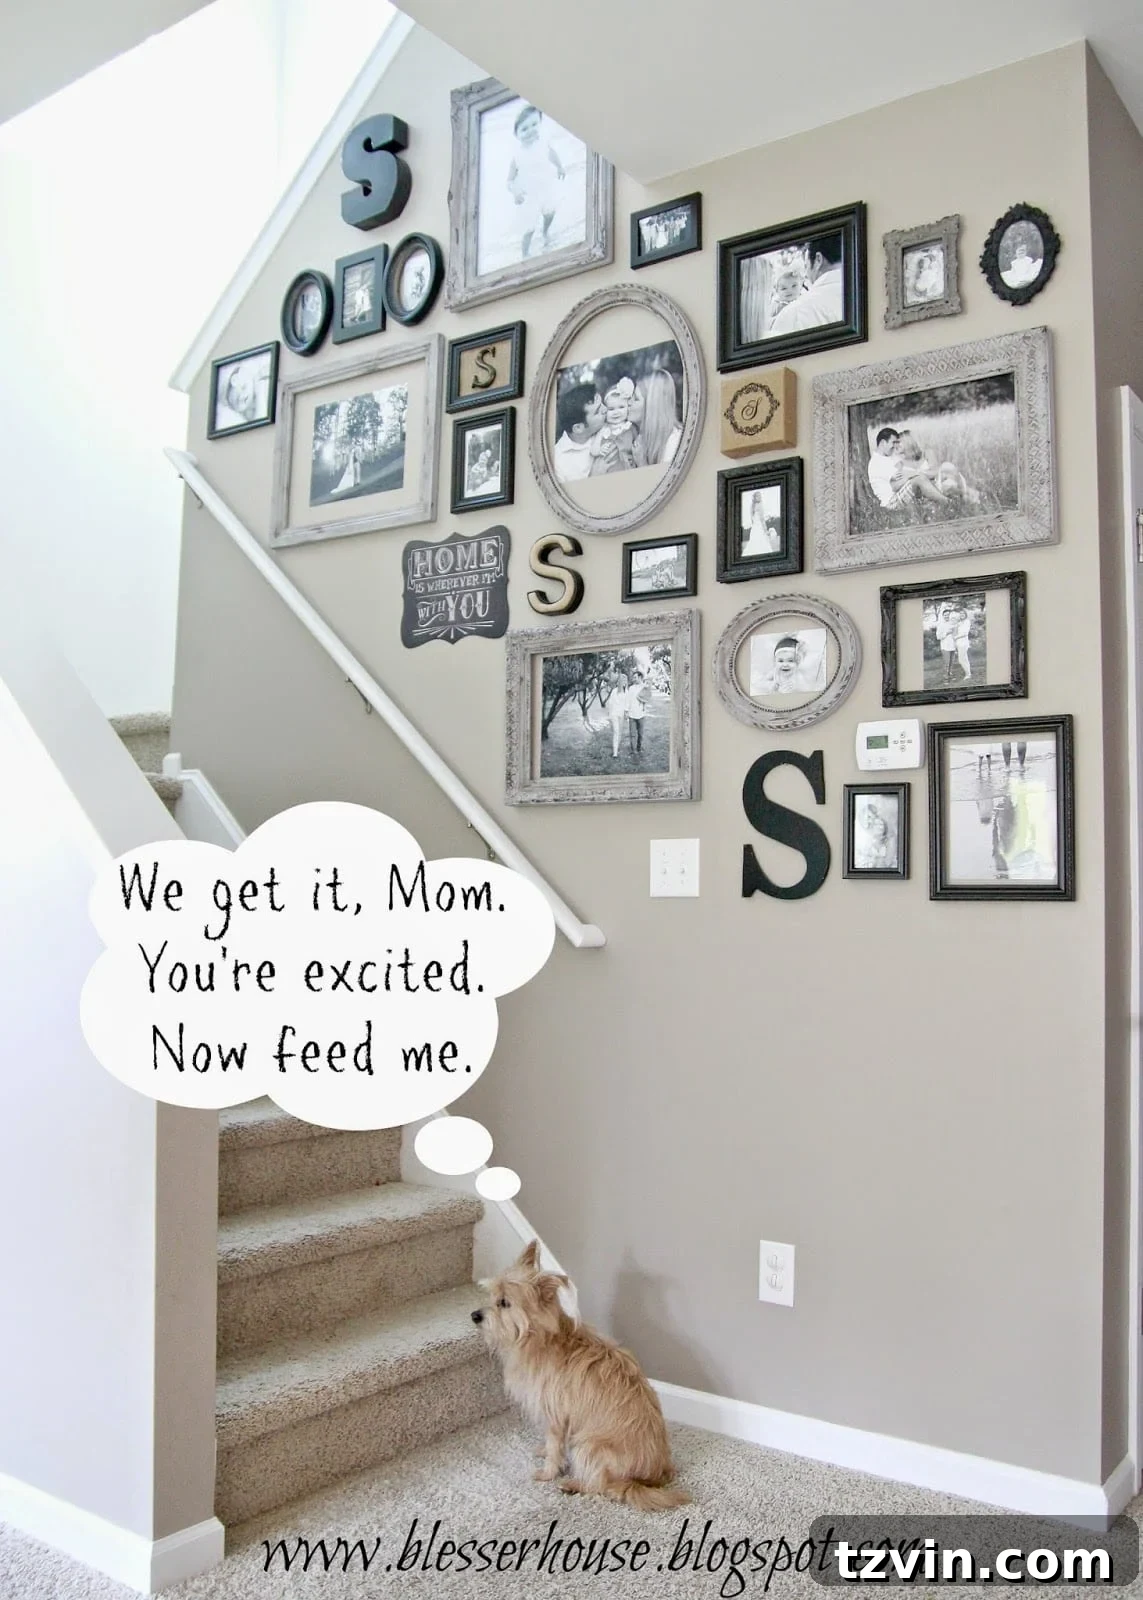
My furry companion, Lola, probably watched me tweak and rearrange those paper templates for an entire week, and I’m quite sure even she reached her limit with my perfectionism! But once the actual frames were up, I couldn’t help but marvel at the finished product, taking at least fifty photos to capture every angle. It’s truly rewarding to see a vision come to life and add such a personal touch to our home.
What’s Next for Our Home?
While this gallery wall proudly adorns our living space, the lower wall of our stairs remains a blank slate. My current quest involves finding the perfect dresser or console table – specifically one that can ingeniously store our ever-growing DVD collection. Once that piece is secured, we’ll be able to relocate the shelves currently under our TV to the office, clearing the way to finally embark on building our much-anticipated faux fireplace. (Did you think I’d forgotten about that project? I did warn you, I’m quite the tease when it comes to these home renovation revelations!) Our home, which once felt like a generic “cookie cutter” design, is progressively shedding its basic facade and truly developing its own unique personality. And I am absolutely loving every step of this transformation journey!
I’d love to hear your thoughts! What do you think of our newly completed gallery wall? Do you have any suggestions or “tweaks” I should consider? Believe me, I’m always open to ideas and willing to refine further. ***Update: For a continuation of our decorating journey and to see how this gallery wall expands into a full stairwell display, you can check out the full stairwell gallery wall here!
Follow for more home decor inspiration and DIY projects:
Facebook |
Pinterest |
Instagram |
Twitter |
Google+ |
Bloglovin |
Hometalk