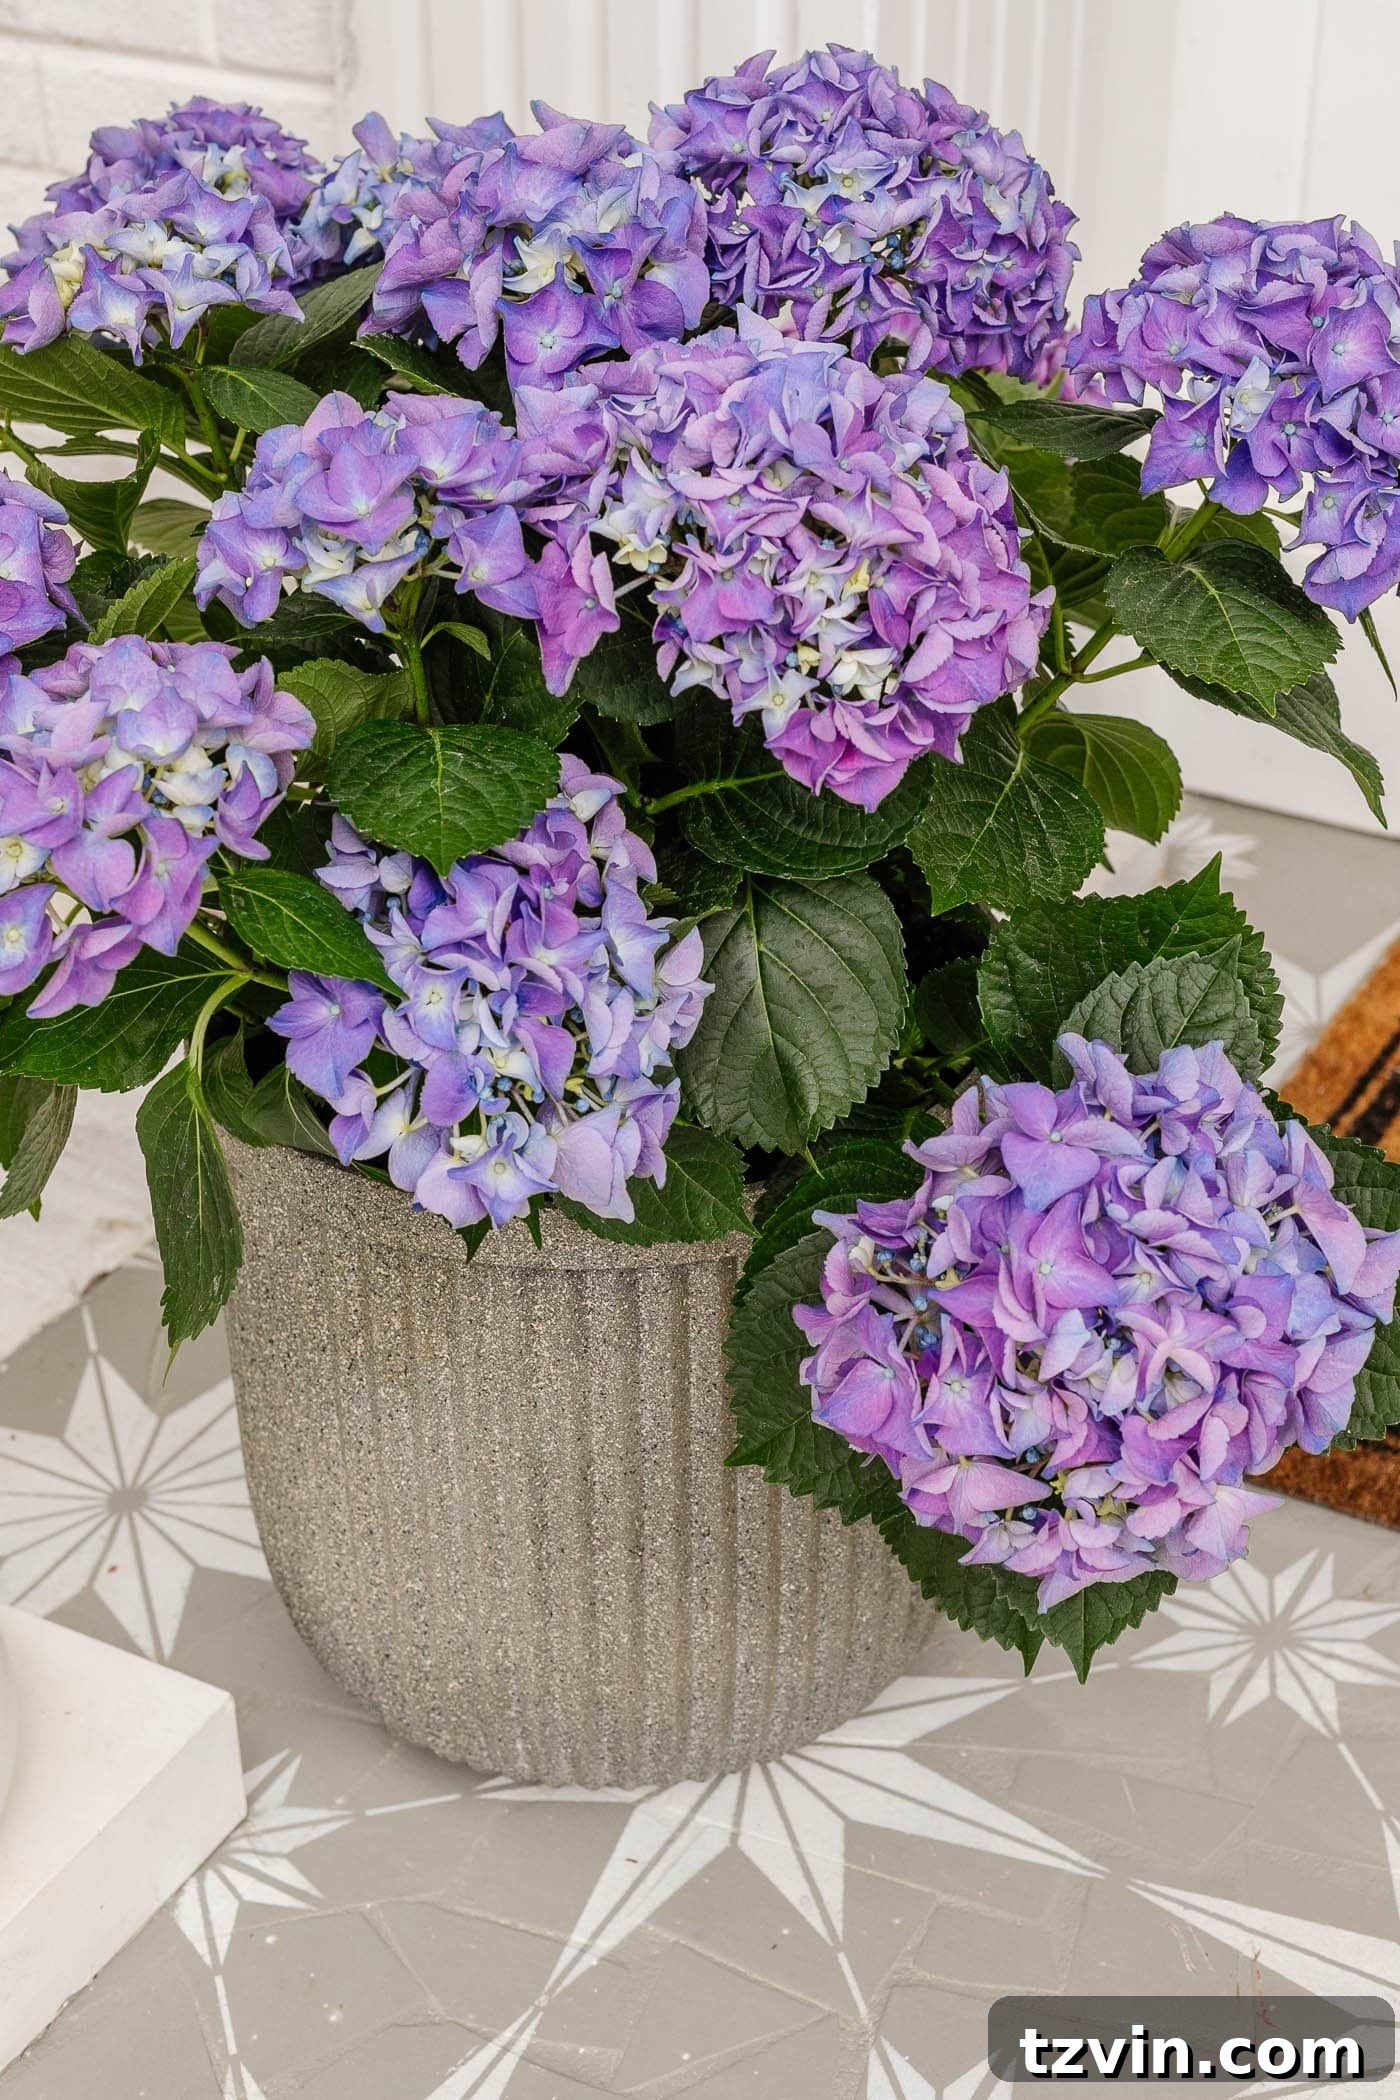
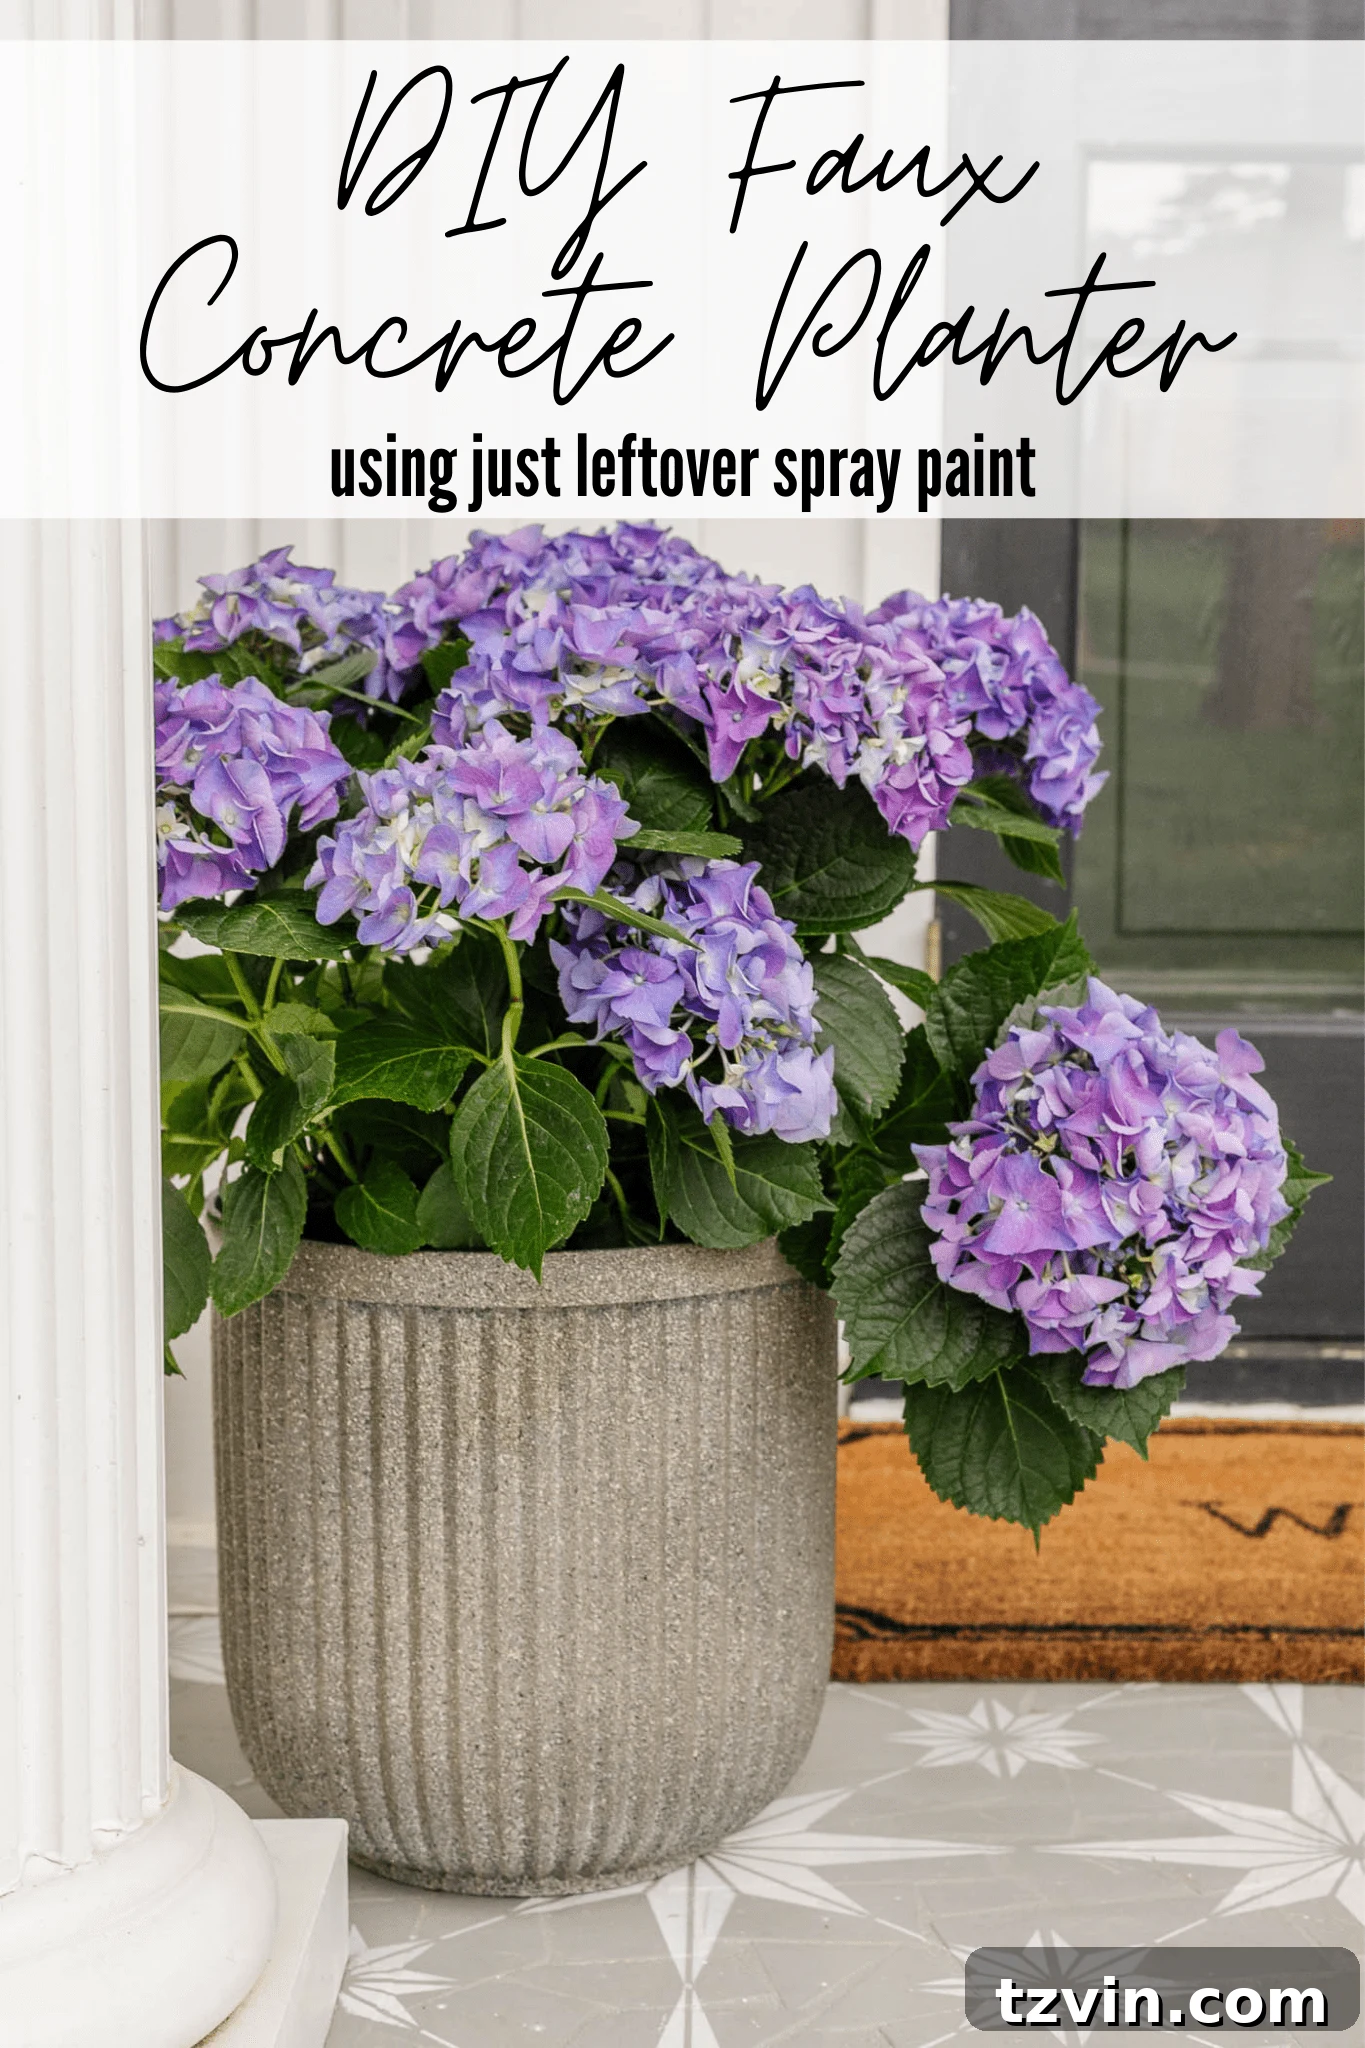
Transform your outdoor space with stunning designer-look planters without the designer price tag! Discover how to create beautiful DIY concrete planters with a realistic faux finish using a clever spray paint technique, perfect for utilizing those leftover neutral cans in your garage.
Every DIY enthusiast knows the struggle: a cabinet overflowing with half-used cans of spray paint, a testament to countless creative projects. It’s a common dilemma – why discard perfectly good paint when inspiration might strike, leading to its perfect application on a forgotten object?
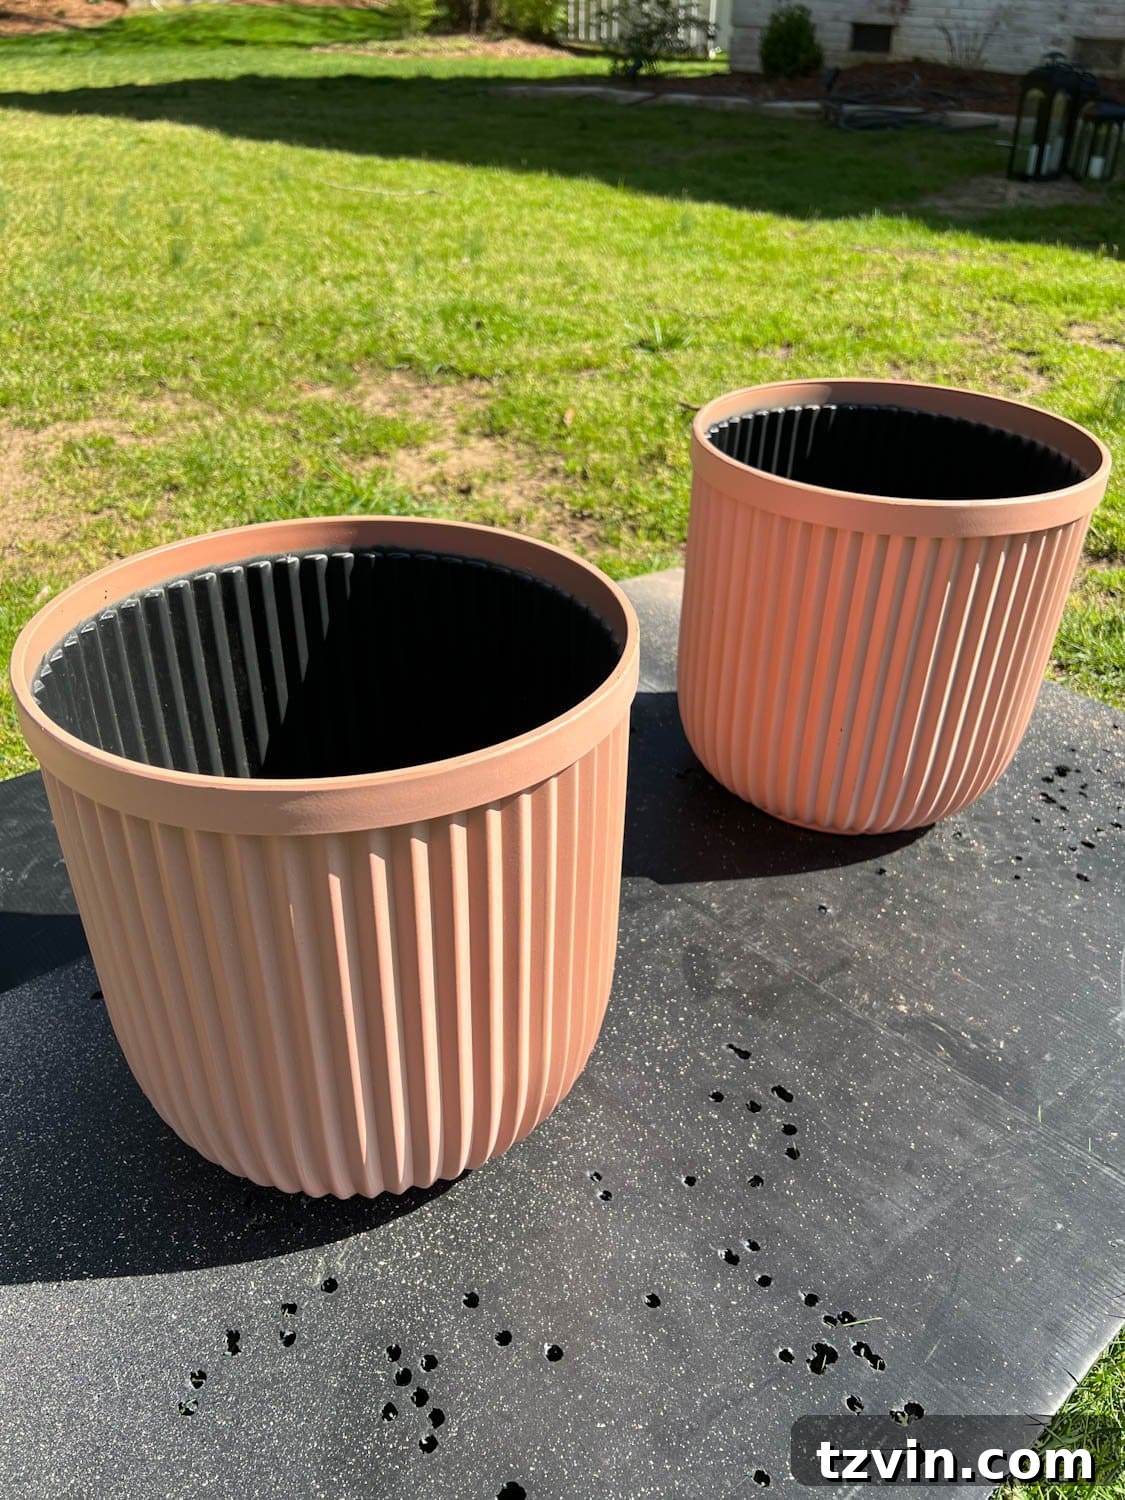
For me, that inspiration recently arrived in the form of a few unassuming resin planters from Walmart. These humble vessels were just waiting for a magical transformation, and my collection of leftover spray paints was ready for action.
Having recently completed a rustic table lamp makeover that left me with some textured spray paint, I realized I had all the ingredients for a truly spectacular project. The idea of crafting faux DIY concrete planters instantly clicked, offering a brilliant way to use up my paint stash while achieving a high-end, designer look for our front porch. It’s about more than just painting; it’s about artfully layering colors and textures to mimic the natural beauty of genuine concrete, creating impressive outdoor decor on a budget.
Emulating High-End Style: Fluted Concrete Planters Inspiration
If you’ve been browsing luxury home decor sites like Pottery Barn, Rejuvenation, Terrain, or West Elm lately, you’ve likely noticed the stunning trend of fluted concrete planters. These exquisite pieces, celebrated for their sculptural texture and minimalist appeal, command a hefty price, often ranging from $100 to $300 or even more per planter. Their organic, tactile quality adds an undeniable touch of sophistication to any indoor or outdoor setting, making them a highly coveted item in modern home design.
The allure of concrete lies in its raw, authentic aesthetic. Its subtle variations in tone, natural imperfections, and robust appearance bring a grounding element to decor. However, investing in a collection of these genuine concrete beauties can quickly become a significant expense. This is where the magic of DIY comes in, allowing us to replicate that sought-after texture and visual depth without breaking the bank.
While there are fantastic DIY projects out there that involve working with actual concrete or creating more authentic faux stone finishes, such as Jenna Sue Design’s beautiful faux stone planters or her impressive hypertufa stone planters, my goal was to find an even simpler, quicker method. I wanted to leverage the power of spray paint to achieve a similar high-impact look with minimal effort and maximum resourcefulness.
Mastering the Faux Concrete Look with Spray Paint
My particular mission for this project was to delve into my existing spray paint collection. There’s a certain satisfaction that comes with transforming an object using only what you already possess, and this endeavor proved to be incredibly gratifying. My husband, Robert, can attest to my dedication to “dwindling the hoarding pile,” and I’m proud to say this project made a dent! (Alright, maybe only like 40 half-used cans left to go – I might be exaggerating just a little!)
This faux concrete technique is incredibly forgiving and encourages creativity. The beauty of concrete is its inherent imperfection, which means you don’t need to strive for absolute uniformity in your finish. The key is to build layers of texture and color that mimic natural variations, making it an ideal project for DIYers of all skill levels.
PRO TIP 1: Embrace Your Stash of Neutral Tones
You absolutely do not need to purchase the exact paint colors I used. This project is wonderfully adaptable to a wide array of neutral spray paints you likely already have. Think shades of gray, beige, tan, black, and even muted browns. The secret to achieving an authentic concrete look lies in using a variety of these neutral tones, preferably in a flat or matte sheen. A flat finish absorbs light rather than reflecting it, giving the surface a natural, stone-like appearance. Experiment with different combinations; the more subtle variations in color, the more convincing your faux concrete will appear.
PRO TIP 2: Creating Texture for a Realistic Finish
While textured spray paint is undeniably the easiest route to a concrete-like finish, don’t despair if you only have standard flat paint on hand. There’s a clever trick to achieving that gritty texture: Immediately after applying your first coat of wet, flat spray paint, lightly sprinkle the entire surface of the planter with fine silica sand. The wet paint acts as an adhesive, binding the sand to the surface. Once this sandy layer is applied, follow up with a second light coat of spray paint to seal in the sand and integrate it into the color. This creates a remarkably similar tactile and visual texture to genuine concrete, adding depth and realism to your project. If silica sand isn’t readily available, fine-grain play sand or even some very fine dirt could work in a pinch, though silica sand offers the most consistent result.
Essential Supplies for Your Faux Concrete Planters
Gathering your materials is the first step to any successful DIY project. For this faux concrete planter transformation, you’ll need a few key items:
- Planter Pot of Your Choice: I used two sets of fluted resin planters, which are lightweight and easy to work with. Any plastic, resin, or terracotta planter can be used.
- Exterior Rated Spray Primer: This is an absolute non-negotiable! Primer ensures proper adhesion of your paint layers, especially on slick surfaces like resin, and provides a durable base that withstands outdoor elements.
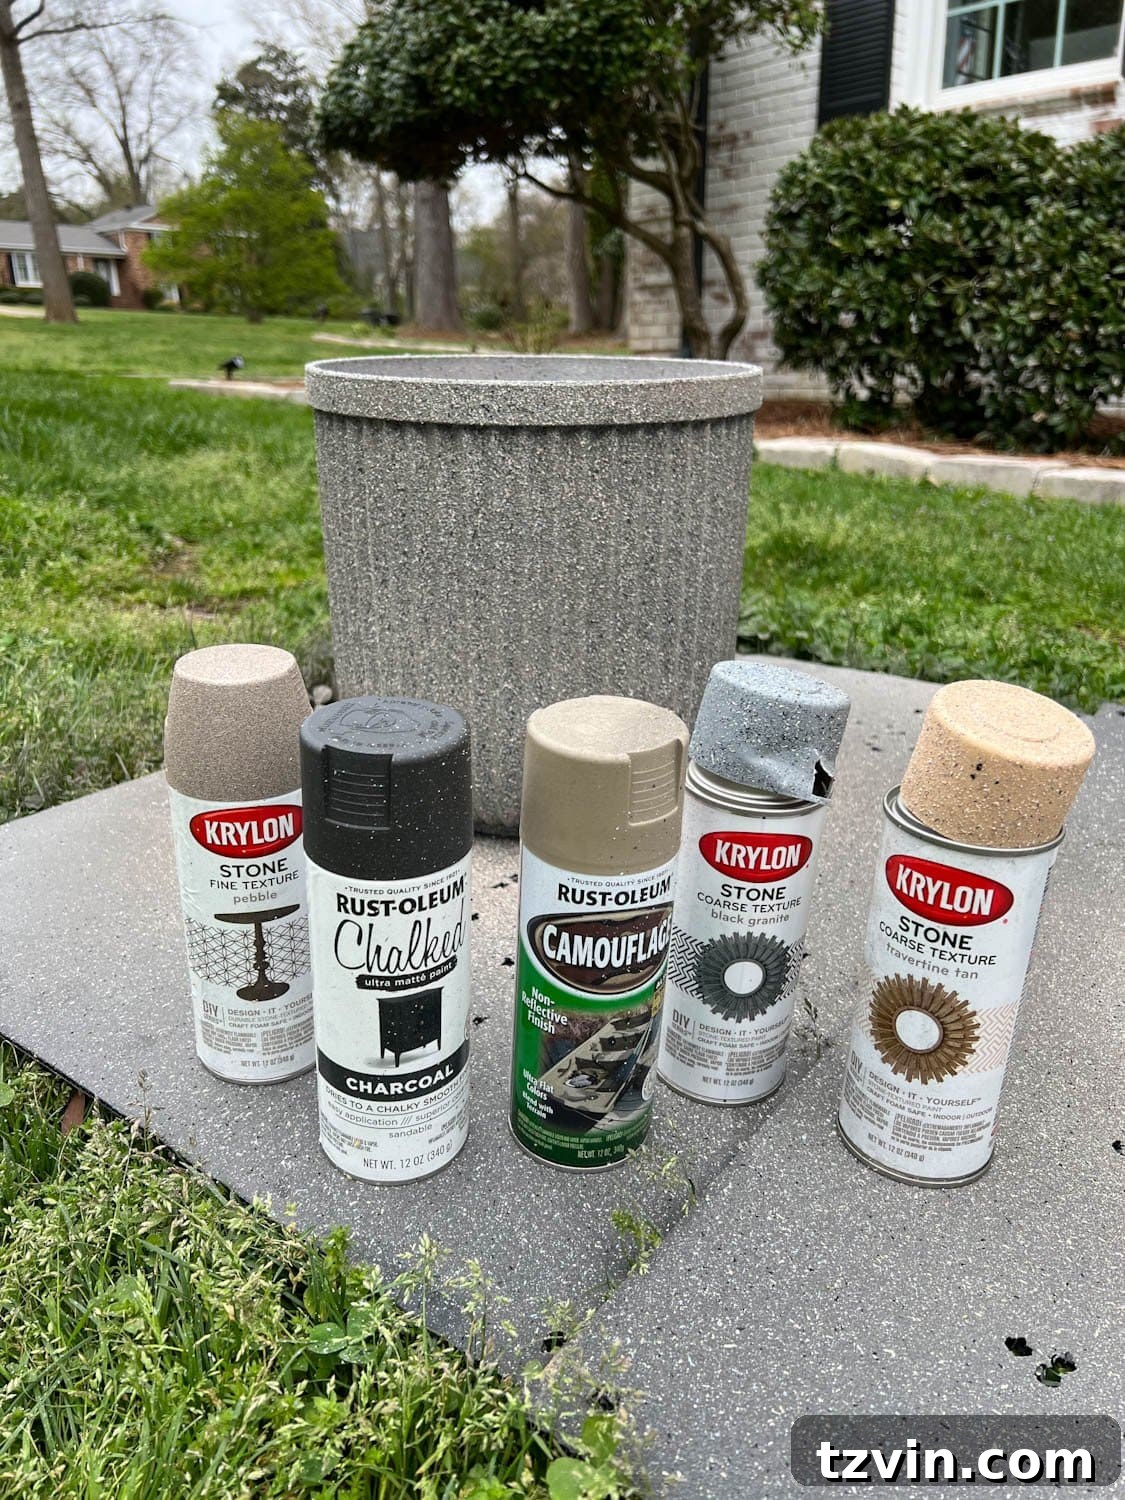
- Light Gray Spray Paint: This will serve as your base concrete color. I recommend this textured light gray paint for immediate texture.
- Black Spray Paint: Essential for adding depth and realistic flecks found in natural concrete. I used black chalk spray paint for a matte finish.
- Beige Spray Paint: Helps to warm up the grays and mimic natural stone variations. This beige camo spray paint works well.
- Tan Spray Paint: Another excellent color for creating subtle, earthy tones and variations. I used textured tan spray paint.
- Taupe Spray Paint: A versatile shade that bridges the gap between gray and brown, adding further realism. Textured taupe spray paint is a great choice.
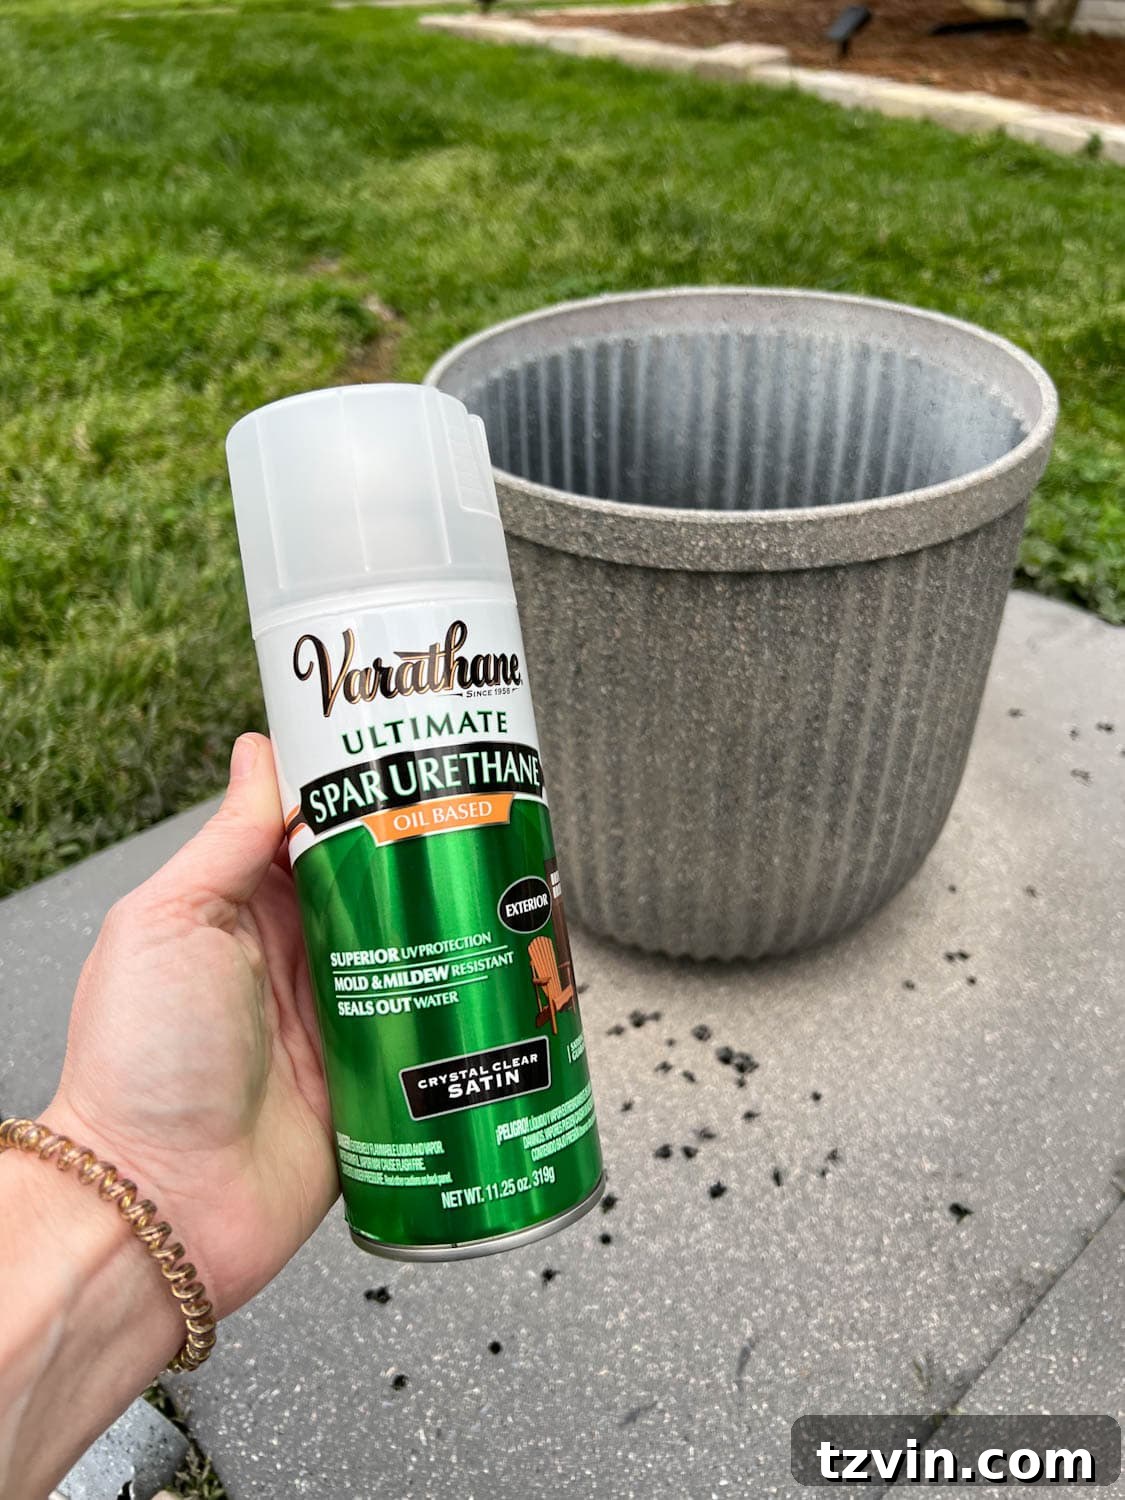
- Spray Clear Satin Oil-Based Spar Urethane: This is crucial for sealing your painted surface, providing robust protection against moisture, UV rays, and general outdoor wear and tear.
- Optional: Silica Sand: (Refer to Tip 2 above if you are not using textured spray paint and need to create your own texture).
- Drop Cloth or Spare Cardboard: To protect your work surface from overspray.
- Potting Soil and Flowers/Plants of Your Choice: To bring your new planters to life!
Step-by-Step Guide to Your Faux Concrete Planters
Step 1 – Prepare and Prime Your Planters
Choose a warm, sunny, and low-humidity day for this project. Ideal conditions are crucial for proper paint adhesion and drying. Avoid attempting this when it’s cold or very humid, as it can hinder the paint’s ability to set and achieve the desired texture. Lay down a drop cloth or some scrap cardboard in a well-ventilated outdoor area to protect your surroundings.
Before priming, ensure your planters are clean and free of any dirt, dust, or grease. A quick wipe-down with a damp cloth and letting them dry completely is usually sufficient. Once clean, apply one light, even coat of exterior-rated spray primer over the entire exterior surface of your planter. This foundational step is paramount for achieving excellent paint adhesion and long-lasting durability, especially for outdoor items exposed to the elements. Allow the primer to dry thoroughly according to the manufacturer’s instructions, typically an hour or two.
Step 2 – Apply the Base Coat for Concrete Appearance
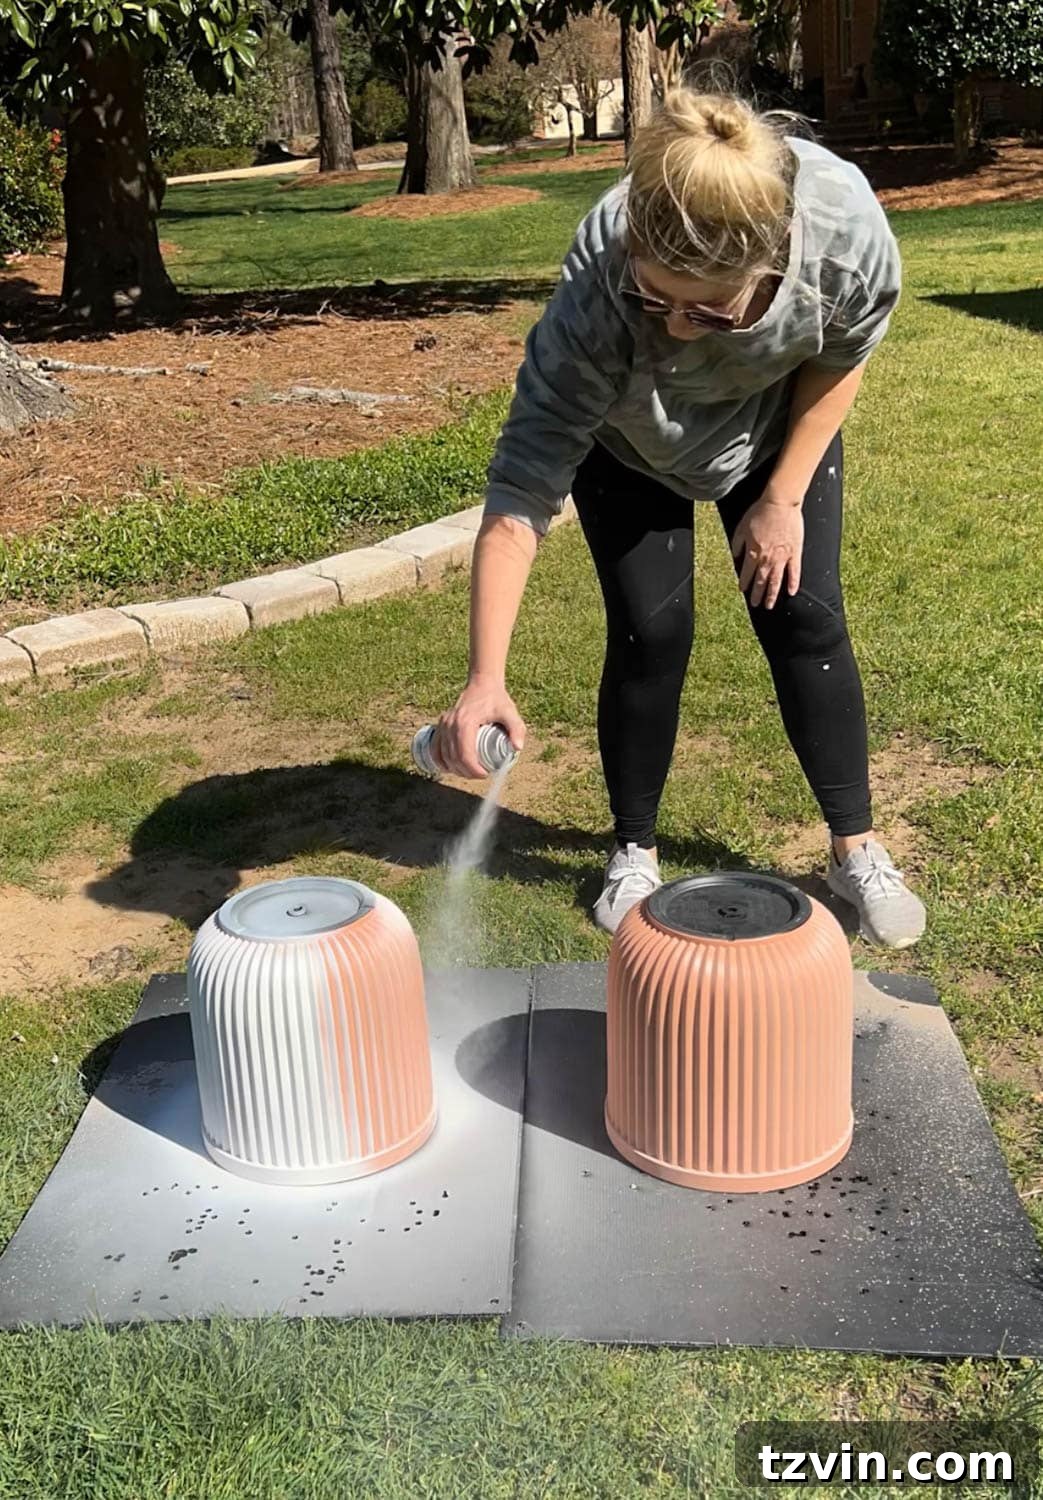
Now it’s time to lay down your primary concrete color. Using your light gray spray paint (preferably textured), apply one thin, even coat across the entire exterior surface of the planter. Remember the golden rule of spray painting: “slow and steady wins the race.” Maintain a consistent distance from the planter (usually 8-12 inches) and use continuous sweeping motions. Slightly overlap each pass to ensure uniform coverage without creating thick spots or drips. Patience here prevents unsightly runs and ensures a smooth foundation for your faux finish.
Important for Non-Textured Spray Paint Users: If you are using standard flat spray paint and want to add texture, this is your moment! Immediately after applying your first coat of light gray paint, while it’s still wet, generously dust the planter’s surface with silica sand. Ensure the entire surface is covered in a thin, even layer of sand. The wet paint will act as a “glue,” adhering the sand to the planter. Once the sand is applied, follow up with another light, even coat of the light gray spray paint to seal in the sand and integrate it into the color, creating a rough, concrete-like texture. Allow this layer to dry completely.
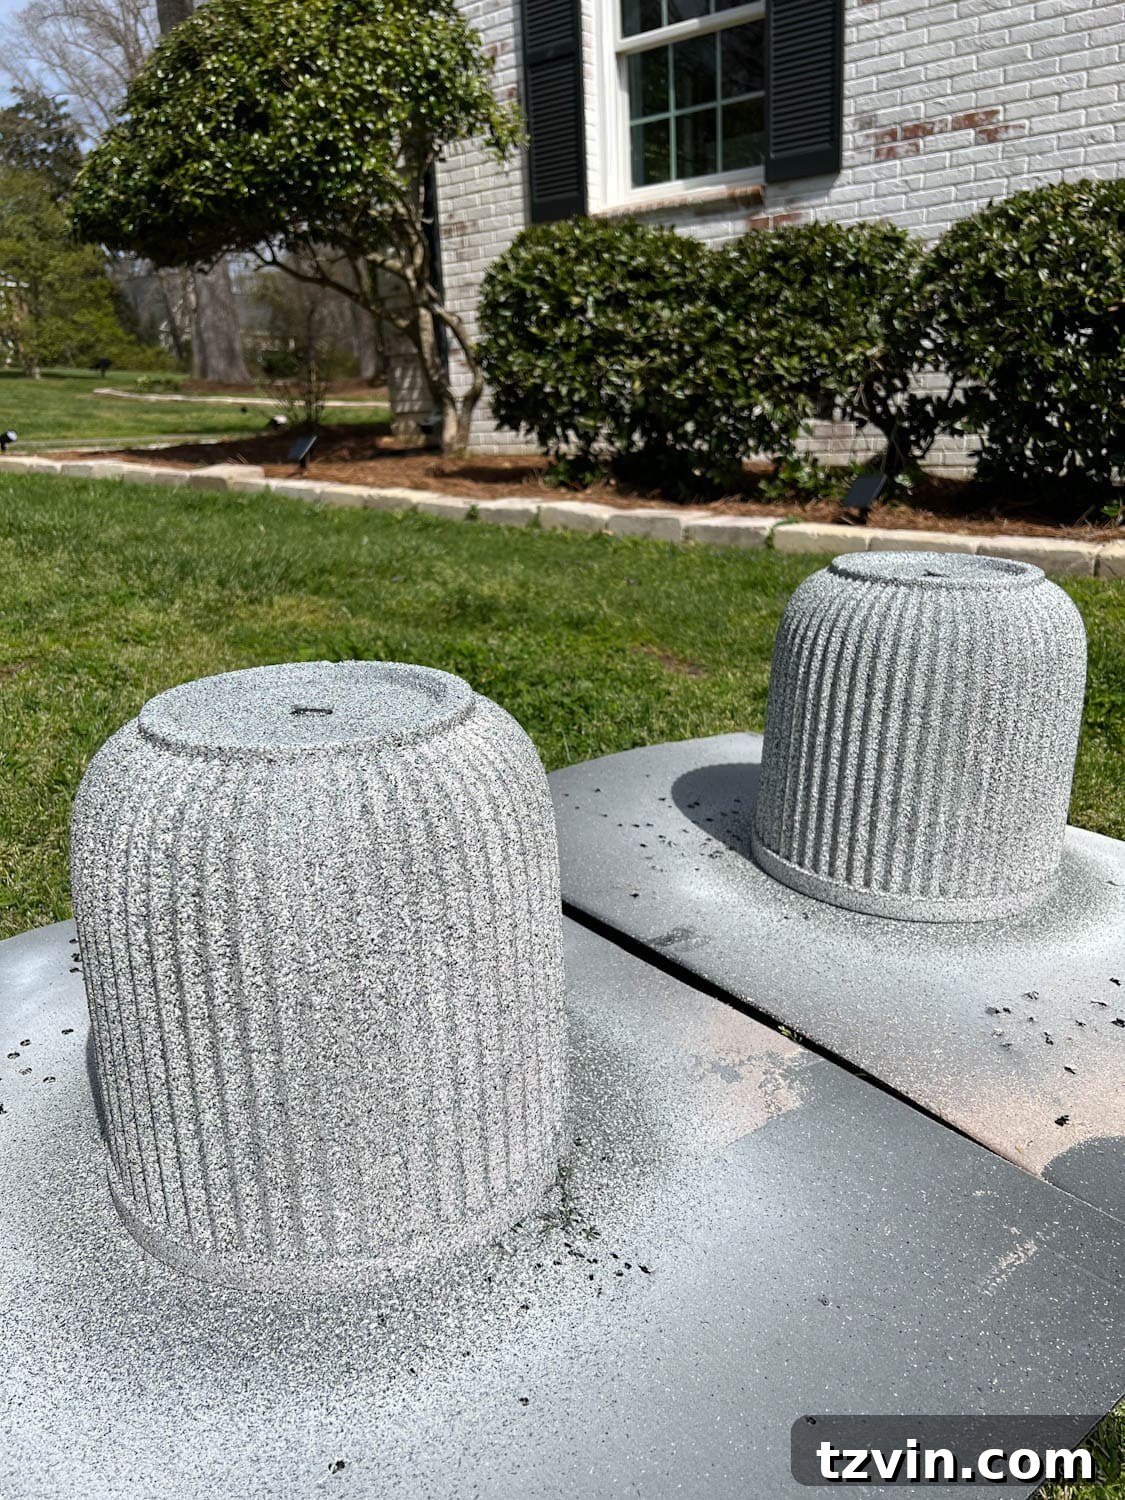
Step 3 – Layering Colors for Authentic Concrete Variation
This is where the artistic magic truly happens! The goal here is not uniform coverage but rather to mimic the natural, splotchy, and varied appearance of real concrete, which is rarely one solid color. Genuine concrete displays a beautiful mosaic of light grays, darker grays, subtle beiges, and even hints of black due to mineral content, curing processes, and environmental exposure.
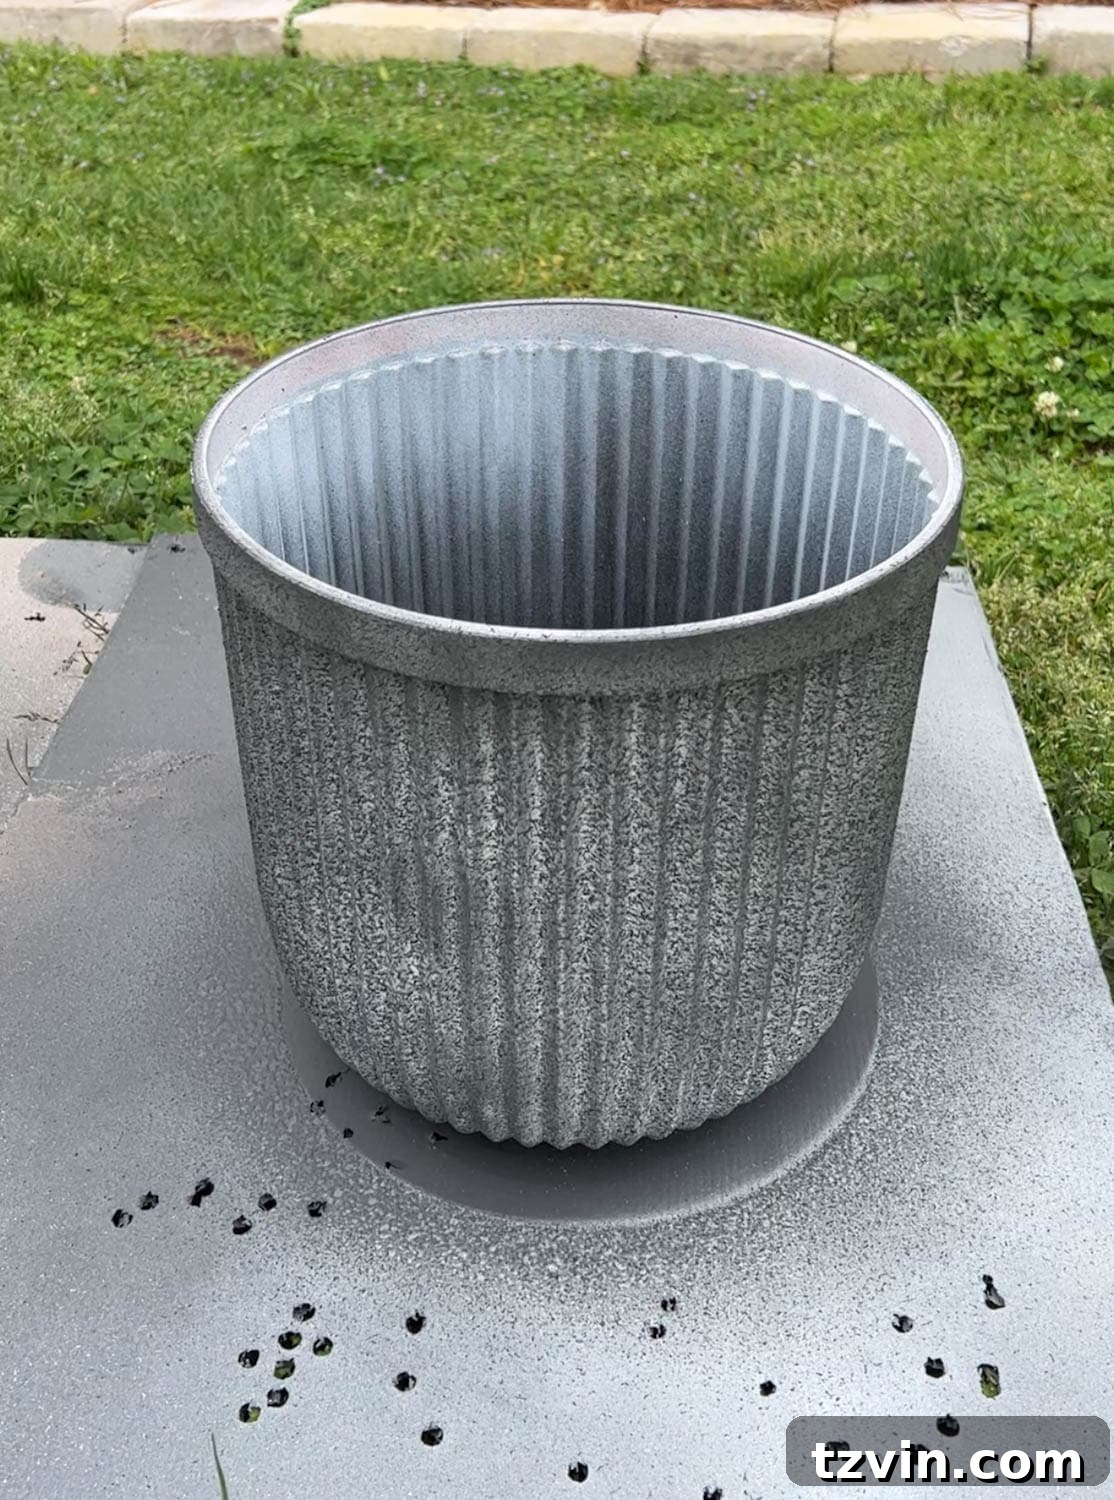
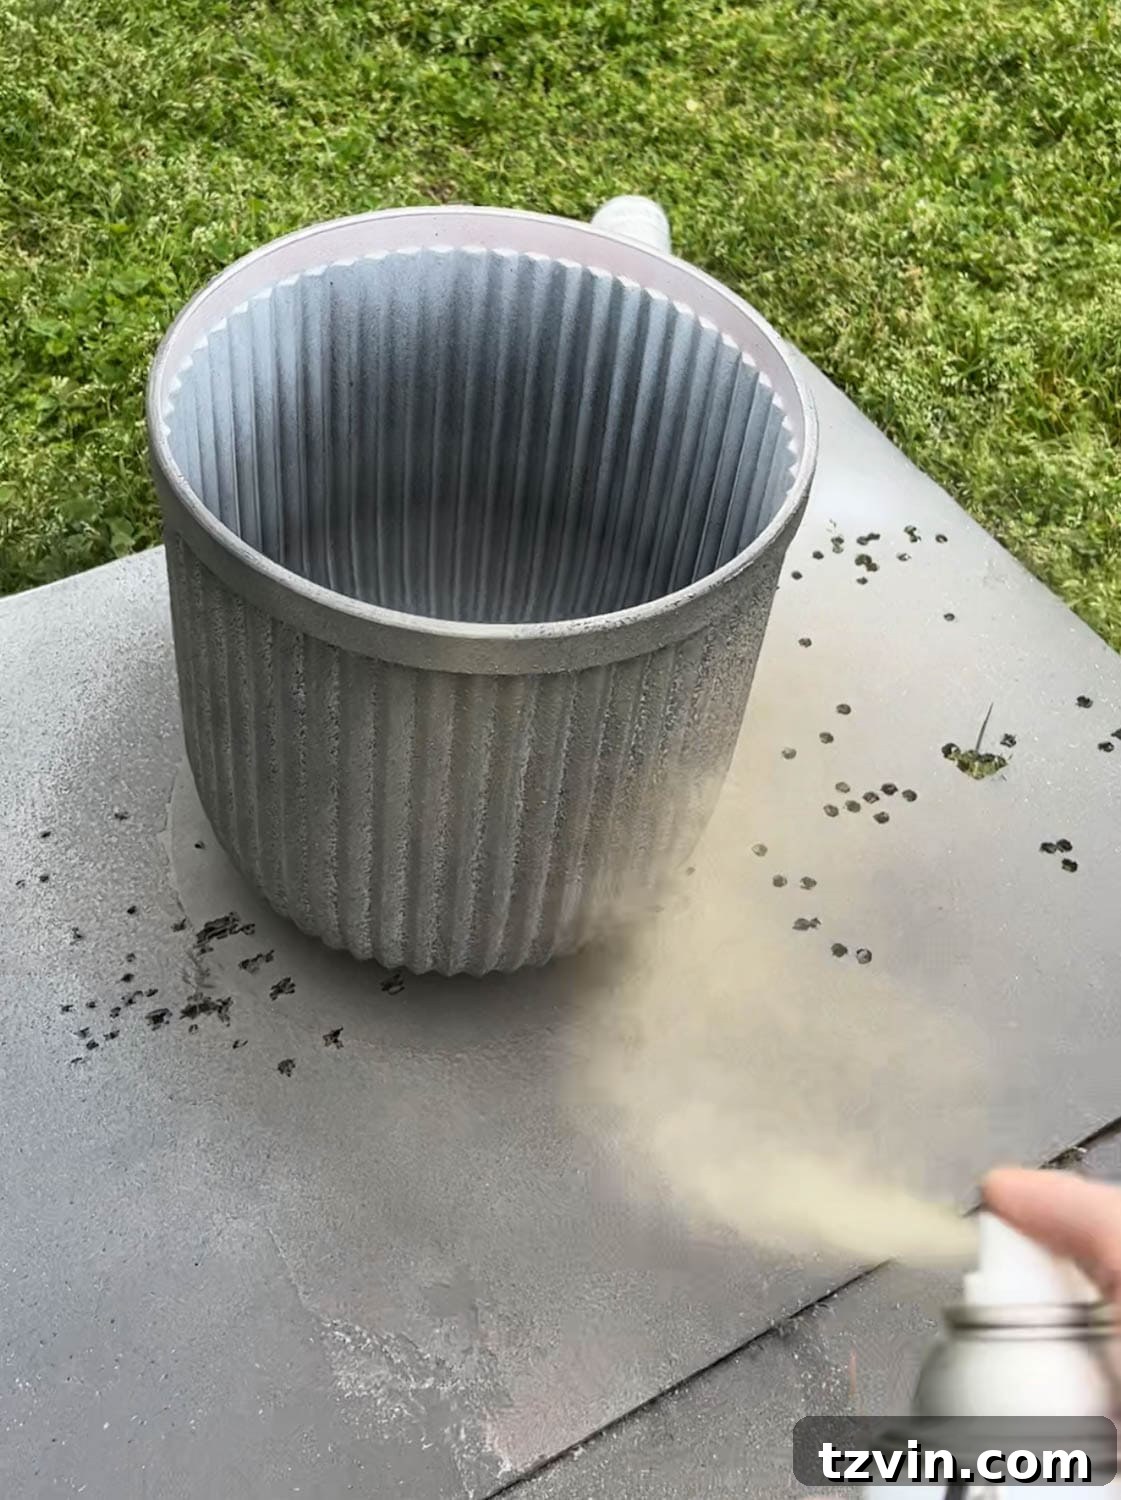
Start with your second spray paint color (e.g., beige or tan). Instead of a full, even coat, apply it in very light, sporadic, and haphazard bursts. Hold the can further away than usual (12-18 inches) and use quick, misty sprays. Allow significant portions of the underlying light gray to peek through. The aim is to create patches and subtle washes of color, not to completely obscure the previous layer. Repeat this process with your third, fourth, and subsequent neutral colors (black, taupe, etc.).
Think of it as building depth through translucency. Some areas might receive more of one color, while others retain more of the base gray. Don’t be afraid to cross-hatch or spray from different angles to create natural-looking variations. The more imperfect and organic the application, the more authentic your faux concrete will look. Step back frequently to assess your progress and ensure you’re achieving a balanced yet varied look. This layering technique is what gives your planters that high-end, textured concrete aesthetic.
Step 4 – Protect Your Planters with Spar Urethane
Once you are completely satisfied with your faux concrete finish and the spray paint is 100% dry (this usually takes several hours, depending on temperature and humidity), it’s time for the most critical step for outdoor longevity: sealing. Apply 2-3 light, even coats of spray clear oil-based spar urethane to protect your beautiful new planters from the harsh outdoor elements. Spar urethane is specifically formulated for outdoor use, offering excellent UV resistance and superior protection against moisture, cracking, and peeling.
Ensure each coat of urethane dries completely to the touch before applying the next. This typically takes a few hours per coat, so plan accordingly. Applying multiple thin coats provides a much more durable and effective barrier than one thick coat, which can lead to drips or an uneven finish. The satin finish of the urethane will also contribute to the natural, unpolished look of concrete while offering robust protection. This sealant step ensures your designer-look planters withstand rain, sun, and changing temperatures, keeping them beautiful for seasons to come.
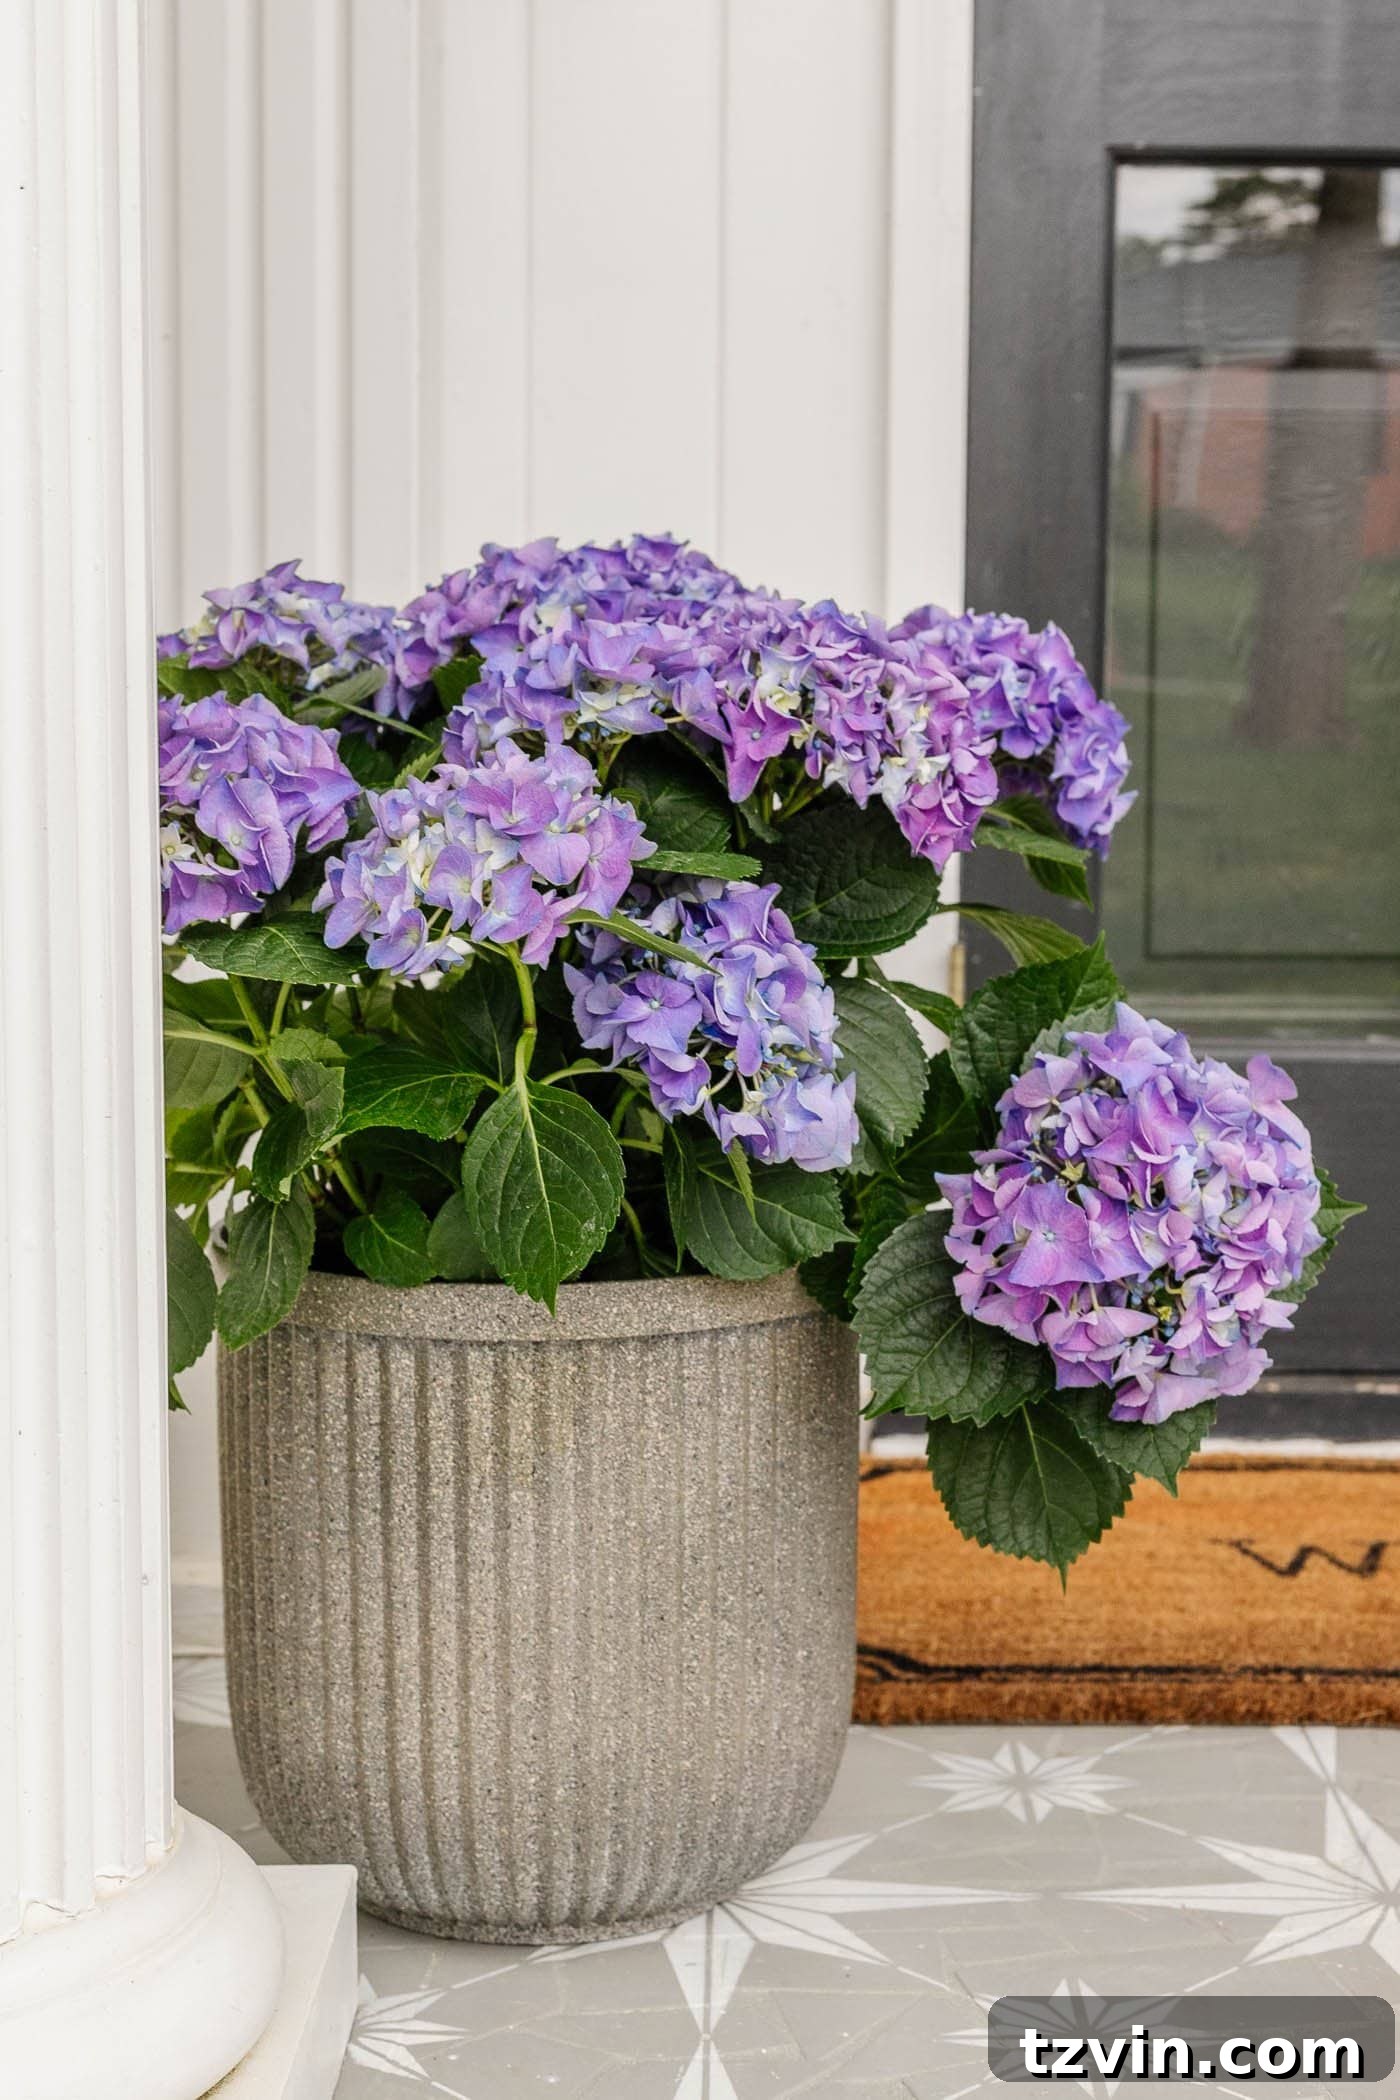
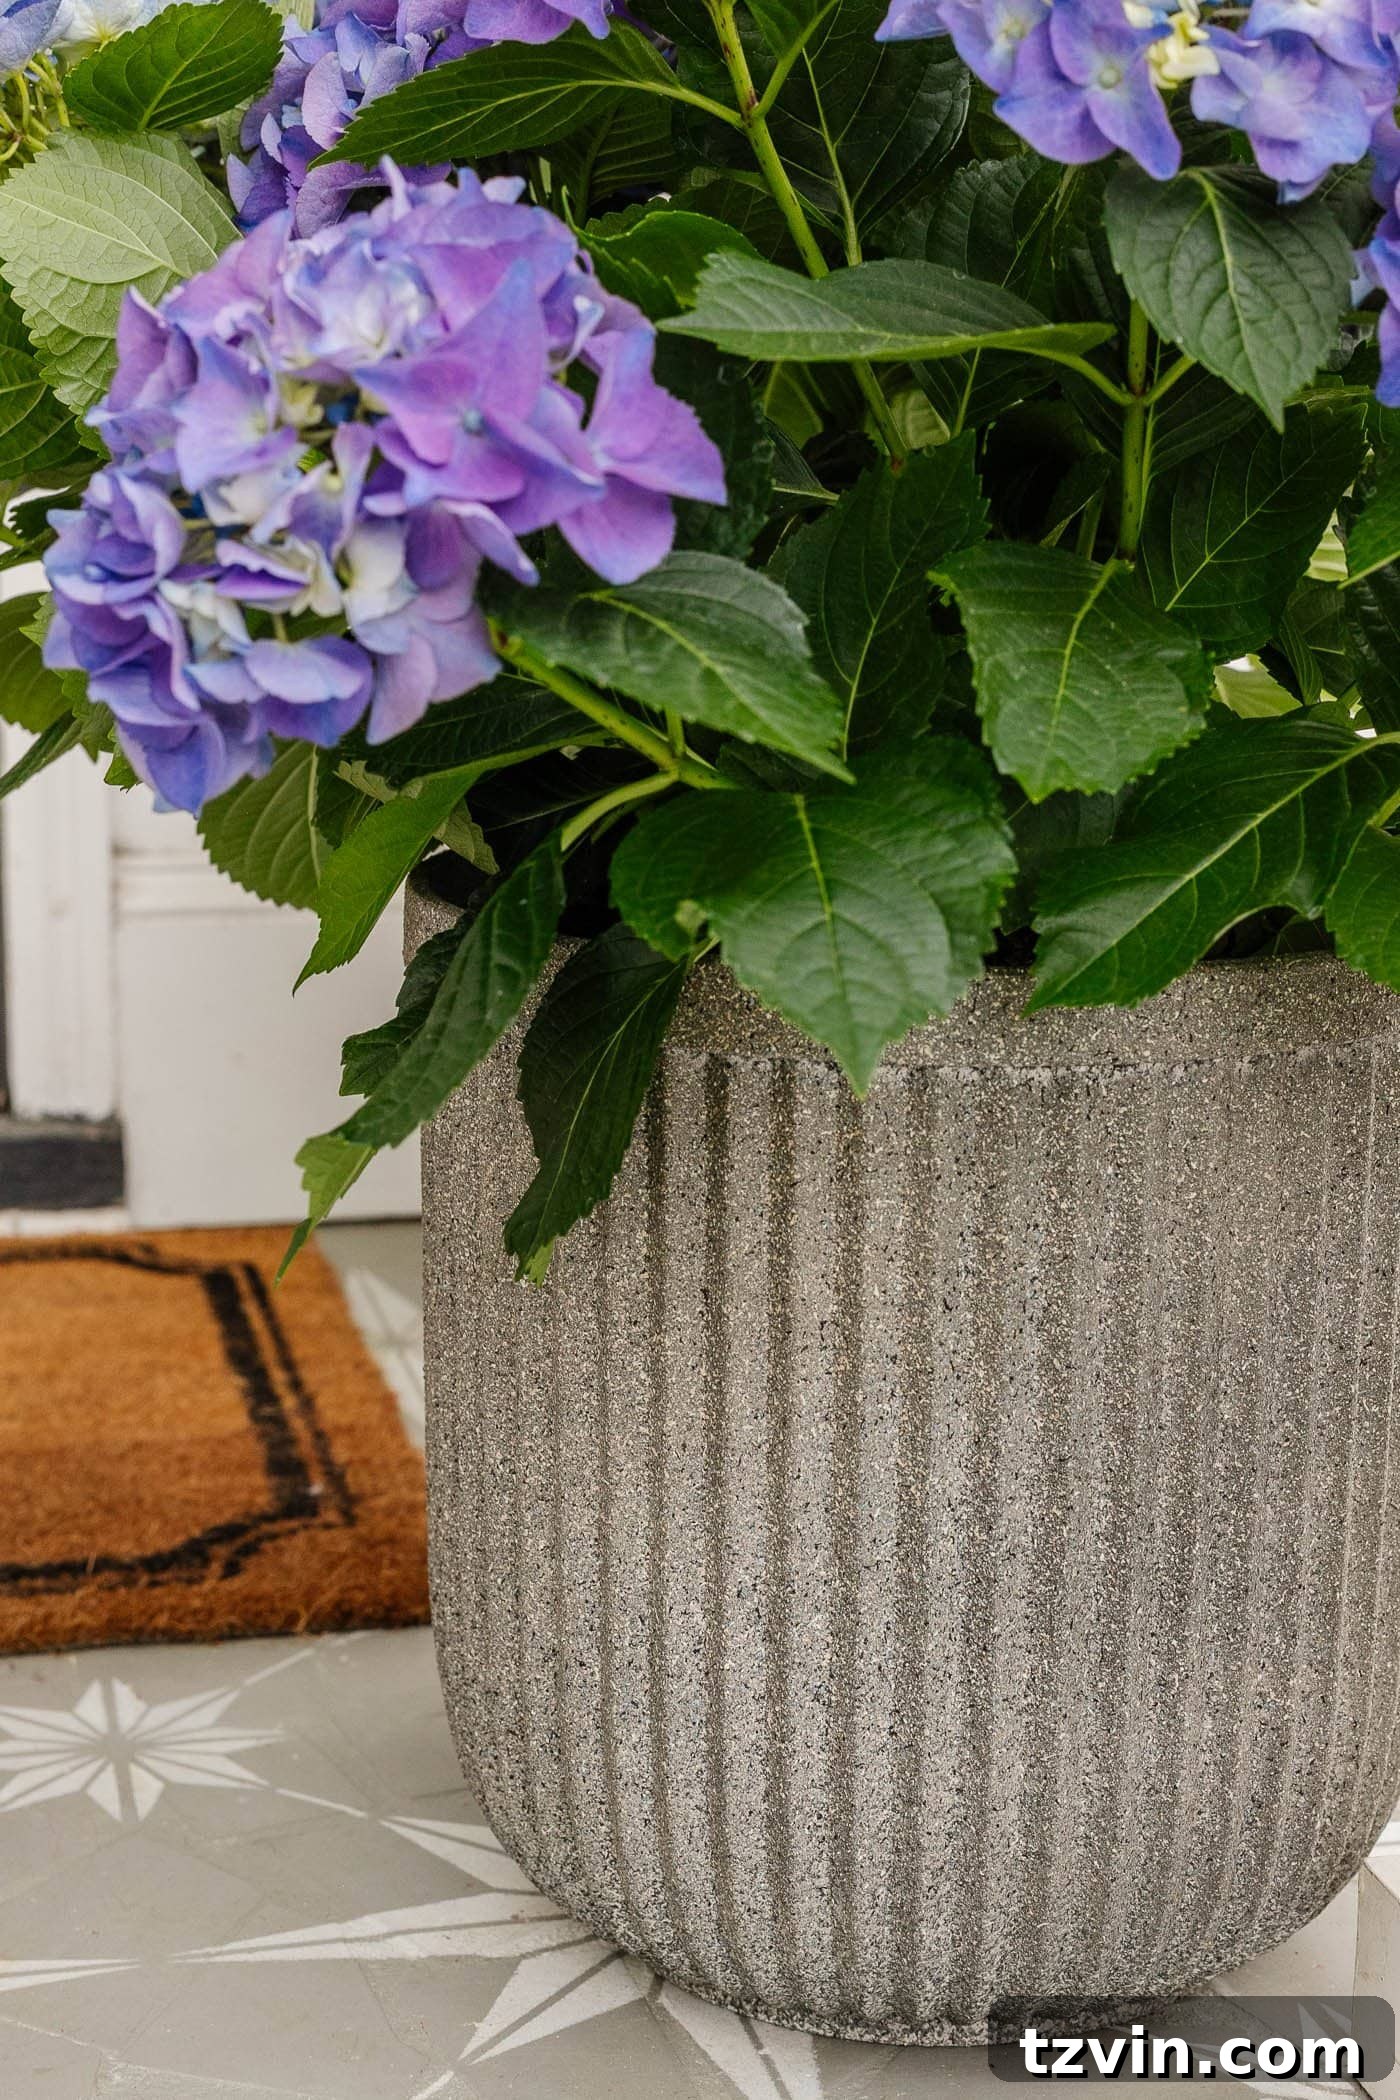
The Stunning Finished Faux Concrete Planters
And there you have it! A truly remarkable transformation achieved primarily by using up a bunch of paint leftovers. Not bad for turning inexpensive resin pots into high-end, designer-inspired outdoor decor, right? Remember to ensure the drainage holes are clear before adding your potting soil and plants, as proper drainage is vital for healthy flowers and foliage.
While this project is incredibly rewarding, its cost-effectiveness truly shines when you’re able to utilize materials you already have on hand. If you were to purchase every single item from scratch, the cost might add up, diminishing some of the “budget-friendly” appeal. However, the real value emerges when you only need to supplement your existing stash with just 2-3 new supplies, making the overall investment minimal compared to the price of genuine concrete or high-end designer planters. This DIY approach not only saves you a significant amount of money but also offers the immediate gratification of seeing your vision come to life in just a few hours.
Consider the alternative: traditional concrete projects involve mixing heavy bags of concrete, precise measurements, working with molds, and lengthy drying and curing times that can stretch over days or even weeks. This spray paint method, by contrast, is quick, relatively mess-free, and delivers stunning results with minimal fuss. It’s the perfect solution for anyone seeking a stylish upgrade without the labor-intensive commitment of true concrete work. You’re not just saving money; you’re saving time and effort too!
For more inspiration to get your outdoor spaces warm-weather ready, check out these small porch ideas on a budget. You can also learn how to distress painted outdoor planters for an aged look or discover how to build a window planter box from repurposed scrap wood for even more DIY outdoor charm.
Explore More Spray Painting Transformations
If you’ve enjoyed the ease and impact of this spray paint project, you’ll love these other creative ideas to revitalize your home with just a can of paint!
- How to Spray Paint Bathroom Fixtures
- 15 Ways to Transform Your Entire House with Just Paint
- Knock-Off Painted Ceramic Bloom Vase Makeover
- DIY Light Fixture Made from a Repurposed Sunburst Mirror