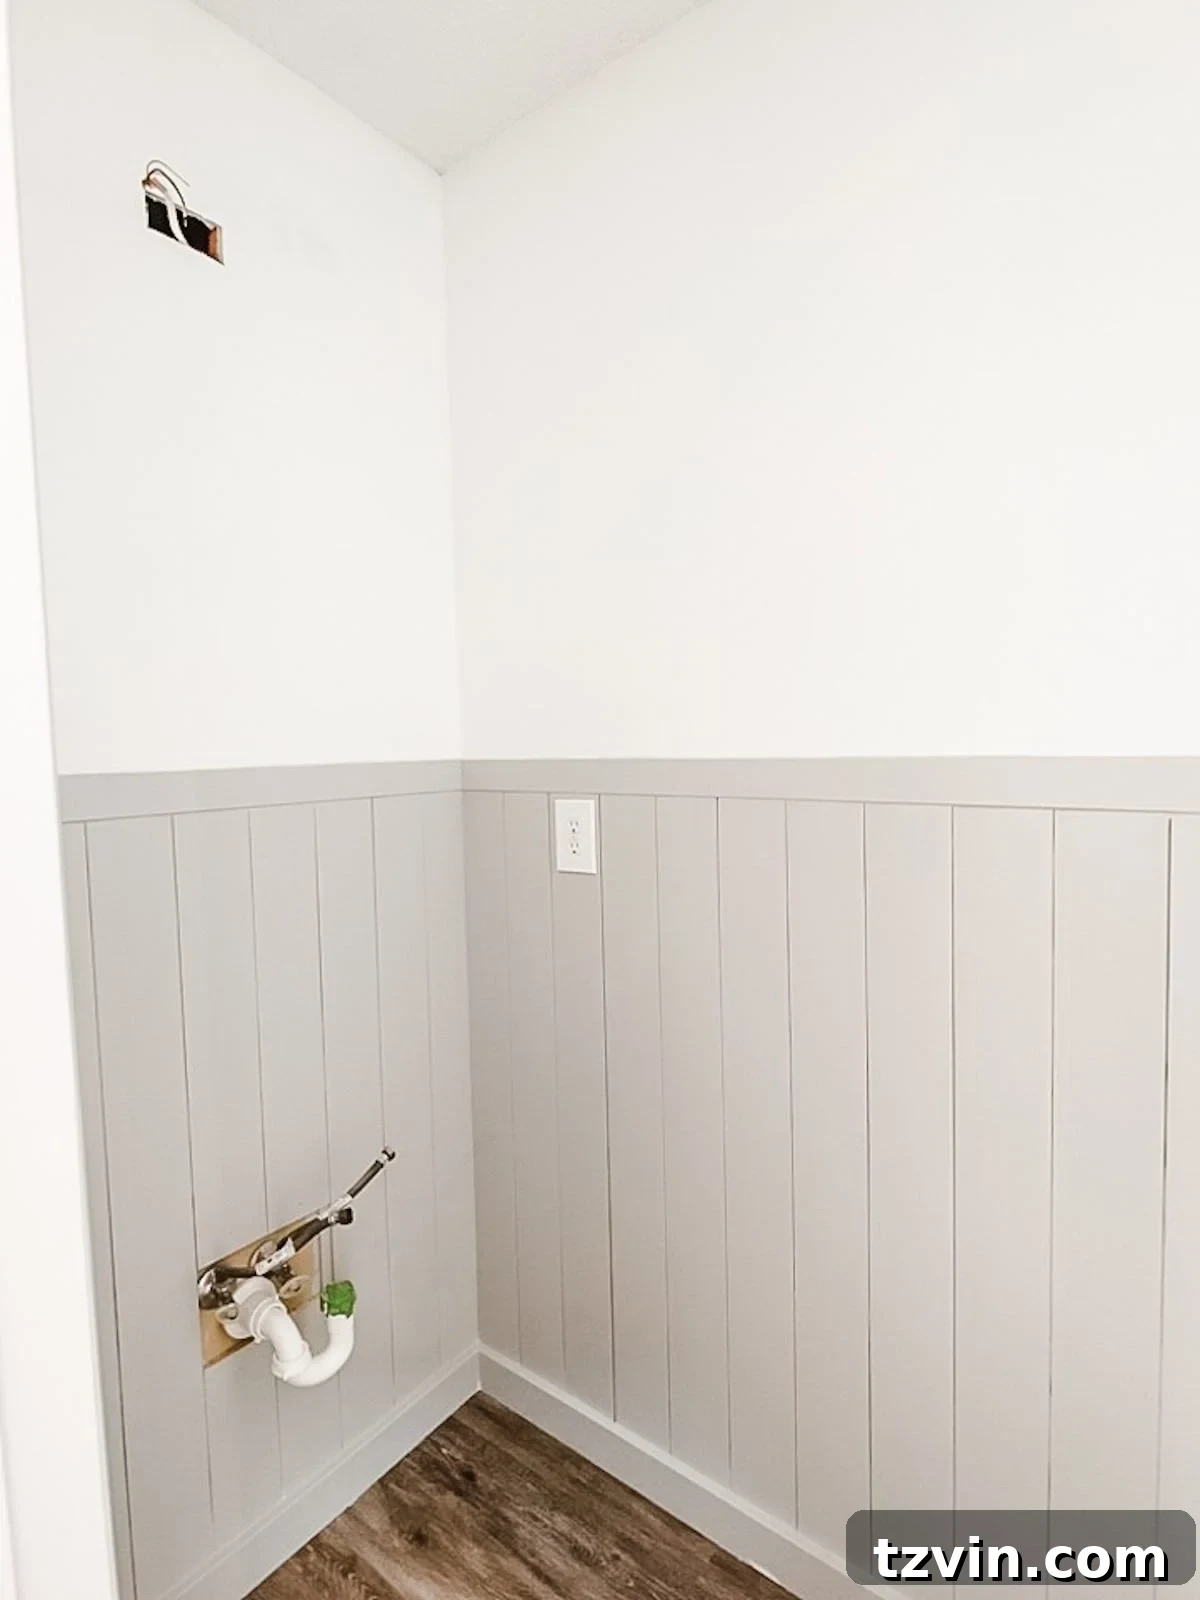
The Perfect Beginner DIY Project: Installing Vertical Shiplap Wainscoting in Your Bathroom for Instant Character and Style
Dreaming of a bathroom transformation that’s both stylish and budget-friendly? You’ve come to the right place! We’re thrilled to share our latest project: a stunning vertical shiplap wainscoting installation that completely revolutionized a small powder room. This easy-to-follow DIY guide is perfect for beginners looking to add significant character and a touch of modern elegance to any space without breaking the bank.
If you’ve been following our journey on Instagram Stories, you know the excitement surrounding this powder room makeover. It’s truly amazing how a simple wall treatment like vertical shiplap, combined with a fresh coat of paint, can make such a massive difference. This project, lovingly crafted for a dear friend, proves that big impact can come from small, well-executed changes.
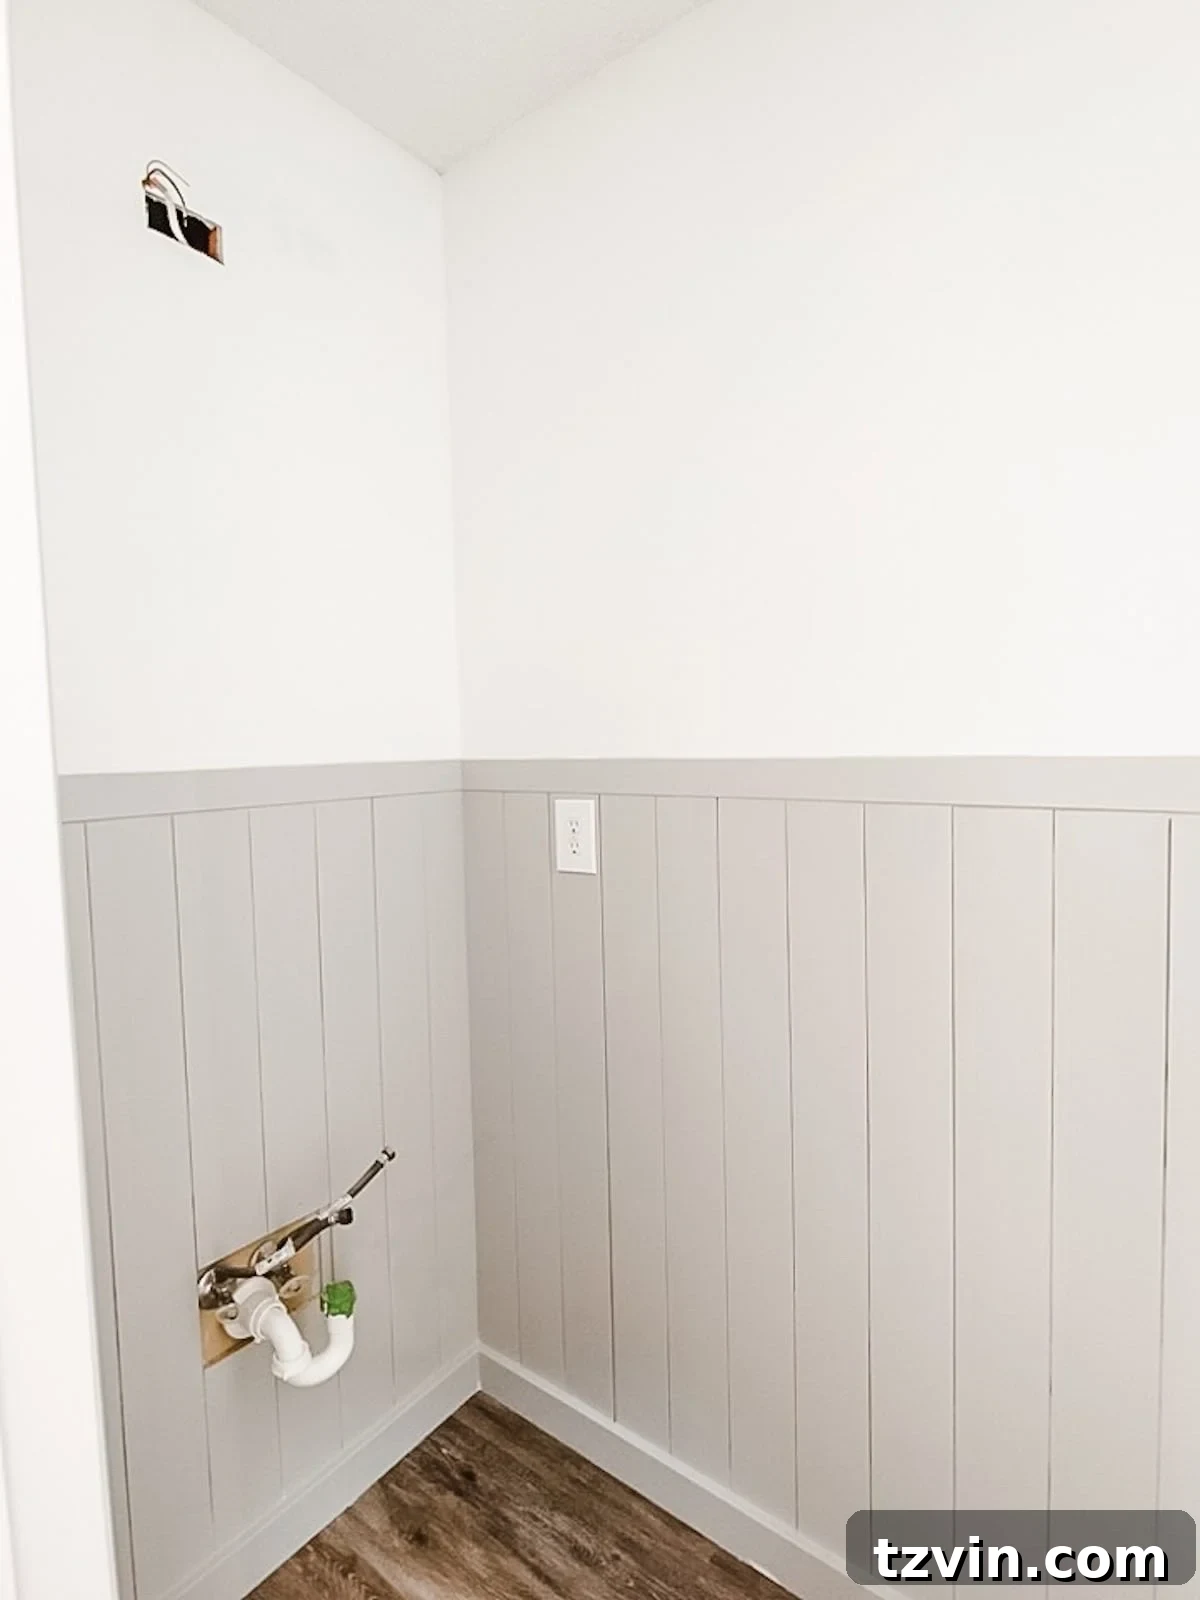
Vertical Shiplap vs. Horizontal Shiplap: Choosing the Right Look for Your Home
Shiplap has long been a favorite in home decor, but its application can dramatically change a room’s aesthetic. The orientation of your shiplap planks—vertical or horizontal—plays a crucial role in defining the overall style and even influencing how you perceive the space.
When to Choose Vertical Shiplap
If your interior design preference leans towards a more modern, contemporary, or even transitional style, vertical shiplap is an excellent choice. Its clean, linear lines create a sophisticated backdrop that complements minimalist aesthetics and architectural details. Beyond its stylish appeal, vertical shiplap offers a clever optical illusion: it draws the eye upwards, making ceilings appear taller and spaces feel more expansive. This makes it particularly effective in rooms with lower ceilings or in areas where you want to emphasize height, such as entryways, hallways, or, as in our project, a compact powder room.
When to Choose Horizontal Shiplap
For those who adore classic farmhouse, cozy coastal, rustic charm, or traditional design, horizontal shiplap is typically the go-to. This orientation creates a warm, inviting atmosphere reminiscent of historic cottages and barns. Visually, horizontal shiplap has the opposite effect of its vertical counterpart: it expands a room horizontally, making narrow spaces feel wider and more open. It’s ideal for elongating a wall or creating a sense of coziness in larger rooms, offering a timeless appeal that continues to be a staple in many homes.
Having embarked on numerous shiplap installations since the early days of our blog, we’ve witnessed its evolution firsthand. What started as a hallmark of rustic farmhouse decor has matured into a versatile design element. For years, our style in our previous home leaned heavily into rustic farmhouse, making horizontal shiplap a natural fit. However, as styles evolve, so do our preferences. Flipping that shiplap vertical instantly transforms its vibe, ushering in a more modern, “California Casual” aesthetic – precisely what we aimed for in our powder room renovation. It proves that shiplap is far from a one-style wonder; it’s a dynamic design choice for various tastes.
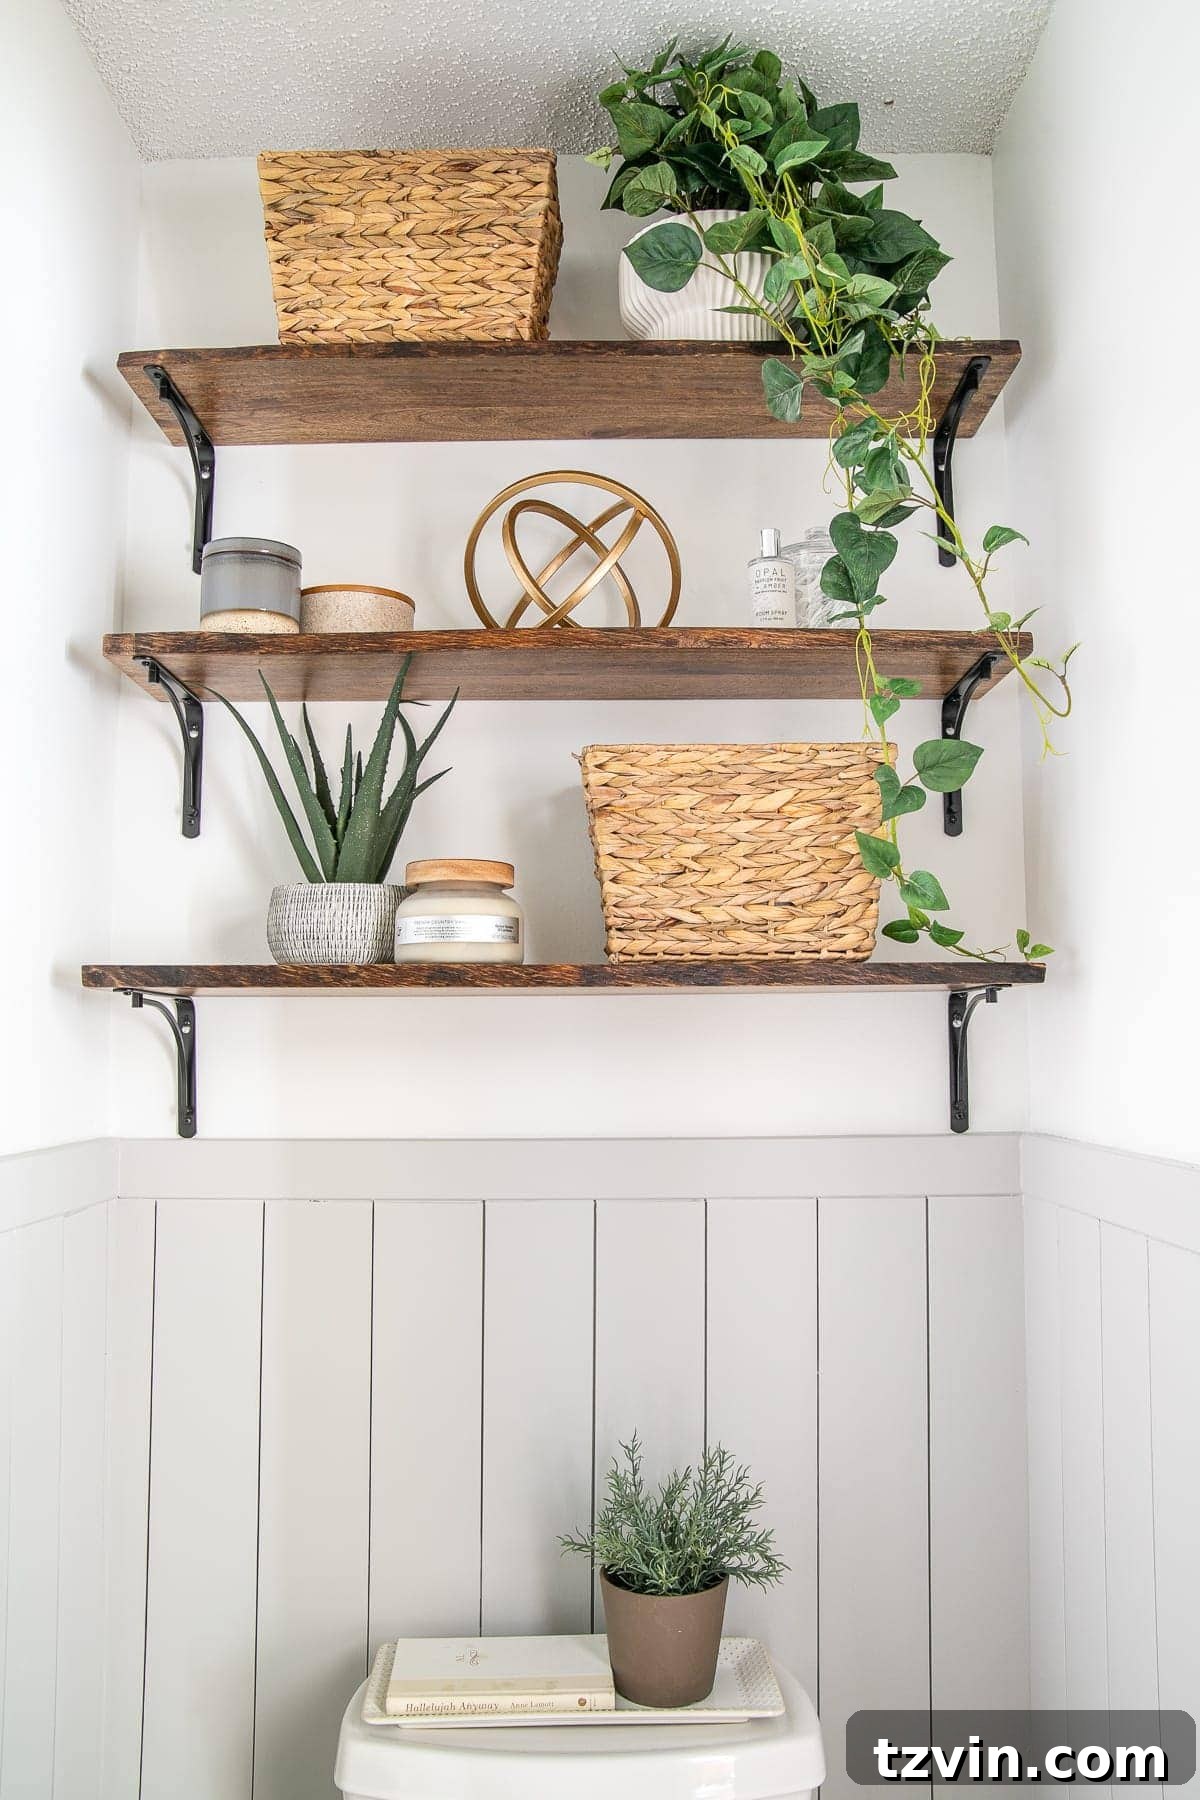
How to Install Vertical Shiplap Wainscoting in a Bathroom: A Step-by-Step DIY Guide
Embarking on a vertical shiplap wainscoting project is an incredibly rewarding DIY endeavor that significantly elevates the style of any room, especially a bathroom. Whether you opt for a dramatic full wall or a charming half-wall wainscoting, this guide will walk you through each step to achieve a professional-looking finish. For this tutorial, we’re focusing on wainscoting, which adds texture and protection to the lower half of your walls.
Gather Your Supplies
Before you begin, ensure you have all the necessary materials and tools. Having everything organized will make the installation process much smoother and more efficient.
- Shiplap Boards: We recommend 5-inch wide pre-primed tongue and groove shiplap boards. The pre-primed aspect saves a significant amount of time and effort in the painting phase. These boards from Home Depot (link here) were particularly easy to work with.
- Molding for Rails:
- 1×2-1/2″ MDF Craftsman moulding for the upper rail.
- 1×4-1/2″ MDF Craftsman moulding for the lower baseboard rail.
- Adhesive: Construction adhesive, such as Liquid Nails, is essential for vertical shiplap as it provides a strong bond when you can’t always nail into studs. We’ve found this type to be exceptionally reliable.
- Caulk Gun: For applying construction adhesive and caulk efficiently. (link here)
- Nailer: A cordless finish nailer simplifies securing the boards and trim.
- Nails: 1 1/2″ finish nails.
- Measuring and Marking Tools: Tape measure, pencil, and a level (a long level is highly recommended for accuracy).
- Cutting Tools:
- Power drill with various bits.
- Jigsaw for intricate cuts around outlets and switches.
- Table saw or circular saw for ripping boards to size, especially at corners.
- Miter saw (optional but highly recommended for fast, accurate crosscuts).
- Finishing Materials:
- Wood filler for nail holes.
- Paintable caulk for sealing gaps.
- Rags for cleanup.
- Sander with medium-grit sanding pads for smoothing wood filler.
- Electrical Adjustments (Safety First!):
- Outlet spacers to bring outlets flush with the new shiplap surface.
- Jumbo outlet/switch covers for a clean finish over cutouts.
- Flathead screwdriver for electrical work (ensure power is off!).
- Paint: High-quality paint of your choice. For bathrooms, a satin or semi-gloss finish is typically recommended for durability and moisture resistance.
- Safety Gear: Always wear safety glasses, gloves, and hearing protection when operating power tools.
The Installation Steps
Follow these detailed steps carefully to achieve a beautiful and lasting vertical shiplap wainscoting in your bathroom.
Step 1 – Measure Your Room and Calculate Material Needs
Begin by accurately measuring the entire perimeter of your room. This will determine the total length of shiplap boards and molding you’ll need. For our powder room, which had a 22-foot perimeter, we opted for 27 eight-foot boards. We planned to cut these in half to 4 feet each, giving us ample material while minimizing waste. Always factor in a small percentage (around 10-15%) for cuts, mistakes, and potential waste material.
Step 2 – Precisely Cut Shiplap Boards
Using your miter saw, carefully cut your 8-foot shiplap boards down to the desired height for your wainscoting. For this project, a 4-foot height was chosen for simplicity and cost-effectiveness. A miter saw ensures clean, straight cuts, which are crucial for a seamless finish.
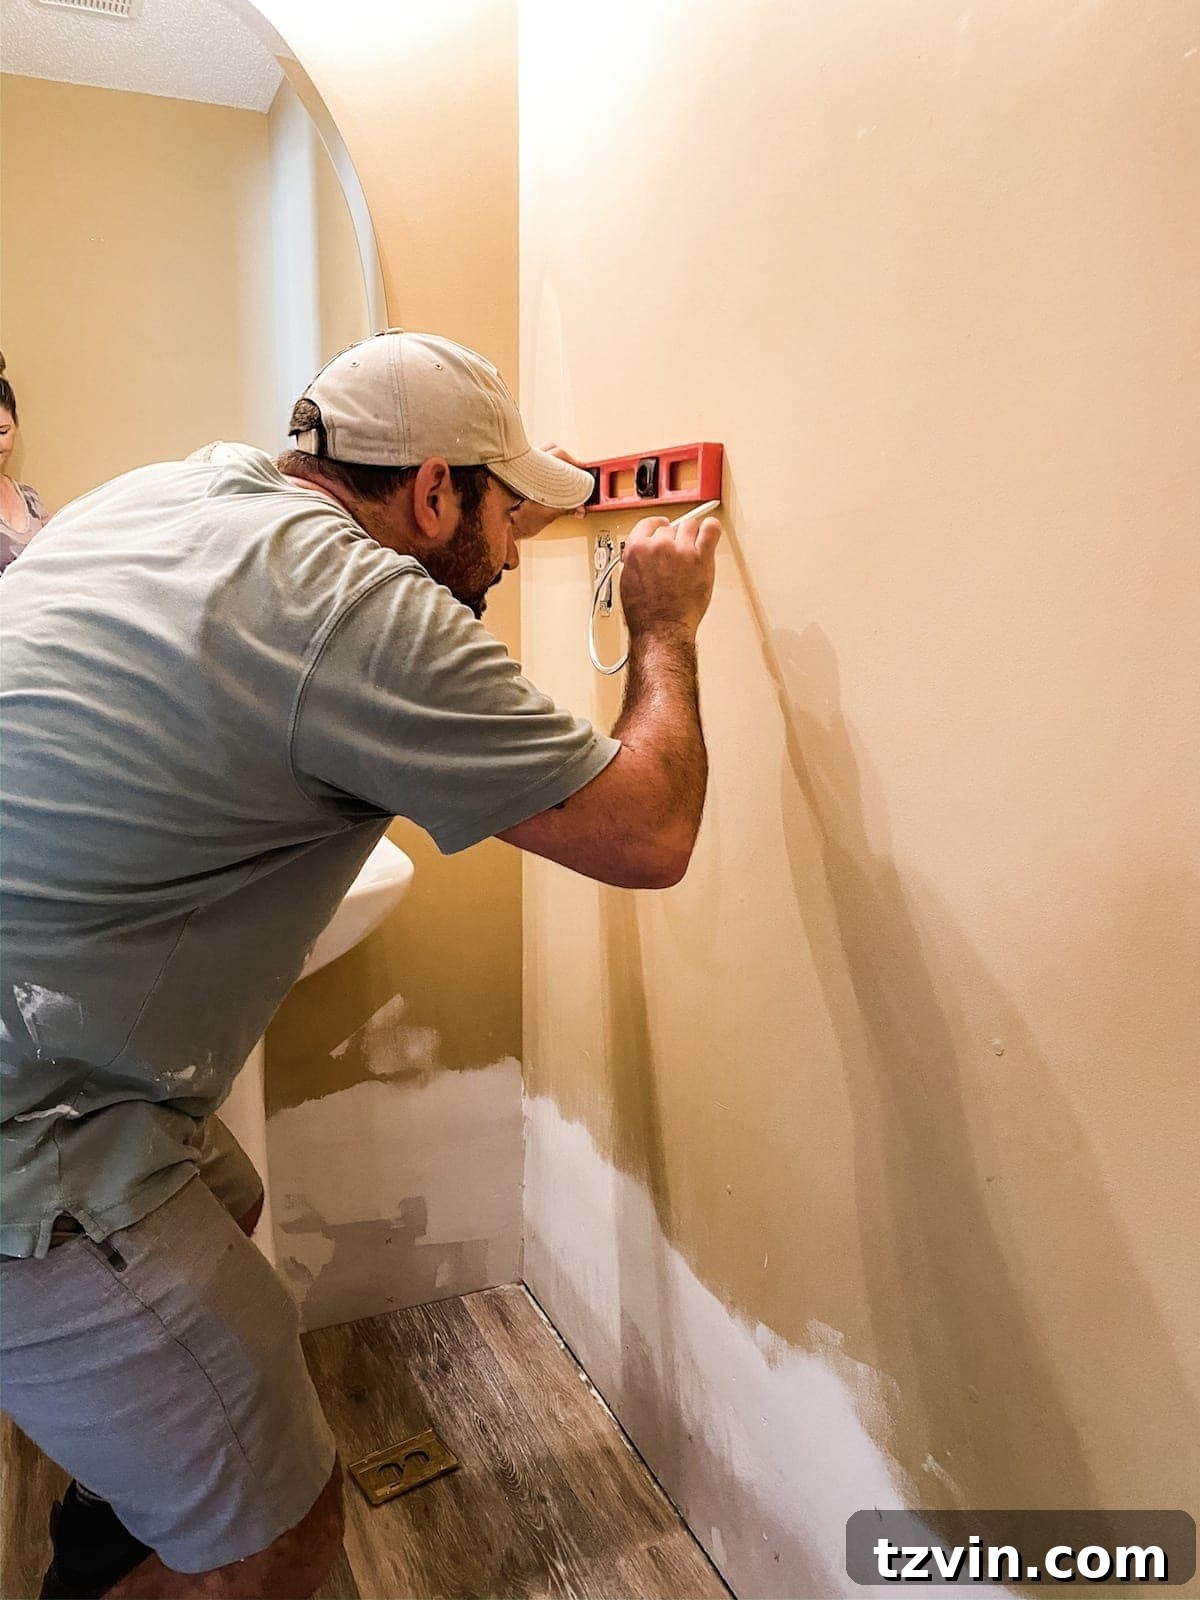
Step 3 – Mark the Upper Line for Wainscoting Height
With a pencil and a long level, carefully mark a straight line around the entire room at your desired wainscoting height (in our case, 4 feet). This line will serve as your guide for aligning the top edges of the shiplap boards. It’s a critical step for ensuring a perfectly level installation. As a pro tip, consider placing your wainscoting a couple of inches above any existing outlets or light switches. This foresight can prevent awkward and challenging cuts later on, simplifying the process around electrical fixtures.
Step 4 – Dry Fit and Level Your First Board
Before applying any adhesive or nails, perform a dry fit of your first shiplap board. Place it against the wall, aligning its top edge with your pencil line. Use your level to double-check that the board is perfectly plumb (vertically straight). Remember, walls and corners are rarely perfectly square, so trust your level, not the corner, for accurate placement. A perfectly plumb first board is paramount, as it sets the standard for every subsequent board.
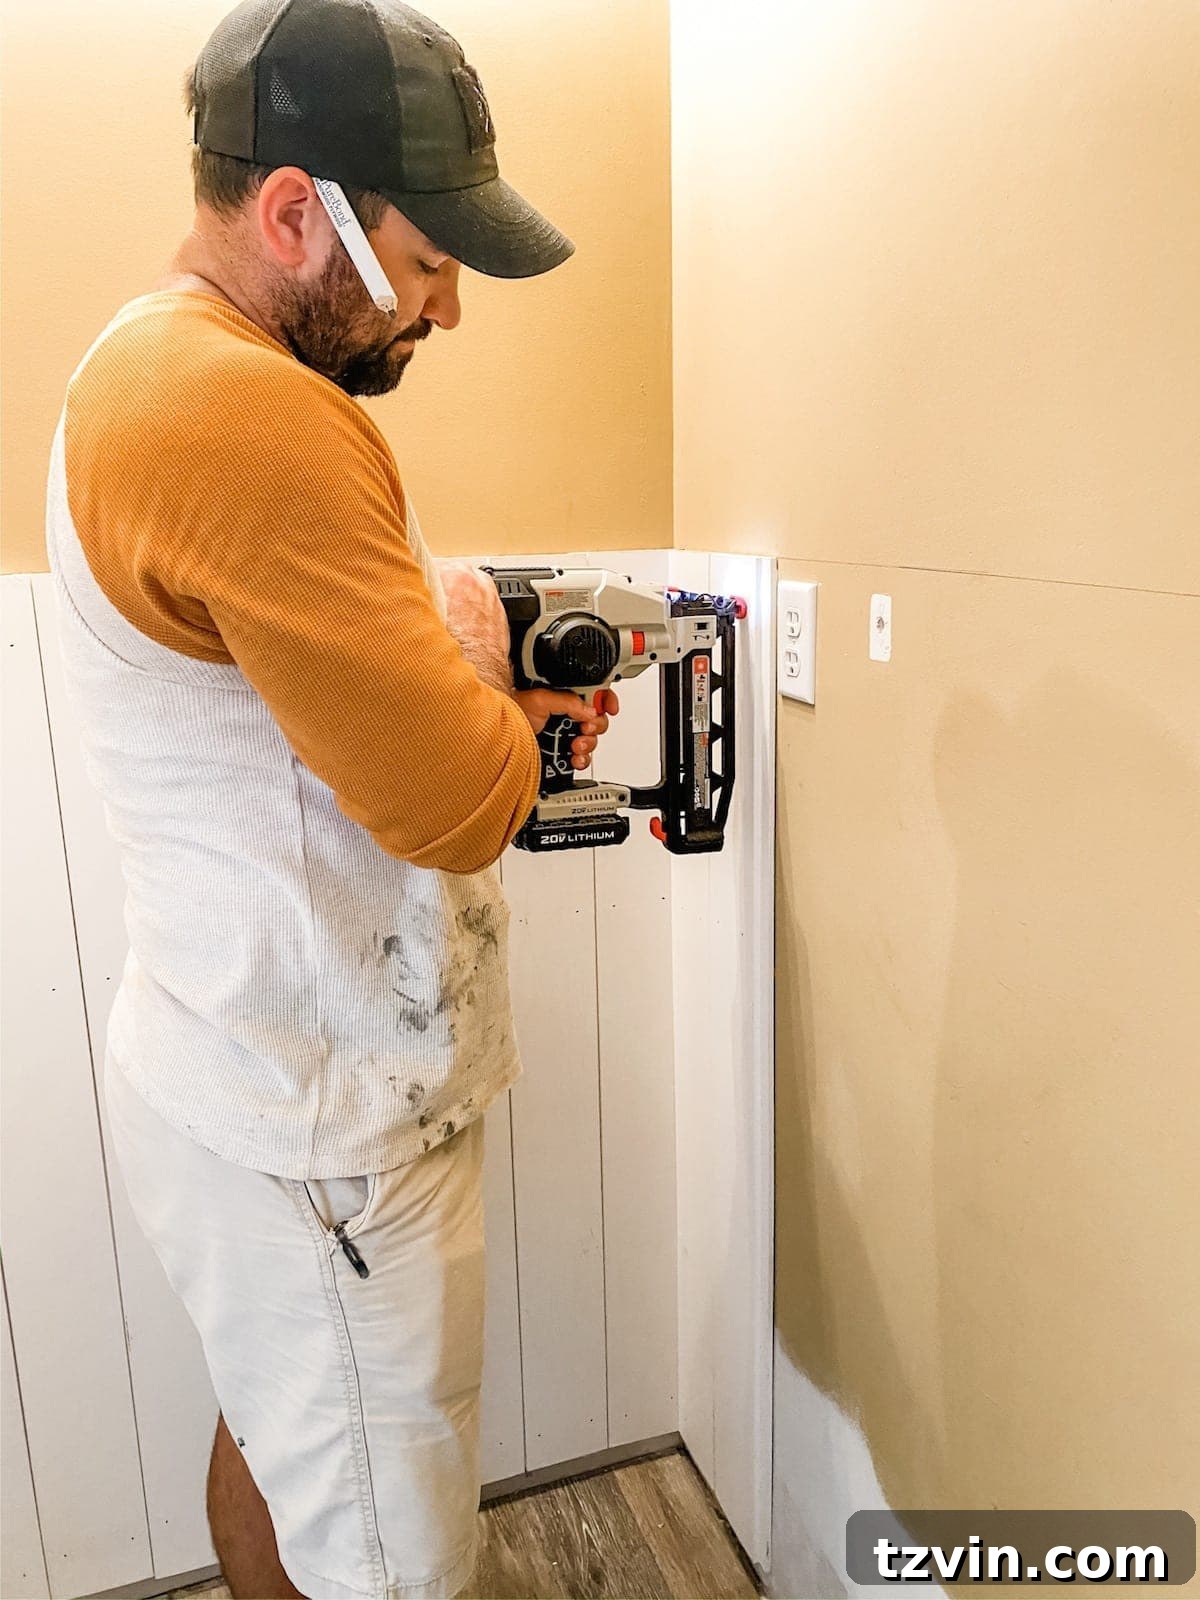
Step 5 – Secure Boards with Adhesive and Finish Nails
Once your first board is confirmed level, apply a generous S-shaped bead of construction adhesive to its back. Carefully place the board on the wall, aligning its top edge with your pencil line and ensuring it remains plumb. Using your cordless finish nailer, drive a few finish nails through the tongue of the shiplap board and into the wall to hold it firmly in place while the adhesive cures. It’s important to note that for vertical shiplap, nailing into wall studs isn’t always feasible, making the construction adhesive a critical component for long-term stability. For horizontal shiplap, nailing into studs would be the primary method, often allowing you to skip adhesive.
Step 6 – Continue Installation, Regularly Checking for Level
Proceed around the room, attaching each subsequent shiplap board. For tongue and groove boards, simply slot the groove of the new board onto the tongue of the previously installed one. Apply construction adhesive to the back of each board and secure it with finish nails. It’s vital to continuously check each board with your level to ensure it is plumb and the top edge aligns with your marked line. Even slight deviations can accumulate, leading to noticeable crookedness later on.
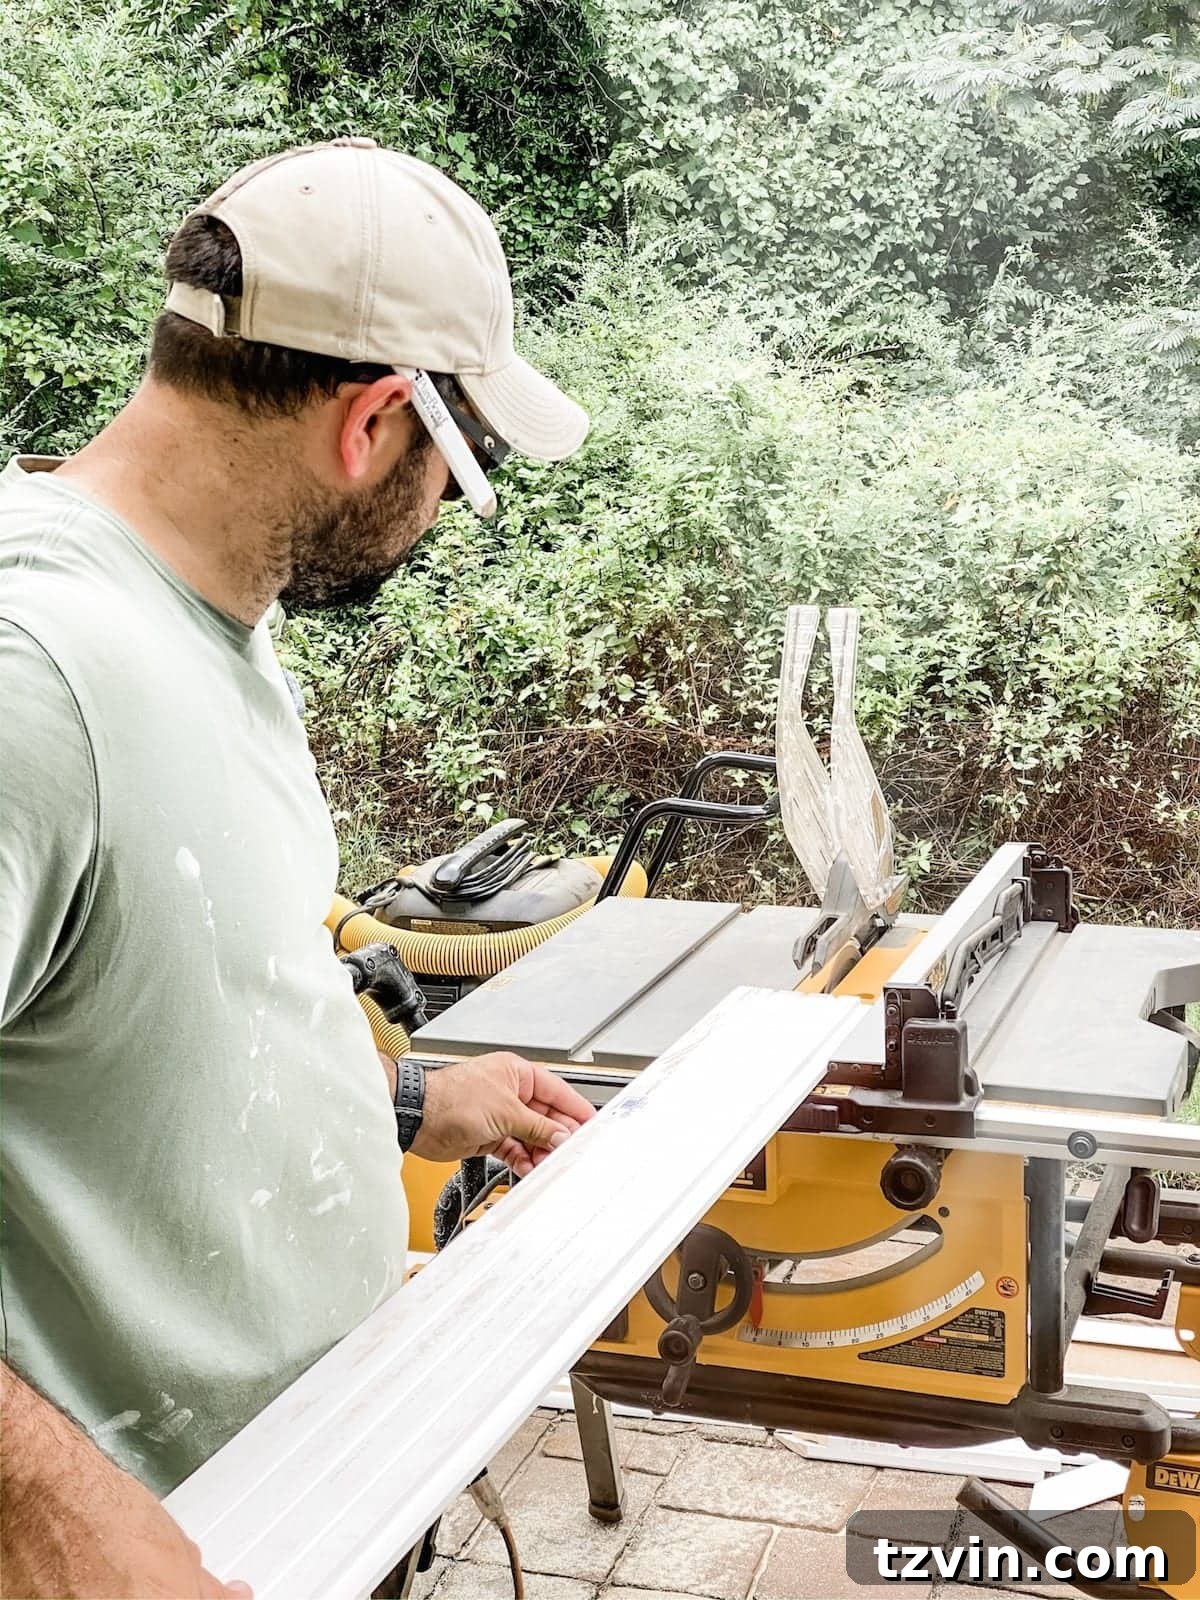
Step 7 – Custom Cuts for Corners and Irregularities
As you approach corners or encounter walls that aren’t perfectly sized for a full shiplap board, you’ll need to trim boards to fit. Use a table saw or circular saw to rip boards lengthwise to the exact width required. Measure carefully and make precise cuts to ensure a snug fit, minimizing gaps that will need to be filled later.
Step 8 – Mark Obstacles: Outlets and Light Switches
When you encounter electrical outlets or light switches, careful measurement is key. Hold the shiplap board in place (without adhesive) and use a tape measure and pencil to mark the exact location and dimensions of the obstacle on the board. A helpful trick is to use a smaller outlet cover as a template – simply trace around it on the board to ensure accuracy and a tidy cut line. Remember to always turn off the power at the breaker before working near any electrical fixtures.
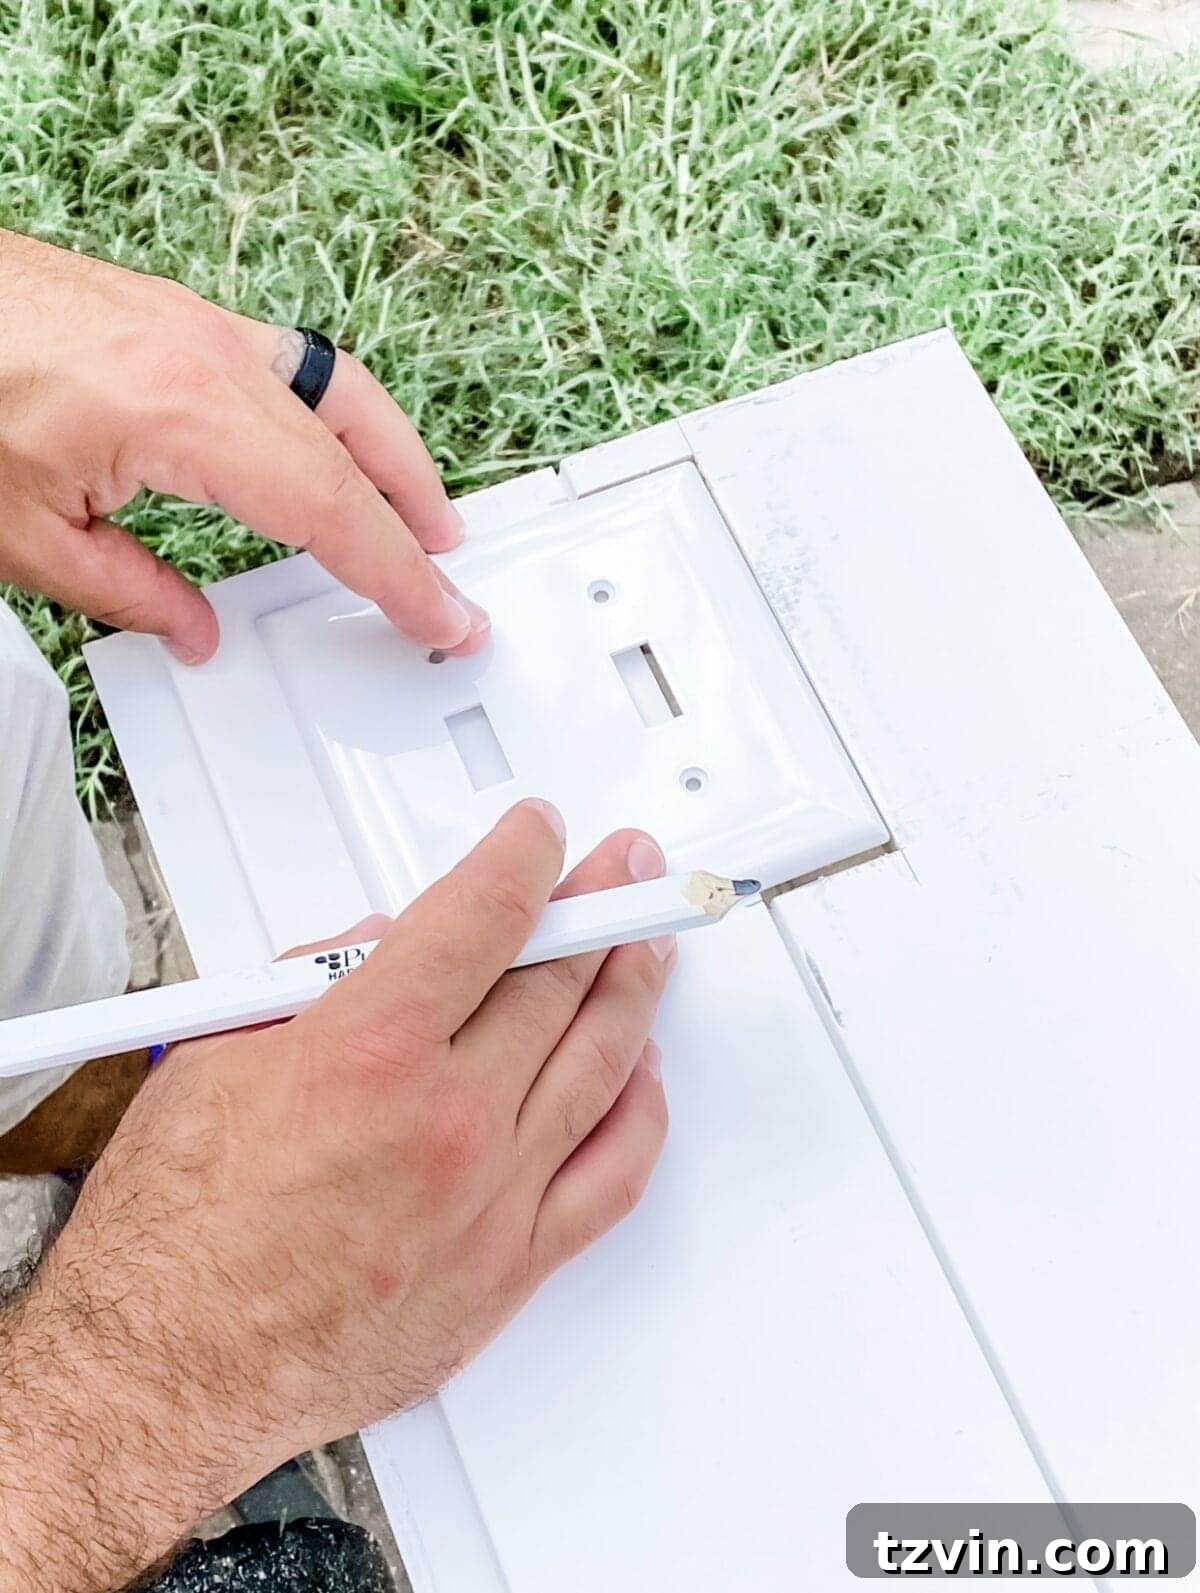
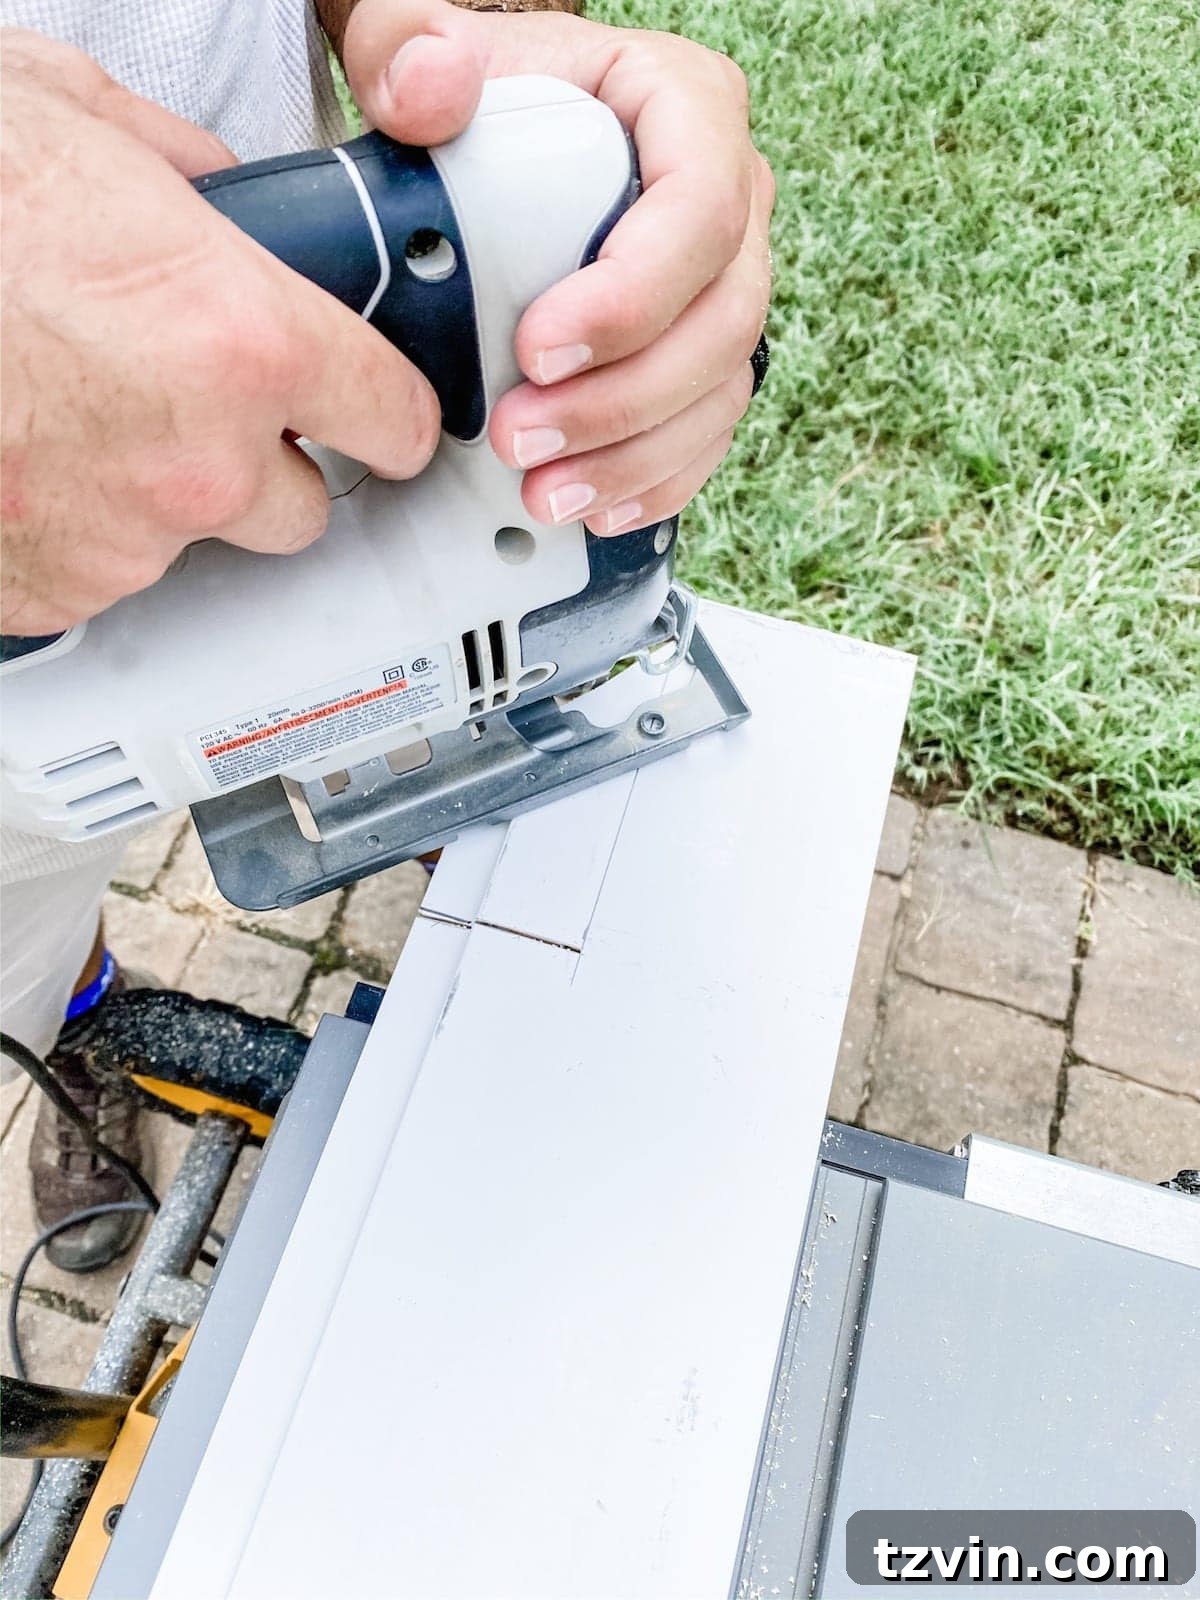
Step 9 – Drill Pilot Holes for Jigsaw Access
For cutting out rectangular shapes like those for outlets, drill a small pilot hole at each of the four corners of your traced outline. These holes will provide a starting point for your jigsaw blade, allowing you to easily insert the blade and begin your cut without damaging the surrounding wood.
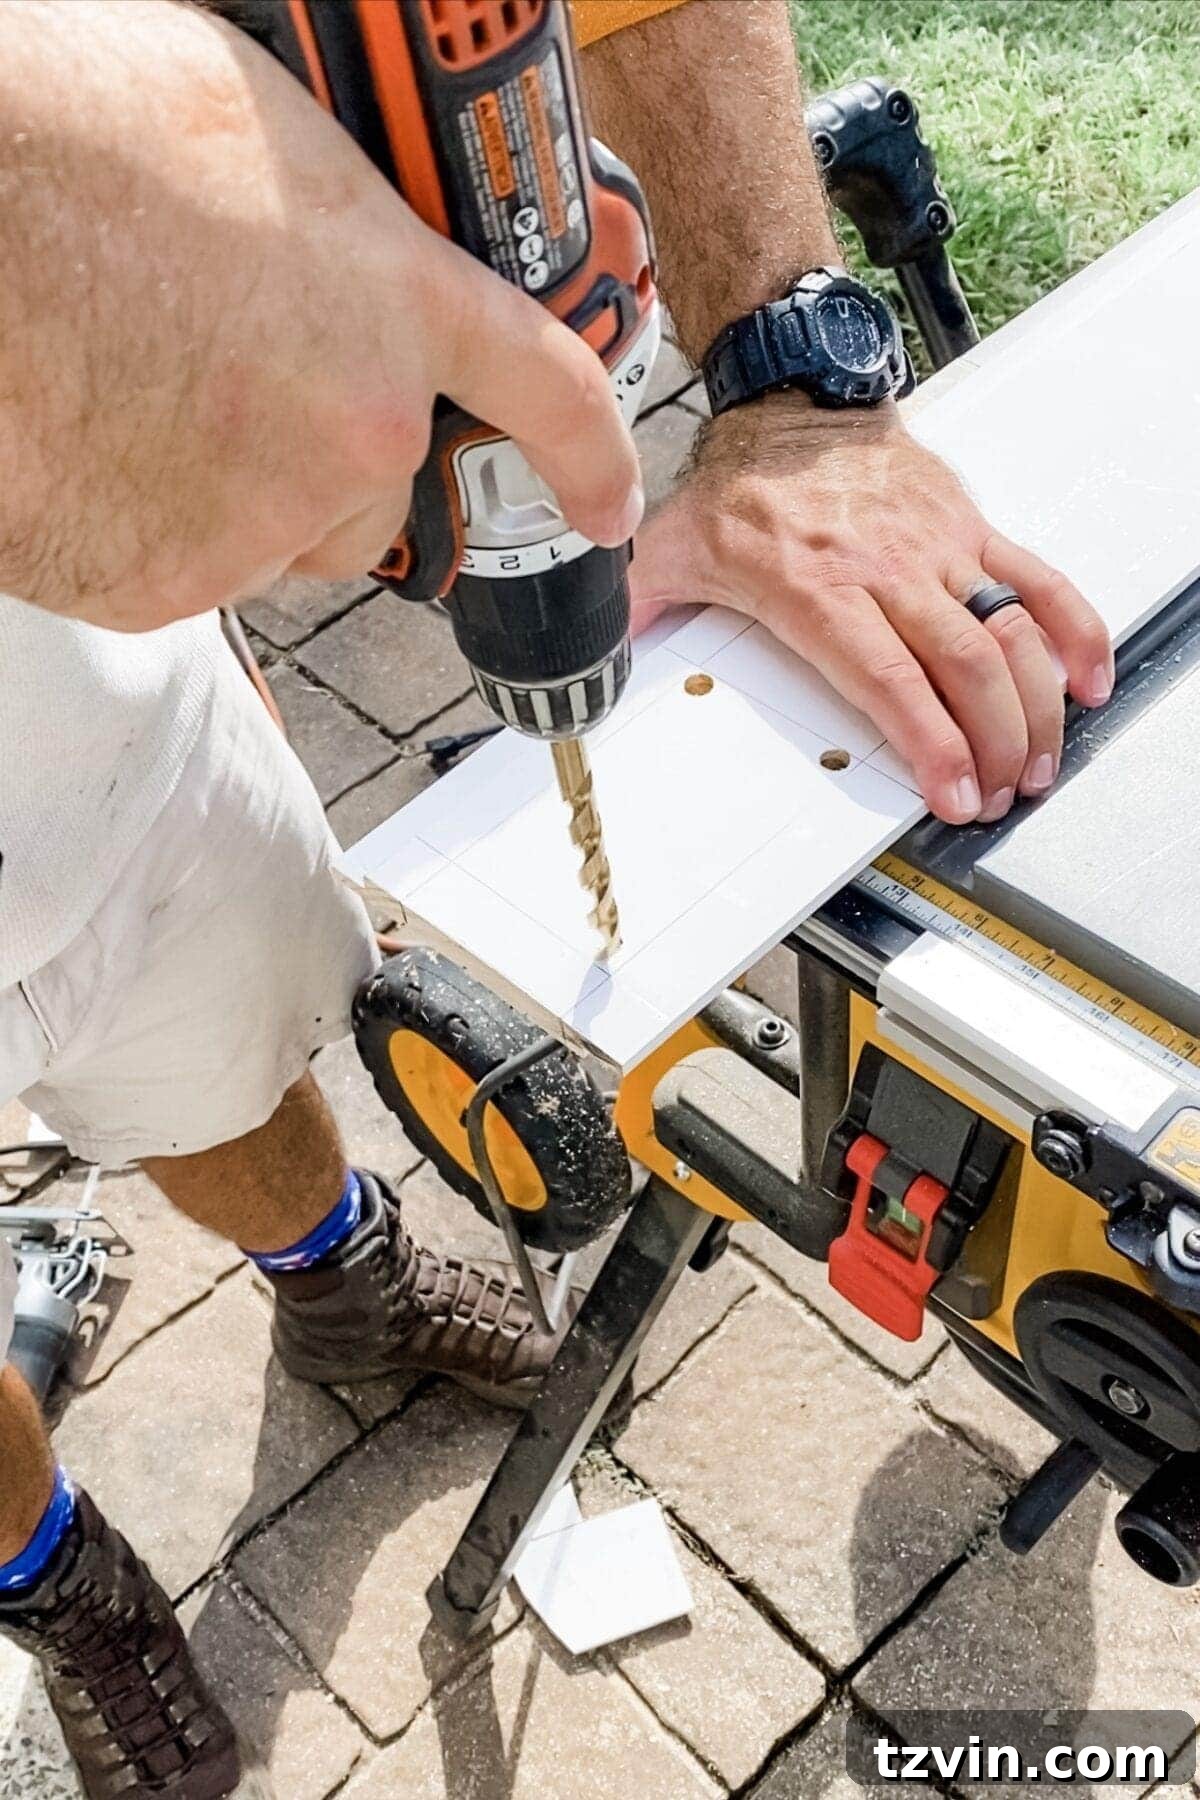
Step 10 – Cut Out Obstacles with a Jigsaw
Carefully use your jigsaw to cut along the traced lines, connecting the pilot holes. Take your time to ensure clean, straight cuts, as this will impact how neatly your outlet or switch cover fits. Remember to always use appropriate safety gear, including eye protection, when operating a jigsaw.
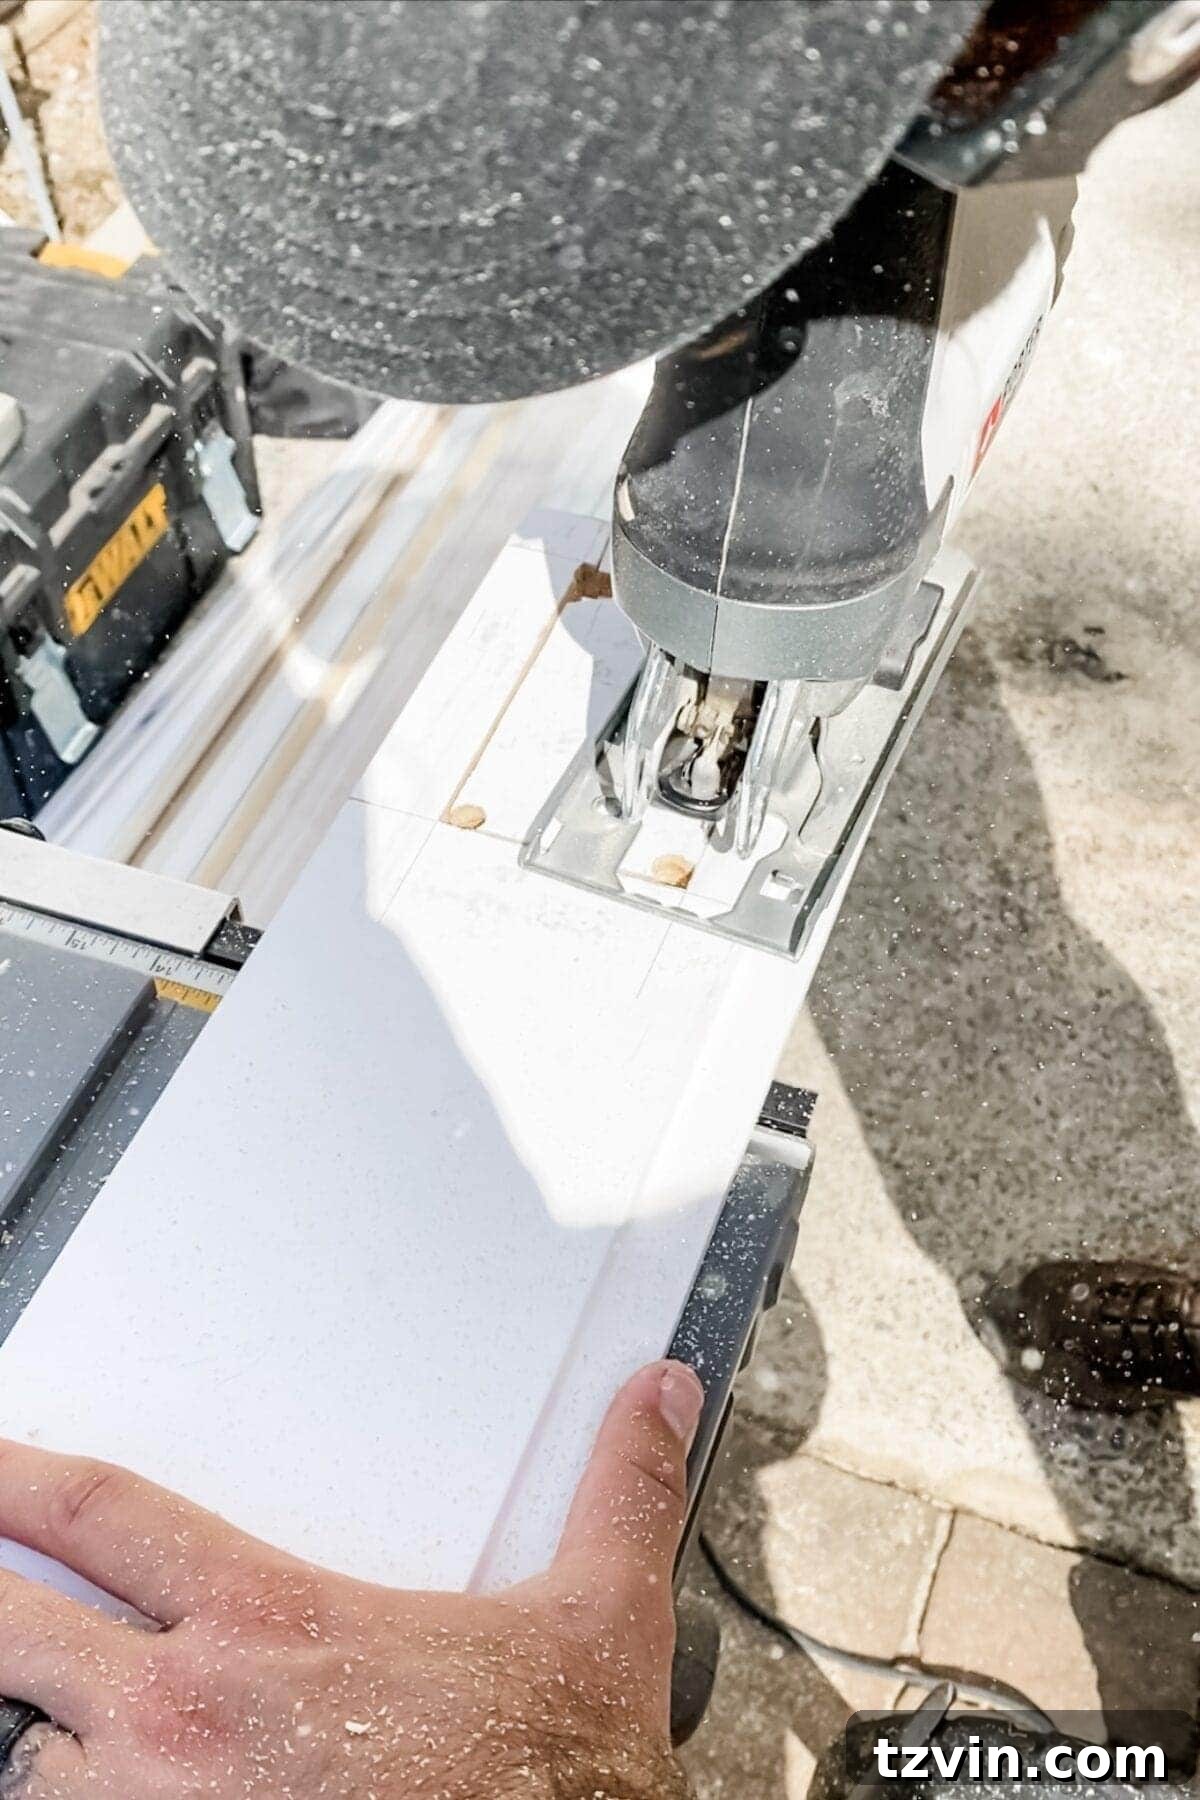
Step 11 – Adhere and Nail the Cut Board to the Wall
Once the cut for the obstacle is complete, apply construction adhesive to the back of the modified shiplap board. Position it carefully on the wall, ensuring the cutout aligns perfectly with the electrical box. Secure the board in place with finish nails, just as you did with the other boards.
Step 12 – Use Spacers to Bring Switches Flush
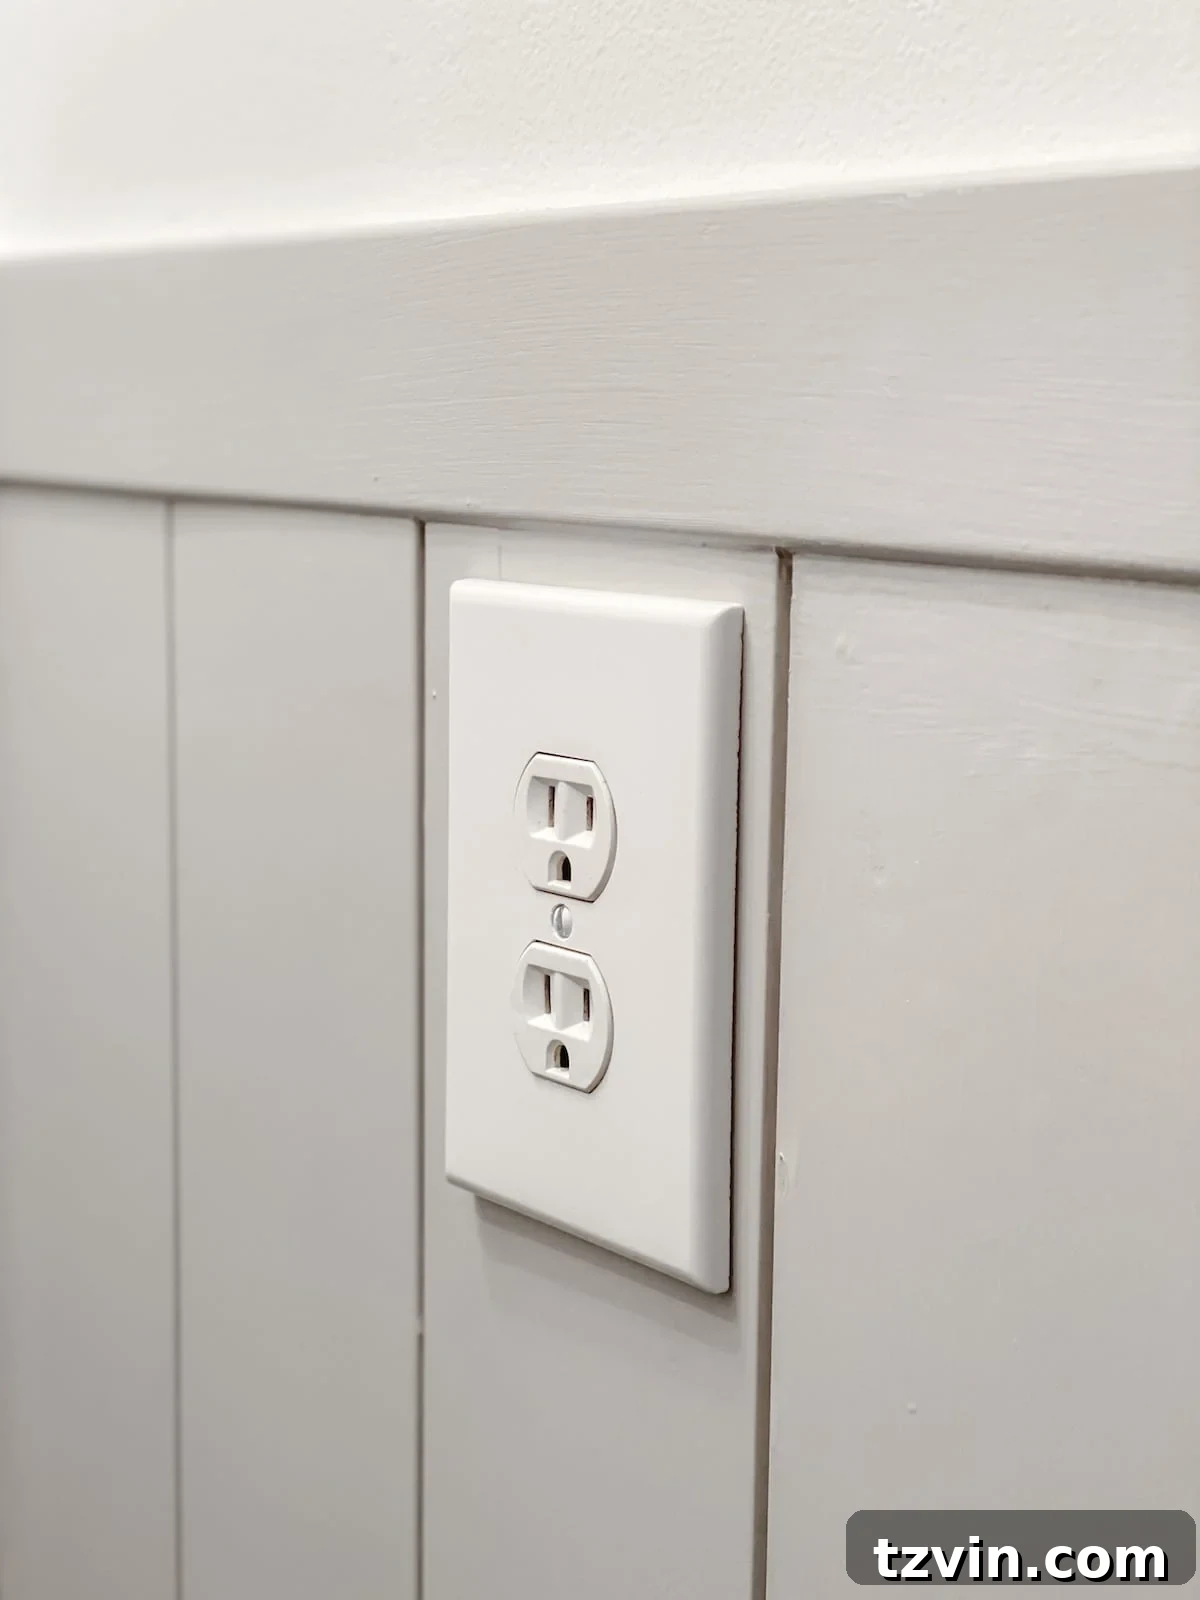
With the shiplap now installed, your electrical outlets and light switches will likely be recessed. To bring them flush with the new wall surface, you’ll need to use outlet spacers. **CRITICAL SAFETY NOTE: ALWAYS turn off the electricity at the main breaker before touching any electrical outlets or switches.** Loosen the screws holding the outlet/switch to the electrical box, slide the plastic spacers behind the fixture until it’s flush with the shiplap, and then tighten the screws securely. This ensures safe and functional electrical access.
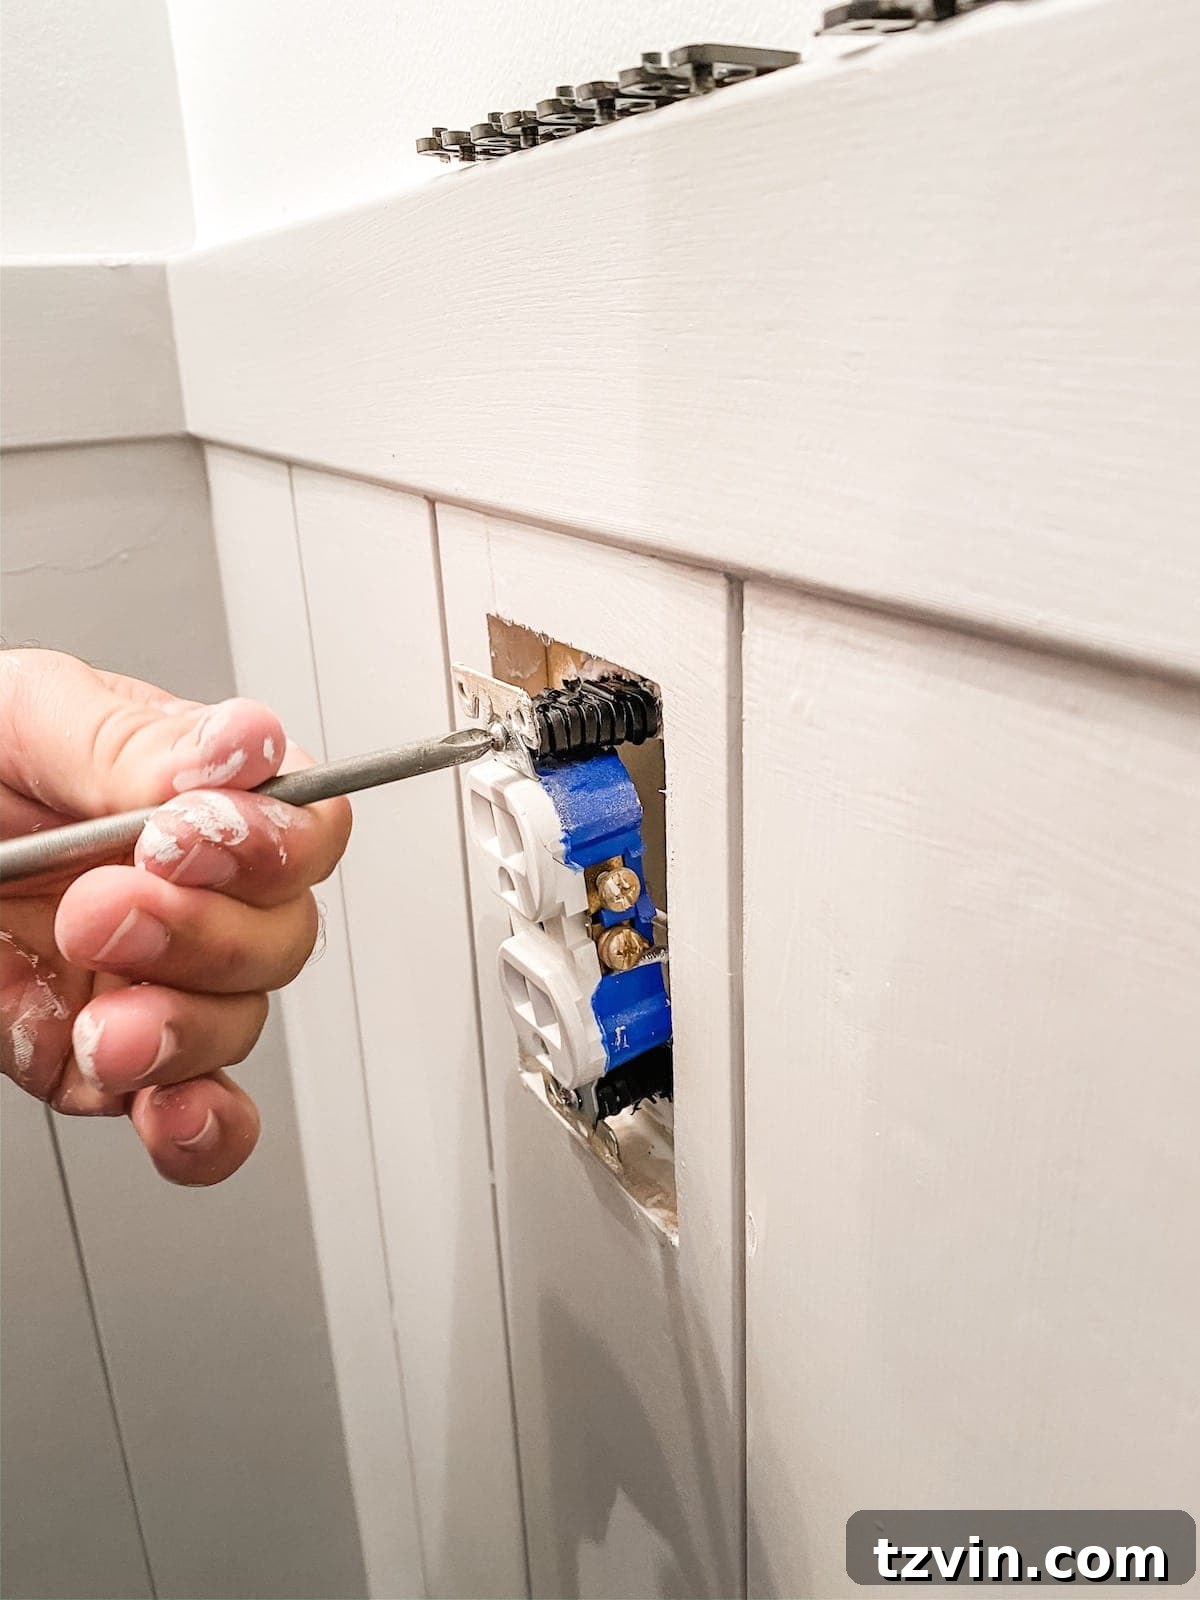
Step 13 – Install Oversized Outlet and Switch Covers
To provide a polished finish and neatly conceal any minor imperfections from your cuts, we recommend using jumbo or oversized outlet and switch covers. These larger covers are fantastic for hiding any slight gaps between your shiplap cutouts and the electrical box, offering a much cleaner and more professional appearance.
Step 14 – Attach the Upper Rail Molding
Now it’s time to add the finishing trim. Attach the 1×2-1/2″ Craftsman moulding horizontally along the top edge of your installed vertical shiplap boards. This piece serves as the elegant upper rail of your wainscoting, providing a distinct cap and adding to the visual appeal. Secure it firmly with finish nails into the shiplap boards and, where possible, into wall studs.
Step 15 – Install the Lower Baseboard Rail
Next, install the 1×4-1/2″ Craftsman moulding at the very bottom of the shiplap, acting as your baseboard. This wider piece anchors the wainscoting beautifully. Nail it securely into the shiplap boards and, if possible, into the wall studs, ensuring a robust and stable base.
Step 16 – Fill Nail Holes with Wood Filler
With all the boards and trim in place, it’s time for the meticulous finishing touches. Use wood filler to generously fill all visible nail holes. Apply a small amount, pressing it firmly into each hole. Allow the wood filler to dry completely according to the manufacturer’s instructions. This step is crucial for a smooth, flawless paint finish.
Step 17 – Caulk All Gaps and Seams
Next, use paintable caulk to fill any gaps between the shiplap boards and the walls, at the corners, and where the upper and lower rails meet the shiplap. A smooth bead of caulk creates a seamless, professional appearance. Wet your finger or a damp cloth to smooth the caulk line for a clean finish. Allow the caulk to fully cure before proceeding. This step is particularly important in bathrooms where moisture resistance is key.
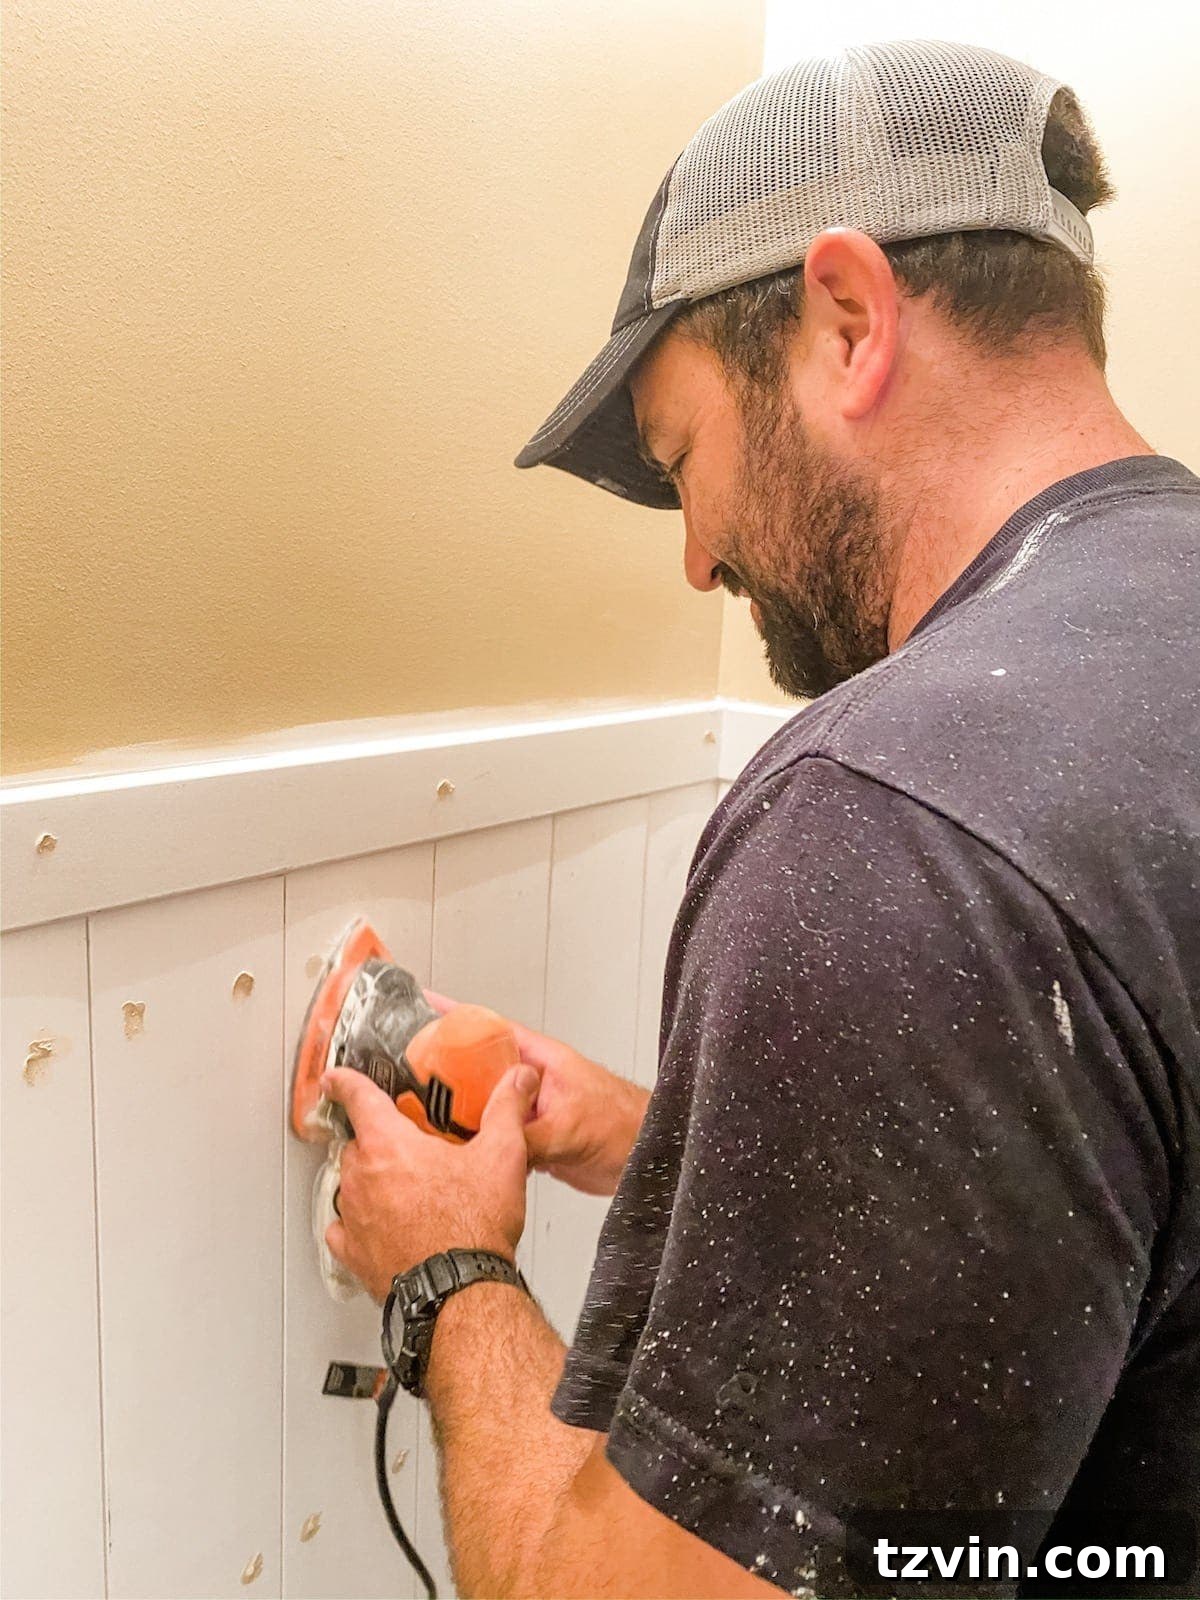
Step 18 – Sand Wood Filler Smooth
Once the wood filler is completely dry, use your sander with medium-grit pads to sand all filled areas until they are perfectly smooth and flush with the wood surface. Take care not to over-sand. **Important: Never sand caulk, as it will crack and lose its elasticity. Only sand the wood filler.** This step ensures an even surface for paint application.
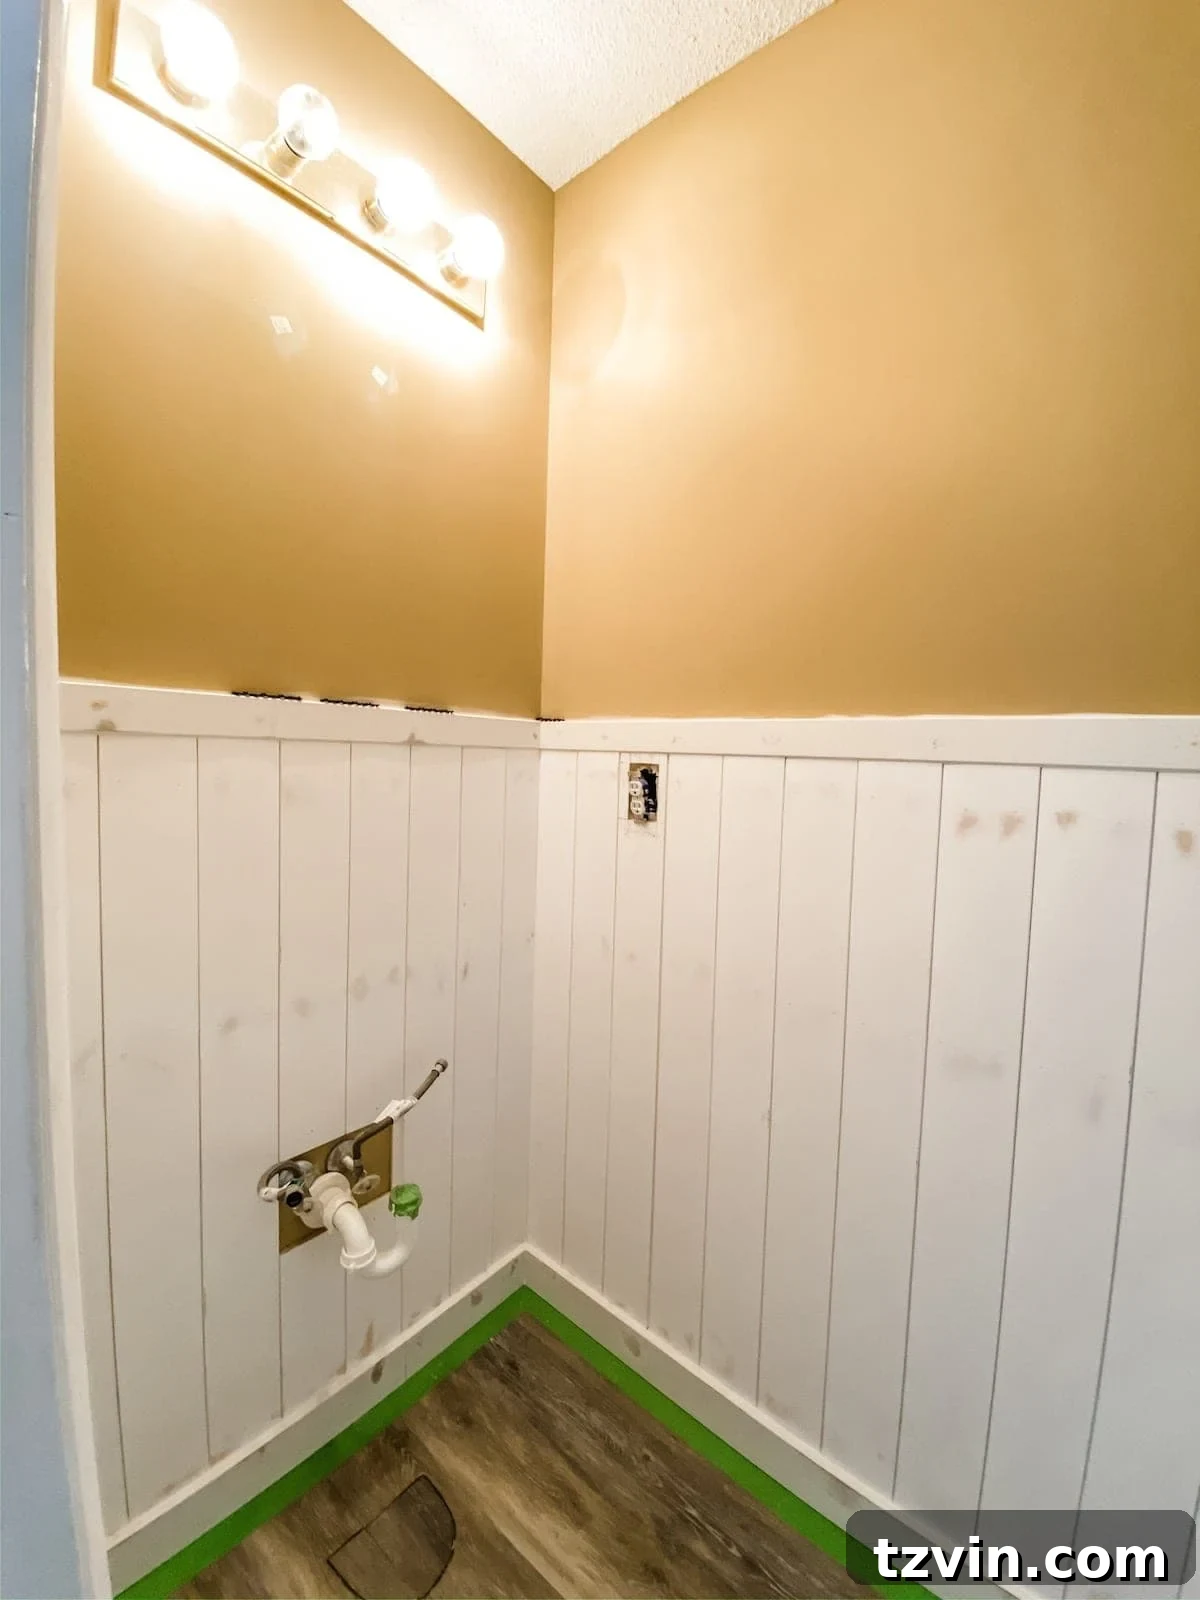
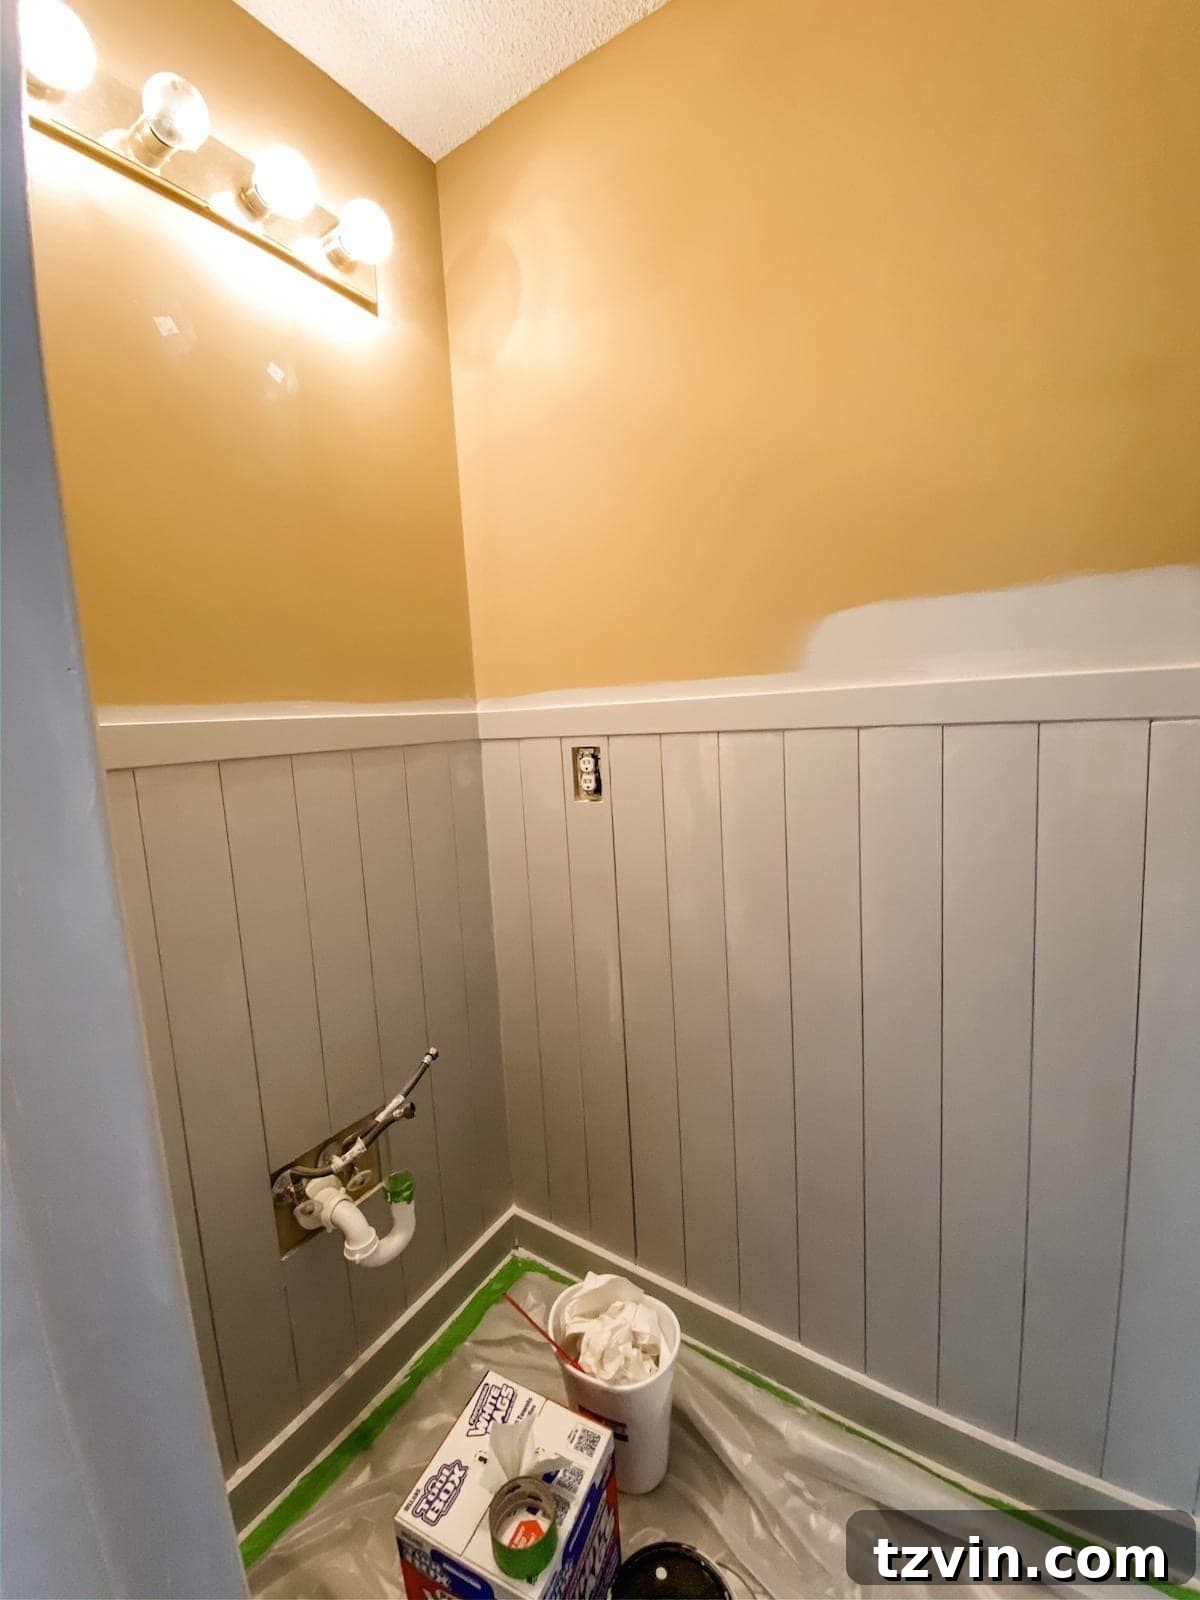
Step 19 – Prime and Paint Your Wainscoting
If your shiplap boards weren’t pre-primed, apply a high-quality primer coat first. Once dry, it’s time for the exciting part: painting! For bathroom wainscoting, professional painters often recommend durable, moisture-resistant formulas. Satin or semi-gloss paint sheens are ideal, offering excellent washability and protection against humidity. Specifically, waterborne alkyd paint formulas like Benjamin Moore Advance or Sherwin Williams Pro Classic are highly praised for their smooth finish and durability in high-moisture environments.
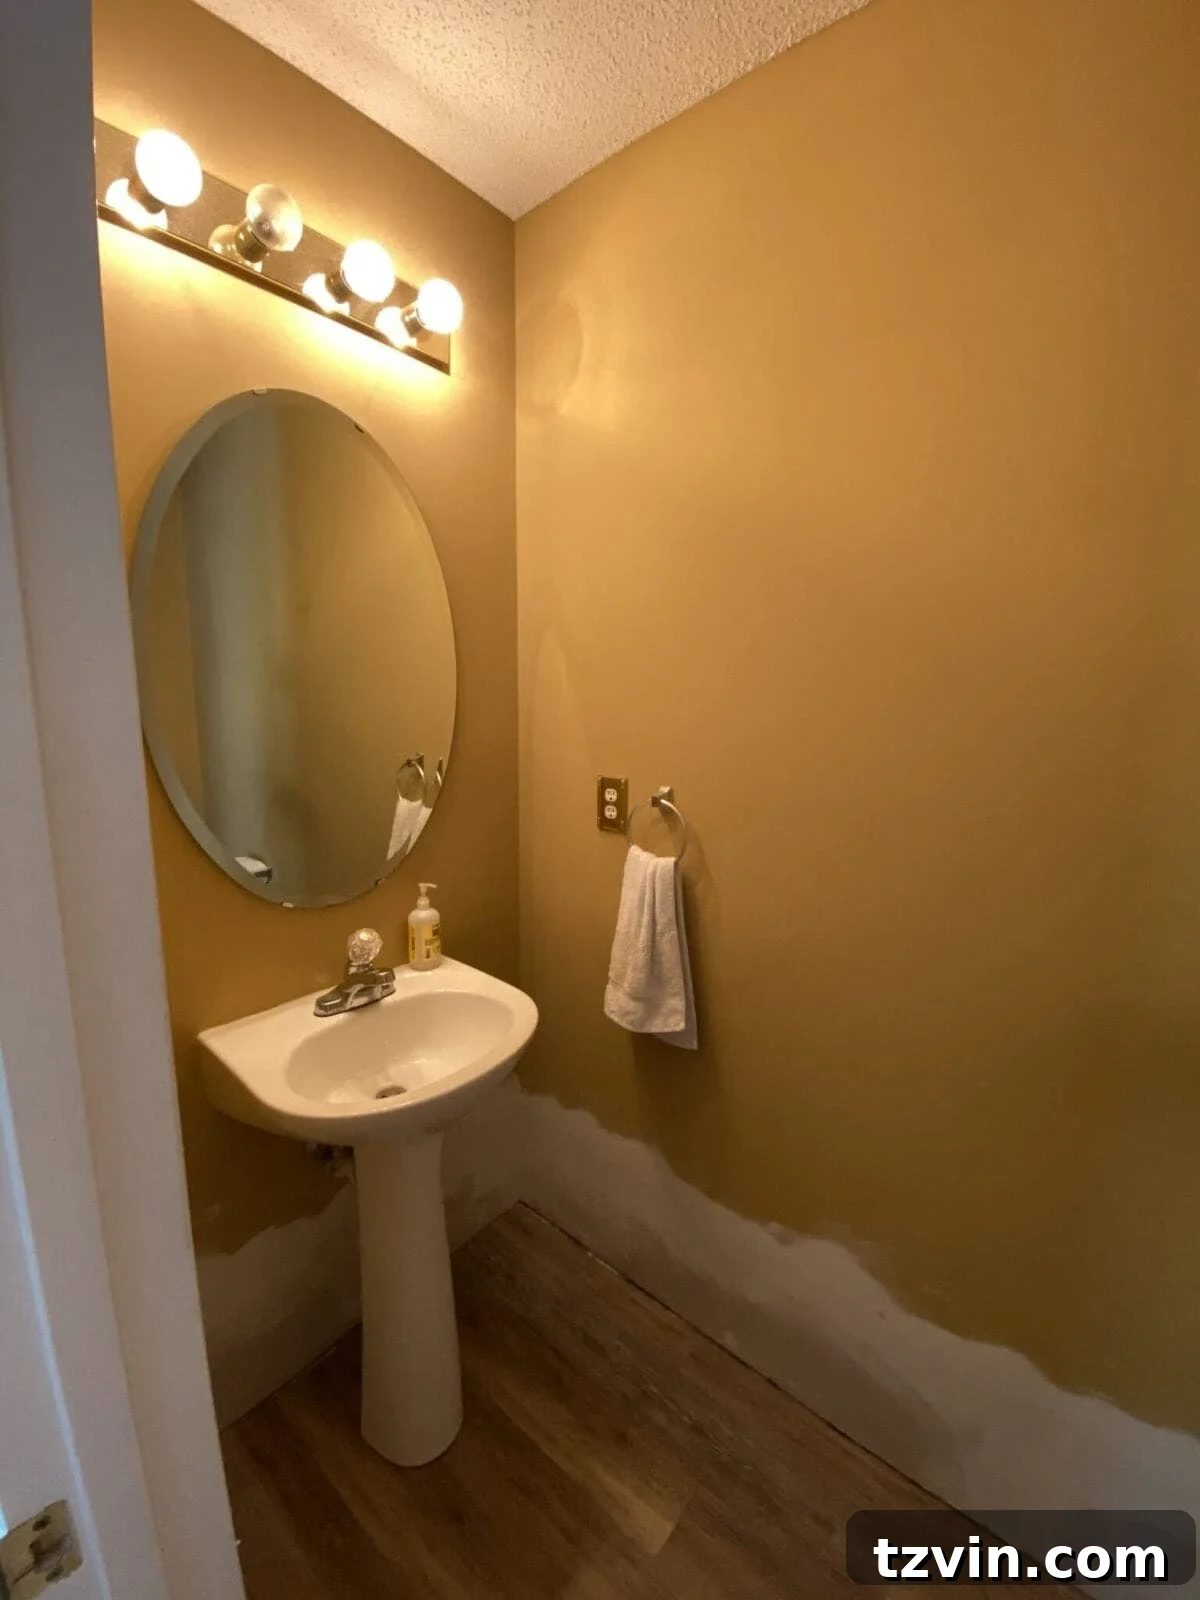
For our project, we chose Benjamin Moore Stonington Gray in a satin finish for the vertical shiplap wainscoting, creating a sophisticated and calming base. The upper walls were painted with Benjamin Moore Chantilly Lace in an eggshell finish, providing a crisp, bright contrast that enhances the room’s perceived size.
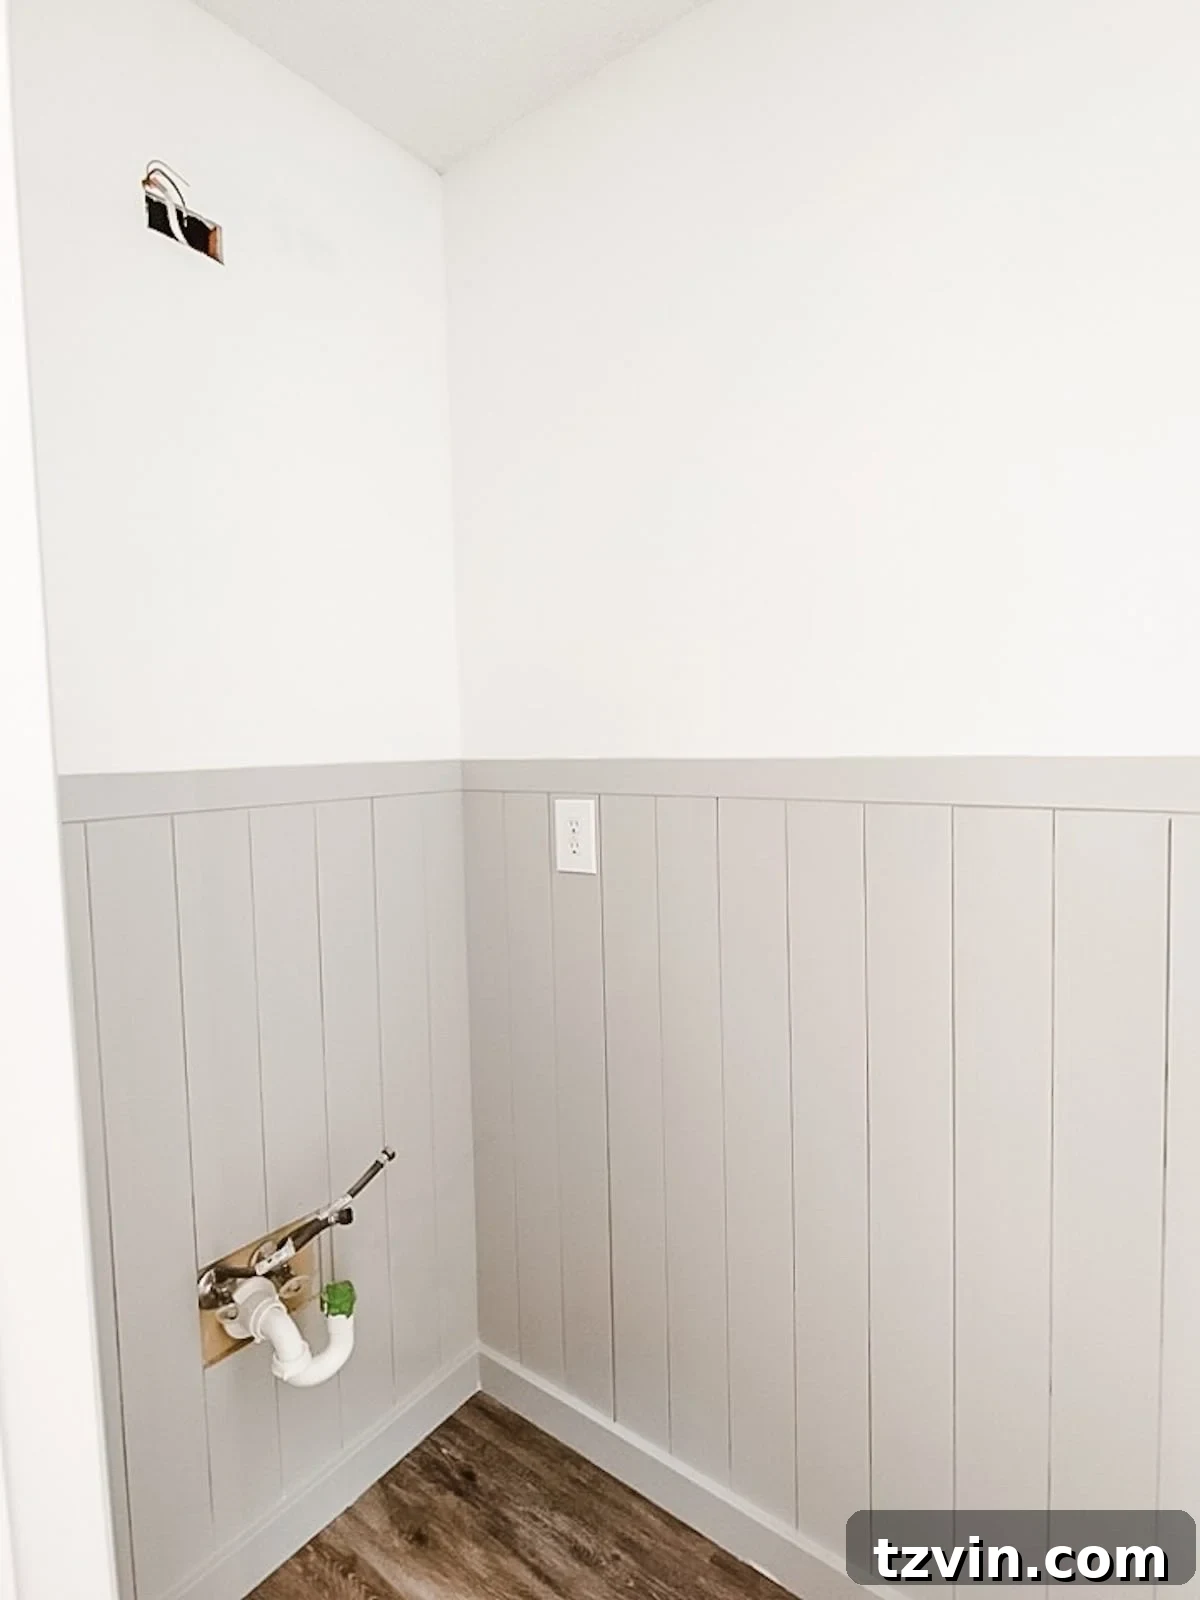
It’s truly astonishing how much larger and brighter this powder room feels now that the outdated gold paint is gone. The vertical shiplap wainscoting adds so much texture, depth, and a bespoke feel that elevates the entire space. This DIY project is a testament to the power of thoughtful design and a little elbow grease.
The final reveal for this charming California Casual powder room is just around the corner, so be sure to keep an eye out! We promise, it’s absolutely perfect and will inspire your next home improvement project.
UPDATE: Don’t wait! Click here to see the breathtaking finished product of the powder room makeover reveal!
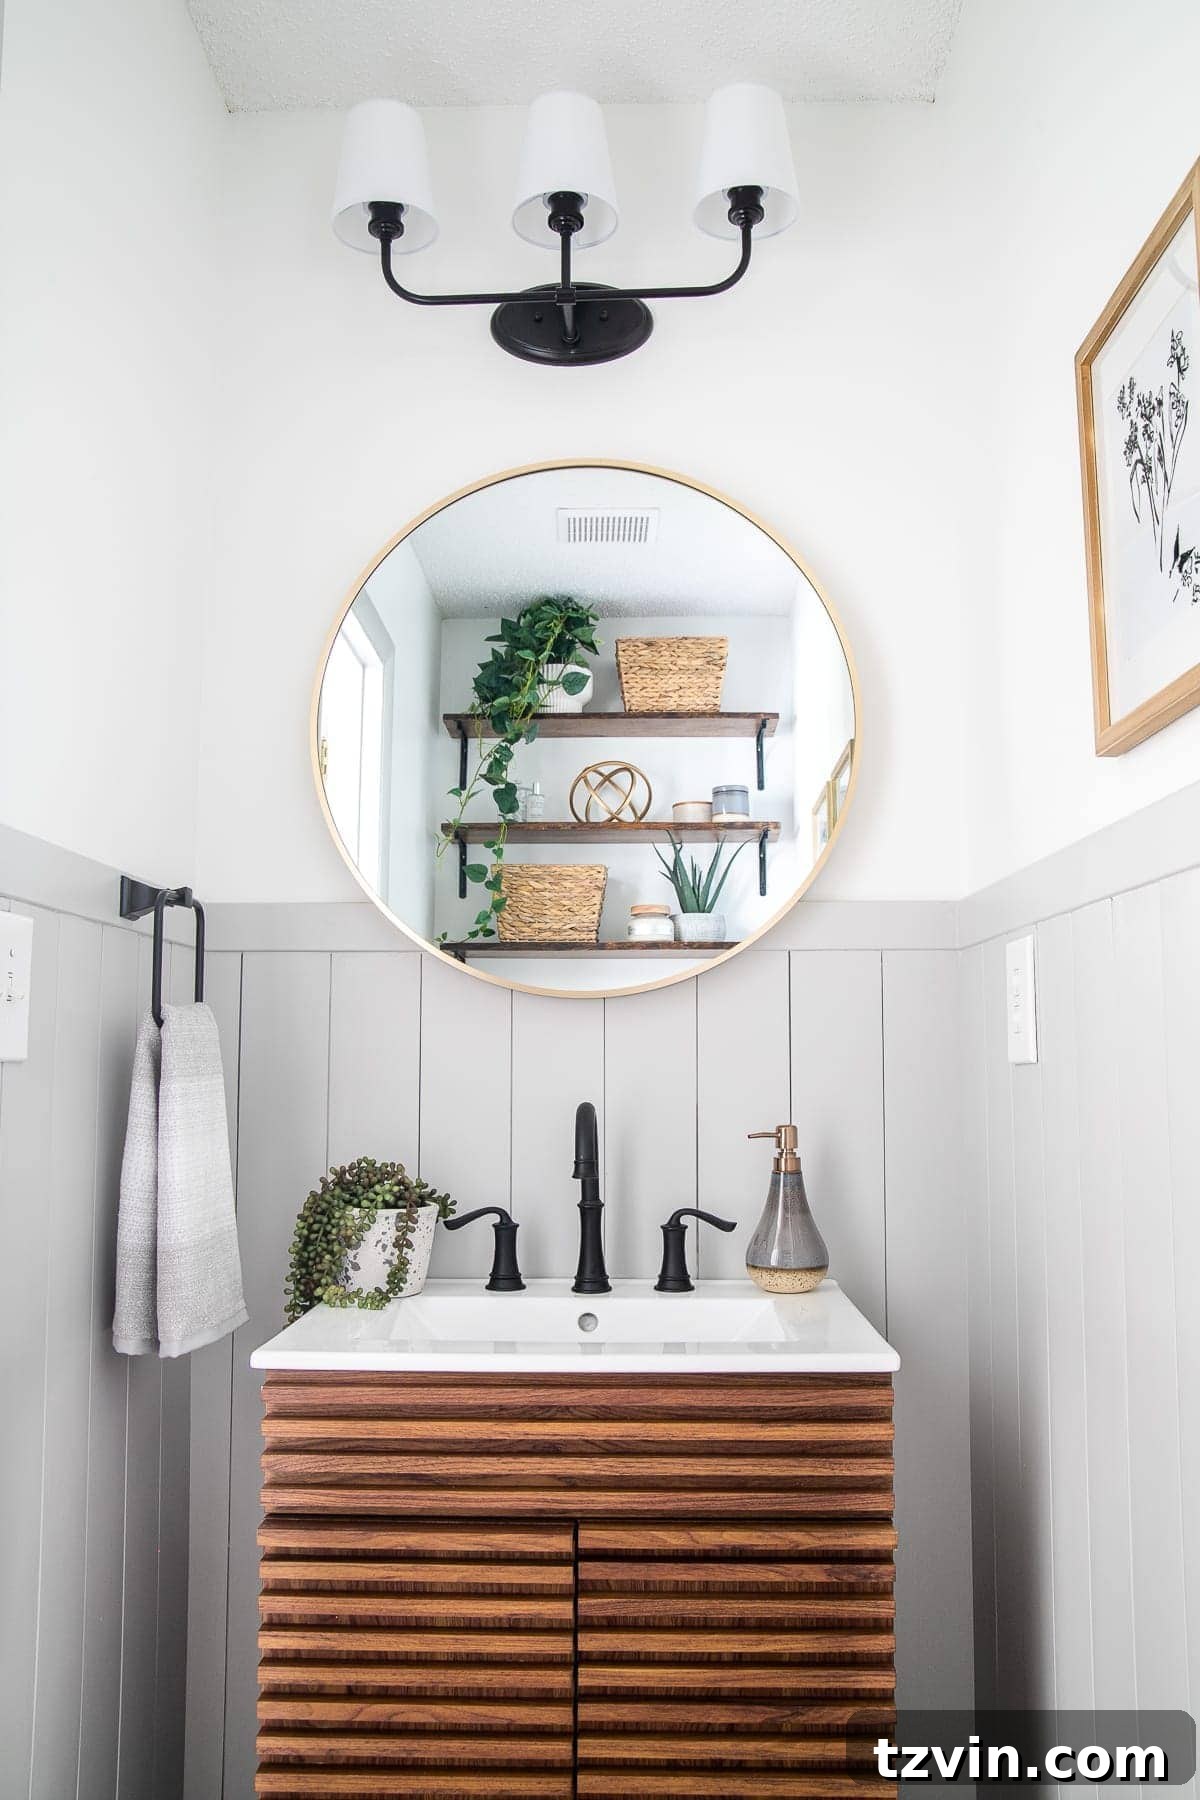
Have you ever taken on the task of installing vertical shiplap wainscoting or any other wall treatment? Are you a fan of shiplap in general? We have to admit, there was a moment when shiplap felt a bit overdone, but its versatility and fresh applications, especially in a vertical orientation, have brought it back into our hearts and homes with renewed vigor!
Explore more of our popular wall molding, shiplap, and wall treatment tutorials here for further inspiration and DIY guidance:
- How to Quickly Beef Up Crown Molding and Baseboards
- DIY Traditional Grid Molding and Focal Wall (See the Grid Molding Reveal)
- Creating Elegant Picture Frame Molding
- Craftsman Window Trim – The Easy Way
- How to Shiplap a Wall for Free (This is a technique, not a link to another post)
- DIY Simple Shiplap Wall
- Designing a Wood Plank Focal Wall
- DIY Planked Board and Batten Wall: Reveal
- The Cheapest and Easiest DIY Board and Batten (Part One)