
Transform Your Kitchen: The Ultimate Guide to Painting Cabinets for Lasting Durability
Embarking on a kitchen cabinet painting project can seem daunting, but with the right approach, it’s an incredibly rewarding DIY endeavor. What might initially feel like a Herculean task of scrubbing, sanding, and coating, truly transforms your space into something spectacular. Imagine taking your kitchen from drab to fab, all with a fresh coat of paint that’s designed to withstand the rigors of daily life. This comprehensive, step-by-step tutorial will guide you through the process of painting your kitchen cabinets, ensuring they are as durable as possible, without sacrificing speed or ease.
I recently completed this very project, dedicating an entire week to bringing our kitchen cabinets back to life. Every moment spent, from meticulously preparing surfaces to applying the final coat, was incredibly worth it. The transformation was dramatic, elevating our kitchen’s aesthetic and functionality.
To truly appreciate the journey, let’s take a quick look at where our cabinets started just a few weeks prior. The “before” picture often tells the most compelling story of potential.
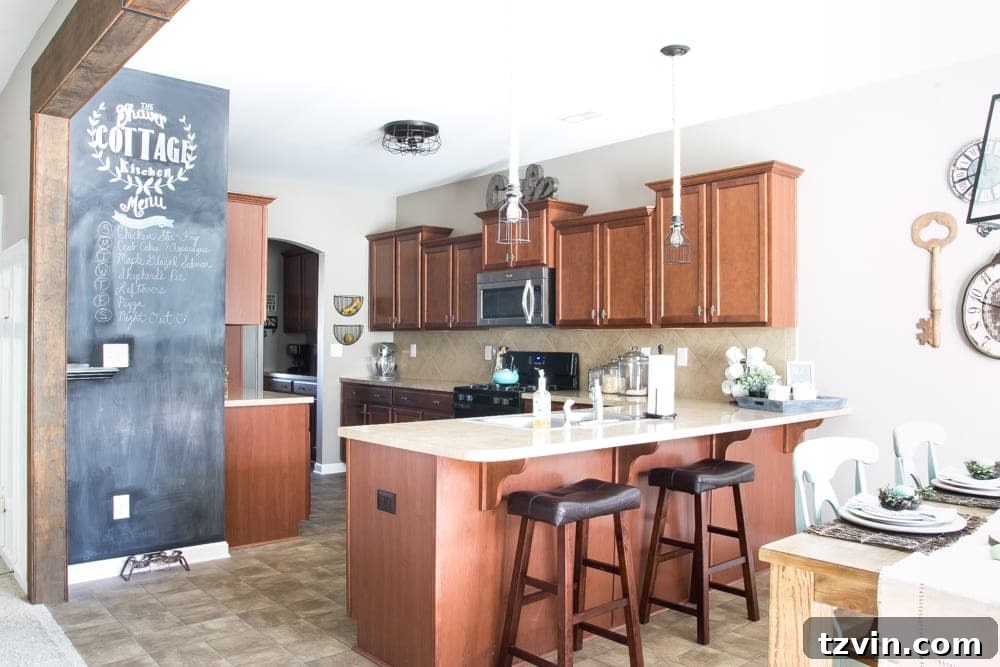
UPDATE: Discover the full kitchen makeover reveal here!
Why Painting Your Kitchen Cabinets is a Game Changer
Painting kitchen cabinets is one of the most impactful and cost-effective ways to refresh your entire kitchen without the expense of a full renovation. It can brighten a dark space, modernize an outdated look, and dramatically increase your home’s appeal. While I had experience painting bathroom cabinets previously, which held up perfectly, kitchen cabinets present a unique challenge. They endure far more daily wear and tear. Imagine a three-year-old’s tricycle impacting them daily, or the constant grease and grime from a family that loves to cook bacon! These cabinets needed to be exceptionally strong and resilient – what I like to call “Hulk strength.”
To achieve this level of durability and a professional finish, I delved into extensive research, consulting countless tutorials, articles, and tips from professional cabinet painters. My goal was to develop a method that would yield the most durable results as quickly and easily as possible. This article encapsulates all that knowledge, distilled into actionable steps for you.
Essential Supplies for Painting Kitchen Cabinets
Having the right tools and materials is crucial for a successful and durable cabinet painting project. Here’s a detailed list of everything you’ll need to achieve that professional, long-lasting finish:
- Sander Deglosser: A chemical solution that dulls the surface, helping paint adhere without traditional sanding.
- Krud Kutter Cleaner: Essential for thoroughly removing grease, grime, and kitchen residue from cabinet surfaces.
- Zinsser Primer: A high-quality primer that promotes adhesion and blocks stains. For laminate cabinets, opt for this shellac-based primer for superior grip.
- Benjamin Moore Advance Paint (Satin Finish): The top recommendation for cabinets due to its self-leveling and durable properties. I used the color Simply White.
- HomeRight Finish Max Paint Sprayer: A game-changer for achieving a smooth, factory-like finish in a fraction of the time.
- Cabinet Paint Roller: Specifically designed for smooth finishes on cabinets if not using a sprayer for frames.
- 4-inch Roller Covers: High-density foam rollers are ideal for minimizing texture.
- 2-inch Angled Brush: Perfect for cutting in edges and detailed areas on cabinet frames.
- Wood Filler: For repairing dings, dents, or filling old hardware holes for a seamless look.
- Fine Grit Sandpaper: For smoothing wood filler and light scuffing if desired.
- Rubber Gloves: Essential for protecting your hands from chemicals and paint.
- Power Drill/Driver: For efficiently removing and reattaching cabinet doors and hardware.
- Cup Pulls: (Optional) For updating cabinet aesthetics.
- Knobs: (Optional) To complete the new look of your cabinets.
- Cabinet and Drawer Template: For precise and consistent hardware placement.
- Drop Cloth: To protect floors and countertops from paint drips.
- Painter’s Tape: For masking off areas you don’t want to paint.
- Sandwich Zipper Bags: (Optional but highly recommended) For labeling and organizing hardware.
- Clean, Lint-Free Rags: For wiping surfaces and spills.
- Utility Knife: For scoring painter’s tape to prevent paint peeling.
Choosing the Best Cabinet Paint and Primer for Unmatched Durability
After extensive research and consulting with professionals, nearly every expert recommended **Benjamin Moore Advance** paint for cabinets. This paint is a true marvel, blending the best qualities of both oil-based and water-based paints. It behaves like an oil-based product by self-leveling beautifully (minimizing brush strokes), blocking stains, reducing wood grain raise, and sealing for exceptional durability. Yet, it offers the convenience of a water-based paint with easy soap and water cleanup, low odor, low VOC, and, crucially for white cabinets, it resists yellowing over time. Given we were using a white shade (“Simply White”), the non-yellowing property was paramount.
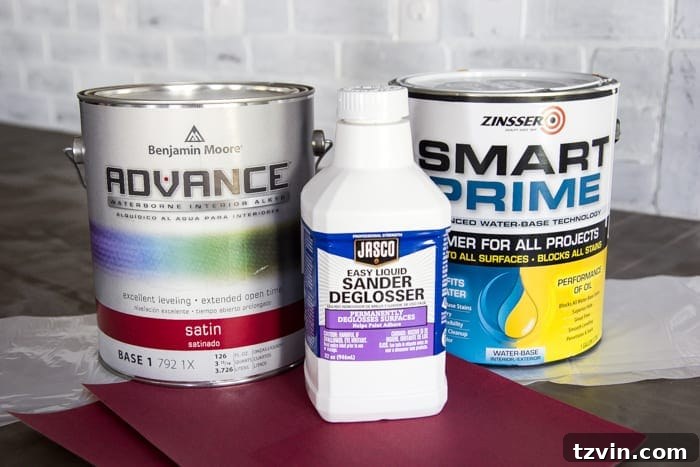
While Benjamin Moore Advance is not the cheapest paint on the market, its superior quality and unparalleled durability make it a worthwhile investment. For a project as significant as kitchen cabinets, sacrificing durability to save a few dollars on paint is a decision you’ll likely regret down the line.
For the primer, I initially chose **Zinsser Primer** due to its excellent adhesion and stain-blocking capabilities, which mirrored many qualities of the Advance paint. However, in hindsight, the Benjamin Moore Advance Primer might have been an even better choice, as it offers self-leveling properties that the Zinsser lacked. Nonetheless, the Zinsser Primer still performed admirably, proving its worth as a solid foundation. Remember, sometimes the best lessons are learned through experience!
Step-by-Step Guide to Painting Your Kitchen Cabinets Like a Pro
Patience and thorough preparation are the hallmarks of a professional cabinet paint job. Follow these steps for a stunning and long-lasting finish.
1. Disassemble and Label Everything Meticulously
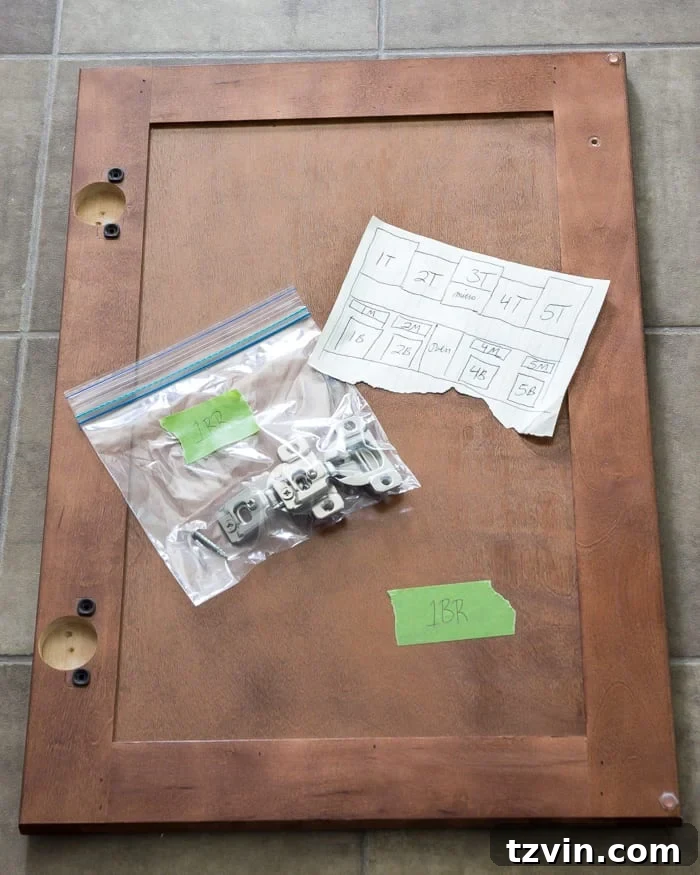
Before grabbing your drill, it’s critical to establish a labeling system. Cabinet doors, especially older ones, often have subtle variations that make them fit perfectly in only one spot. Trying to put them back randomly after painting can lead to misaligned doors and frustration. I created a simple, yet effective, high-tech diagram (think basic sketch!) of my kitchen layout.
Each cabinet and drawer was assigned a unique code (e.g., “1BR” for Column 1, Bottom Right Cabinet Door). I then carefully removed all doors, drawers, and hardware. For each door/drawer, I labeled its corresponding number and placed all hardware (hinges, screws, pulls) into a separate sandwich bag, clearly marked with the same code. This system proved invaluable during reassembly.
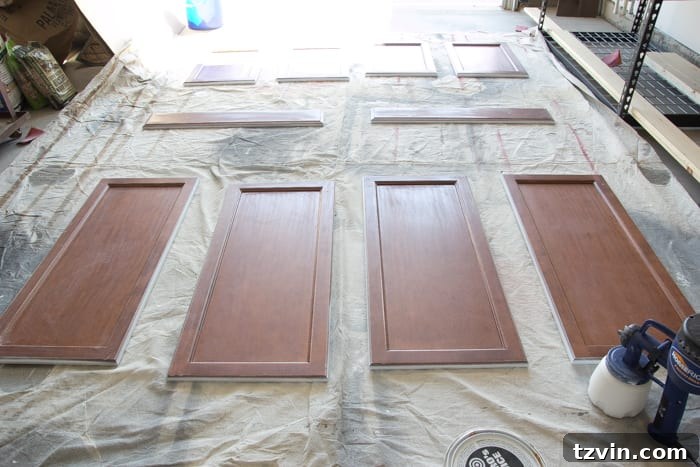
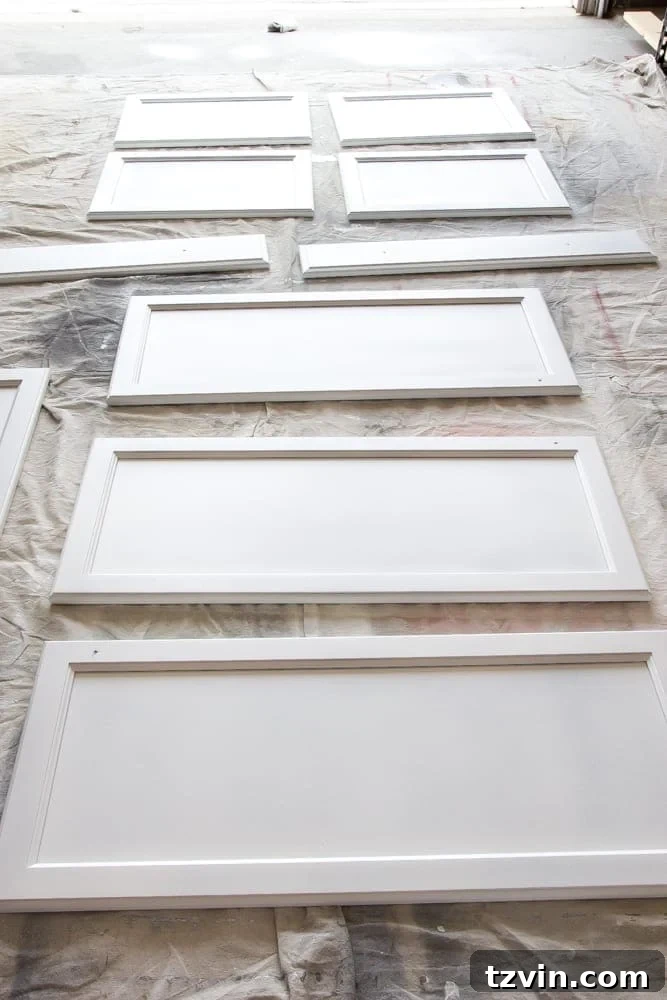
Once everything was detached and organized, my garage transformed into “Door Painting Central” for the duration of the project, providing ample space for drying.
2. Deep Clean Cabinet Doors and Frames with Krud Kutter
Kitchen cabinets are magnets for grease, food splatter, and general grime. A pristine surface is paramount for paint adhesion and durability. Using Krud Kutter (or a similar heavy-duty degreaser), thoroughly wipe down every surface of your cabinet doors, drawer fronts, and cabinet frames. Follow the product instructions carefully, and always wear chemical-resistant gloves to protect your skin. This step ensures no hidden residues compromise your paint finish.
3. Degloss for Optimal Adhesion (No Sanding Needed!)
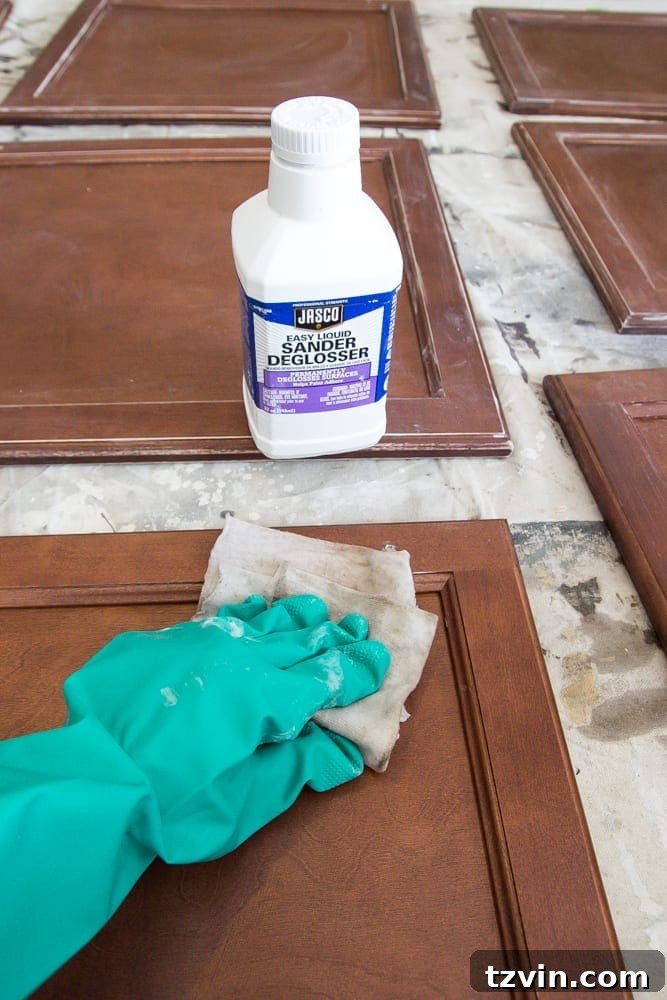
Many tutorials insist on sanding, but I found that a quality deglosser can effectively prepare your surface without the mess and effort of sanding. After cleaning, apply the sander deglosser to all surfaces. This chemical solution etches the existing finish, creating a perfect surface for primer to adhere to. Let the deglosser dry for at least 30 minutes, or as per product instructions. This step is a huge time-saver and makes the entire process much more enjoyable.
4. Fill Knob/Pull Holes with Wood Filler (If Necessary)
If you’re upgrading your hardware and the new knobs or pulls require different hole placements, now is the time to address existing holes. Fill any unwanted holes with wood filler, ensuring it’s slightly overfilled to allow for sanding. Once completely dry (check product instructions, typically a few hours), sand the filled areas smooth with fine-grit sandpaper until they are flush with the cabinet surface. This creates a flawless canvas for your new hardware.
Tip: Embrace a Paint Sprayer for a Flawless, Professional Finish in Half the Time
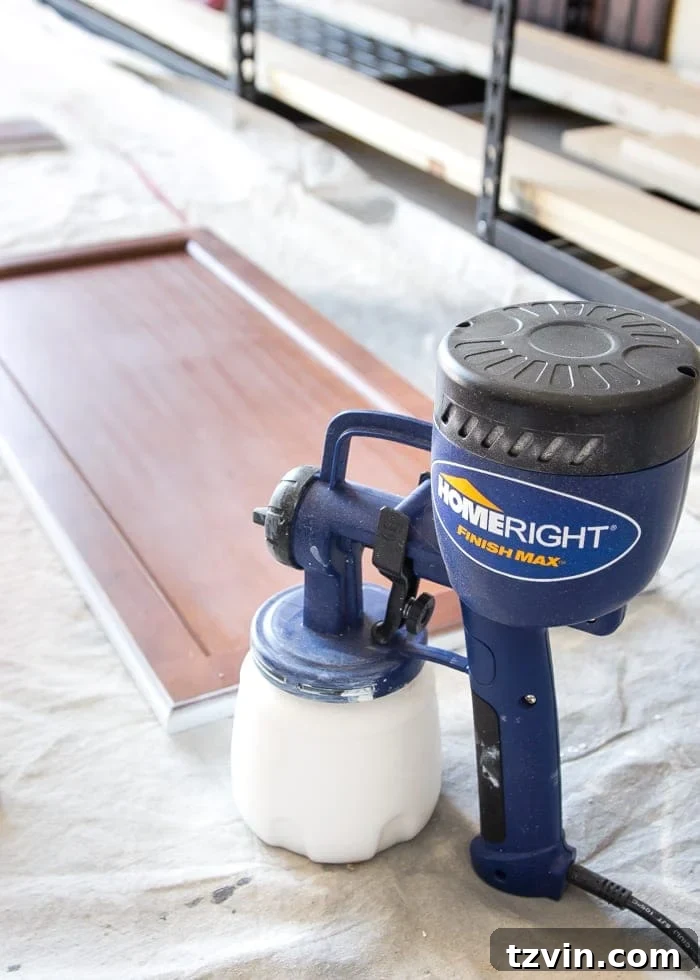
Using a paint sprayer, like my HomeRight Finish Max, was an absolute game-changer. For achieving a smooth, factory-like finish with incredible speed, a sprayer is an invaluable tool. What would have taken 10-15 minutes per door to paint with a brush and roller for each coat took approximately 60 seconds with the sprayer. With 42 doors and drawers, this saved countless hours and prevented significant fatigue, making the process not just faster, but also yielding a far superior, streak-free result. If you’re serious about professional-looking cabinets, invest in a quality sprayer.
5. Apply the First Coat of Primer to Door Backs
Always start with the backs of your cabinet doors. This allows you to perfect your technique before tackling the more visible fronts. Thin your Zinsser Primer with about 10% tap water directly into the sprayer reservoir and stir thoroughly. This thinning helps the primer flow smoothly through the sprayer and self-level. Apply a thin, even coat, moving steadily to avoid puddling or drips. If you’re new to using a sprayer, watch a few videos to get a visual sense of the technique – it’s quite straightforward once you get the hang of it. Remember to prime the cabinet frames later, after you’ve completed the door priming (see Step 9 for frame details).
6. Prime the Door Fronts After Adequate Drying Time
Patience is key during the drying phases. Allow the primer on the door backs to dry for a full 24 hours before carefully flipping them over to prime the fronts. Apply a thin, even coat to the fronts, similar to how you treated the backs. Again, let these dry for another full 24 hours. This extensive drying time is crucial for proper paint curing and ultimate durability. Between each coat and color change, meticulously clean your sprayer with water and, if necessary, cleaning solution, to prevent clogs and ensure smooth operation for subsequent uses.
Tip: Monitor Humidity for Optimal Curing!
Always paint in low humidity conditions. High humidity can significantly extend drying times and negatively impact how your paint cures, potentially leading to a less durable finish.
7. Apply the First Coat of Paint to Door Backs
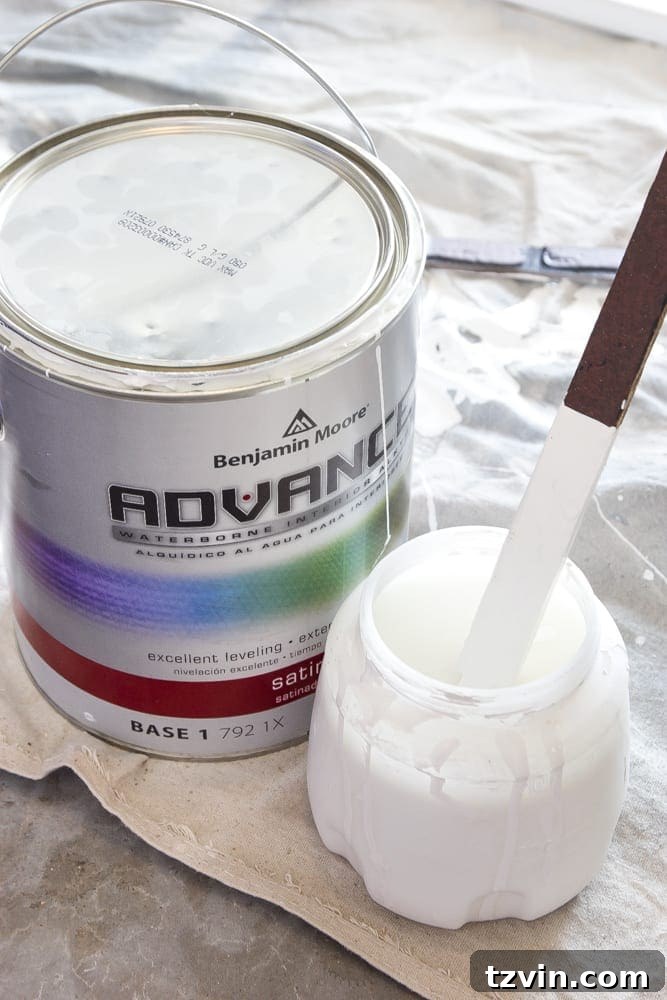
With priming complete, it’s time for the actual paint! Clean your sprayer thoroughly. Thin the Benjamin Moore Advance paint with about 5% water (less thinning than primer, as it’s already self-leveling). Load your sprayer and repeat the process, applying a thin, even coat to the backs of all doors. After 12 hours, apply a second thin coat to the backs. Then, allow them to dry for a full 24 hours before flipping. Painting the cabinet frames will happen after the doors are done (see Step 9).
8. Apply Paint to Door Fronts for a Flawless Finish
Carefully flip the doors (after their 24-hour drying period) to work on the fronts. Apply the first thin coat of Benjamin Moore Advance paint using the sprayer, ensuring full coverage without drips. Allow this coat to dry for 12 hours before applying the second thin coat. Finally, let the door fronts cure for another full 24 hours. I chose to paint the backs first as a precautionary measure, assuming the finish might get a bit disturbed when flipping. However, with the generous 24-hour drying time between steps, both sides achieved a beautifully smooth and resilient finish.
9. Painting the Cabinet Frames: Integrating the Process
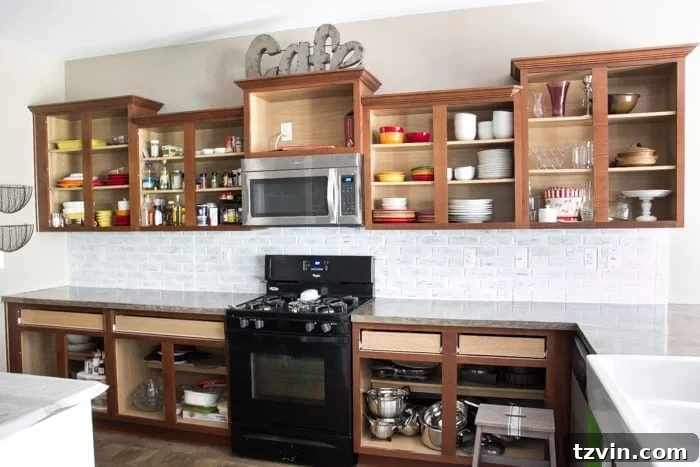
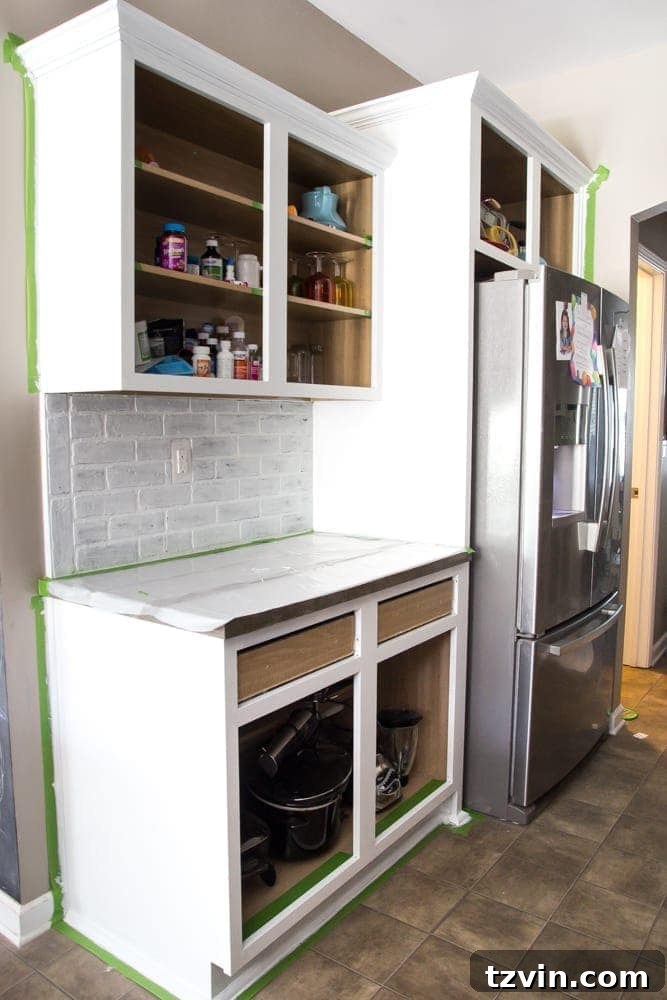
While your doors are drying in the garage, you can strategically work on the cabinet frames in your kitchen. This parallel workflow significantly speeds up the entire project. Begin by meticulously taping the edges around your cabinet frames with painter’s tape, and lay down a plastic drop cloth to protect your concrete countertops and flooring. Then, follow these steps for the frames:
- Clean: Spray with Krud Kutter and wipe down thoroughly to remove all grease and grime.
- Degloss: Wipe with Jasco Deglosser and allow to dry for 30 minutes.
- Prime: Apply 1 coat of Zinsser Smart Prime using a 2-inch angled brush for corners and a 4-inch foam roller for flat surfaces. Allow to dry for a full 24 hours. (While a sprayer could be used here, setting up the extensive plastic barriers and floor coverings to contain overspray in the kitchen might be more trouble than it’s worth; brush and roller work well for frames.)
- Paint: Apply 2 coats of Benjamin Moore Advance using the angled brush and foam roller, allowing a full 24 hours of drying time between each coat.
By alternating between door work in the garage and frame work in the kitchen, you can maximize efficiency, ensuring something is always drying, and keep the project moving forward at a good pace.
10. Score Painter’s Tape Before Removal
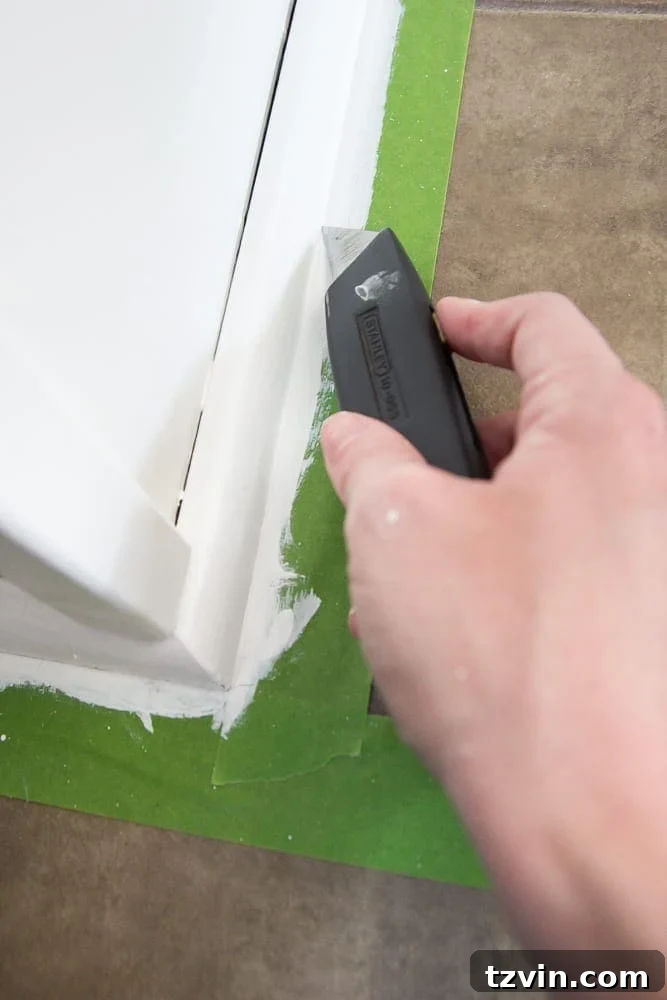
Once all paint on the cabinet frames is completely dry, carefully score along the edge of the painter’s tape with a utility knife before peeling it off. This crucial step prevents the dried paint from peeling away with the tape, ensuring crisp, clean lines and a professional finish.
11. Drill for Hardware Using a Template
For precise and consistent hardware placement, a cabinet and drawer template is indispensable. It helps you accurately mark and drill holes for your new knobs and pulls. Although I didn’t photograph this step in my eagerness to finish the project, it’s a vital part of achieving a polished look. Measure twice, drill once!
12. Attach Knobs and Pulls, Then Rehang Doors onto Frames
Finally, the exciting part! Attach your new knobs and pulls to the freshly painted doors and drawers. Then, with the help of a partner (my husband, Robert, was a lifesaver here!), carefully reattach each door to its corresponding cabinet frame using your power drill/driver and the organized hardware bags. The labeling system you set up in Step 1 will make this process incredibly smooth.
The moment we hung the last cabinet door, we celebrated with a spontaneous victory dance in our bright, transformed kitchen! It’s an incredible feeling of accomplishment. In fact, just four hours after reassembling everything, we hosted a large Memorial Day cookout. Talk about living on the edge!
Beyond the Paint: Completing Your Kitchen Makeover
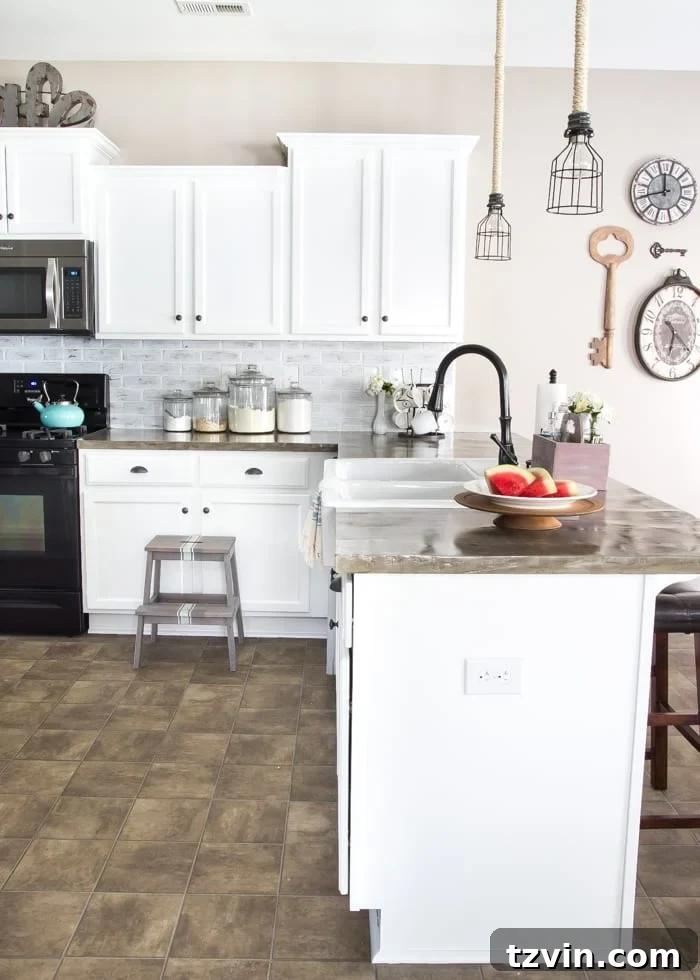
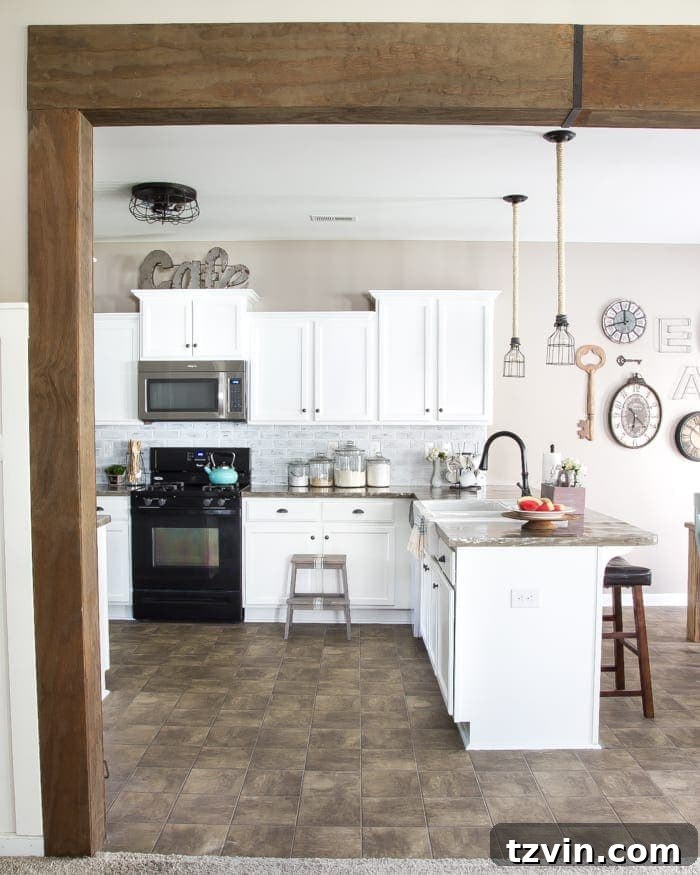
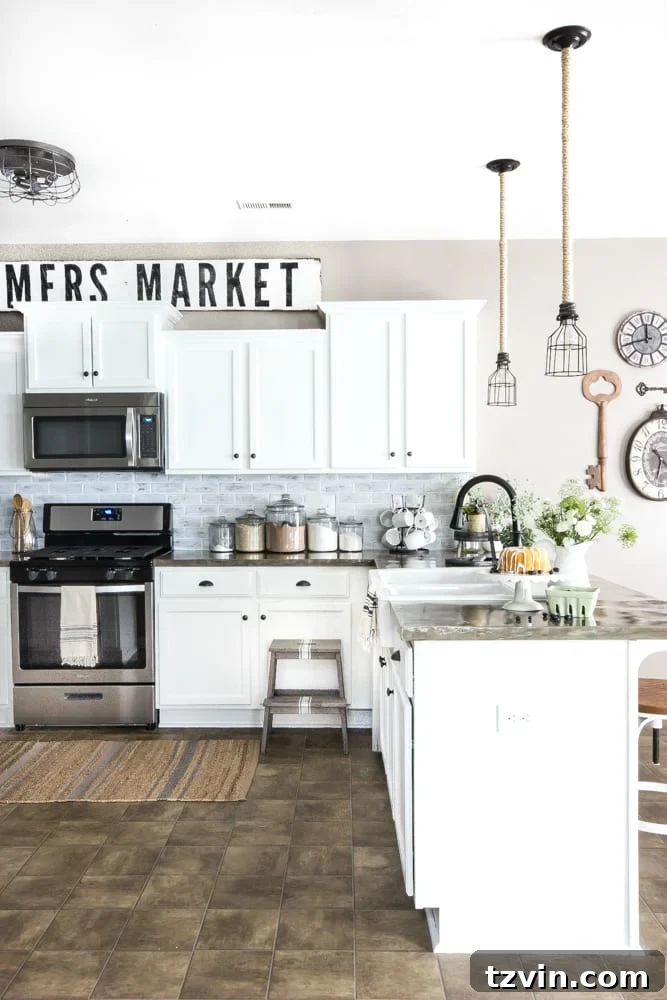
I am absolutely astonished by the difference painting the cabinets made. Our kitchen, which lacks natural light from windows, desperately needed this brightening transformation. The fresh white cabinets instantly made the space feel larger, more open, and incredibly inviting.
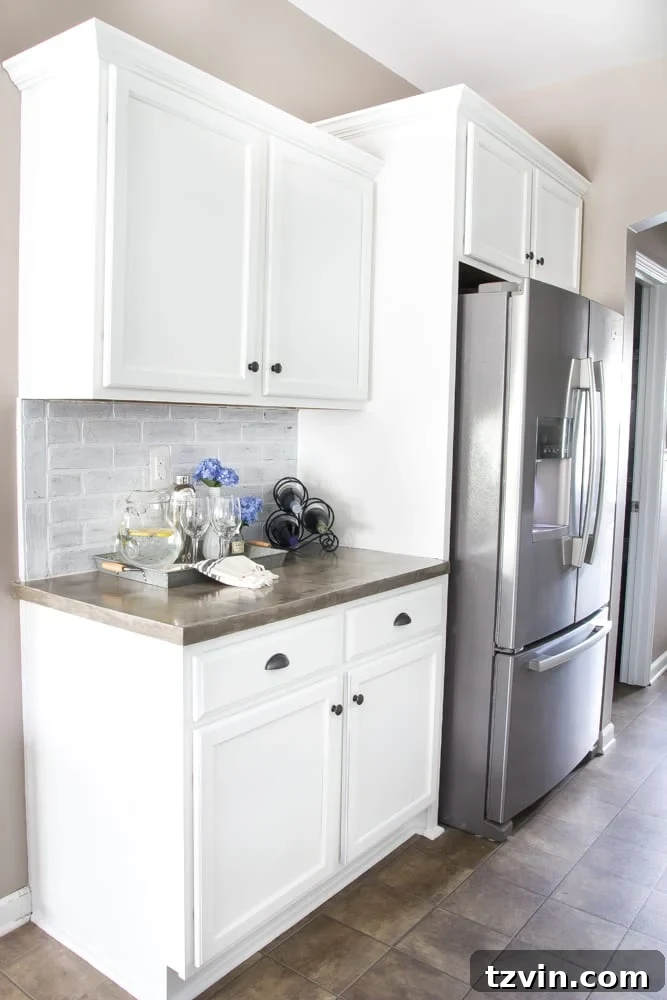
While the cabinets were the major undertaking, we still have a few finishing touches planned for the kitchen. Adding a stylish runner rug and finding new counter stools (or perhaps upcycling some thrift store finds, if I get lucky!) are next on the list. I’m also hoping to install under-cabinet lighting soon to further enhance the brightness and functionality of the space, budget permitting.
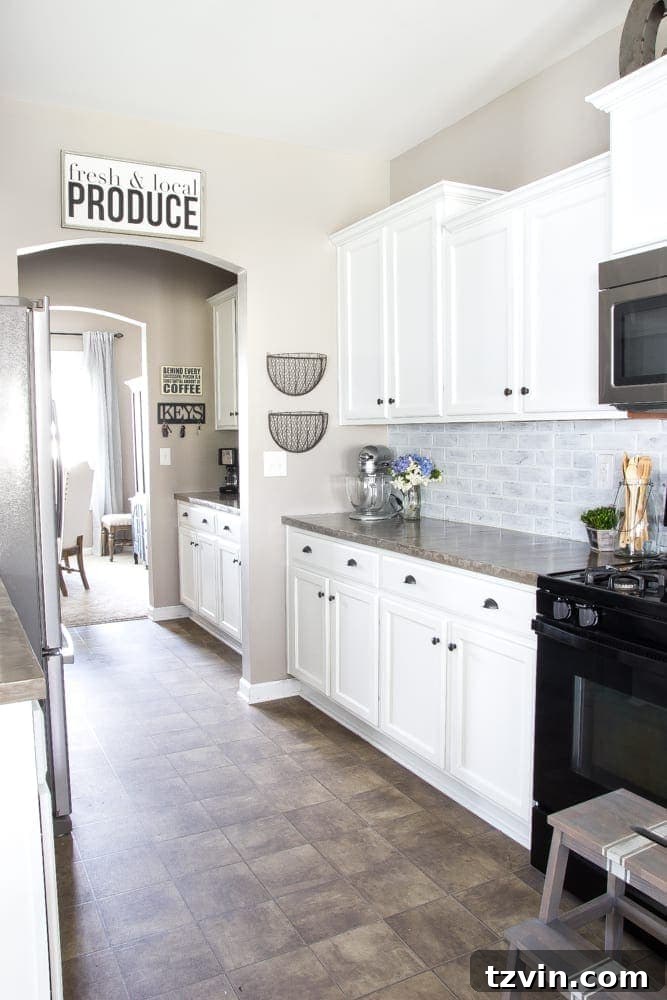
We’re also eagerly anticipating swapping out our old black range for a sleek stainless steel one, which will complement the refreshed aesthetic perfectly.
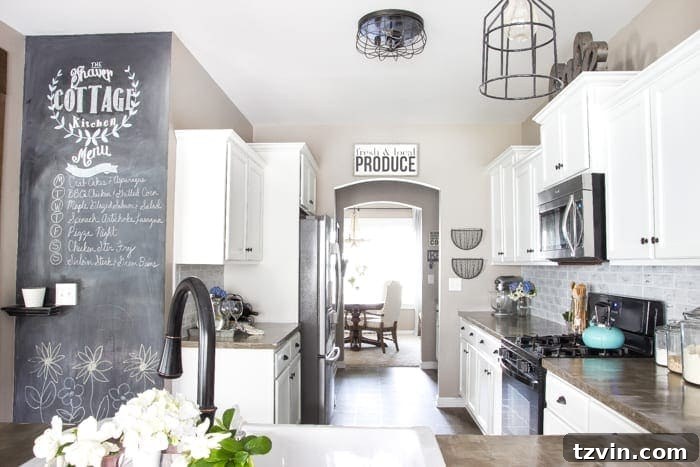
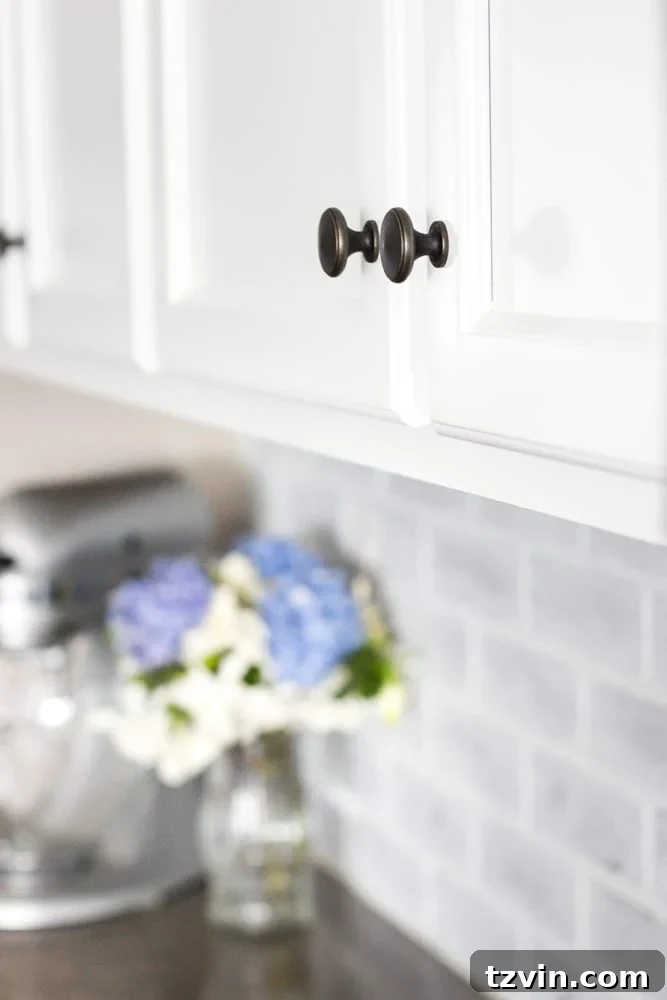
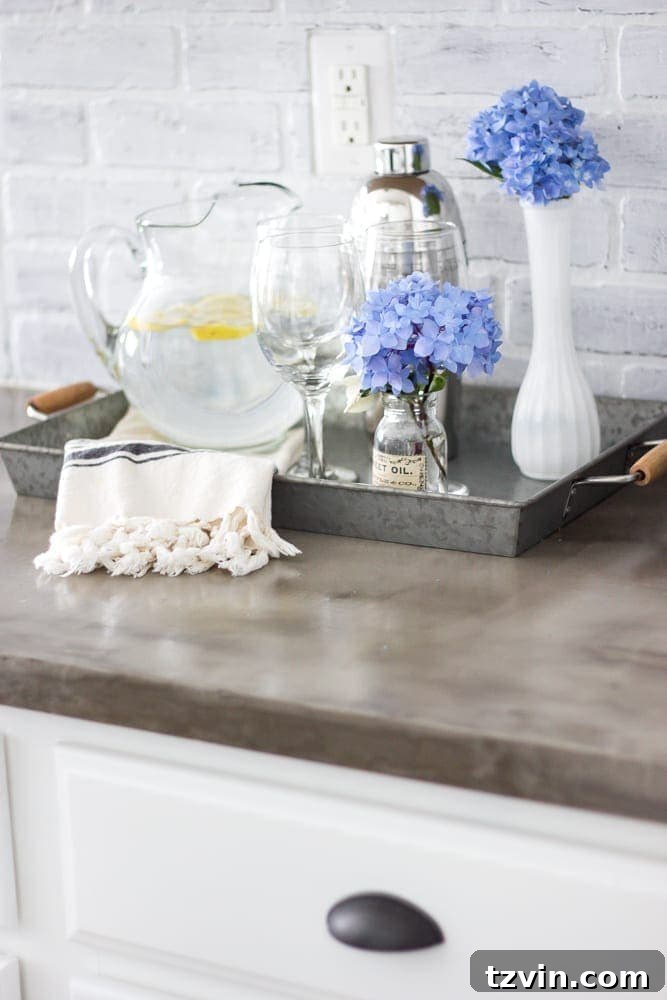
If you’re interested in other budget-friendly kitchen upgrades, you can also check out our DIY whitewashed brick backsplash, which cost us a mere $75 for the entire kitchen!
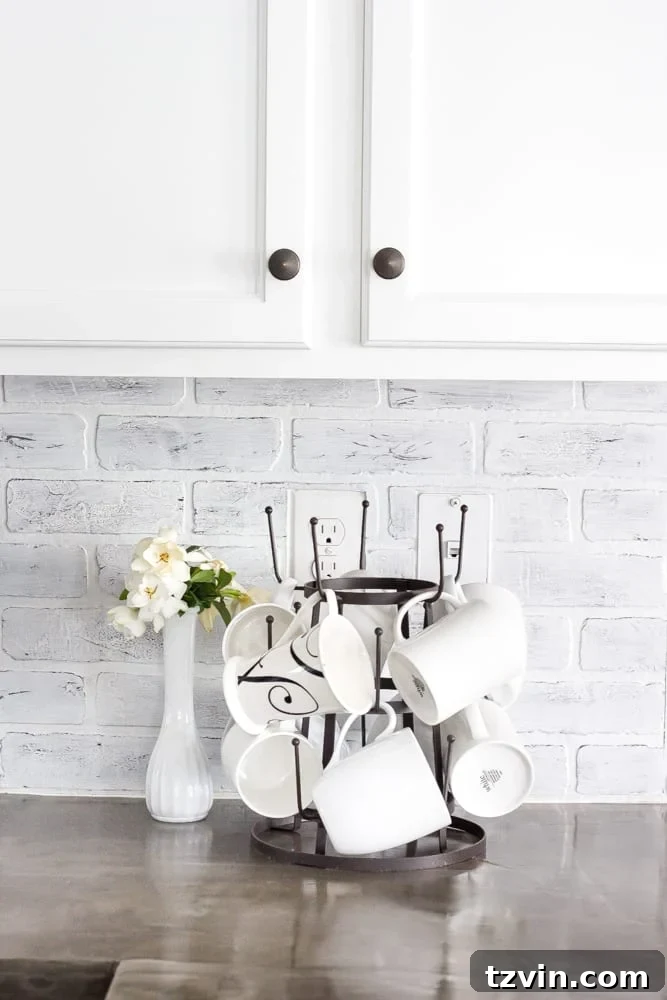
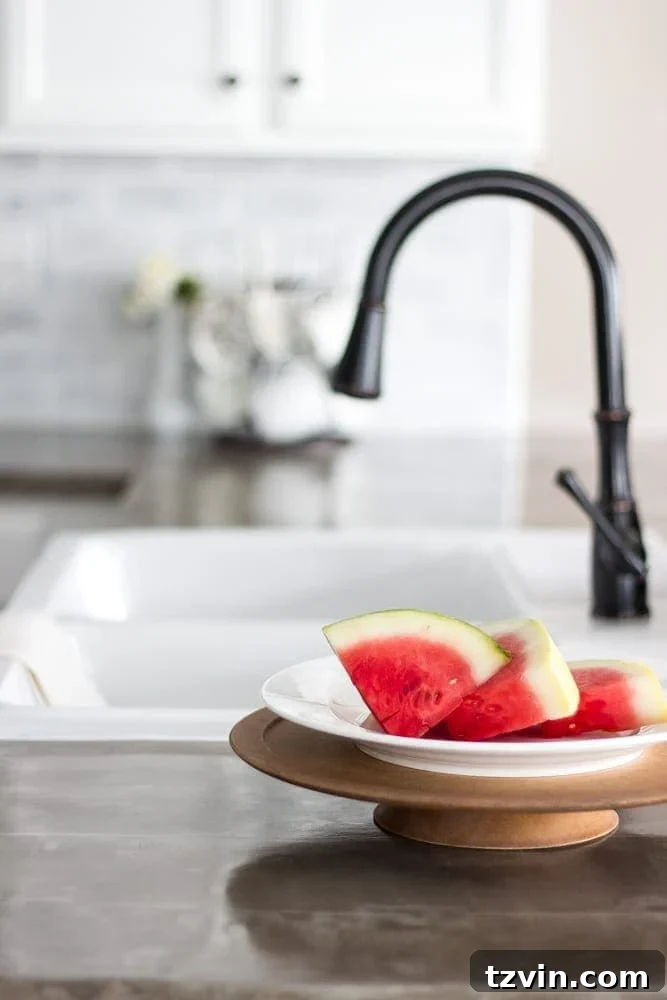
And if you missed them, I previously shared details on our incredible DIY concrete countertops and our practical IKEA farmhouse sink and faucet setup.
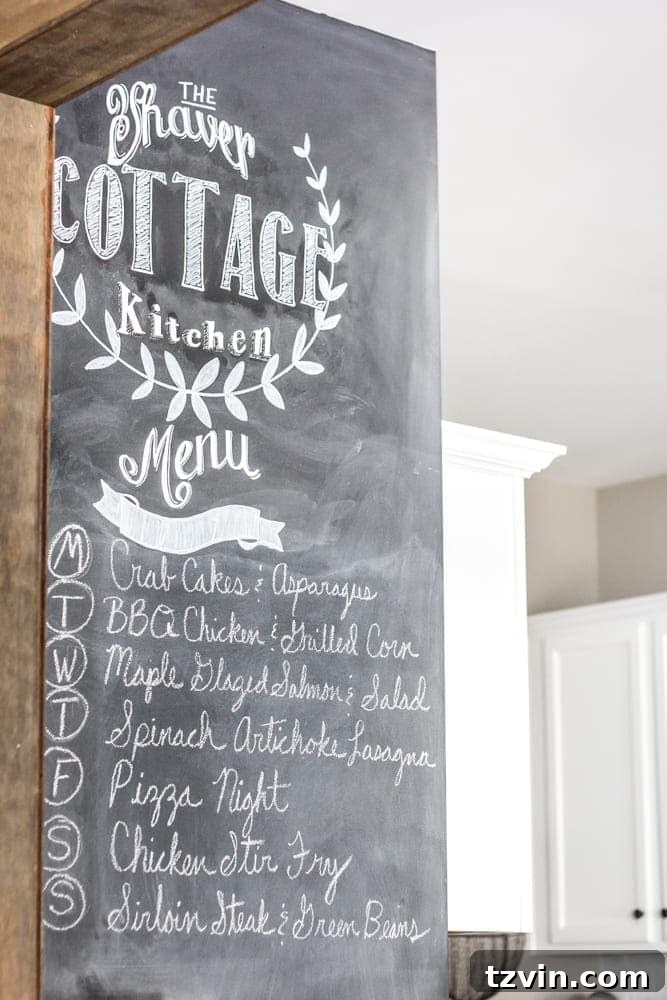
One of the very first projects we tackled in this house was the chalkboard wall. It remains incredibly useful for weekly meal planning and keeps our kiddo happily entertained with drawing while I’m busy cooking dinner.
Next week, we’re excited to add reclaimed wood to the stool side of our bar area, creating a cohesive look with our DIY wood beam doorway. The arrival of the new stainless steel range will be the final touch for our appliances.
Amidst all the fancy new paint and decor, life still happens! While snapping pictures of our sparkling new kitchen, a hungry little helper quickly devoured the watermelon slices. This girl can seriously eat her weight in melon!

We are incredibly close to calling this kitchen officially finished! This cabinet painting project alone has propelled our kitchen from its original state into a completely new realm. The power of paint is truly magical, isn’t it?
UPDATE: You can see our completely finished kitchen makeover here!
Long-Term Durability: Do Painted Kitchen Cabinets Really Last?
If you’re considering painting your own cabinets, I sincerely hope this detailed guide proves invaluable. I was confident in the method from the start, and the initial rock-solid finish within just two days of completion was incredibly encouraging. But the real test is time.
**UPDATE: Several years later, the results speak for themselves!** We have since moved out of this house, but I can confidently report that the painted cabinets were still looking absolutely perfect a year after painting them. Even more impressively, the new homeowners have confirmed that the painted cabinets are still holding up flawlessly three years later. This rigorous method, emphasizing proper preparation and high-quality materials, truly works and ensures lasting durability for your kitchen cabinets!
If you found this tutorial helpful and want to keep it handy for your future DIY projects, feel free to pin it for easy reference!

Can I paint my kitchen cabinets without sanding?
What type of paint should be used on kitchen cabinets for maximum durability?
Related Posts You Might Enjoy
- 15 Ways to Transform Your Entire House with Just Paint
- DIY Painted Concrete Pool Deck and Patio
- Our Painted Sink Countertop Tub & Shower 8 Months Later
- How to Choose the Perfect Paint Color for Your Home Every Time