An Easy & Inexpensive Trick to Personalize Any Wood Surface: Paint Names and Designs on Signs, Furniture, and More!
In the heart of the South, it’s often said that if your name or monogram isn’t etched, painted, or embroidered on something you own, you haven’t truly embraced the Southern spirit. While that might be a playful exaggeration from folks around my town, there’s an undeniable charm and practicality to personalization. Beyond regional traditions, adding a personal touch like a name to an item instantly makes it yours. For families with young children, this isn’t just about aesthetics; it’s a strategic move in the ongoing battle against sibling rivalry. Mark an item with a name, and suddenly, it’s no longer “fair game” for a curious little sibling to claim as their own. My daughter, Olivia, is quickly learning this lesson as her younger sister, Regan, approaches the age of asserting ownership with a resounding “mine!”
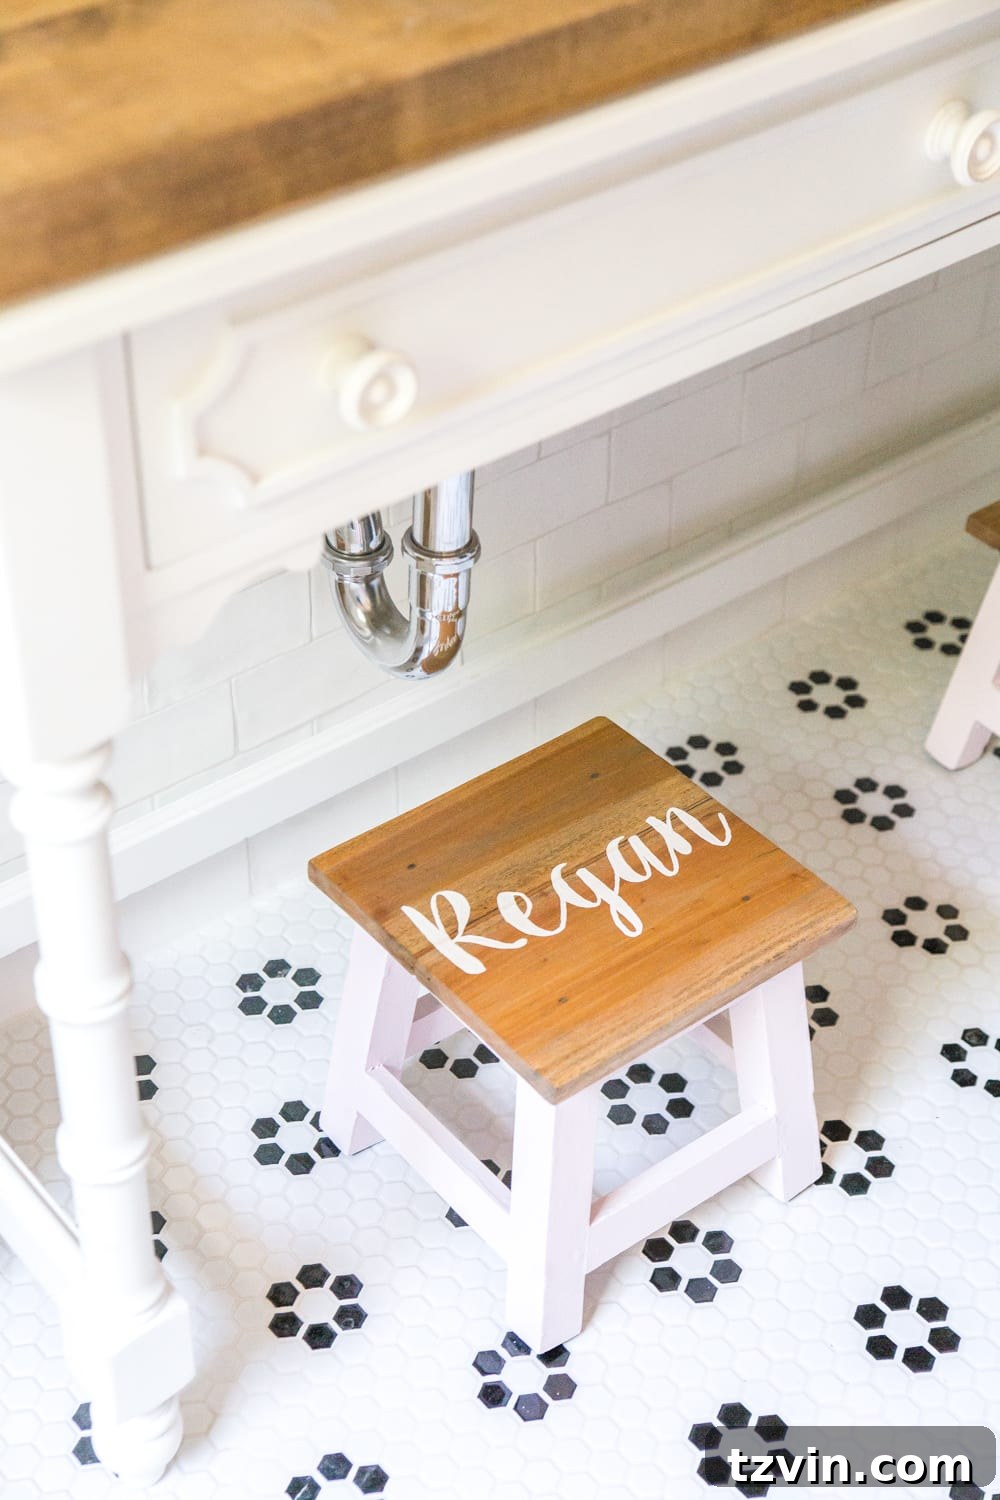
This universal truth became particularly relevant as we finalized the #BlesserGirlyBathroom makeover. A key element of the design involved tucking a pair of sturdy step stools neatly under the vanity. These stools would serve a dual purpose: providing the girls with easy access to the sinks as they grew, and offering a practical solution for their daily routines. But Olivia, with her budding interior designer’s eye, had an even better idea. She envisioned personalized name signs right beside their sinks. While her original plan involved cardboard and hot glue (bless her creative heart!), it sparked an even better, more durable idea for these reclaimed wood step stools: giving them a charming, lasting personalization.
This project is not only a fantastic way to honor a child’s imagination but also perfectly timed for this month’s “Trash to Treasure Transformation Tuesday,” where we celebrate budget-friendly, impactful makeovers. Stay until the end of this post to discover other incredible thrifty transformations!
Why Personalize Wood? The Appeal of Custom Creations
Personalizing wooden items goes far beyond just labeling belongings. It’s about infusing character, creating unique gifts, and adding bespoke touches to your home decor. A simple wooden sign transformed with a family name becomes a cherished heirloom. A plain piece of furniture adorned with a custom design elevates its style. This method, in particular, offers an accessible way for anyone, regardless of artistic skill, to create professional-looking personalized pieces. It’s a budget-friendly alternative to expensive custom orders or intricate carving, making personalized decor attainable for all.

DIY Personalized Step Stools: Your Guide to Custom Wood Painting
Supplies You’ll Need for Your Custom Wood Project
Gathering the right tools and materials is the first crucial step in any successful DIY project. For this personalized step stool makeover, you won’t need anything overly specialized. Many of these items you might already have on hand, keeping the cost of this transformation wonderfully low.
- Wooden Step Stools: The canvas for our project! I sourced these specific stools online. When choosing yours, look for sturdy construction. Don’t worry if they’re a bit worn or mismatched, as ours were; that just means more opportunity for a stunning transformation! Thrift stores, flea markets, or even forgotten pieces in your garage can be perfect candidates.
- Names Printed on Plain Computer Paper: This is the secret to our “no artistic skill required” method! You’ll need a printer, standard white paper, and your chosen font. I used “Sweet Pea” font, which you can easily find and download for free from websites like dafont.com if you don’t already have it. Make sure the font size is appropriate for your chosen surface.
- Ballpoint Pen: Any standard ballpoint pen will work. The key is its ability to create a firm indentation when pressed, which will act as your guide.
- Tape: Standard masking tape or painter’s tape is ideal for securing your printed design in place without damaging the wood surface.
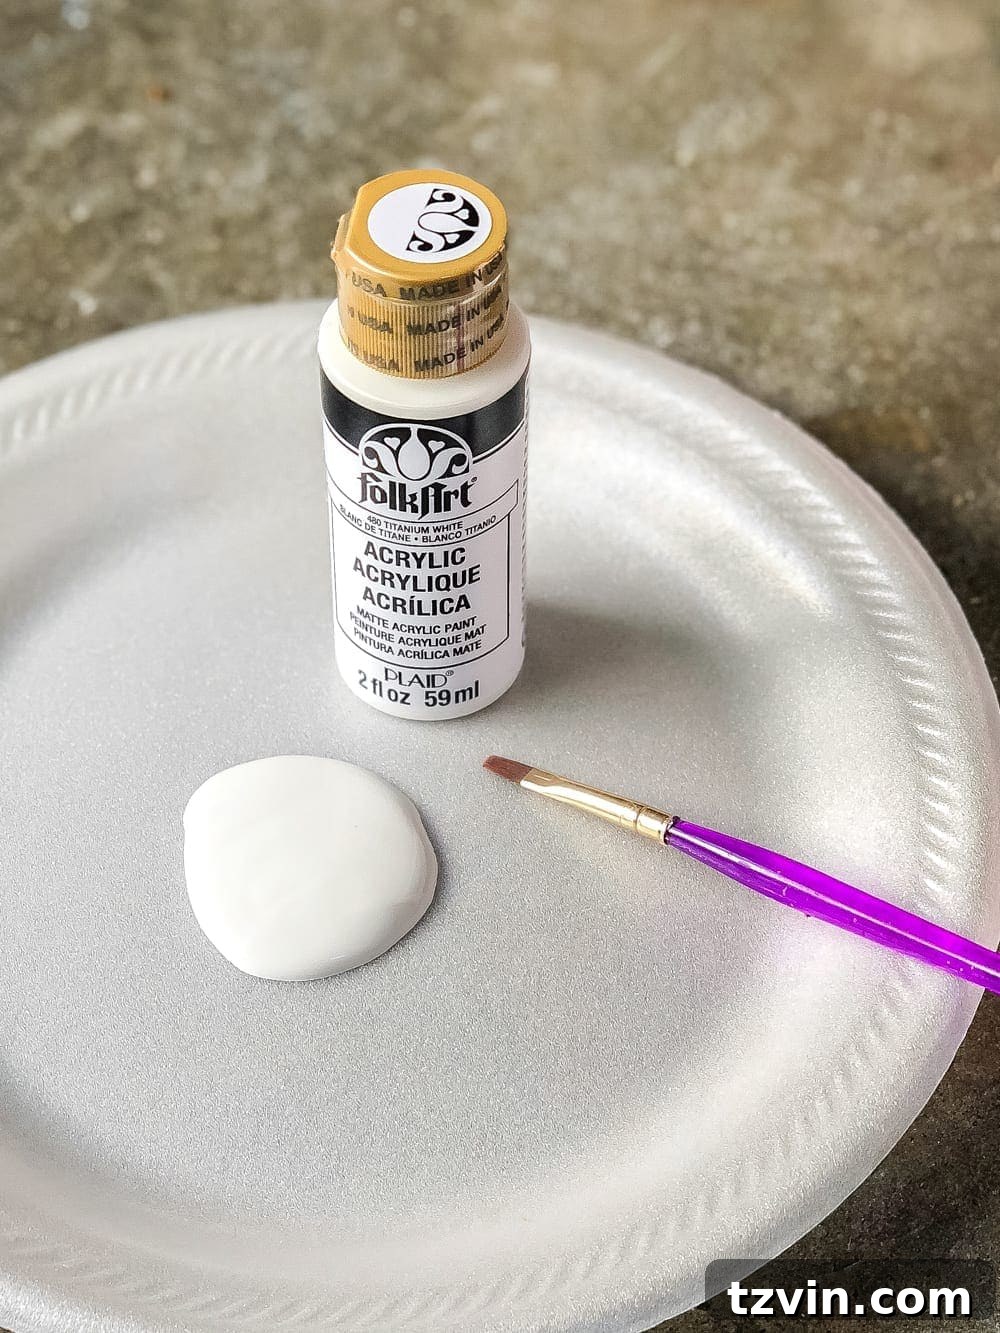
- Acrylic Craft Paint: Select colors that complement your decor. Acrylic paints are versatile, easy to work with, and clean up quickly with water. For the lettering, white or a contrasting color often works best for visibility.
- Small Artist Brush: A fine-tipped brush is essential for precise lettering, allowing you to trace the intricate details of your chosen font.
- Small Chip Brush: Useful for applying base coats of paint to larger areas of the stool. Its bristles are perfect for achieving a smooth, even finish.
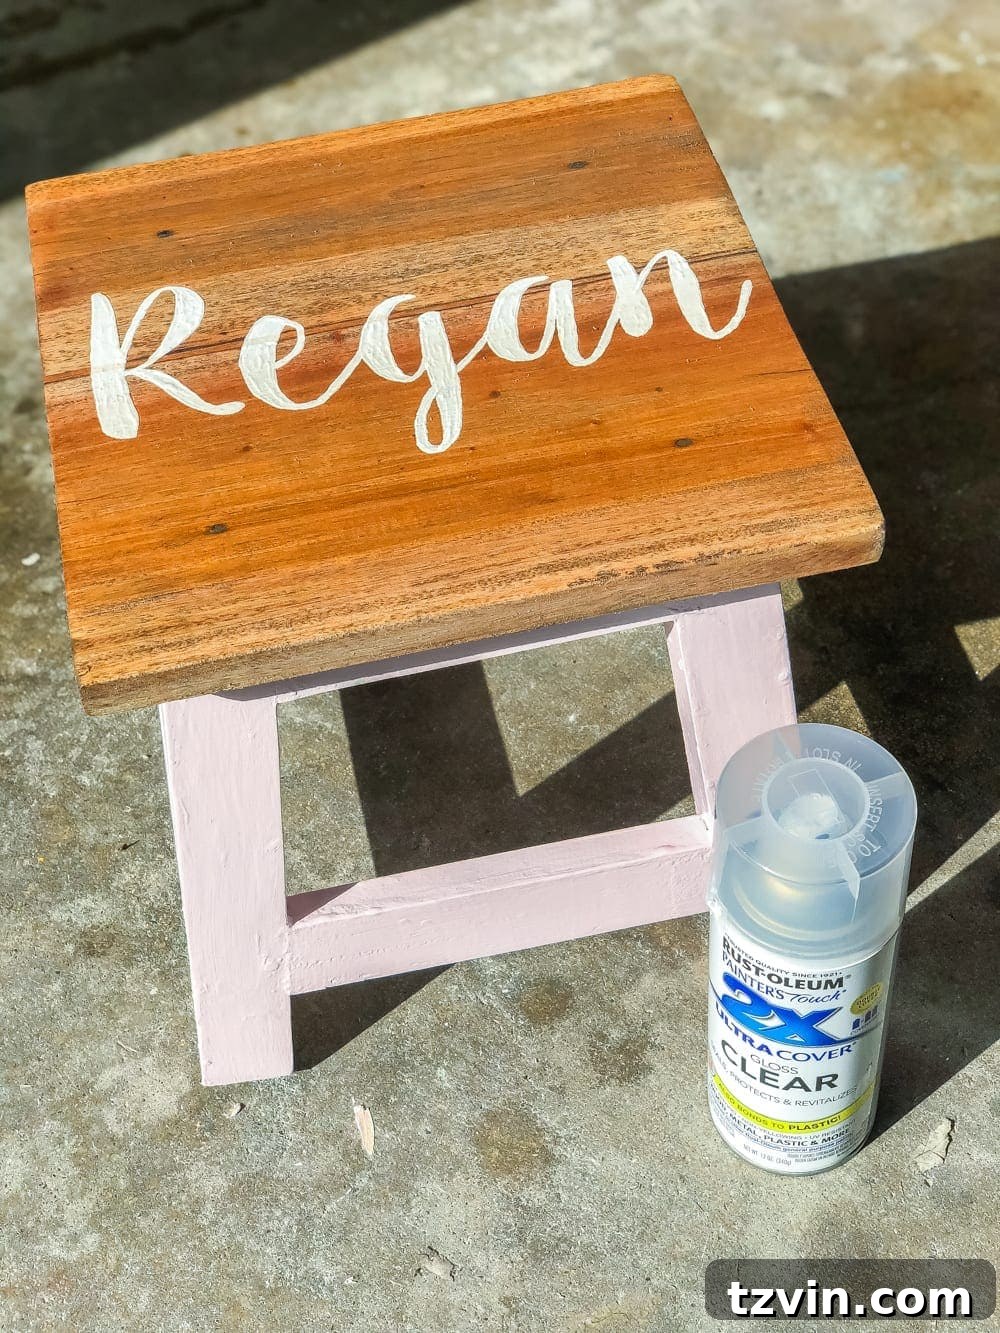
- Spray Clear Sealer: A vital step for protecting your finished design from wear, moisture, and everyday use. Choose a matte or gloss finish depending on your preference.
- Sander (Optional but Recommended): An orbital sander or even a sanding block with sandpaper will significantly speed up and improve the surface preparation, especially if your wood has existing finishes or imperfections.
- Coarse Grit Sanding Pads (Optional): If your wood has a heavy finish or significant damage, starting with a coarser grit (like 80 or 100) before moving to finer grits will ensure a smooth, paint-ready surface.
- Stain Color of Your Choice w/ Dry Rag (Optional): If you prefer a stained top surface rather than painted, have your chosen wood stain ready. A clean, dry rag is perfect for applying and wiping off excess stain.
The Steps: A Detailed Guide to Creating Your Personalized Wood Project
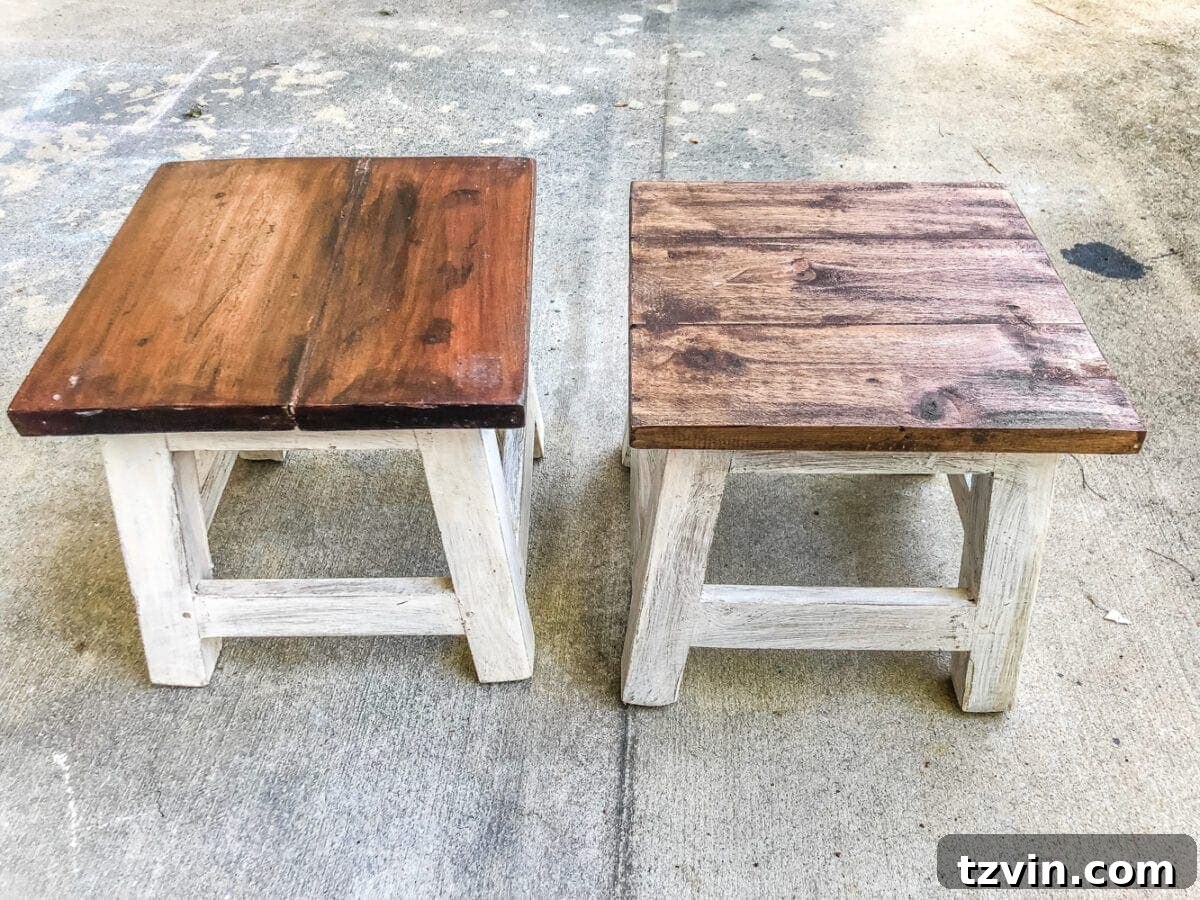
Even though I acquired this pair of wooden step stools from an Amazon seller, they arrived in a rather “junky” state. They were two distinctly different colors, suggesting varying ages or wood types, and clearly required some tender loving care. However, their robust construction, ideal size, and modest price made them an irresistible project canvas. Here’s how we transformed them:
1. Preparing the Wood Surface: Sanding for a Flawless Foundation
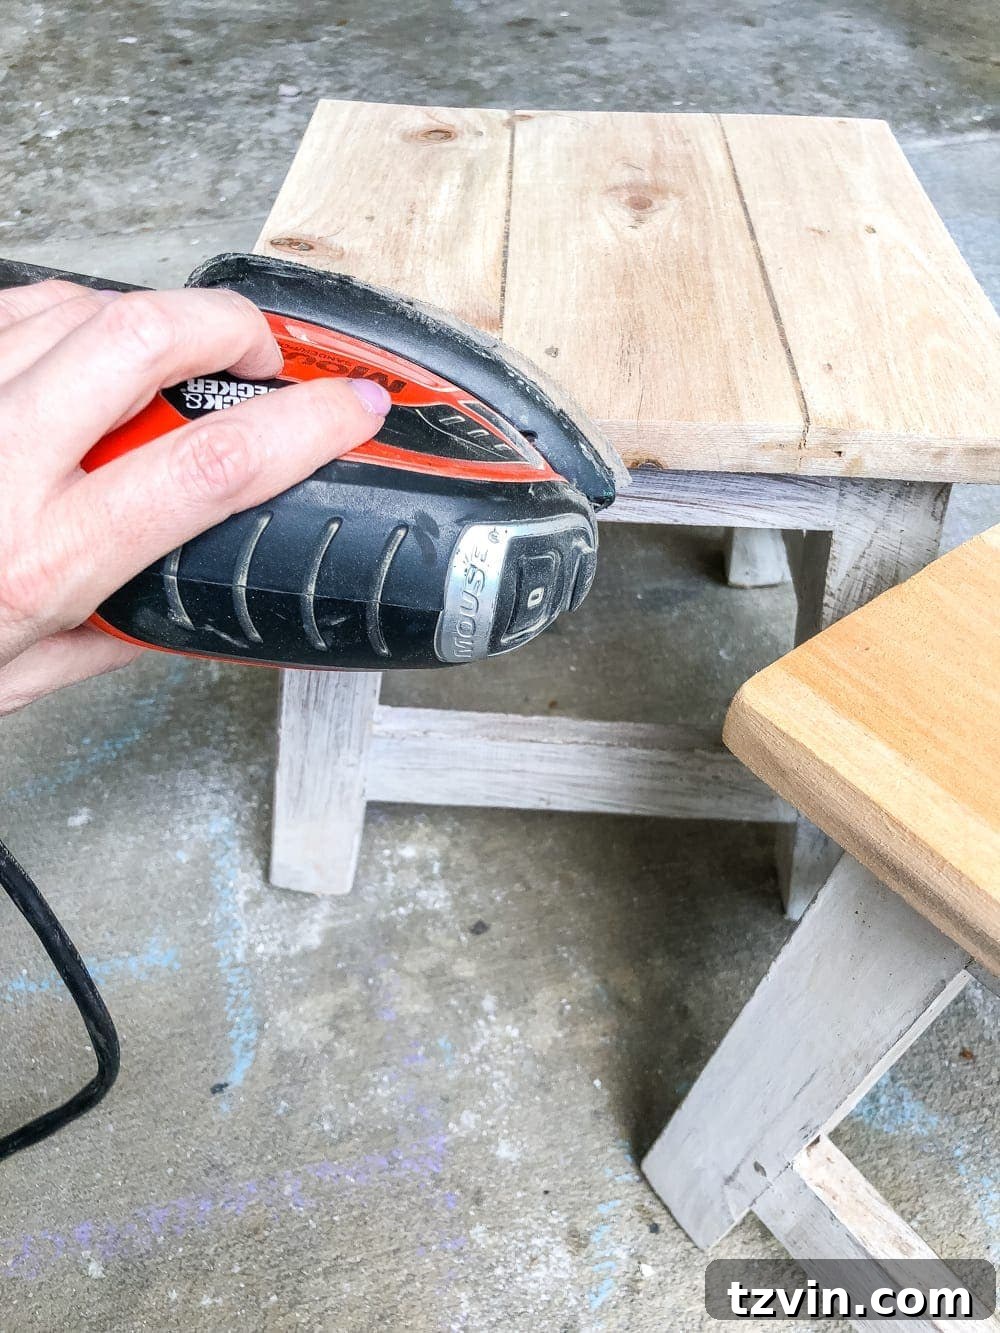
The first and often most critical step in any painting or staining project is proper surface preparation. Since my stools had old, mismatched stains on their tops, achieving a uniform look was essential. I used an orbital sander to remove the existing finish completely, working down to the bare wood. Start with a medium-grit sandpaper (around 120-150 grit) to strip away the old stain efficiently, then follow up with a finer grit (200-220) for a silky-smooth finish. This step ensures that any new stain or paint adheres beautifully and evenly.
2. Staining the Tops for a Rustic Appeal
With the wood tops prepped, I moved on to staining. I utilized some leftover stain from a previous bathroom project—a combination of one coat of Minwax Weathered Oak followed by one coat of Minwax Special Walnut. This layering technique often creates a richer, more complex color profile than a single stain. Apply the stain generously with a clean rag or foam brush, allowing it to sit for a few minutes before wiping off the excess. Always apply stain in the direction of the wood grain for the best results.
3. Painting the Base: Adding a Splash of Color
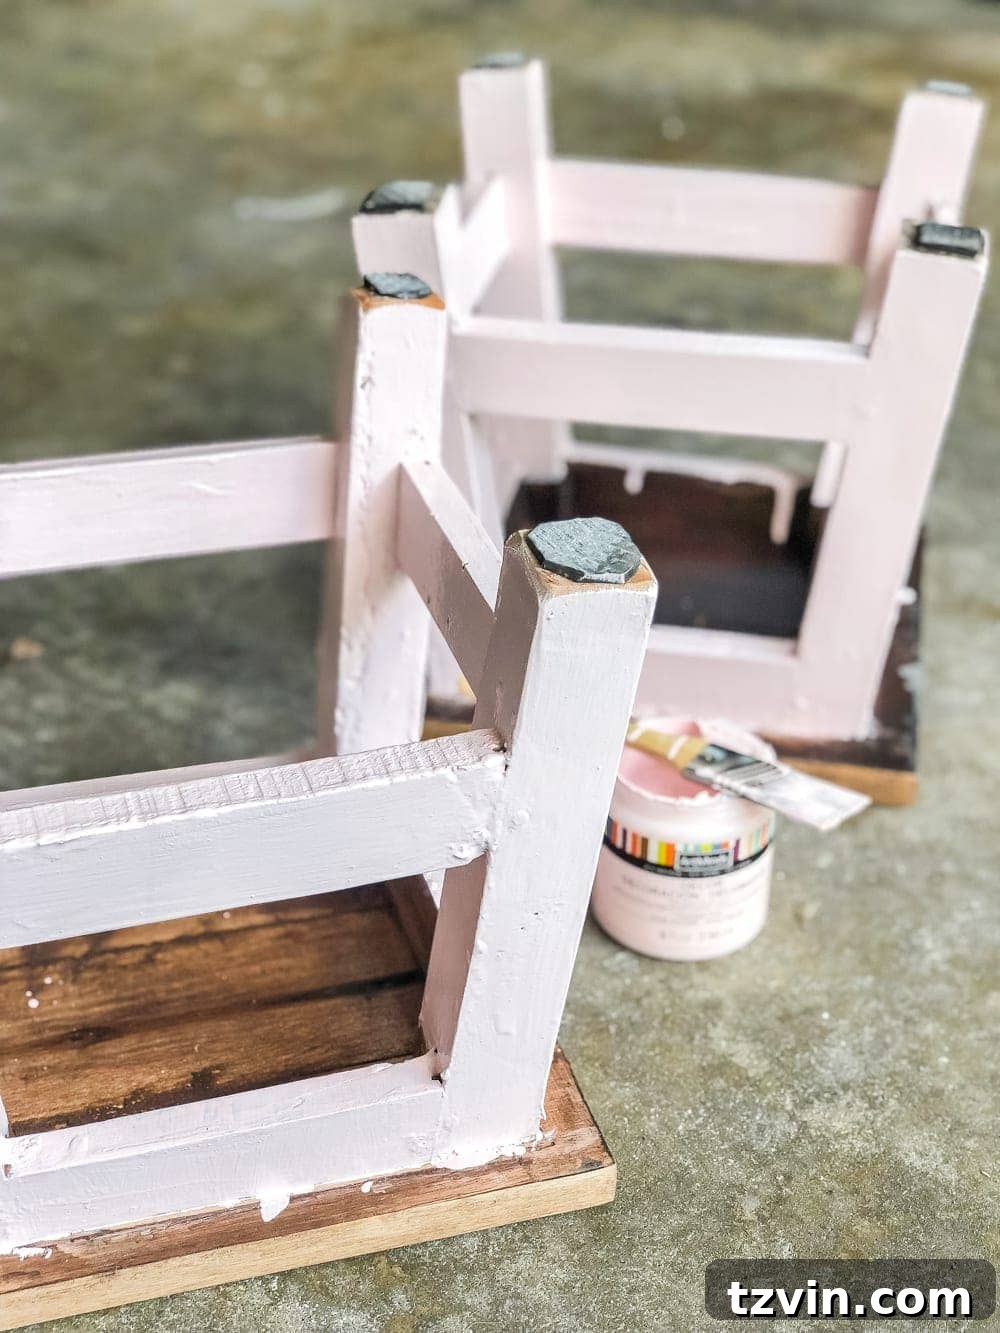
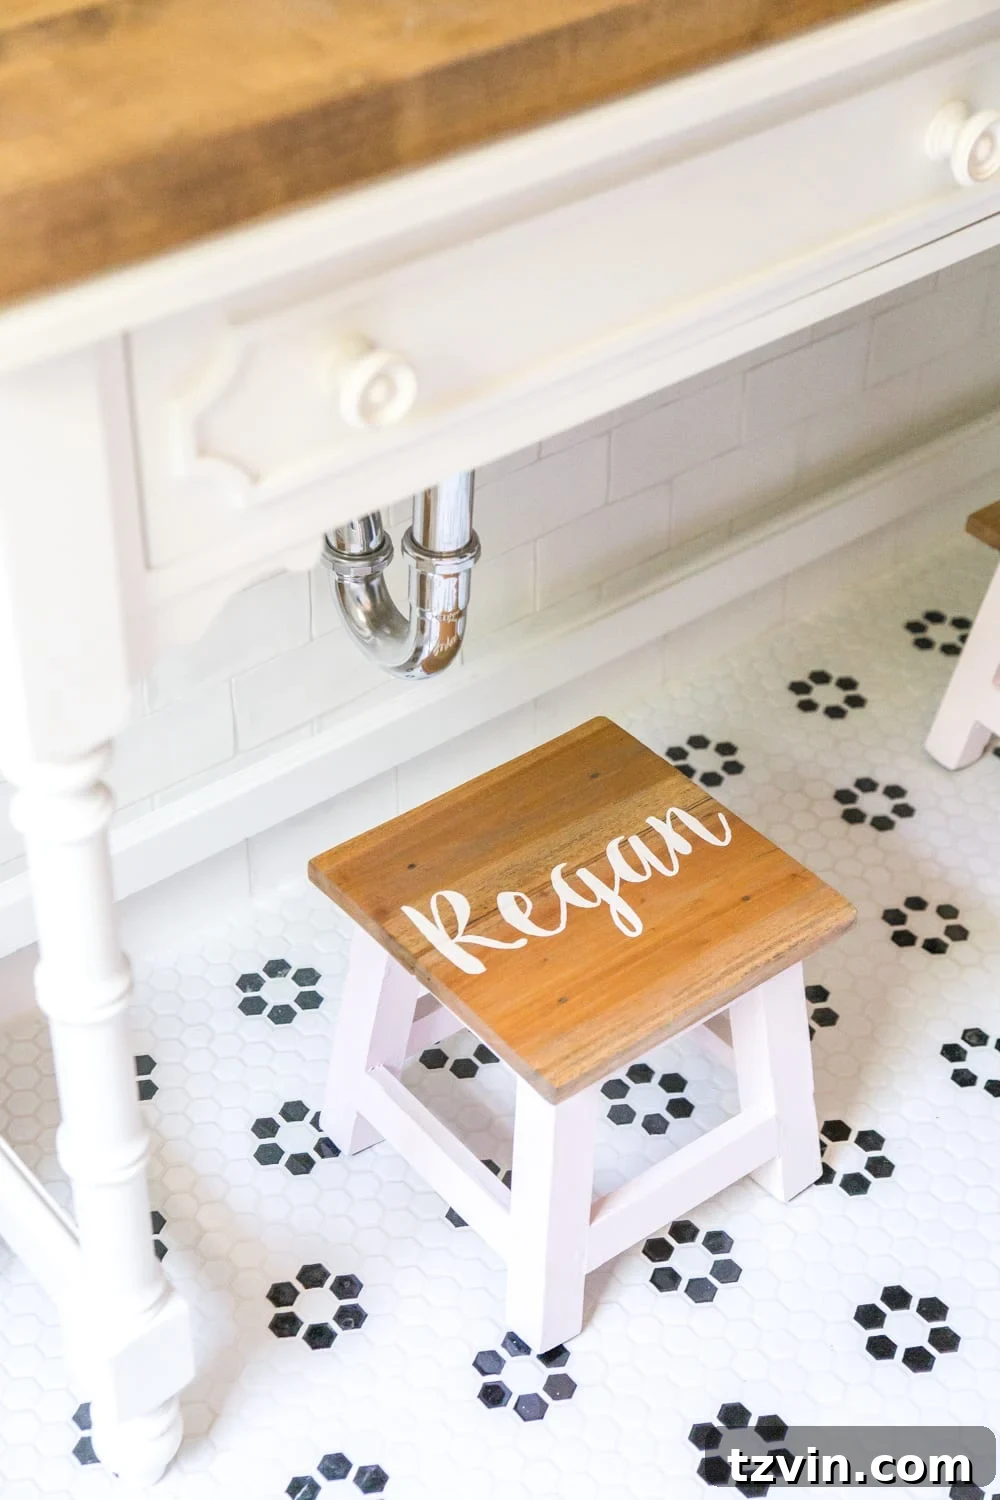
For the base of the step stools, I opted for a soft, light pink acrylic paint to harmonize with the overall aesthetic of the newly designed bathroom. Using a small chip brush, I applied two even coats, allowing sufficient drying time between each application. Acrylic paints dry relatively quickly, but always check the manufacturer’s recommendations. Multiple thin coats are always better than one thick coat, as it prevents drips and ensures a smoother, more durable finish.
4. The “No-Artistic-Skill” Trick: Printing Your Design
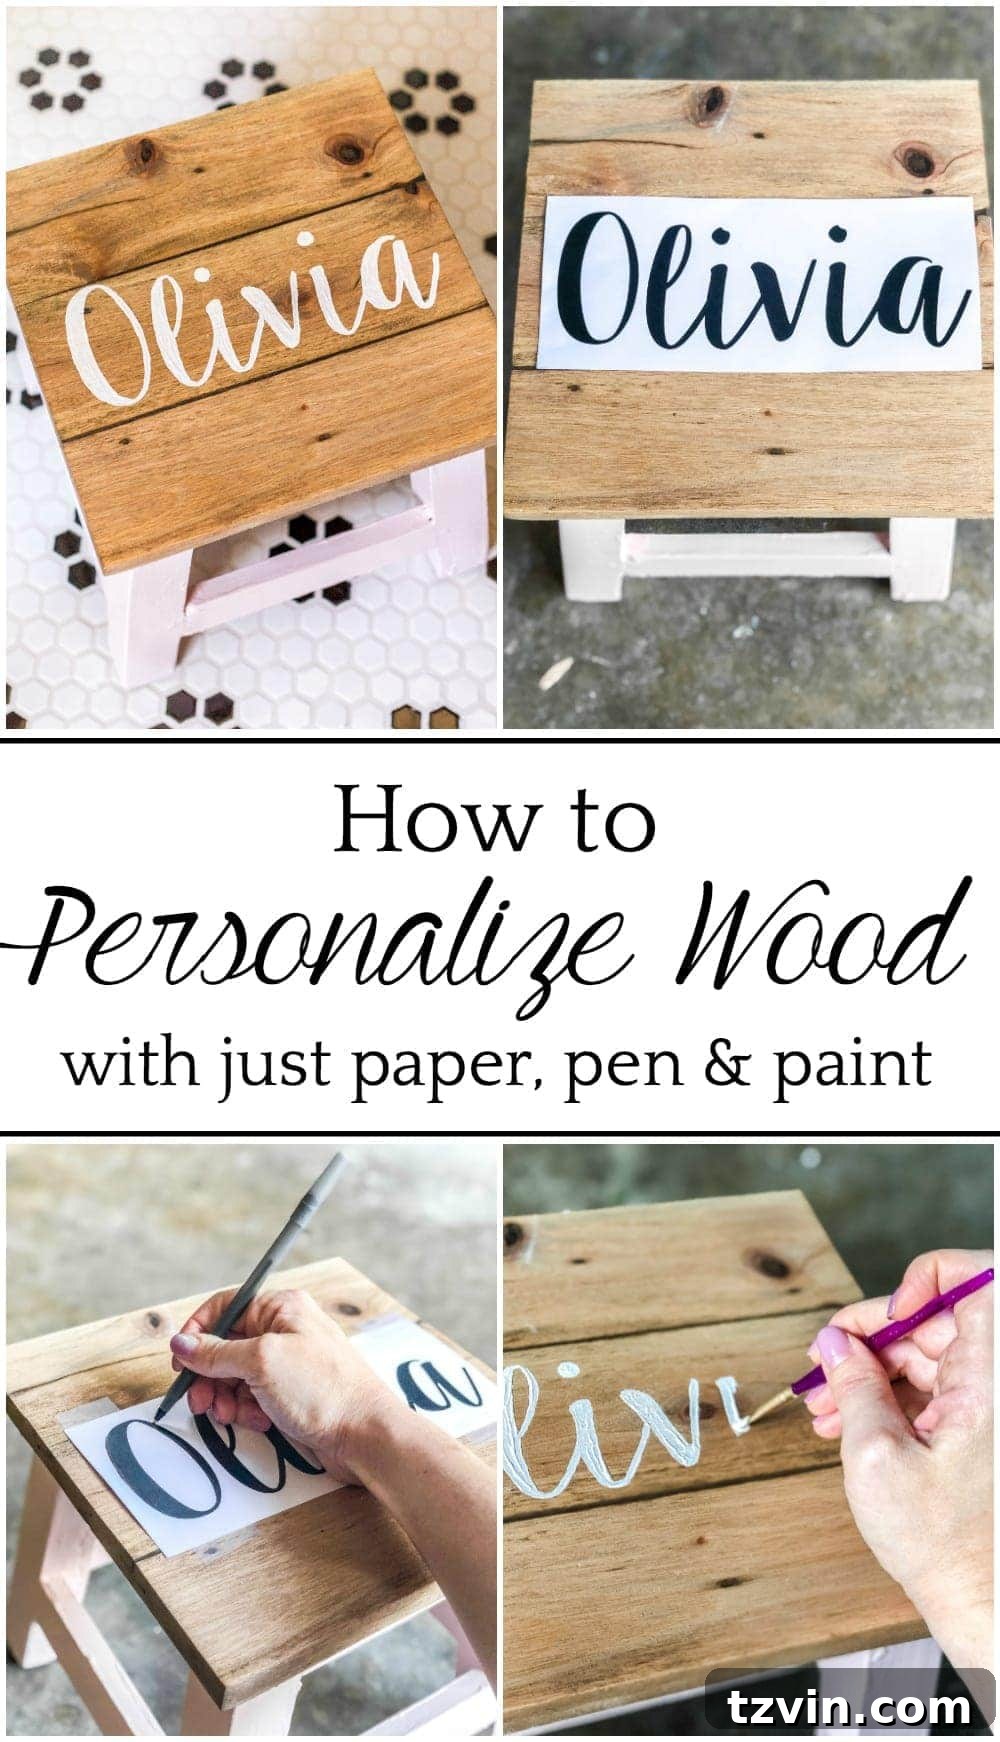
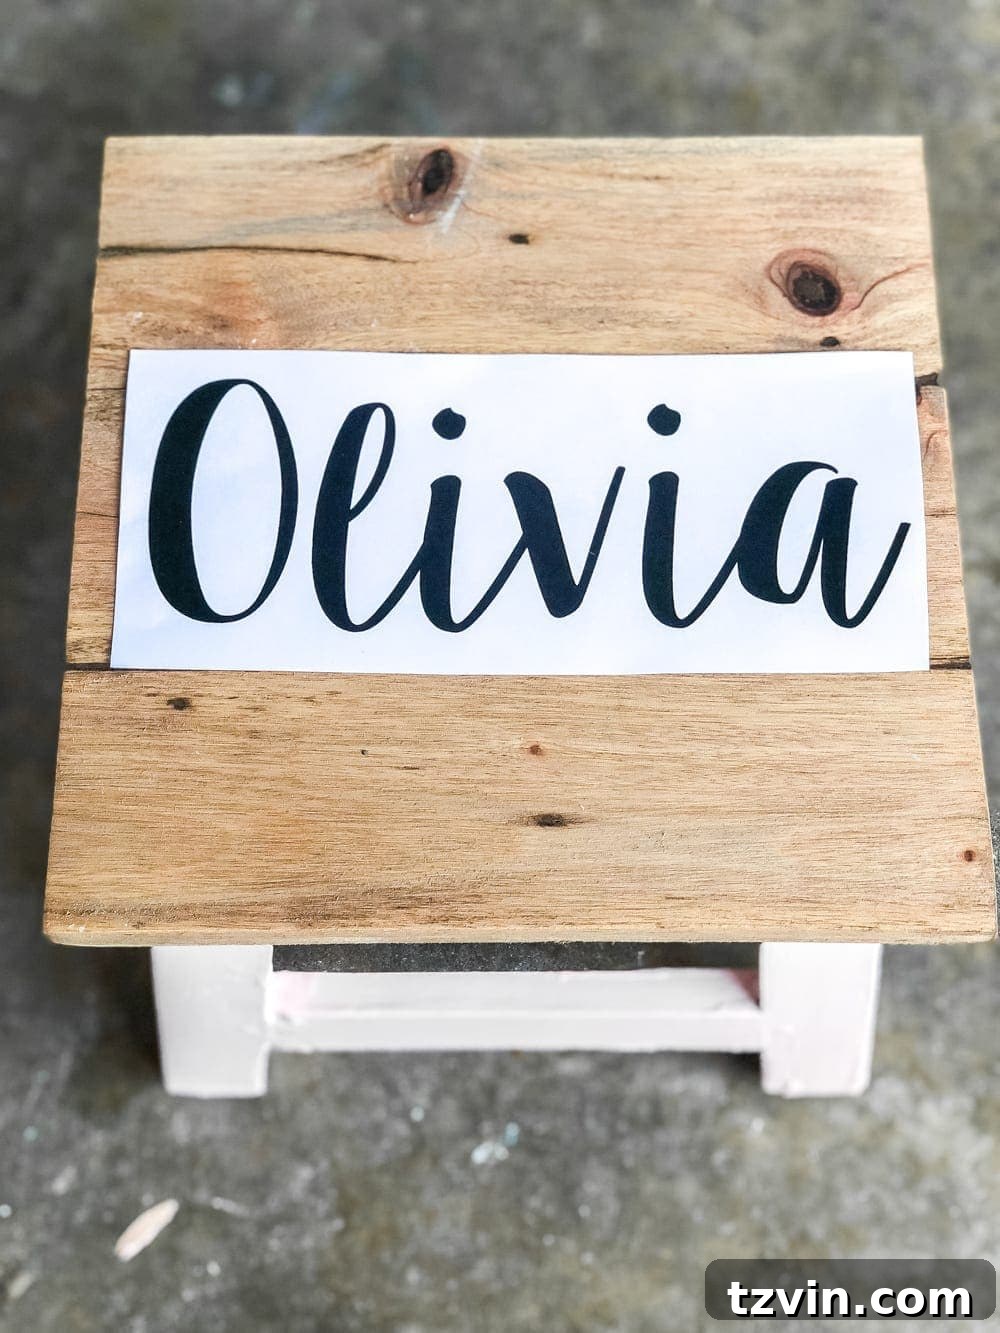
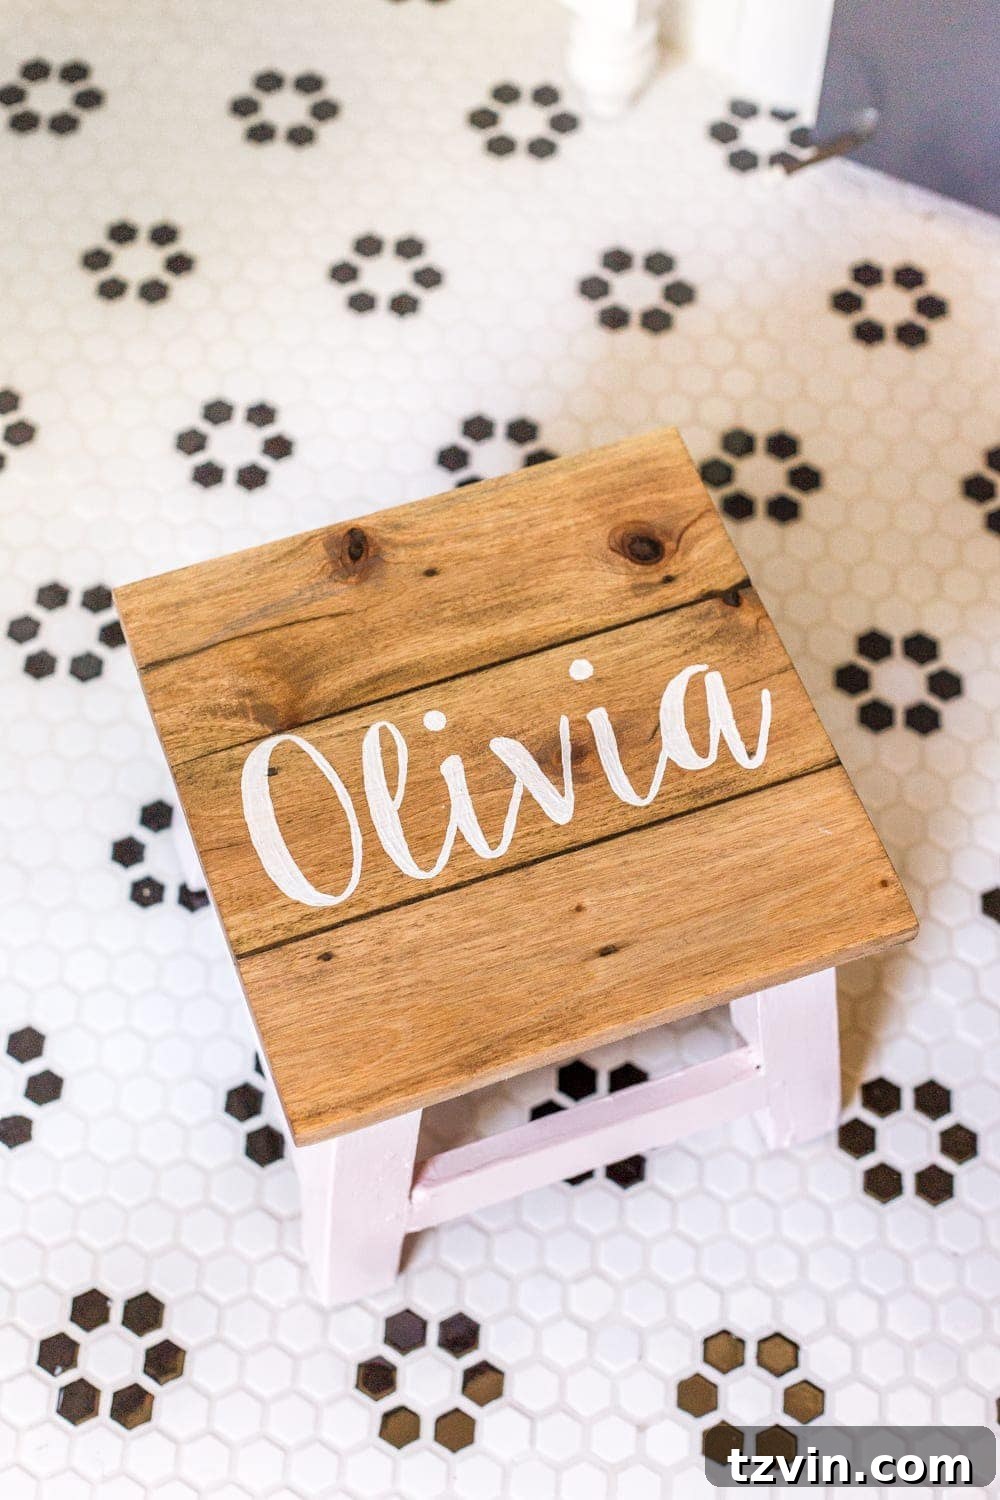
This is where the magic happens for those of us who aren’t blessed with a perfectly steady hand or natural artistic talent. To personalize the stool tops, I simply typed the girls’ names into a standard Word document, chose the “Sweet Pea” font (which is free on dafont.com, by the way!), and printed them out on plain computer paper. The key here is to select a font that is clear and bold enough to trace easily. Experiment with different sizes and print a few options to ensure it fits your surface perfectly.
5. Securing Your Template
Once you’ve printed your desired name or design, carefully trim the excess paper, leaving just enough to handle comfortably. Position the printed name exactly where you want it on the stained wooden top. Use small pieces of tape to secure the paper firmly in place. Ensure it’s flat against the wood surface with no bubbles or wrinkles, as this will affect the accuracy of your tracing.
6. Tracing Your Design: Creating the Indentation Guide
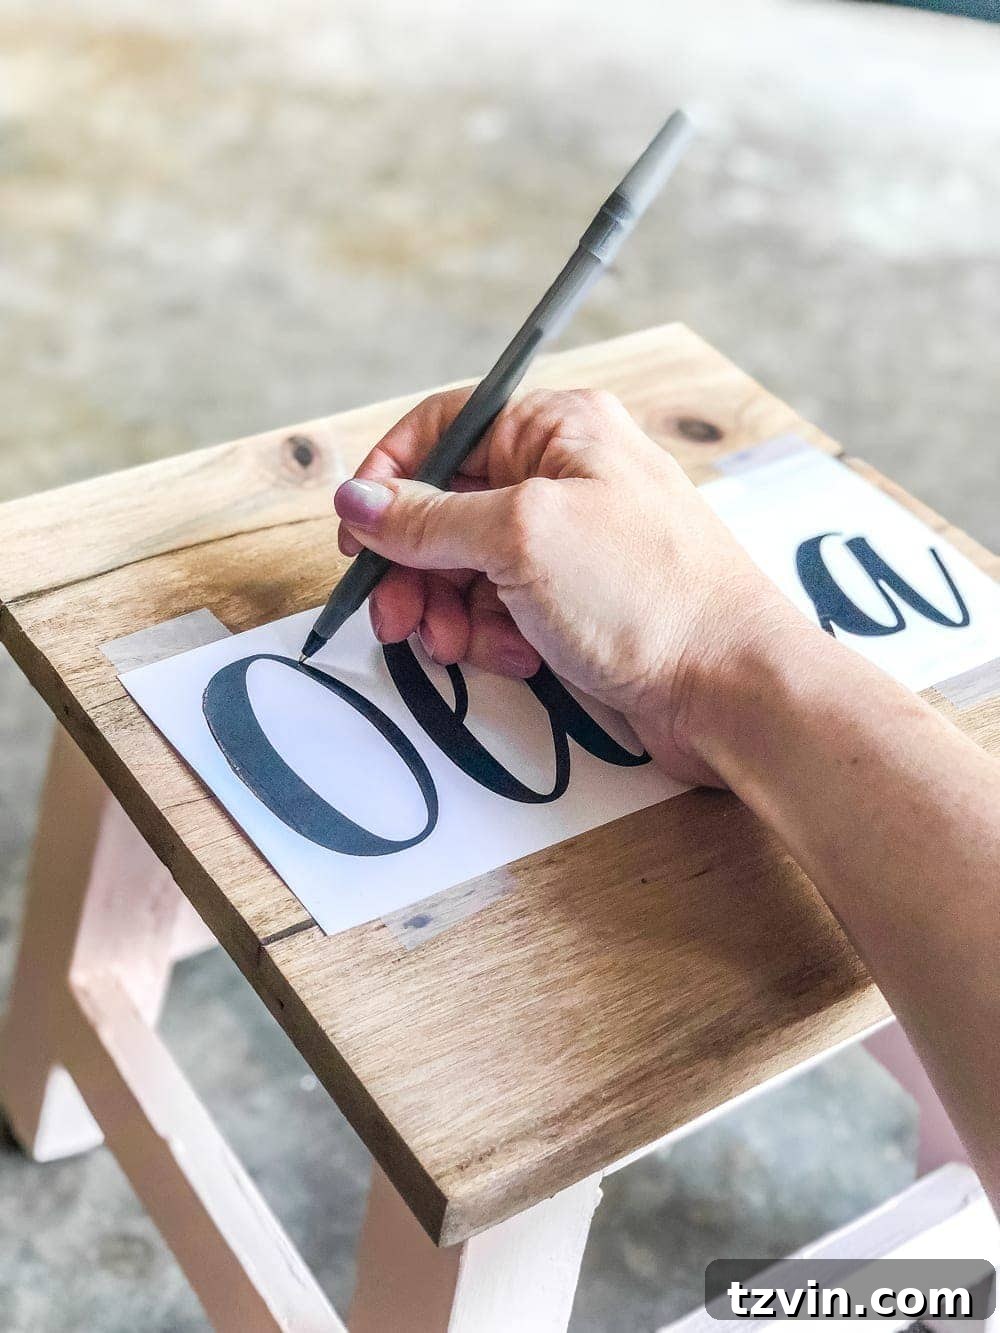
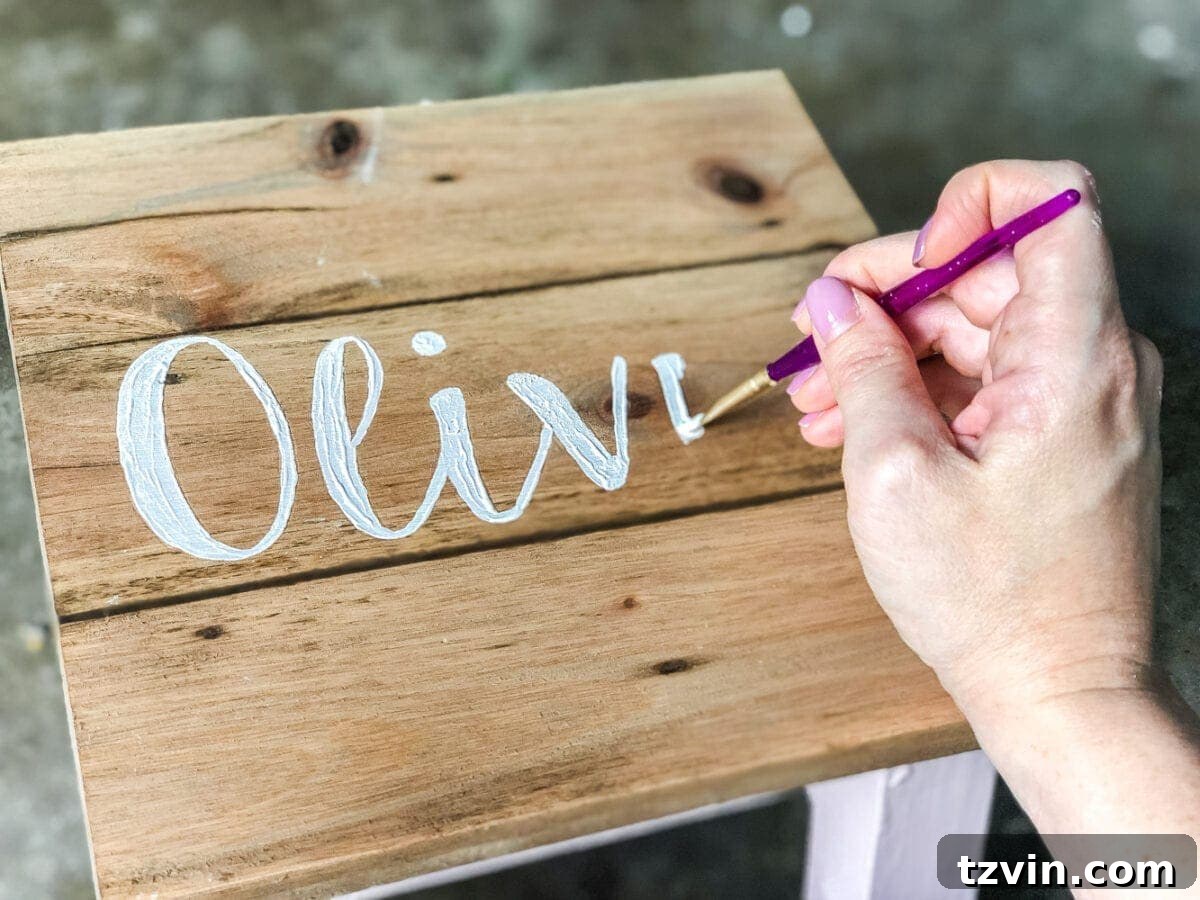
Now, grab your ballpoint pen. With the paper taped down, meticulously trace over the outlines of each letter, pressing down firmly as you go. The goal here isn’t to transfer ink, but to create a noticeable indentation in the wood beneath the paper. This indentation will serve as a faint, yet clear, guide for your paintbrush. Take your time to trace every curve and line accurately. The harder you press (without tearing the paper), the clearer your guide will be.
7. Painting the Lettering: Bringing Your Design to Life
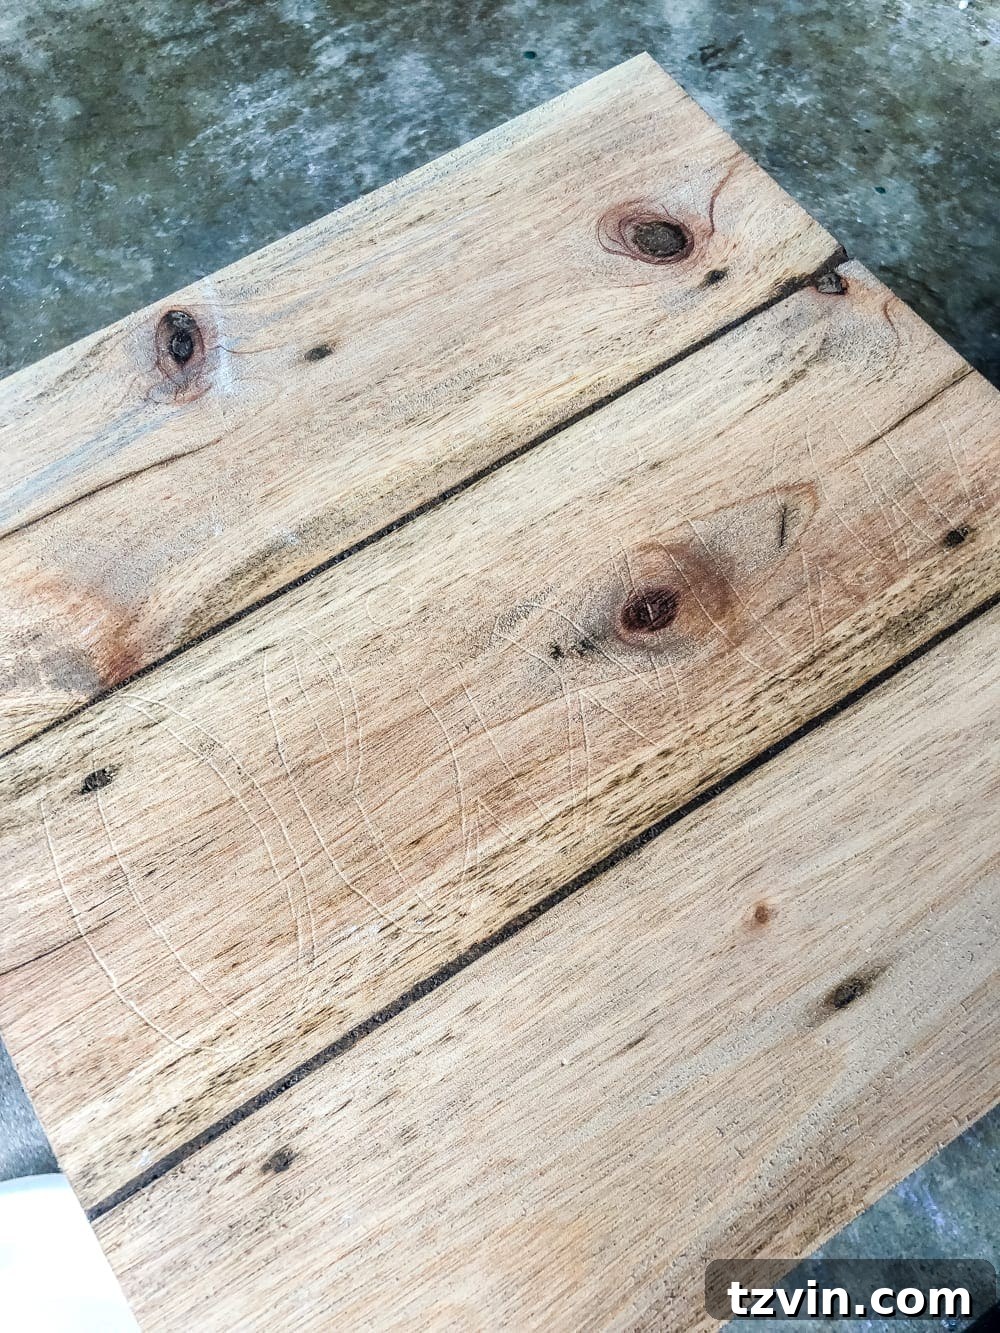
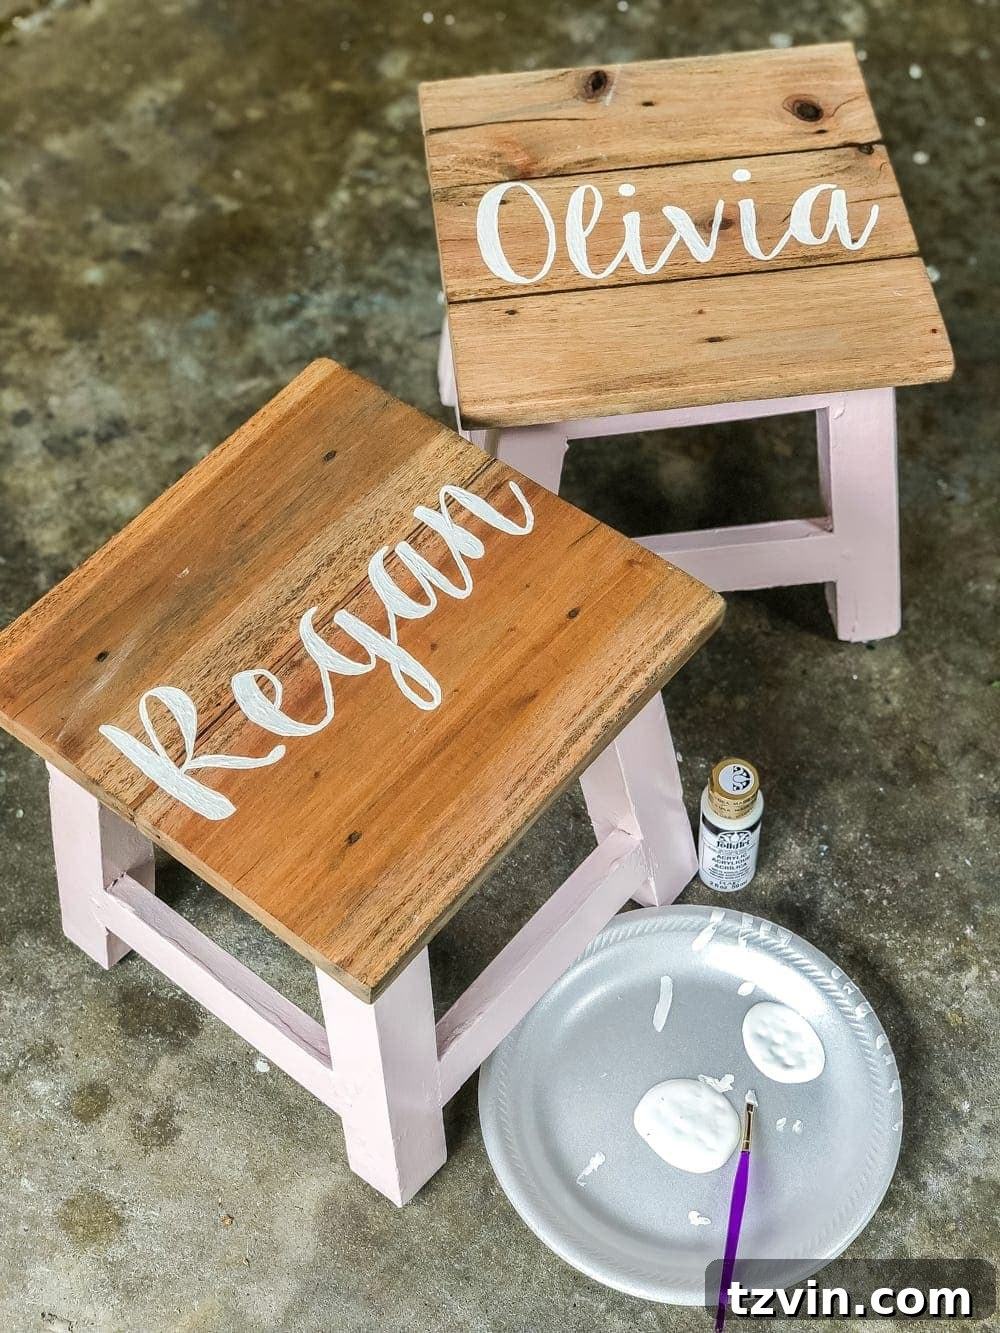
Once you’ve finished tracing, carefully remove the paper. You should now see faint indentations of your name or design on the wood surface. Using a small artist brush and your chosen paint color (I used white craft paint for a crisp contrast), meticulously paint within these indentations. The indentations act like tiny grooves, helping to guide your brush and keep your lines steady, even if you’re not an experienced painter. Apply two thin coats for opaque, vibrant lettering, allowing adequate drying time between coats. Don’t overload your brush; small amounts of paint provide more control.
8. Sealing for Durability: Protecting Your Masterpiece
Once your paint is completely dry (this might take a few hours or overnight, depending on the paint and humidity), it’s crucial to protect your newly painted design. I applied two coats of spray clear sealer. Spray sealers offer a smooth, even finish with minimal brush strokes. Hold the can about 8-10 inches away from the surface and apply in thin, even passes. Allow sufficient drying time between coats, as specified by the product manufacturer. This protective layer will safeguard your personalized design from moisture, spills, and everyday wear and tear, ensuring it lasts for years to come.
The Versatility of the Tracing Method
This simple tracing and painting method isn’t just for step stools; it’s incredibly versatile! I’ve successfully used it on various DIY signs and other wooden projects, always yielding beautiful, professional-looking results without the need for fancy equipment or advanced artistic skills. It’s truly a cost-effective and approachable way to add custom designs to almost any wooden surface you can imagine.
A Touch of Harmony for the Little Ones
And just like that, the girls now have their own sweet, personalized step stools. More than just pretty accents for their bathroom, these stools serve a practical purpose and, hopefully, will prevent any future squabbles over whose turn it is or whose stool is whose. At least, in the step stool department, anyway! It’s likely a different story for almost everything else in this house, but every little victory counts.
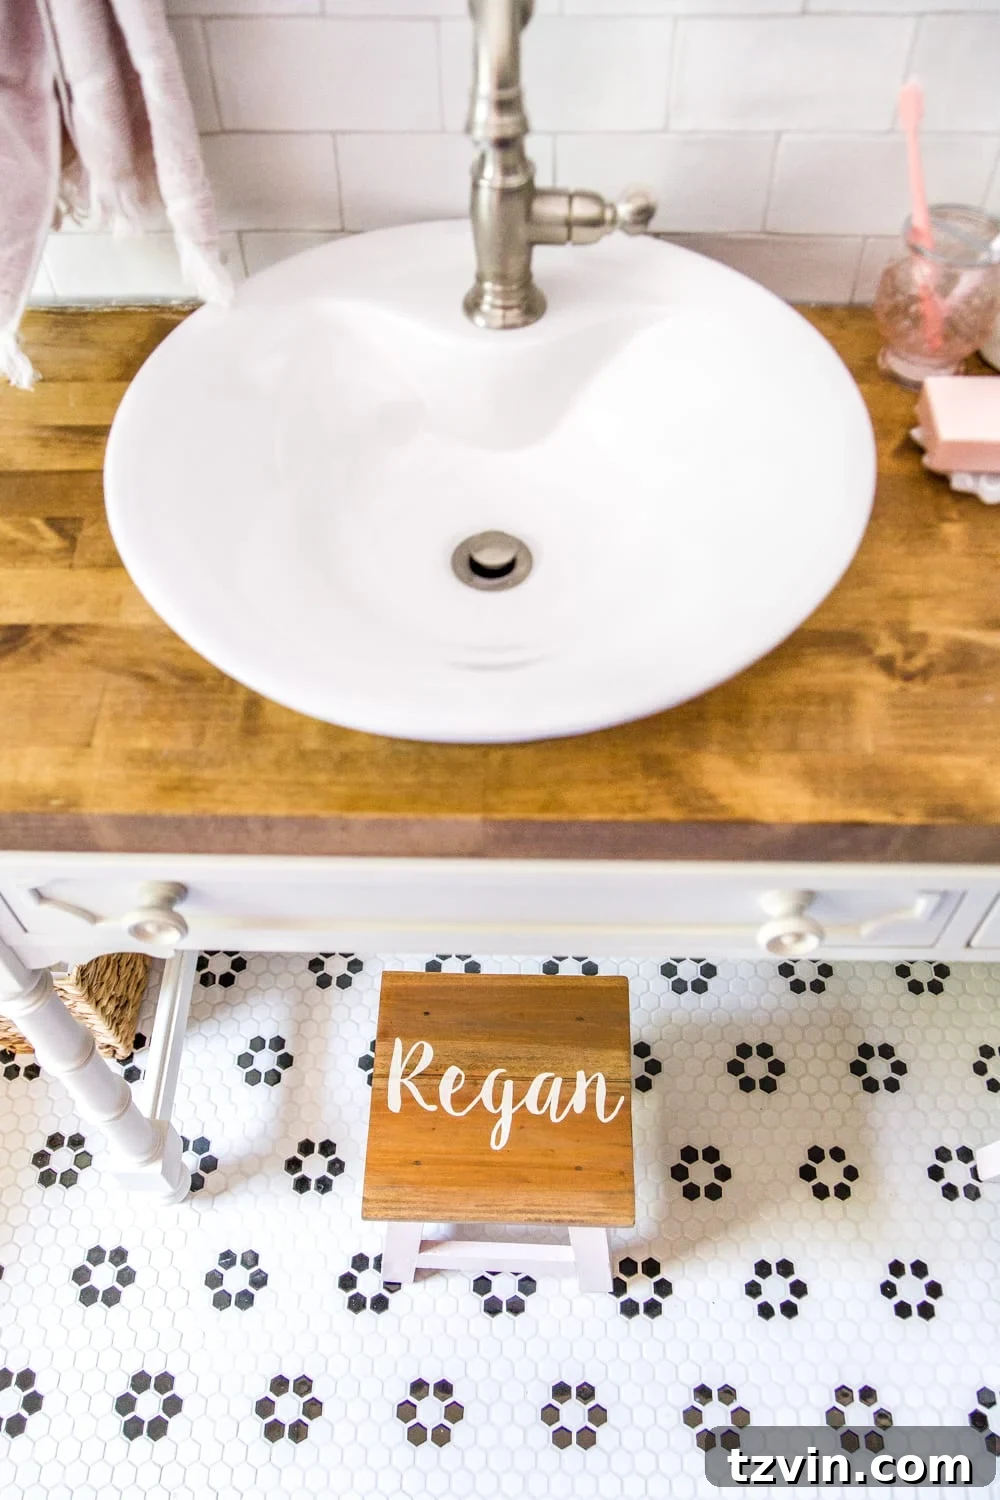
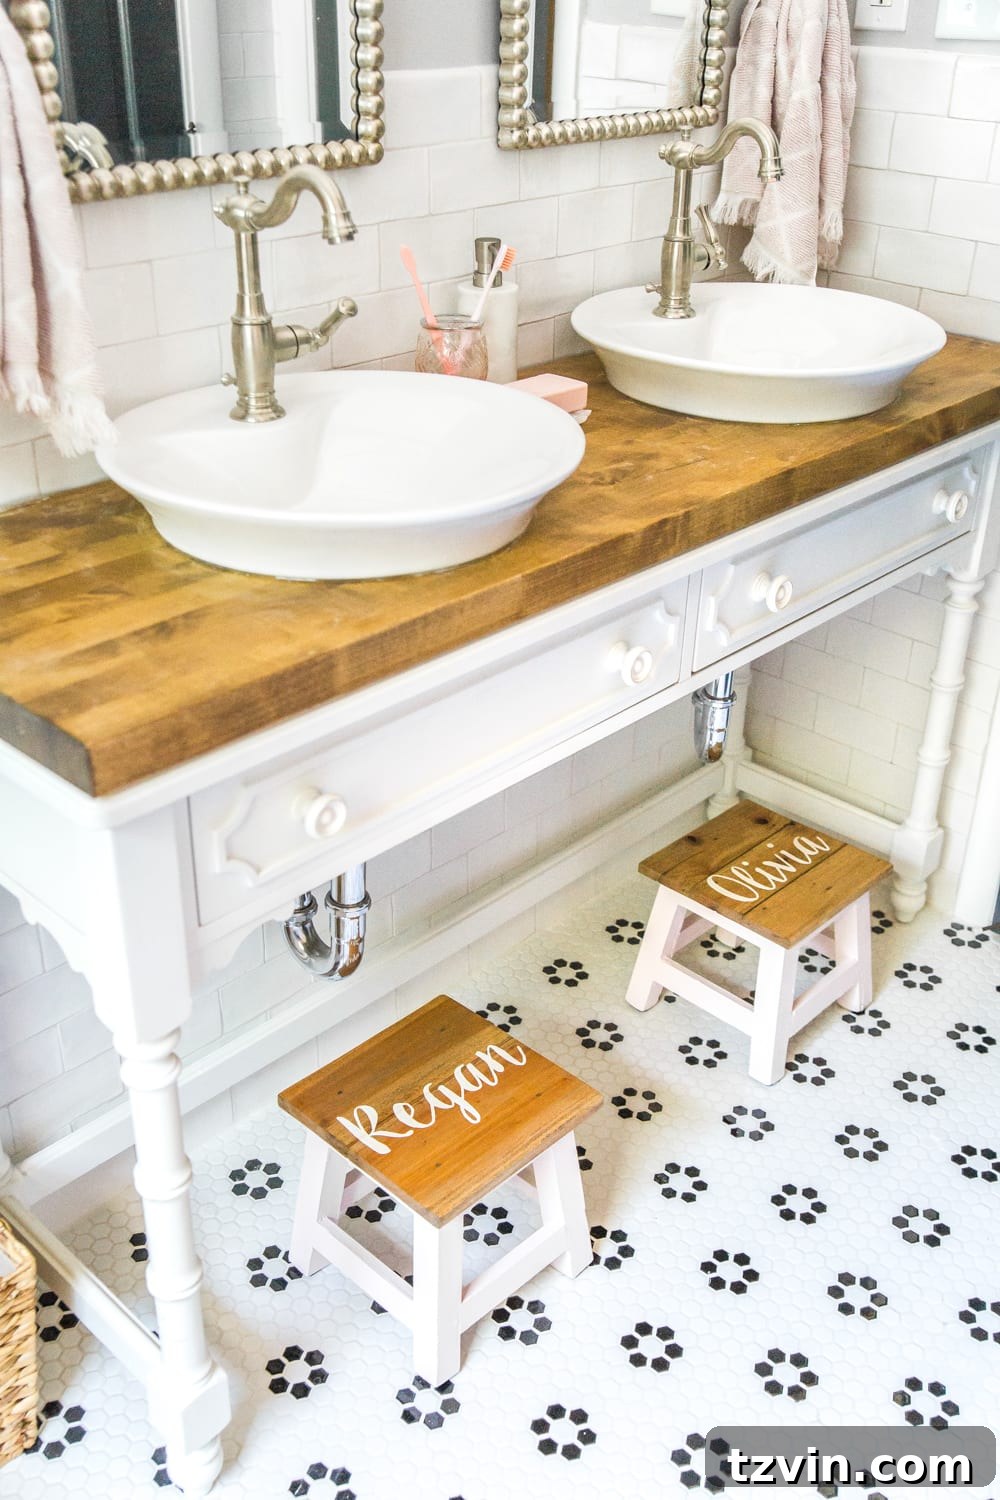
On a related note, the entire bathroom makeover is officially complete, and I’m only slightly biased in saying it might just be the cutest bathroom on the planet! More details and a full reveal are coming soon. We’re just waiting on one tiny finishing piece for the shower before I can photograph it to share all the delightful details.
For even more thrifty inspiration, be sure to explore the rest of this month’s “Trash to Treasure” makeovers below!
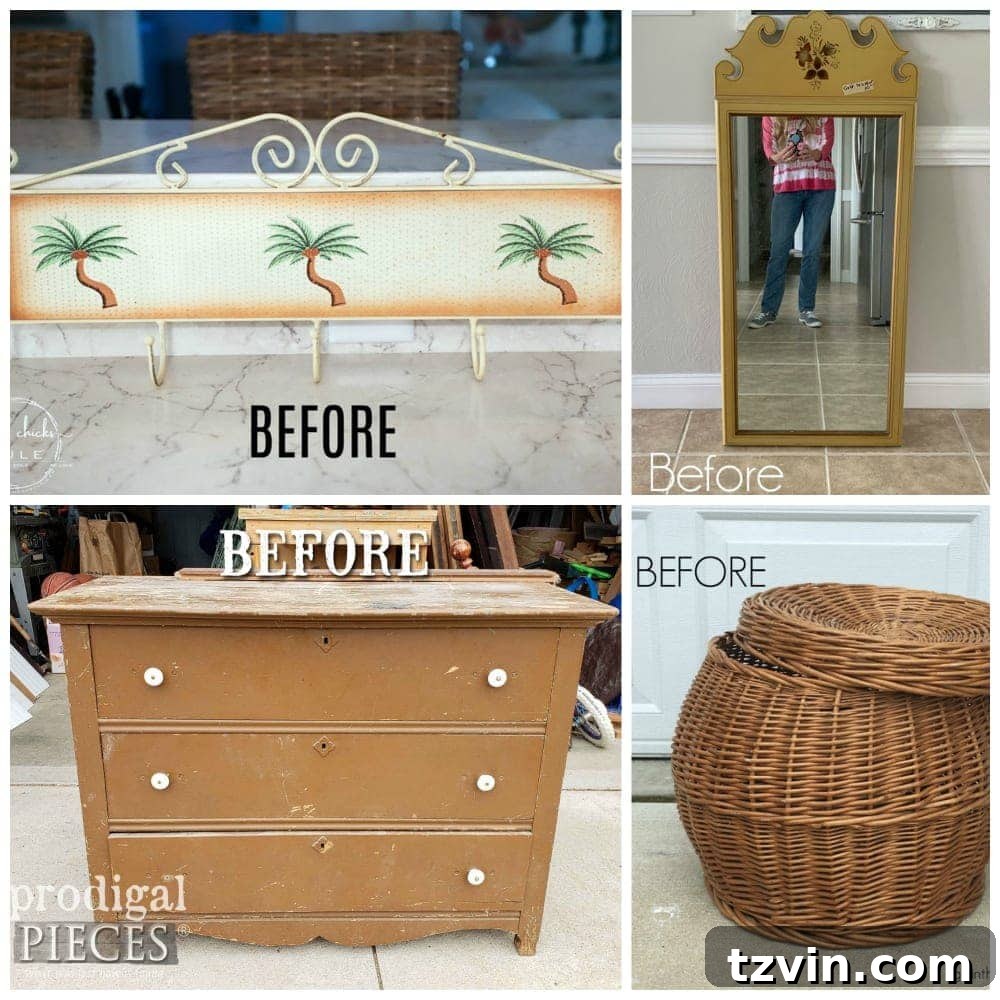
Clockwise from top left, discover more amazing transformations from:
Artsy Chicks Rule | Confessions of a Serial DIYer | Girl in the Garage | Prodigal Pieces
And for a treasure trove of past thrifty makeovers, you can always check out more from our “Trash to Treasure Tuesday” archives here.
If you found this easy wood personalization trick helpful, save it for later by pinning it here: