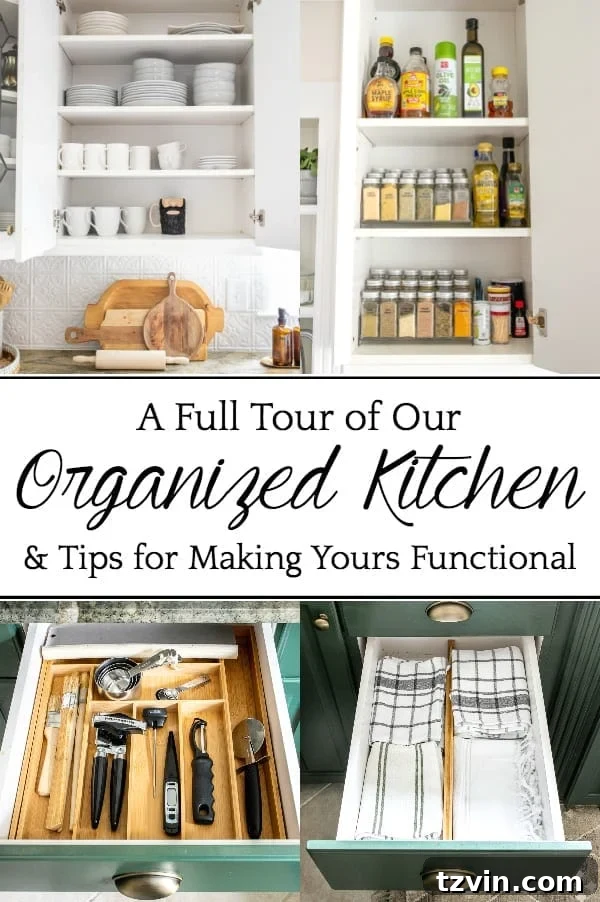
A Full Kitchen Tour: Transform Your Kitchen with Before and After Organization Ideas for a Functional, Clutter-Free Space
One of life’s most satisfying pleasures is witnessing a dramatic before-and-after transformation. This post is brimming with not just one, but twelve inspiring kitchen makeovers! Get ready to be amazed and motivated.
You might be thinking, “Another organization post?” But trust me, this whole-house organization overhaul has been an absolute joy to tackle. While the initial sorting and decluttering can feel daunting, the incredible sense of accomplishment and calm that follows is truly unparalleled.
There’s no denying that diving elbow-deep into clutter isn’t exactly “fun” in the moment. Yet, once you’ve conquered it, the feeling of reclaiming your space and seeing everything in its rightful place is nothing short of fabulous. It’s an investment in your daily peace and efficiency.
Last week, I shared insights on how I styled our kitchen countertops to be both decorative and highly functional. However, that was just the surface. This week, we’re delving into the “innards” – tackling all the hidden treasures (and sometimes, forgotten junk) tucked away behind closed doors and within drawers. This was one of those projects I’d procrastinated on for months, only to find it took a mere three hours to complete. A common trap we all fall into, isn’t it?
Embarking on a kitchen organization journey can seem overwhelming, but with a few guiding principles, you can achieve a highly functional and serene space. Here are my three foundational rules to help you get started and stay on track:
- Embrace the One-Year Rule: Declutter Ruthlessly. If you haven’t used an item in your kitchen within the past year, it’s time to seriously consider letting it go. Be honest with yourself: are you *really* going to use that obscure gadget that’s been collecting dust at the back of the cabinet? This rule helps eliminate unnecessary clutter, creating space for items you truly value and use. Think about sentimental value versus practical utility. If an item holds no emotional weight and serves no purpose, bid it farewell.
- Organize by “Zones” for Efficiency. Instead of trying to overhaul your entire kitchen at once, break it down into manageable sections. Focus on one cabinet or a single drawer at a time. This method prevents overwhelm and allows you to create dedicated “zones” for specific tasks or item categories. For example, a baking zone, a coffee station, or a food prep area. Organizing by zones ensures that everything you need for a particular activity is within easy reach, streamlining your cooking process and saving precious time.
- Invest in Smart Drawer and Cabinet Organizers. While the thought of spending money on organizers might seem counterintuitive when decluttering, a few well-chosen organizational tools can be your greatest allies. Even if it means a total investment of $50-$100, the time, energy, and frustration saved are often priceless. These tools help maintain order, maximize space, and ensure that your newly organized system remains intact. From drawer dividers to tiered shelves, smart organizers transform chaotic spaces into highly efficient storage solutions.
Even if a full kitchen remodel isn’t in your immediate future, you can still create a beautiful and organized space you love. By decorating your countertops thoughtfully and implementing smart organization, you can significantly enhance the functionality and aesthetics of your kitchen. Love the home you have, and make it work for you!
The Full Kitchen Organization Makeover: A Detailed Tour
(Some affiliate links are provided below. Full disclosure here.)
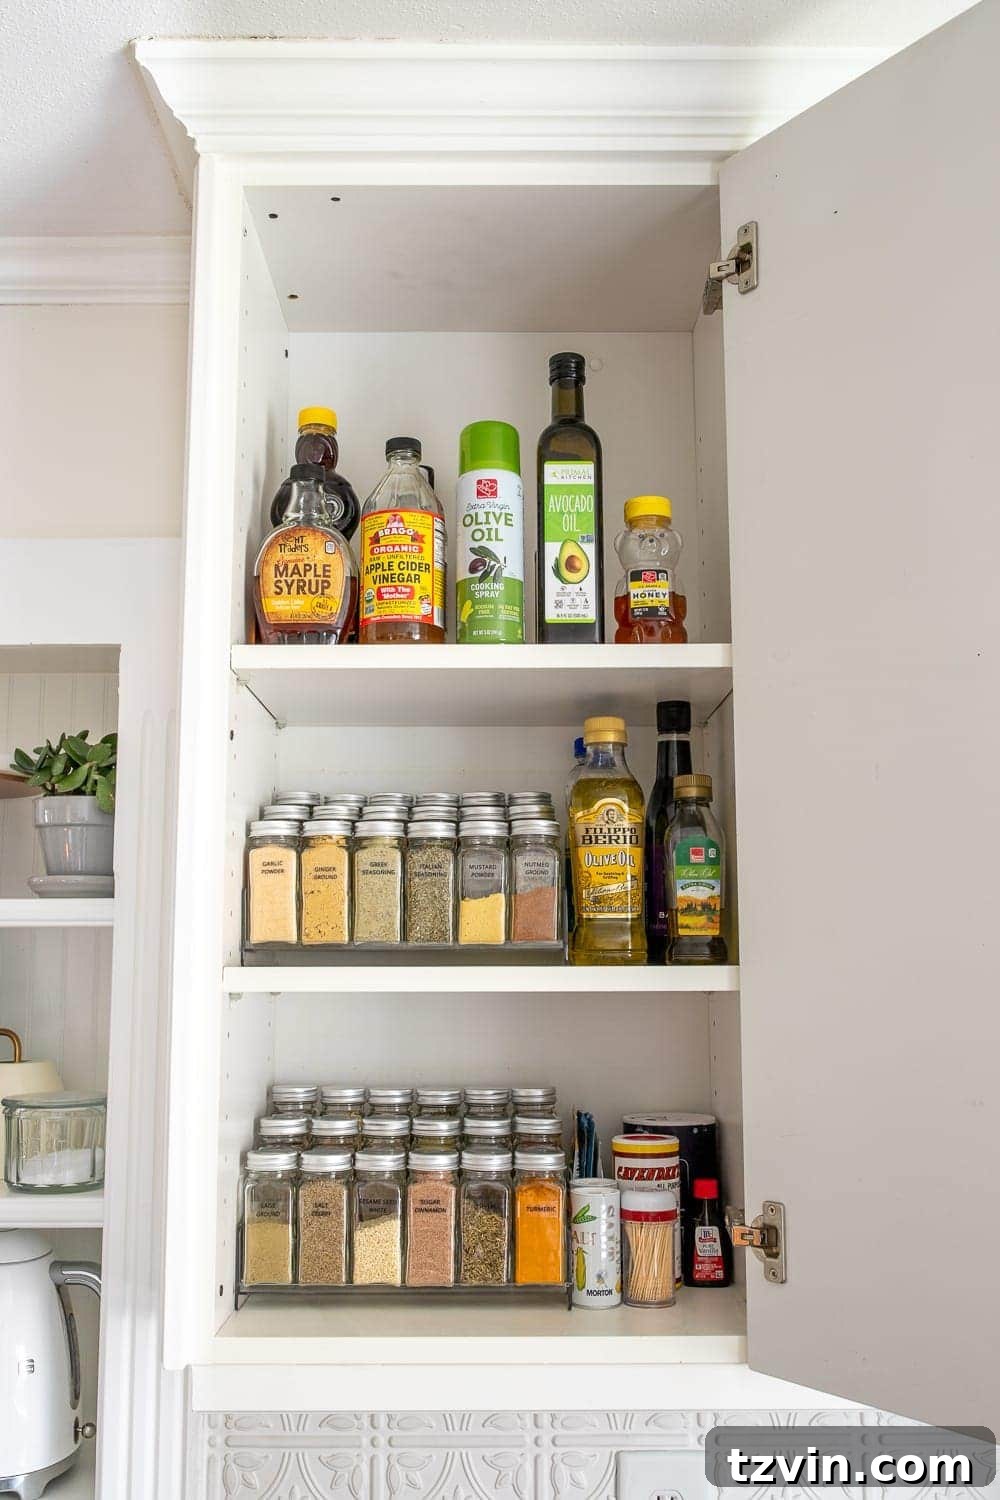
Spice Cabinet: From Chaos to Culinary Command Center
Admittedly, I was more than a little embarrassed—and frankly, grossed out—by the sheer number of expired spices lurking in this cabinet. It was a clear sign that a major intervention was needed to bring order and freshness back to my cooking.
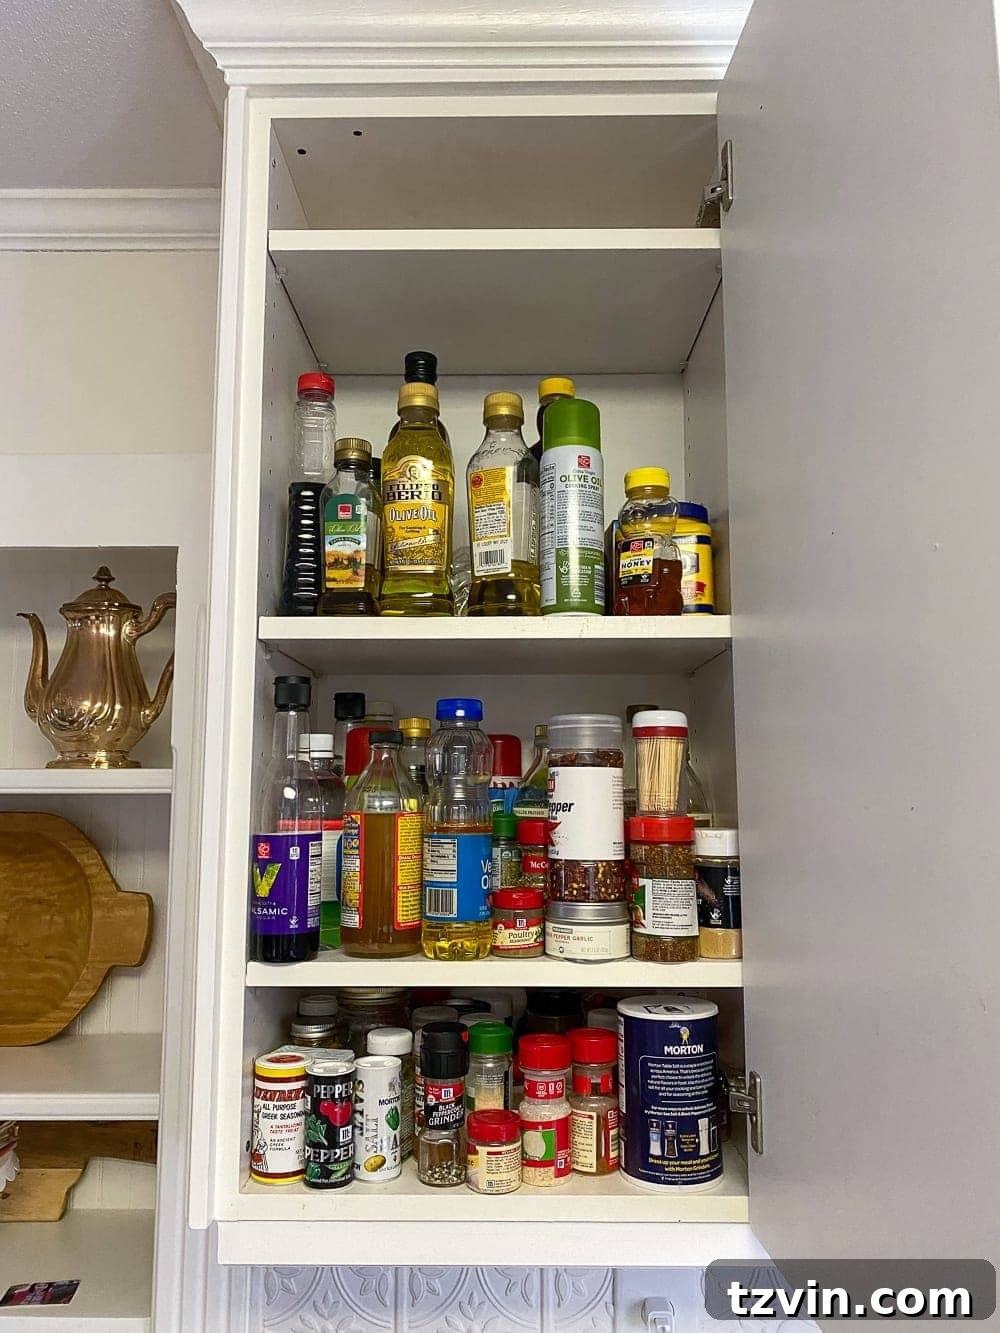
To conquer the spice avalanche, I invested in two essential tools: these incredibly practical clear cabinet risers and a comprehensive spice jar organization kit. This dynamic duo was worth every single penny, transforming a jumbled mess into an accessible, visually appealing system.
Tip: Create a dedicated section on one shelf for larger bottles of seasonings, oils, vinegars, syrups, and honey. For smaller spice jars, group them by category (e.g., baking spices, savory herbs, international blends) and arrange them in rows. This not only makes finding what you need a breeze but also encourages you to use what you have before buying duplicates.
Pantry Cabinet: Smart Storage for Everyday Essentials
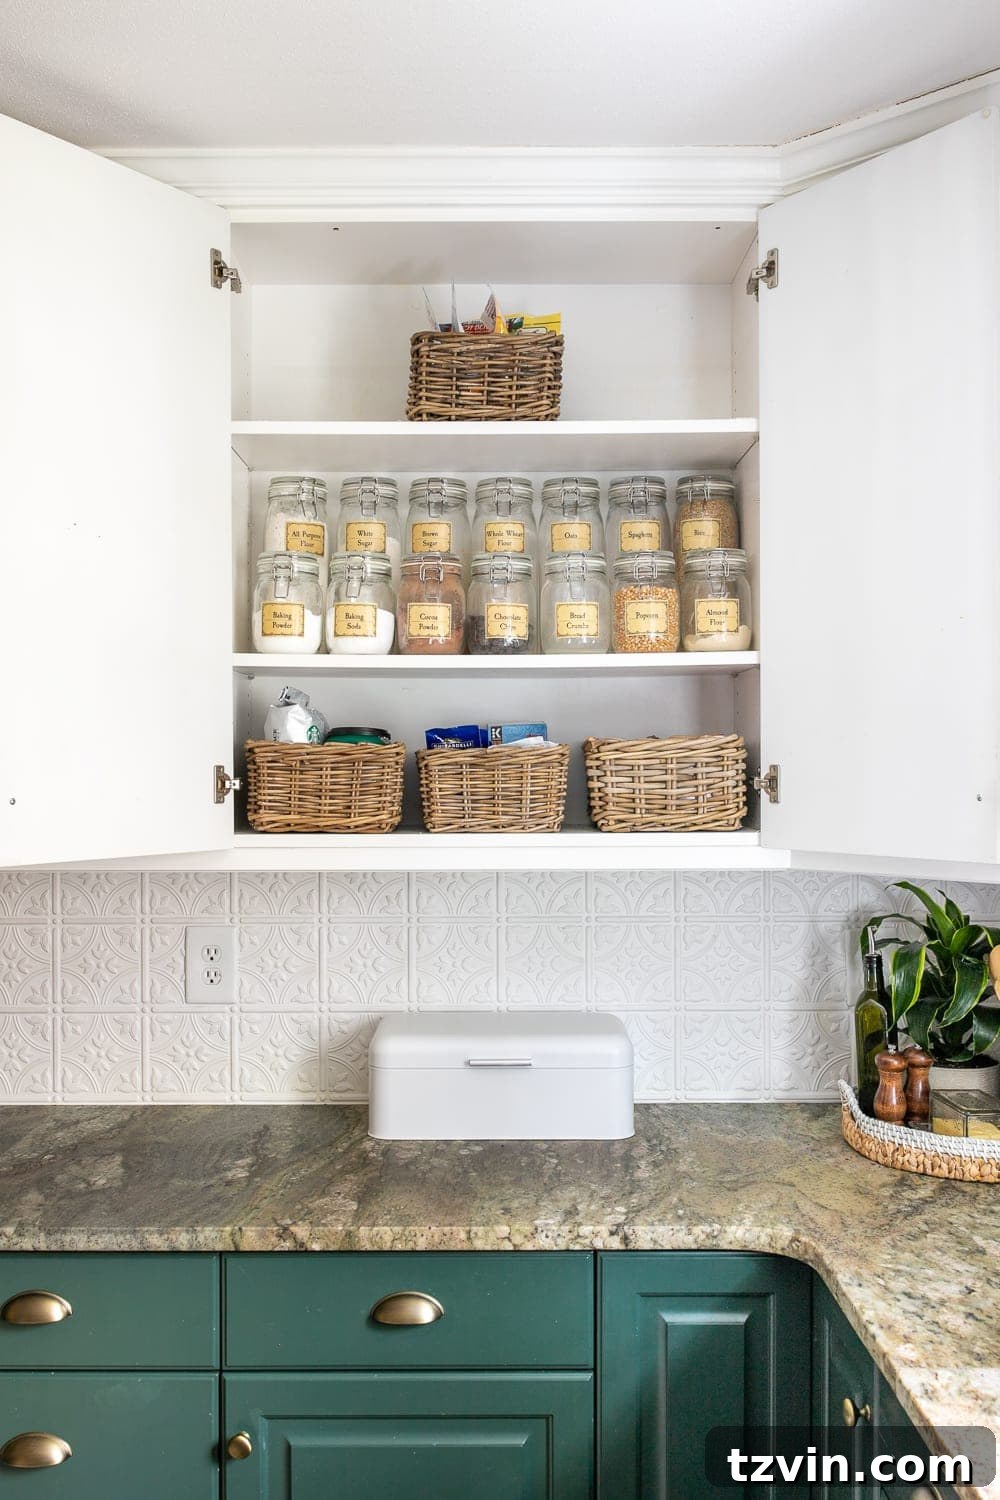
While our IKEA Hemnes wall cabinets serve as our primary pantry for snacks, breakfast items, and canned goods, this particular cabinet near the stove is reserved for the ingredients I use most frequently in my daily cooking. It’s all about proximity and ease of access.
The dry ingredient storage system I implemented a couple of years ago was due for a refresh. This cabinet holds flours, sugars, pasta, and other staples that benefit from airtight storage. (You can grab the free pantry printable labels here to create your own organized system!).
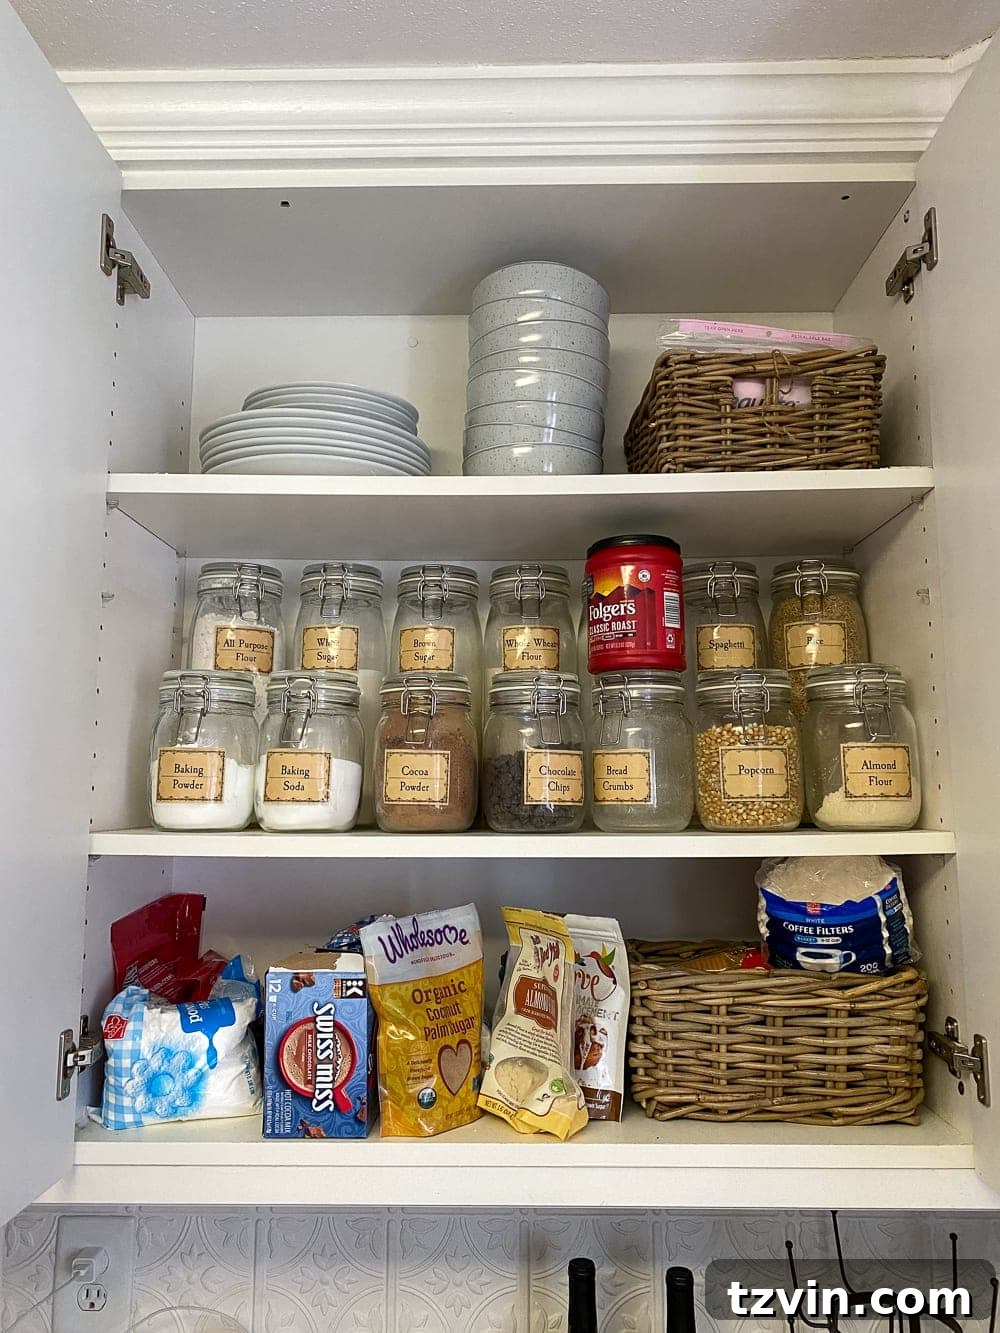
I still need to re-label the baskets designated for tea, coffee, cocoa, and the various sugar/flour substitutes we use for our Keto lifestyle. But the transformation itself is a breath of fresh air! It’s incredible how much easier meal planning and grocery shopping become when you can instantly see your inventory.
Tip: Group similar items into categories and store them in clear containers or baskets. Transfer dry ingredients like flour, sugar, pasta, and grains into clear glass jars or airtight containers. This allows for quick visual assessment of stock levels, helping you avoid unnecessary purchases and ensuring you never run out of essential ingredients during meal preparation.
Dishware Cabinets: Streamlining Your Tableware
For the love of Pete, it’s time to purge those excess plastic cups and coffee mugs! We all accumulate them, but too many can quickly overwhelm your cabinets and make finding matching sets a frustrating ordeal.
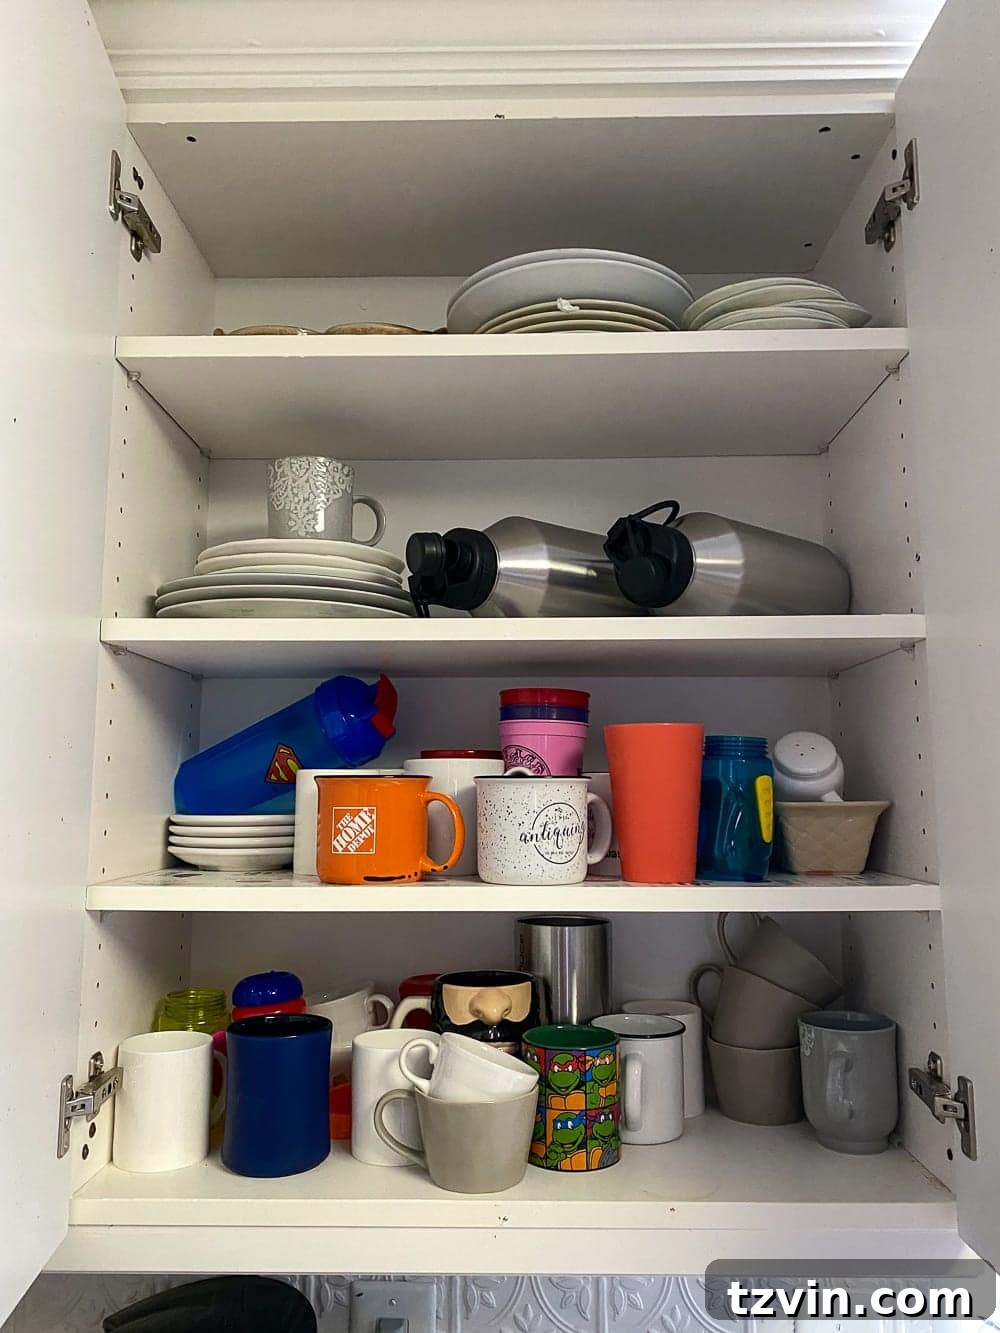
We discovered we had an abundance of souvenir cups that were rarely used, so we happily donated them to make space for our everyday essentials. Of course, Robert’s beloved beard mug, which I painted for him last year, earned its rightful place and exemption from the purge! It’s important to strike a balance between sentimental items and practical functionality.
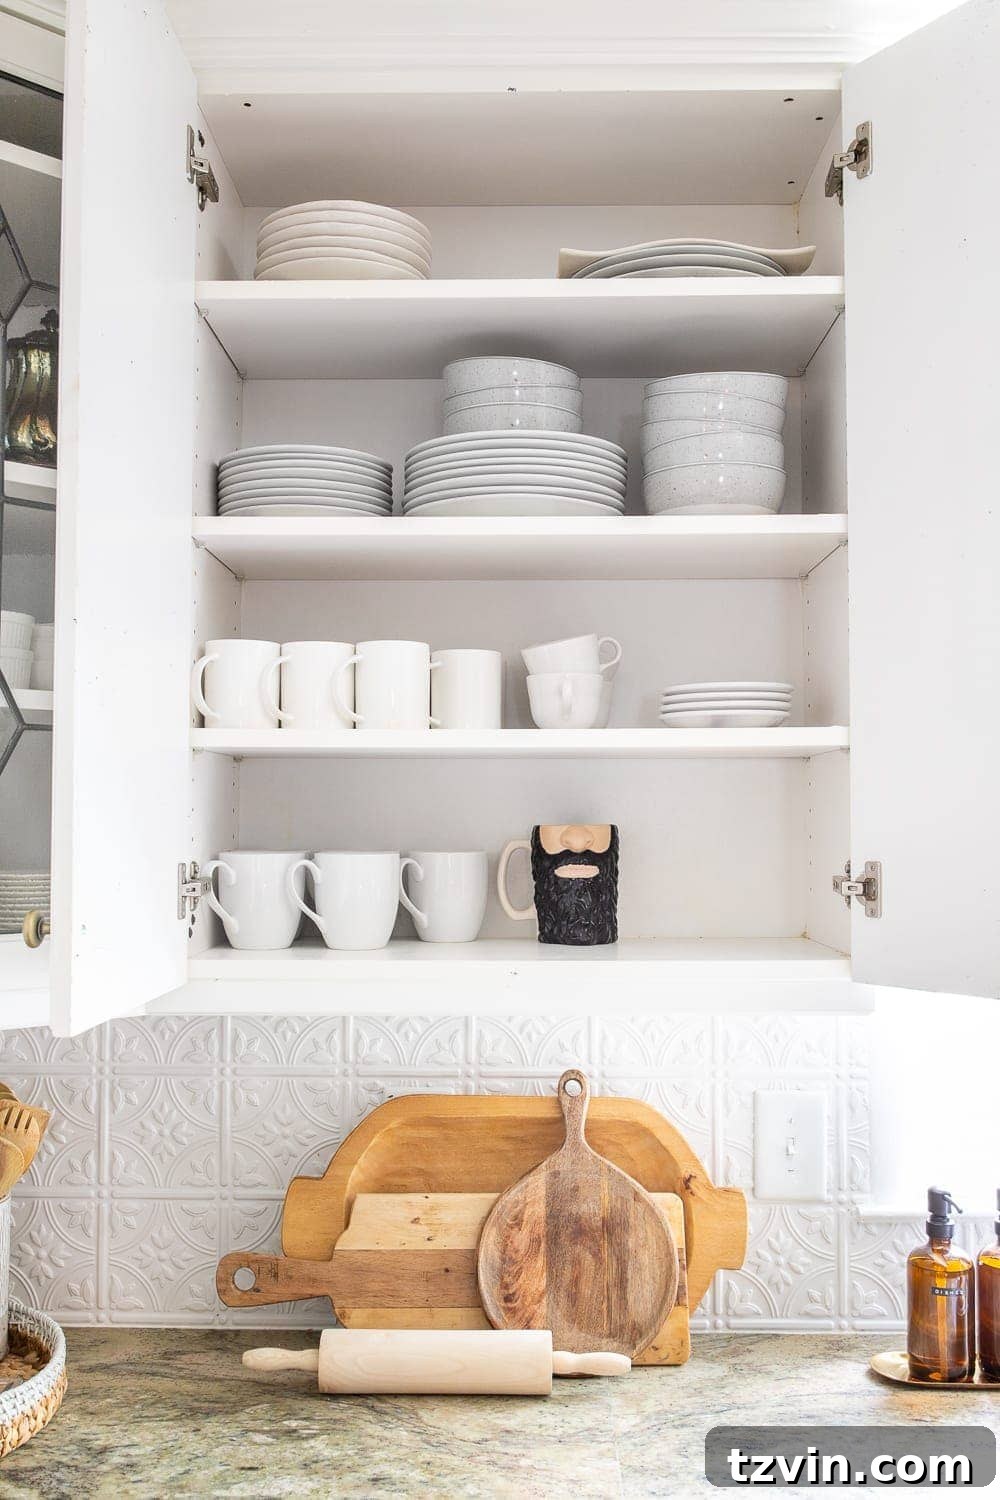
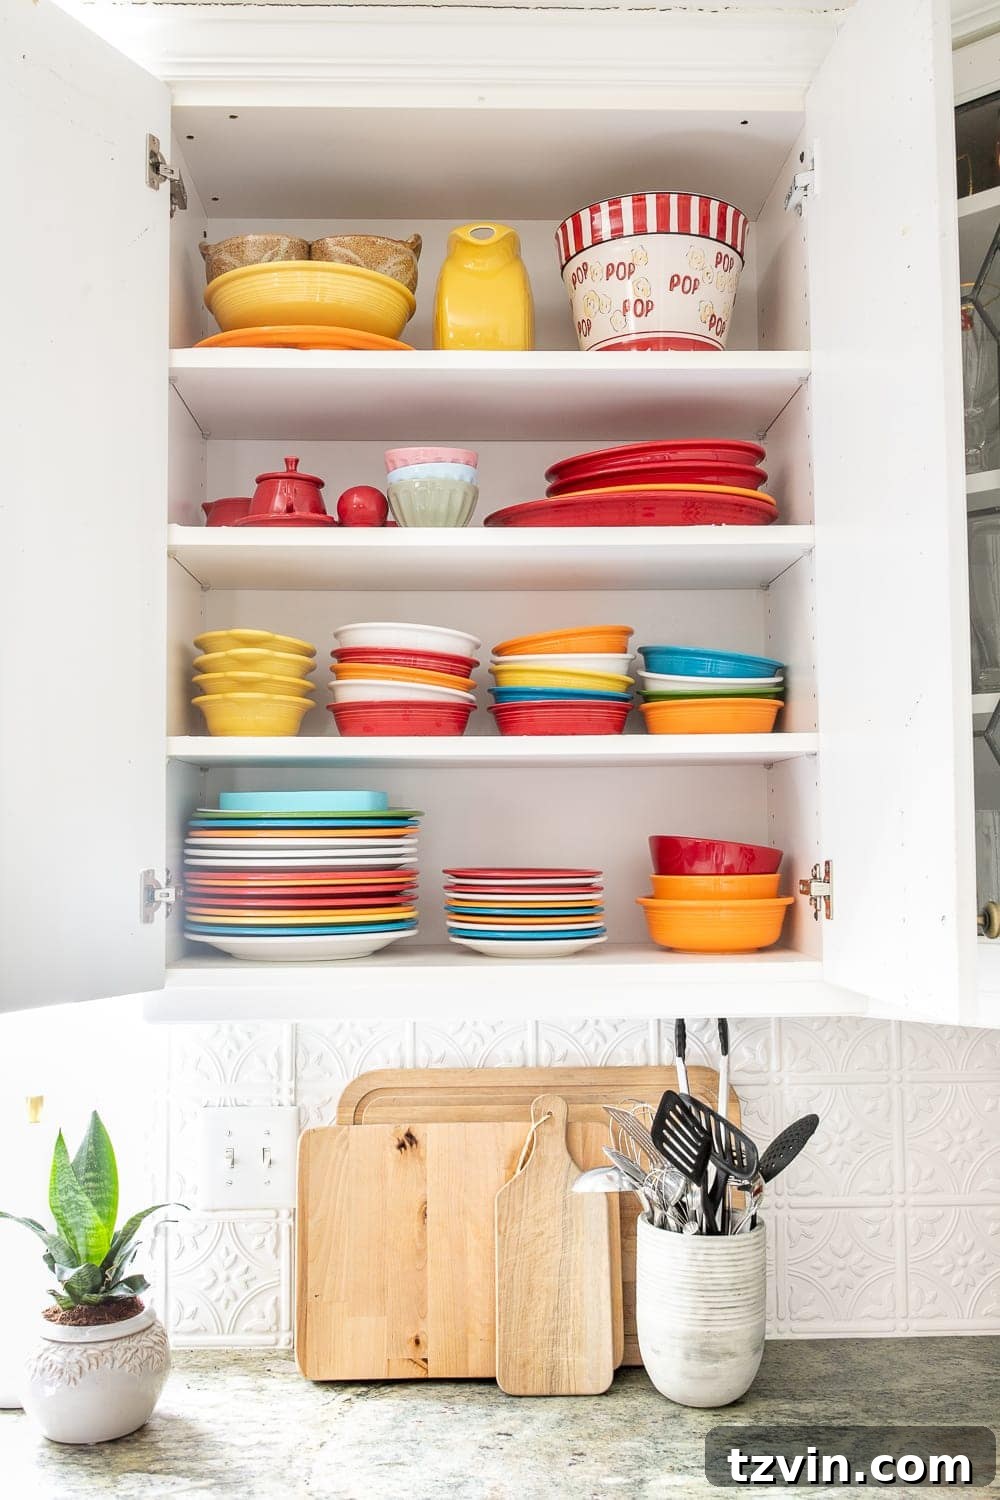
This cabinet, housing our dinnerware, has always maintained a respectable level of tidiness. When we got married nine years ago, we registered for Fiestaware, and it has proven to be an excellent choice for durability and versatility! While the vibrant multicolors aren’t entirely my current aesthetic preference (I lean towards an all-white palette now), they’re incredibly fun to pull out for lively pops of color when we host parties or entertain guests.
Tip: Organize your dishes and bowls by size and, if you have a variety of colors, by color as well. Stacking like items together maximizes vertical space and prevents precarious piles. For example, all dinner plates together, then salad plates, then bowls. This seemingly obvious step significantly improves cabinet efficiency and makes setting the table much smoother.
Drinkware Cabinets: Clarity and Accessibility
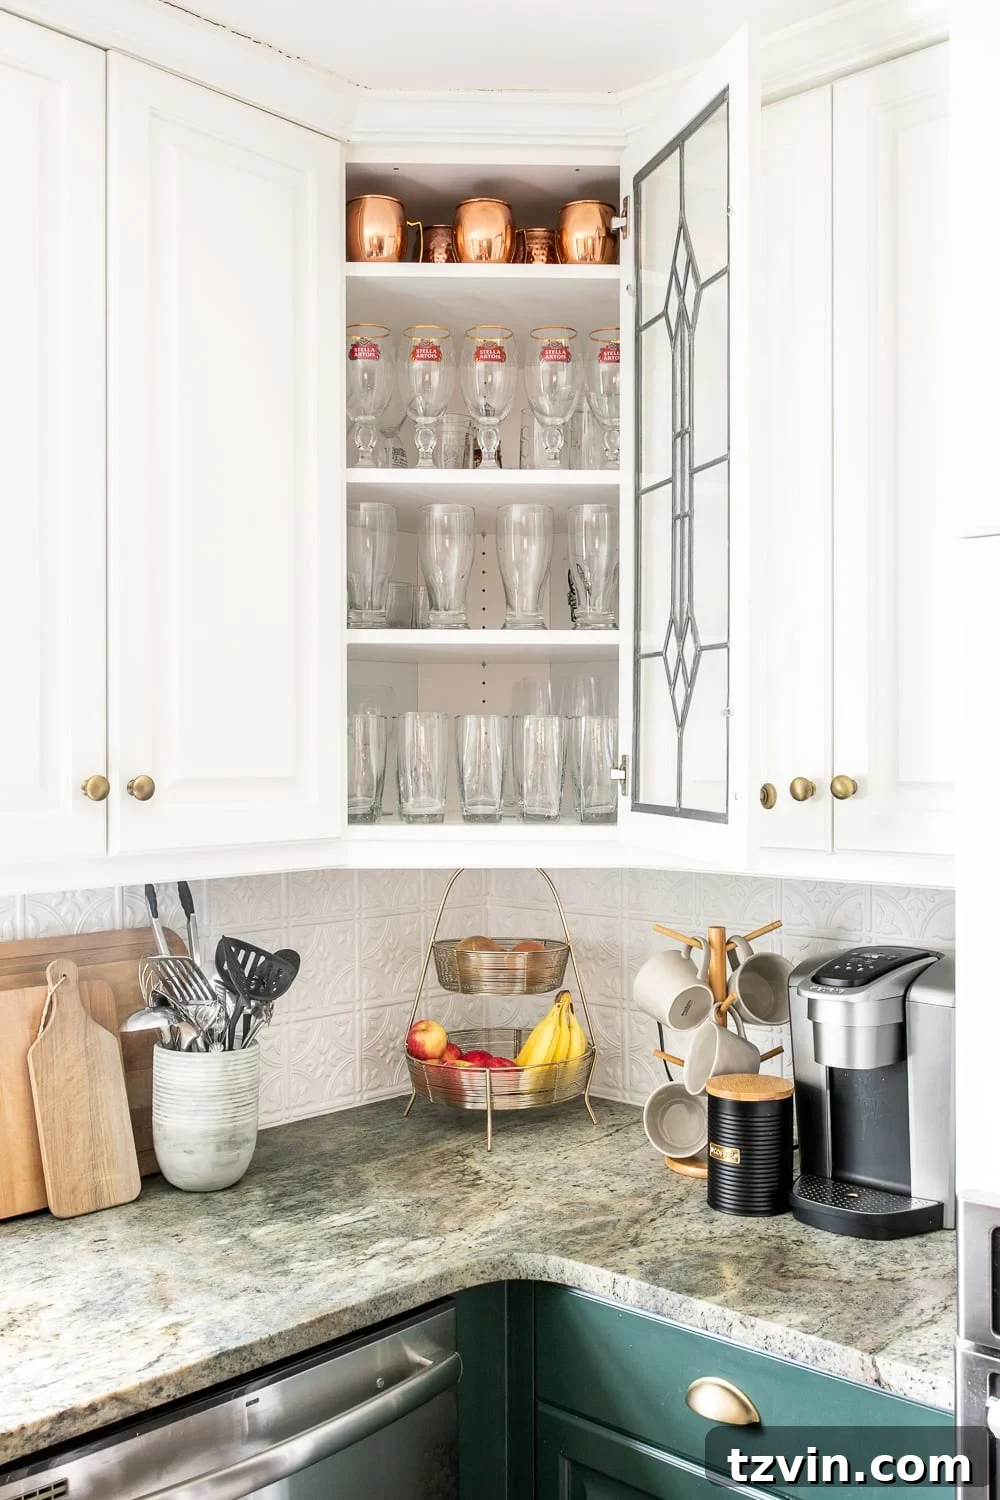
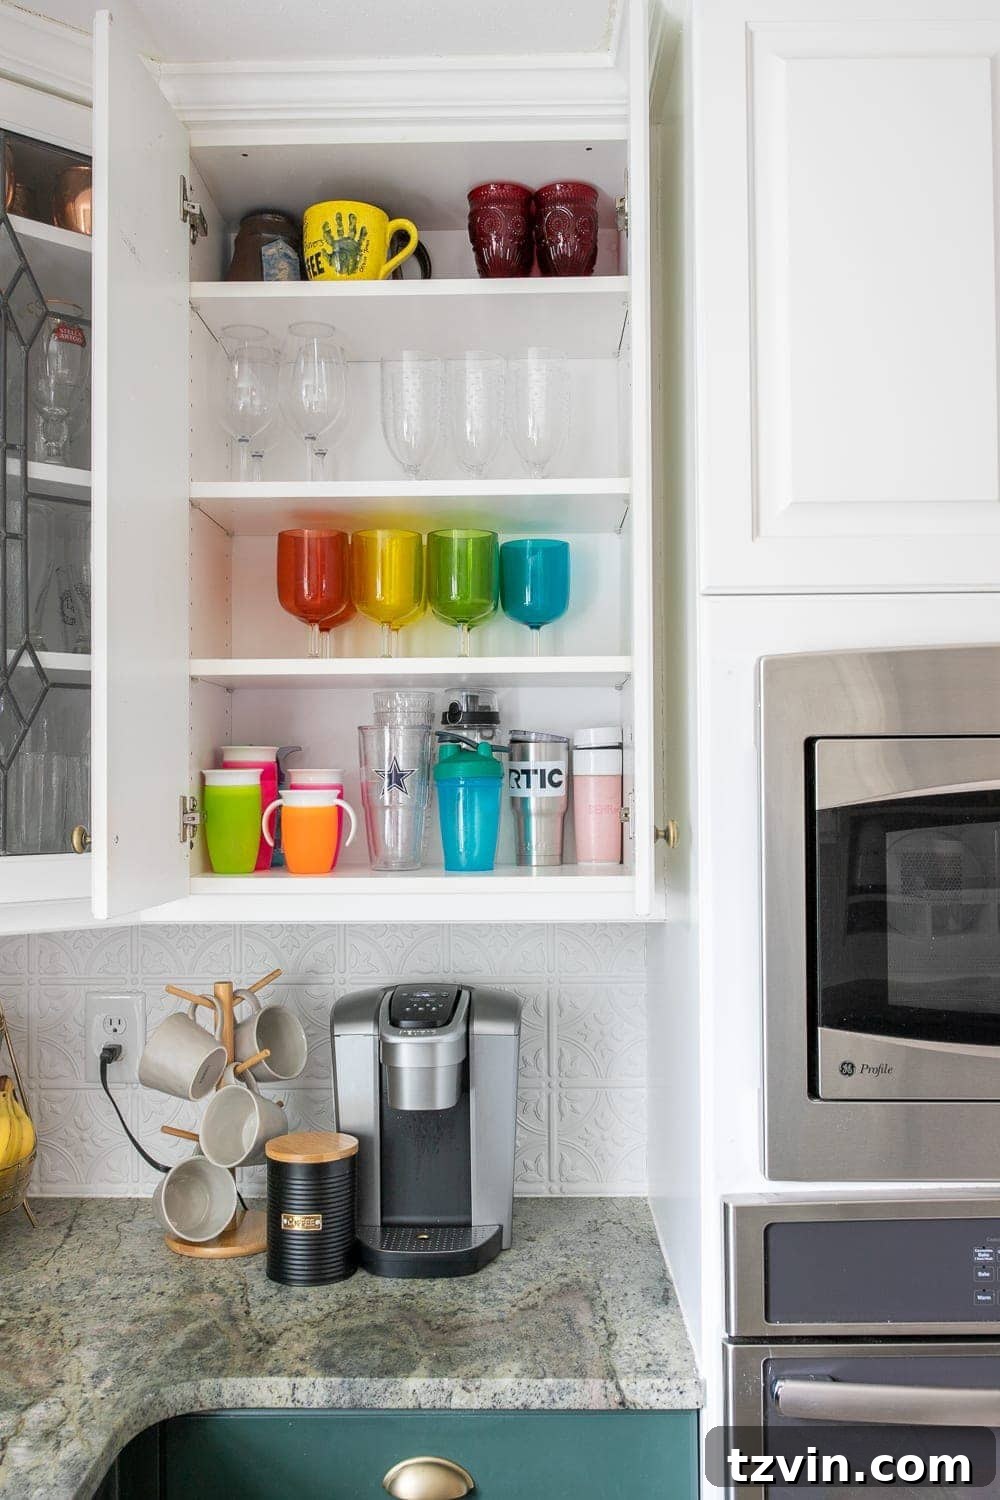
I am a firm believer in glass-front cabinets, particularly for drinkware. They have a wonderful way of keeping us honest about our organization habits! This specific cabinet has remained remarkably tidy since the day we moved in, a testament to the power of visible storage encouraging consistent upkeep.
Why did we ever have two entire cabinets dedicated to cups? It was an unnecessary luxury of space that contributed to hidden clutter. Before, the overflow was simply overwhelming.
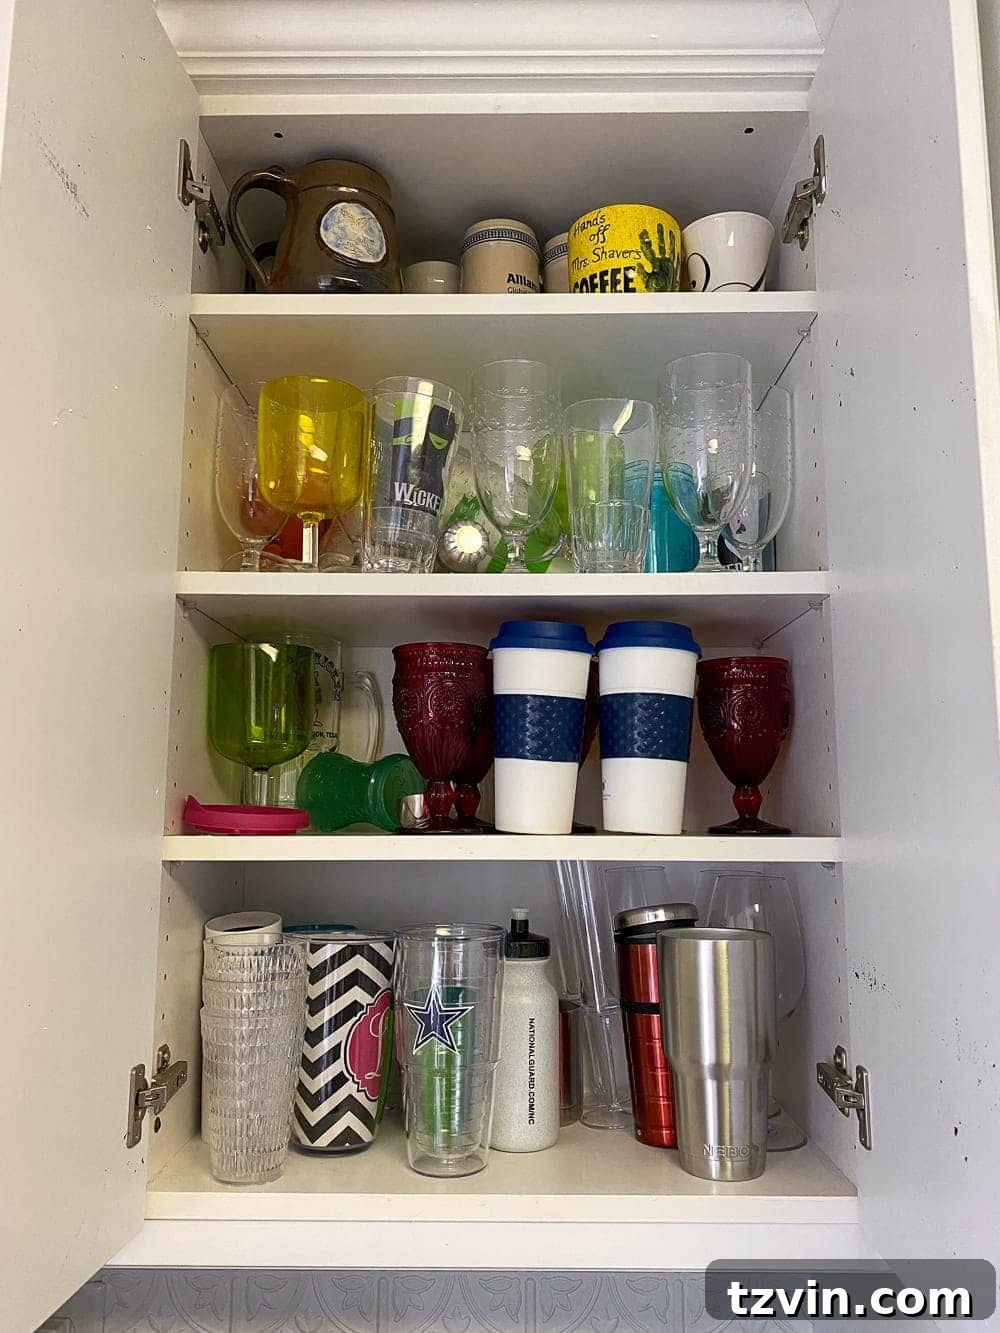
We maintain a good stock of acrylic cups, perfect for enjoying beverages safely around the pool area. Eventually, we hope to transform our pool shed into a dedicated outdoor bar, which will be the perfect new home for many of these cups, freeing up even more indoor cabinet space. For now, they are neatly stored.
The travel mugs and sippy cups, which are frequently used by our family, have been pared down and placed on a single, easily accessible shelf. This ensures that everyone can grab their preferred drinkware without rummaging.
Tip: Limit “multiples” – especially for items like travel cups. Aim for a practical number, perhaps two to three per person in your household, rather than an overflowing collection. This simple rule drastically reduces clutter and simplifies daily routines.
Utensil Drawers: Cooking Made Easier
I was absolutely fed up with the nightly ritual of digging through overcrowded drawers, desperately searching for the right utensil while trying to cook dinner. It was a constant source of frustration and inefficiency.
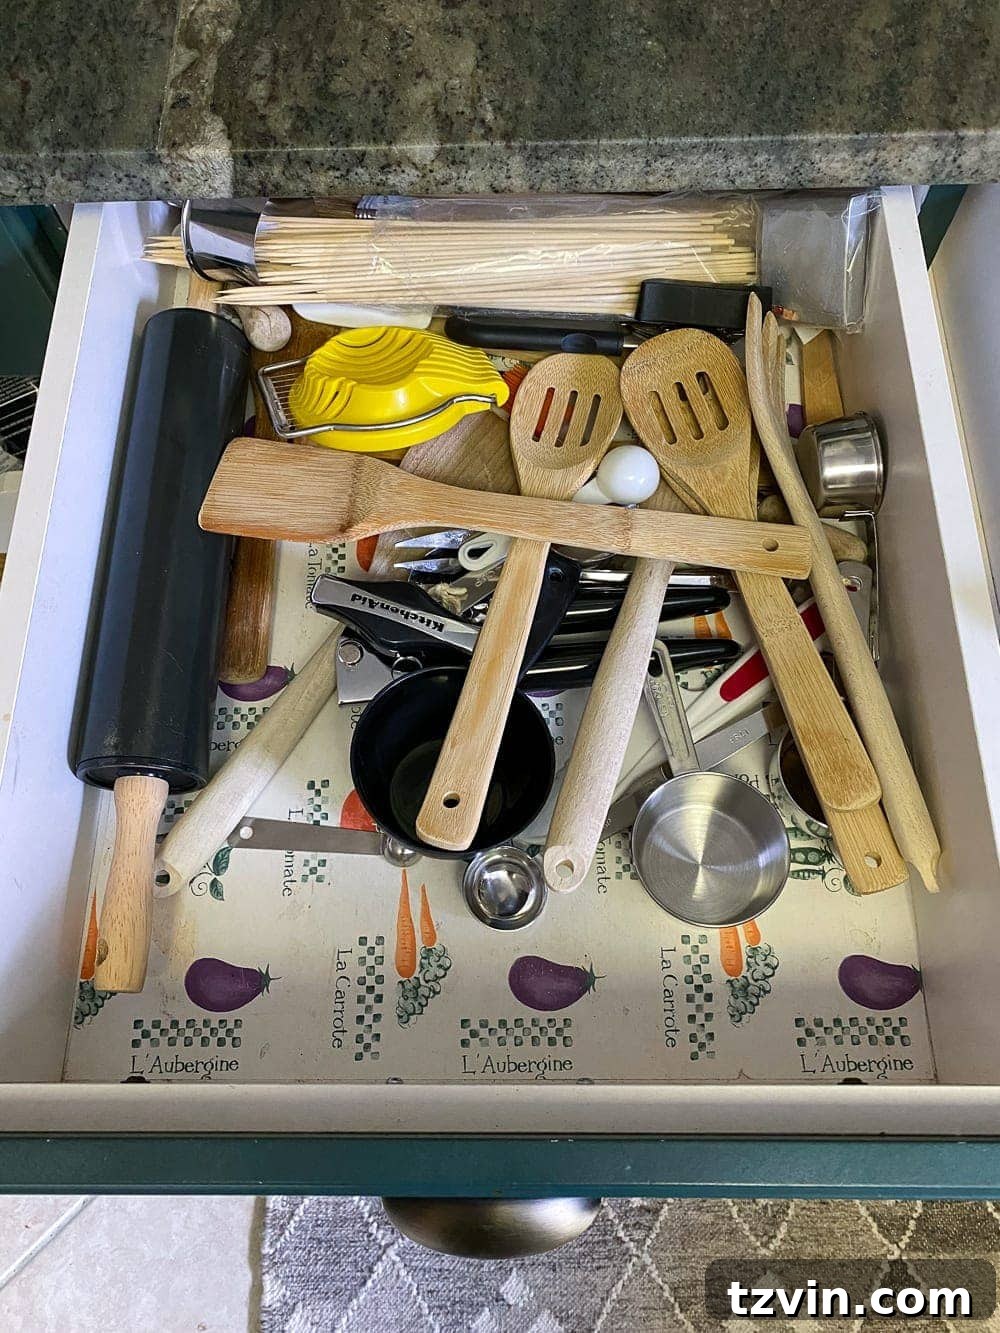
My solution was to gather all the wooden spoons we use most frequently and place them in a stylish utensil holder right on our countertop. This simple change made a huge difference, keeping essential tools within arm’s reach and freeing up drawer space.
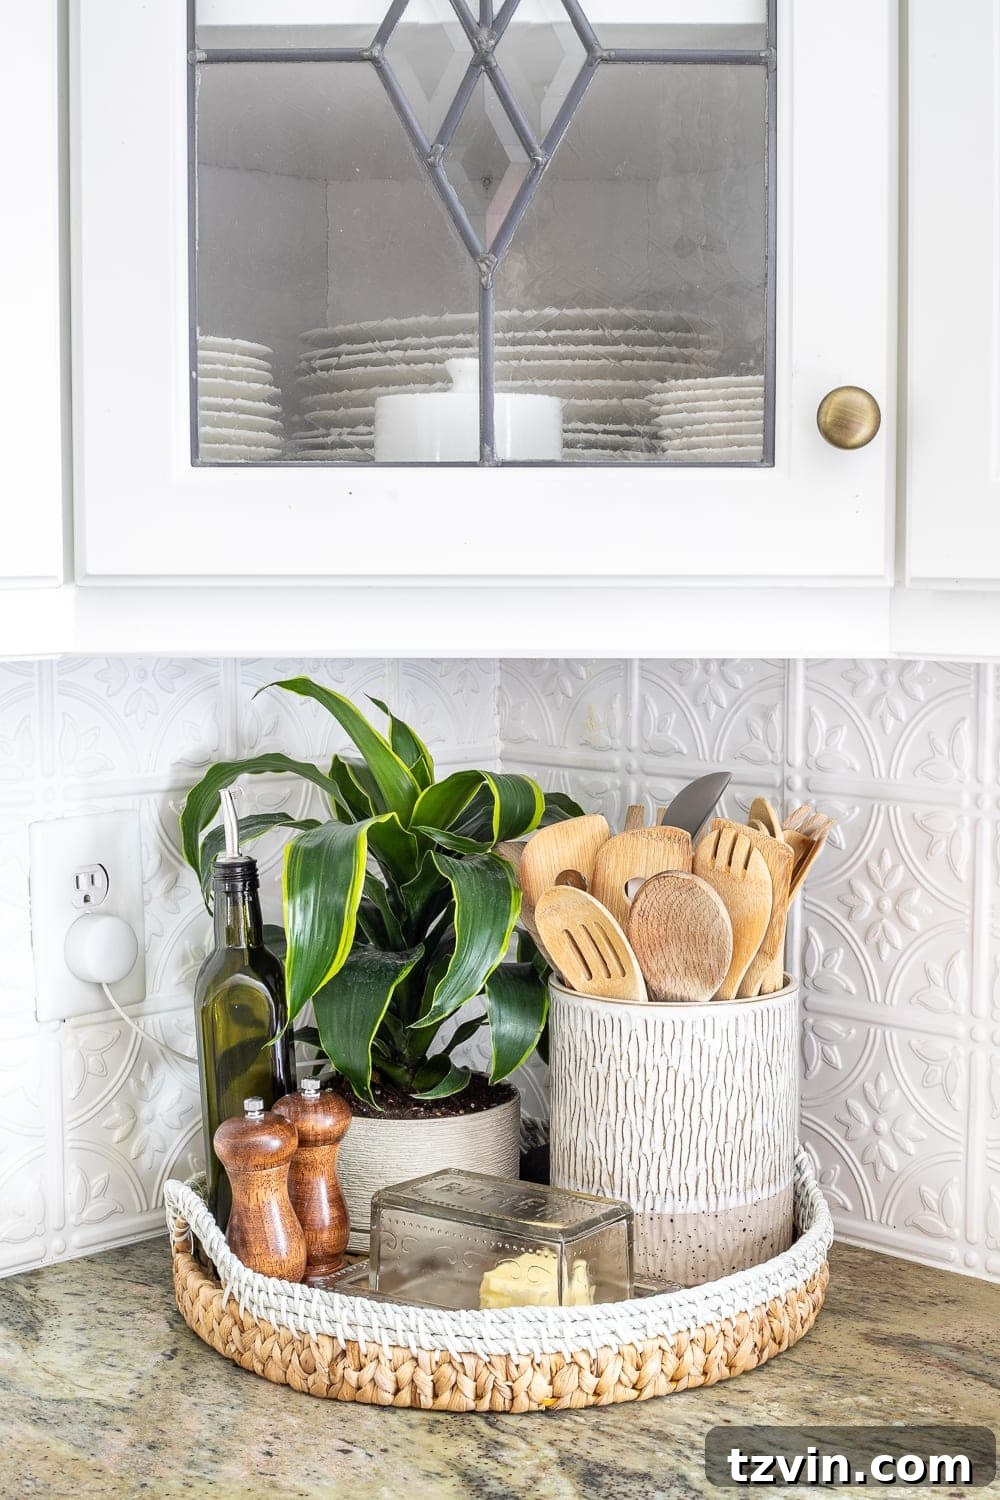
Tip: Group items based on their primary use. For example, dedicate one drawer for everyday serving utensils, a countertop container for wooden spoons and spatulas, and another compartment for specialty items like grilling tools or baking implements. This systematic approach ensures that every tool has a home, reducing search time and maximizing efficiency.
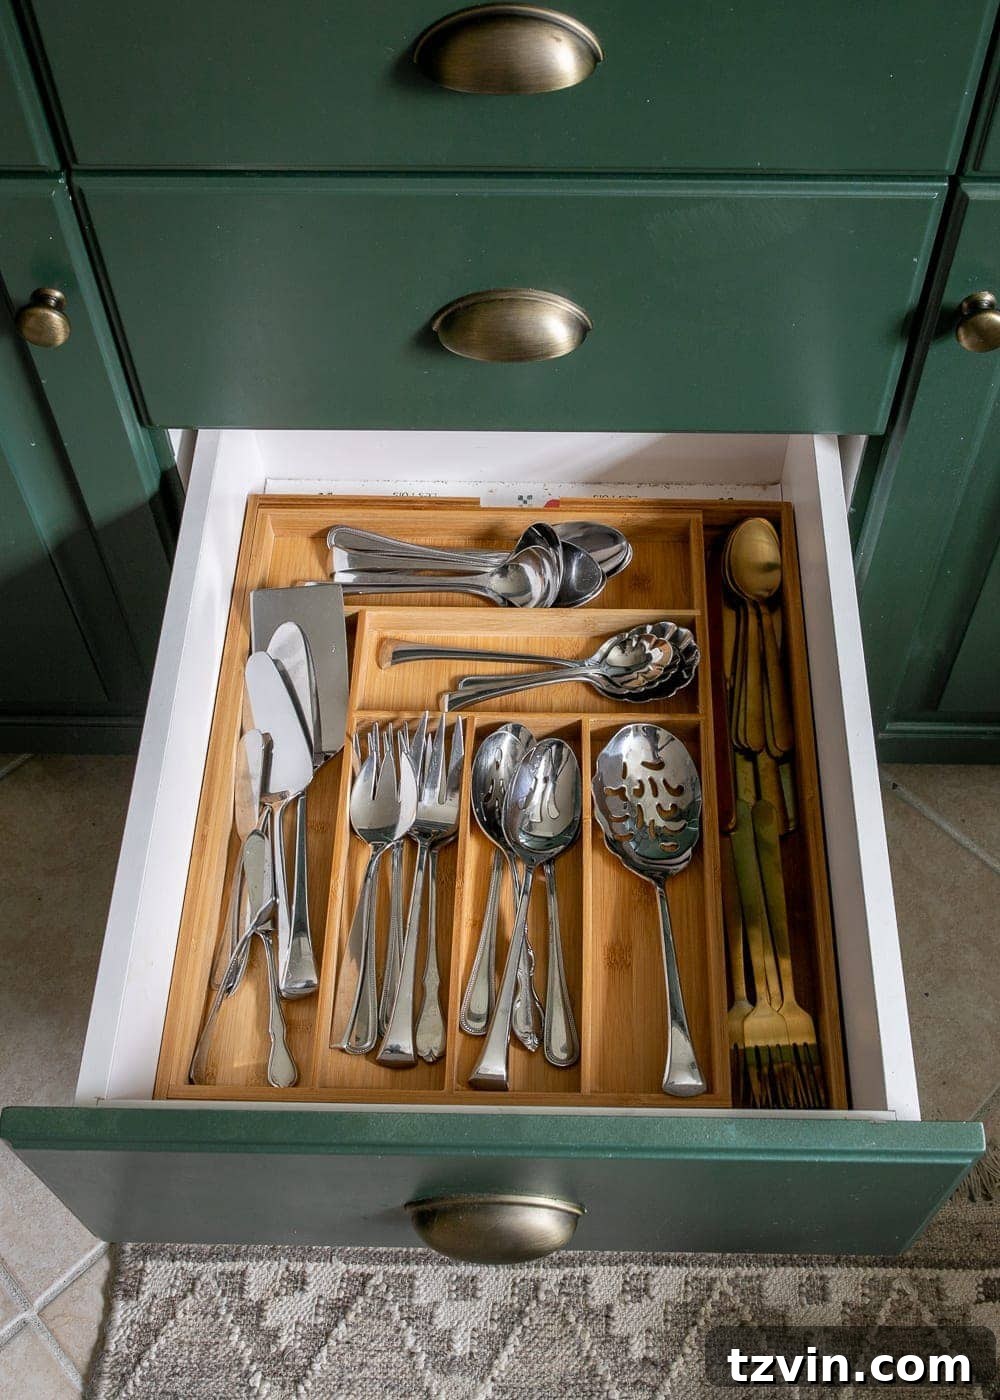
Following this principle, I placed our metal and plastic spoons and spatulas into a separate utensil holder, also conveniently located on the countertop. For the remaining drawer items, I utilized expandable drawer organizers, positioning the most frequently used tools in the top drawer for immediate access.
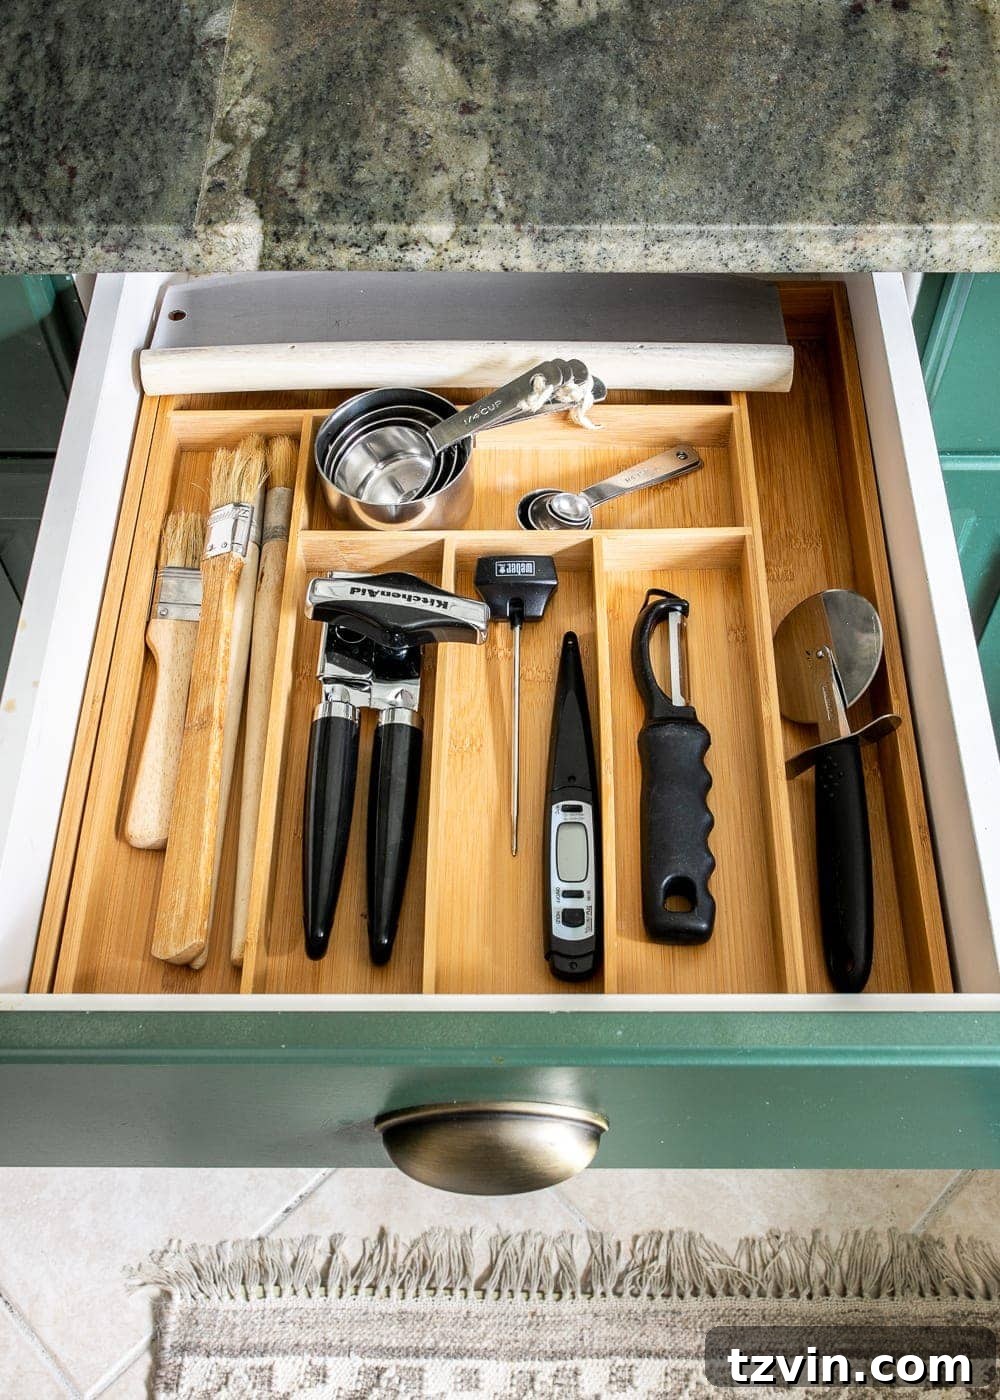
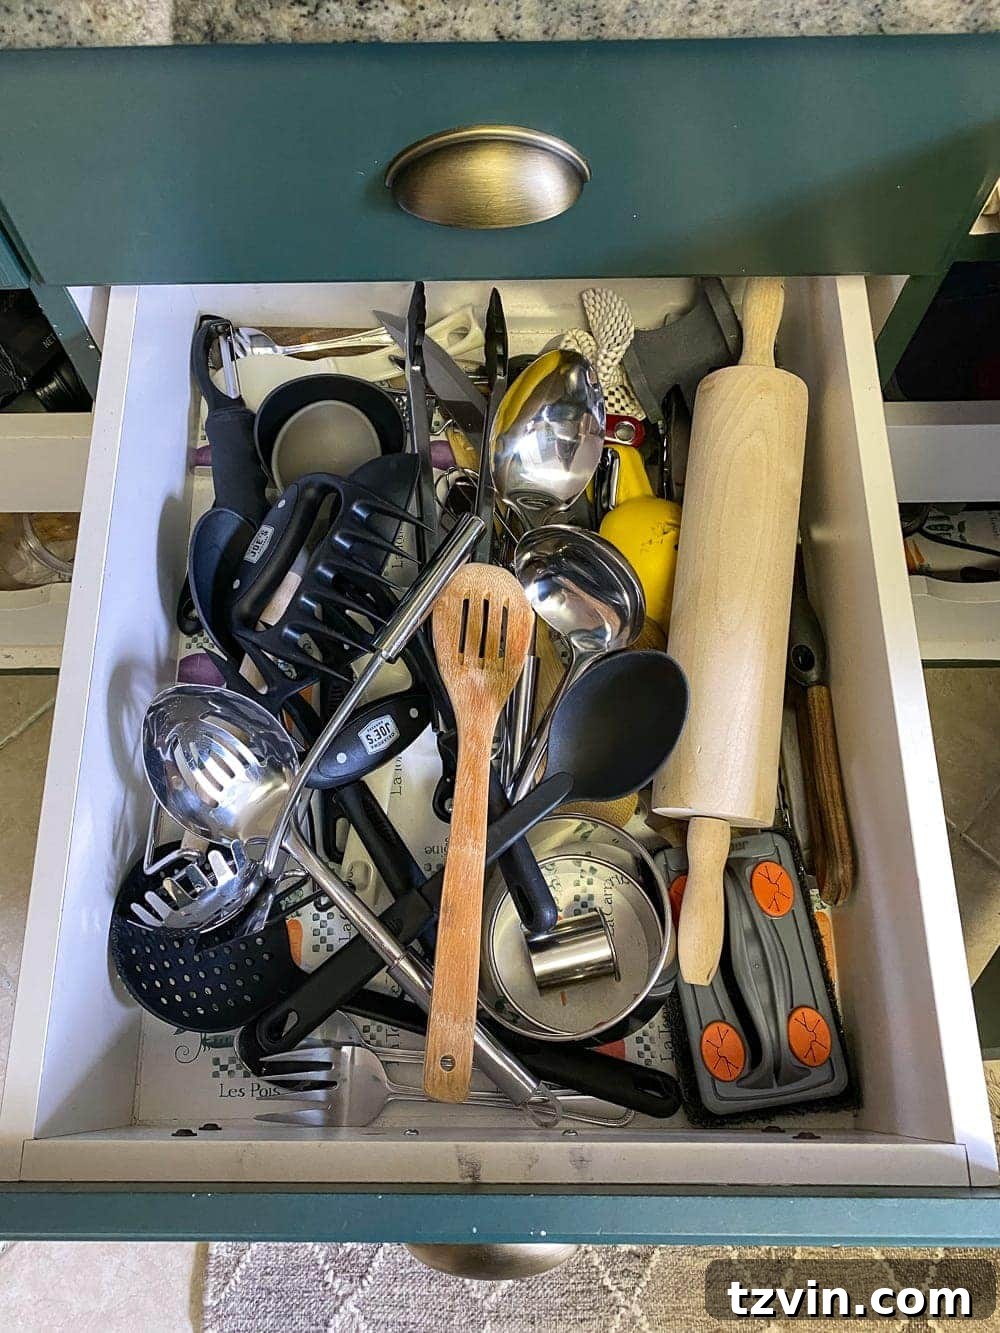
The middle drawer became the home for specialty cooking tools and those used less often. These are items I still need, but not on a daily basis, so they don’t demand prime real estate.
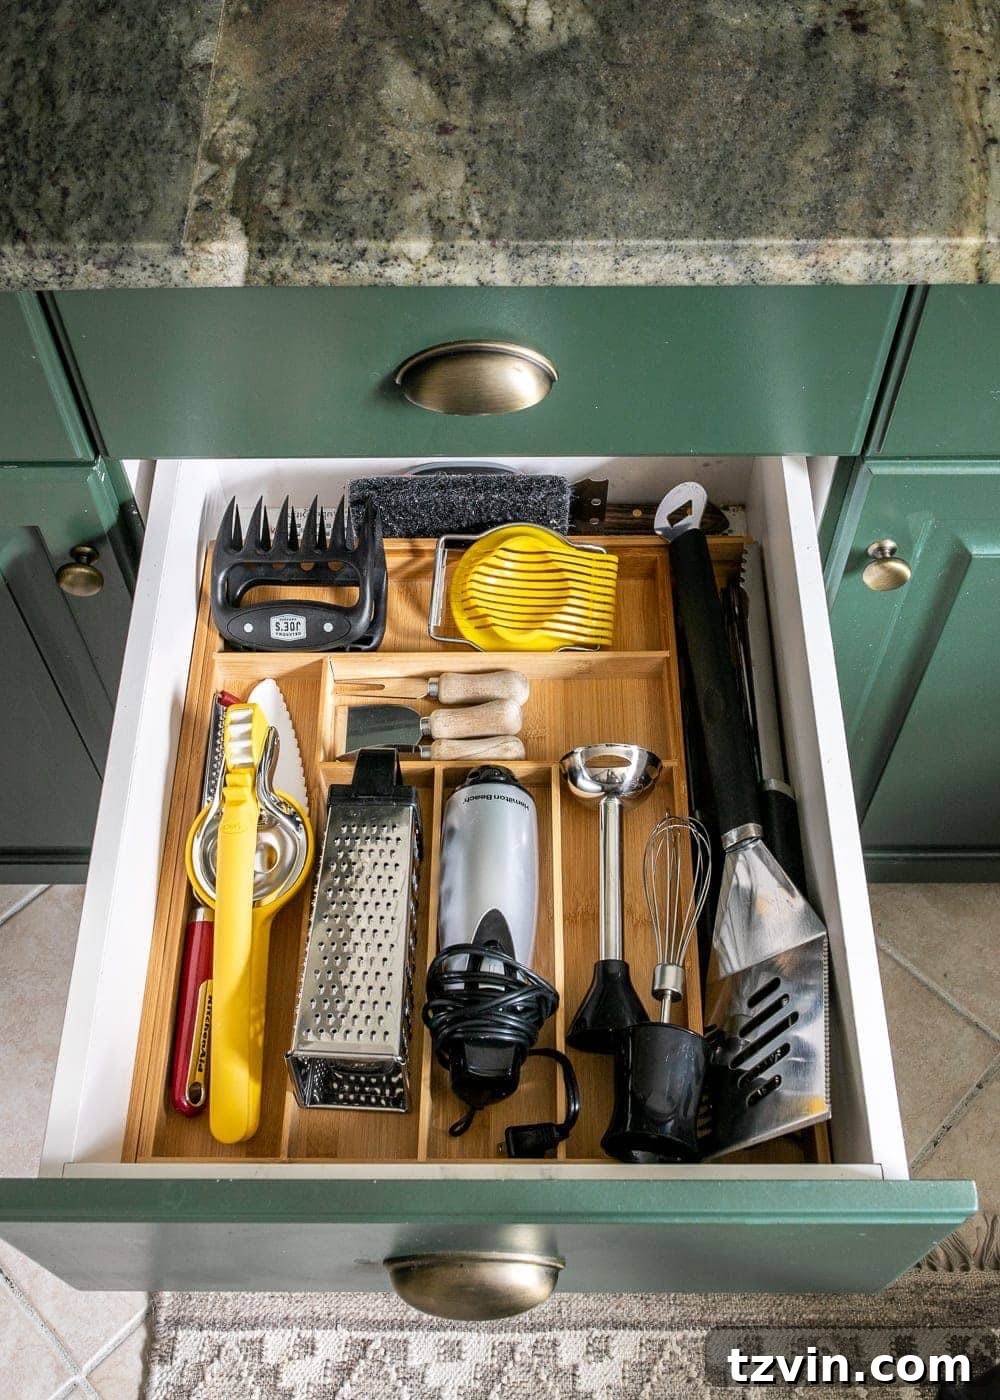
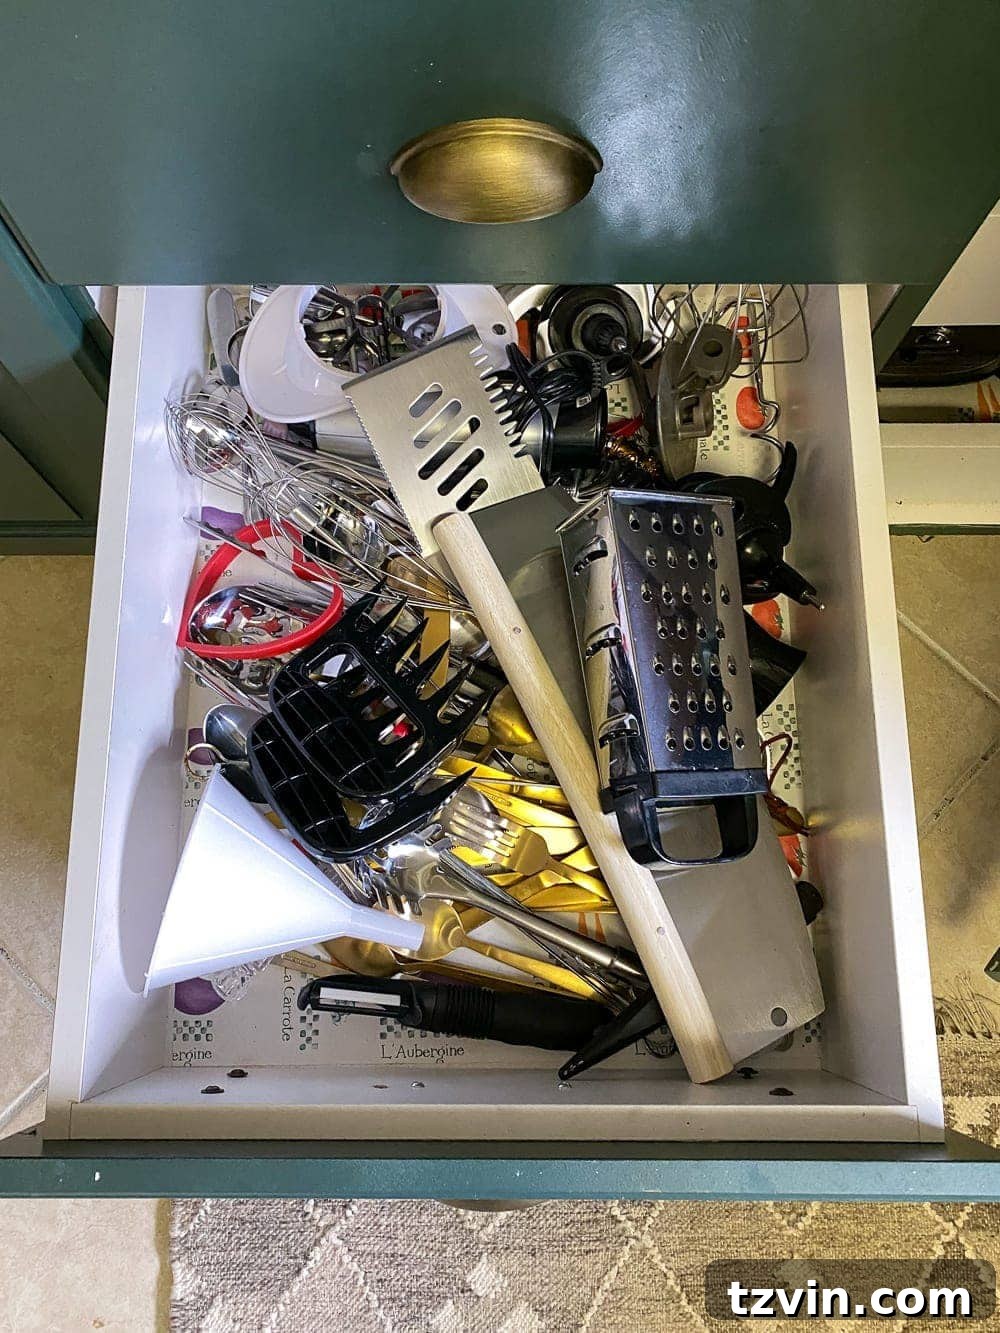
Finally, the third drawer was dedicated to our serving utensils, making them easy to find when entertaining or dishing out family meals.
Kitchen Towel Drawer: Folding for Functionality
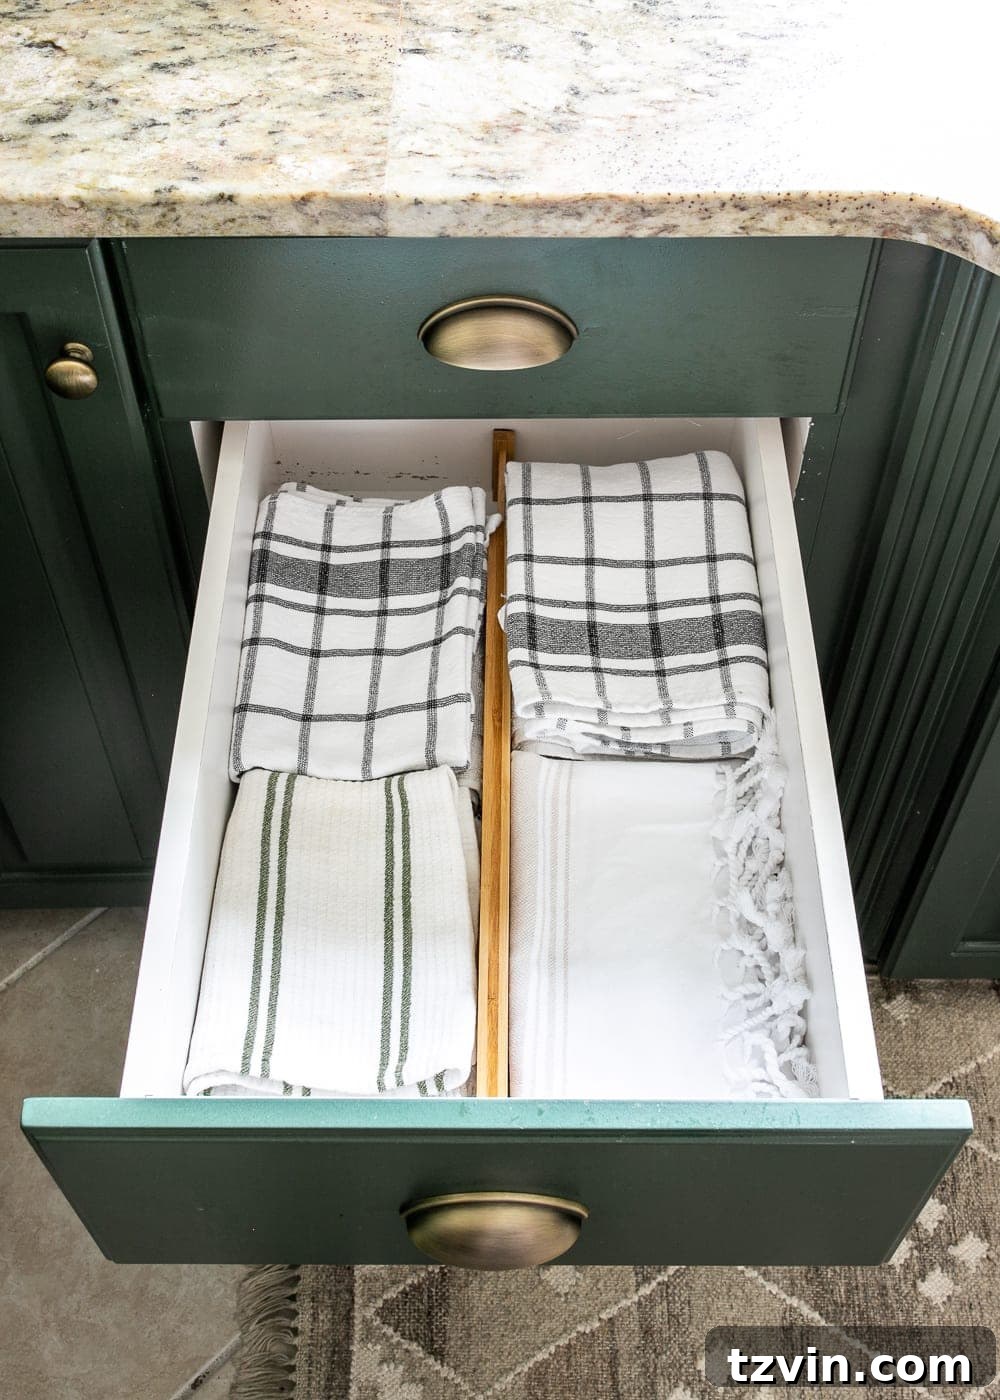
One word for the “before” state of this drawer: chaos! It was a jumbled mess of linens, making it impossible to quickly grab a clean towel when needed. There was no method to the madness.
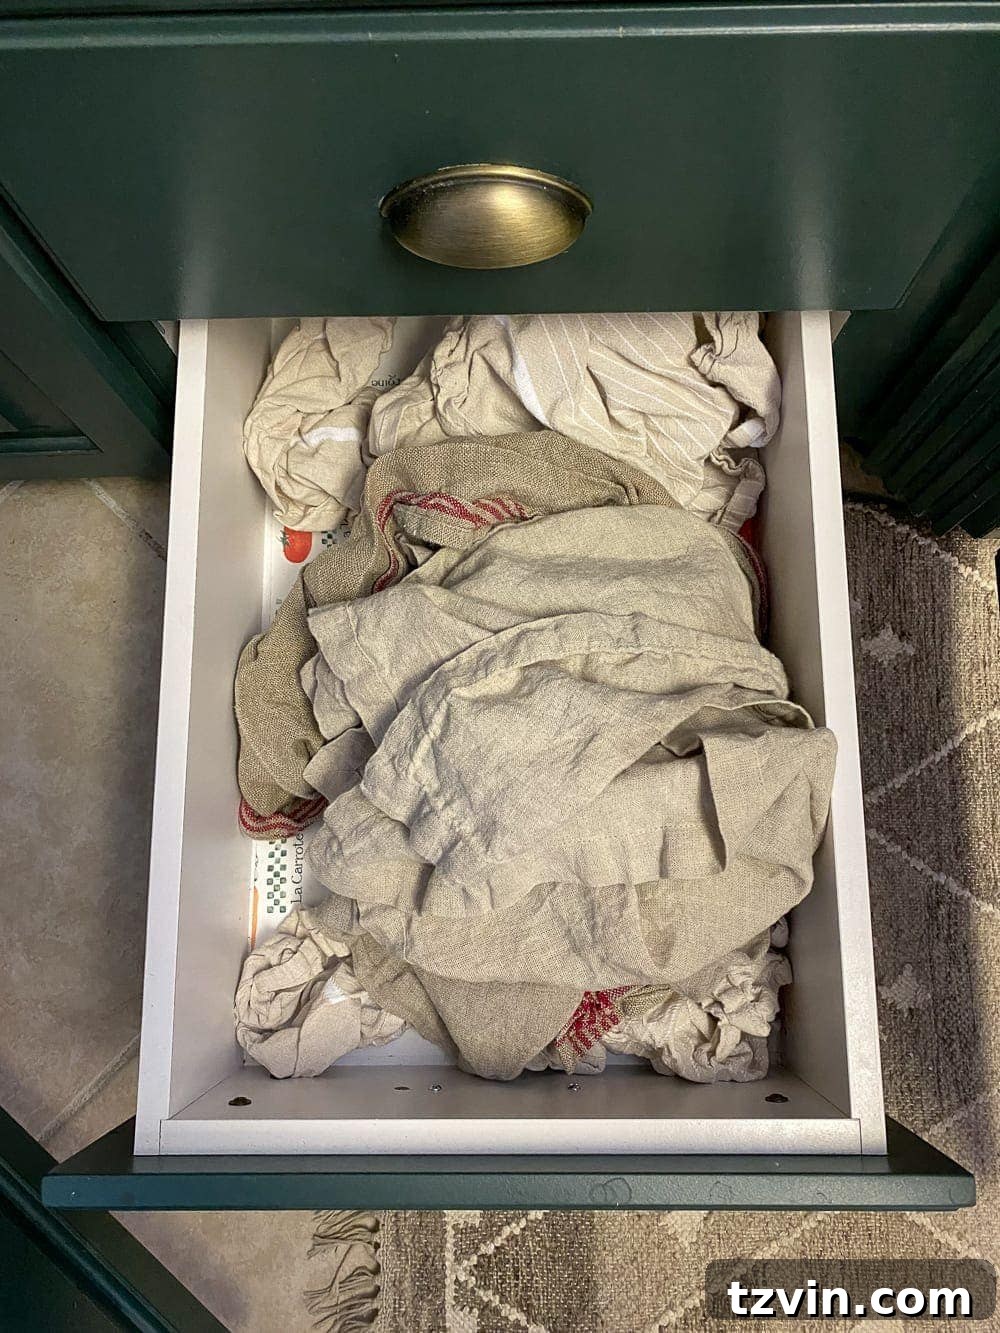
The solution was incredibly simple yet profoundly effective: this humble bamboo drawer divider. It created defined sections, instantly bringing order to the unruly pile of dish towels and cloths. Now, everything stays neatly folded and visible.
Apron Drawer: A Place for Every Protective Layer
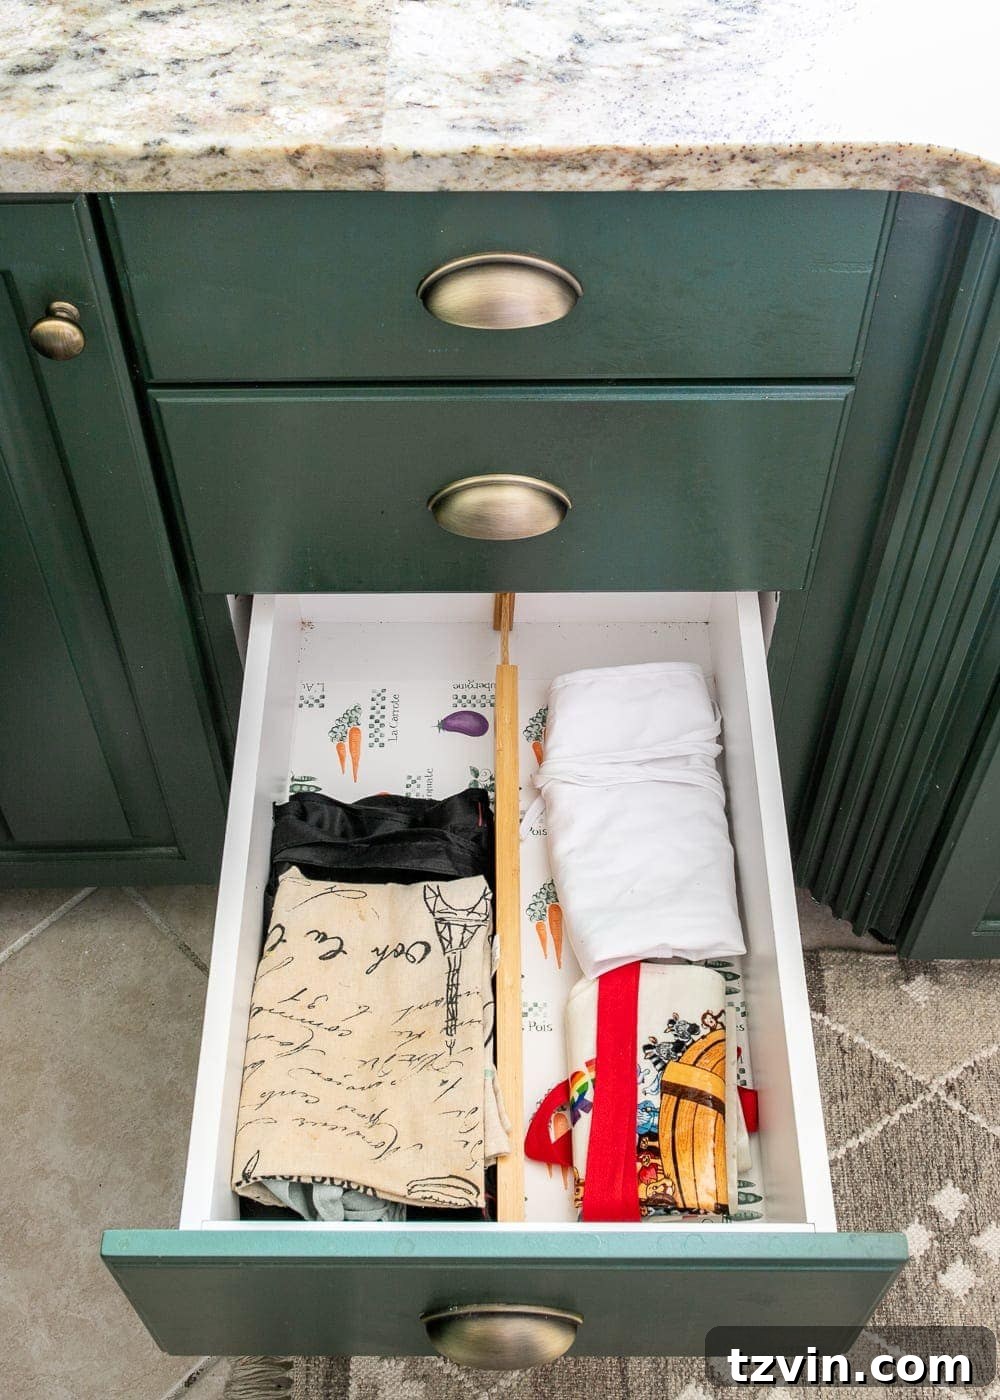
Similar to the towel drawer, the apron drawer was a testament to the fact that without proper containment, even soft fabrics can create visual clutter. Aprons were crumpled and hard to find.

Once again, a simple drawer divider proved to be the hero! By neatly folding and containing the aprons within their designated section, the drawer instantly transformed into an orderly and functional space. No more rummaging for a clean apron before baking or cooking.
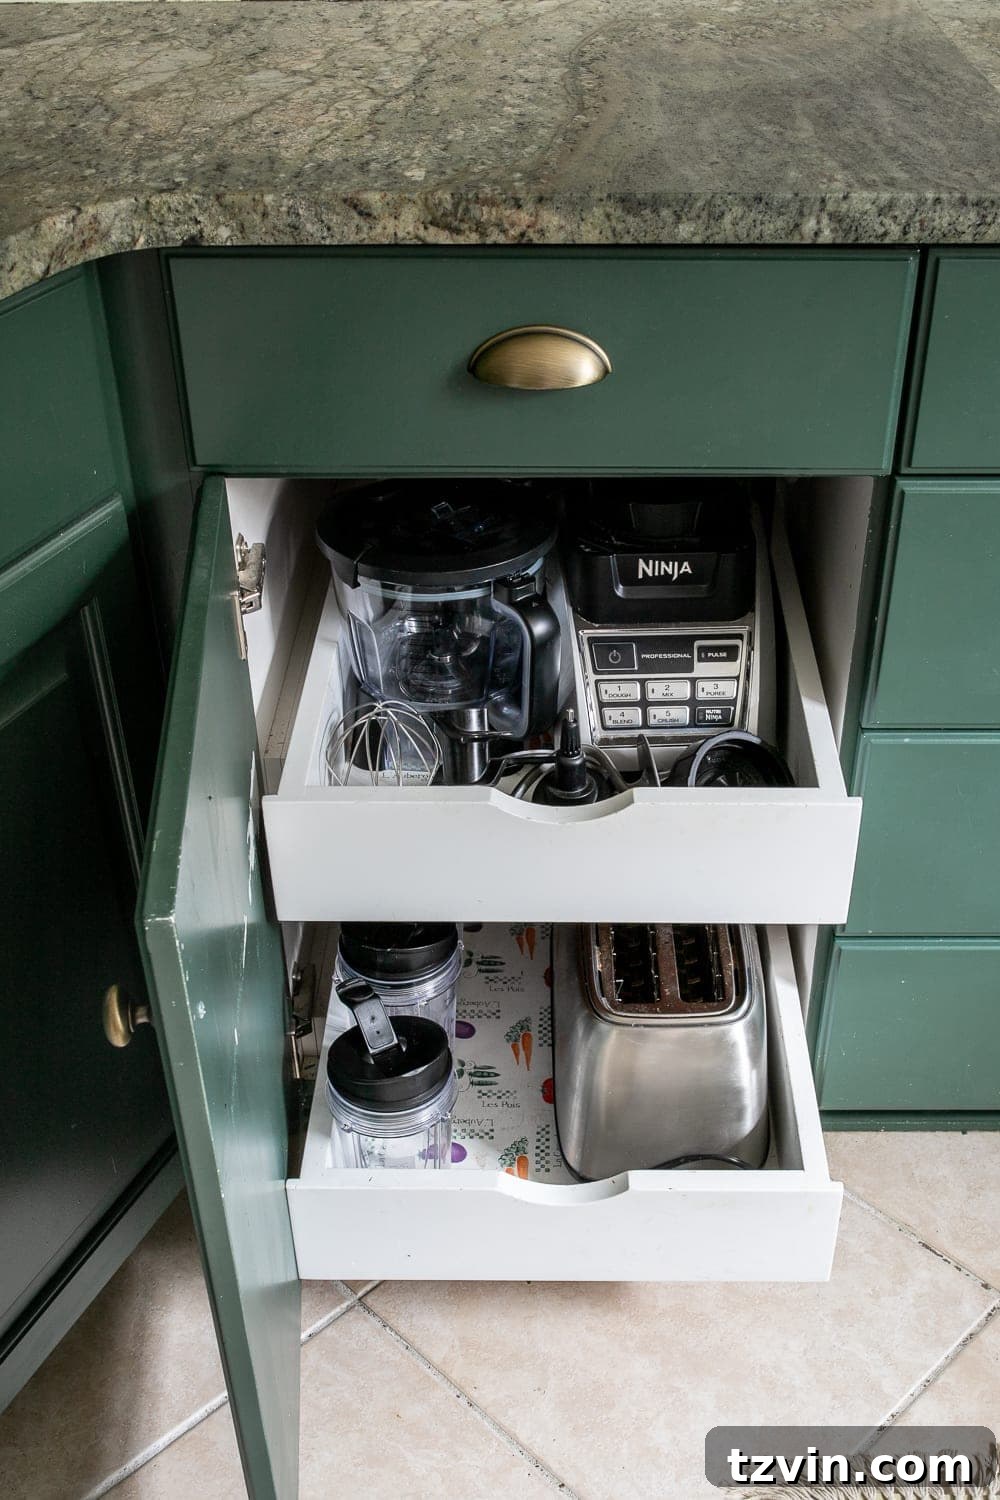
Small Appliance Cabinets: Making Sense of Machines
Don’t even ask me why random medicine bottles had found their way into this cabinet; it was certainly not their intended home! This area was a true “catch-all,” illustrating how easily cabinets can become dumping grounds for unrelated items.
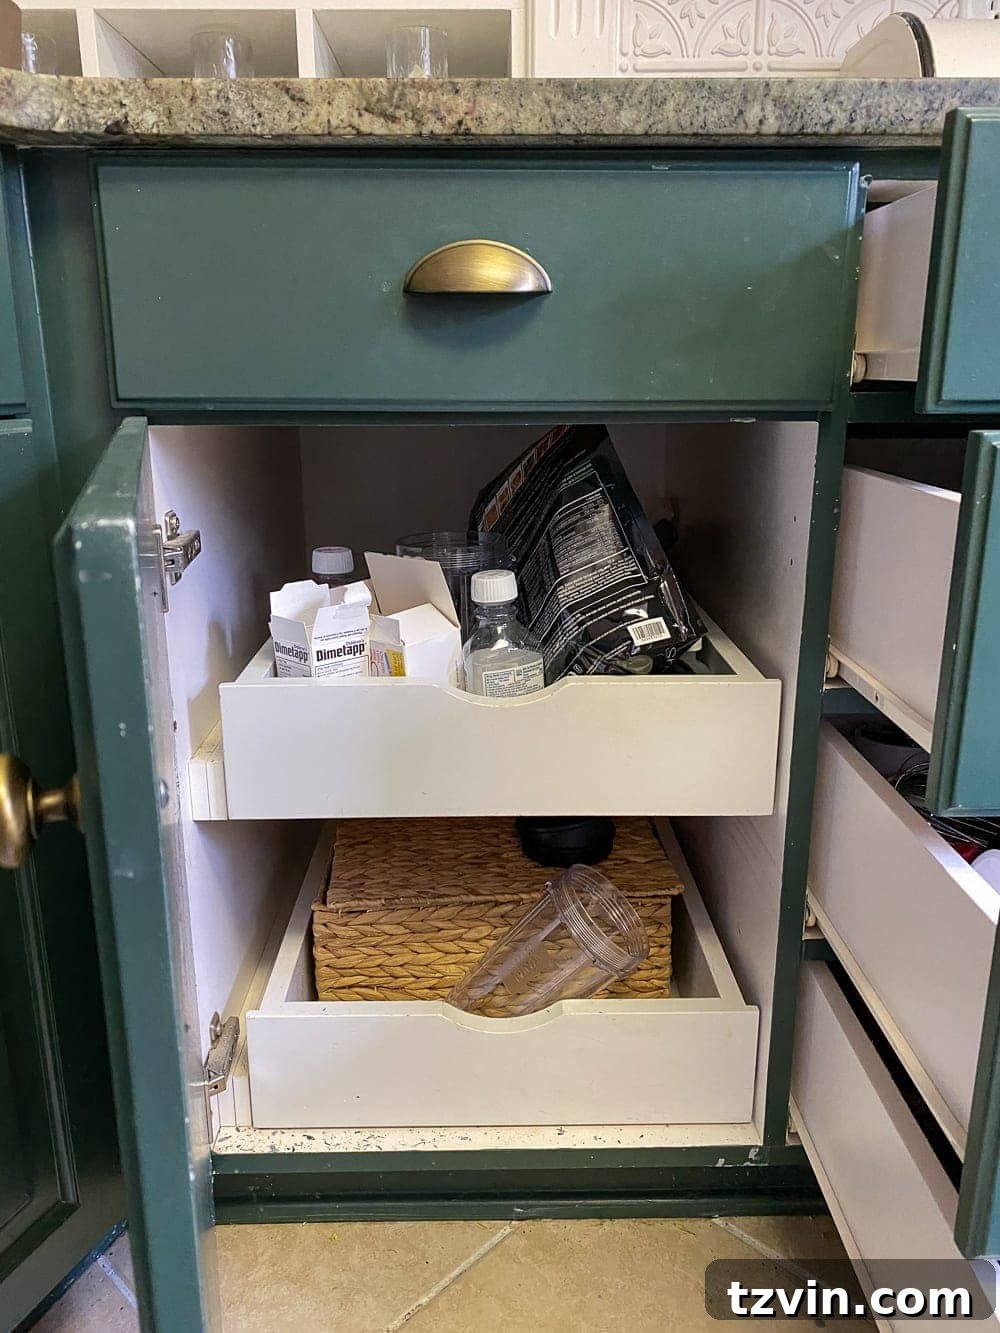
The first step was to relocate the medicine bottles to their proper, safe home: up high in our medicine cabinet, well out of reach of our curious one-year-old. In hindsight, I also realized I should have removed or covered up the dated ’80s vegetable print contact paper; that’s a task for another day! While the paint job on these shelves has certainly seen better days, the cabinet now makes complete sense as a dedicated spot for small appliances. Everything has its place, and I know exactly where to find the blender or food processor.
Tip: Implement a regular maintenance schedule for your cabinets and drawers, ideally every three to six months. This quick edit helps prevent clutter from accumulating again. Now that everything is purged and organized, I’m committed to keeping it that way, and regular check-ins are key to sustained tidiness.
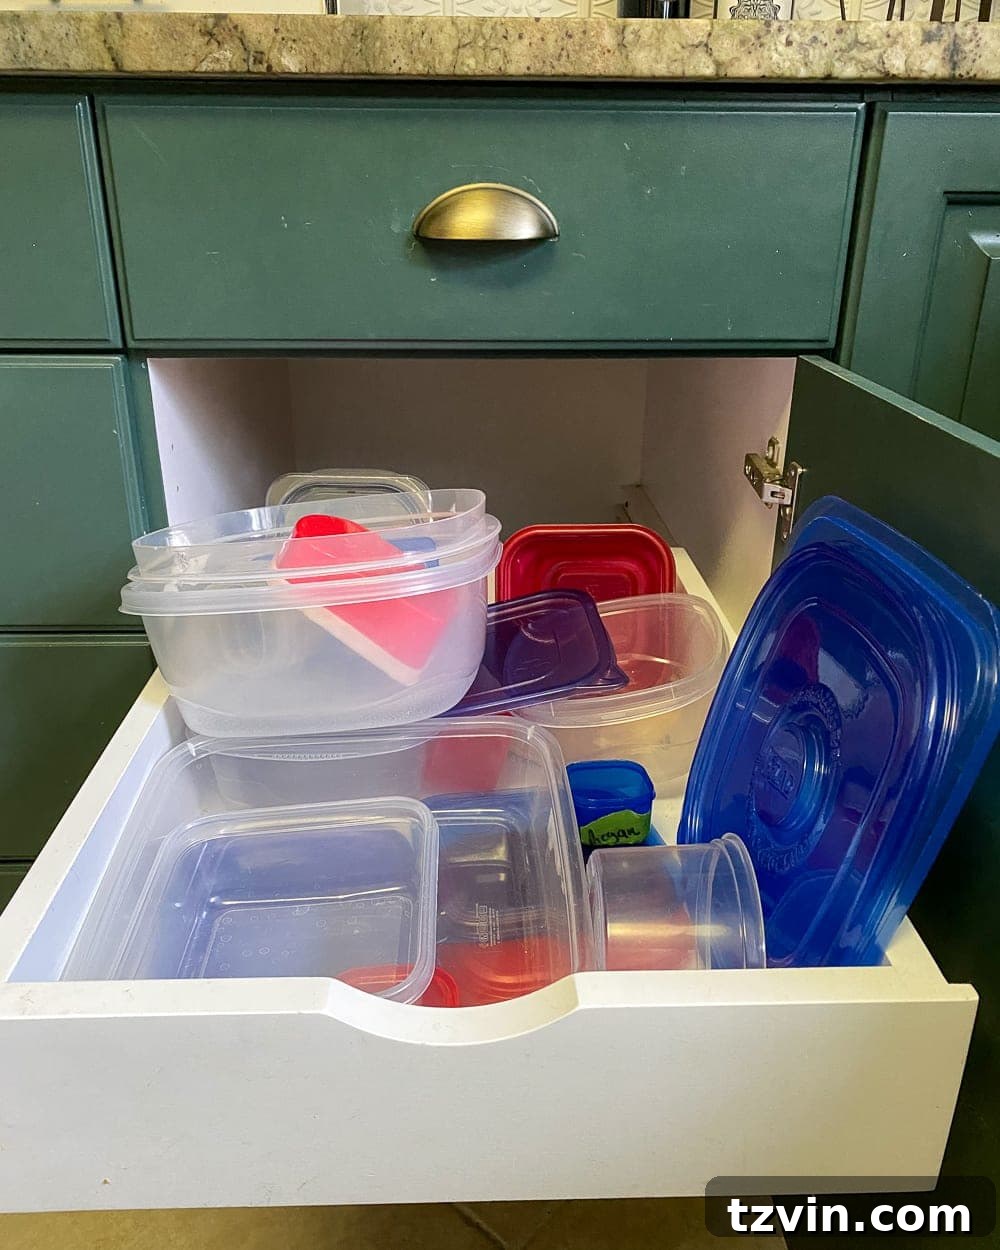
Tupperware Drawer: The Lid-Matching Challenge
I know I’m probably not the only person in the world who has battled a drawer like this! The notorious Tupperware drawer, a graveyard of mismatched lids and containers, often seems like a universal organizational nemesis. The “before” picture perfectly captures the chaos that ensues when these items lack a proper system.
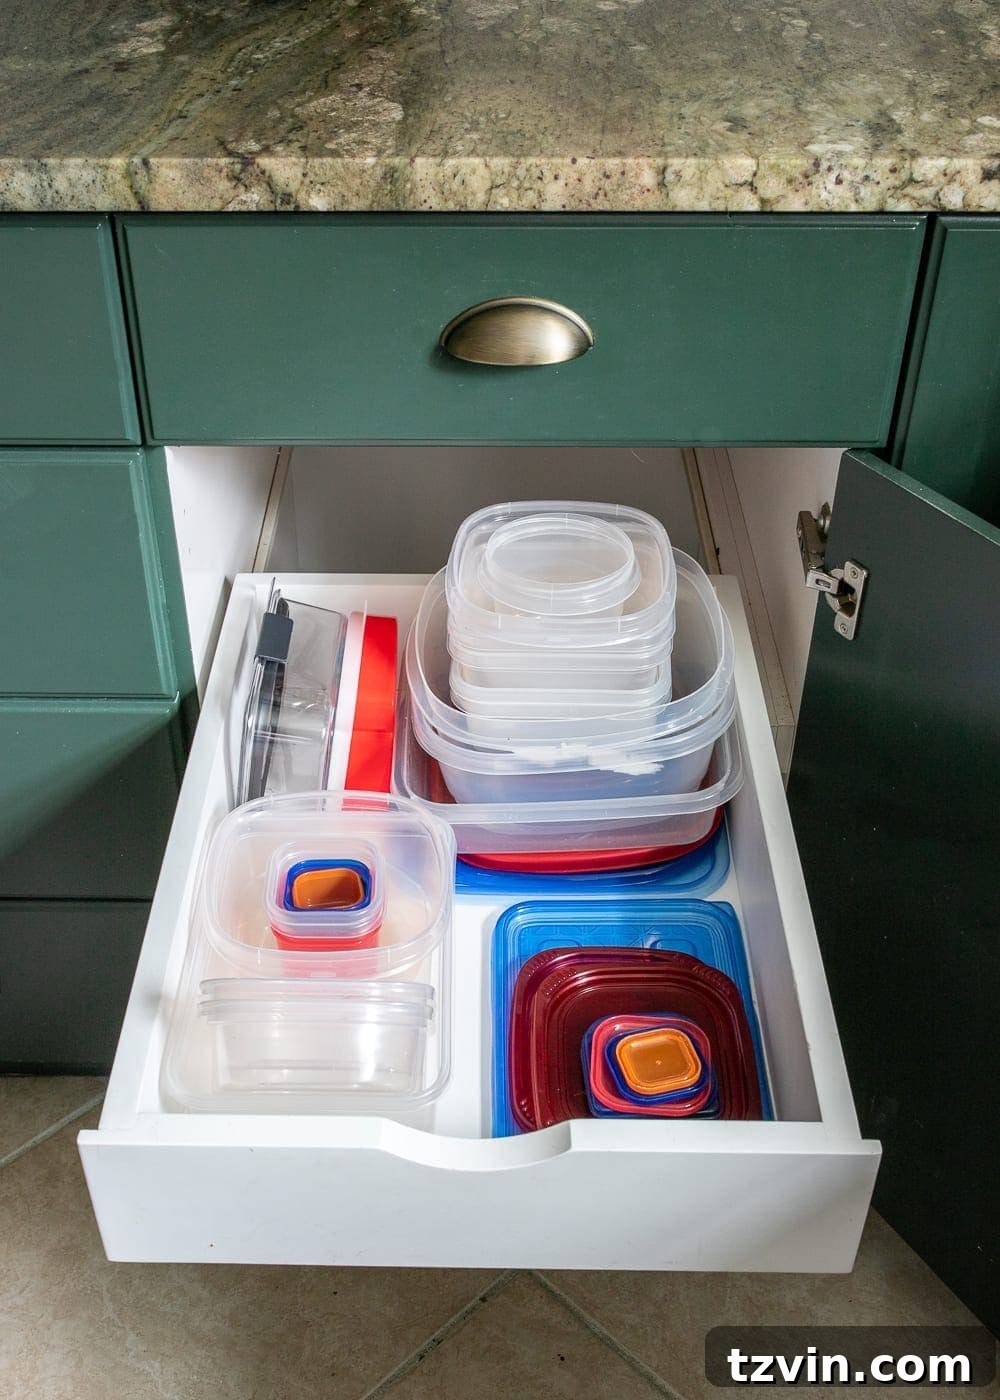
To be completely honest, it still needs a bit more work to reach its full potential. My plan is to replace our current hodgepodge collection with this matching set of food storage containers. Investing in a cohesive system with interchangeable lids will drastically simplify storage, stacking, and finding the right piece. This will truly bring peace to the Tupperware drawer.
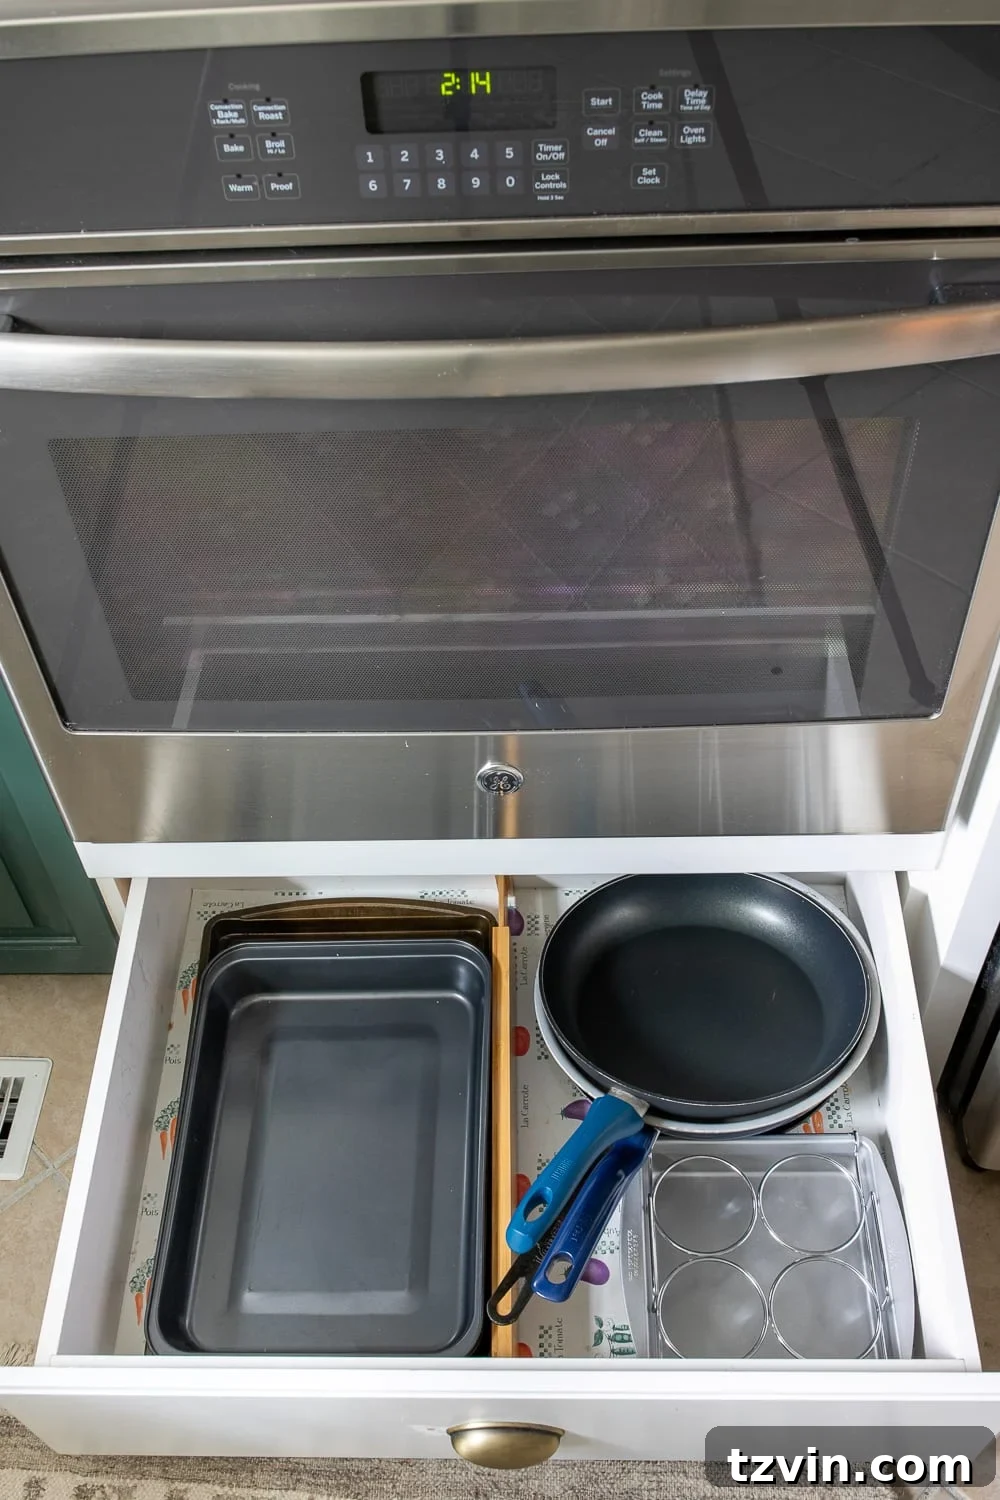
Cooking Pan Drawer: Practical Storage for Cookware
While I regret not capturing a “before” shot of this drawer, trust me, it was anything but pretty. The same lovely, but dated, contact paper is still present here, definitely on my hit list for future updates. Despite the aesthetic oversight, the organization itself has greatly improved.
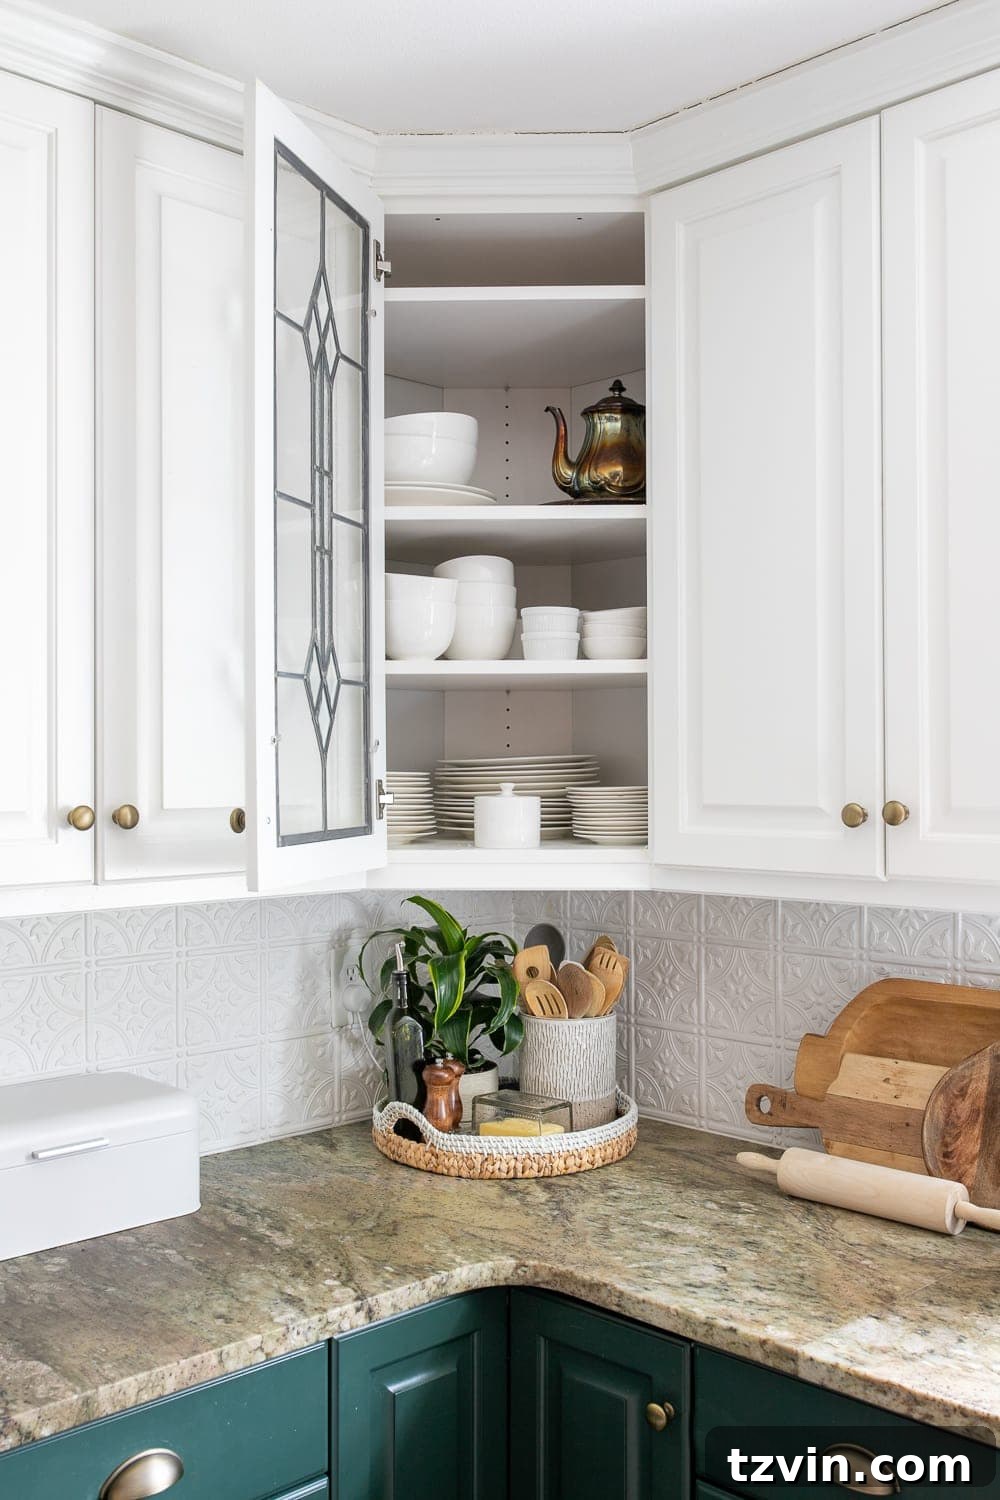
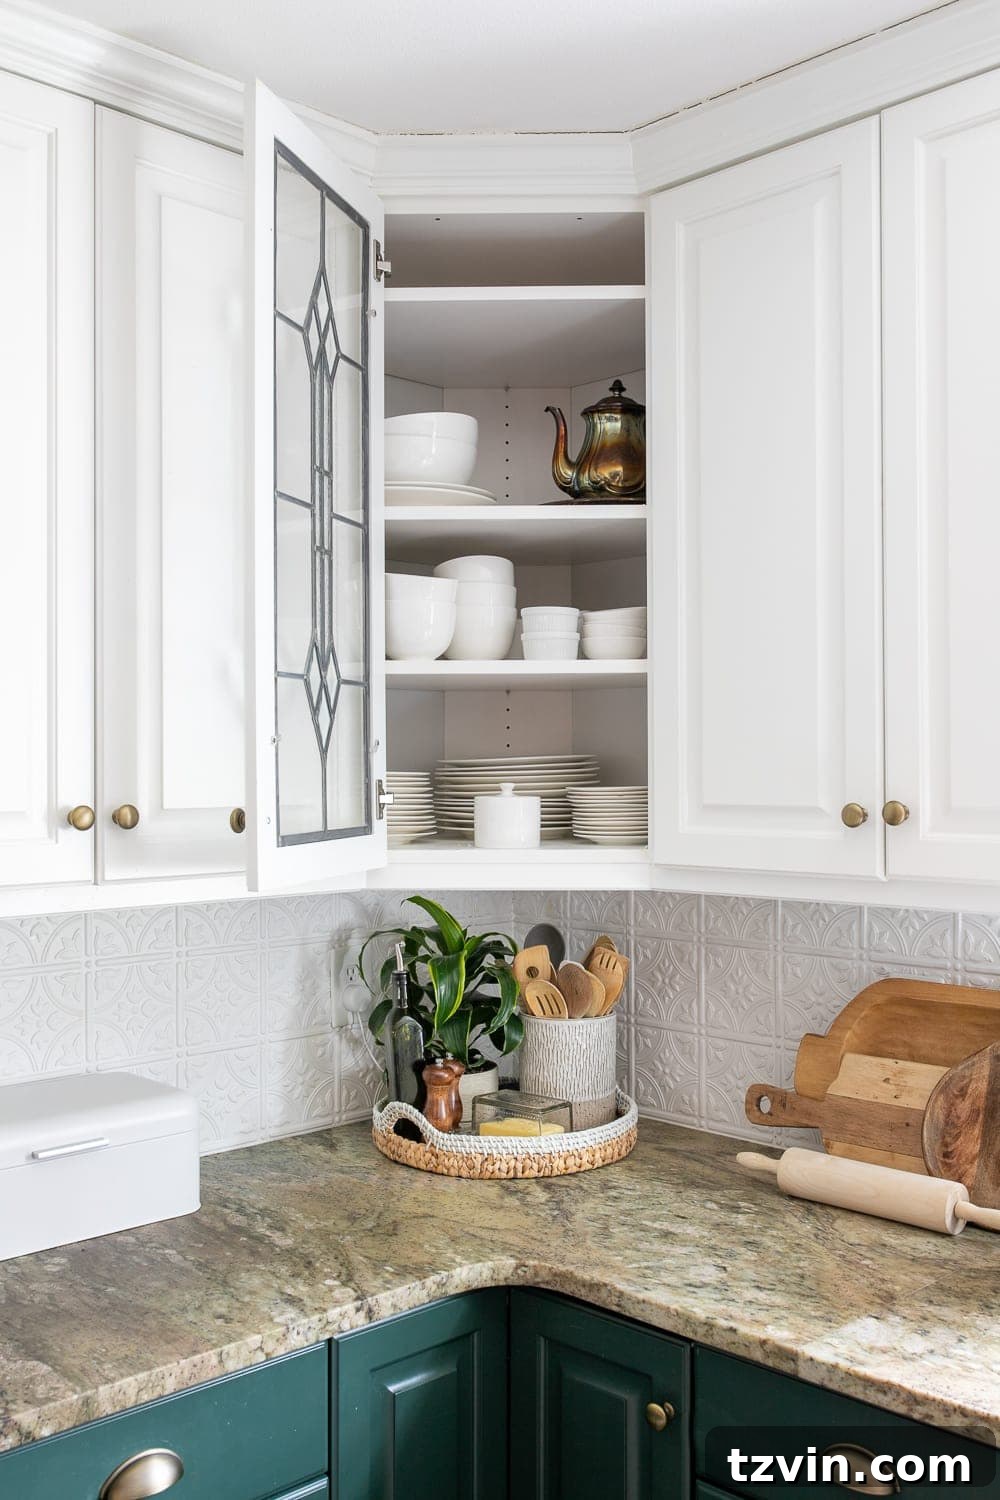
We also have two corner cabinets equipped with lazy susan shelves, perfect for storing our pots, mixing bowls, and glass bakeware. These are notoriously difficult to photograph effectively, but thankfully, they tend to stay in decent order due to their built-in rotating functionality, which naturally encourages easy access and therefore better maintenance.
Under Sink Cabinet: The Catalyst for Change
This cabinet was truly the straw that broke the camel’s back and single-handedly kickstarted this entire kitchen organization overhaul. I simply couldn’t endure looking at it for one more day; it was a cluttered, unhygienic mess that epitomized the hidden chaos of our kitchen.
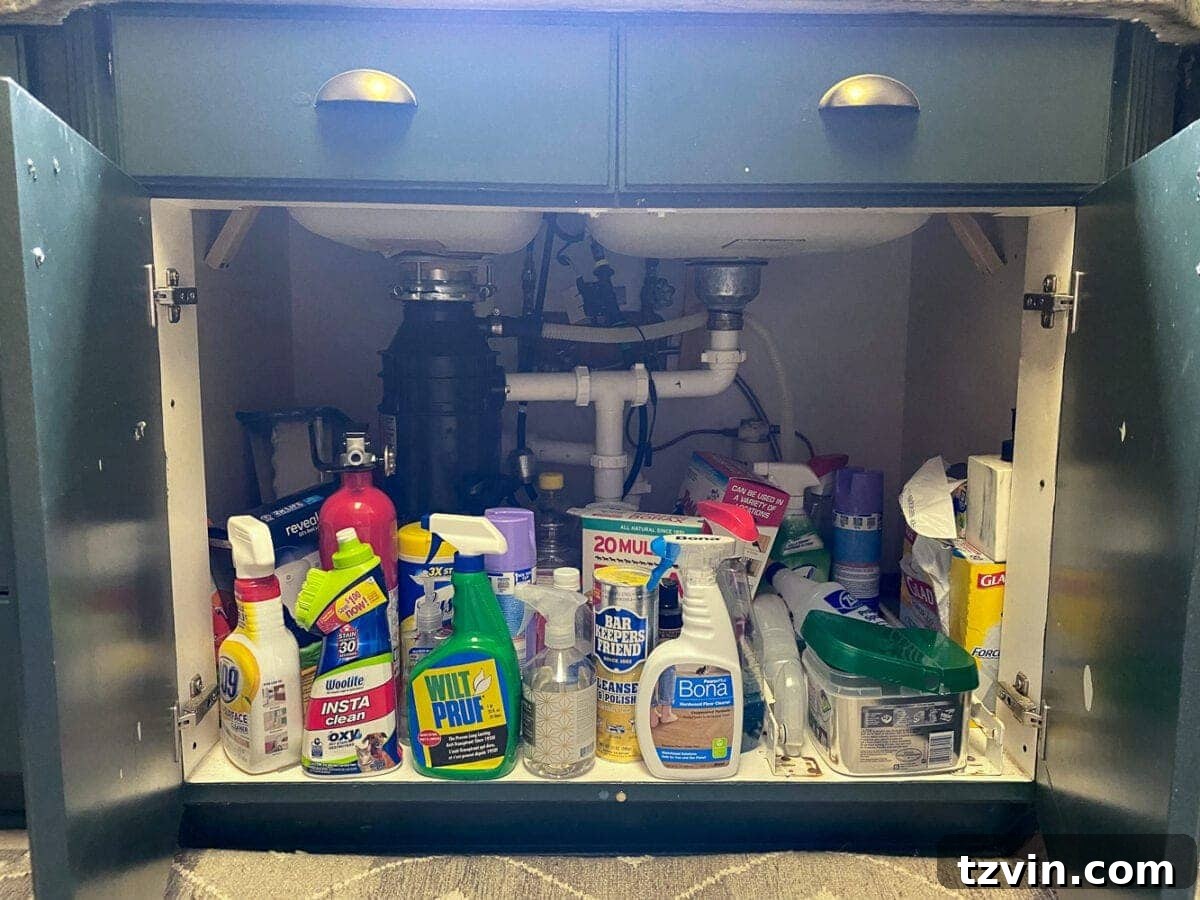
The transformation began with a complete clean-out. I removed the old, rusted trash can drawer, which was beyond salvageable. Next, I purged all the cleaning supplies that were hardly ever used, relocating essential ones and discarding the rest. To protect the base of the cabinet, I lined it with this incredibly practical waterproof mat. Finally, to truly tame the chaos and maximize vertical storage, I installed this efficient two-tier pull-out shelf. This now neatly holds our most frequently used cleaning products and sponges, keeping them accessible and organized.
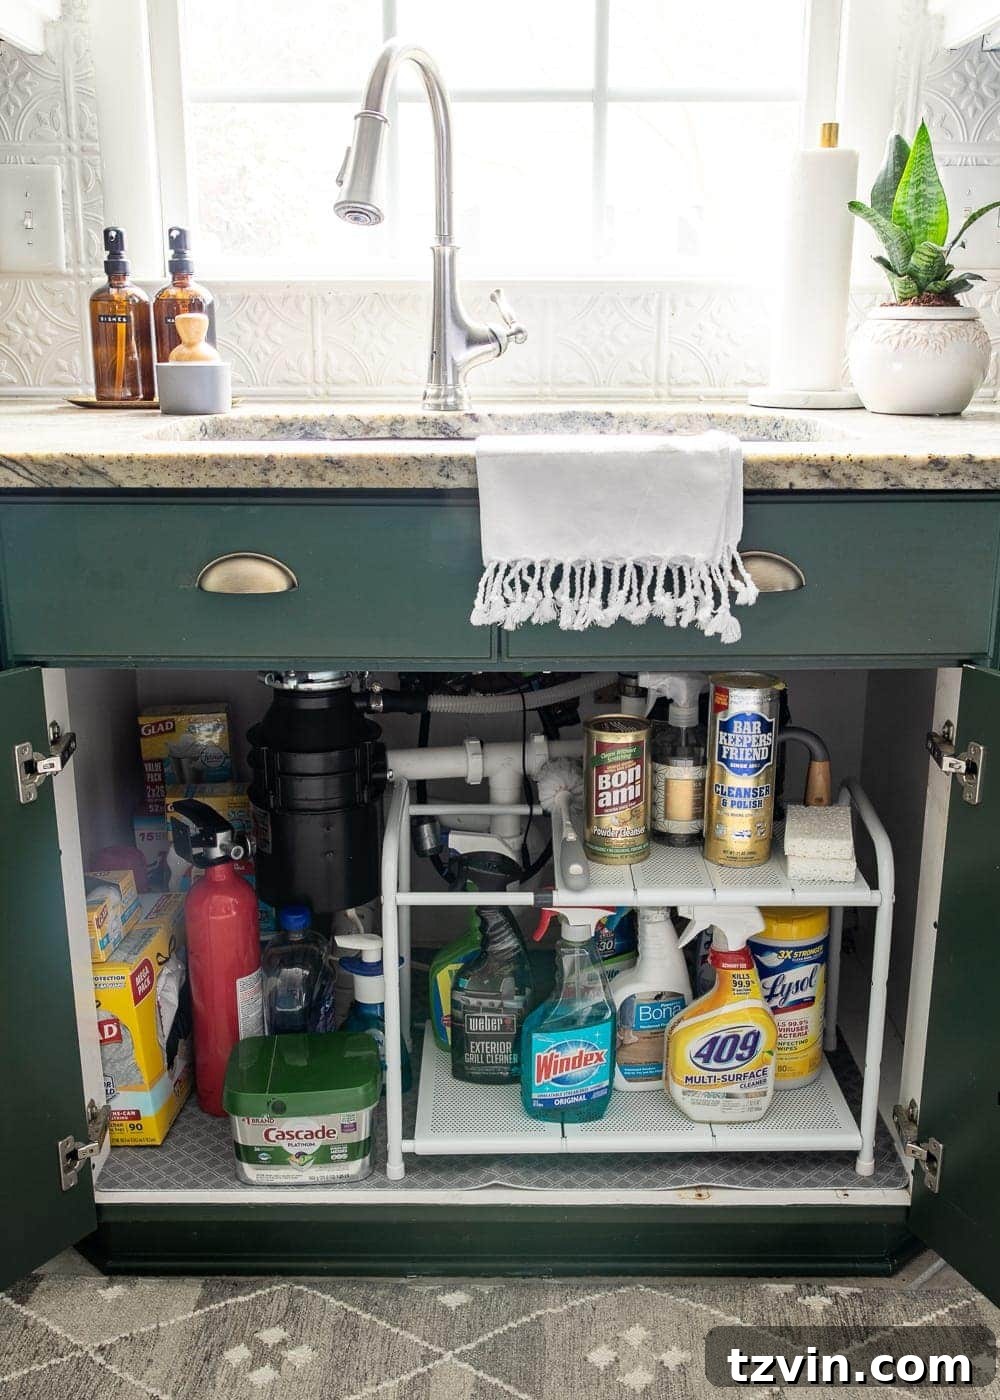
And just like that, it’s done! The relief and satisfaction of knowing exactly where everything is, and where everything belongs, is immense. I’m crossing my fingers and toes that this newfound order lasts, but now that every single item has a designated “home,” it’s far more likely to stay that way. The key to sustainable organization is creating a system that is intuitive and easy to maintain.
What are your go-to kitchen organizing tips or essential tools that have made your life easier? Share your insights below to help make this post a comprehensive resource for everyone seeking a more functional and beautiful kitchen!
For more in-depth kitchen organizing assistance and related projects, explore our past guides:
- DIY IKEA Hemnes Pantry Cabinet Makeover
- IKEA Hemnes Pantry Cabinet Organization Strategies
- Free Printable Pantry Labels for Easy Organization
- Budget-Friendly Spice Cabinet Organization with Free Printable Labels
- Mastering Whole House Deep Cleaning: A Checklist and Freebies
If you found this guide helpful and want to revisit it later, feel free to pin it for future reference: