
Transform Your Home Office: A Comprehensive DIY Guide to Building a Custom Closet from Scratch, Plus Makeover Progress Updates!
Embarking on a home renovation project, especially one that combines practicality with aesthetic appeal, is incredibly rewarding. While I initially hoped to present a perfectly finished, painted, and styled DIY closet in one grand reveal, the reality of a significant home improvement journey means celebrating every milestone. And let’s be honest, constructing a custom closet from the ground up is a substantial undertaking that deserves its own detailed spotlight, rather than being rushed into a single post. This approach allows us to delve deep into each stage, ensuring you have all the information needed to tackle your own project with confidence.
A few weeks ago, I shared our ambitious plans for the ultimate home office makeover. Unsurprisingly, the absolute top priority on that list was integrating ample, functional storage. Our vision was clear: to create a space that not only looked beautiful but also served its purpose efficiently. Adding a custom closet was central to achieving this goal, transforming a once underutilized area into a highly organized and productive workspace.
UPDATE: Eager to see the stunning final reveal of our home office? Click here to explore the complete transformation!
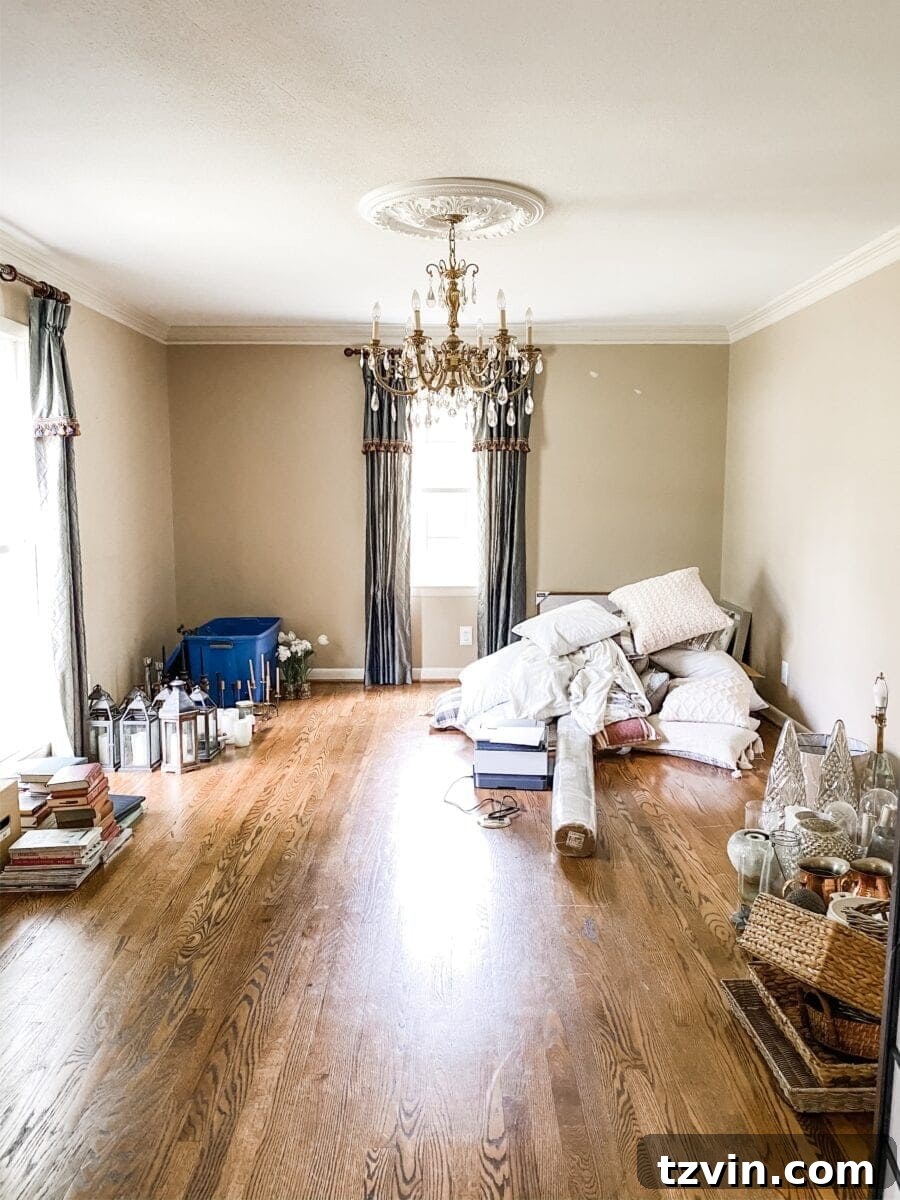
The “before” state of our home office, highlighting the critical need for integrated storage solutions.
This particular room, now undergoing its exciting metamorphosis, originally served as the formal sitting room when our house was built in the 1960s. From what we’ve gathered, subsequent owners transformed it into a spacious formal dining room. Interestingly, they used what is now our current dining room as a dedicated piano room – a charming detail, though our household is admittedly less musically inclined!
One of the most strategic decisions in this “musical rooms” approach was to add at least one permanent closet and enclose this formerly open space with doors. This simple yet impactful change technically qualifies the room as a fifth bedroom. While selling isn’t on our immediate horizon, this addition significantly enhances our home’s value and future marketability. Moreover, the desire to have this room completely closed off from the rest of the house was a design preference we held from the outset, making this transformation a genuine win-win scenario in every aspect.
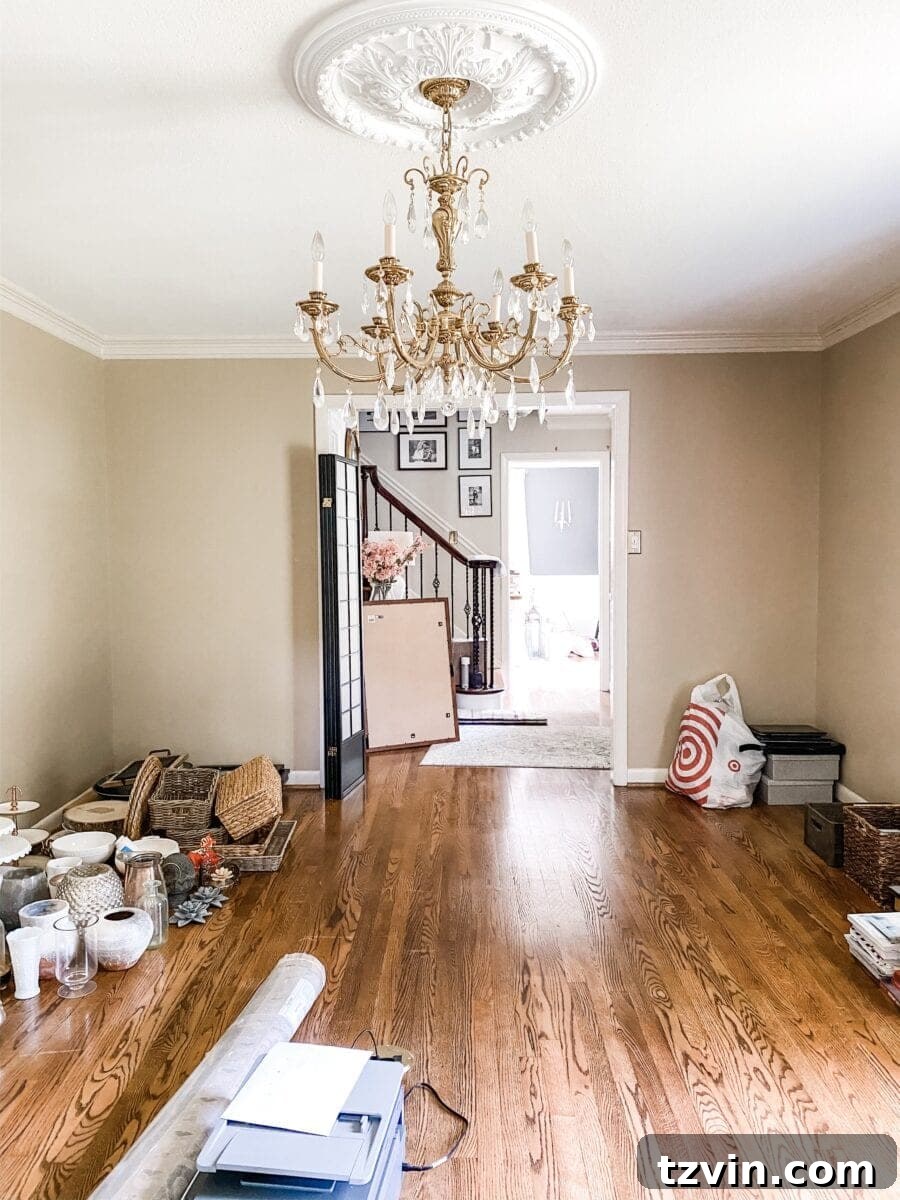
Another glimpse of the original layout, emphasizing the need for privacy and defined spaces.
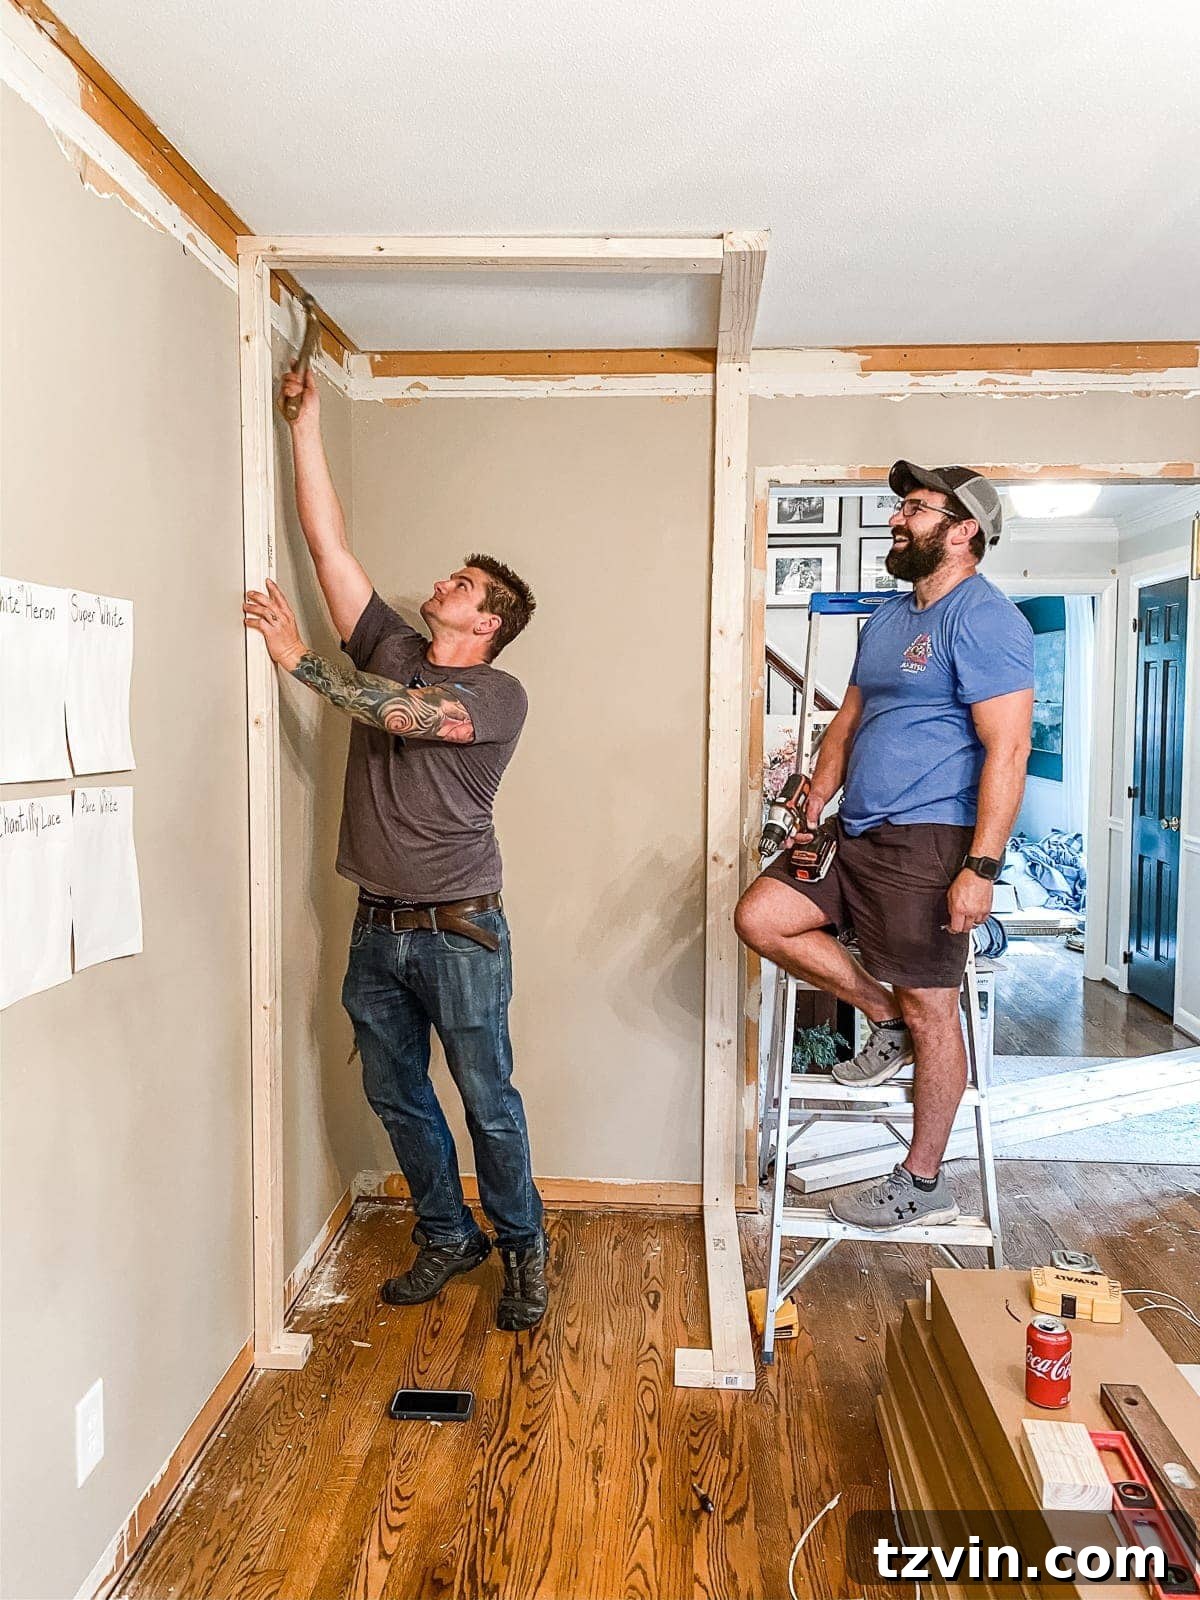
When we first kicked off this ambitious project a couple of weeks ago, we were incredibly fortunate to have the expert assistance of my brother, Kevin, who happened to be visiting. It’s always a huge advantage to have an extra set of skilled hands, especially when tackling structural changes like building a closet. So, if you’ve been wondering about the identity of the additional helper alongside Robert in the photos, that’s my younger (though no longer so little!) brother lending his invaluable support. His help was instrumental in getting the framing perfectly squared and secured, which is truly the backbone of any robust DIY closet construction.
If you’re considering embarking on your own journey to build a DIY closet, you’ve come to the right place. This comprehensive guide will walk you through the entire process, from initial planning and framing to drywall installation, ensuring you have the knowledge and confidence to create a beautiful and functional custom storage solution. Let’s dive into the essential steps and learn how to construct a sturdy, long-lasting closet that perfectly complements your home office or any room needing extra organization.
How to Build a Custom DIY Closet: A Step-by-Step Guide
Building a closet might seem daunting, but with the right tools, materials, and a clear step-by-step plan, it’s a very achievable DIY project. Our goal is to create a structure that’s not only functional but also seamlessly integrated into your home’s aesthetic. Follow these detailed instructions to frame, drywall, and finish your very own custom closet.
Essential Supplies for Your DIY Closet Project
Having all your materials organized before you begin will save you significant time and frustration. Here’s what you’ll need to gather:
- 2x4s: These are the backbone of your closet frame. Ensure they are straight and free from warps.
- 1/2″ drywall: Standard drywall is suitable for interior walls. Consider moisture-resistant drywall if your closet is in a high-humidity area.
- Drywall tape: Essential for reinforcing seams and preventing cracks.
- Joint compound (Mud): Used to cover tape and screws, creating a smooth, seamless finish.
- Mudding knife (Taping knife): For applying and smoothing joint compound. You’ll likely need a set of various sizes.
- Mudding trough: Helps hold and manage joint compound efficiently.
- Sander & Sandpaper: Crucial for smoothing dried joint compound between coats and for the final finish.
- 3″ drywall screws: Specifically designed for securing drywall to wood studs.
- 16d nails: Heavy-duty nails for framing connections, especially where screws might split wood or when using a nailer.
- Construction adhesive: Provides extra bonding strength for your bottom and top plates, minimizing squeaks and enhancing stability.
- Shims: Thin pieces of wood or plastic used to level or plumb components during framing or door installation.
- Doors of your choice: (We’ll be using these) Select doors that complement your room’s style and fit your opening dimensions.
Essential Tools for a Successful Closet Build
Having the right tools makes all the difference in achieving professional results and ensuring safety:
- Pneumatic nailer (Framing nailer): Speeds up framing significantly and ensures strong, consistent connections.
- Chalk line: Indispensable for marking perfectly straight lines on floors, walls, and ceilings.
- Caulk gun: For applying construction adhesive neatly and effectively.
- Circular saw or table saw: For precise cutting of 2x4s and other lumber. A circular saw is more versatile for larger sheets.
- Cordless drill/driver & bits: Essential for driving screws and pre-drilling holes.
- Framing square: To ensure all your corners are perfectly square (90 degrees).
- Level: A crucial tool for ensuring your walls are plumb (vertical) and your plates are level.
- Hammer: For minor adjustments and nailing where the pneumatic nailer isn’t ideal.
- Drywall cutter (Utility knife with a straight edge): For scoring and snapping drywall sheets.
- Pry bar: For demolition and removing existing trim without damage.
- Tape measure: A fundamental tool for accurate measurements.
- Stud finder: Essential for locating existing studs and ceiling joists to ensure secure attachment points.
- Ladder: For safely reaching ceiling areas during framing and drywall installation.
Detailed Steps to Build Your DIY Closet Frame and Drywall
Careful execution of each step will ensure a sturdy, square, and professional-looking closet. Take your time, measure twice, and cut once!
1. Prepare the Area for Construction:
Begin by thoroughly preparing your workspace. Use a pry bar to carefully remove any existing baseboards along the walls where your new closet will stand. If you have carpet, gently pry up any tack strips and roll back the carpet to expose the subfloor. This ensures a clean, stable surface for framing. Next, use your stud finder to accurately locate and mark all existing studs in the walls and ceiling joists in the ceiling where your new closet frame will connect. Mark them clearly with a pencil; these will be your secure attachment points.
2. Define the Closet’s Footprint with the Bottom Plate:
Determine the desired depth of your closet. A standard closet usually needs at least 30 inches of depth from the planned back wall to allow for hangers and clothes. Measure this distance precisely and use your chalk line to snap a perfectly straight line parallel to the existing back wall. This line will serve as the guide for your bottom plate, the foundation of your new closet wall. Accuracy here is paramount for a straight finished wall.
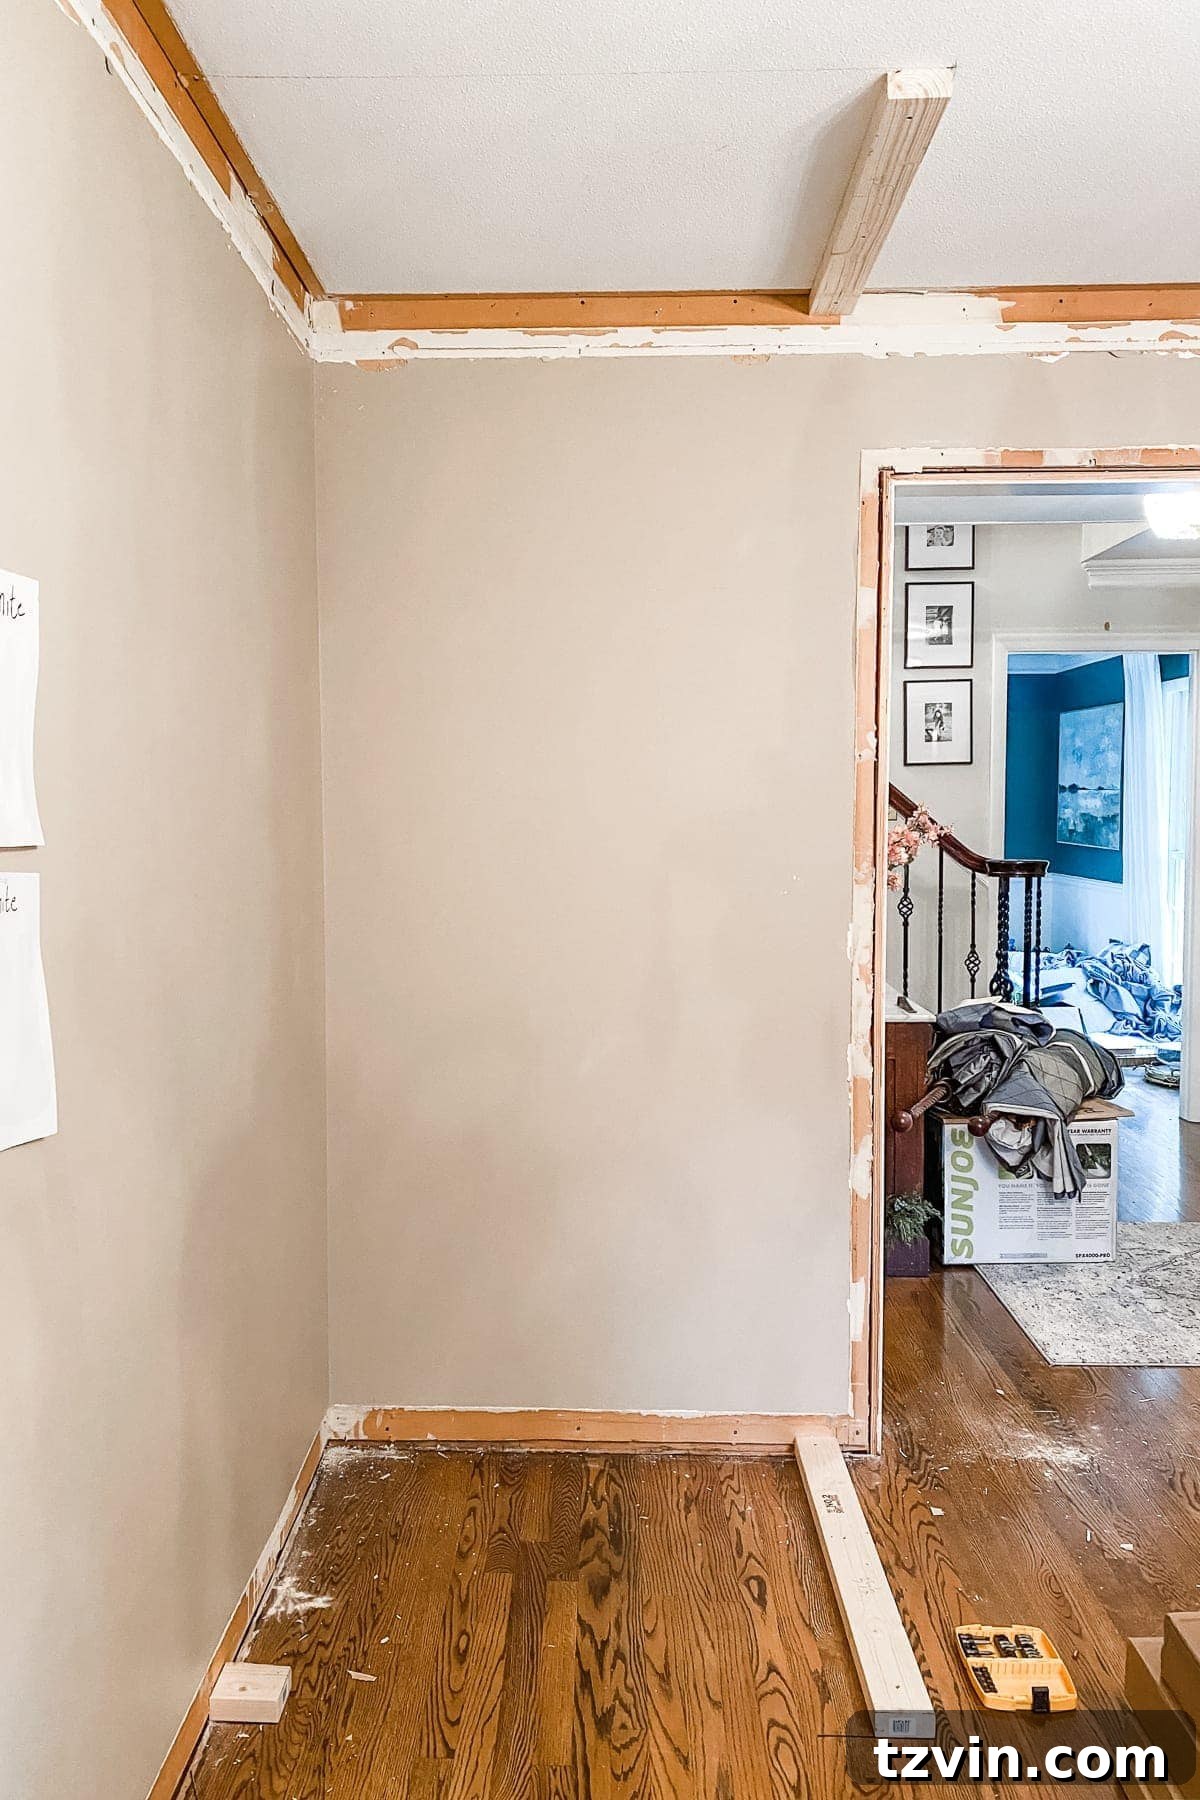
Precisely marking the footprint of the new closet on the floor.
3. Install the Bottom Plates:
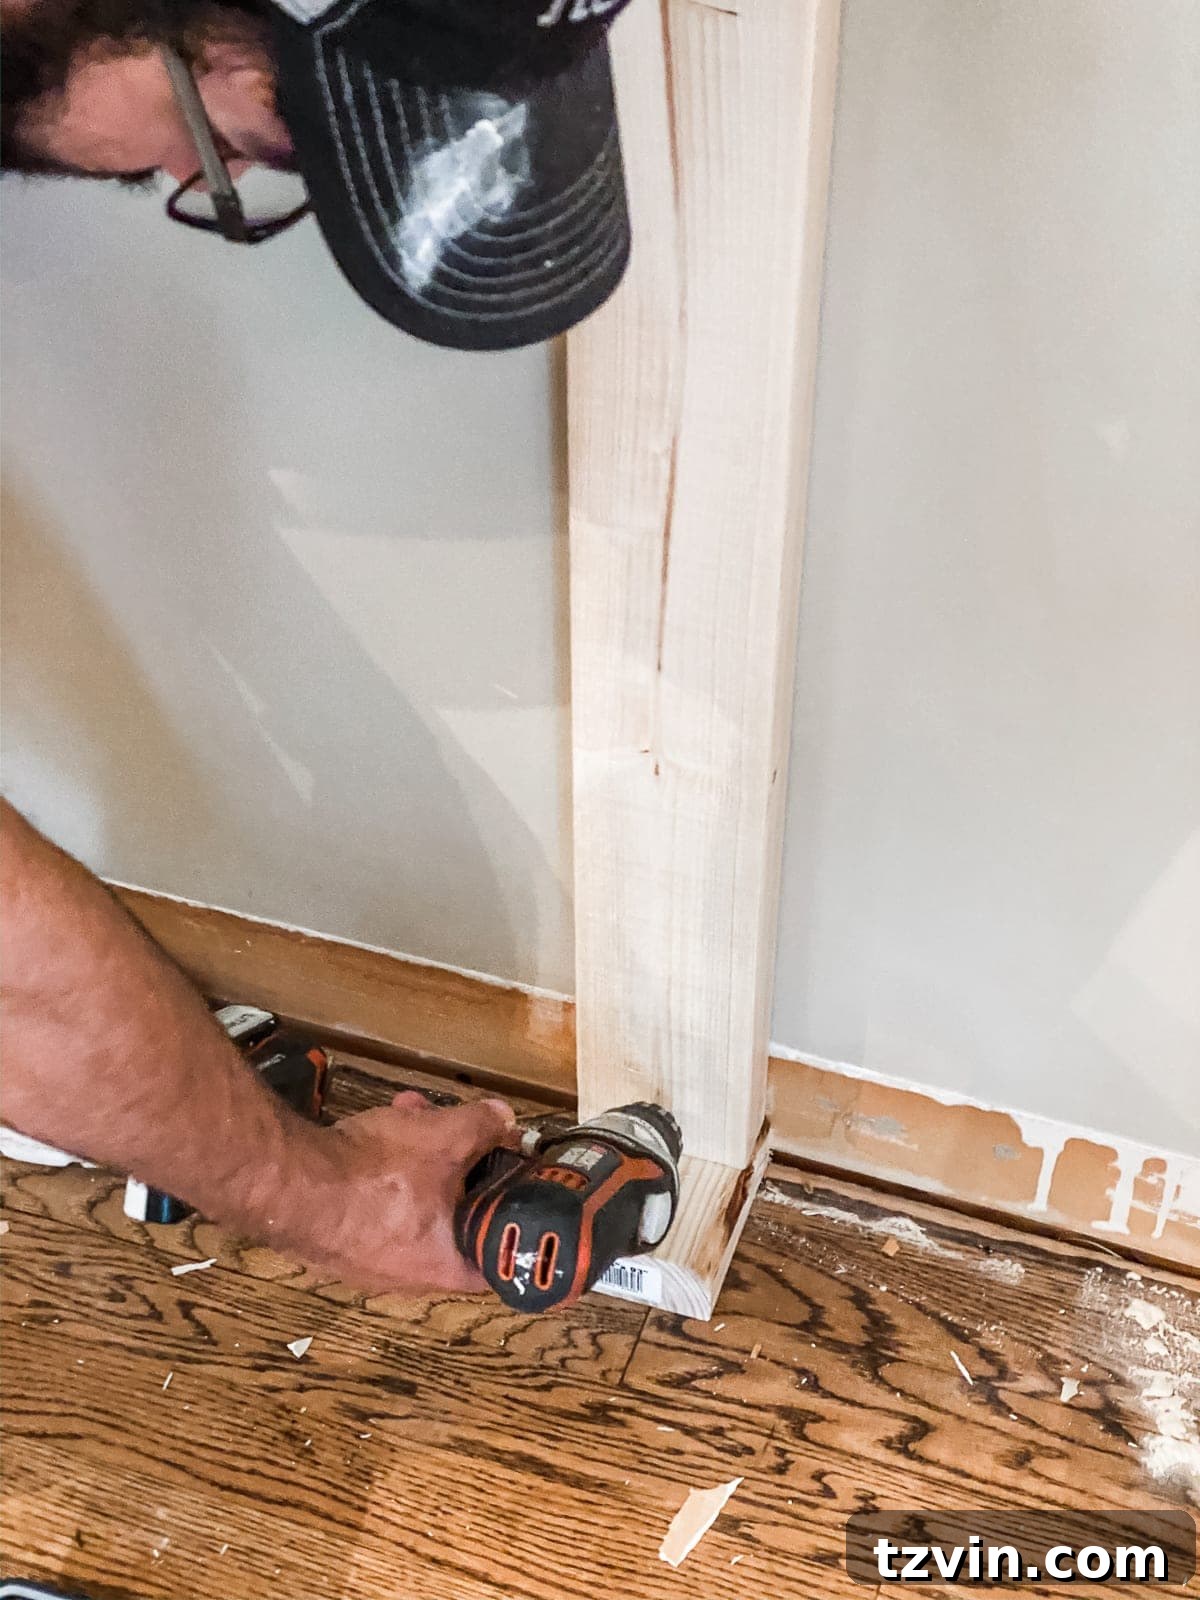
Using your circular or table saw, cut 2x4s to match the length of the lines you just marked for your bottom plates. Apply a generous, continuous bead of construction adhesive along the underside of these 2x4s. Carefully position them directly over your chalk lines. Then, using your cordless drill and 3-inch drywall screws, firmly secure the bottom plates to the floor. Drive screws every 16-24 inches, ensuring they penetrate securely into the subfloor for maximum stability.
4. Mark the Top Plate Location:
This step ensures your new wall will be perfectly plumb. Place a 2×4 on top of your installed bottom plate. Using a level, hold the 2×4 vertically and transfer the exact position of the bottom plate directly up to the ceiling. Once you have a clear vertical reference, use your chalk line to snap a corresponding line on the ceiling, mirroring the bottom plate’s position. This ceiling line is where your top plate will be installed.
5. Install the Top Plates:
Cut 2x4s for the top plates, matching the lengths of the lines on your ceiling. Apply construction adhesive to the top plates. Carefully align and screw these 2x4s into the ceiling, making sure to drive your screws directly into the ceiling joists you marked earlier. Securing into joists is crucial for structural integrity. If a joist isn’t directly overhead, use a heavy-duty toggle bolt or similar anchoring system for a secure attachment.
Securing the top plate, aligning perfectly with the bottom plate to ensure a plumb wall.
6. Install the Vertical Studs:
Measure the exact distance between your bottom and top plates. Cut your 2×4 studs to these precise lengths. The studs should fit snugly, almost requiring a slight tap with a hammer to get them into place. Position the studs typically 16 inches on center (from the middle of one stud to the middle of the next), ensuring consistency for drywall installation. Using a pneumatic nailer or a drill with screws, secure the studs to both the bottom and top plates by driving fasteners at an angle (toe-nailing) for a strong connection. Double-check for plumb with your level.
The framework taking shape with vertical studs securely in place.
7. Add Horizontal Spacers (Blocking):
Cut additional 2×4 pieces to fit horizontally between your vertical studs. These “spacers” or “blocking” serve multiple purposes: they add rigidity to the wall, prevent warping, and provide solid backing for future installations like shelving or wall-mounted accessories. Nail these spacers securely between the studs using 16d sinker nails, typically staggered for added strength and easier nailing.
8. Construct the Doorway Header:
This is a critical structural component for your door opening. First, install two “king studs” vertically from the bottom plate to the top plate, flanking where your door will be. Next, install two “jack studs” (or “trimmer studs”) vertically, cut to the height of your door frame plus the thickness of the header, running from the bottom plate to support the header. For the header itself, nail together two 2x4s (or wider lumber depending on the span) with a piece of 1/2-inch plywood or OSB sandwiched between them to create a solid, load-bearing beam. Place and nail this header horizontally on top of the jack studs, ensuring it’s level and provides the correct rough opening width for your chosen doors.
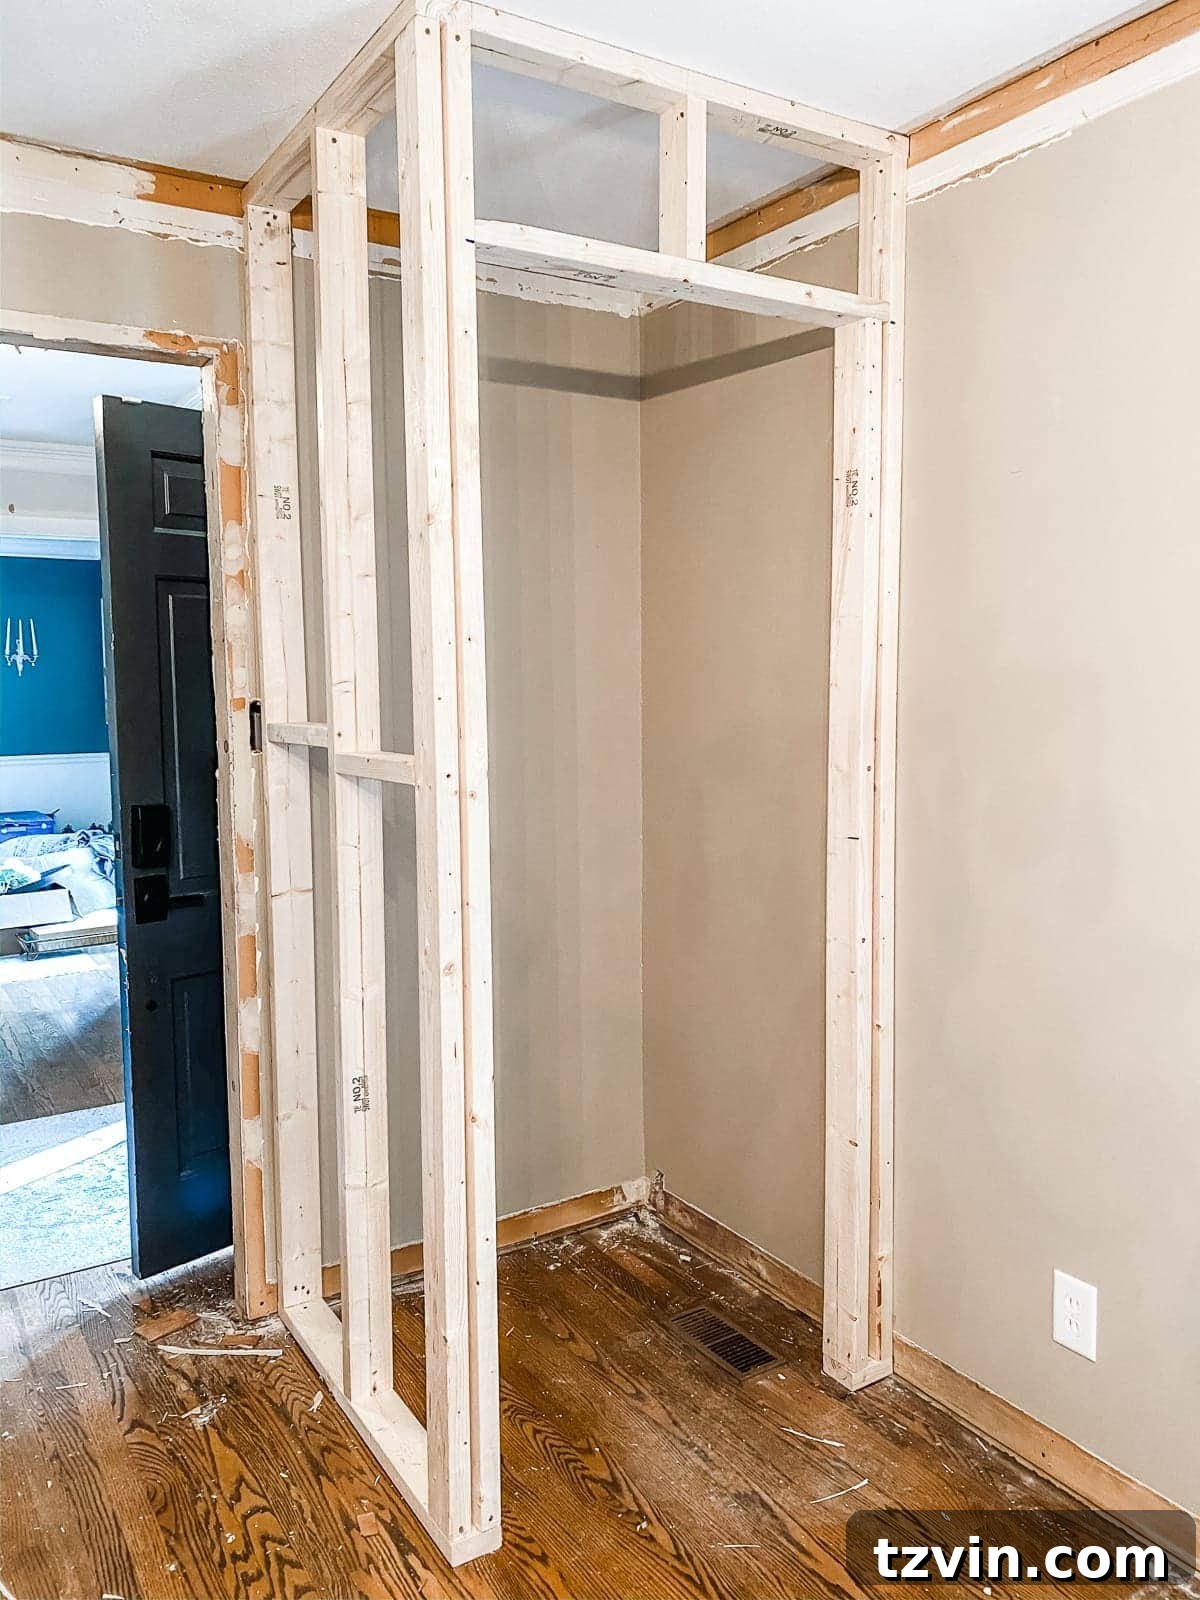
The robust doorway header, crucial for supporting the door frame and distributing weight.
9. Install Cripple Studs:
Above your doorway header, you’ll need “cripple studs.” These are short vertical 2x4s that run from the top of the header up to the top plate. Cut these cripples to fit snugly and space them consistently (usually 16 inches on center, matching your main wall studs). Screw or nail them into both the header and the top plate. These cripples complete the framing above the door opening and provide solid attachment points for drywall.
10. Rough-in Electrical (If Desired):
If you plan to add lighting inside your closet or install an outlet on one of the new walls, now is the opportune moment to rough in the electrical cable and boxes. Consult with an electrician or ensure you are confident in local electrical codes and safety practices. Running wires and installing boxes before drywall simplifies the process immensely.
Prepping for future lighting: electrical rough-in complete.
11. Install and Finish Drywall:
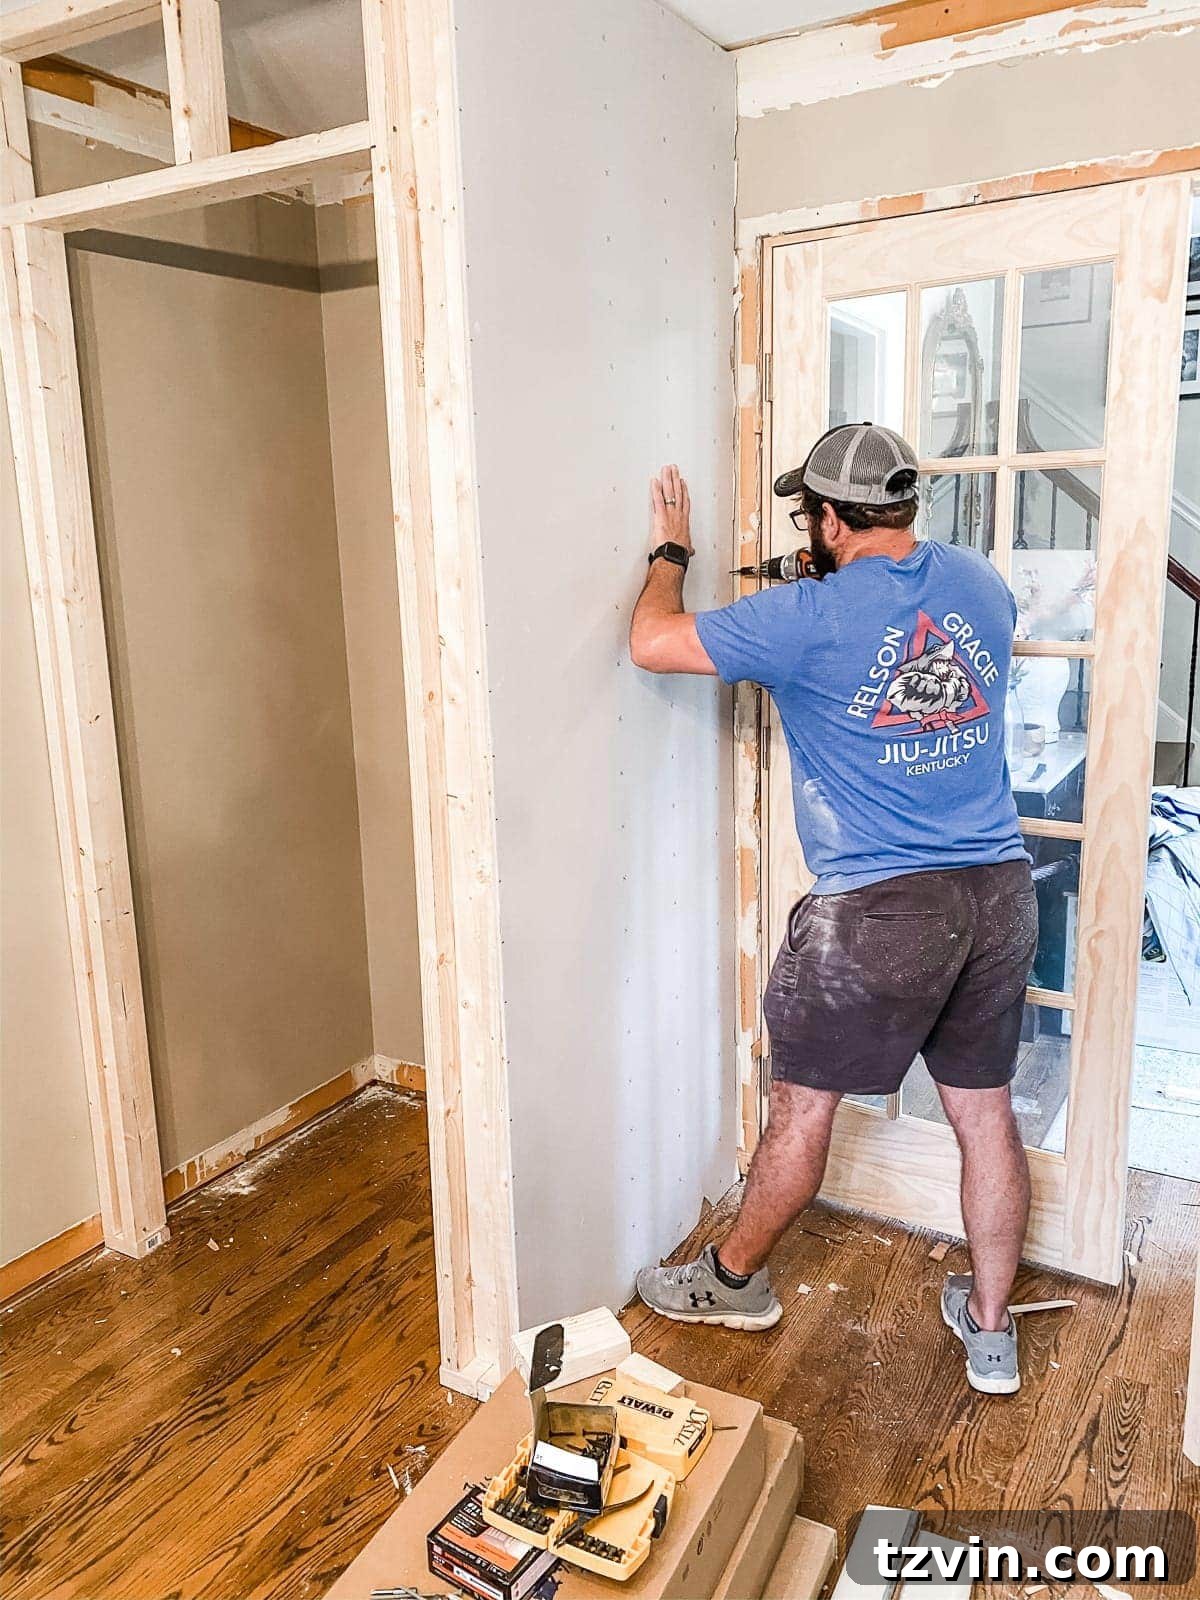
With the framing complete and inspected, it’s time for drywall. Measure and cut your 1/2-inch drywall sheets to fit the framed sections. Use your 3-inch drywall screws to attach the sheets securely to the studs, spacing screws every 8-12 inches along the studs and ensuring they are slightly countersunk. Once all sheets are hung, apply drywall tape over all seams, corners, and screw heads. Then, apply thin, even coats of joint compound (“mud”) over the tape and screws, feathering the edges out for a smooth transition. Allow each coat to dry completely (typically 24 hours) before applying the next. You’ll likely need 2-3 coats. After the final coat is dry, sand the entire surface smooth with your sander, ensuring there are no visible ridges or bumps. For a comprehensive visual guide to drywall installation and finishing, we found this video tutorial to be exceptionally clear and helpful for beginners and experienced DIYers alike.
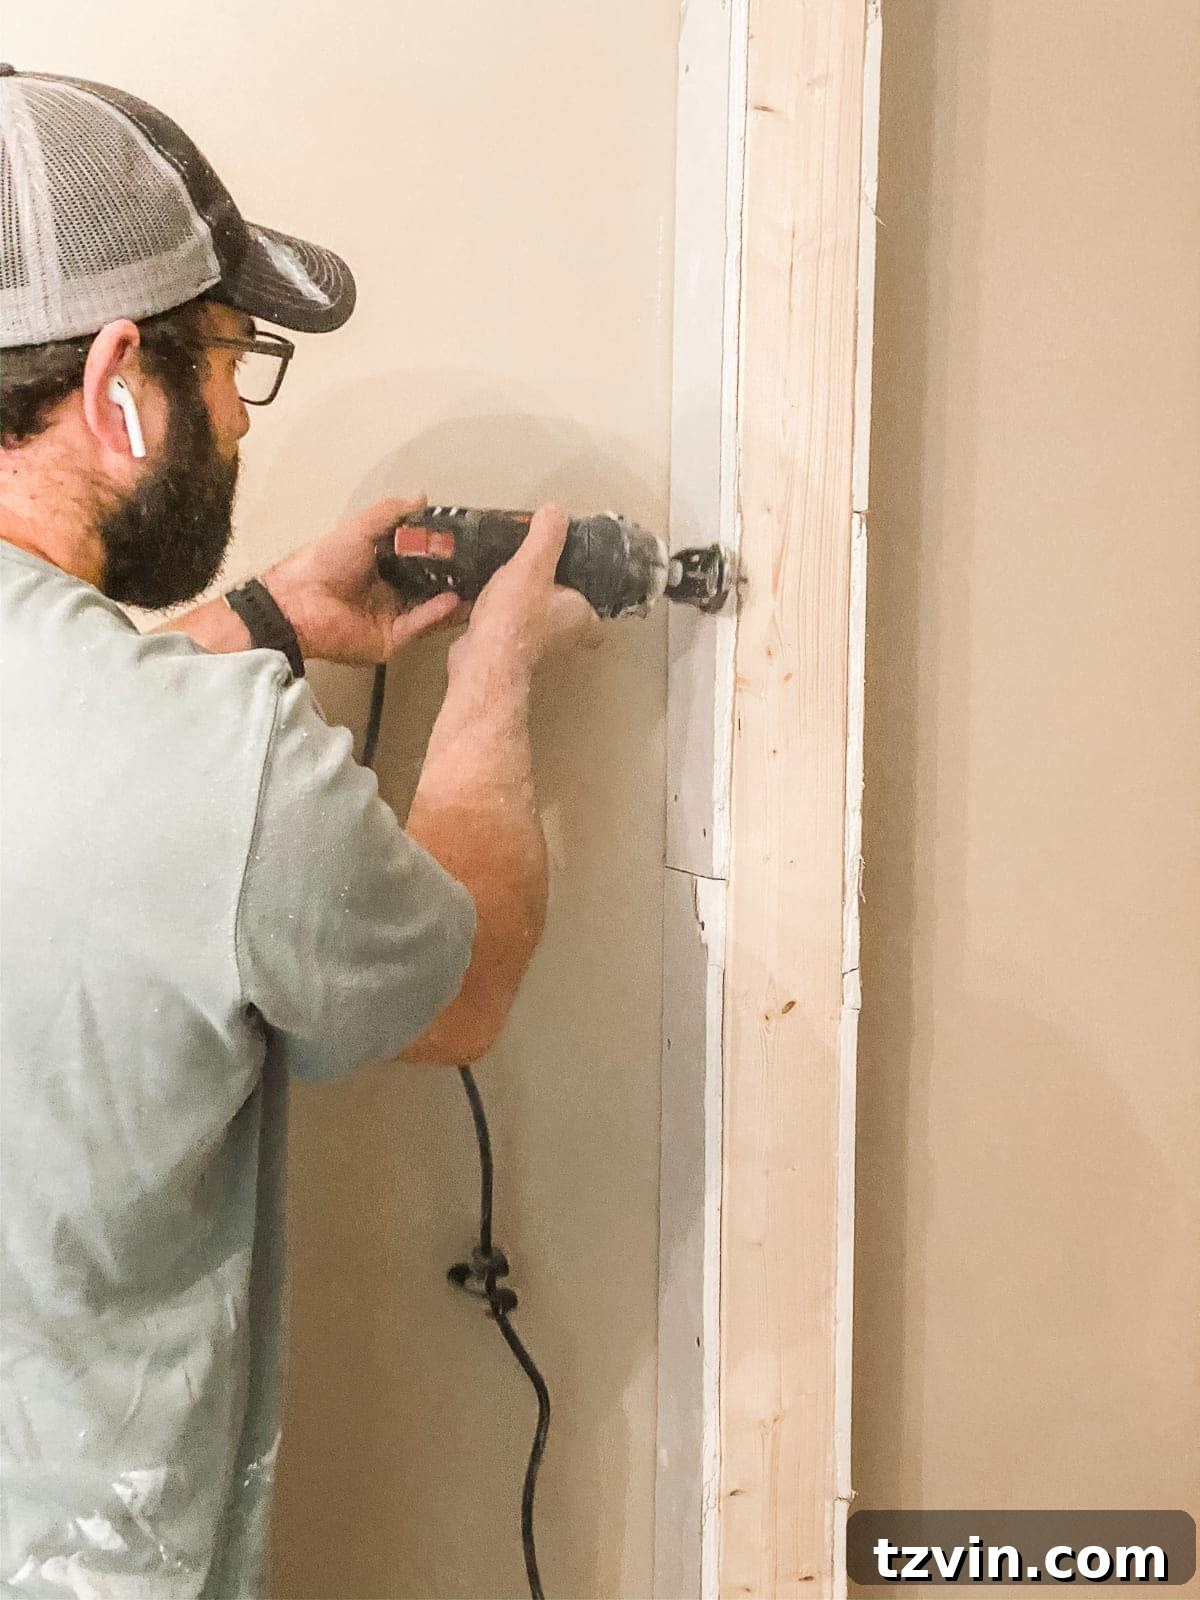
Drywall perfectly hung and prepped, signaling the final stages of structural completion.
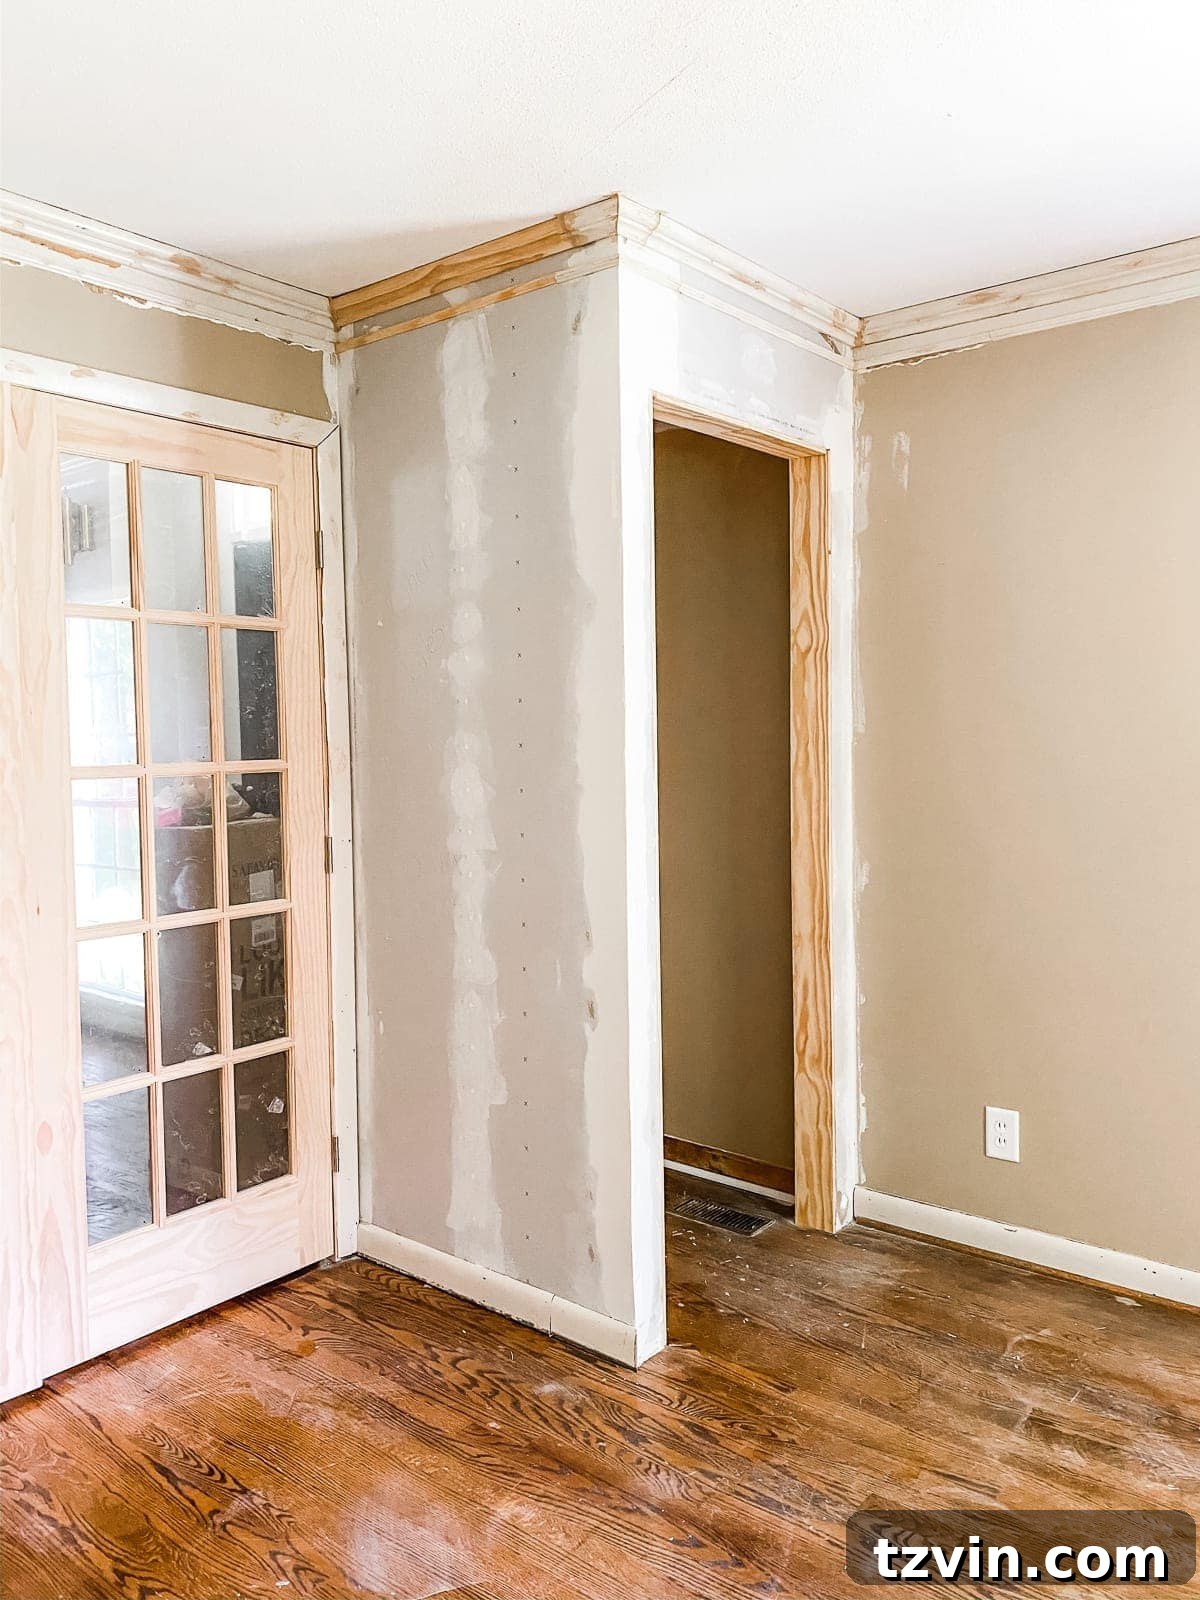
And there you have it! A robust, custom DIY closet, framed and drywalled, ready for its finishing touches. This stage marks a significant milestone in our home office makeover. We are currently in the process of installing the remaining trim work and will soon be tackling the installation of the closet doors. It’s truly exciting to see this once-open space transform into a functional and aesthetically pleasing part of our home.
By the way, for those of you with keen eyes, you might have noticed a vent within the newly framed closet space. Rest assured, this vent is currently sealed off and is scheduled to be relocated very soon. It will definitely not be staying inside the finished closet, ensuring optimal air circulation for the main room. 😉
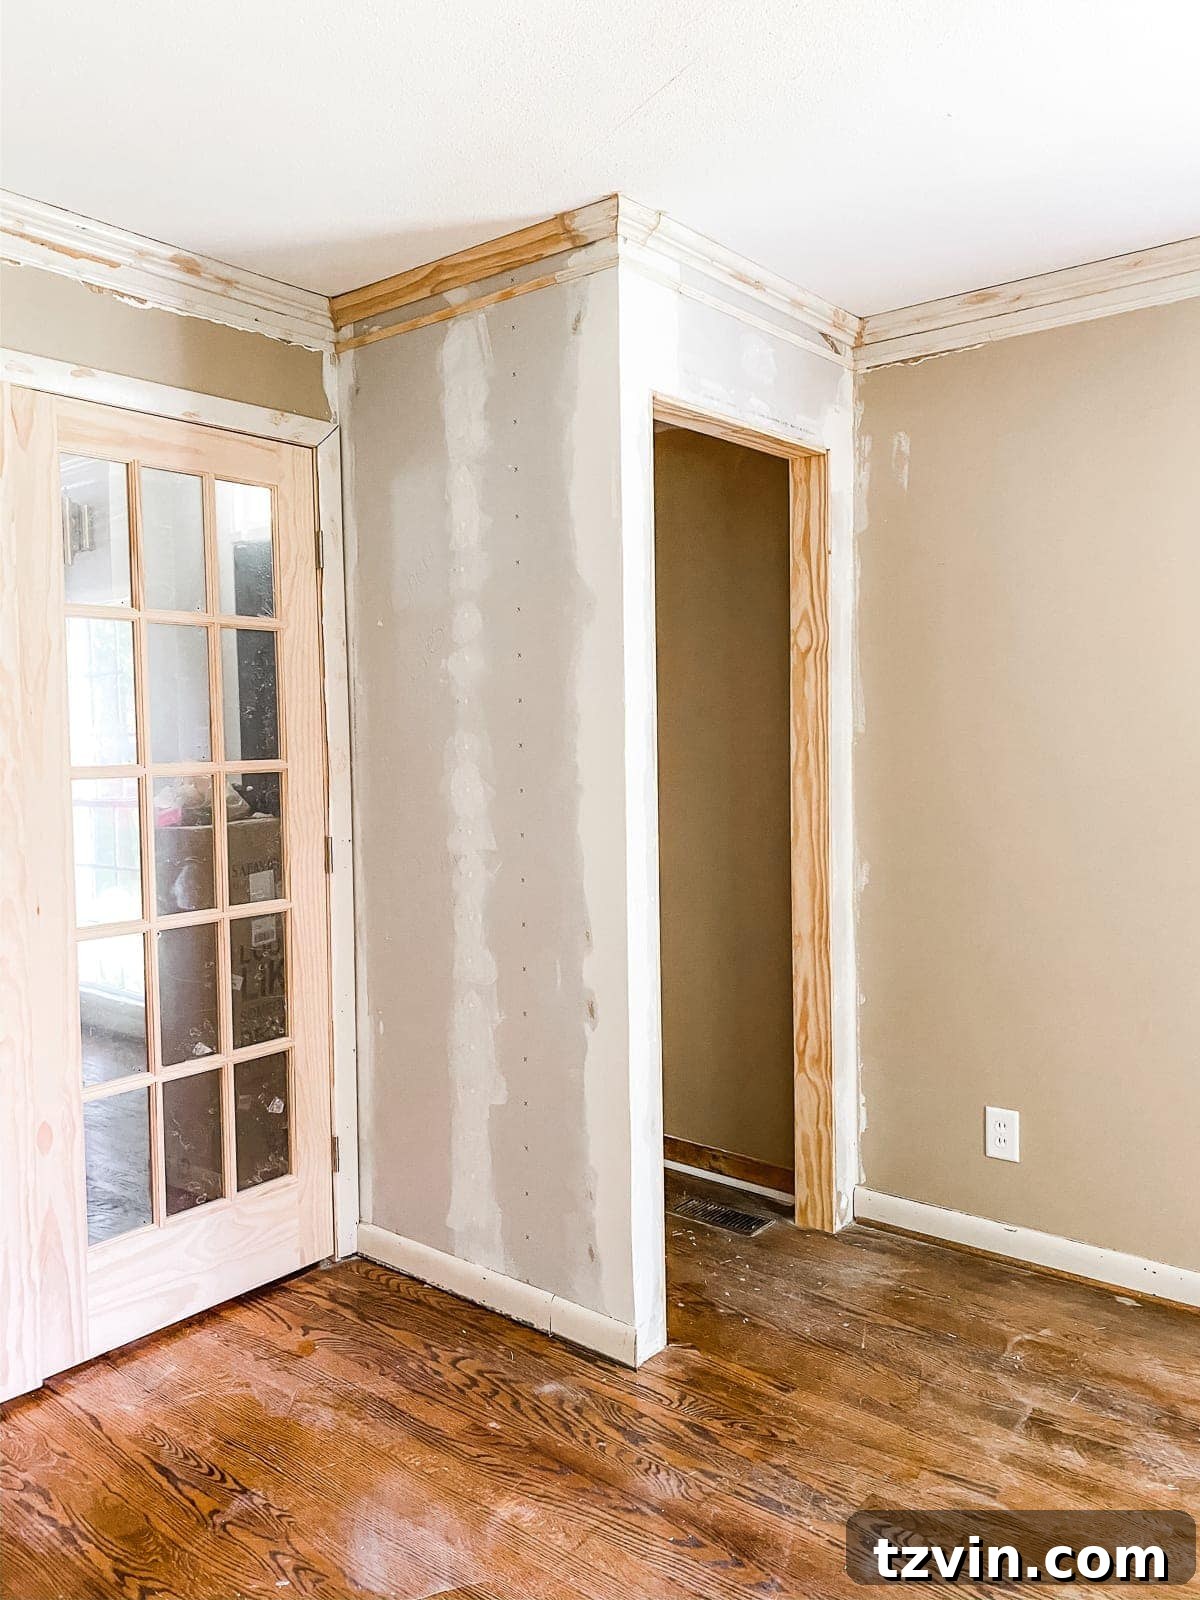
A wider shot showing the drywalled closet within the context of the evolving home office.
This entire process has been a journey, demanding patience and meticulous effort, but the progress we’ve made in our home office makeover is incredibly motivating. Watching this room take shape, transforming from a neglected space into a purposeful and beautiful area, is incredibly rewarding. The decision to strategically place the closets on the French door side of the office was, in hindsight, absolutely the correct call. I owe a huge thank you to all of you on Instagram who offered invaluable feedback and helped guide that critical design choice!
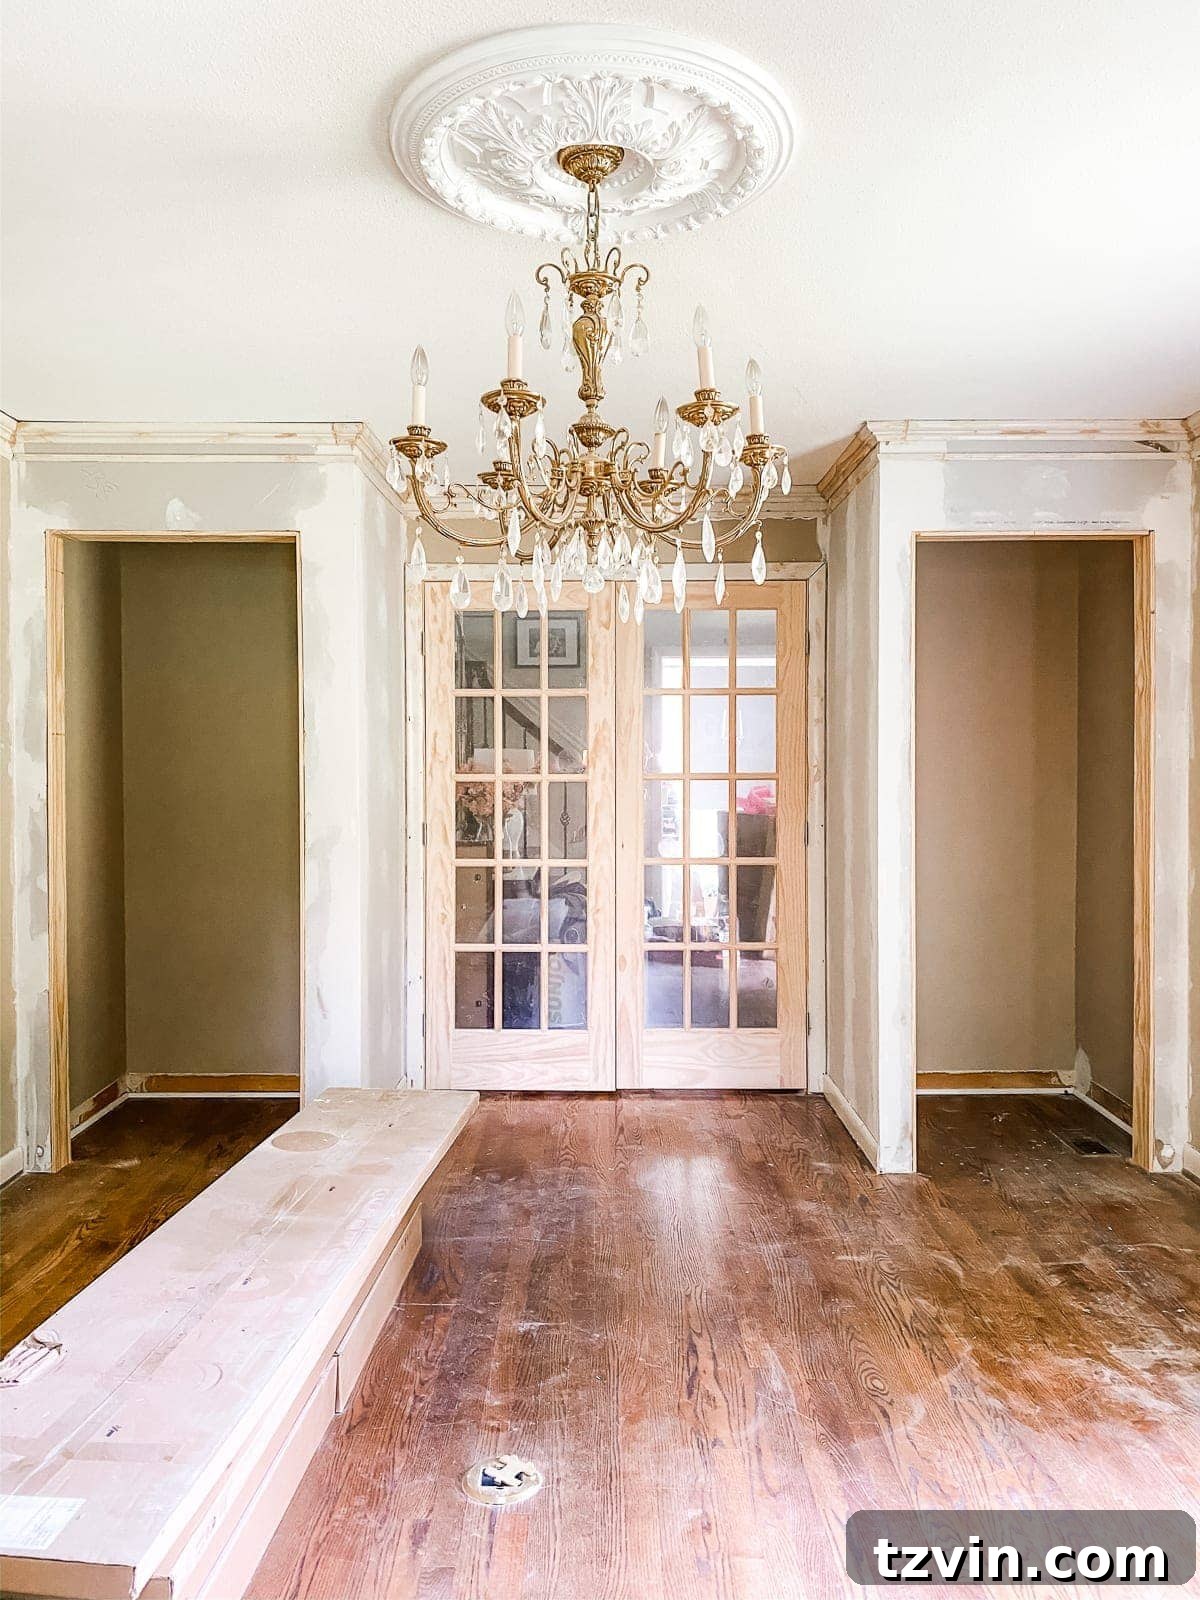
The interior of the new DIY closet, now ready for custom shelving and organization.
While the biggest structural hurdles for our DIY closet are now behind us, our home office transformation still has a comprehensive to-do list awaiting our attention. But with each completed step, the vision becomes clearer, and the excitement grows. We’re committed to seeing this project through to its beautiful conclusion!
Our Home Office Makeover: Remaining To-Do List
Build pair of closetsInstall double French doors- Install closet doors
- Add wall molding and trim
- Paint walls & ceiling
- Paint closet and French doors
- Install lighting fixtures
- Hang art and decorative elements
- Hang curtains or window treatments
- Assemble and arrange furniture
- Paint cabinets or built-ins
- Decorate & style the entire room
UPDATE: Don’t miss the complete home office makeover reveal here for inspiring finished photos!
Now, with the most labor-intensive and structurally complex parts of this room makeover behind us, we can genuinely hope for a smoother, faster finish. A girl can certainly wish, right? 😉 The anticipation of a fully functional, beautifully designed home office is definitely worth every bit of effort!

Happy DIYing!
Explore More Inspiring DIY Closet Ideas and Projects
If this project has sparked your interest in transforming your own storage solutions, check out these additional DIY closet ideas for more inspiration and practical guides:
- How to Convert Existing Closets into Stylish Built-In Shelves
- Easy DIY Closet Shelves & Upgrading Bifold Doors to Elegant French Doors
- Creating Custom IKEA Closets in Our Master Bedroom Using Billy Bookcases
- DIY Mirrored French Closet Doors for a Touch of Elegance
- 20 Inspiring IKEA Pax Closet Makeovers to Maximize Your Space