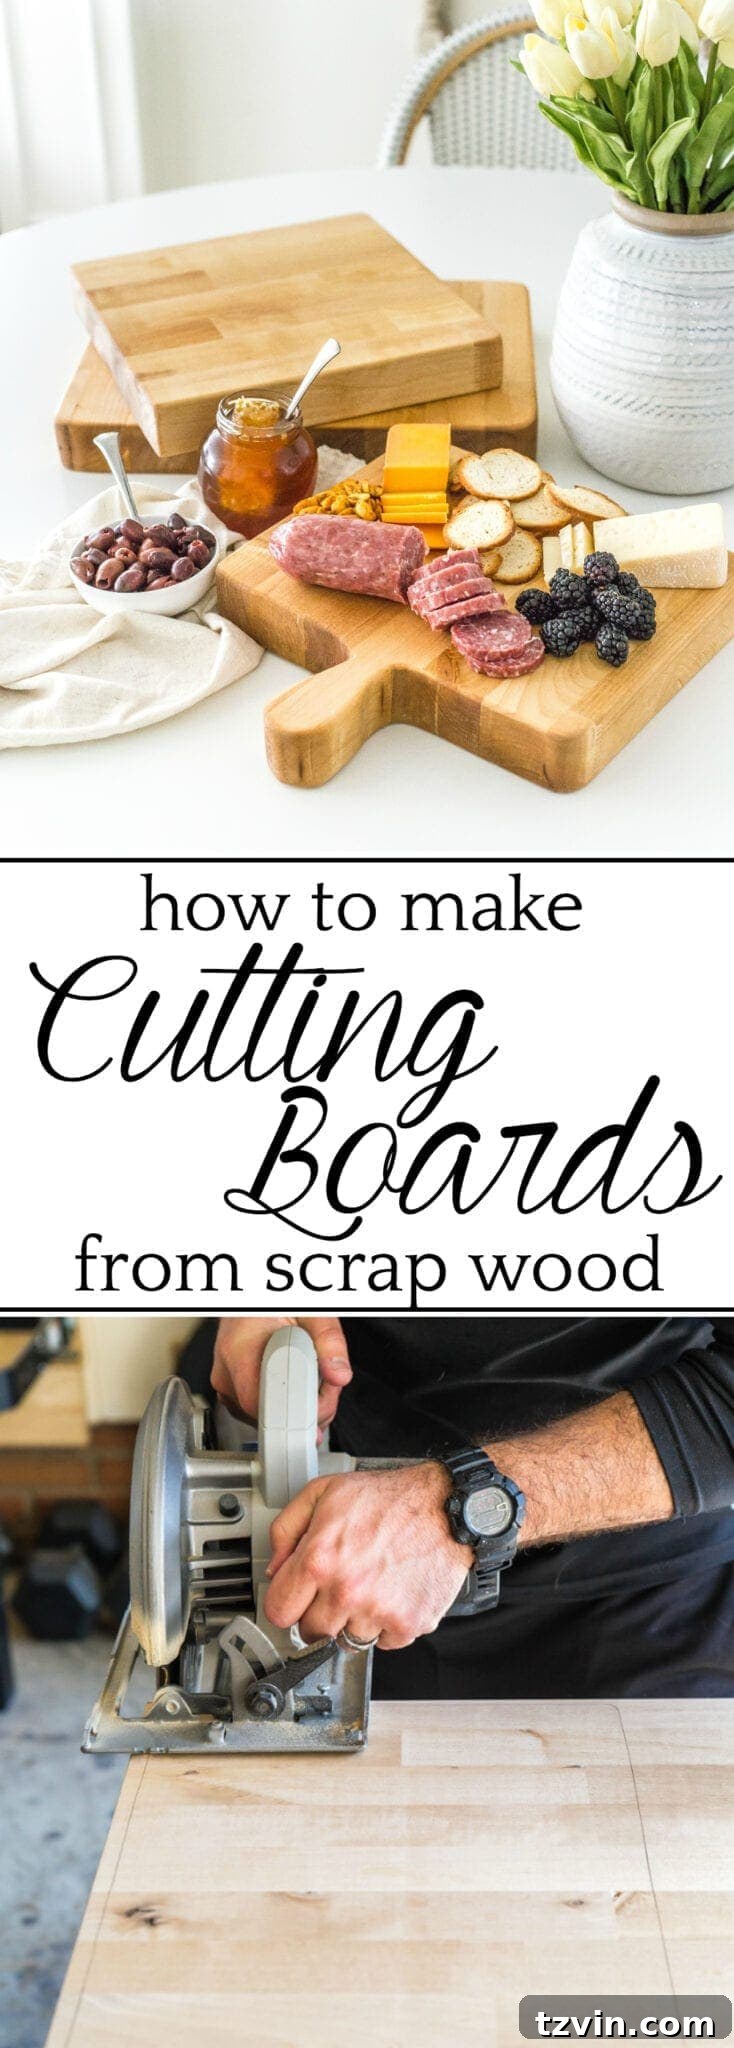
Craft Your Own Kitchen Masterpieces: DIY Cutting Boards from Scrap Wood
At our home, nothing goes to waste – whether it’s leftover paint, project remnants, or last night’s dinner. We believe in finding new life for materials, and few things offer as much satisfaction as transforming discarded items into beautiful, functional pieces. One resource we frequently find ourselves with an abundance of is scrap wood. From remnants of a dining table top to trimmings from window casing or offcuts from custom built-in shelving units, our wood scrap pile tends to grow. Instead of letting these valuable pieces gather dust or end up in a landfill, we actively seek creative ways to repurpose them.
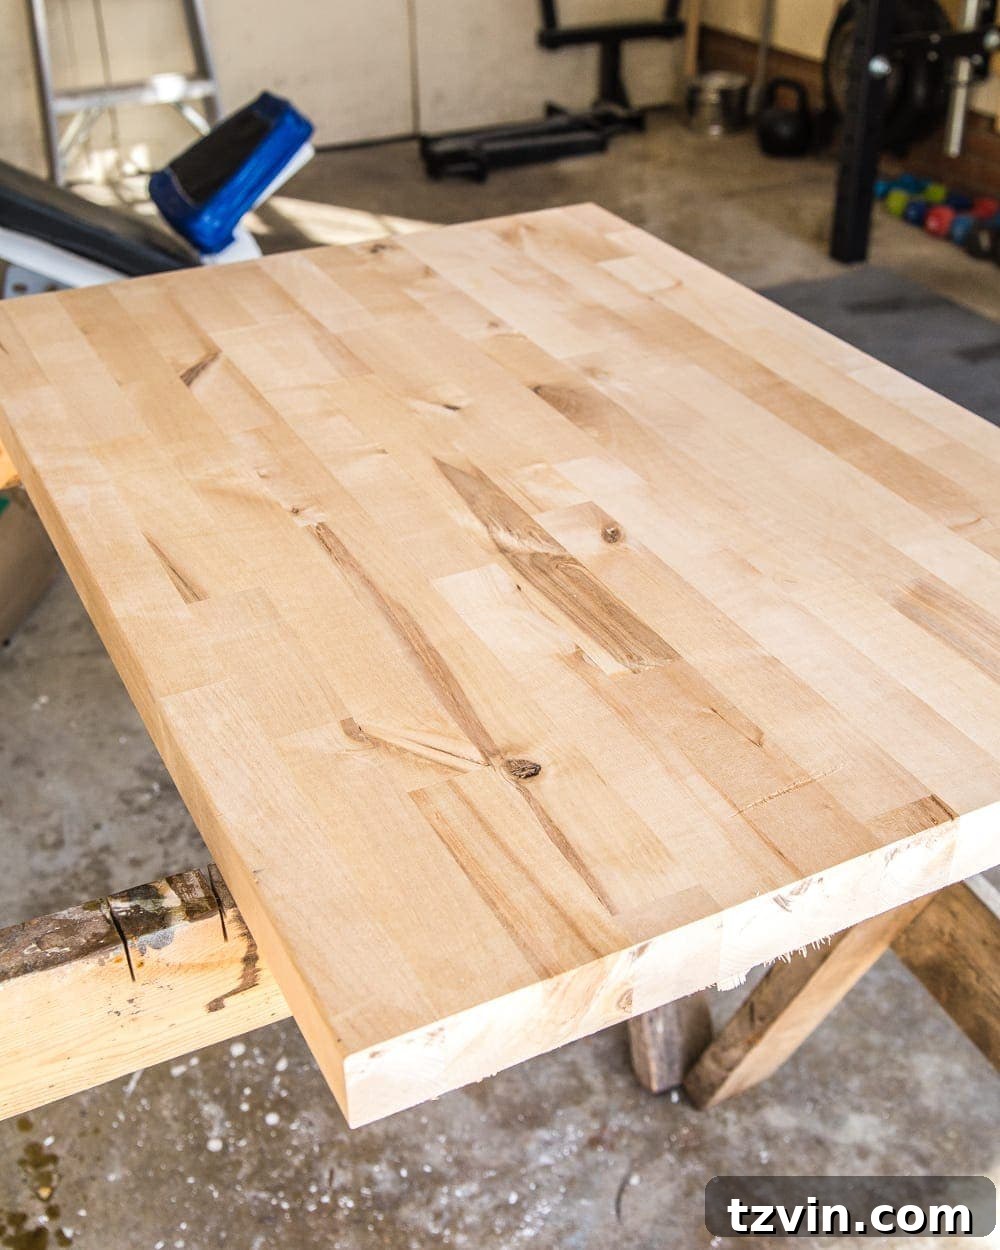
Recently, a home renovation project left us with a beautiful piece of butcher block countertop material that was simply too good to discard. This high-quality wood sparked an idea: why not transform it into custom, DIY cutting boards? This project is an excellent way to utilize various types of wood scraps you might already have tucked away, giving them a new purpose in your kitchen or preparing them as thoughtful, handmade gifts. This guide will walk you through the surprisingly simple steps to create your own unique and durable cutting boards, even if you’re a beginner to woodworking. It’s a fantastic entry point into the world of DIY, offering tangible results and boosting your confidence with basic tools.
Why Make Your Own DIY Cutting Boards?
There are numerous compelling reasons to embark on this DIY cutting board journey. Firstly, it’s incredibly cost-effective. Instead of buying new, often expensive, cutting boards, you’re giving new life to materials you already own. Secondly, it’s a wonderfully sustainable practice. Repurposing wood reduces waste and lessens the demand for new resources, aligning perfectly with an eco-conscious lifestyle. Thirdly, the satisfaction of creating something beautiful and functional with your own hands is immense. Each board will be unique, bearing the character of its original wood and the craftsmanship of its maker. These personalized touches make DIY cutting boards not only perfect for your own kitchen but also cherished as thoughtful, handmade gifts for friends and family.
This project is proudly featured as part of a “Back to Basics Blog Hop,” a series dedicated to empowering DIY enthusiasts of all skill levels. If you’ve ever felt daunted by power tools or craved accessible project ideas, you’ll find a wealth of inspiration in this series. For those visiting from Jenna at Rain on a Tin Roof, a warm welcome to our creative space!
If you’re fortunate enough to have some quality wood scraps lying around, or if you happen upon a hidden gem like leftover butcher block at your local Habitat for Humanity ReStore, don’t let it go to waste. Let’s transform those forgotten pieces into essential kitchen tools and beautiful decorative accents. This simple project is a fantastic way to dip your toes into woodworking, teaching fundamental skills like measuring, cutting, and sanding, all while creating something genuinely useful.
DIY Cutting Boards from Scrap Wood: A Step-by-Step Guide
Making your own cutting board is a straightforward process that yields impressive results. Pay attention to safety and enjoy the satisfaction of bringing a piece of wood to life.
Essential Supplies for Your Project:
To begin your custom cutting board project, gather these materials and tools. Remember, safety should always be your top priority when working with power tools.
- Scrap Wood: The foundation of your project! Crucially, select a hardwood for durability and food safety. Excellent choices include maple, pecan, walnut, teak, cherry, or even oak. Avoid softwoods like pine, as they are too porous and can harbor bacteria, and always ensure the wood is untreated and free from chemicals.
- Circular Saw: An indispensable tool for making straight, precise cuts. If you’re new to power tools, a circular saw is often recommended as a great starting point for its versatility and relative ease of use for basic cuts.
- Jigsaw: (Optional, but highly recommended for custom shapes) If you wish to add unique handles or gently rounded corners, a jigsaw offers the flexibility for curved cuts. This is a great tool to build your intermediate DIY skills.
- Sandpaper Sheets: A variety of grits is essential for achieving a silky-smooth, food-safe surface. A variety pack typically includes medium (around 80-120 grit), fine (150-220 grit), and ultra-fine (300-400 grit) options.
- Mouse/Palm Sander: (Optional, but a time-saver) While hand sanding is perfectly achievable, a power sander like a mouse or palm sander significantly speeds up the process and ensures a more consistent finish. Remember to have appropriate sanding pads.
- Food-Grade Mineral Oil: This is critical for conditioning and protecting your finished cutting board. It’s easily found at most pharmacies or grocery stores. You’ll also need a clean, dry rag for application.
- Cutting Board Template: Create your desired shape and size using poster board, cardboard, or even an existing cutting board as a guide. This helps ensure symmetrical and aesthetically pleasing results.
- Pencil and Ruler/Straight Edge: For marking your cut lines accurately.
- Safety Glasses and Hearing Protection: Always wear these when operating power tools!
- Clamps: To secure your wood firmly to a workbench while cutting and sanding.
The Crafting Process: Transforming Wood Scraps into Functional Art
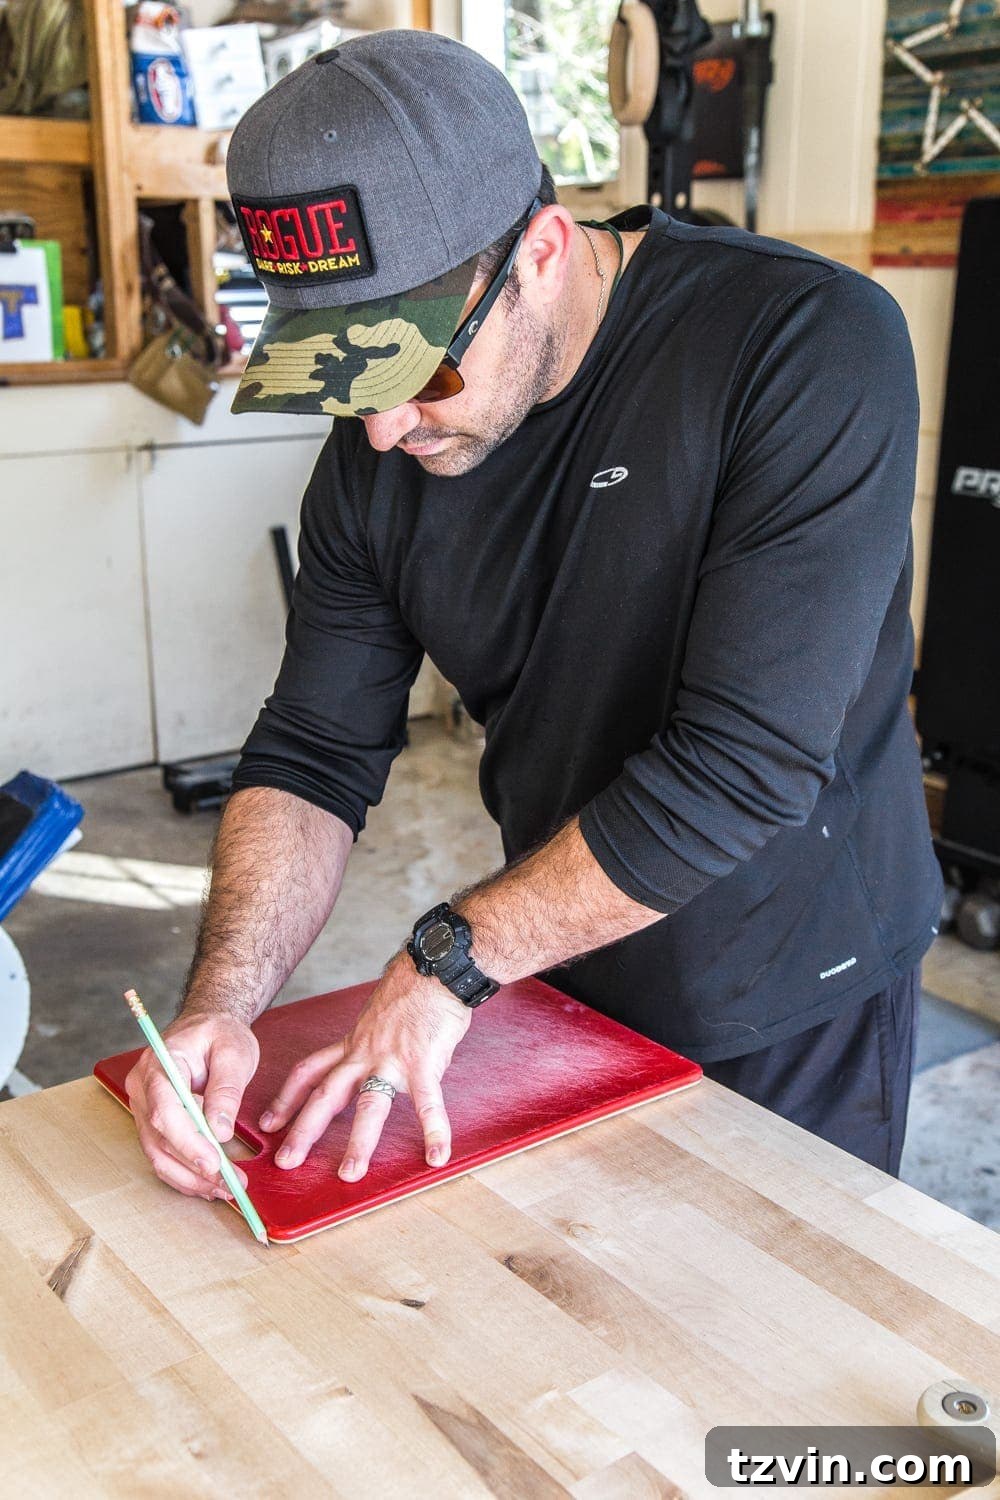
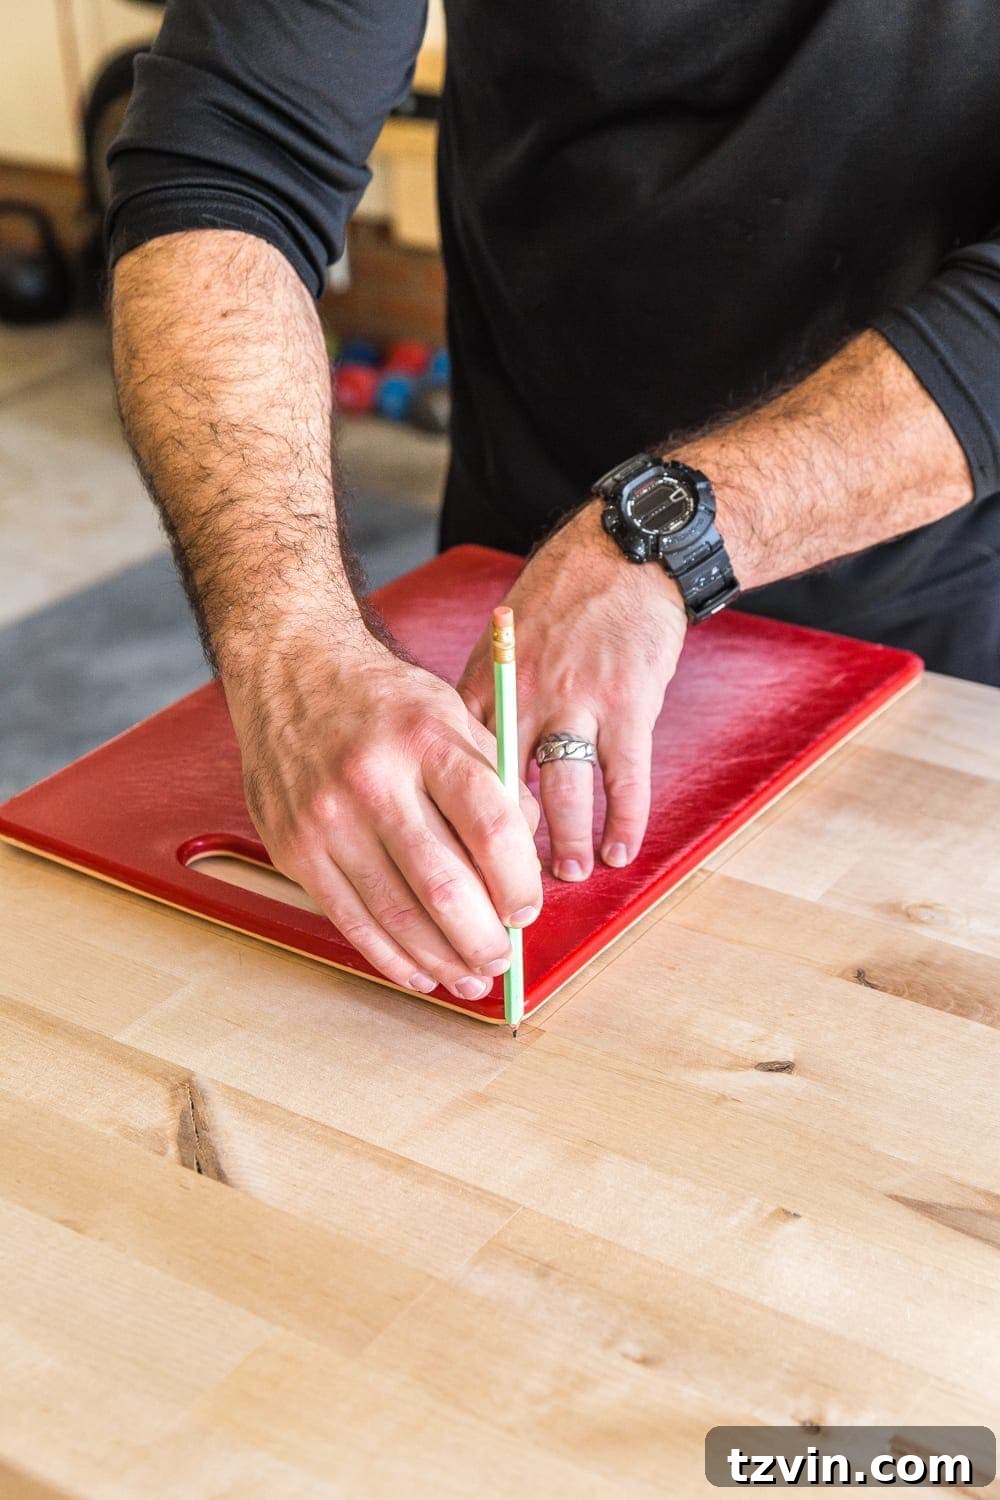
1. Design and Trace Your Template
Begin by carefully drawing or tracing your chosen cutting board shape onto your scrap wood with a pencil. Consider various shapes – a simple rectangle for everyday use, a circular board for serving, or a more organic design for a personalized touch. If you’re using a template, secure it to the wood with painter’s tape to prevent slipping, then trace precisely. Double-check your lines before moving to the next step, ensuring they are clear and accurate. Remember the old adage: “measure twice, cut once.” This planning stage is key to a successful outcome.
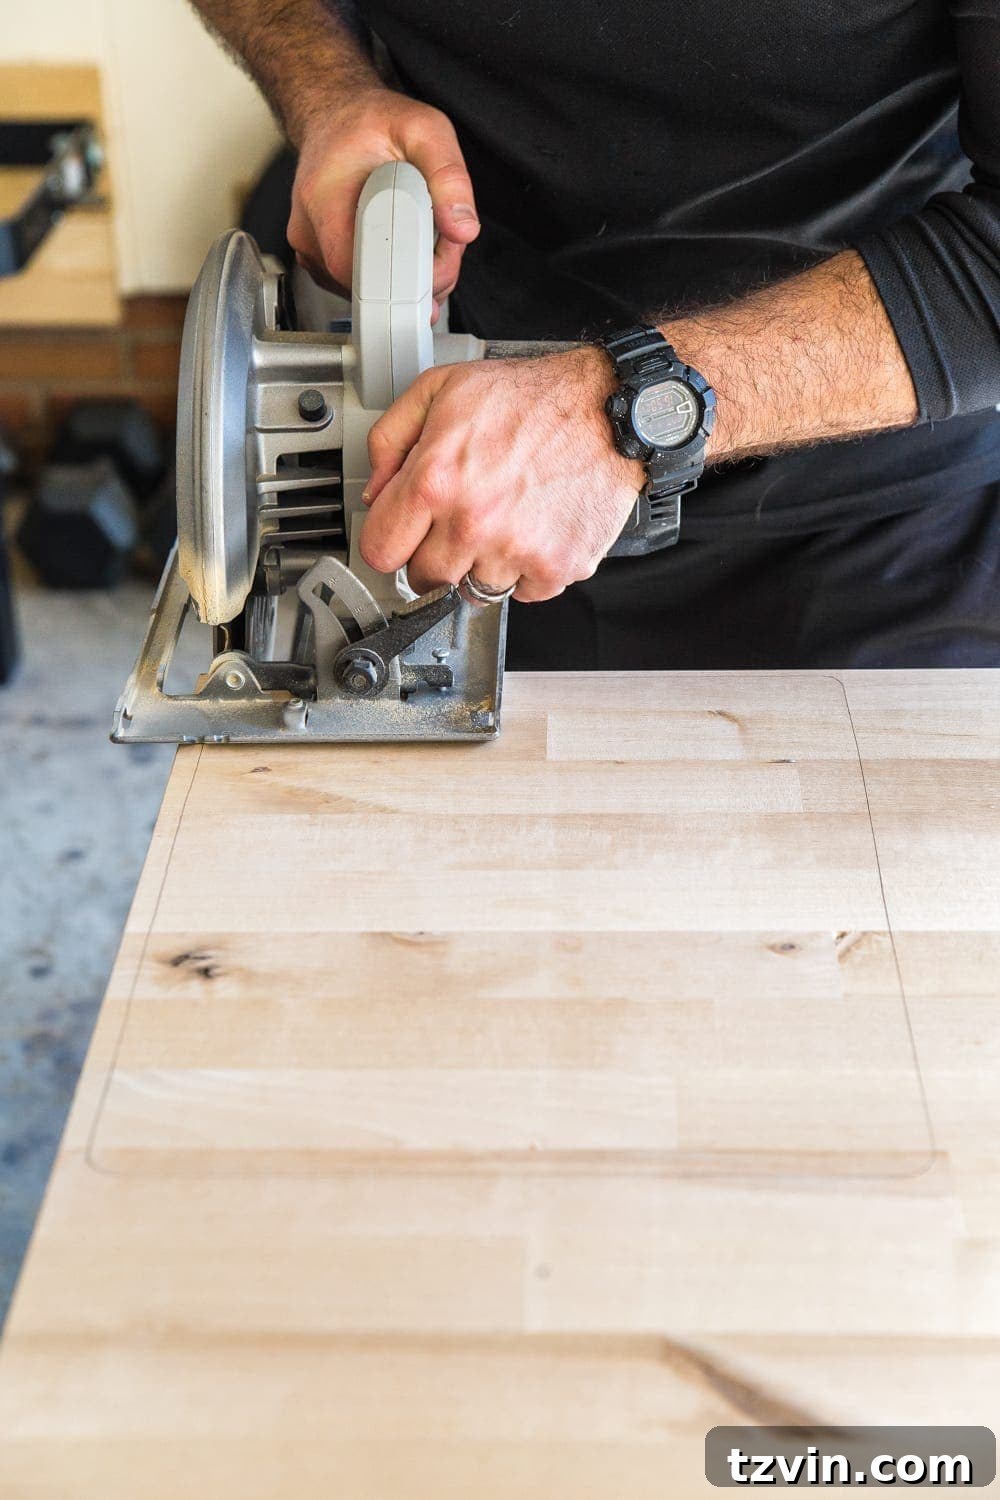
2. Make Your Cuts with a Circular Saw
With your lines clearly marked, it’s time to cut. Secure your scrap wood firmly to a workbench using clamps to prevent any movement during cutting. Don your safety glasses and hearing protection. Guide your circular saw carefully along the pencil lines. A circular saw is fantastic for achieving straight edges, making it an ideal tool for cutting out the main body of your cutting board. For many years, we relied solely on this versatile saw for various home improvement projects. It’s a solid choice for beginners, allowing you to master basic straight cuts before venturing into more complex angles or curves with other tools. Take your time, maintain a steady hand, and let the saw do the work.
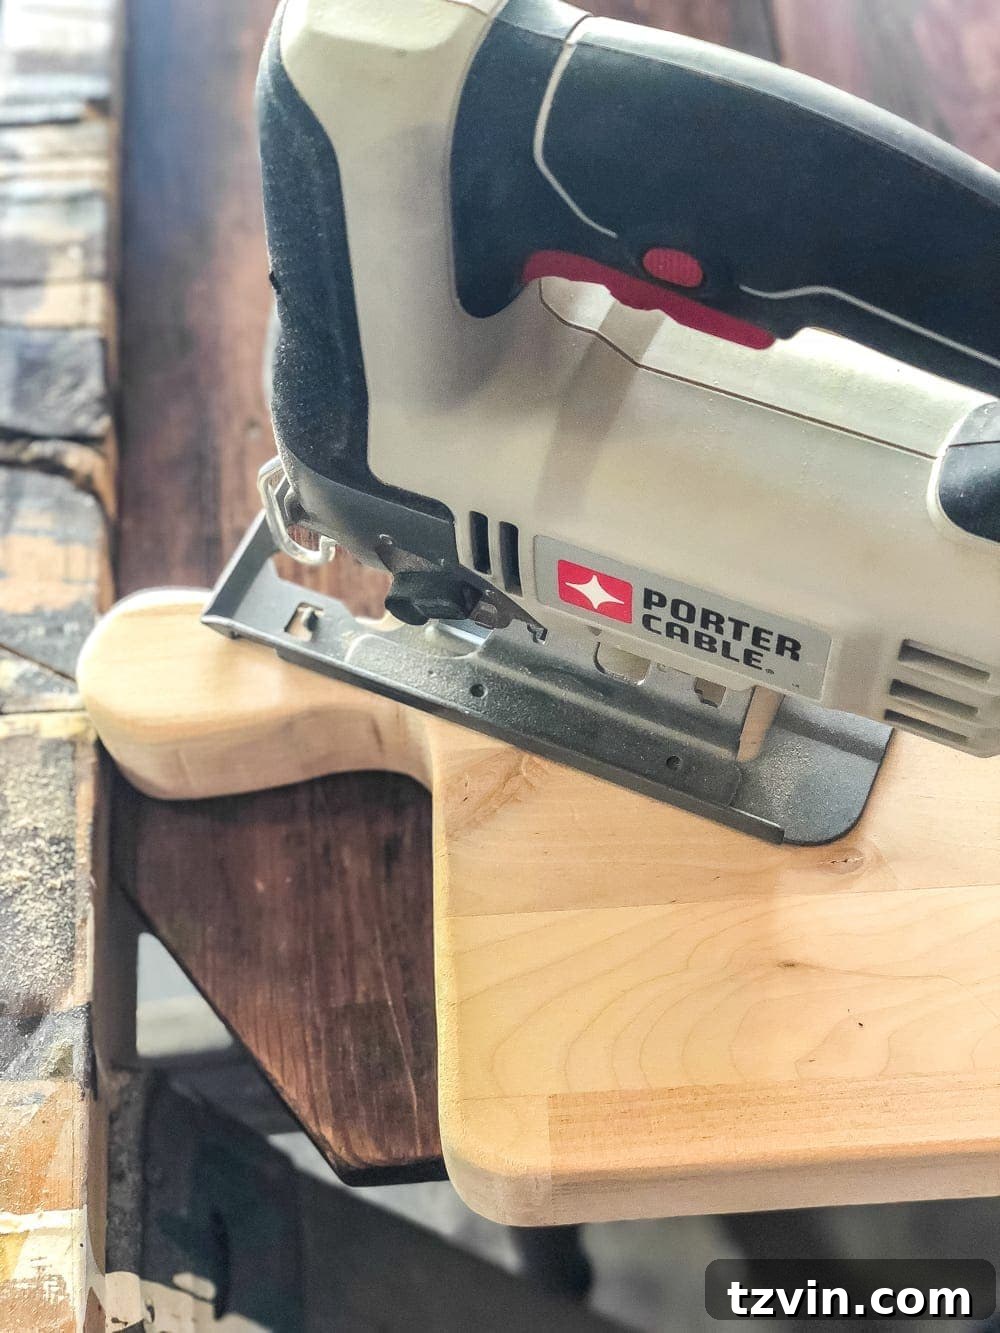
3. Add Custom Curves or Handles (Optional Jigsaw Step)
If your design includes a handle or gracefully rounded corners, now is the time to introduce your jigsaw. This tool excels at cutting intricate curves and shapes that a circular saw cannot. Again, ensure your wood is clamped securely. Guide the jigsaw along your inner pencil lines for a handle cut-out or along the outer lines for rounded edges. Take it slow, allowing the blade to follow the curve smoothly. This step adds a professional and custom touch to your cutting board, elevating its aesthetic appeal and functionality. Don’t be intimidated; the jigsaw is an intuitive tool once you get the hang of it.
4. Achieve Silky Smoothness Through Sanding
Sanding is arguably the most crucial step in crafting a food-safe and user-friendly cutting board. This process transforms rough-cut wood into a smooth, inviting surface that feels wonderful to the touch and prevents food particles from getting trapped. Start with your medium-grit sandpaper (80-120 grit) to remove saw marks, imperfections, and rough edges. Apply moderate pressure and sand with the grain of the wood. Once the major imperfections are gone, switch to fine-grit sandpaper (150-220 grit). This refines the surface, making it noticeably smoother. Finally, use ultra-fine grit sandpaper (300-400 grit) to achieve a luxurious, buttery-smooth finish. If you have a mouse or palm sander, it will significantly speed up this process, but hand sanding is equally effective with patience. Always wipe away sanding dust between grits to prevent coarser particles from scratching your increasingly smooth surface.

5. Condition with Food-Safe Mineral Oil
After achieving your desired smoothness, thoroughly clean all sanding dust from your board. A tack cloth or a damp cloth followed by complete drying works well. Now, it’s time to condition and protect your cutting board with food-grade mineral oil. Liberally apply the mineral oil with a clean, dry rag, ensuring every surface of the wood is saturated. You’ll observe the wood instantly deepen in color as the oil soaks in, enhancing the natural grain patterns and making them pop. Mineral oil acts as a barrier, preventing the wood from drying out, cracking, and absorbing food odors or liquids. It’s absolutely crucial to use only food-safe finishes like mineral oil. Never apply wood stain or polyurethane, as these are not safe for contact with food and can leach harmful chemicals. Allow the oil to penetrate for several hours, or even overnight, then wipe off any excess. Repeat this oiling process several times until the wood no longer readily absorbs the oil, indicating it’s fully conditioned and protected.
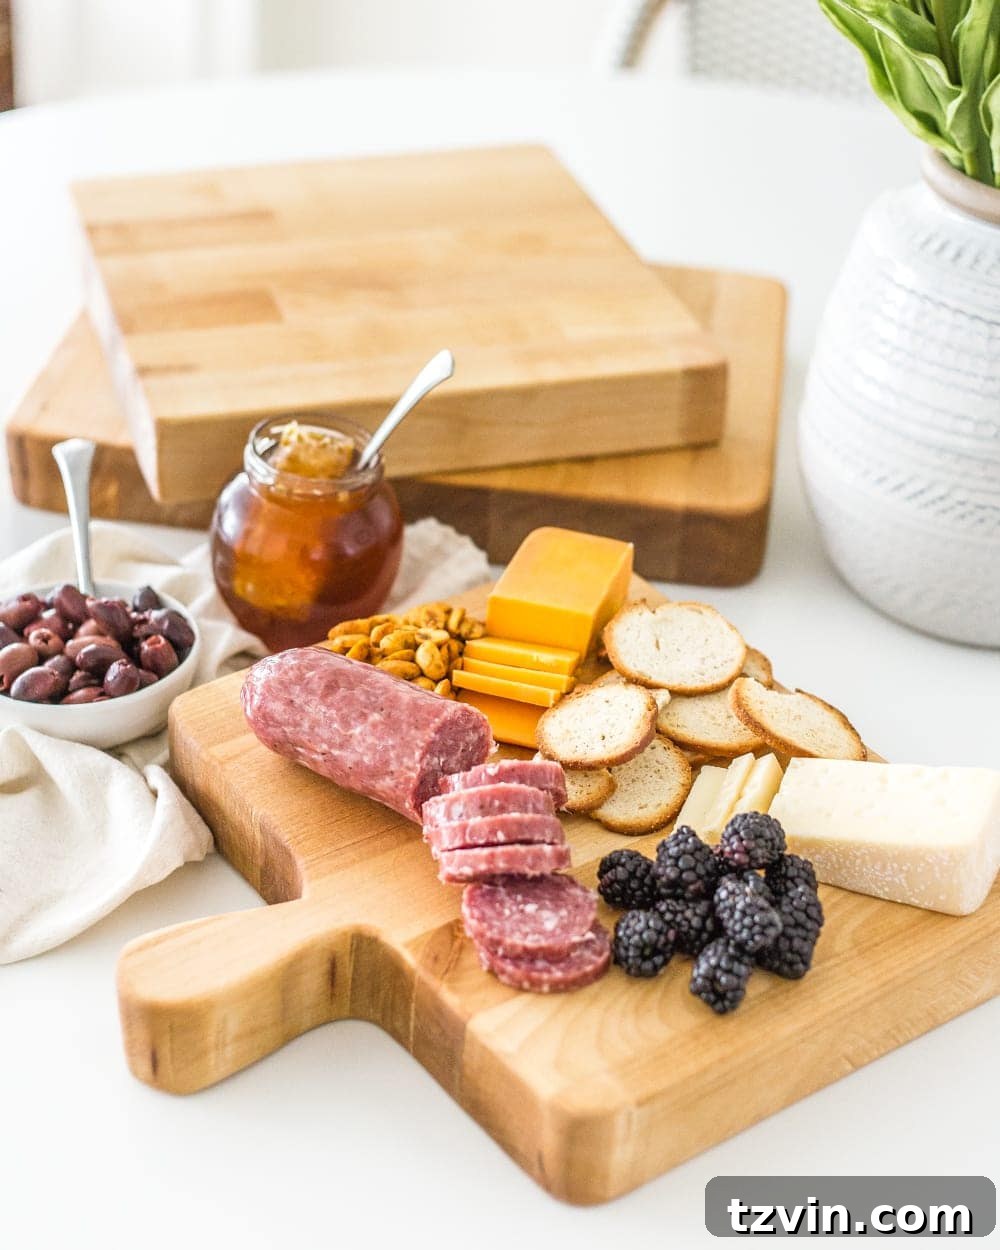
Enjoy Your Handcrafted Cutting Board!
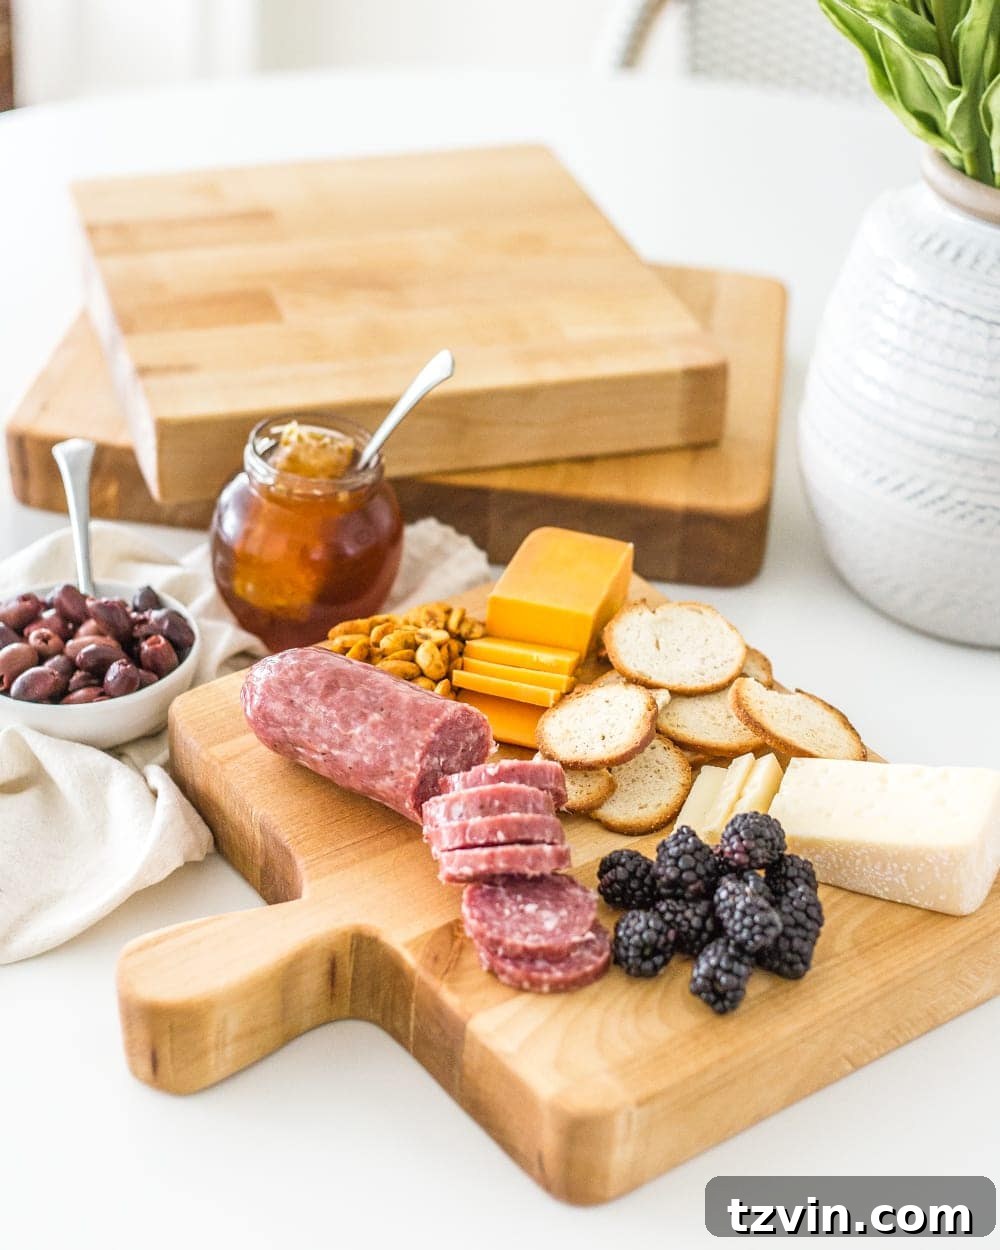
Once conditioned, your custom-made cutting board is ready for action. You’ll find immense joy in using a kitchen essential you crafted yourself. We personally love using our new cutting boards for assembling impressive charcuterie spreads, especially during the spring and summer months when entertaining is a frequent pleasure around our backyard pool. There’s something special about presenting delicious snacks on a board you made with your own hands. Get ready for some yummy snackage!
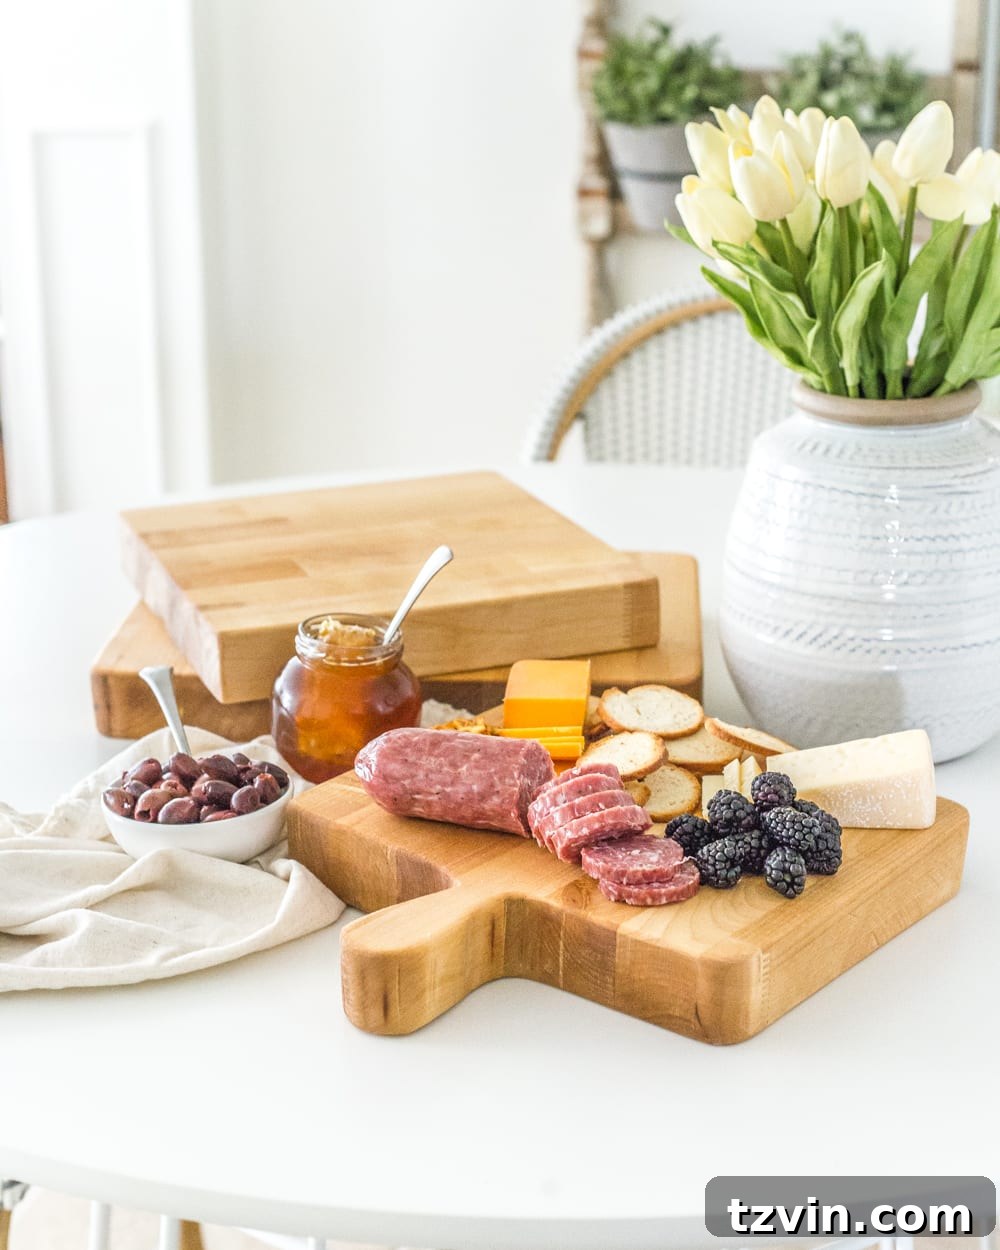
Mastering the Art of Charcuterie Boards: A Bonus Tip!
Since your beautiful new cutting board will be perfect for entertaining, let’s briefly touch on creating a show-stopping charcuterie board. It’s easier than you think to assemble a crowd-pleaser. Simply include at least one item from each of these categories for a perfect balance of flavors and textures:
- Sharp Cheese: Think aged cheddar, Parmesan, or blue cheese.
- Mild Cheese: Brie, fresh mozzarella, or Monterey Jack offer a softer contrast.
- Cured Meat: Prosciutto, salami, or chorizo add savory depth.
- Crackers & Crisps: A variety of crackers, pretzels, pita chips, or crusty bread.
- Fresh Fruit: Grapes, blackberries, strawberries, or figs add sweetness and color.
- Nuts: Almonds, walnuts, pistachios, or get creative with flavored options like wasabi cashews or BBQ spiced peanuts.
- Olives: A briny counterpoint to rich flavors.
- Mustard: Dijon or whole grain mustard offers a tangy kick.
- Honey: A drizzle of honey complements cheeses beautifully.
This combination ensures a delightful mix of savory, salty, sweet, spicy, tangy, chewy, and crunchy elements, guaranteed to satisfy every palate. My apologies for the momentary detour into food blog territory; I just can’t help but share a good charcuterie secret! (Confessions of a wannabe, non-chef over here.)
Caring for Your New Wooden Cutting Board
To ensure your DIY cutting board lasts for years to come, proper care is essential. After each use, wash your cutting board with warm, soapy water. Avoid soaking it or putting it in the dishwasher, as excessive moisture can cause the wood to warp or crack. Rinse thoroughly and allow it to air dry completely, standing it on its edge to promote even drying. Reapply food-grade mineral oil regularly – once a month is a good general guideline, or whenever the wood starts to look dry and dull. This routine maintenance will keep your board hygienic, protected, and beautiful.

Creating your own custom cutting board from scrap wood is a rewarding project that combines sustainability, practicality, and personal expression. It’s an accessible woodworking venture for beginners and a wonderful way to add unique, functional pieces to your kitchen or craft heartfelt gifts. So grab those forgotten wood scraps and let your creativity flow!
If you’re eager for more basic DIY ideas and beginner-friendly projects, be sure to explore the rest of the “Back to Basics” blog hop. You’ll find a treasure trove of inspiration from talented bloggers (and yes, it seems more than one of us had charcuterie on the brain!).
Flatware Chest Makeover from Rain on a Tin Roof
DIY Charcuterie Board from House by Hoff
DIY Crock or Pottery from Thrift Store Canisters from So Much Better with Age
DIY Wood Planter from The Turquoise Home
Coffee Table to Bench Makeover from The Happy Housie
DIY Cutting Boards from Scrap Wood from Bless’er House
If you found this guide helpful and want to save it for future reference or share with fellow DIY enthusiasts, feel free to pin it!