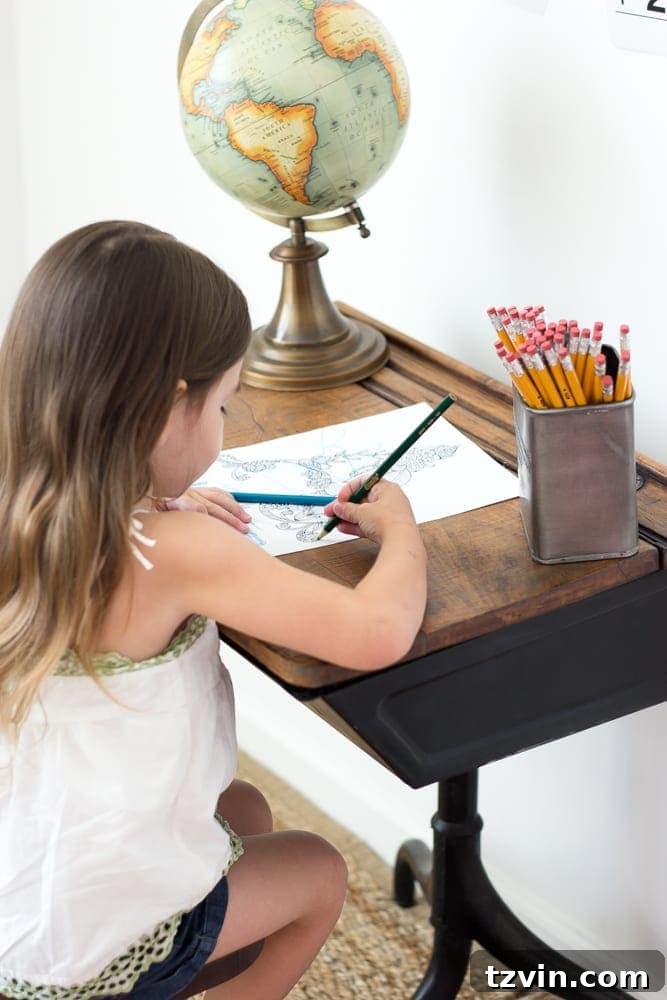
Welcome back to the blog! If you’re here from 11 Magnolia Lane for this year’s Back-To-School Style Guide, welcome! I’m excited to share a fun project with you today.
My journey has taken me from the classroom, where I taught ninth grade, to the adventures of being a stay-at-home mom. Now, with my little one turning four soon, the prospect of homework is becoming a reality. This prompted me to create a dedicated and inspiring space for learning.
The universe, or perhaps the thrift store fairies, seemed to sense my need. Earlier this summer, I stumbled upon a beautiful antique schoolhouse desk that was just begging for a makeover.
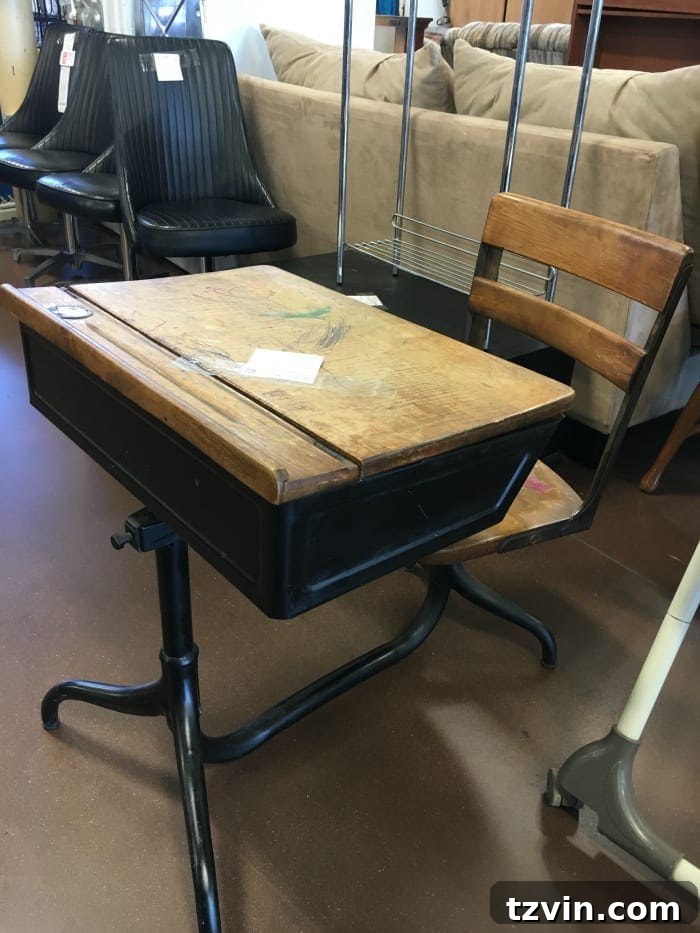
When my friend Amber from Restless Arrow invited me to participate in the Back-To-School Style Guide, this neglected desk was the perfect inspiration. It was time to give it a fresh new life!
Let’s just say, we chose to ignore the history of, let’s call it, “artistic expression” left on the desk.
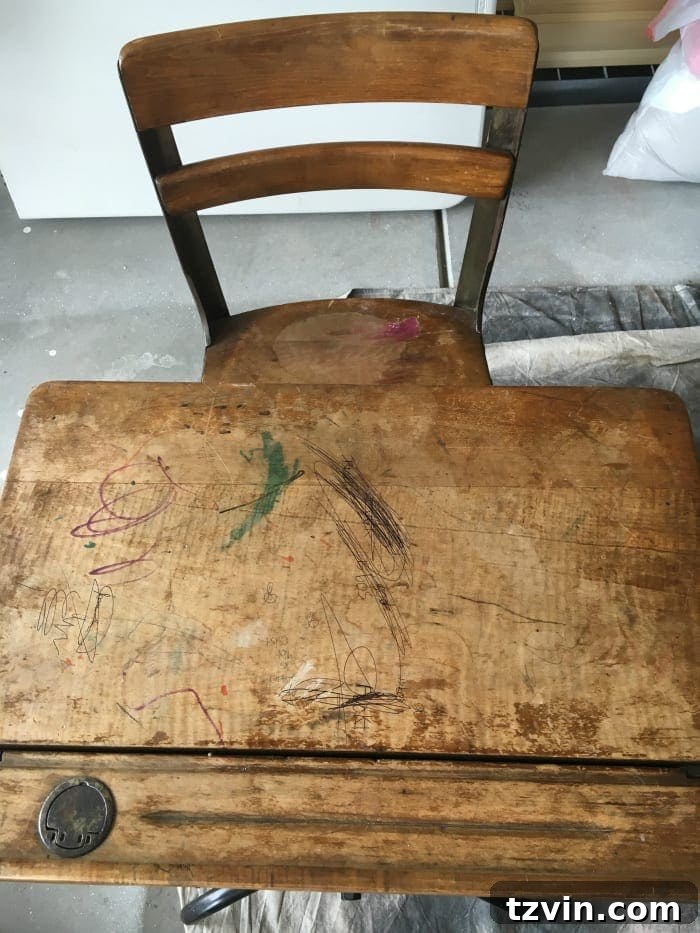
If you’ve found a similar vintage treasure with a bit of character, here’s how I restored this antique schoolhouse desk.
Supplies Used:
- Mouse sander with coarse grit sandpaper pads – essential for removing old finishes and marks.
- Minwax stain (I used Weathered Oak) – This stain added a beautiful, aged look.
- Minwax Polyurethane in Satin – Provides a durable, protective finish.
- 2 sponge brushes – for easy and even stain and polyurethane application.
- Clean, dry rags – for wiping away excess stain.
The restoration process was remarkably straightforward, primarily involving a thorough sanding to erase the layers of doodles and imperfections.
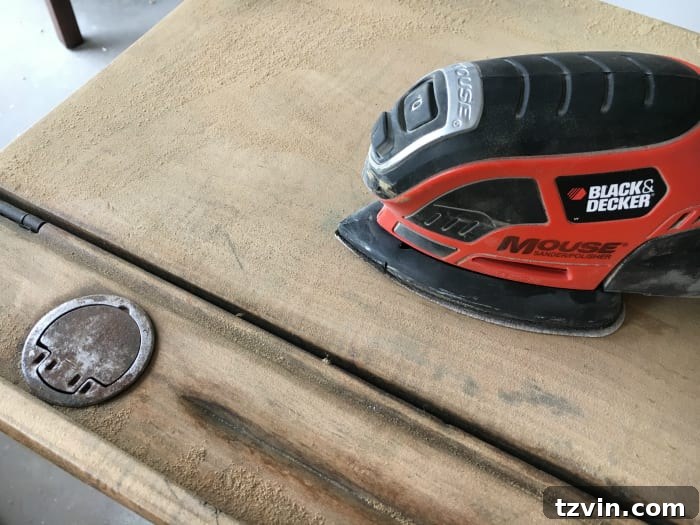
After sanding, I brushed away the dust and applied two coats of Weathered Oak stain, following the instructions on the can. After wiping the stain within two minutes, I let it dry thoroughly. Finally, I sealed the desk with a coat of satin polyurethane after the stain had dried for a full 24 hours.
I debated painting the metal components, but after a poll on Instagram, the consensus was to preserve the original black finish to maintain the desk’s antique charm and value. I’m glad I listened!
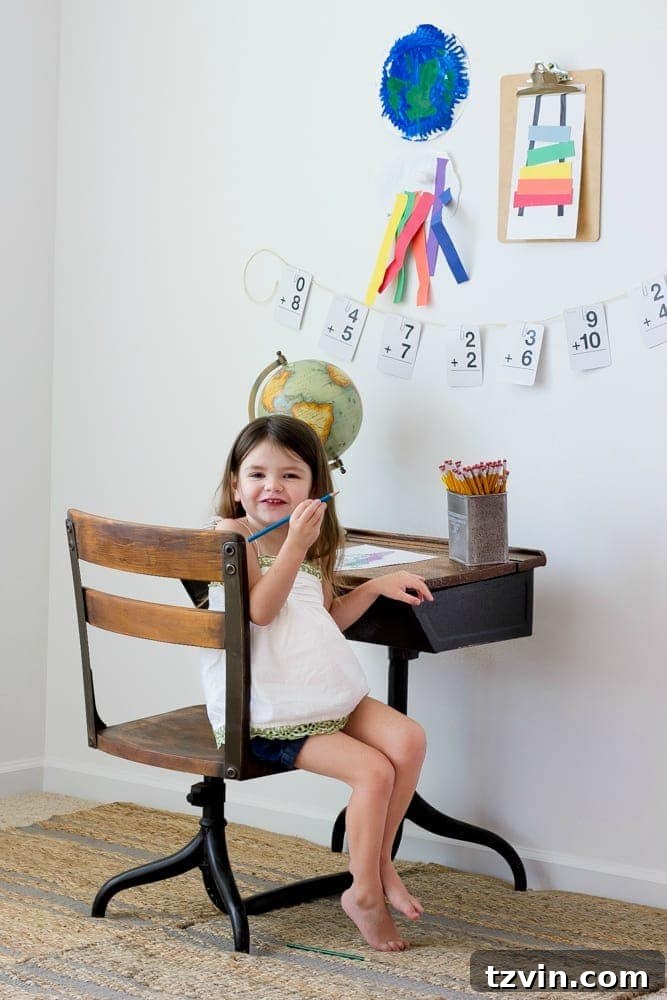
And here it is! A beautifully restored antique schoolhouse desk. I still can’t believe my luck finding this gem at the thrift store!
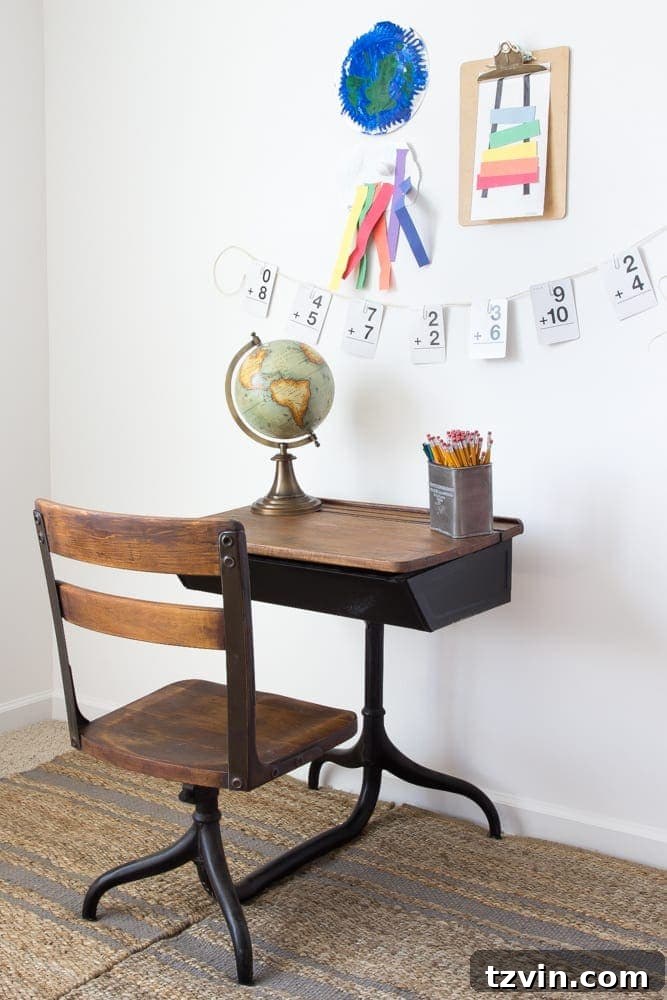
We’re not quite at the homework stage yet, but I’ve created a versatile space where Olivia can do arts and crafts, or I can introduce some early learning activities, like writing and basic math.
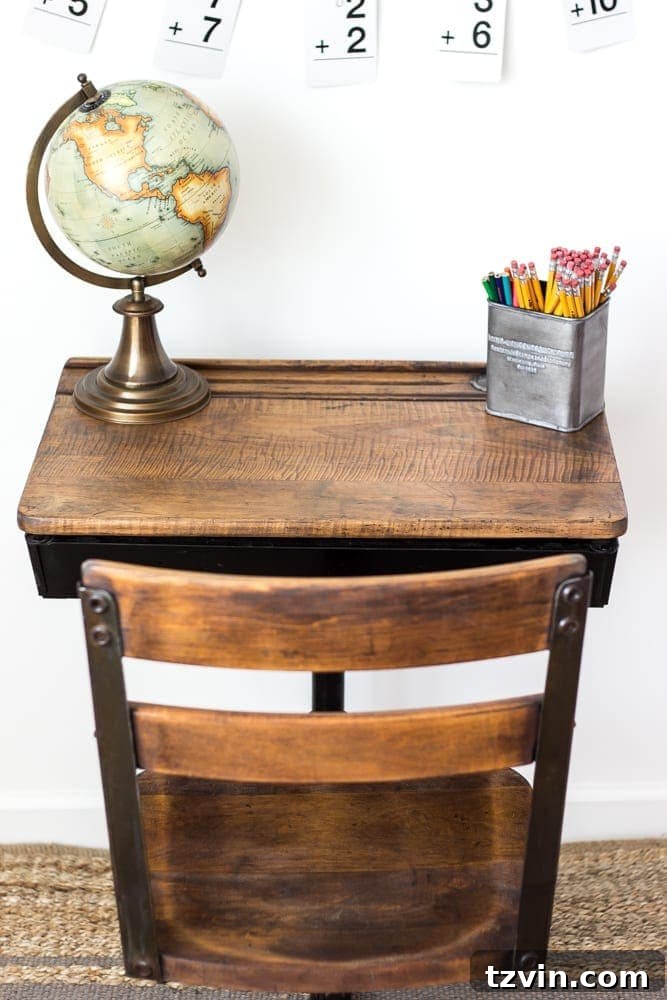
The playroom, which we’re currently renovating, turned out to be the ideal location for the desk. Since we’ll be making changes in this room, I wanted a flexible setup that I could easily adjust.
For added decor, I crafted a simple garland using twine, paper clips, and some of Olivia’s flashcards.
I also displayed some of Olivia’s artwork on a clipboard and directly on the wall. This adds a personal touch to the homework station and inspires creativity.
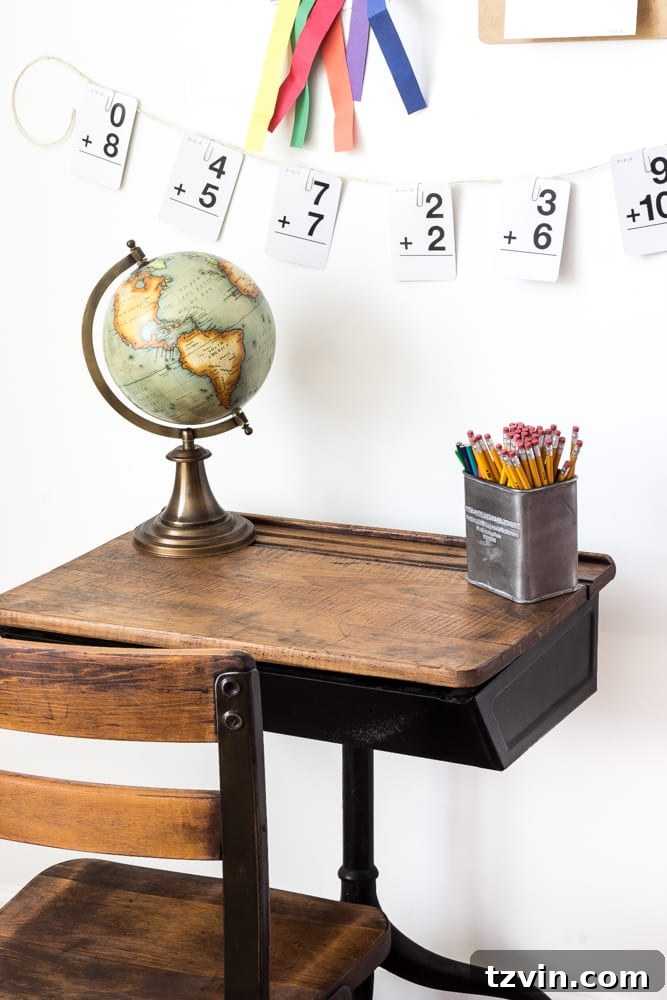
Want to create your own simple homework station? Here are some sources for similar items to get you started:
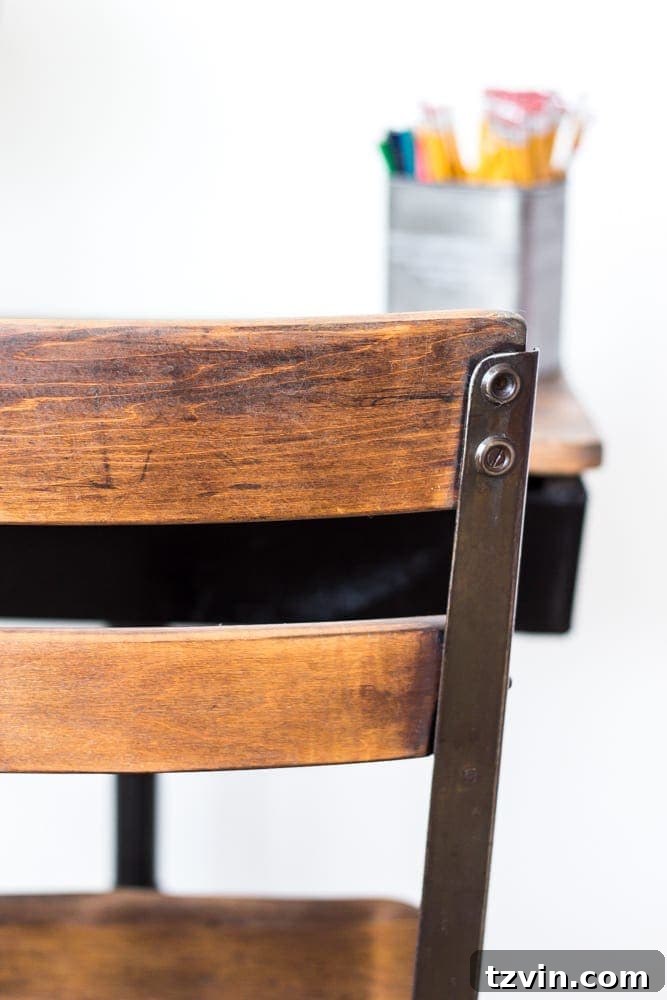
Olivia is absolutely loving her new creative corner in the playroom!

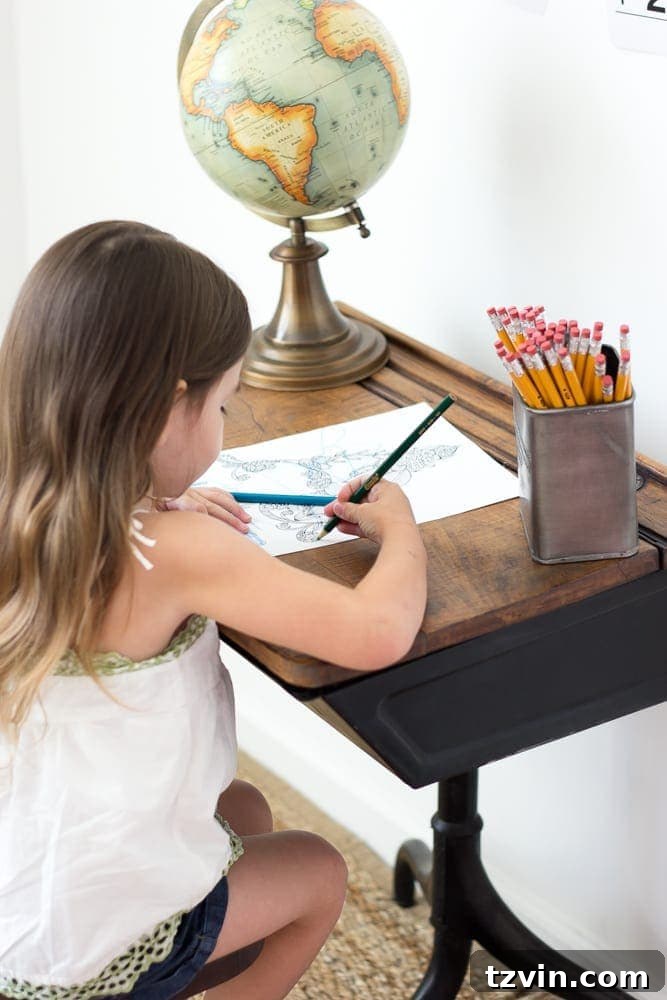
And if she does happen to scribble on it again, at least I know it’s easily restorable! After all, what is a desk for if not for creating, exploring, and getting a little messy?

For the next stop in the Back-To-School Style Guide, check out the amazing project by my friend Rachel at Maison de Pax.
If you’d like to save this post for later, you can pin it here:
Are you getting ready for back-to-school season? Whether you’re excited or secretly dreading it, I hope this project inspires you to create a beautiful and functional space for your kids!