Transform Your Space: A Step-by-Step Guide to Professional DIY Built-In Bookshelves Using IKEA Billy Bookcases for Ultimate Vertical Storage
Have you ever dreamed of custom built-in bookshelves that look like they were always part of your home? Imagine a space where clutter is tamed, and every book, toy, or decorative item has its perfect spot. Achieving this elegant, integrated look doesn’t have to break the bank or require professional carpentry skills. With a clever IKEA Billy bookcase hack, you can create stunning built-in shelves that are both functional and visually appealing.
Built-in bookshelves are more than just storage; they’re a strategic home improvement project that instantly elevates the aesthetic and value of any room. Whether you need to organize a bustling playroom, create a sophisticated living room library, or enhance a home office, custom built-ins provide unparalleled storage solutions and a polished, high-end finish. This comprehensive tutorial will guide you through crafting professional-looking DIY built-in bookshelves using readily available IKEA Billy bookcase sections, transforming ordinary furniture into extraordinary custom features.
Unlocking the Potential: Benefits of Using IKEA Billy Bookcases for Built-Ins
The IKEA Billy bookcase system is a favorite among DIY enthusiasts for good reason. Its simplicity, affordability, and adaptability make it an ideal foundation for creating custom built-in solutions. Here’s why you should consider the Billy bookcase for your next home improvement project:
Beginner-Friendly Project
If you’re new to home improvement or have limited carpentry experience, transforming IKEA Billy bookcases into built-ins is an excellent entry-level project. The most complex part of building shelves from scratch – constructing sturdy, plumb, and square bookcase frames – is already handled for you by IKEA. This allows you to focus on the fun and impactful finishing touches like trim work, caulking, and painting, which are far more forgiving for beginners. It’s a fantastic way to develop your DIY skills without the overwhelming challenges of starting from raw lumber.
Exceptional Value and Affordability
One of the most compelling advantages of the IKEA Billy bookcase hack is the significant cost savings. Standard height Billy bookcases are remarkably affordable (e.g., around $89 each at the time of writing this post). Trying to source lumber and materials to build a similar quality bookcase from scratch would often exceed this price, not to mention the time and effort involved in cutting and assembling every piece. This budget-friendly approach allows you to achieve a high-end custom look without the high-end price tag associated with bespoke cabinetry.
Versatile and Customizable Options
The Billy bookcase system offers a wide array of accessories and customizable options, allowing you to tailor your built-ins to your specific needs and aesthetic preferences. Options like height extenders let you reach taller ceilings, while Oxberg doors can be added to create concealed storage at the base, mimicking traditional cabinetry. This flexibility enables you to design a solution that perfectly suits your room’s function, whether it’s an open display for decor, hidden storage for toys, or a combination of both.
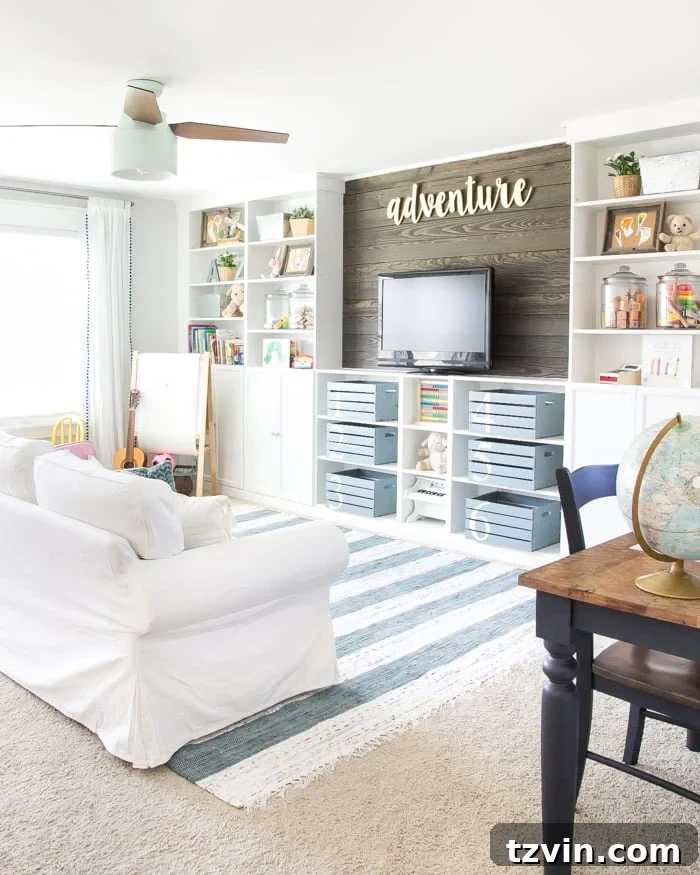
For our playroom/media room makeover, we desperately needed efficient storage. Built-in shelves with integrated cabinetry are an ideal solution for any kids’ space, perfect for organizing craft supplies, toys, and games. However, commissioning a professional carpenter for such a project would have been far beyond our budget. The IKEA Billy hack provided the perfect balance of custom aesthetics and affordability.
Inspiring DIY IKEA Billy Bookcase Built-In Hacks
UPDATE: It has been over six years since we first completed this DIY built-in project, and the methods outlined in this tutorial have proven incredibly effective. We’ve since adapted these same techniques to build multiple IKEA hack built-ins in various spaces. It simply works!
Here are some examples of how the IKEA Billy bookcase hack has been successfully implemented to create stunning custom storage solutions:
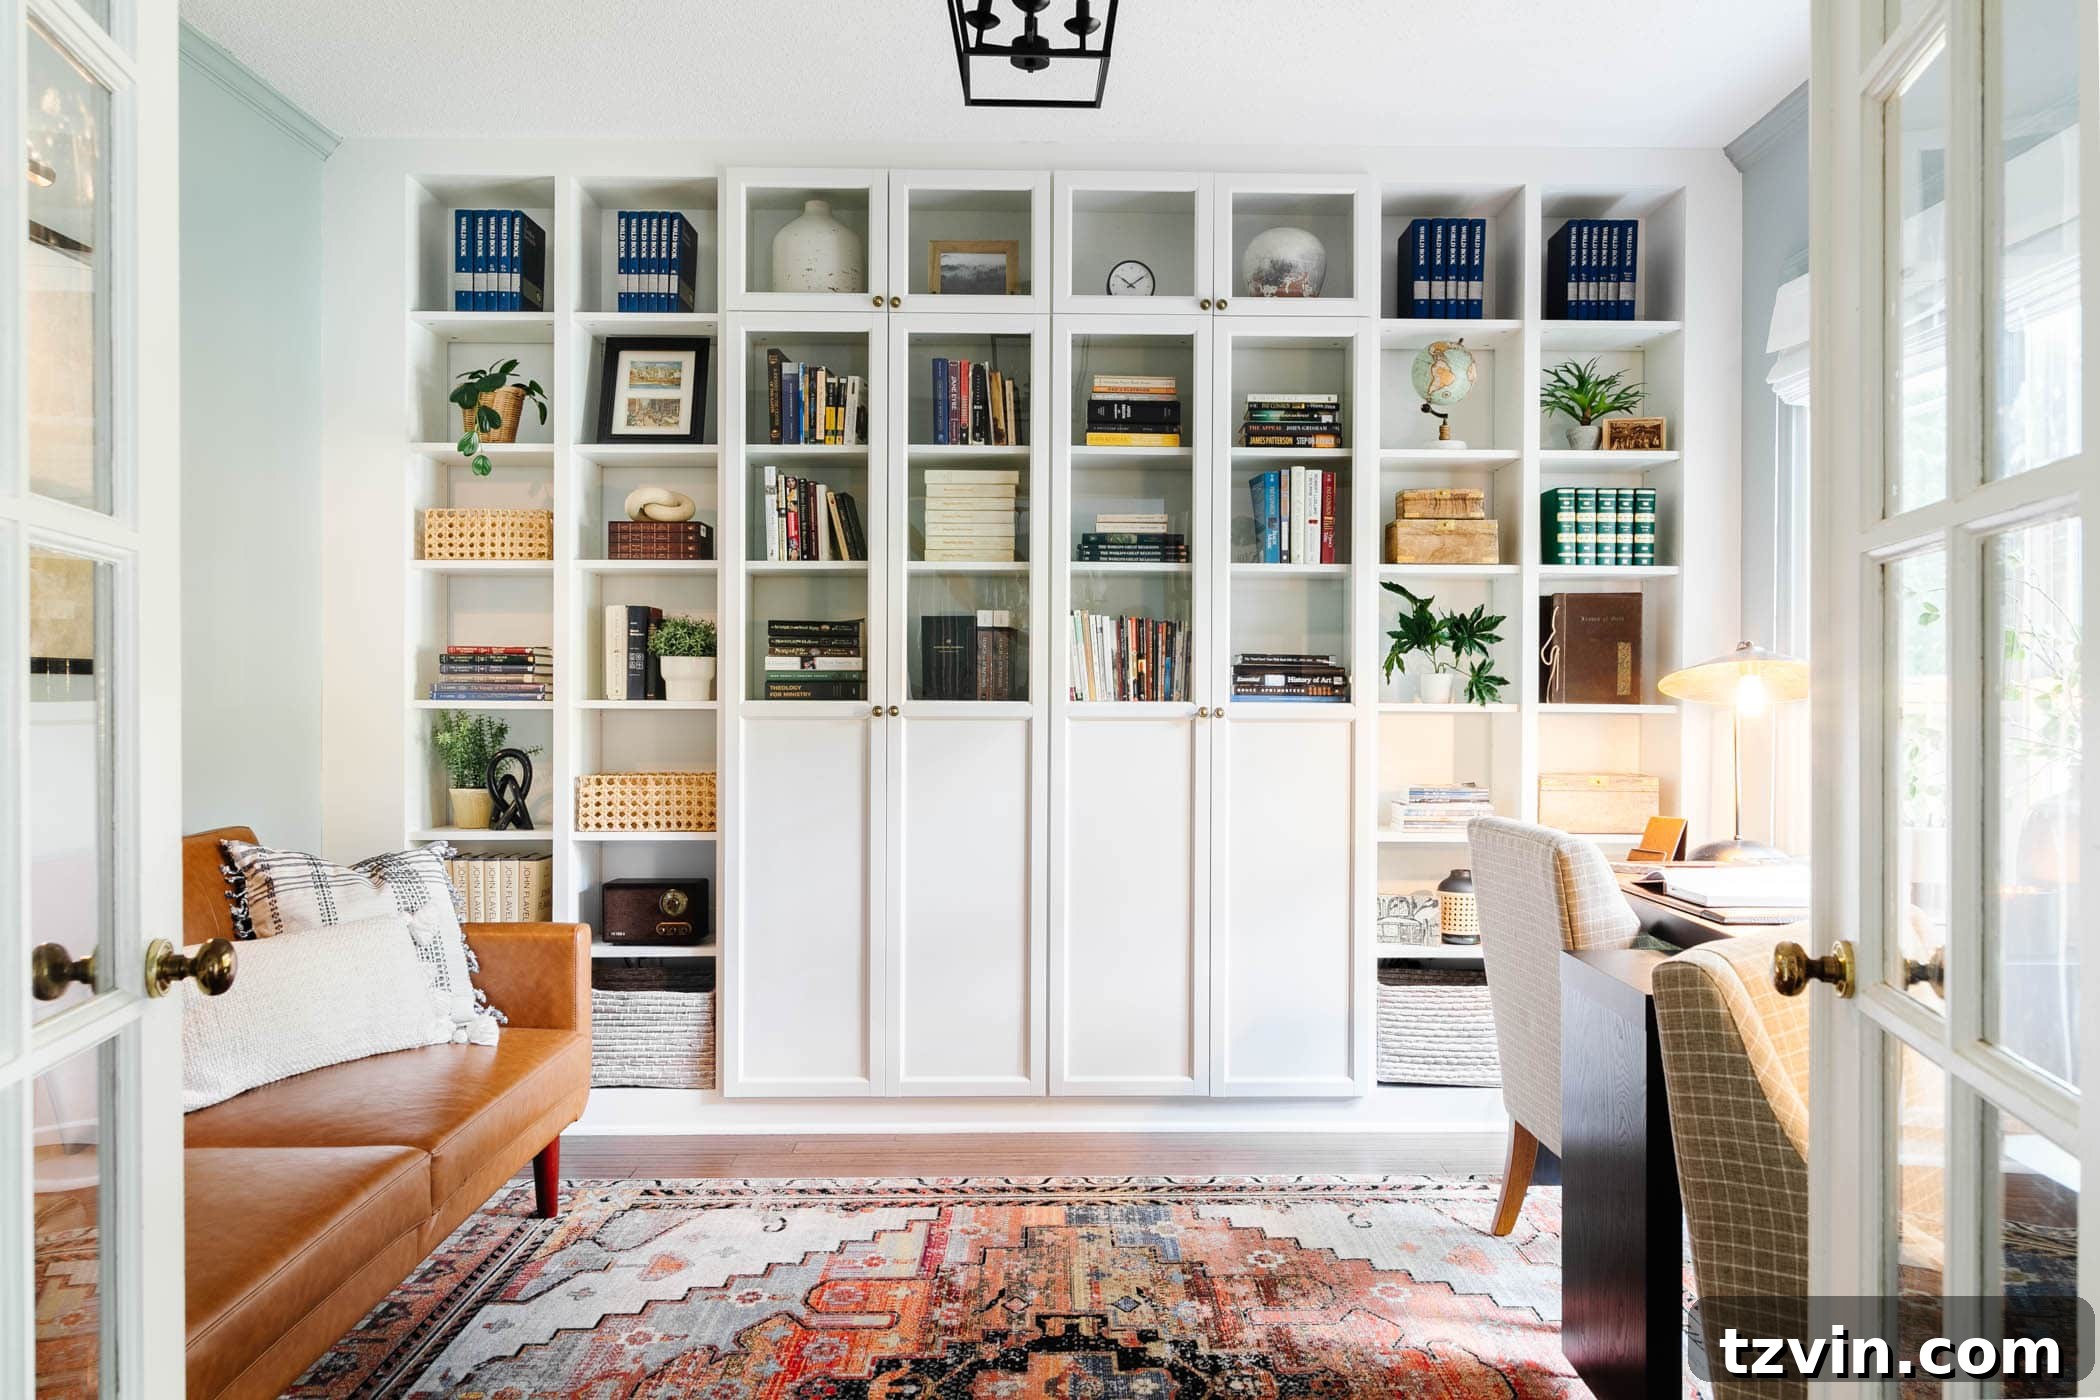
Elegant Home Office IKEA Built-In Shelves with Glass Doors
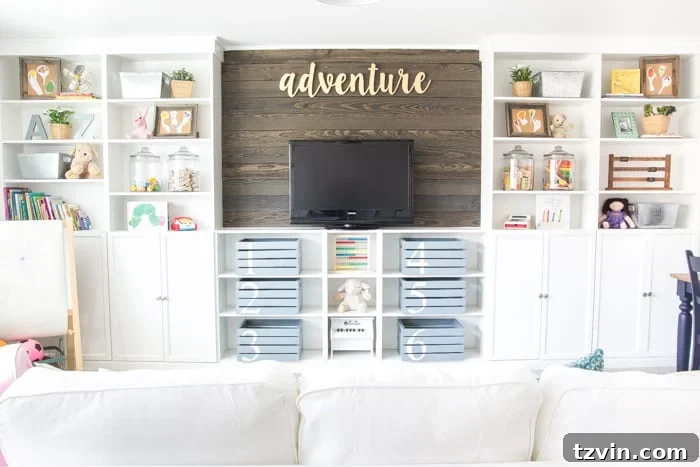
Expansive Full-Wall Playroom Built-In Shelves
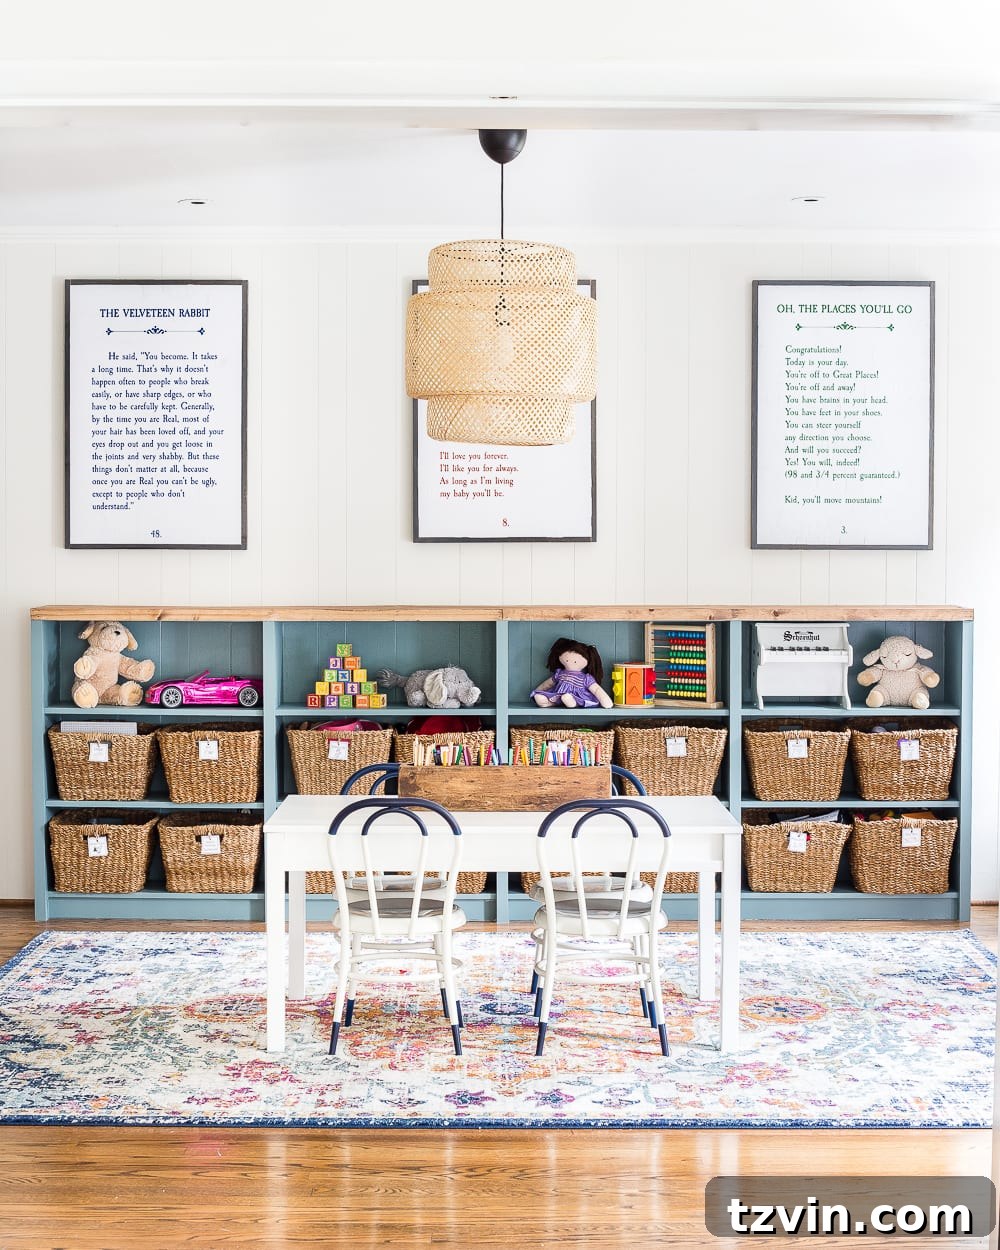
Practical Half-Height Playroom Built-In Shelves with IKEA Bookcases
Clever DIY IKEA Built-In Closet Using Billy Bookcases
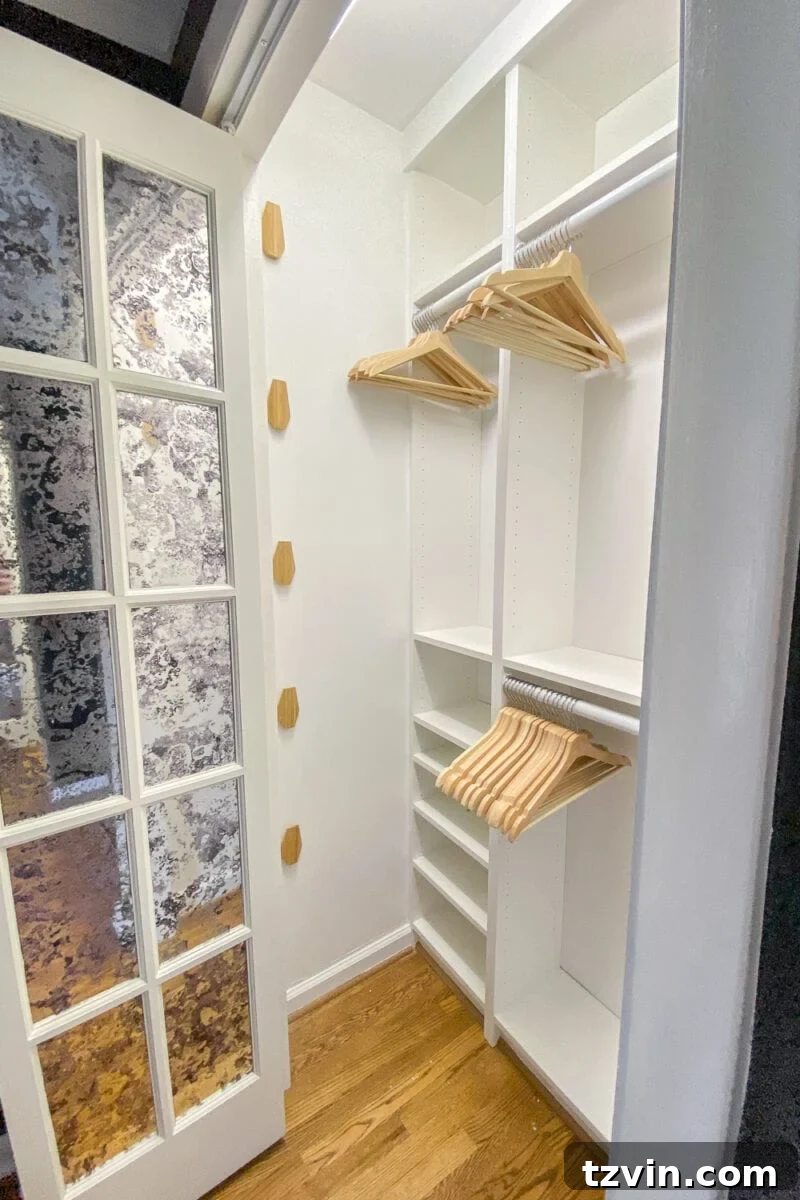
Built-in shelves are incredibly versatile and can enhance the functionality and beauty of almost any room. They look stunning in living rooms, bedrooms, home offices, playrooms, rec rooms, closets, and even dining rooms. Essentially, anywhere you desire custom vertical storage presents an excellent opportunity for built-ins. They deliver a high-end, custom aesthetic without requiring a high-end budget.
Planning Your Project: Measuring for DIY Built-In Shelves
Accurate measurement is the cornerstone of a successful built-in project. Before purchasing any materials, carefully measure your space. For instance, our playroom wall was exactly 214 inches wide. This measurement dictated how many bookcases we needed to buy to ensure roughly 4 to 5 inches of space on each side for the structural anchor boards. You’ll need to calculate these numbers precisely for your unique space.
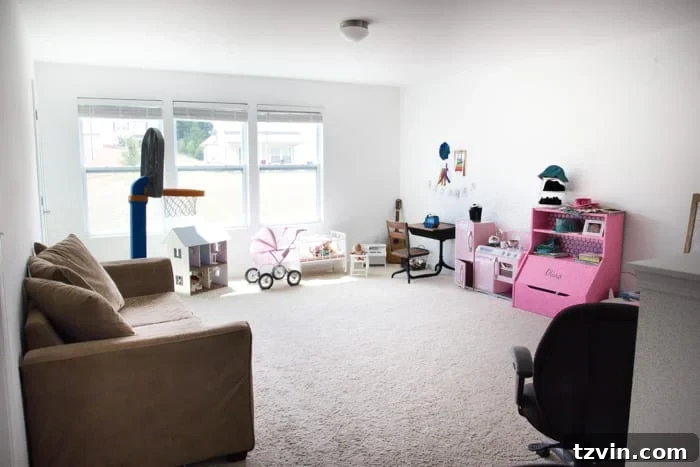
IKEA Billy bookcases are typically available in two main widths: 31 1/2 inches and 15 3/4 inches (always round up to the nearest inch for planning purposes). To determine how many bookcases will fit your wall, divide your wall’s total width by the width of the bookcases you plan to use. It’s crucial to allow at least 4 inches of space on either end of your wall for attaching anchor boards. These boards will secure your bookcases to the wall, giving them that permanent, built-in appearance and ensuring stability. Consider any existing electrical outlets or wall features during your planning phase.
The Comprehensive Guide: How to Create DIY Built-In Bookshelves
Essential Tools and Supplies
The exact quantity and dimensions of items may vary based on your wall’s measurements and chosen configuration. Always double-check your measurements before purchasing.
- 4 32″x80″ Billy bookcases (for the main structure)
- 4 Billy bookcase height extenders (to reach taller ceilings)
- 2 32″x42″ Billy bookcases (for smaller sections or specific configurations)
- 1 16″x42″ Billy bookcase (for narrow sections)
- 8 Oxberg doors (for creating base cabinets and concealed storage)
- 2 2x4x8 stud boards (for building side boxes and anchors)
- 2 1x6x8 pine boards (for facing the side gaps and creating a flush finish)
- 3 1x2x8 pine boards (for header details and trim)
- 2 1x4x8 pine boards (for header structure)
- 3 3.25″ interior baseboards (to match existing home trim)
- Circular saw (for cutting straight lines in larger boards)
- Jigsaw (for making intricate cuts and notches)
- Power drill (for pre-drilling and driving screws)
- 1.5″ finishing nails (for attaching trim and lighter boards)
- 1.5″ wood screws (for securing structural elements)
- White trim caulk (essential for filling gaps and creating a seamless finish)
- Tape measure and pencil (for accurate marking)
- Wood shims (for leveling and filling uneven gaps)
- Square tool (for ensuring precise 90-degree cuts and alignments)
- Hammer (for finishing nails and adjustments)
- Semigloss paint (color-matched to IKEA white, e.g., Behr Ultra Pure White for a perfect match)
- Safety glasses and gloves (always prioritize safety)
Assembling and Positioning IKEA Bookcase Sections
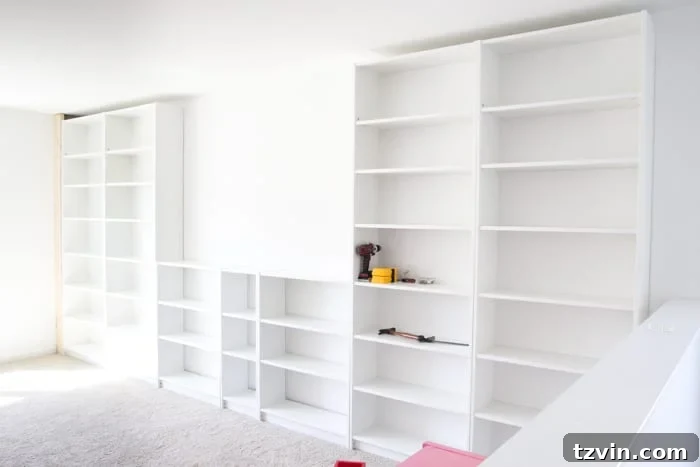
Begin by assembling all your IKEA Billy bookcases and height extenders according to the manufacturer’s instructions. This is often the most time-consuming part, but straightforward. Once assembled, carefully position the bookcases along your wall, experimenting with the arrangement until you achieve your desired layout and ensure even spacing on each side (like our 4-inch gaps). Use a level to ensure the bookcases are perfectly plumb and stable. Once satisfied with their placement, use the wall anchors provided with the bookcases to secure them lightly to the wall. This initial anchoring provides stability as you begin the built-in process.
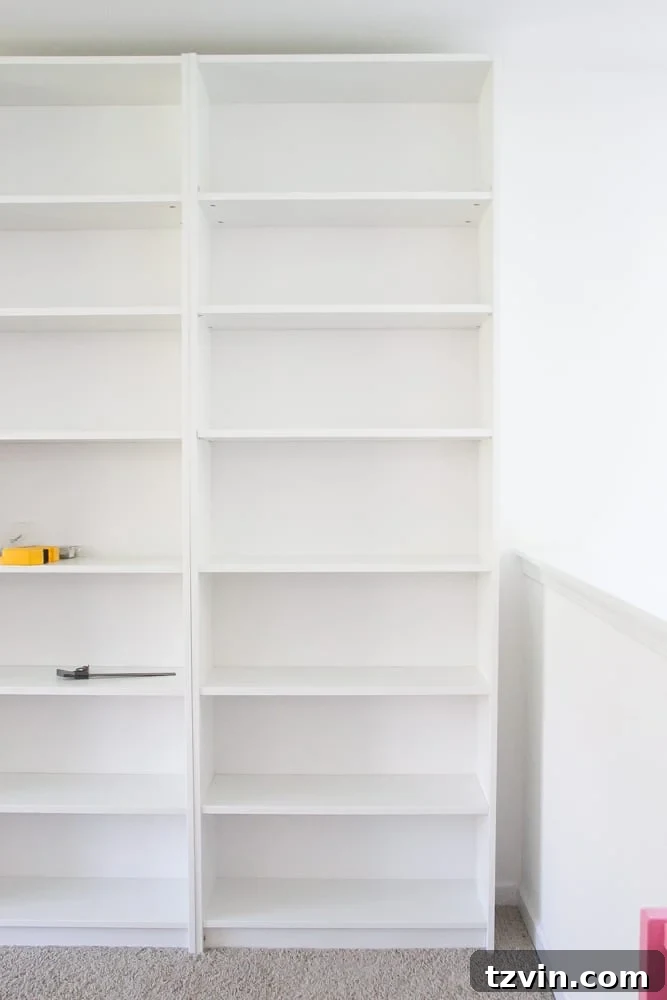
With the bookcases assembled and temporarily placed, we can now begin the transformation into true built-in shelves.
Step-by-Step Installation
Follow these detailed steps to build custom built-in bookshelves using IKEA Billy bookcases.
- Make the Sides Appear Flush to the Wall
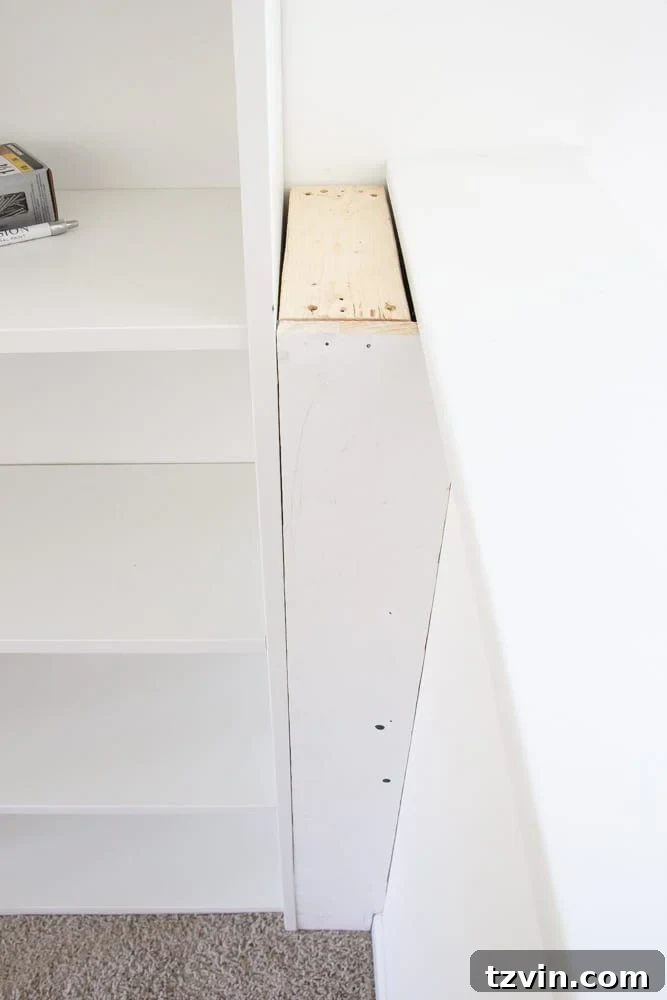
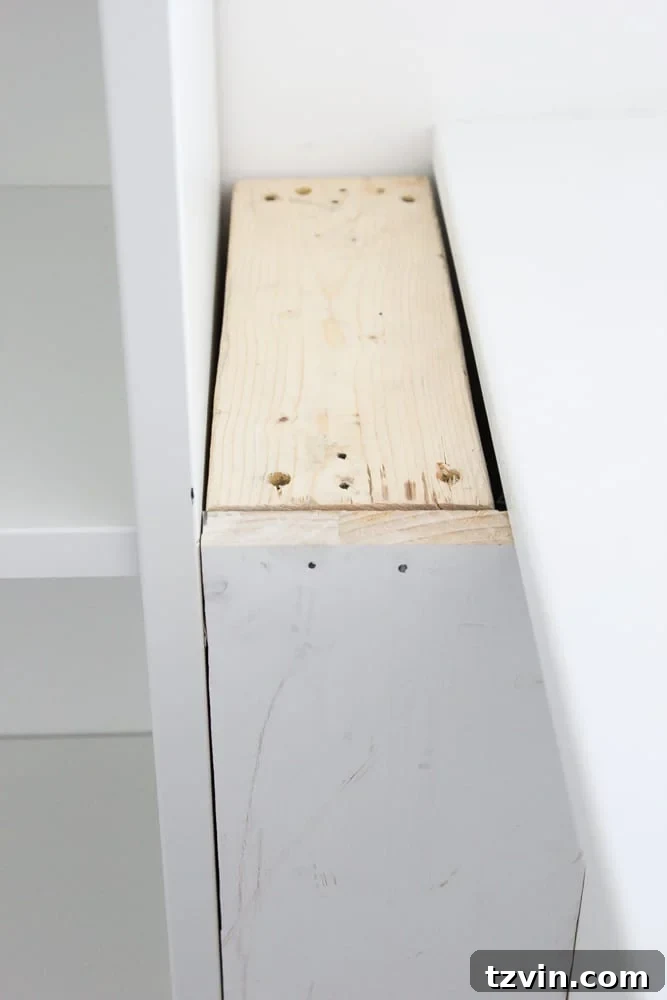
To create a seamless, integrated look, you’ll need to fill the gaps between the outer bookcases and your walls. For a partial wall, like the one on our right side, construct a robust “box” using 2×4 stud boards and wood screws. This box should match the depth of your bookcase and bridge the gap to the wall. Securely mount this 2×4 box to the wall studs using strong wood screws, ensuring it’s level and plumb. This provides a solid foundation for your trim work and structural integrity.

- Secure the Bookcase to the Box and Finish the Side
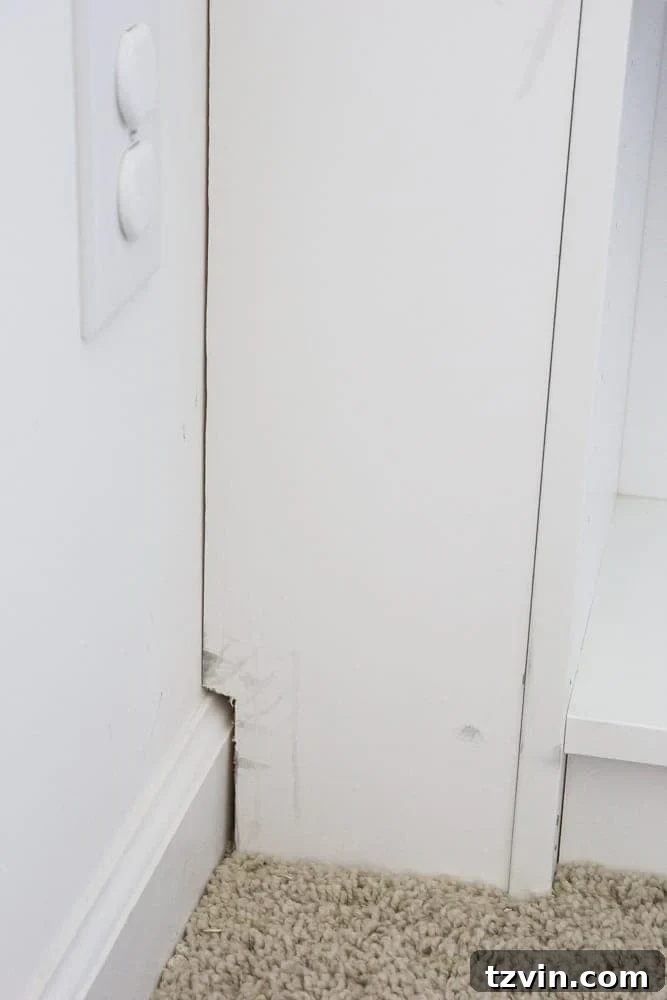
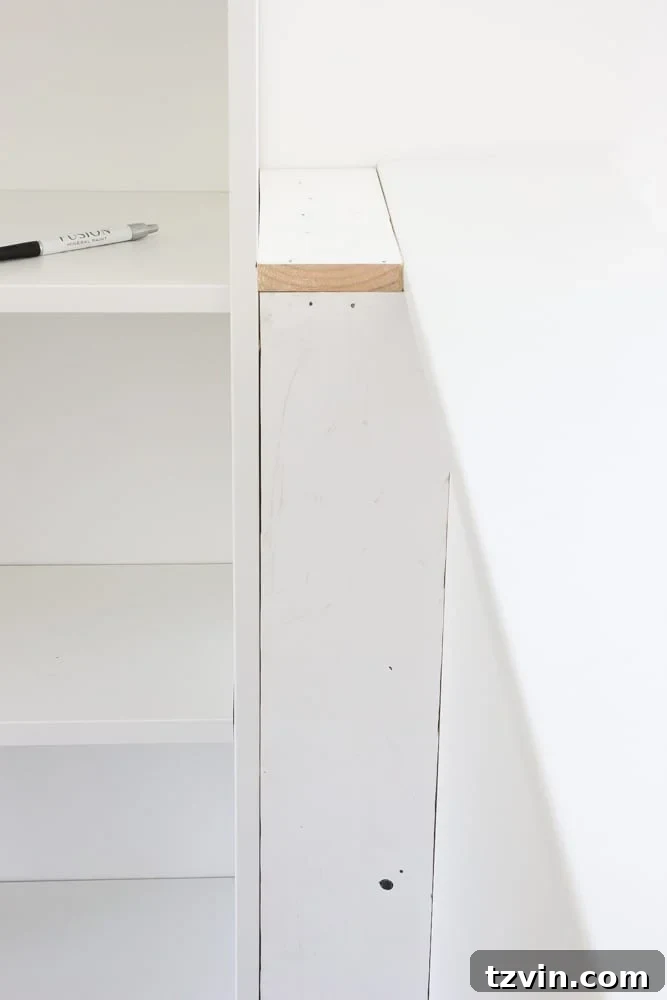
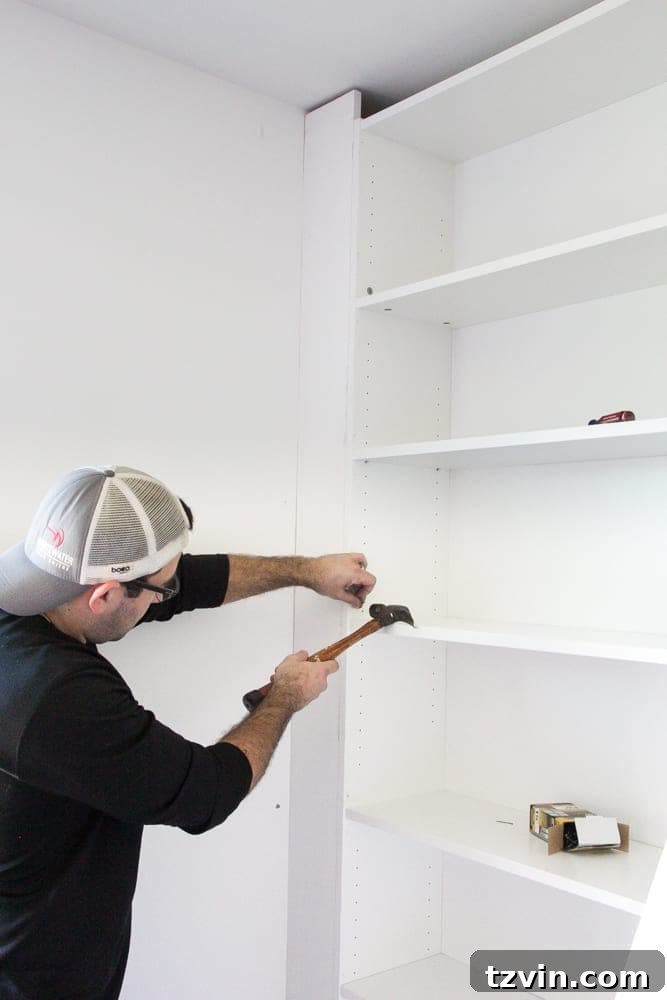
Next, measure the exact width between the bookcase and the newly built 2×4 box. Using your circular saw, cut a pre-primed 1×6 pine board to this precise measurement. This 1×6 board will serve as the visible “face” of your built-in side. Secure it to the 2×4 box using finishing nails. Then, drive finishing nails through the side of the IKEA bookcase directly into the 1×6 board, ensuring a strong, stable connection and a truly integrated look. This step effectively closes the gap and creates a continuous surface.
- Notch the Box for Existing Baseboards
When cutting the 1×6 board for the side, you’ll need to accommodate your room’s existing baseboard. Use a jigsaw to carefully notch out a space in the 1×6 board so it can sit flush against the wall above the baseboard. Don’t worry about achieving absolute perfection at this stage; any minor gaps can be easily concealed later with caulk, which is a DIYer’s secret weapon for a professional finish.
- Make the Box Top Flush with the Half Wall
For the top surface of the side box you created, measure and cut another piece of 1×6 pine board. This piece should sit directly on top of the 2×4 frame and align perfectly with the height and depth of your existing half-wall, effectively extending the half-wall seamlessly into your built-in unit. Secure this top piece with finishing nails, ensuring a smooth, continuous surface that looks intentional and custom-made.
- Hide Gaps with a Face Board on the Opposite Side
Repeat the process on the other side of your bookcase arrangement. Instead of building a full box, you might simply have a gap to fill against a full wall. In this scenario, securely nail a 2x4x8 stud board directly to the wall studs. Then, attach your 1×6 pine board on top of the 2×4 using both wood glue and finishing nails, ensuring it is flush with the side of the bookcase. Finally, drive finishing nails through the side of the bookcase to firmly secure it to the 1×6 board. This method effectively closes the gap and provides a clean, finished edge that blends with the wall.
- Secure Bookcases to Side Boards with Screws
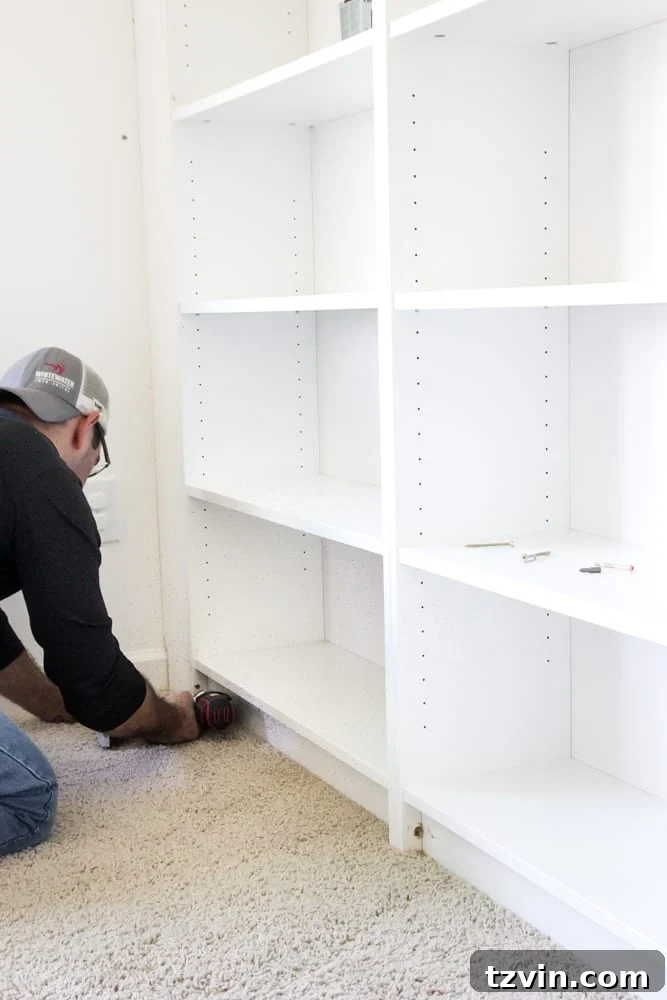
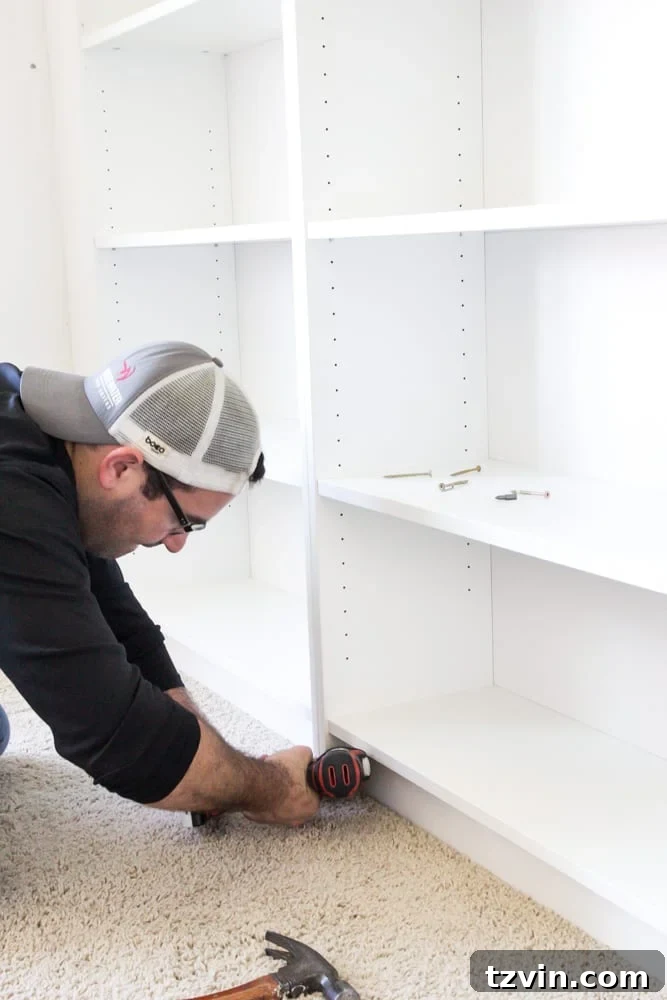
With the side structures in place, it’s time to permanently secure your bookcases. Drive wood screws through the bottom section of the bookcases directly into the 1×6 boards on either side. This adds crucial stability and ensures the entire unit is firmly anchored, preventing any wobbling and enhancing the built-in feel.
- Secure Bookcases Together for Added Stability
To prevent any shifting between individual bookcase units, secure them to each other. Use wood screws at the base of adjacent bookcases, driving them through the side panels to create a single, cohesive unit. This step is vital for the long-term stability and integrated appearance of your built-ins.
- Crafting a Custom Header to Reach the Ceiling
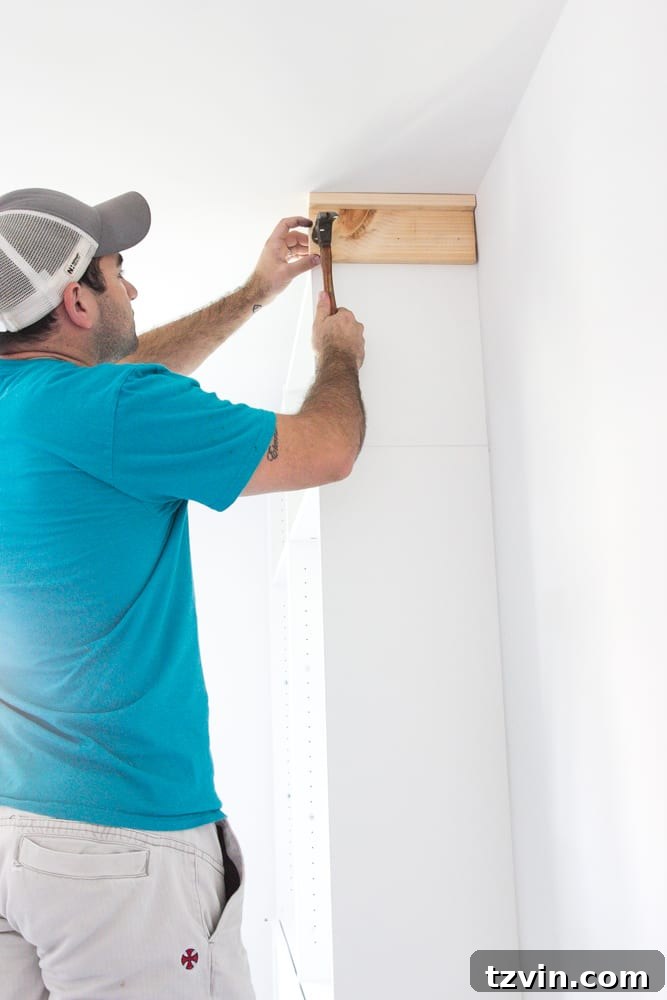
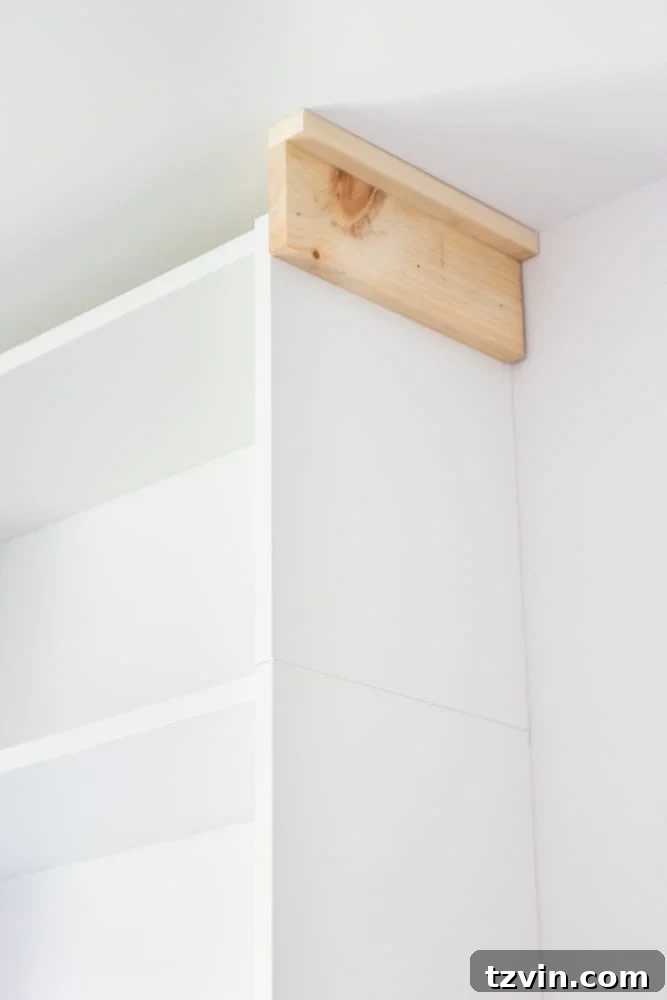
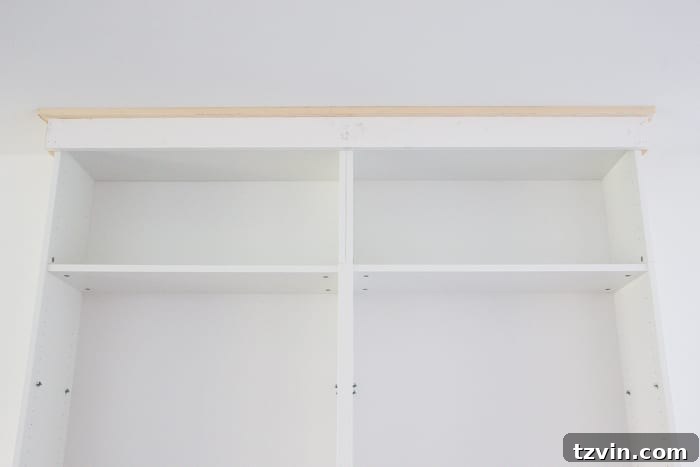
To connect the bookcases to the ceiling and fill any gaps at the top, you’ll create a custom header. Begin by screwing a 1×2 pine board into the top of a 1×4 pine board. The 1×4 board should be cut to the exact depth of your assembled bookcases. This assembly creates a robust L-shaped header that will close the gap between the top of your bookcases and the ceiling, giving a finished, custom look.
- Secure the Header and Cover the Ceiling Gap
Carefully position your newly constructed header and secure it to the outside top edge of the bookcases using finishing nails. This step will cover any remaining gaps at the top, making the entire unit appear to be seamlessly built into the ceiling. Ensure the header is level and flush for a professional finish. You might need a second pair of hands for this step to hold the header in place while securing it.
- Optional: Add Decorative Molding for a Traditional Look
To further enhance the custom appearance, consider adding a piece of decorative molding to the front of the header. We chose to mimic the Craftsman-style molding found around our windows for a cohesive look. If you prefer a more traditional aesthetic, you could use crown molding. For angled cuts required for crown molding, a miter saw would be necessary. This decorative element significantly elevates the professional finish of your built-ins.
- Optional: Install Oxberg Doors for Base Cabinets
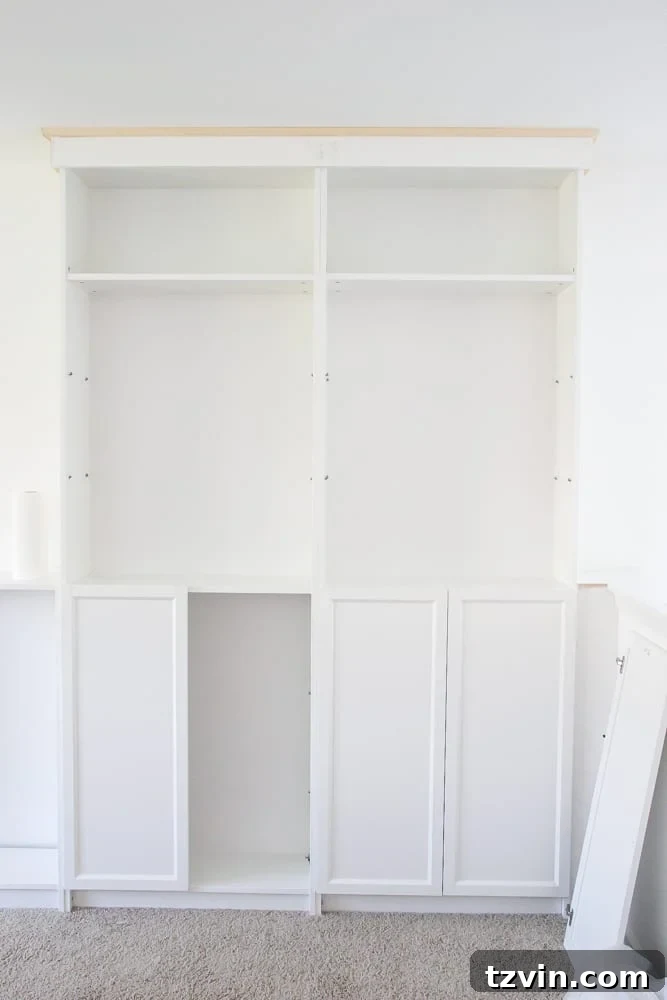
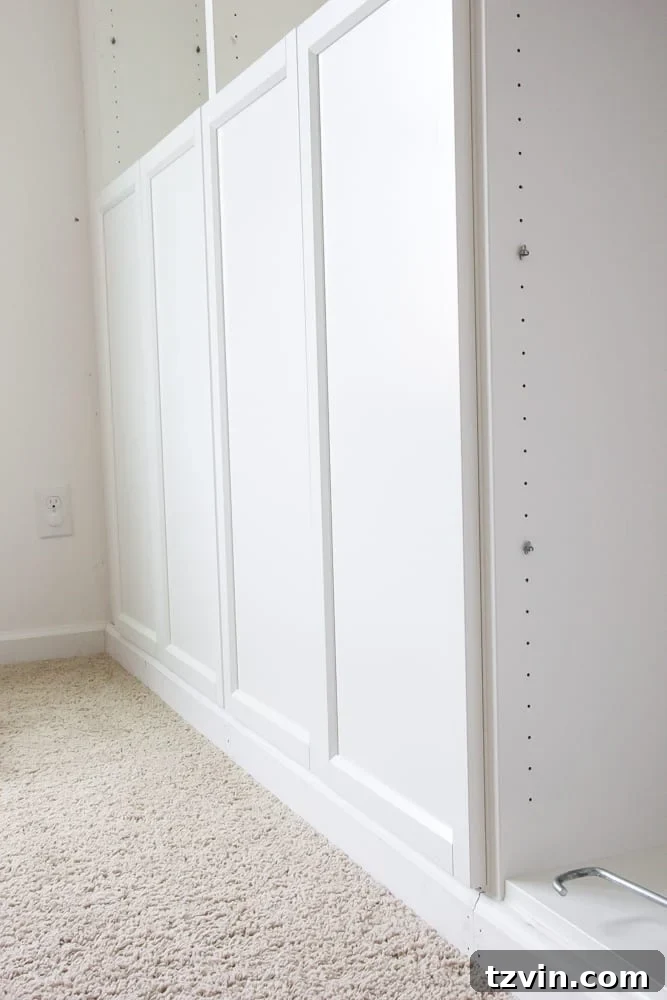
Once the top header is complete, you can proceed with attaching your Oxberg cabinet doors to the lower sections of the bookcases. This step transforms the bottom shelves into functional base cabinets, providing excellent concealed storage. Follow IKEA’s instructions for door installation, ensuring proper alignment and smooth operation. The addition of doors contributes significantly to the integrated, custom cabinetry look.
- Attach Baseboard Trim for a Finished Look
Next, attach your chosen baseboard trim to the base of the entire built-in unit. This integrates the bookcases with your room’s existing trim work. If you’ve installed Oxberg doors, you might need to slightly shave off a quarter of an inch from the top edge of the baseboard using your circular saw to ensure the doors can open and close freely. If you opted out of doors, this step would be simpler. Attaching the doors before the baseboard allows for easier adjustment.
- Shim Any Remaining Gaps for Evenness
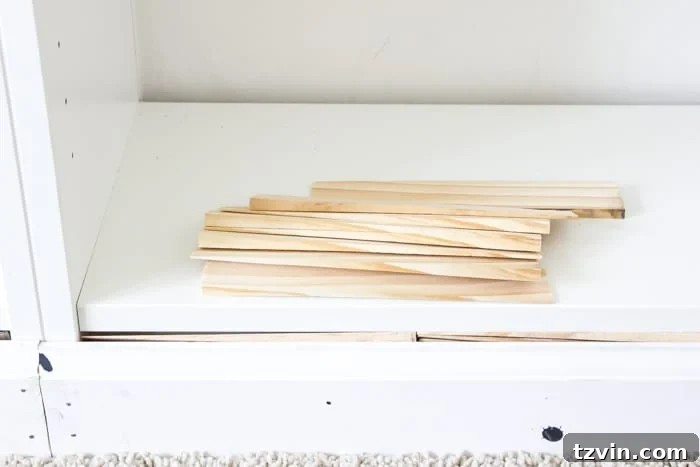
You may find some slight gaps between the base of the bookcase and the newly installed baseboard, especially if you had to trim the baseboard for doors. Use wood shims to fill these small gaps. Carefully tap them into place until the baseboard is snug and perfectly aligned. Trim any excess shim material with a utility knife. This ensures a solid, even foundation for your finishing touches.
- Caulk Gaps and Fill Holes for a Flawless Finish
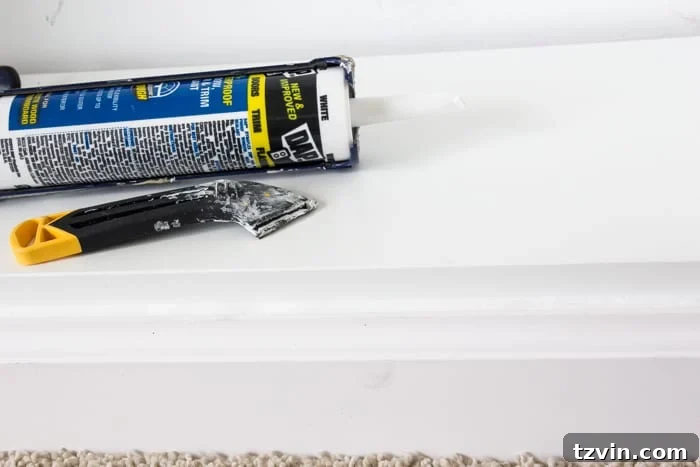
Now for the magic touch: caulk! Apply white trim caulk generously to all seams, gaps, and nail holes. Caulk is a carpenter’s best friend, transforming even imperfect cuts into seamless transitions. Don’t be shy; a smooth bead of caulk will dramatically elevate the professional appearance of your built-ins. For nail holes, you can use a small amount of caulk or wood filler. Optional: You may also choose to fill the adjustable shelf pinholes on the sides of each shelf for an even more custom look, but we left ours unfilled for future flexibility in shelf height.
- Paint Caulk Lines and Boards to Match IKEA Bookcases
Once the caulk and any wood filler are completely dry, it’s time to paint. Apply a coat of semigloss paint to all the newly installed trim boards, filled holes, and caulked seams. Ensure the paint color perfectly matches the IKEA white finish of your bookcases. We found Behr Ultra Pure White to be an excellent match, blending seamlessly and making the entire unit look like a custom-built piece of furniture.
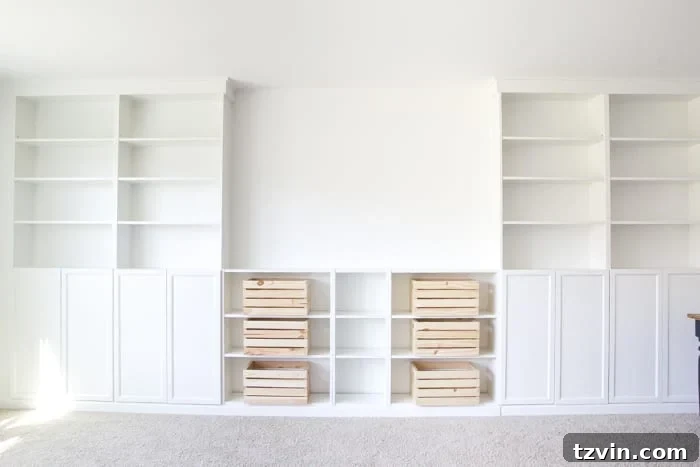
The Grand Reveal: Enjoying Your Finished Built-In Shelving
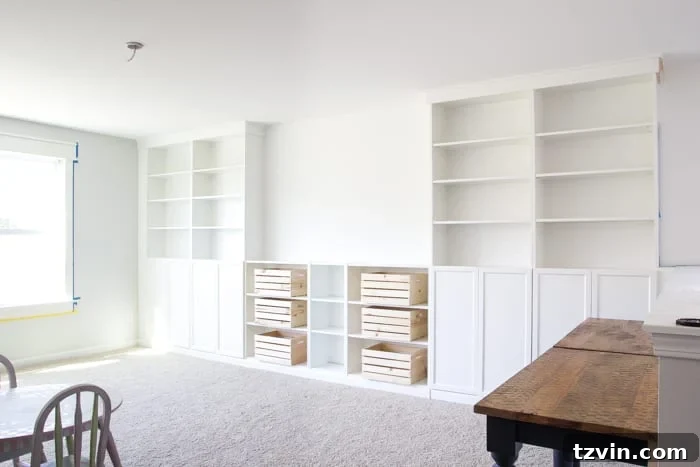
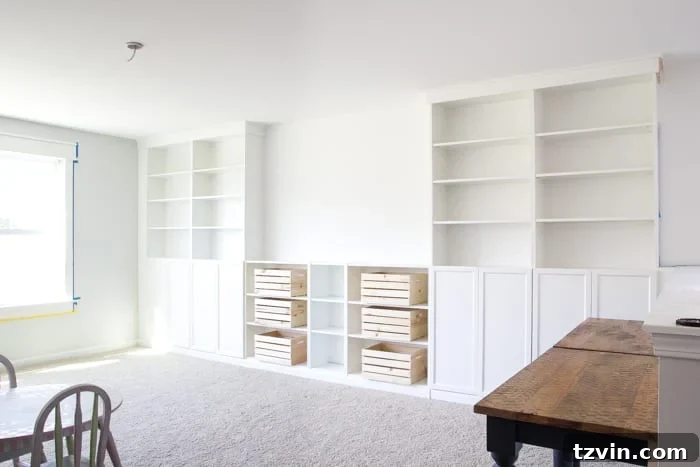
And there you have it! A wall full of beautifully integrated, highly functional storage possibilities. Imagine your playroom now, with ample space for organizing all kinds of toys and craft supplies neatly tucked away in those stylish bottom cabinets. The transformation from simple IKEA bookcases to custom built-ins is truly remarkable, adding immense character and organization to your home.
Beyond their aesthetic appeal, these shelves are incredibly rock solid and built to last. While there might be a few minor touch-ups (like missed caulking spots or areas that need a final coat of paint), the bulk of the hard work is done, and you’re ready to move on to enjoying your newly organized space.
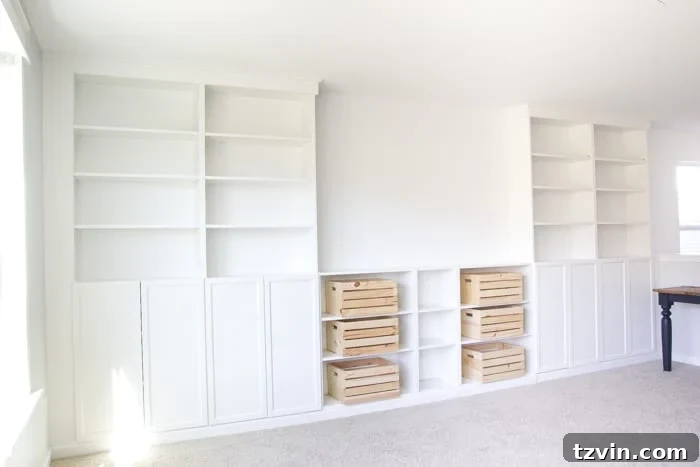
UPDATE: Eager to see the complete room transformation, including the final look of these IKEA bookcase built-ins? Click here for the full reveal!
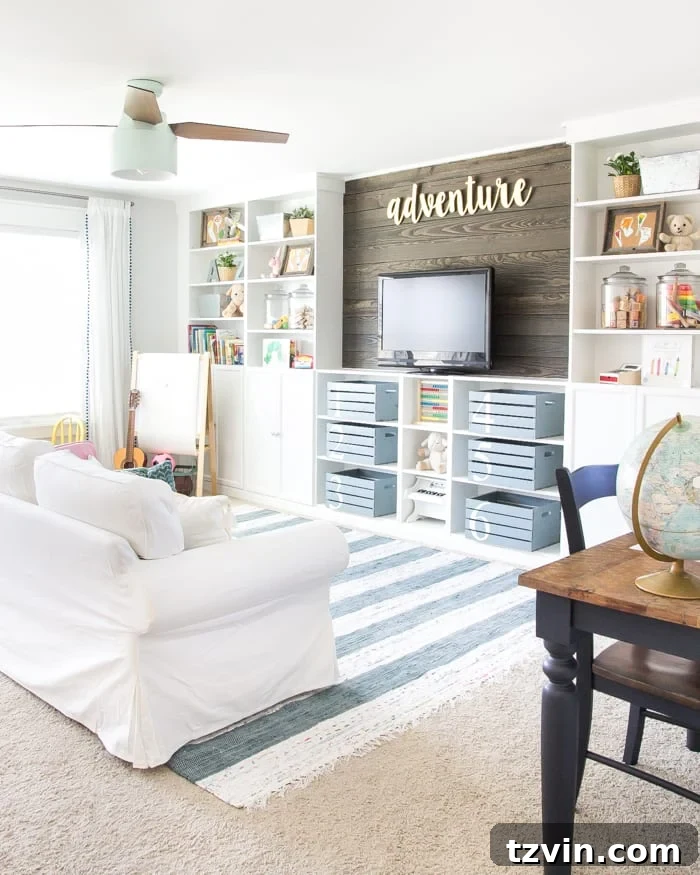
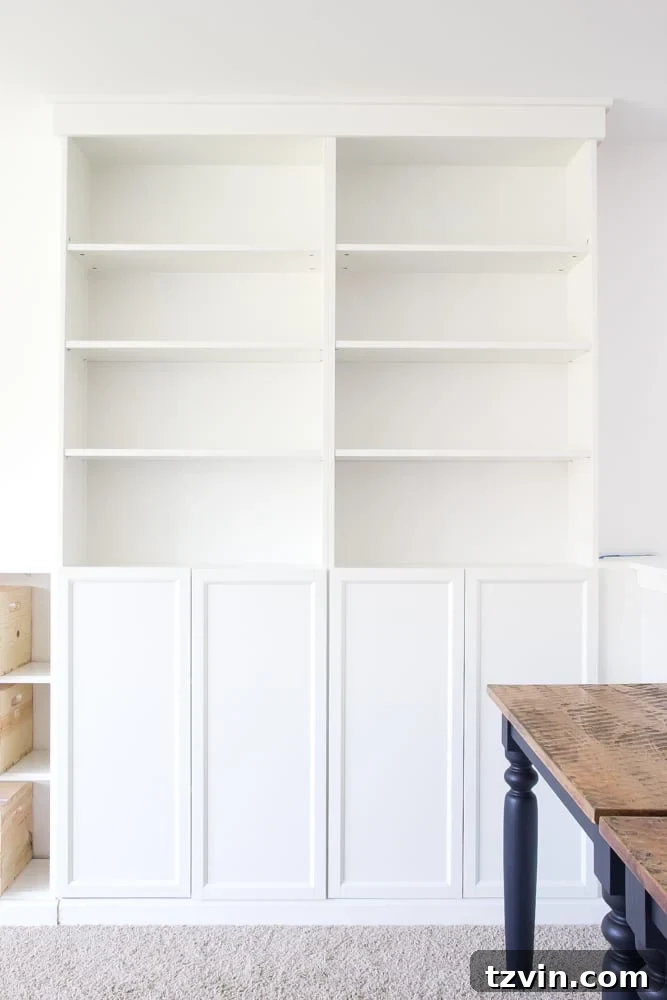
If you’ve ever felt overwhelmed by the need for more storage but hesitated to tackle complex cabinetry, these DIY built-ins are the perfect project for beginner to intermediate skill levels. They deliver a high-impact transformation to any room, providing a custom feel that looks far more expensive than it is. Embrace the challenge, and you’ll be rewarded with storage for days!
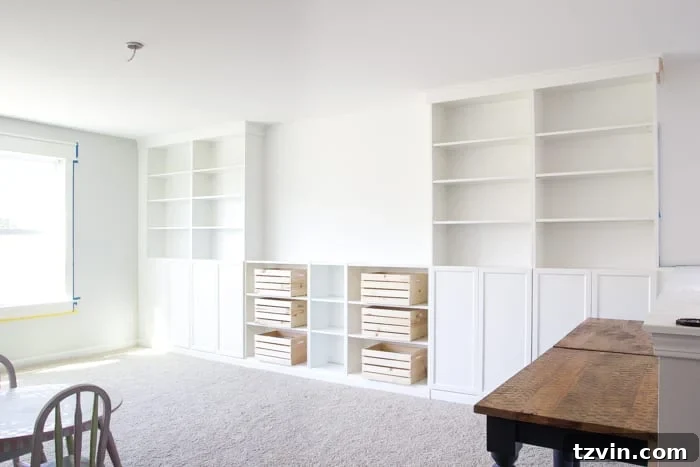
Yay! Enjoy your beautifully organized and custom-designed space!
If you found this tutorial helpful, save it for later inspiration by pinning it here:

Frequently Asked Questions About IKEA Built-In Bookshelves
What paint color matches IKEA white shelves and furniture for a seamless built-in look?
How do you effectively run power cords and cables through built-ins when creating an entertainment center?
How long does it typically take to complete a DIY IKEA Billy built-in project?
Can IKEA Billy bookcases be painted to a different color?
Discover More Creative IKEA Hack Ideas
- DIY Burl Wood IKEA Dresser Hack Using Contact Paper
- 5 Essential DIY IKEA Storage Hacks We’ve Used and Highly Recommend
- Stunning Hale Navy IKEA Office Cabinet Makeover for a Sophisticated Look
- 20 Inspiring IKEA Pax Closet Makeovers to Maximize Your Wardrobe Space
- Create a Custom DIY IKEA Pantry Cabinet Using Hemnes for Optimal Kitchen Storage