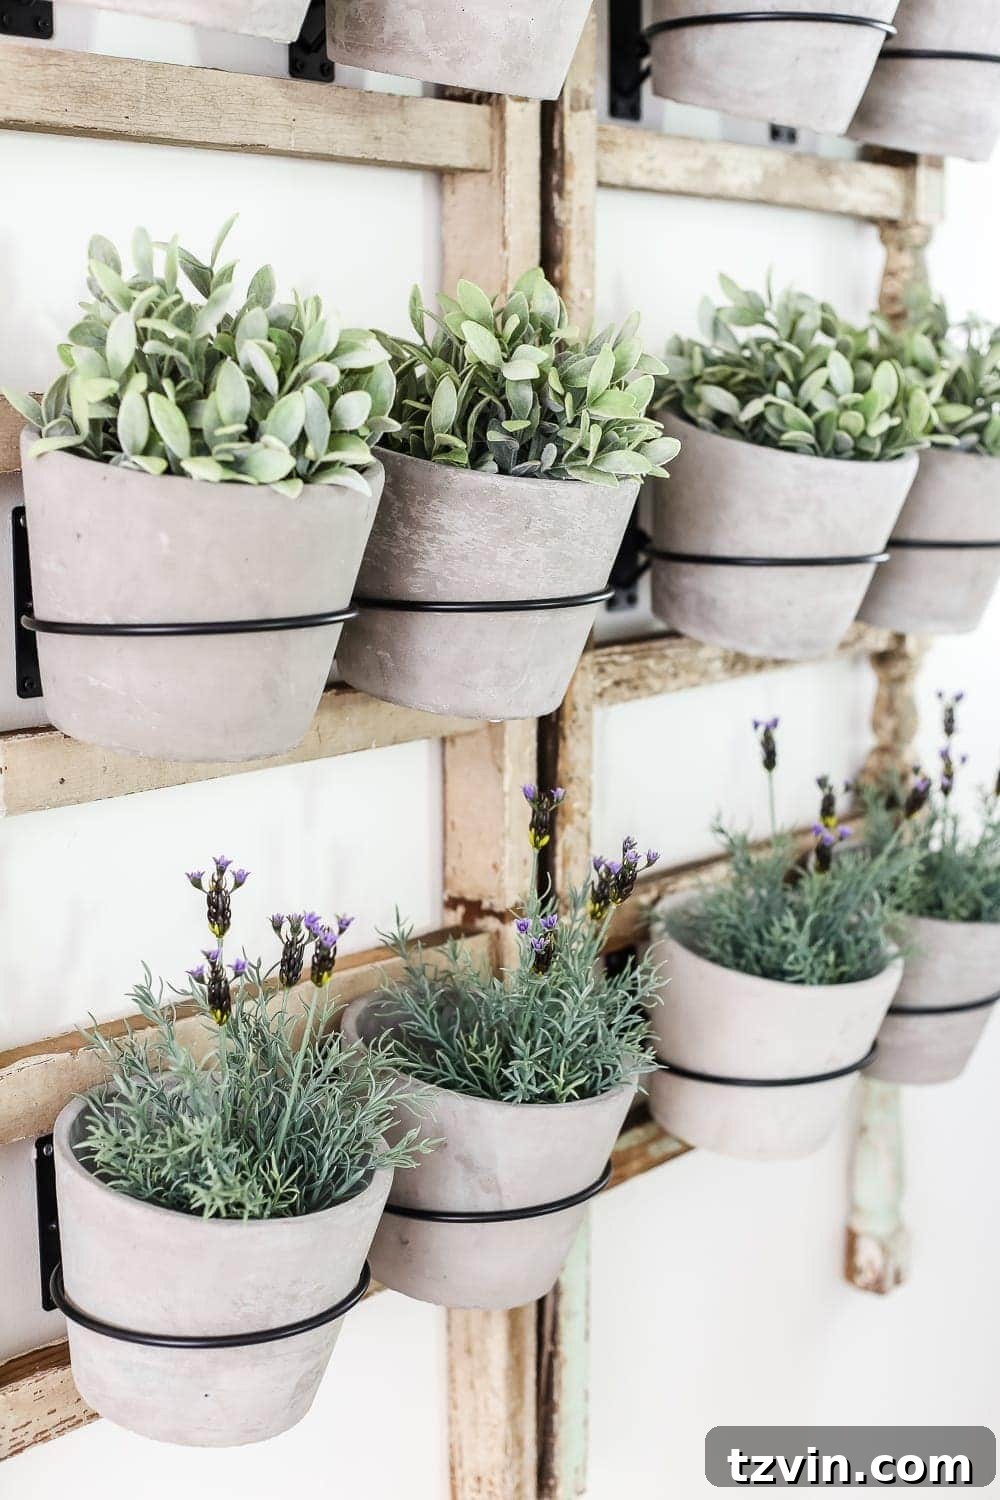
Oh, the sheer joy of a new home and the endless possibilities for personalization! After weeks of transforming walls with fresh coats of paint in our living room, breakfast nook, dining room, and even the laundry room (stay tuned for more on that exciting space!), our freshly painted walls were practically begging for some character. And finally, we have something beautiful gracing one of them! It’s incredible how a simple piece of wall decor can bring so much excitement and warmth into a newly settled space, marking another step in making this house truly feel like home and reflecting our unique style.
This particular project began, as many of our favorites do, with a thrilling “junking” adventure. Just the other week, my mom and I embarked on one of our regular treasure hunts, and amidst forgotten relics, I stumbled upon two absolutely charming, chippy antique banisters. They were practically calling my name, offered at a price so low it felt like stealing – truly a song! At the moment, I had no concrete plan for them, but their inherent character, distressed finish, and intricate details were too captivating to leave behind. They embodied the perfect spirit of a Trash to Treasure Tuesday project, a beloved series I’m thrilled to jump back into today after a brief two-month hiatus necessitated by our move. For those new to our community, Trash to Treasure (T2T) Day is a wonderful initiative where a few blogger friends and I challenge ourselves to take discarded or thrifted items and breathe new life into them, transforming them into functional and beautiful pieces for our homes. This not only promotes sustainability but also allows us to create truly unique decor that tells a story. You can explore all my past Trash to Treasure creations here for a dose of thrifty inspiration and clever upcycling ideas. Be sure to check out my friends’ incredible makeovers linked at the bottom of this post too!
The Vision Takes Root: Creating a Unique DIY Wall Planter
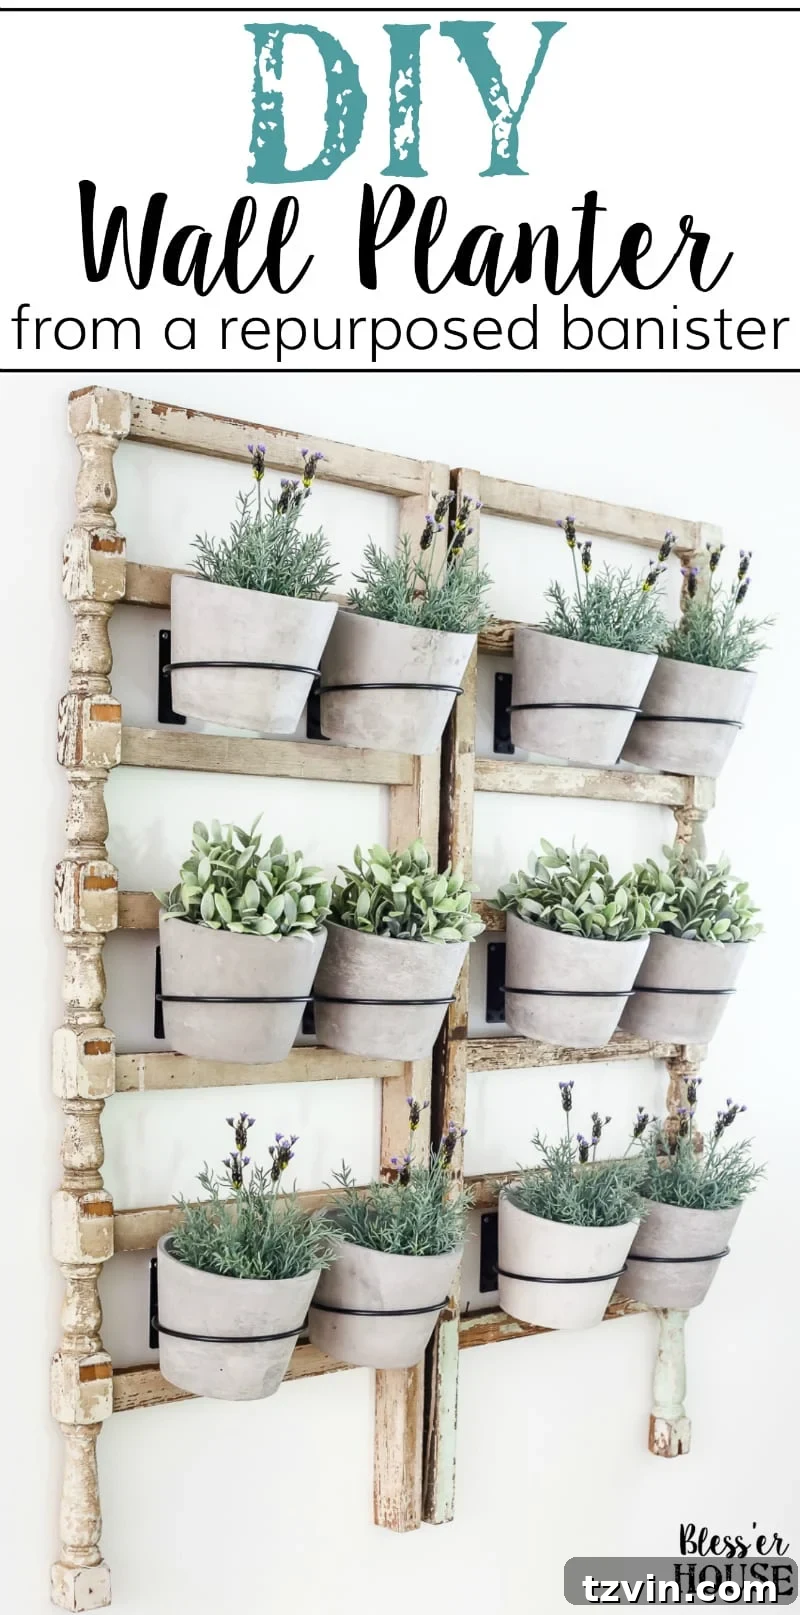
As I began to envision the aesthetic and functionality for our breakfast nook – a space that needed a significant dose of warmth, personality, and a touch of organic charm – the perfect idea for these salvaged banisters finally clicked: a stunning wall planter! The intricate, curvy details of the banisters, coupled with their aged patina, seemed destined to elegantly cradle lush greenery. This concept promised to effortlessly blend rustic charm with a touch of classic sophistication, providing a much-needed focal point and bringing a refreshing breath of the outdoors into our home, even in an area with minimal natural light. This DIY wall planter project was not just about decorating; it was about infusing character and life into a newly painted space.
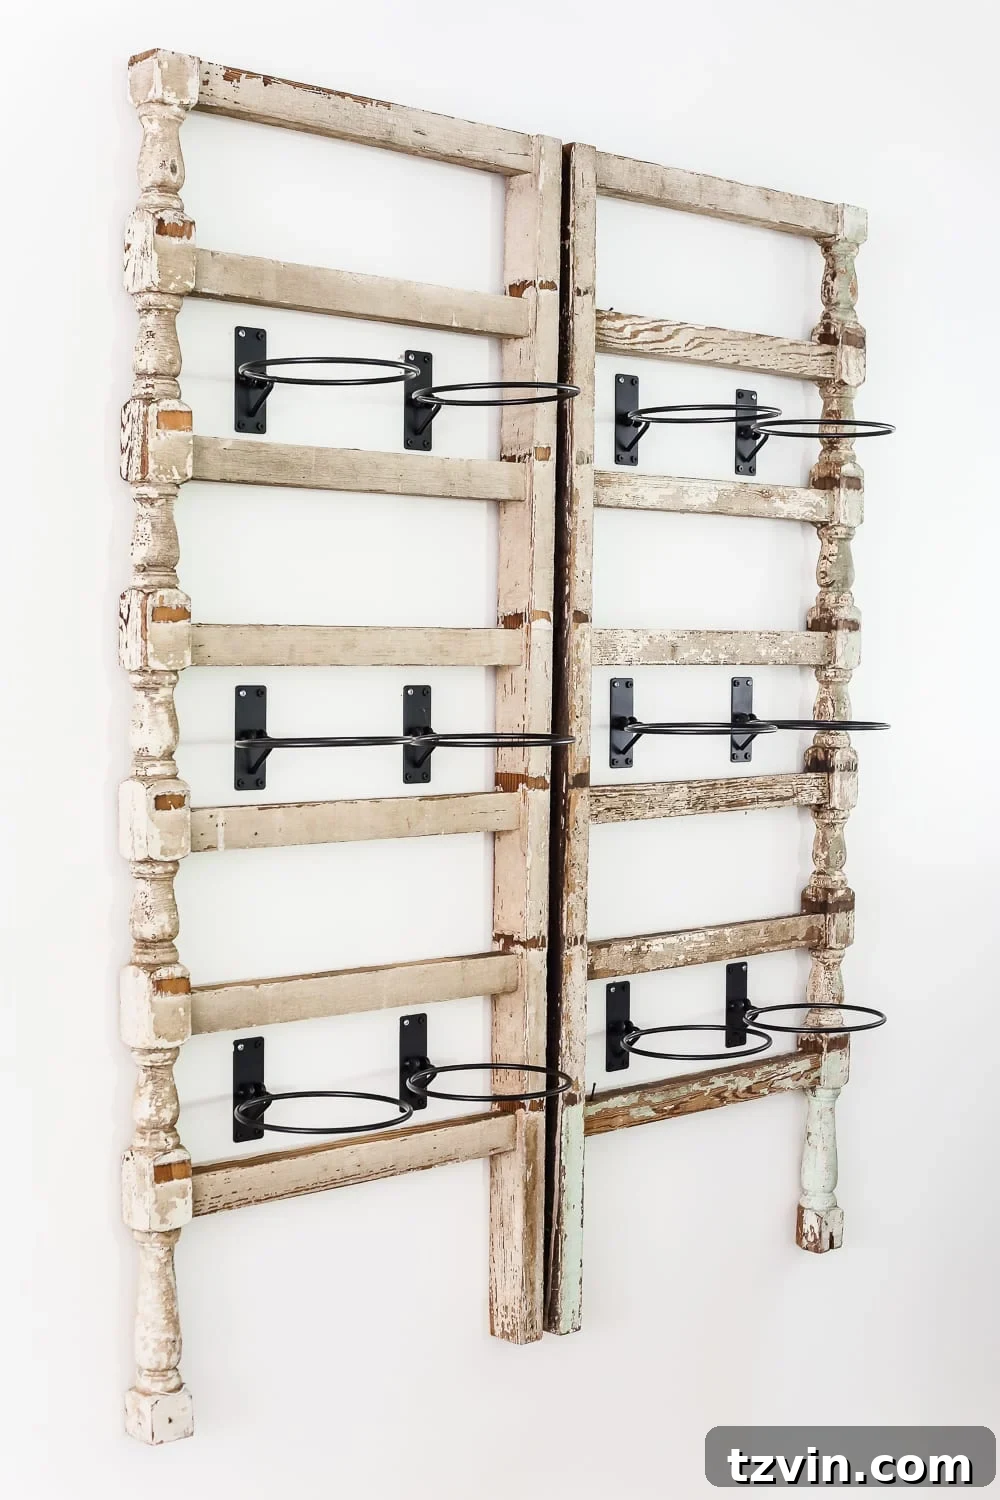
If you, too, happen upon a captivating pair of banisters, a bundle of vintage spindles, or even a couple of old ladders that spark your imagination, don’t let them pass you by! With this simple, yet impactful, DIY project, you can create your own personalized wall planter. Transforming salvaged materials into functional art is incredibly rewarding and allows for truly unique home decor. I’ve whipped up a quick and straightforward tutorial to guide you through each step, ensuring you can replicate this charming look in your own home. It’s an accessible project that transforms overlooked items into true statement pieces, proving that beauty can indeed be found in the most unexpected places and that creative upcycling can yield stunning results for any space, from a farmhouse kitchen to a more formally styled dining area.
Essential Supplies for Your DIY Antique Banister Wall Planter:
(To make your crafting journey easier, I’ve included affiliate links below for your convenience. Please note that clicking these links may provide a small commission at no extra cost to you, helping support content like this and enabling us to share more creative DIY ideas!)
- 2 Antique Banisters: These are the star of our show, offering a unique architectural element. Look for banisters, spindles, or even decorative fence posts with interesting details and character, preferably with existing chippy paint for that authentic vintage look.
- Spray Clear Matte Acrylic: Absolutely essential for sealing the banisters. This prevents any further chipping of their beautifully aged paint and preserves their distressed finish without adding an unnatural gloss, locking in their timeworn appeal.
- 4 Large D-Ring Hooks: These provide a sturdy and secure method for hanging your banisters on the wall, ensuring they can safely bear the combined weight of pots, plants, and the banisters themselves. Stability is key for a lasting display.
- Level: An indispensable tool for achieving a professional and polished look. A perfectly straight hang is crucial for visual appeal and structural integrity.
- Power Drill: Necessary for pre-drilling pilot holes into the banisters and the wall, as well as for securely installing screws and wall anchors, ensuring a robust attachment.
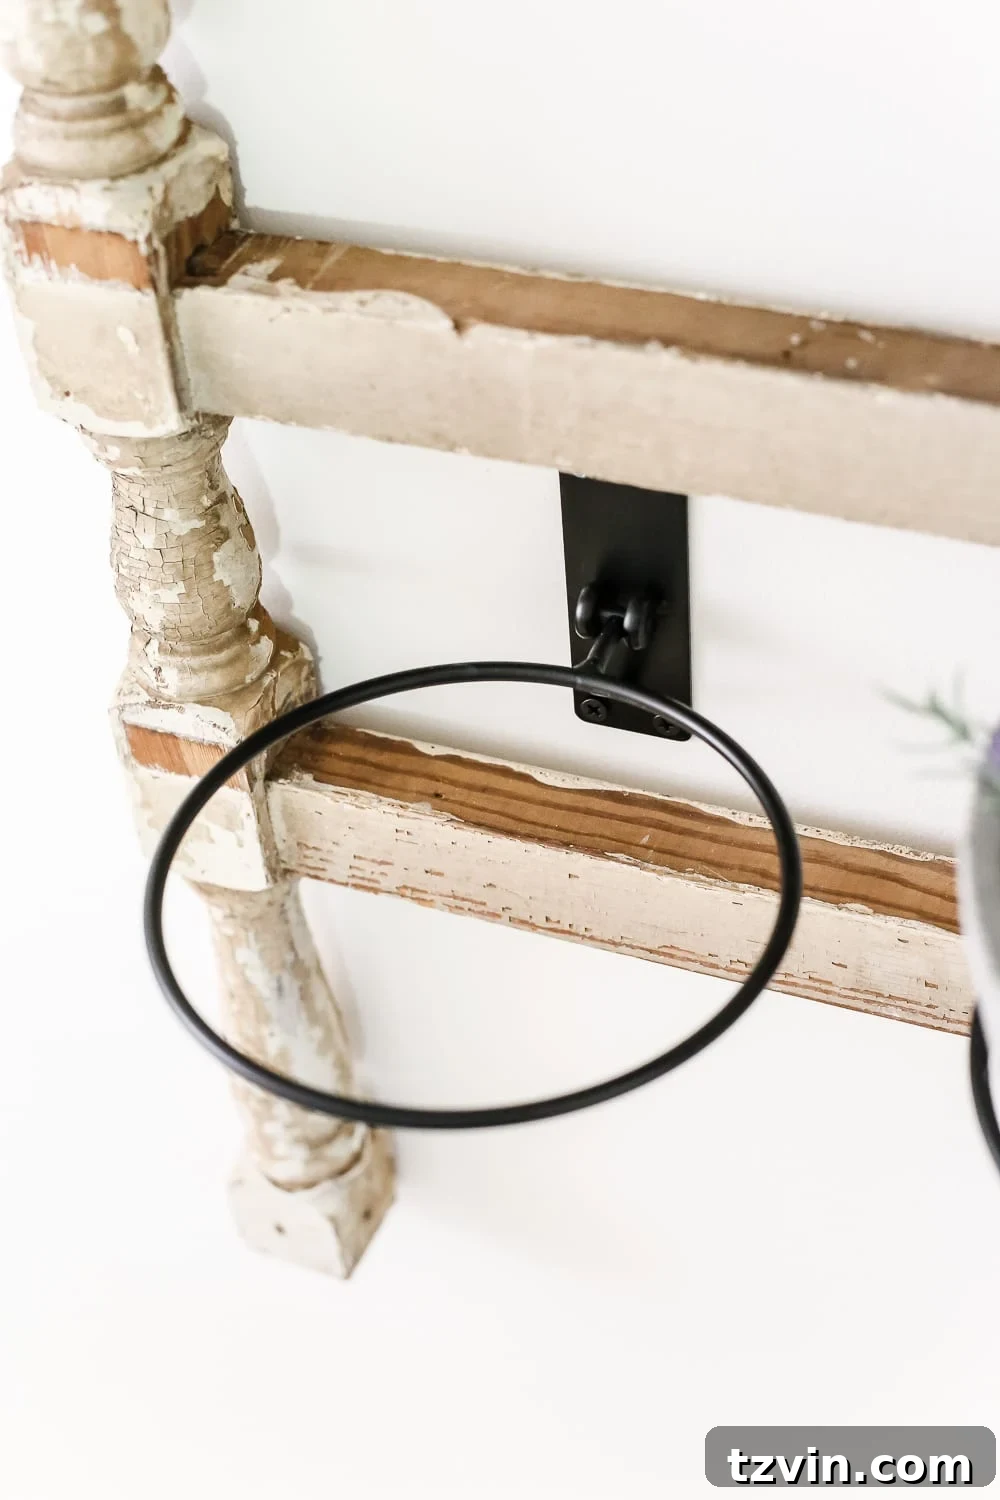
- Planter Hooks: Specifically designed to securely hold your pots on the banisters. Consider the size, material, and style of these hooks to ensure they complement your overall design aesthetic and can support the weight of your chosen pots.
- Drywall Anchors and Screws: Vital for providing strong support when hanging heavy items like banisters and loaded pots, especially if you’re not drilling directly into wall studs. Choosing the correct weight-rated anchors is paramount for safety.
- Pots to Fit Planter Hooks: The size and material of your pots are important for both aesthetics and fit. I opted for these elegant 7″ cement pots from Walmart, which perfectly suited the hooks and added a lovely textural element, contrasting beautifully with the vintage wood.
- Artificial Plants: (Or real, if you’re brave, have ample light, and are mindful of water drainage, as that could be an issue with real plants in this setup!) I chose lifelike artificial plants for their enduring beauty and zero maintenance, an ideal solution for a darker nook where real plants would struggle to thrive.
Step-by-Step Guide: Crafting Your Antique Banister Wall Planter
The first crucial step in this transformation was to protect the banisters and maintain their authentic, aged aesthetic. To prevent any further chipping of their beautifully distressed paint and to seal their character, I meticulously applied a couple of thin, even coats of the clear matte acrylic spray. This step is vital as it locks in the charm without adding an artificial sheen, ensuring the banisters retain their timeworn appeal for years to come and are ready for their new life as a decorative element in our home. Allow ample drying time between coats for best results.
Once the protective clear coat was thoroughly dry, it was time for installation. My husband, Robert, and I carefully positioned the banisters on the wall in our breakfast nook, experimenting with different heights and spacing to find the most aesthetically pleasing arrangement. Since we weren’t fortunate enough to hit wall studs where we wanted them, we used robust drywall anchors to ensure maximum stability. We attached the D-ring hooks securely to the back of the banisters, then meticulously marked our drilling spots on the wall, using a level to guarantee perfect alignment. Using a power drill, we installed the anchors and then secured the banisters firmly in place. A level was our indispensable companion throughout this process, guaranteeing that both banisters hung perfectly straight and parallel, achieving a balanced and professional look that truly elevates the space.
The hunt for the perfect planter hooks proved to be an unexpected adventure in itself. I initially anticipated finding something affordable at a general store or a large chain retailer, but much to my surprise and delight, I discovered some gorgeous planter hooks on sale at Crate and Barrel. Astonishingly, they ended up being even cheaper than the options I found at Walmart! It just goes to show that sometimes, a little patience and a keen eye can lead to the most delightful and budget-friendly discoveries in unexpected places. These hooks were not only stylish, featuring a clean design that complemented the rustic elegance, but also perfectly sized to integrate seamlessly with the banisters, ready to hold our chosen pots.
Next up was choosing the right pots to complete our vision. My initial plan involved inexpensive terra cotta clay pots, which I intended to whitewash for an aged, farmhouse-inspired look. However, after an exhaustive search across various stores, I simply couldn’t find any terra cotta pots that were the ideal size and fit for the planter hooks I had purchased. This minor setback, however, led to a serendipitous discovery. I ultimately found these beautiful cement pots that, while a tad pricier than my original budget, were absolutely perfect in size and brought an unexpected touch of modern, industrial texture. Despite the slight increase in cost, their aesthetic appeal and flawless fit made them an undeniable win for this unique wall planter. This often happens with “junk finds” – the initial acquisition might be cheap, but the subsequent embellishments can sometimes add up, yet the end result is always worth the investment when it creates such a captivating piece.
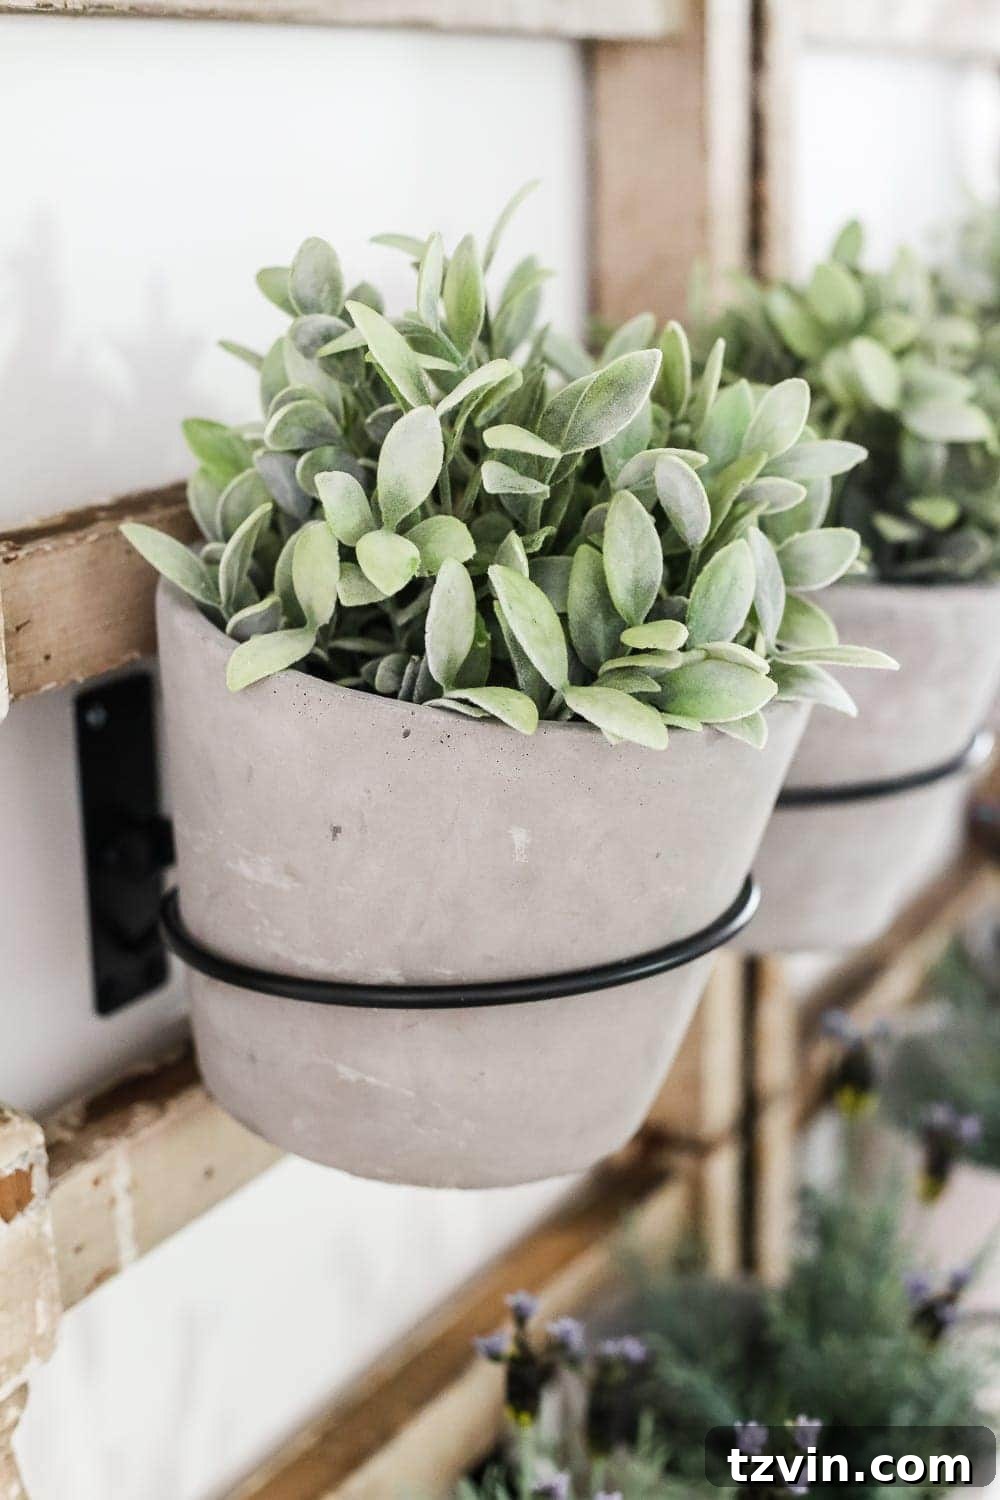
To fill our new pots and add that vital touch of greenery, I made a strategic trip to IKEA recently while picking up our living room furniture. There, I discovered an exquisite selection of artificial plants, ultimately choosing these incredibly realistic sage and lavender varieties. I’m continually amazed by their quality; for around $6 each, they look remarkably genuine, offering incredible value. Opting for artificial plants was a practical and thoughtful decision for our breakfast nook, which, unfortunately, lacks natural light and windows. Real plants simply wouldn’t thrive in such a dark environment, and with artificial greenery, I get all the beauty and vibrant color without any of the worry about upkeep or wilting! For those without an IKEA nearby, rest assured, there are many equally charming and lifelike artificial plant options available online that can achieve a similar vibrant effect, ensuring your DIY wall planter bursts with lasting life.
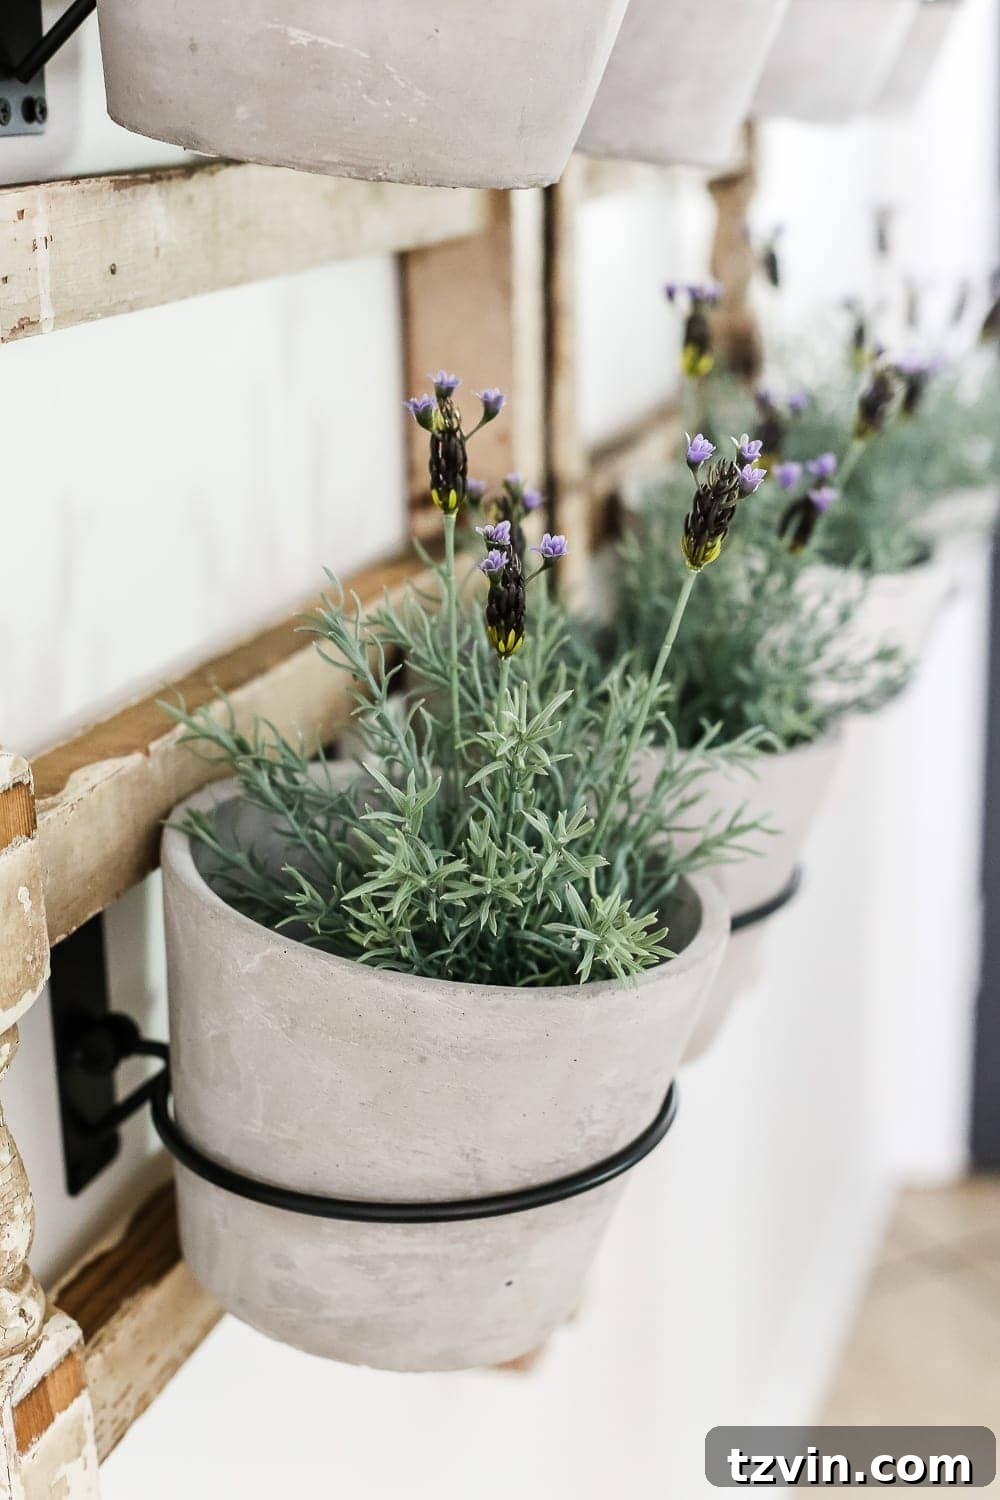
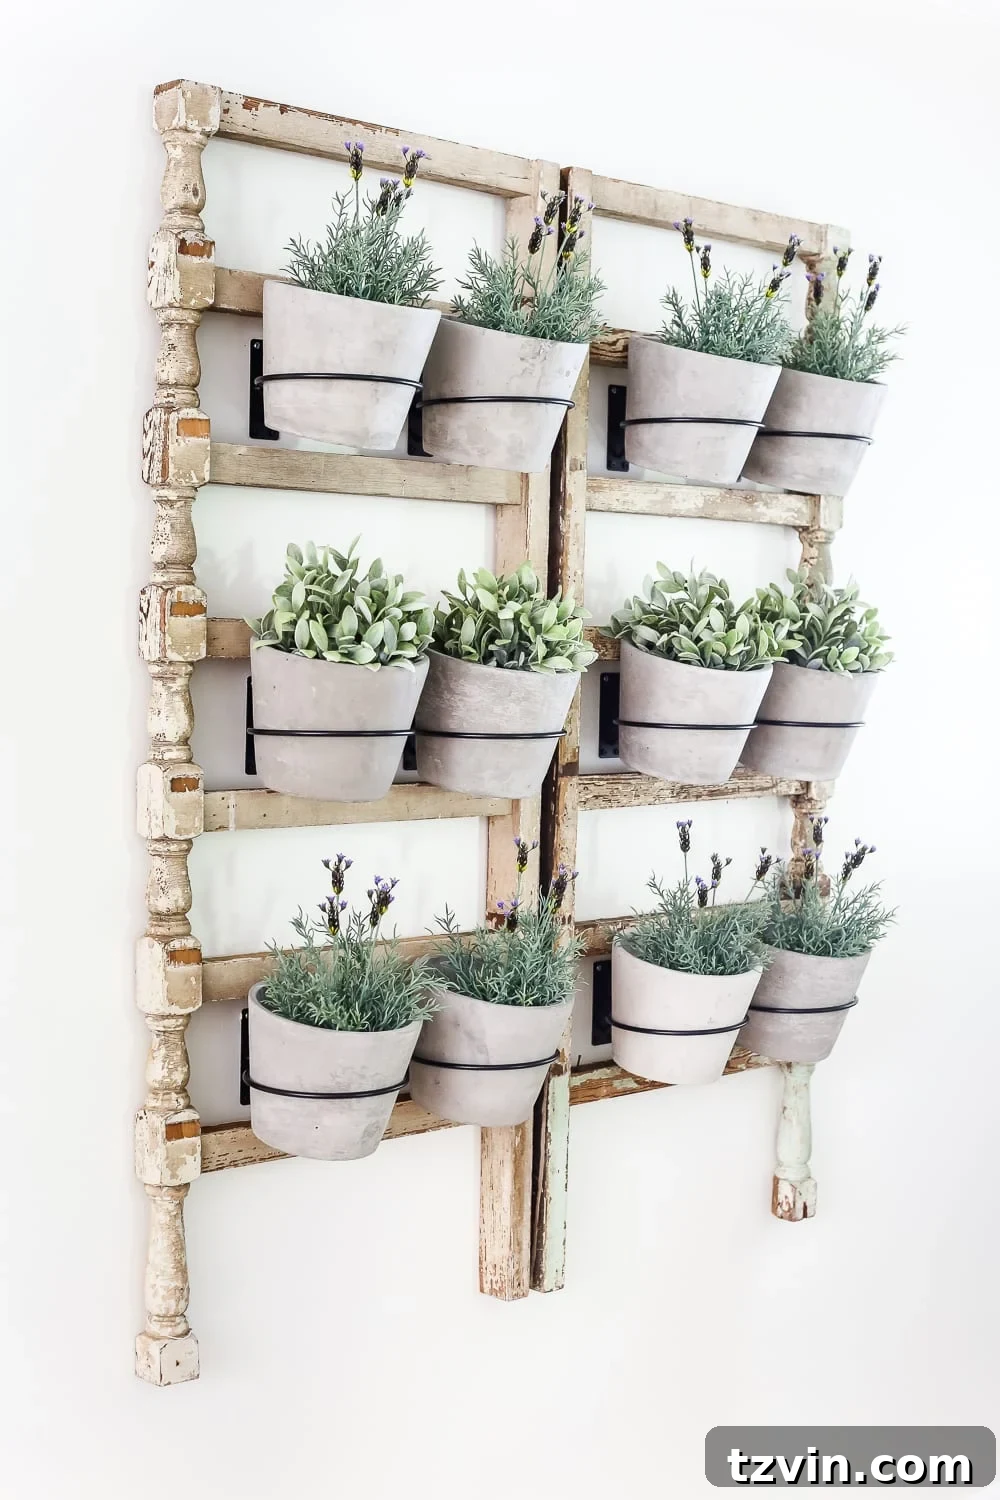
Given the combined weight of the cement pots and the artificial plants, we ensured the planter hooks themselves were securely attached to the banisters using additional, appropriately sized wall anchors. This added precaution guarantees everything remains safely in place, preventing any potential sagging or detachment. The finished wall planter has brought an absolutely remarkable transformation to our breakfast nook! What was once a bare, somewhat stark wall is now a vibrant display of greenery and texture. It truly feels like a breath of fresh air, infusing the space with much-needed life and a cozy, inviting atmosphere. The depth of the planter is also perfectly proportioned, shallow enough that we don’t accidentally bump into it when walking through the back garage door, maintaining both beauty and practicality – a crucial consideration for high-traffic areas. This thoughtful design makes it a functional and beautiful focal point.
A Harmonious Blend: Farmhouse Charm Meets Formal Elegance
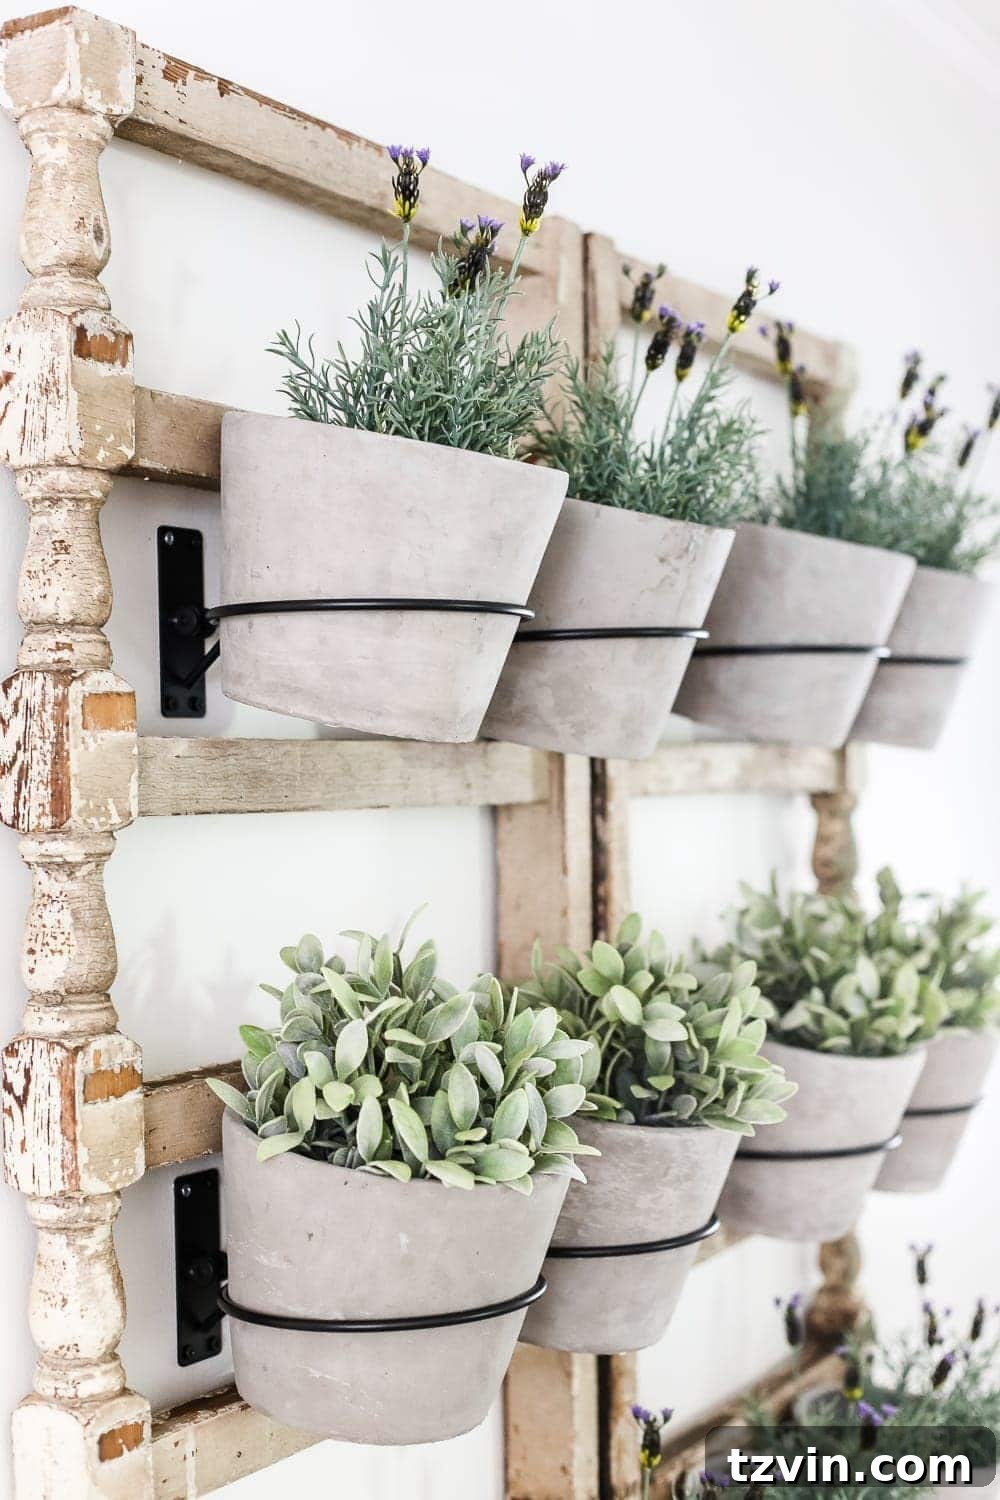
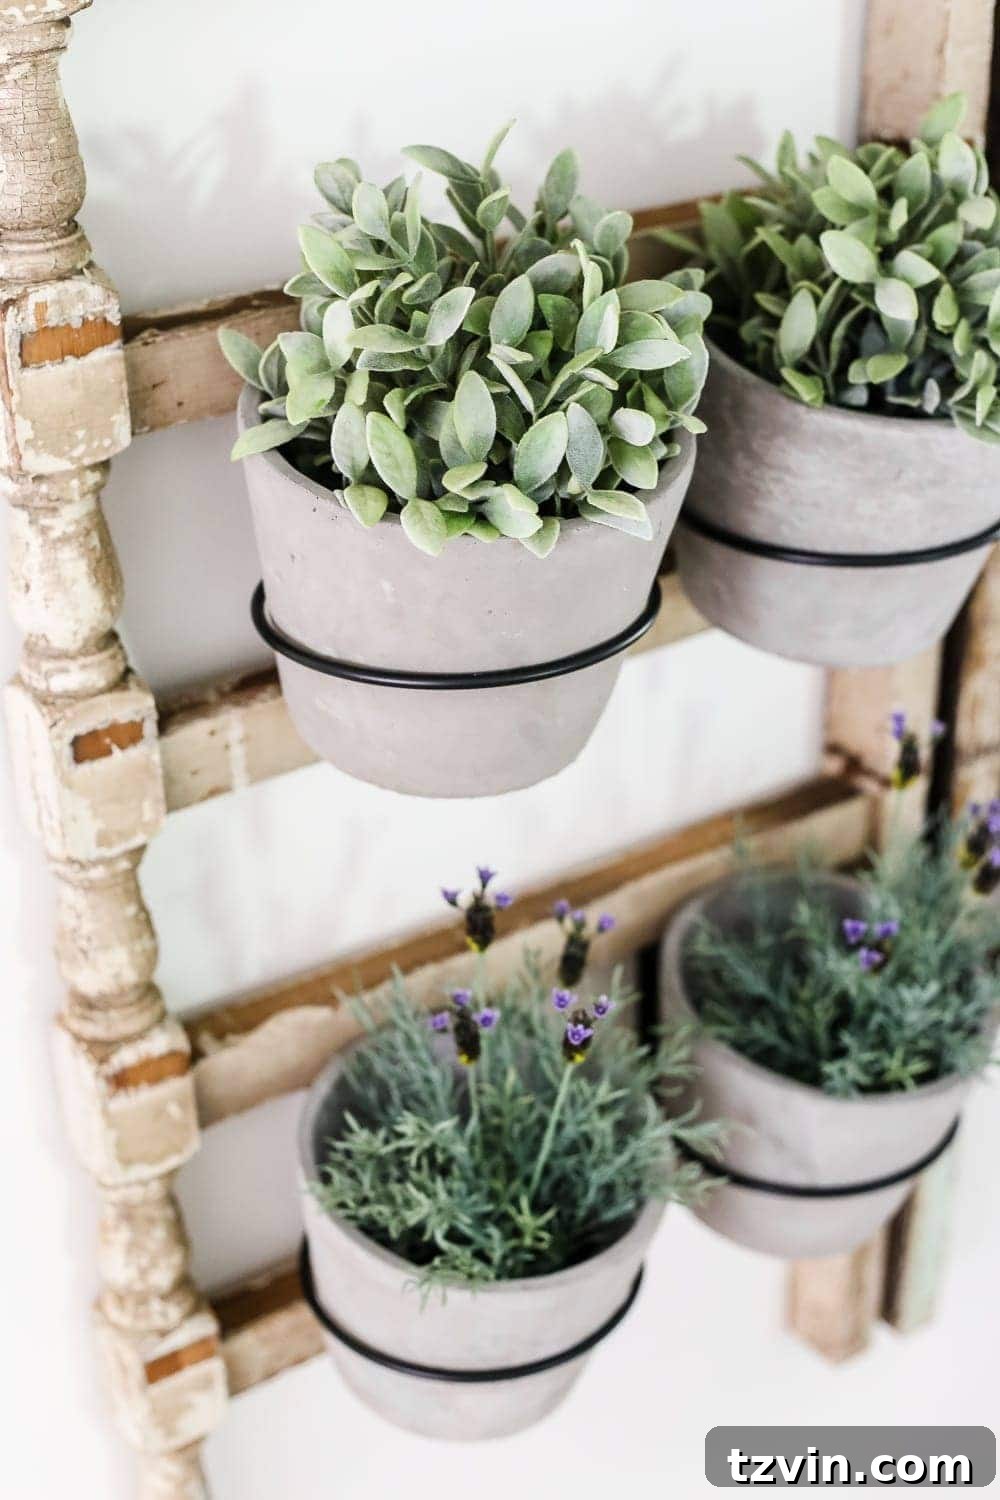
In our new home, I’m consciously striving for a balanced aesthetic, holding back slightly on an overtly rugged or distressed farmhouse look to allow for a more refined touch. This DIY banister wall planter perfectly encapsulates that vision, creating a harmonious dialogue between different styles. The inherent elegance of the antique banisters, with their gracefully curved details and timeworn patina, beautifully marries the casual charm of farmhouse style with the more formal elements present in other parts of our house. It’s a sophisticated fusion that adds character without overwhelming the space, creating a harmonious blend that feels both inviting and distinguished. This piece is not just decor; it’s a statement about blending history with modern living, showcasing how salvaged materials can be elevated to new heights of design, contributing to a unique and personal narrative within our home’s overall decor.
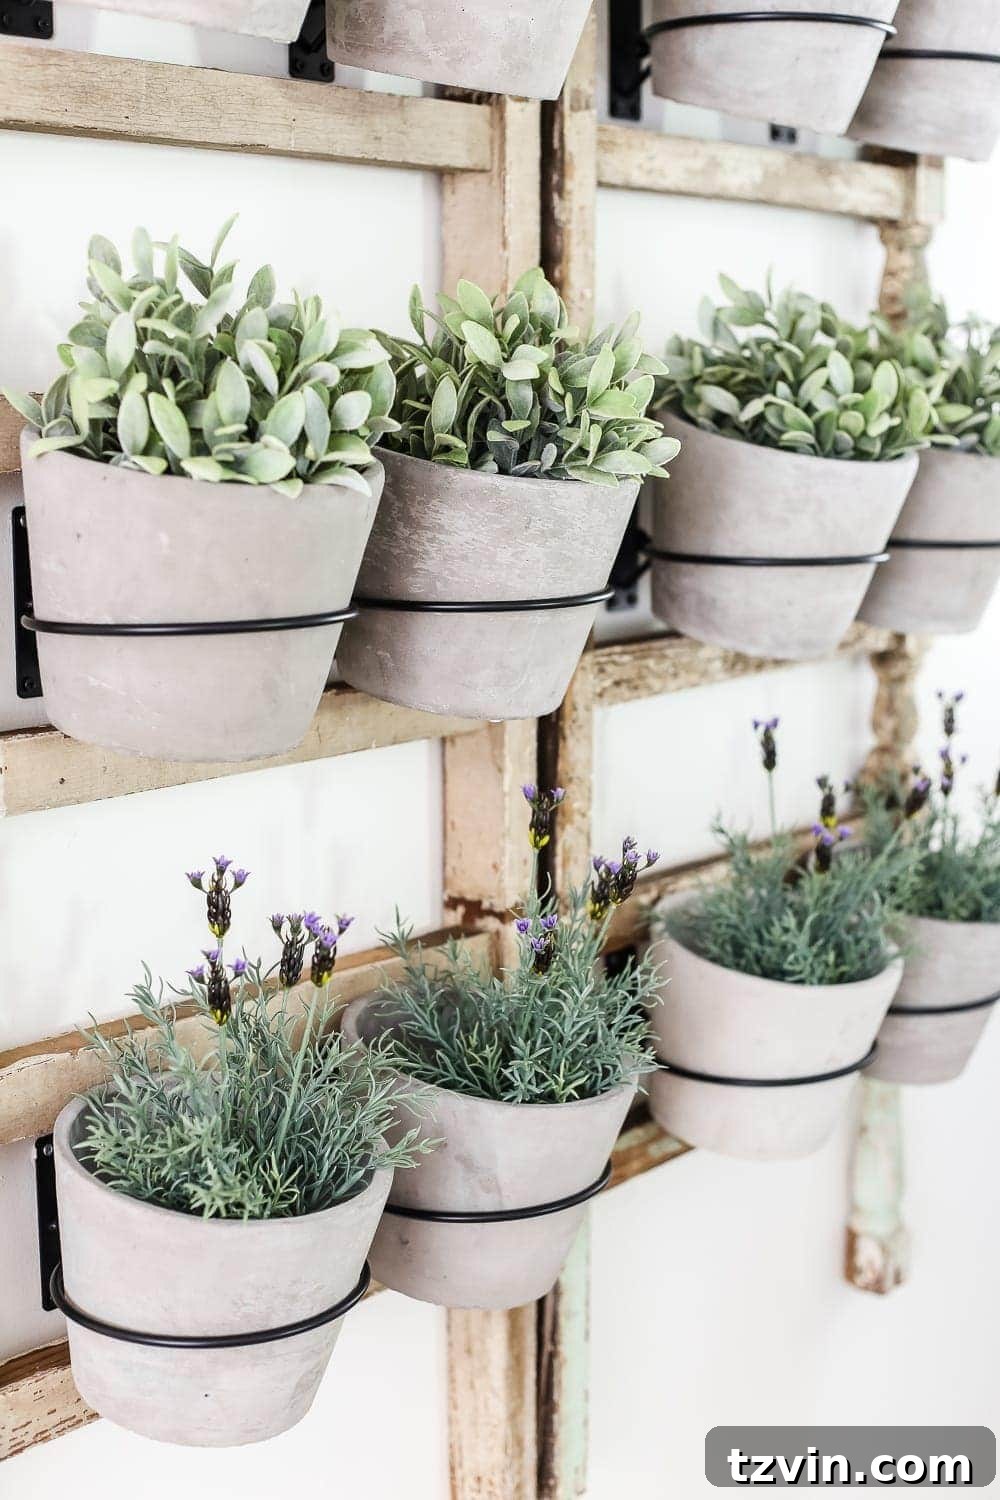
This striking wall planter is more than just a completed project; it’s ignited a cascade of fresh ideas for the breakfast nook. Very soon, I’ll be thrilled to share my comprehensive plans for this entire space, detailing how each element will come together to create a cohesive and captivating design. This banister planter has truly set the wheels turning, inspiring more creative and unique solutions for our home, particularly for injecting character into often-overlooked areas. It’s a foundational piece that perfectly anchors the broader vision for this area, laying the groundwork for a truly transformed space. Stay tuned for further updates on this exciting home renovation journey!
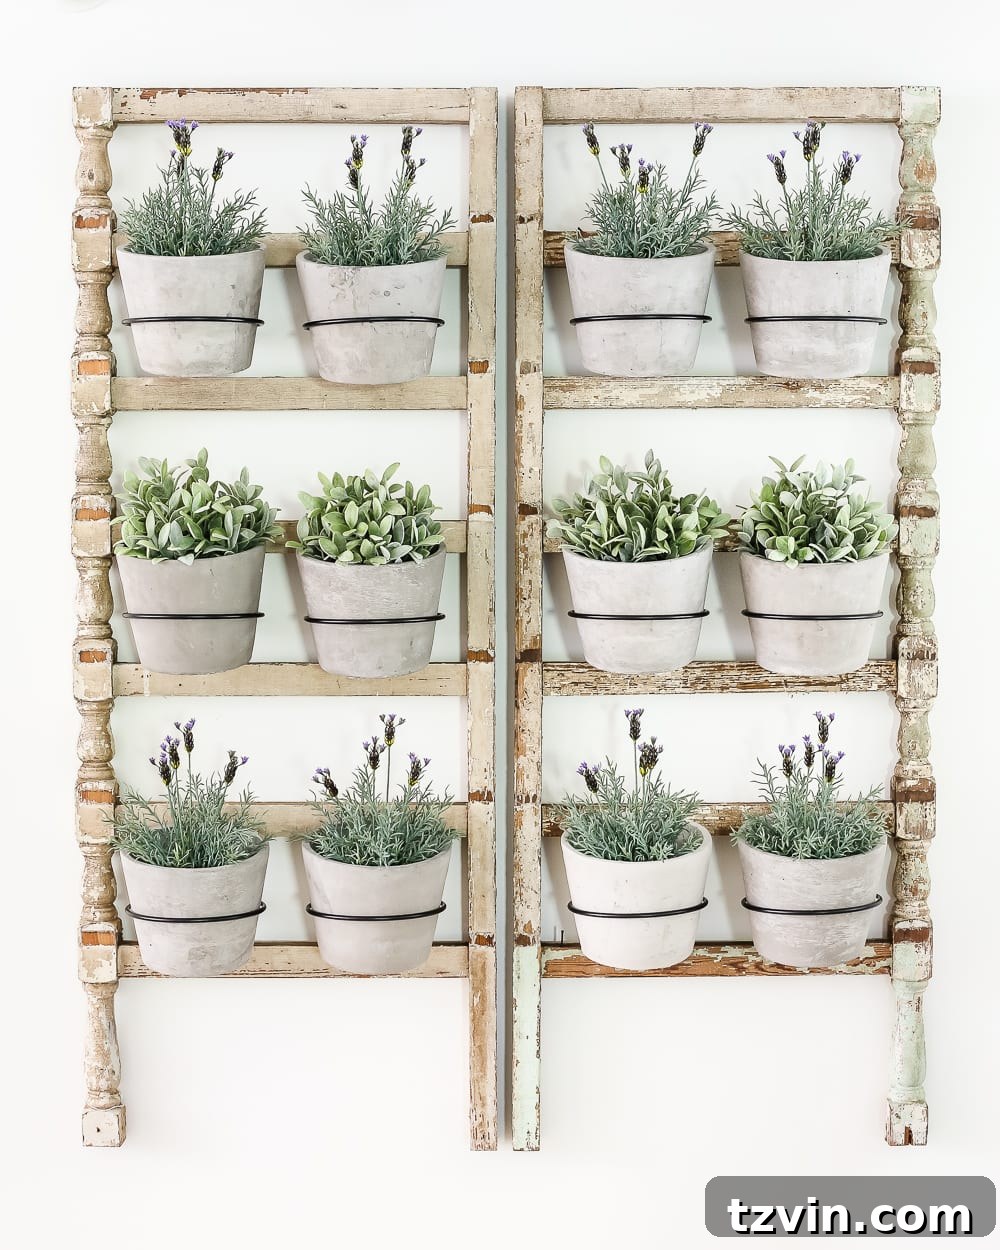
Previously, our breakfast nook felt quite stark, dominated by a simple black and white palette. Now, with the addition of this vibrant punch of greenery and the warm, aged wood tones, the space feels immeasurably warmer and more inviting. It’s the perfect welcome right as we step in through the back garage door, creating an immediate sense of comfort and style. The unique concept of repurposing antique banisters into a functional and beautiful wall planter is something I genuinely haven’t encountered before – at least, not executed quite like this. It’s a testament to the power of creative vision and the inherent beauty that can be unlocked from forgotten architectural elements. We’re truly thrilled with the individuality and charm it brings, making it a standout feature in our home and an inspiring piece of upcycled art.
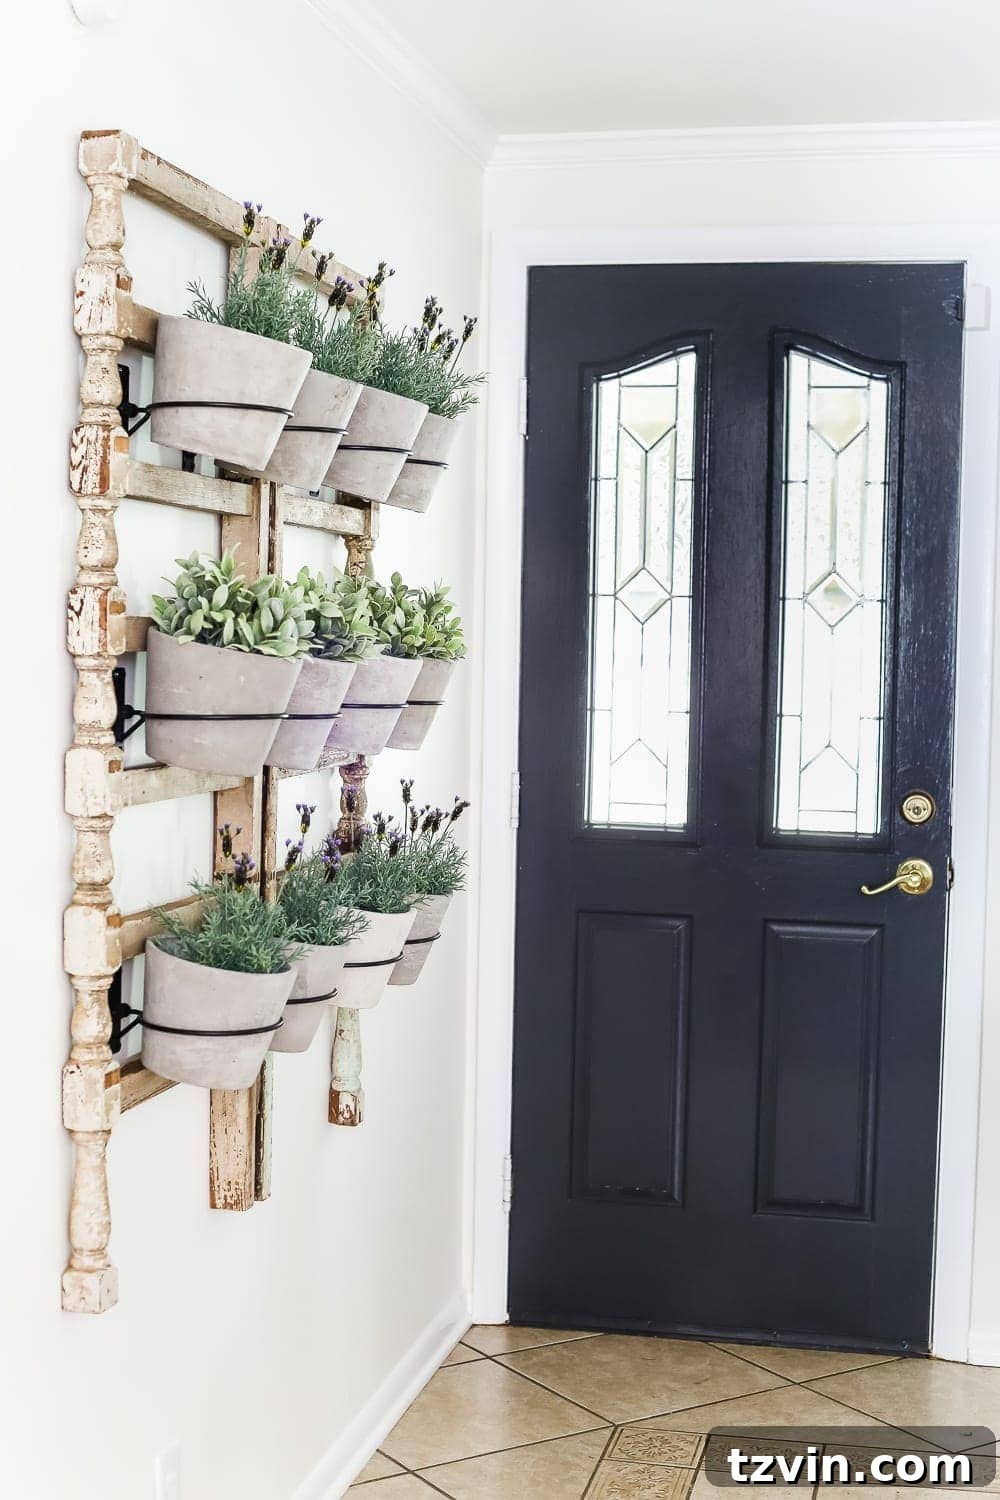
I eagerly anticipate sharing what else is unfolding in this charming spot very soon! The overarching vision for the breakfast nook is shaping up to be a delightful juxtaposition: very classic, undeniably chic, with subtle French influences, rustic undertones, a relaxed vibe, yet imbued with an unmistakable elegance. I know that might sound like an intriguing and perhaps peculiar blend of styles, but I promise it will all make perfect sense as the final details come together, creating a truly harmonious and inspiring space. Stay tuned for the grand reveal of our breakfast nook’s complete transformation!
Explore More Inspiring Trash to Treasure Transformations!
Curious to see more incredible makeovers and ingenious upcycling ideas? Don’t miss out on the rest of this month’s inspiring Trash to Treasure Transformation projects from my talented blogger friends. Each link below leads to a fantastic journey of how discarded items are given a beautiful second life, transformed into stylish and functional pieces for the home. Prepare to be amazed and inspired by their creativity, ingenuity, and diverse approaches to sustainable home decor!
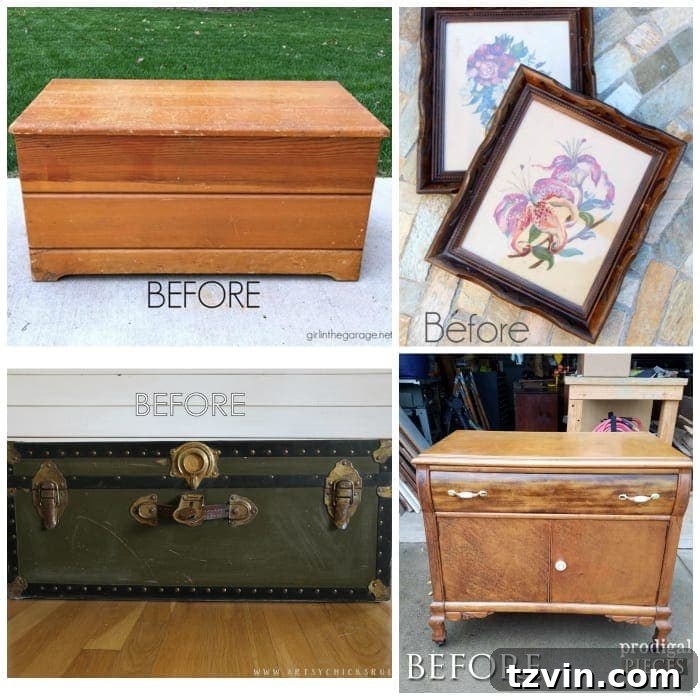
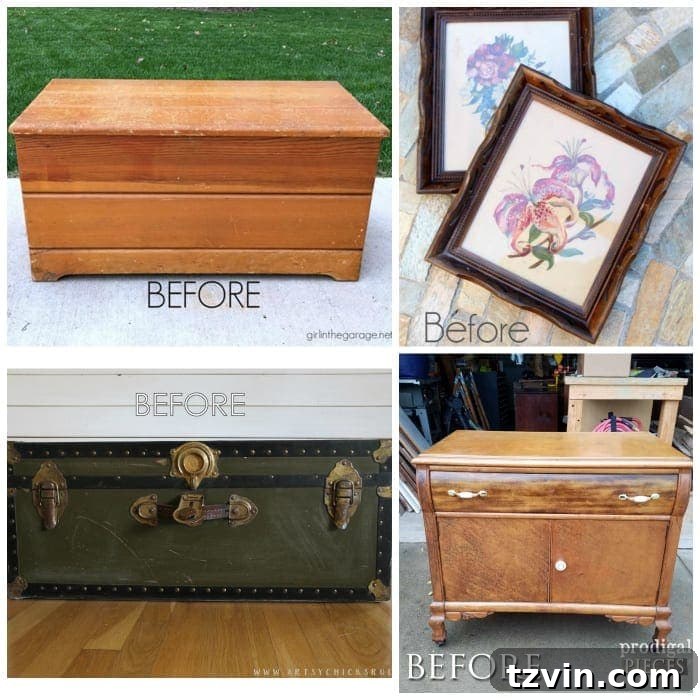
Clockwise from top left, discover these amazing transformations from my fellow T2T bloggers:
Girl in the Garage: Vintage Wood Chest Makeover | Confessions of a Serial Do-It-Yourselfer: Creative Repurposed Picture Frames | Prodigal Pieces: Prairie Style Vintage Chest Transformation | Artsy Chicks Rule: Upcycled Old Trunk into a Chic Coffee Table
Loved this unique DIY wall planter project and feeling inspired to create your own upcycled treasures? Help spread the inspiration! You can easily save this post for later by pinning it to your favorite Pinterest board, making it easy to reference for your next DIY adventure:
Wishing all of you a truly beautiful and creatively fulfilling week, dear friends! May your homes be filled with unique treasures and inspiring projects.