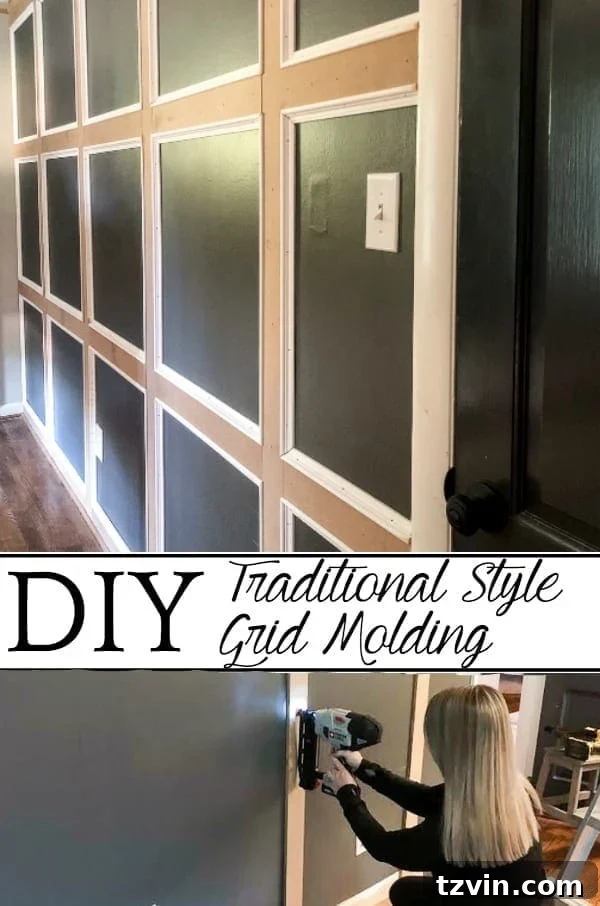
Transform Your Space: A Comprehensive Guide to Building a Traditional Grid Molding Focal Wall
There’s an undeniable thrill in completing a home renovation project, a victorious dance over a finished room makeover. But what’s truly exhilarating is celebrating the journey of progress. DIY projects, especially those that transform a space dramatically, often get a little messy before they reveal their true beauty. Yet, there’s immense satisfaction in stepping back and realizing, “Wow, I created this with my own hands!” This feeling of accomplishment, combined with the aesthetic uplift, makes embarking on ambitious projects like a traditional grid molding focal wall incredibly rewarding.
While our master bedroom refresh is still ongoing, the stunning impact of this traditional grid molding focal wall is something we absolutely had to celebrate today! This project, often referred to as board and batten with an elevated touch, is a fantastic way to introduce architectural interest, depth, and a touch of classic elegance to any room. It’s more than just an accent wall; it’s a statement piece that anchors the room and adds sophisticated character.
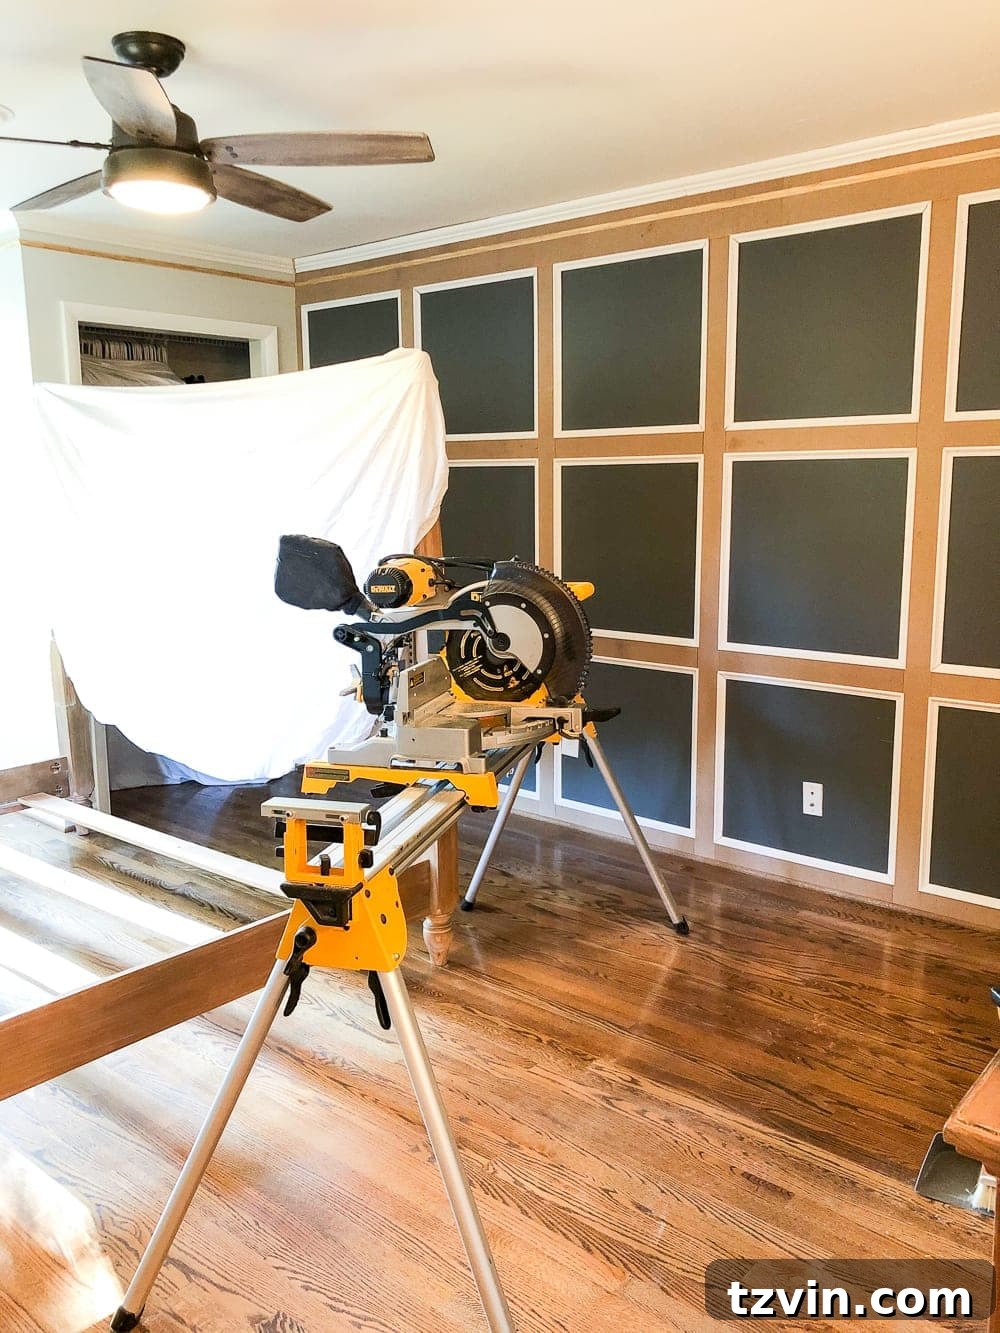
As passionate DIYers, not licensed contractors or professional designers, we may not always use the most technical terminology, but our enthusiasm for beautiful, self-made home improvements is boundless. This particular style of wall treatment, which we affectionately call “fancy traditional” grid molding, was born from a desire for something more substantial and decorative than a basic paneled wall. It adds a sophisticated layer of detail, transforming a simple wall into a luxurious backdrop for a bed or any furniture piece.
UPDATE: Discover the full reveal of our Master Bedroom here and see how this focal wall came to life!
Why Choose a Traditional Grid Molding Focal Wall?
A focal wall, by definition, draws the eye and sets the tone for a room. When you opt for a traditional grid molding design, you’re not just adding color; you’re incorporating texture, dimension, and timeless elegance. This style offers several benefits:
- Architectural Interest: It mimics classic paneling, adding historical charm and a custom-built feel.
- Depth and Texture: The raised panels create shadows and highlights, giving the wall a dynamic, three-dimensional quality that paint alone cannot achieve.
- Versatility: While traditional in style, it can complement various decor themes, from farmhouse to modern vintage, depending on your chosen paint color and accompanying furnishings.
- Increased Home Value: Custom millwork and built-in features are highly sought after and can significantly enhance your home’s appeal.
- Personalized Touch: A DIY project ensures your space reflects your unique style and craftsmanship.
DIY Traditional Grid Molding Focal Wall: Step-by-Step Guide
Creating this stunning wall treatment is an intermediate-level DIY project that, while requiring patience and precision, is entirely achievable for enthusiastic homeowners. The result is a high-impact feature that will elevate your space significantly.
(Some affiliate links are provided below to help you find the exact tools and materials we used. Full disclosure here.)
Essential Supplies for Your Project:
Gathering all your materials and tools before you start is key to a smooth process. Here’s what you’ll need to build your traditional grid molding focal wall:
- 2 panel sheets of 1/2″x4’x8′ MDF: Medium-Density Fiberboard is ideal for this project due to its smooth surface, consistency, and affordability. It takes paint beautifully and resists warping.
- Finger-jointed panel cap molding: This is the secret ingredient for the “fancy traditional” look, adding an extra layer of detail and dimension to your grid.
- Table saw: Crucial for ripping the MDF sheets into consistent, straight strips for your grid. Precision here is paramount.
- Miter saw: Essential for making accurate 45-degree cuts on your panel cap molding, ensuring seamless corners.
- Construction adhesive: Provides a strong, long-lasting bond between the MDF boards and your wall, preventing any future movement or warping.
- Cordless finish nailer: For quickly and securely attaching the MDF and molding pieces with minimal visible holes.
- Level: A fundamental tool for ensuring all your vertical and horizontal lines are perfectly straight. Don’t skip this!
- Tape measure: For all your measuring needs. Consider a laser measuring tool for larger walls and increased accuracy.
- Carpenter square: To ensure precise 90-degree angles when marking and cutting your MDF.
- Pencil: For marking cut lines and grid layout.
- Safety glasses & mask: Always prioritize safety when working with power tools and cutting wood.
- Caulk & caulk gun: For filling any gaps and seams, creating a seamless, professional finish.
- Wood filler & putty knife: To fill nail holes, ensuring a smooth surface ready for paint.
- Medium/fine grit sandpaper: For smoothing wood filler and any rough edges on your MDF.
- Primer: Essential for proper paint adhesion and a uniform color, especially important when working with MDF.
- Paint: Your chosen color to bring your focal wall to life.
DIY Level: Intermediate – Requires some experience with power tools and attention to detail.
Time Commitment: Approximately 48 hours (including carpentry, caulk application, priming, and painting). This can be spread over several days.
Estimated Cost: Around $358 (for supplies only, excluding tools you might already own).
It’s perfectly normal to feel a bit overwhelmed when staring down a large project like this. Trust us, even experienced DIYers have those moments. But with a clear plan and steady execution, you’ll conquer it!
The Project Steps: Bringing Your Vision to Life
1. Planning Your Grid Layout: Measure Twice, Cut Once
Begin by meticulously measuring the entire wall you intend to transform. Consider its total width and height. Now, conceptualize your desired grid pattern. How many rows and columns of squares or rectangles do you envision? This crucial decision will dictate the size of each panel. Factors like ceiling height, existing wall features (windows, doors), and the furniture that will sit against the wall should influence your design. Sketching your design on paper, or even directly on the wall with light pencil marks, can help visualize the final outcome and adjust proportions.
2. Creating Your Spacer/Template
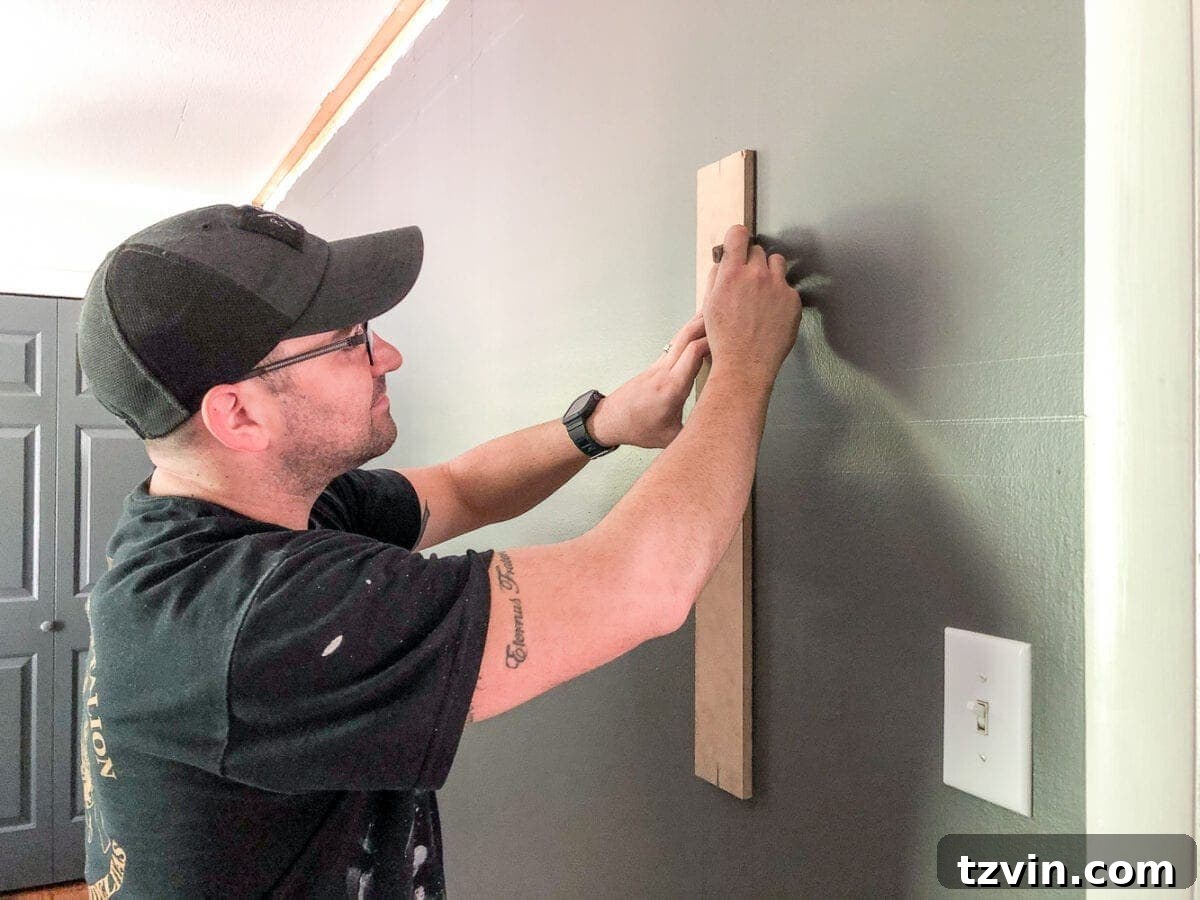
Once you’ve finalized your grid dimensions, it’s time to prepare your spacer. From one of your MDF panel sheets, cut a piece precisely to the width you desire for your grid boards. We opted for a 3 1/2″ wide board, which provides a substantial, yet elegant look. This piece will serve as your consistent template throughout the entire installation, ensuring uniformity in your grid lines. This small step saves immense time and guarantees professional results.
3. (Optional) Header and Footer Board Installation
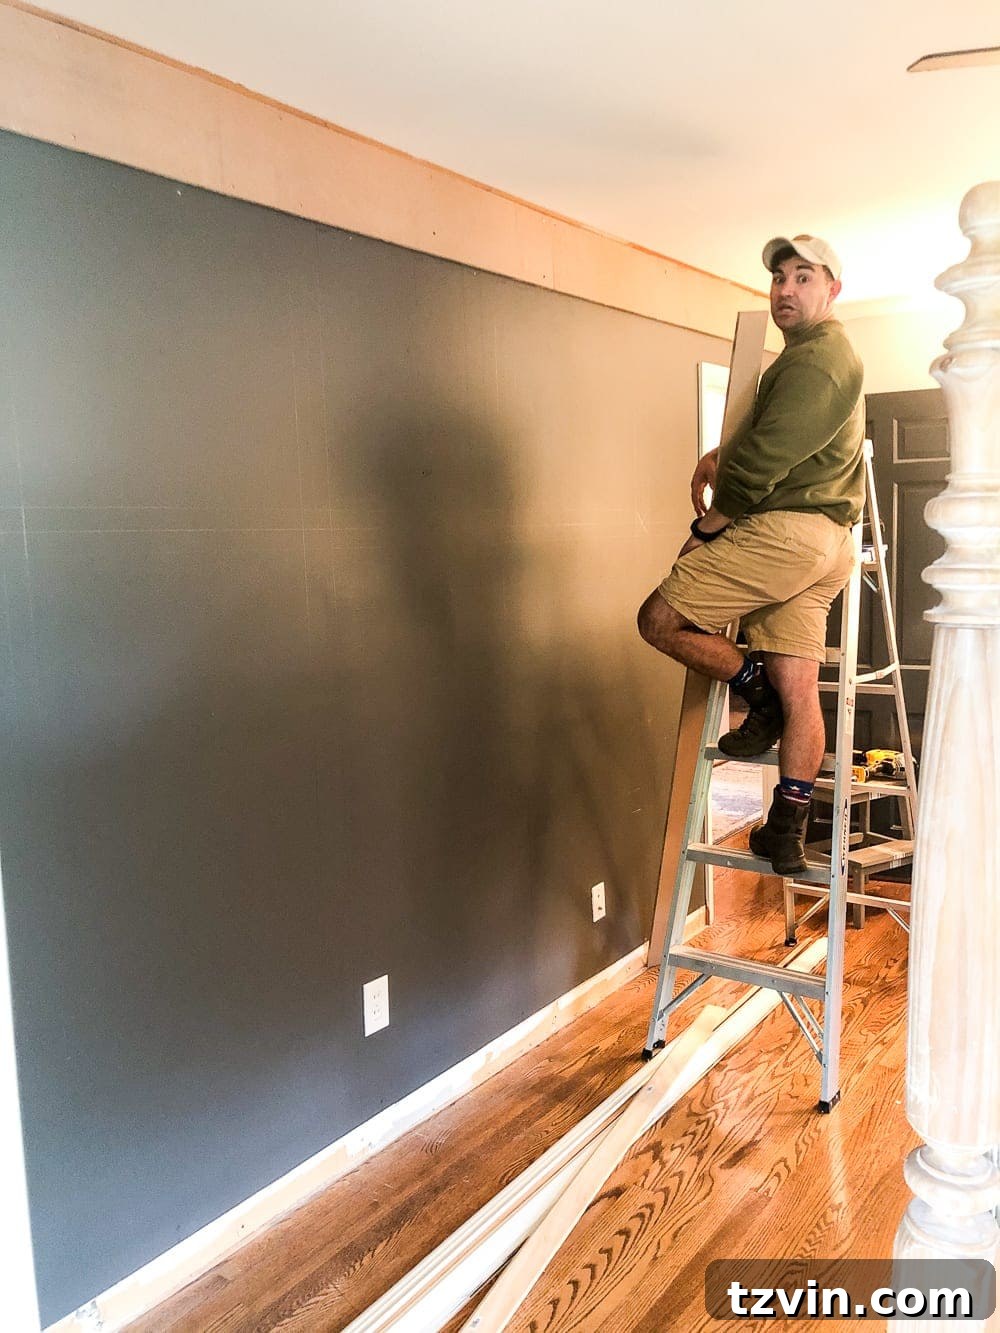
For a truly integrated and custom look, consider removing your existing baseboard and crown molding. In their place, install an 8″ header board at the top of the wall and a 3 1/2″ footer board at the bottom. This approach allows your grid to seamlessly flow into these foundational elements, giving the impression of built-in millwork rather than an applied treatment. This step is key for achieving that high-end, traditional aesthetic.
4. Precision Cutting Your MDF Boards
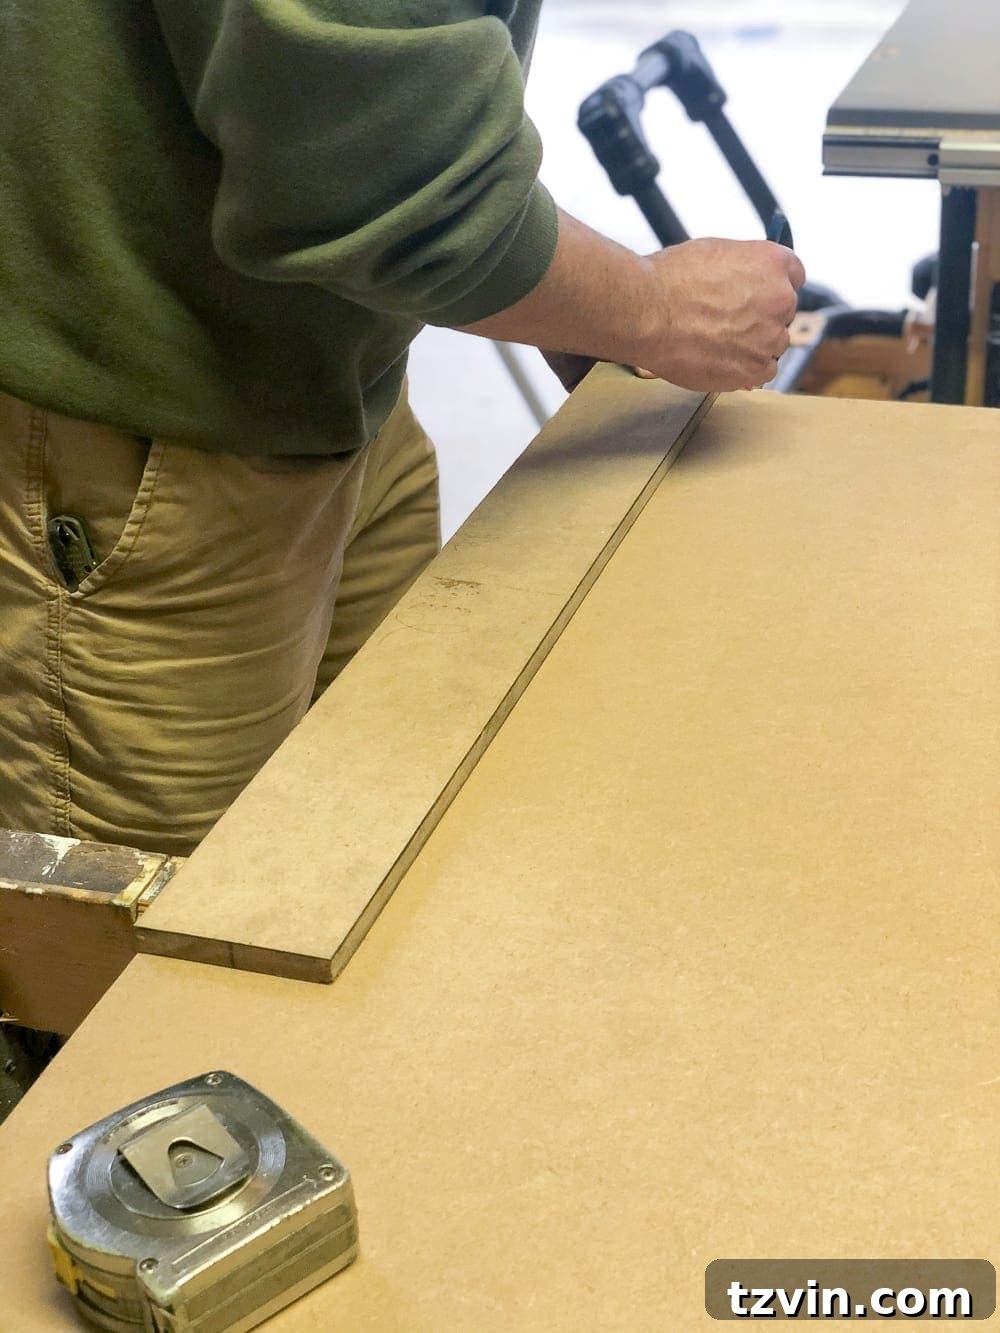
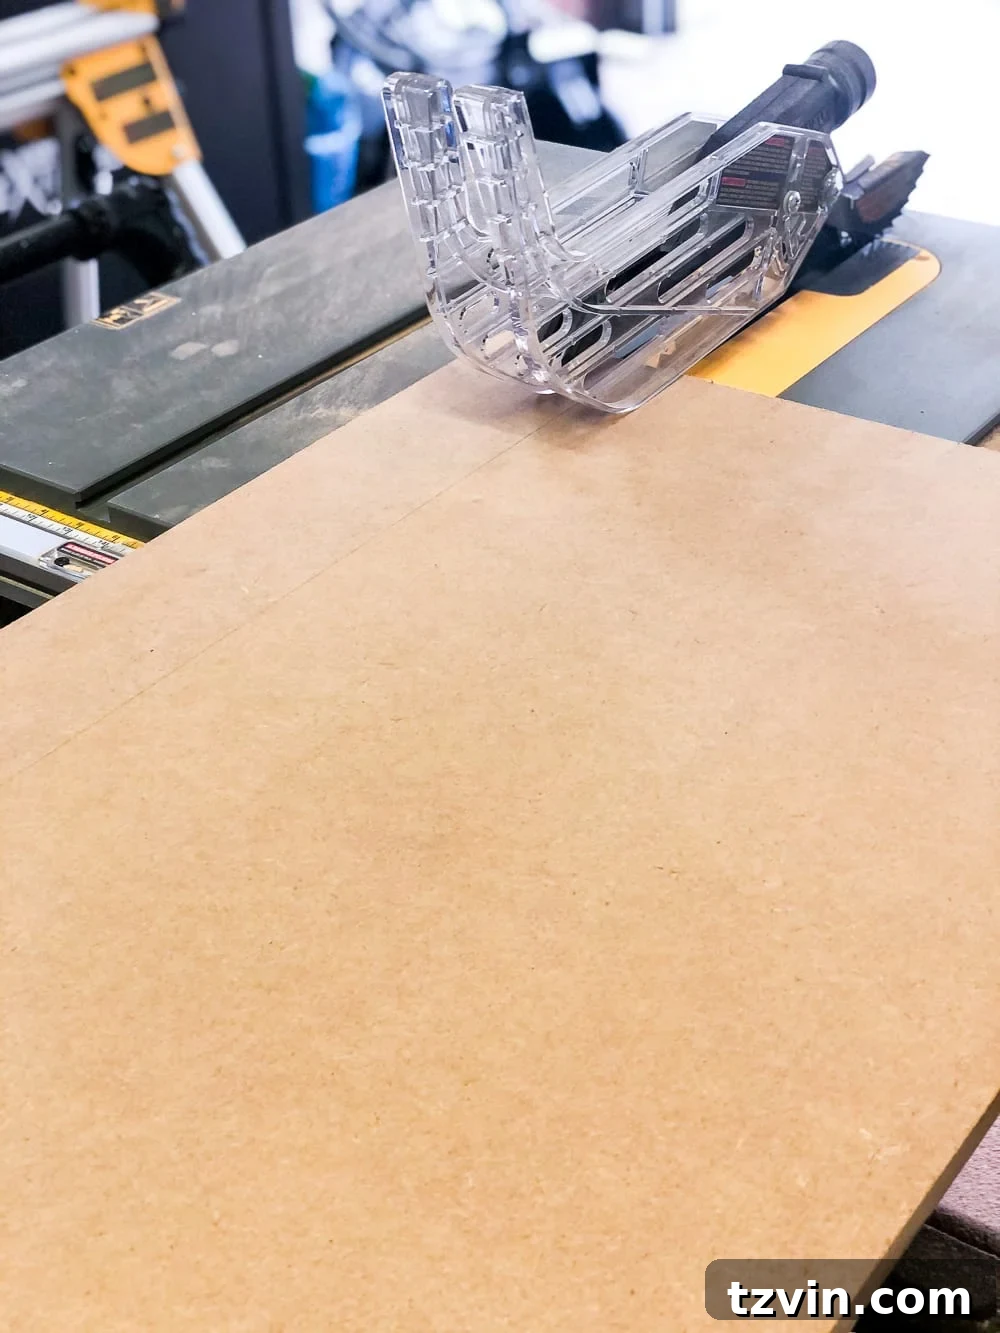
With your grid design sketched out and approved, use your table saw to cut all the necessary MDF boards from your sheets. Utilize the same spacer template from Step 2 to accurately mark your cuts. This ensures every board maintains a consistent width. Always prioritize safety: wear your safety glasses and mask, and operate the table saw carefully to achieve perfectly straight edges.
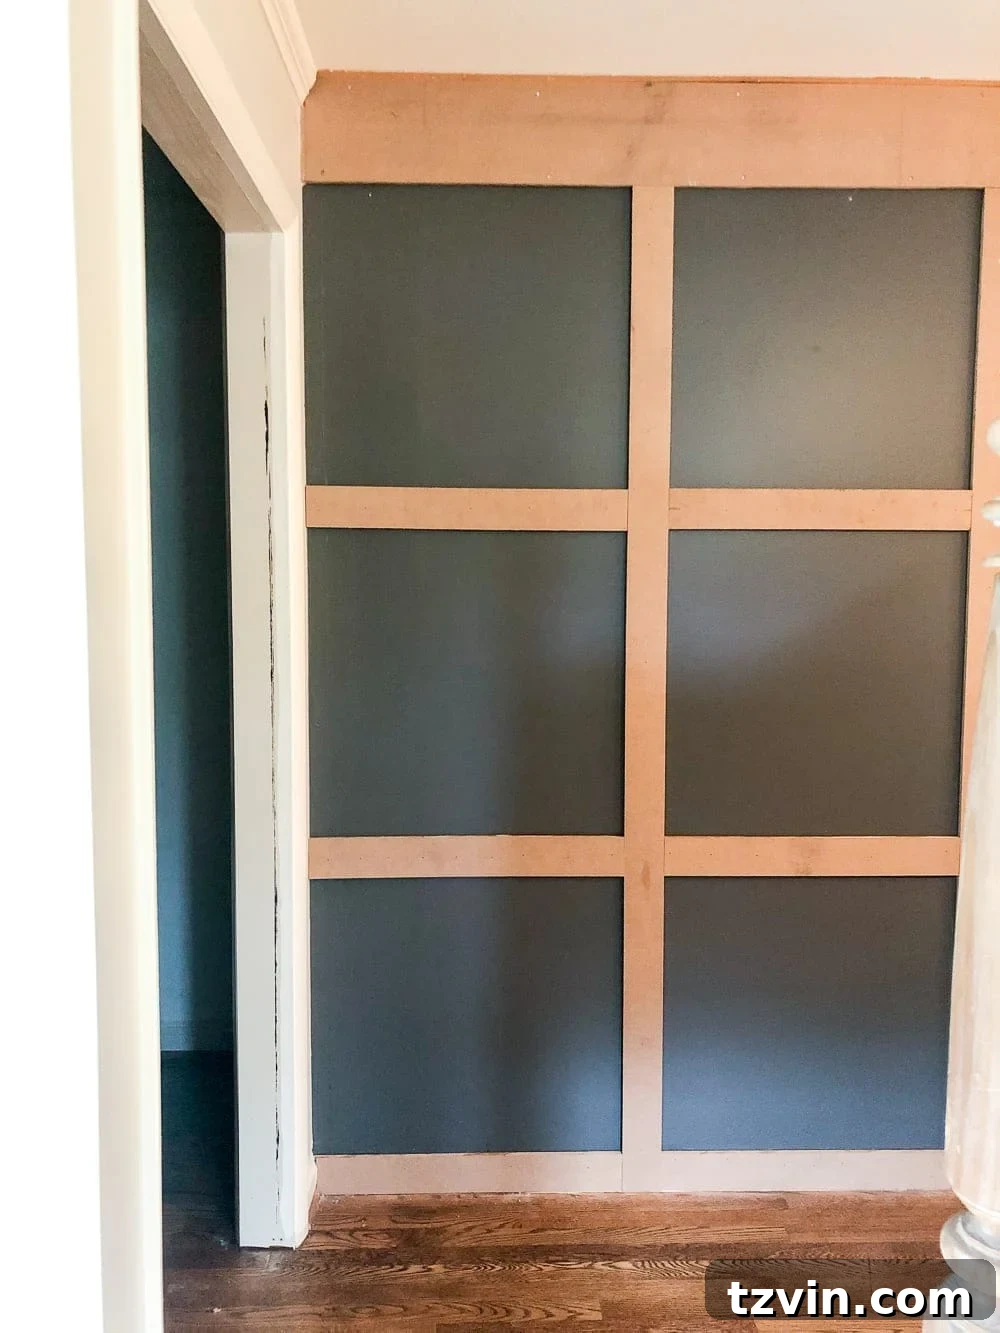
5. & 6. Attaching the Vertical Boards
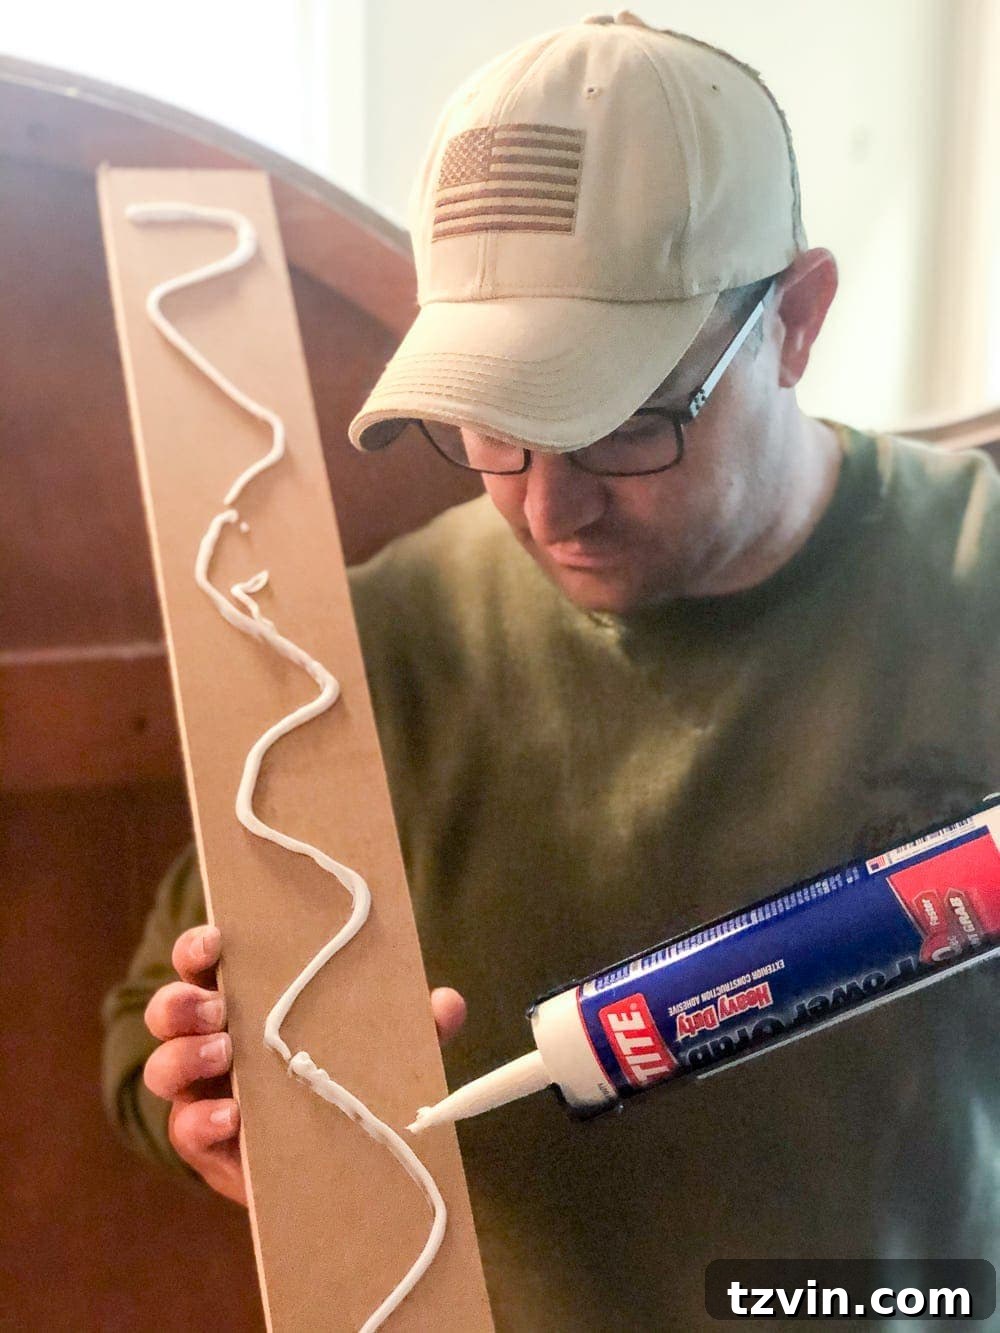
Once all your MDF boards are cut (you might be surprised how many, we used about 14 for our wall!), begin by installing the vertical components of your grid. Apply a generous, continuous line of construction adhesive to the back of each vertical board. This adhesive provides a strong, lasting bond and helps prevent any movement or warping of the MDF over time.
7. & 8. Securing Vertical Boards
Carefully position each adhesive-backed board directly over the pencil lines you traced on the wall for your design. Before nailing, double-check with your level to ensure it’s perfectly plumb. Then, use your cordless finish nailer to secure the board firmly in place. Space your nails approximately every 12-18 inches, ensuring they penetrate into wall studs for the strongest hold whenever possible.
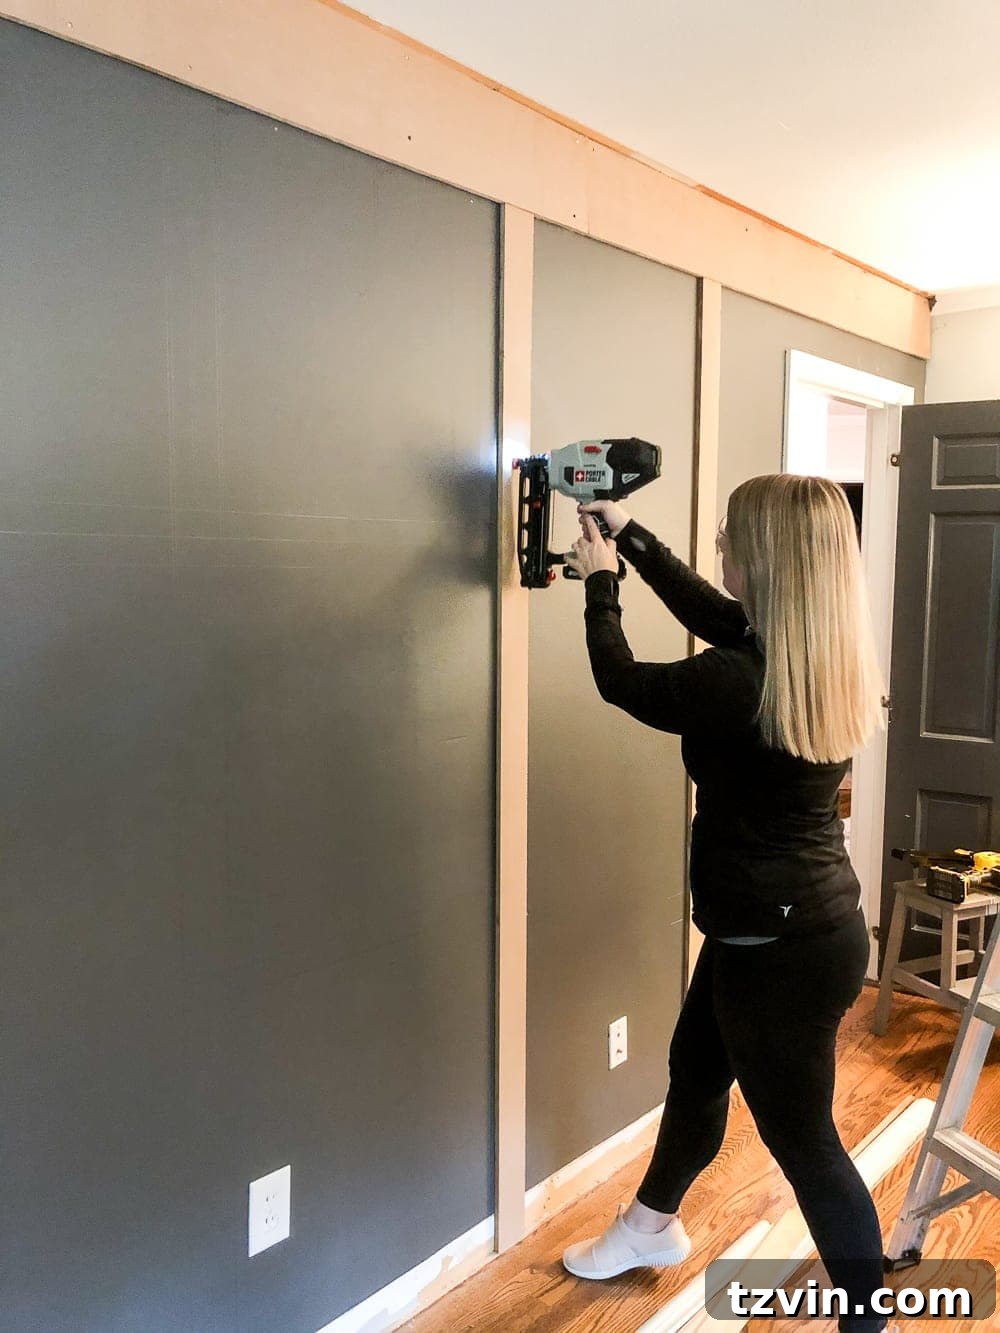
9. Completing Vertical Installation
Continue this process, applying adhesive, leveling, and nailing, until all your vertical boards are securely in position. Take your time with each one; consistency here is vital for a symmetrical grid.
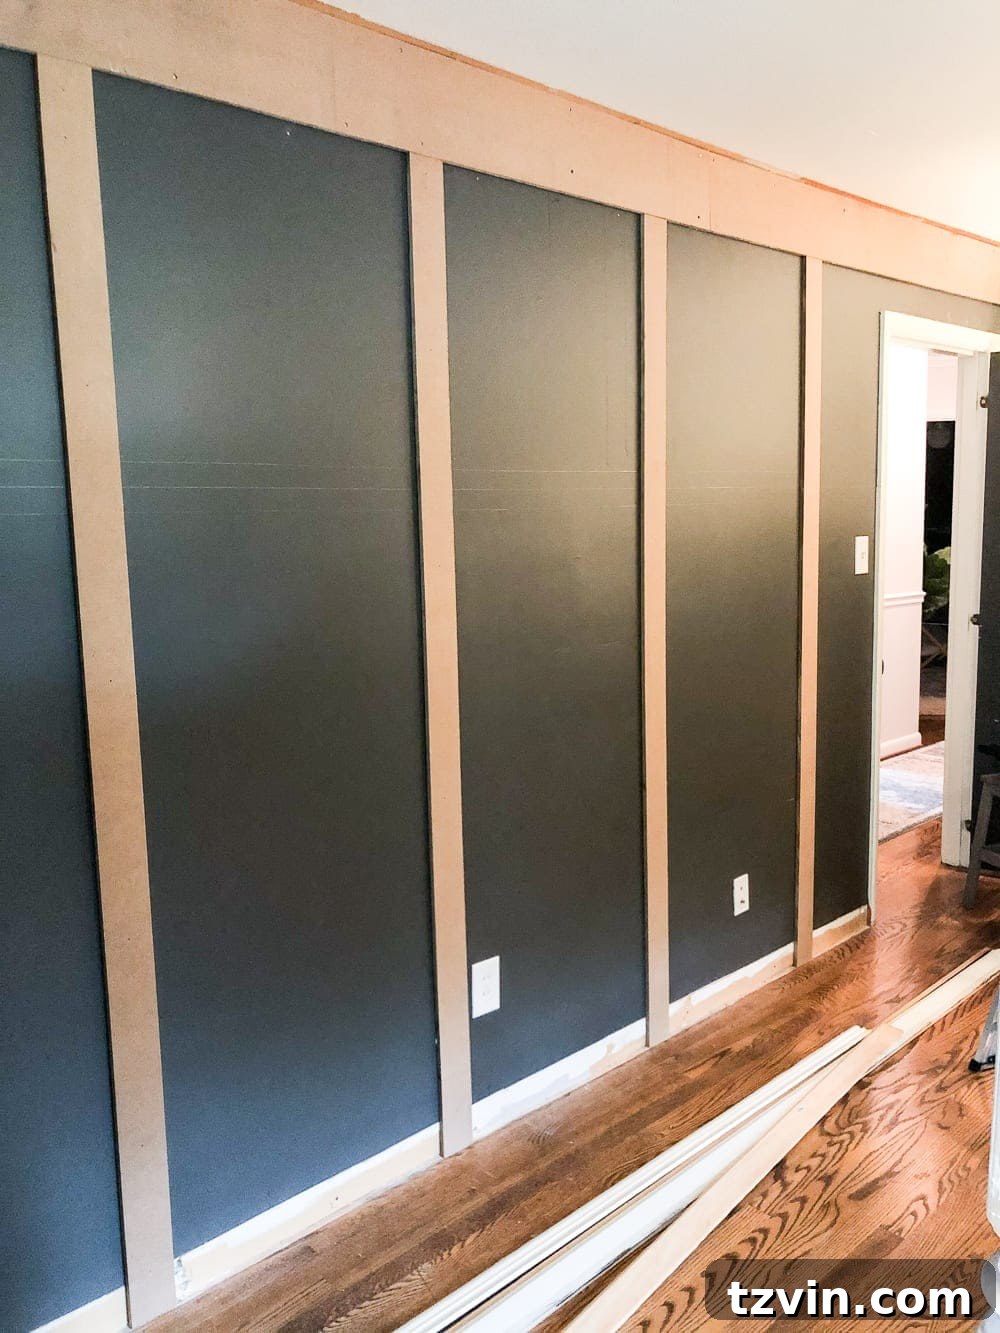
10. & 11. Installing Horizontal Boards
Once the vertical framework is complete, it’s time for the horizontal elements. This step requires careful individual measurement. Measure the precise distance between each pair of vertical boards. Even if your initial layout suggested uniform spacing, slight variations in your wall or board placement can occur. Cut each horizontal board to its specific length using your miter saw for clean ends. Apply construction adhesive to the back, level the board, and then secure it with your finish nailer, just as you did with the vertical pieces.
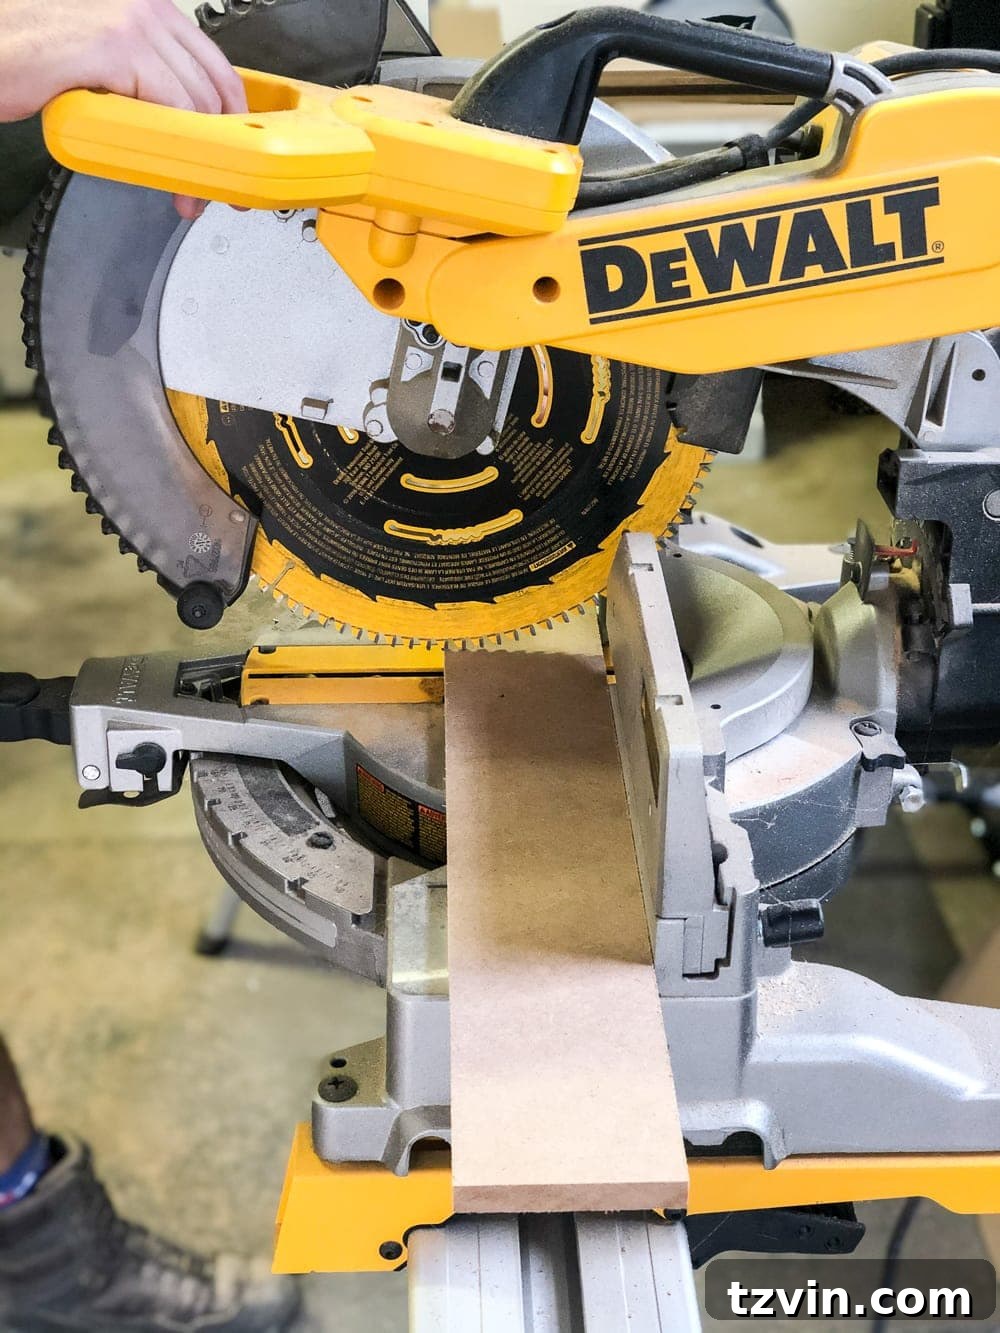
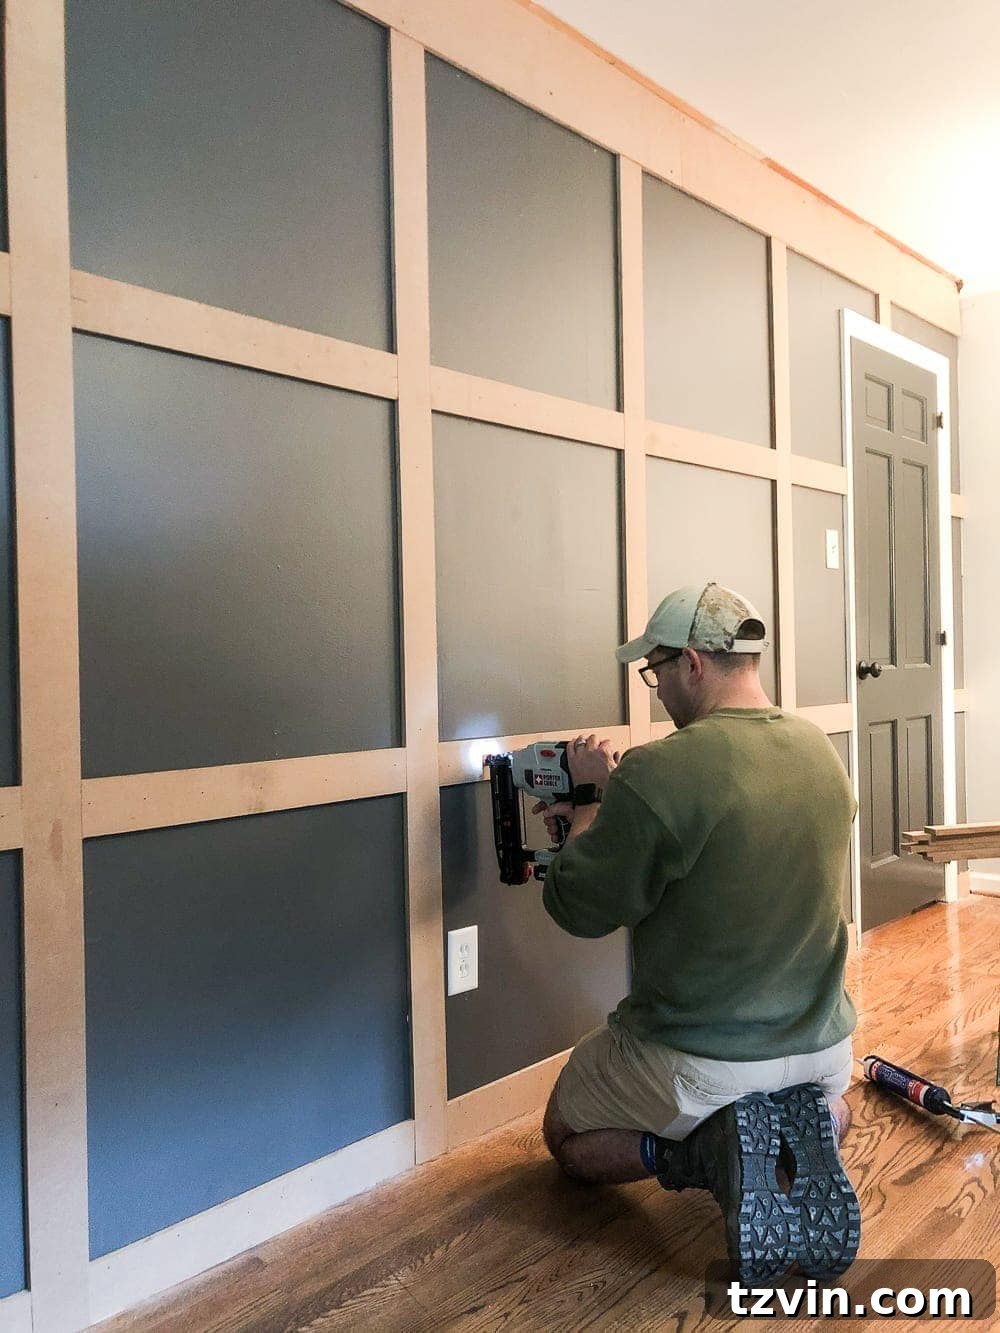
12. Choosing Your Style: Simple vs. Elevated
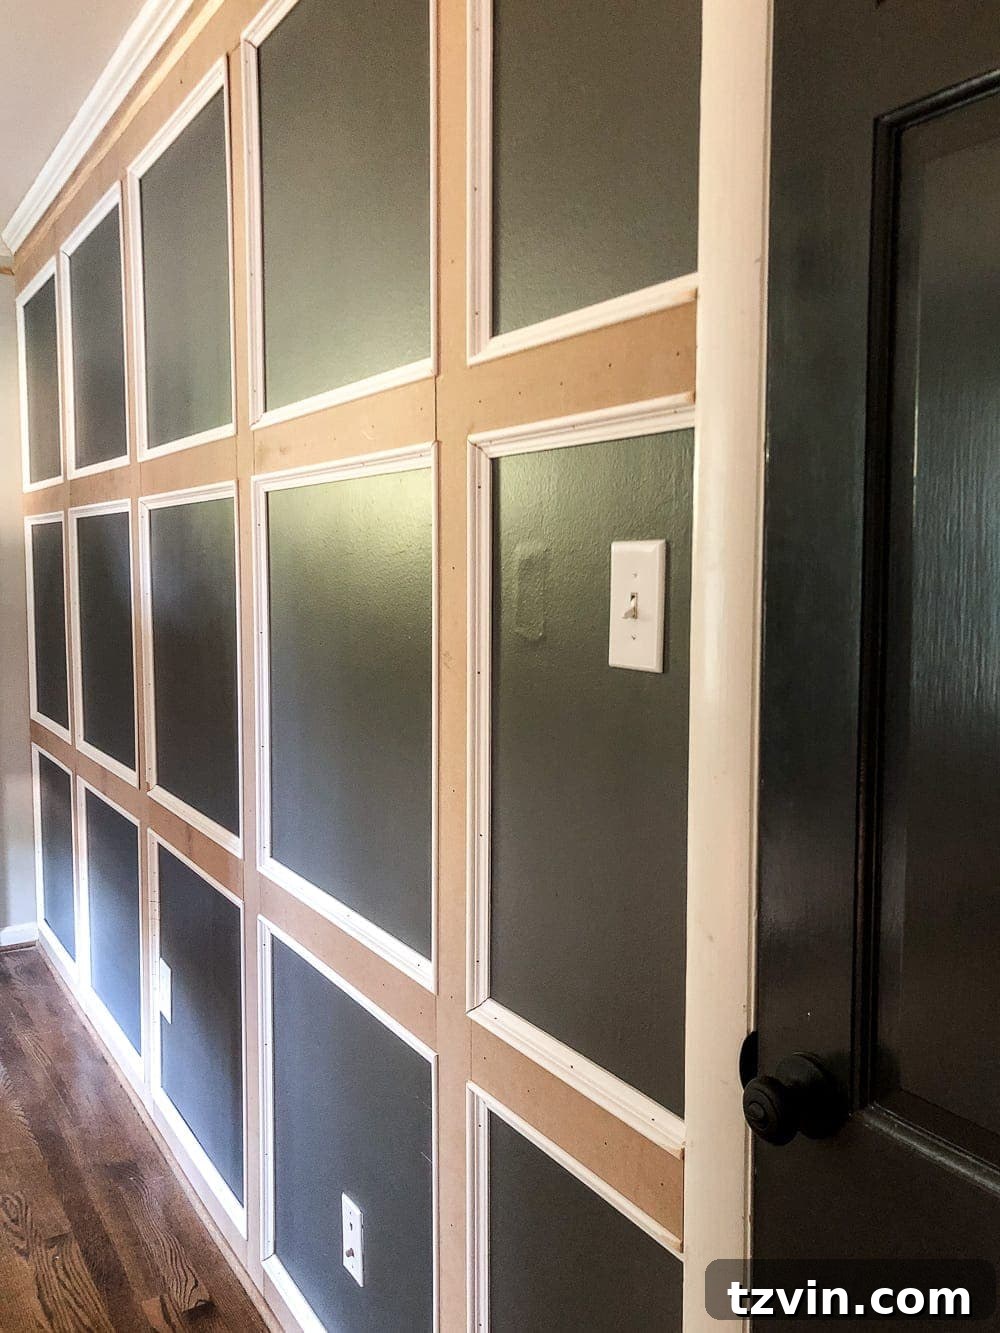
At this juncture, you have a choice. If you prefer a simpler, more Craftsman-style board and batten look, you could proceed directly to filling nail holes, caulking seams, priming, and painting. However, for that elevated, “fancy traditional” aesthetic we were aiming for, the next steps are essential. This additional detail truly transforms the grid from basic to bespoke.
13. & 14. Adding the Decorative Panel Cap Molding
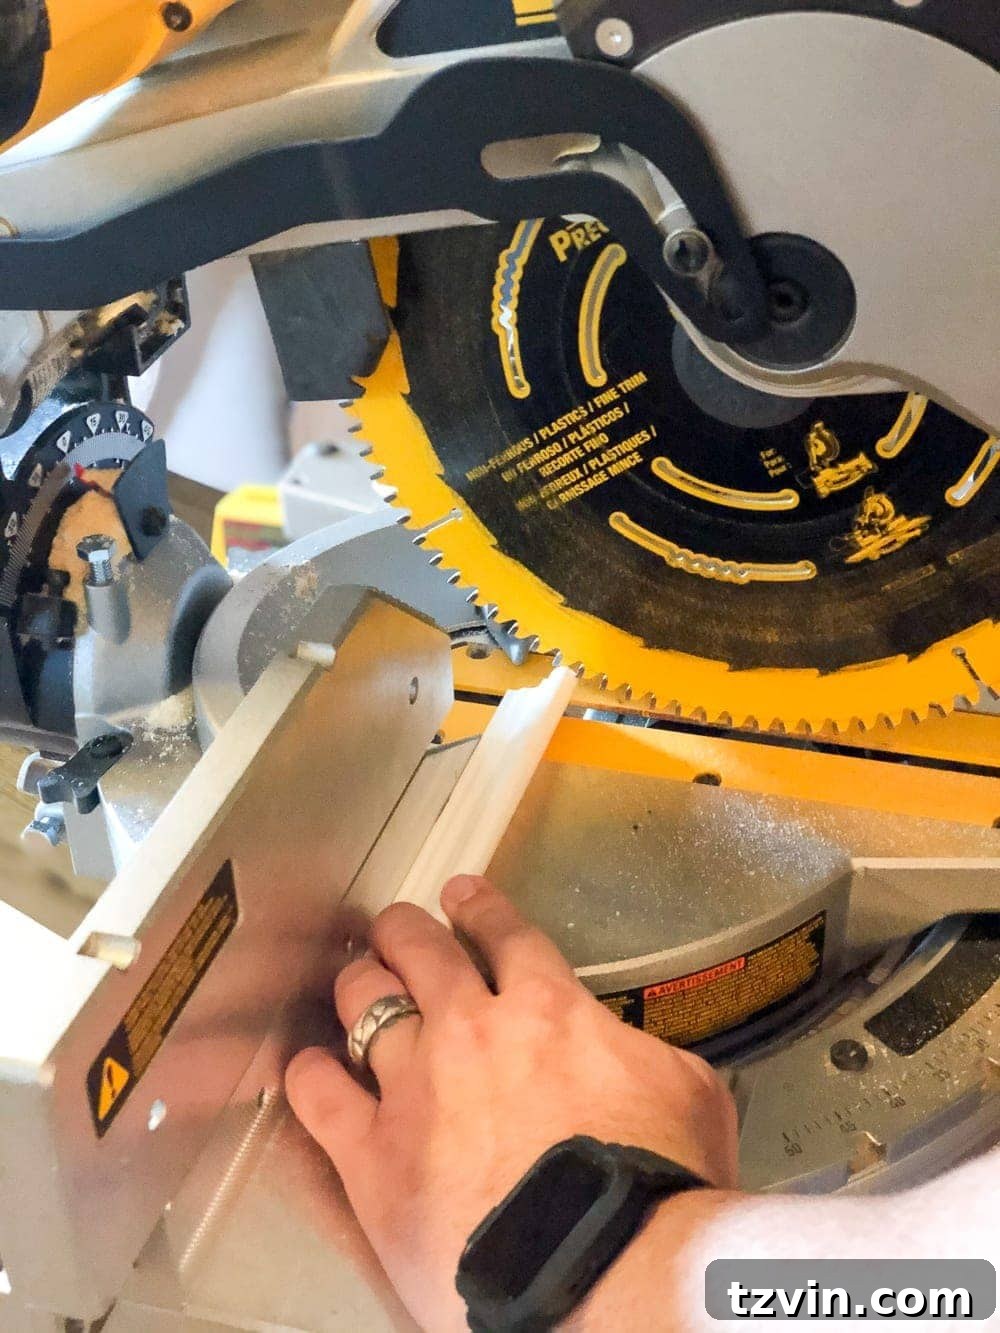
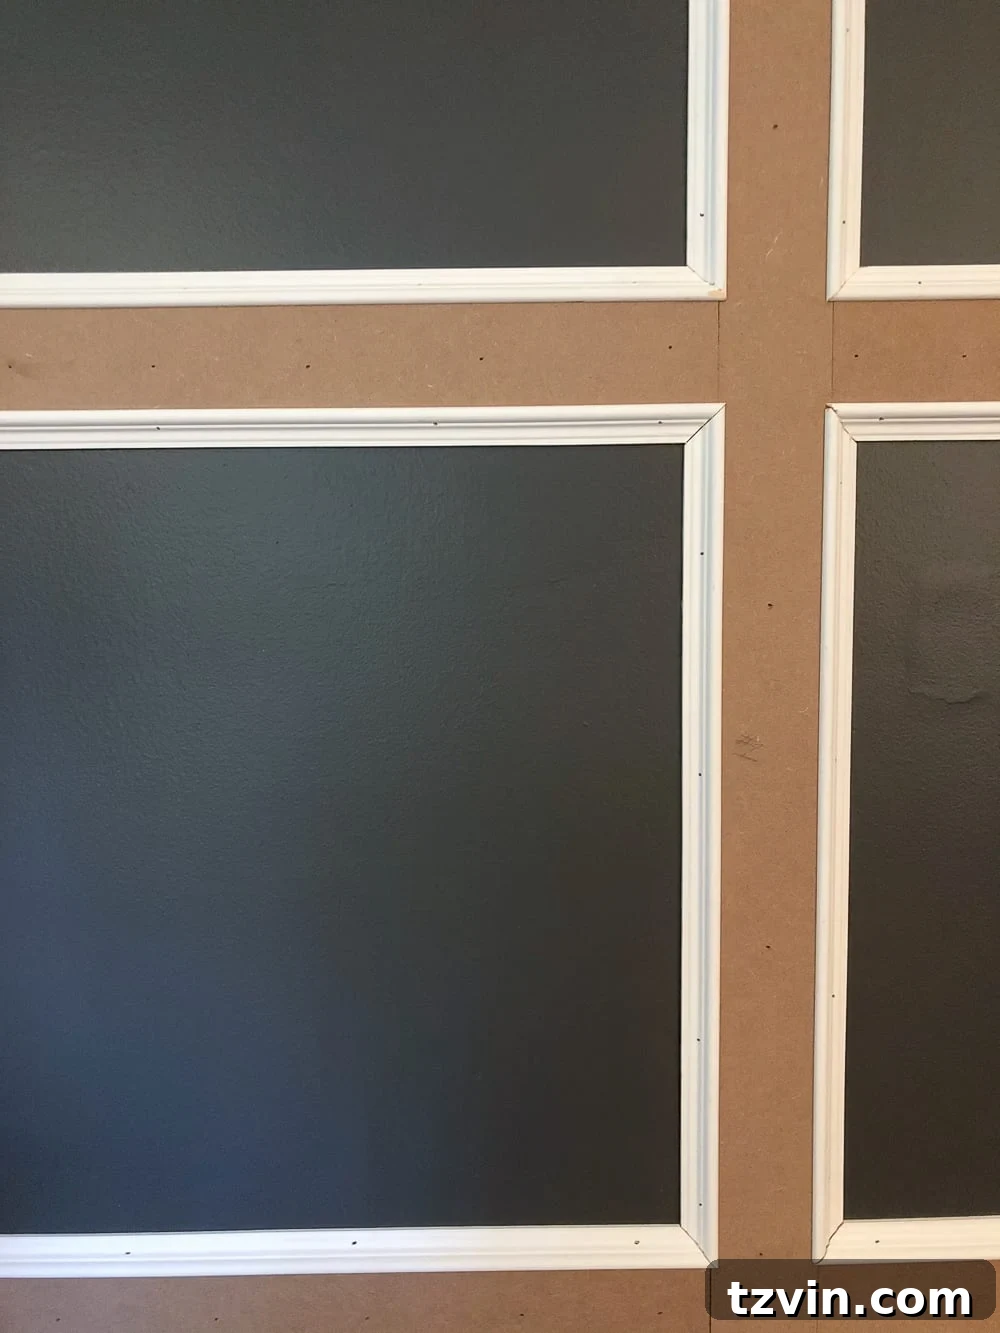
Now for the detail that truly sets this project apart: the finger-jointed panel cap molding. This trim piece will be applied to the inner edges of each MDF grid segment. Measure the length of each segment and, using your miter saw, cut the molding at a precise 45-degree angle for all corners. This ensures a clean, professional mitered joint where the pieces meet. Apply construction adhesive to the back of each molding piece and secure it with your finish nailer. Take your time to align these pieces perfectly, as they are crucial to the finished look.
15. Repetition and Patience
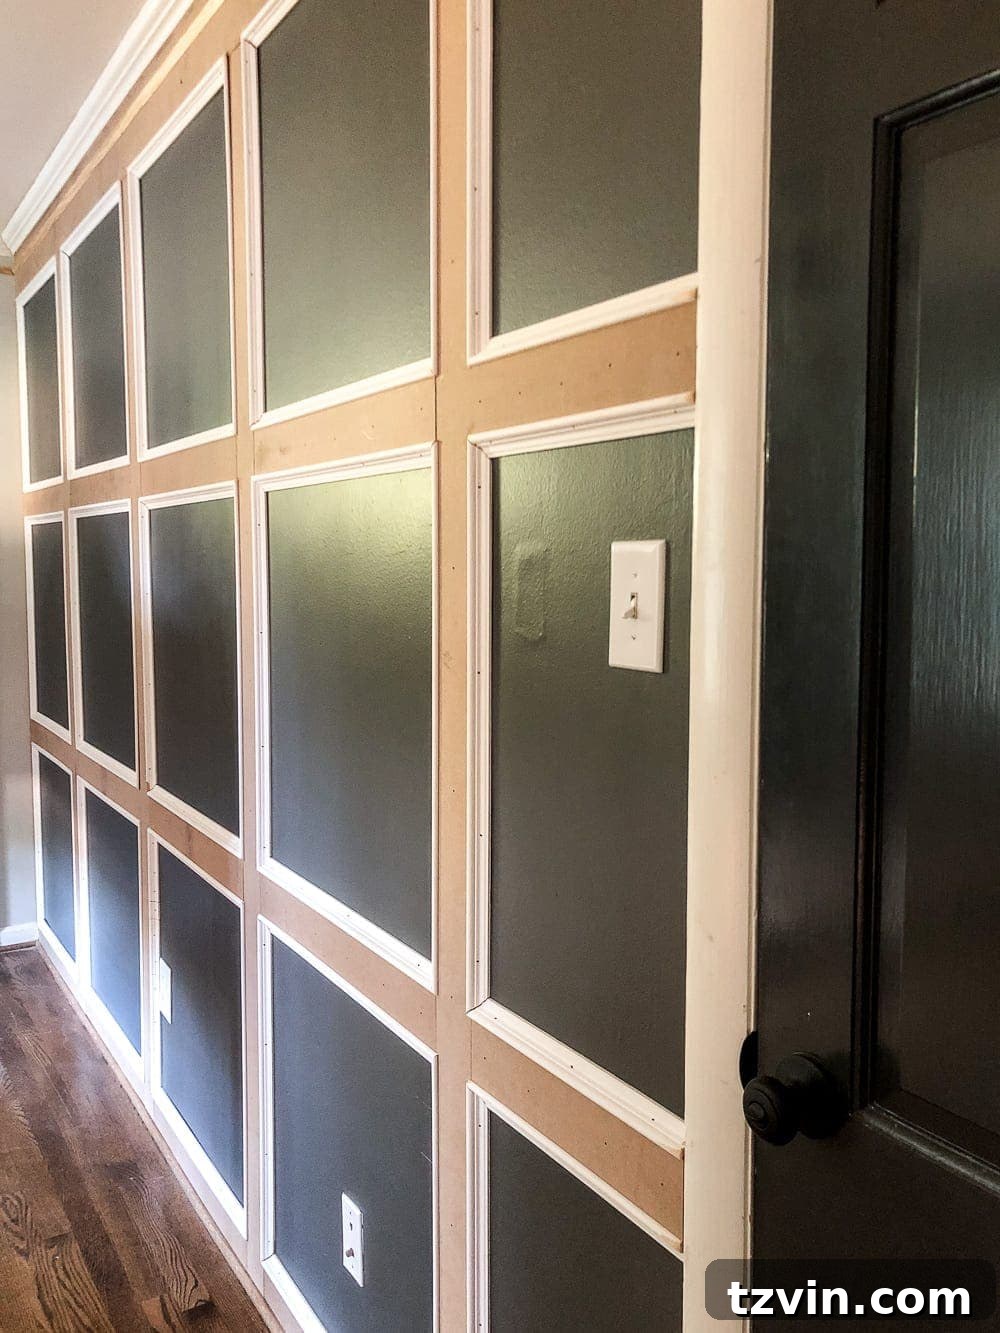
You’ll repeat the process of measuring, cutting, adhering, and nailing the panel cap molding for every single segment of your grid. This is undoubtedly the most tedious part of the project, but the detailed finish it creates is absolutely worth every minute. Patience and precision here will yield a truly custom and high-end result.
16. Reinstalling Crown and Quarter Round Molding
If you removed your original crown molding and baseboard (or added header/footer boards), now is the time to nail your crown molding and any quarter round molding back into place. Ensure they align perfectly with your newly installed grid elements for a cohesive look.
17. Filling Nail Holes
With all the molding in place, go back and carefully apply wood filler to every single nail hole. Use a putty knife to ensure a smooth application. Allow the wood filler to dry completely according to manufacturer instructions, then sand each spot smooth with medium to fine-grit sandpaper. This step is critical for a flawless painted finish.
18. Caulking for a Seamless Finish
This is where the magic truly happens. Caulk all seams, cracks, and gaps – where the MDF meets the wall, where molding pieces meet each other, and where they meet the header/footer boards. A continuous bead of caulk smoothed with a wet finger or caulk tool will eliminate any imperfections, making your DIY wall look like it was professionally installed. Allow adequate drying time before proceeding.
19. Priming and Painting Your Masterpiece
Finally, it’s time to bring your focal wall to life with color. First, apply a high-quality primer. MDF is porous and will absorb paint unevenly without proper priming. Primer also ensures better adhesion and a more vibrant, uniform final paint color. Once the primer is dry, apply two coats of your chosen paint color. Take your time, ensuring even coverage and clean lines. The transformation at this stage is truly remarkable!
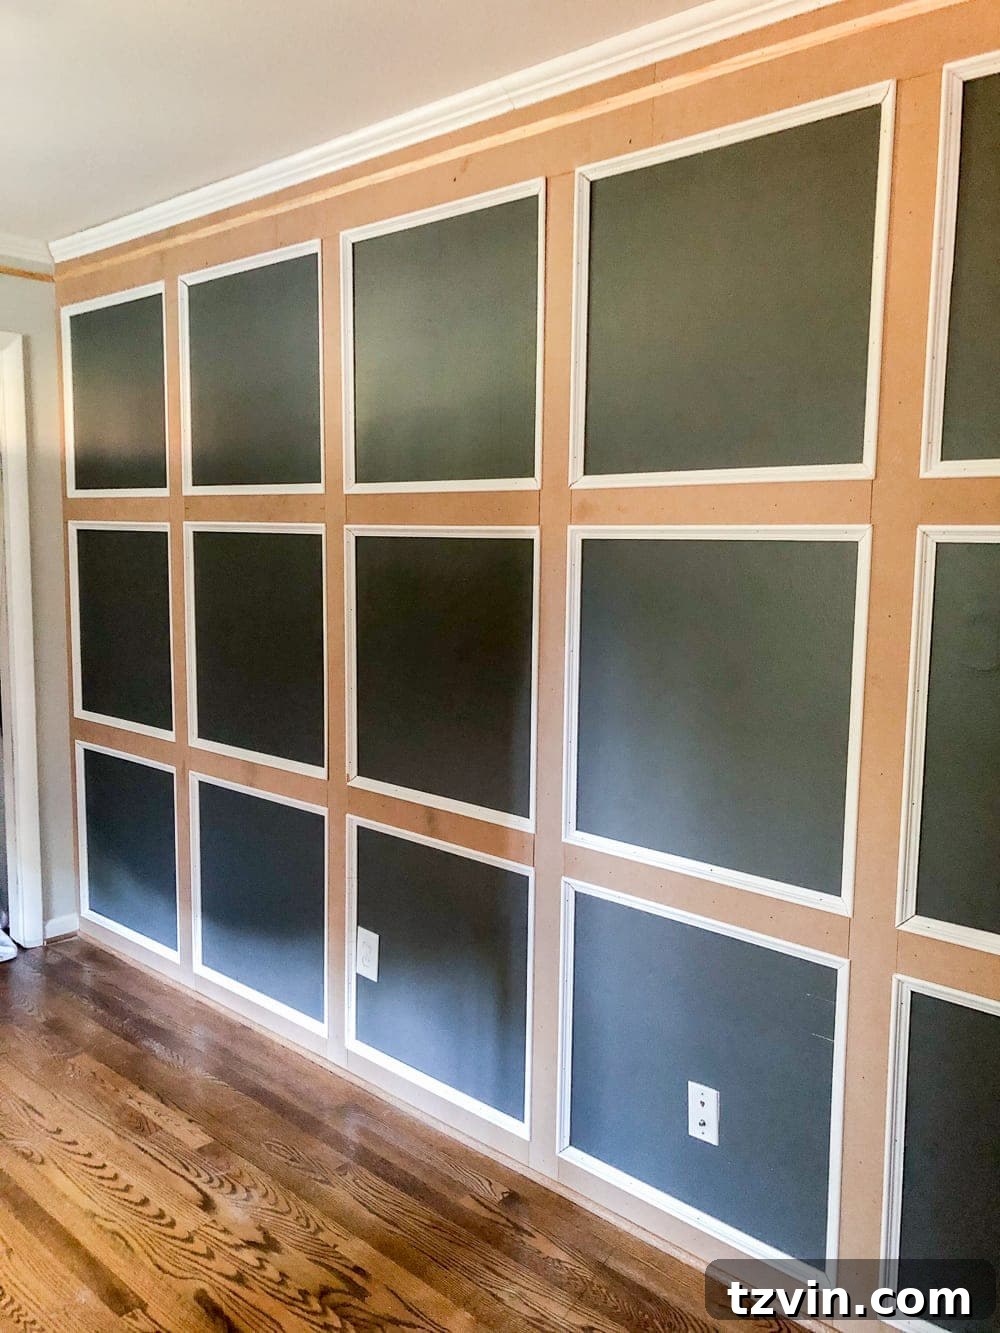
The Vision Unfolds
Even with the wood filling, caulking, priming, and painting still ahead, and several other tasks remaining in our master bedroom, the vision is already crystal clear. This traditional grid molding focal wall is going to be absolutely stunning. The depth, the texture, and the undeniable character it adds are precisely what we envisioned to create a luxurious and inviting retreat.
We’re incredibly excited to share our chosen paint color for this wall soon. It might be a little unexpected, but we promise it will be spectacular. Trust us on this one!
If you’re eager to follow our master bedroom refresh from the very beginning, you can review our initial mood board and plans here. For more inspiration, explore some of our favorite master bedroom designs here.
Ready to add timeless character to your home? This traditional grid molding focal wall DIY is a project that delivers big on style and satisfaction. Give it a try, and prepare to be amazed by the transformation!
To save this inspiring project for your future home upgrades, you can pin it here: