Transform Your Outdoor Space: A DIY Guide to Painting Your Concrete Pool Deck and Patio for Lasting Beauty and Savings
Achieving a stunning, durable concrete pool deck and patio doesn’t have to break the bank. Four years ago, painting our concrete pool deck surface proved to be one of the most impactful and budget-friendly DIY projects we undertook in our backyard – a remarkable feat considering we’ve completed over 40 such projects over the years.
Faced with contractor quotes running thousands beyond our budget for painting our extensive concrete deck and patio, we decided to tackle the challenge ourselves. This wasn’t just about saving money; it was about investing our effort into a solution that would stand the test of time.
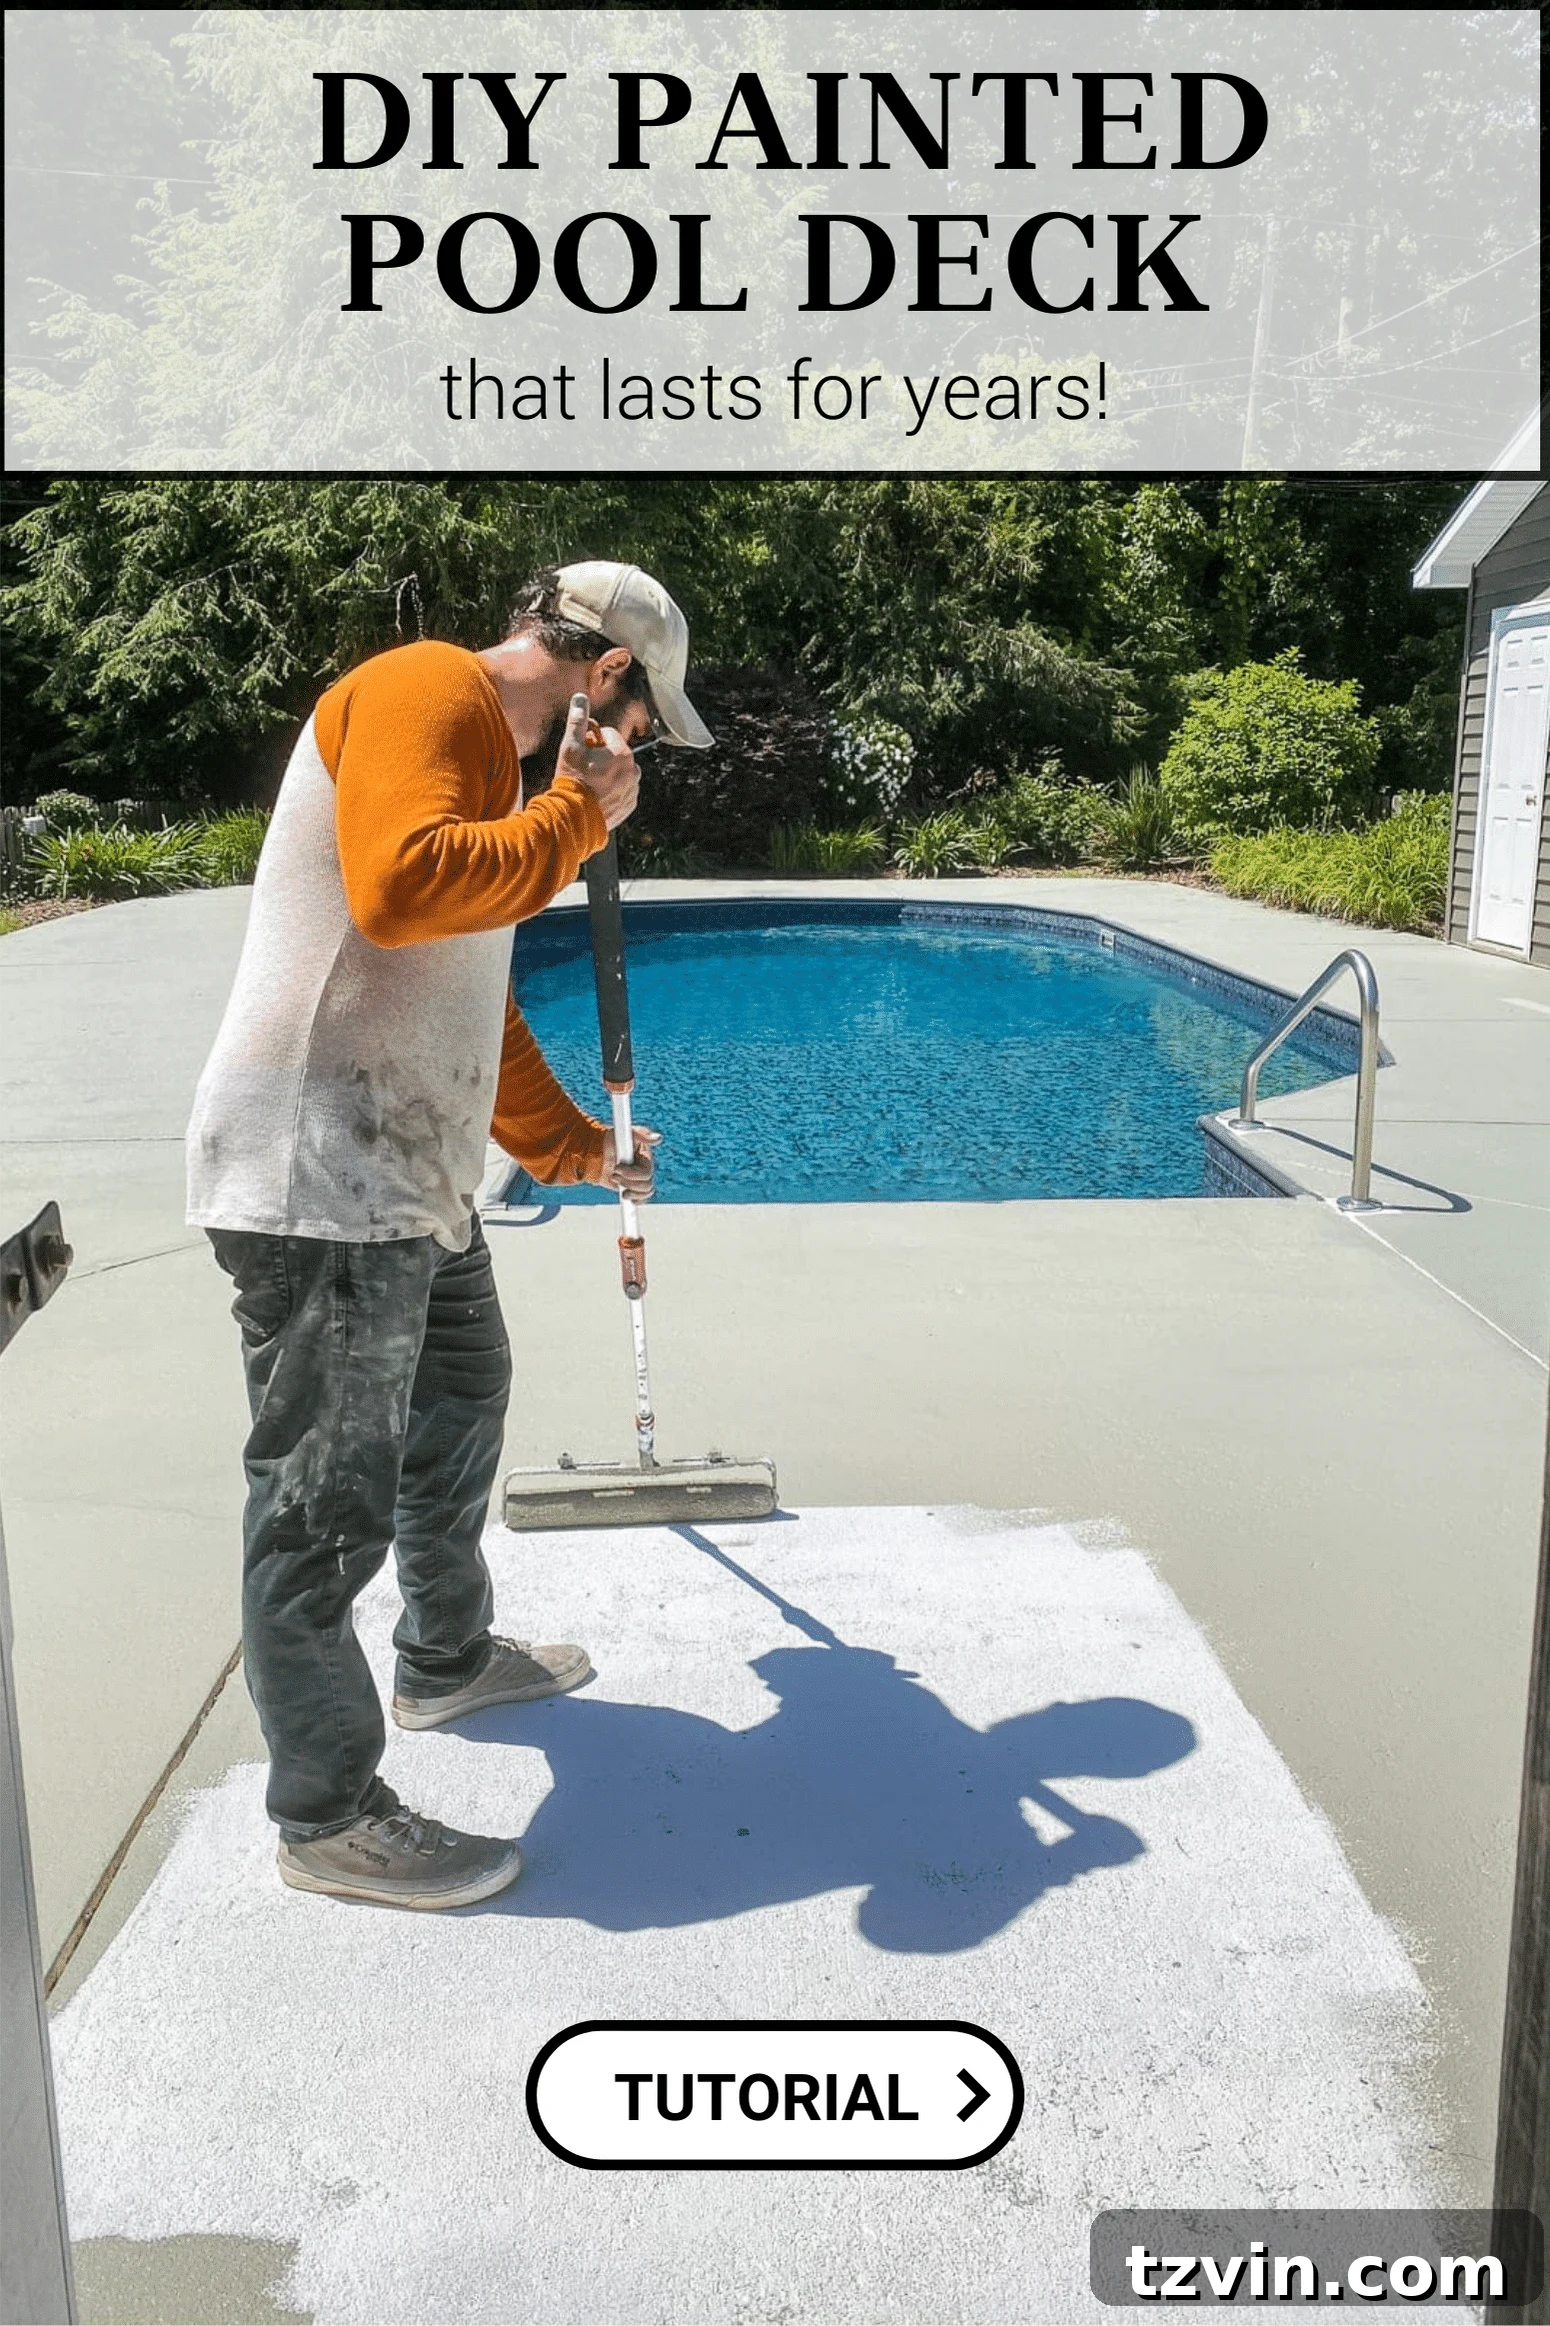
Extensive research into various pool deck coating options led us to the ideal method, yielding results that have stood up impeccably to the elements and frequent use in our pool area. Our aim was not just a temporary facelift, but a durable, long-lasting finish.
If you’re seeking to refresh the concrete surfaces around your residential pool deck or patio, this comprehensive guide will walk you through every essential step. From preparation to final application, we’ll share our proven techniques to ensure your project is a resounding success, just like ours.
The Remarkable Transformation: Pool Deck Before and After
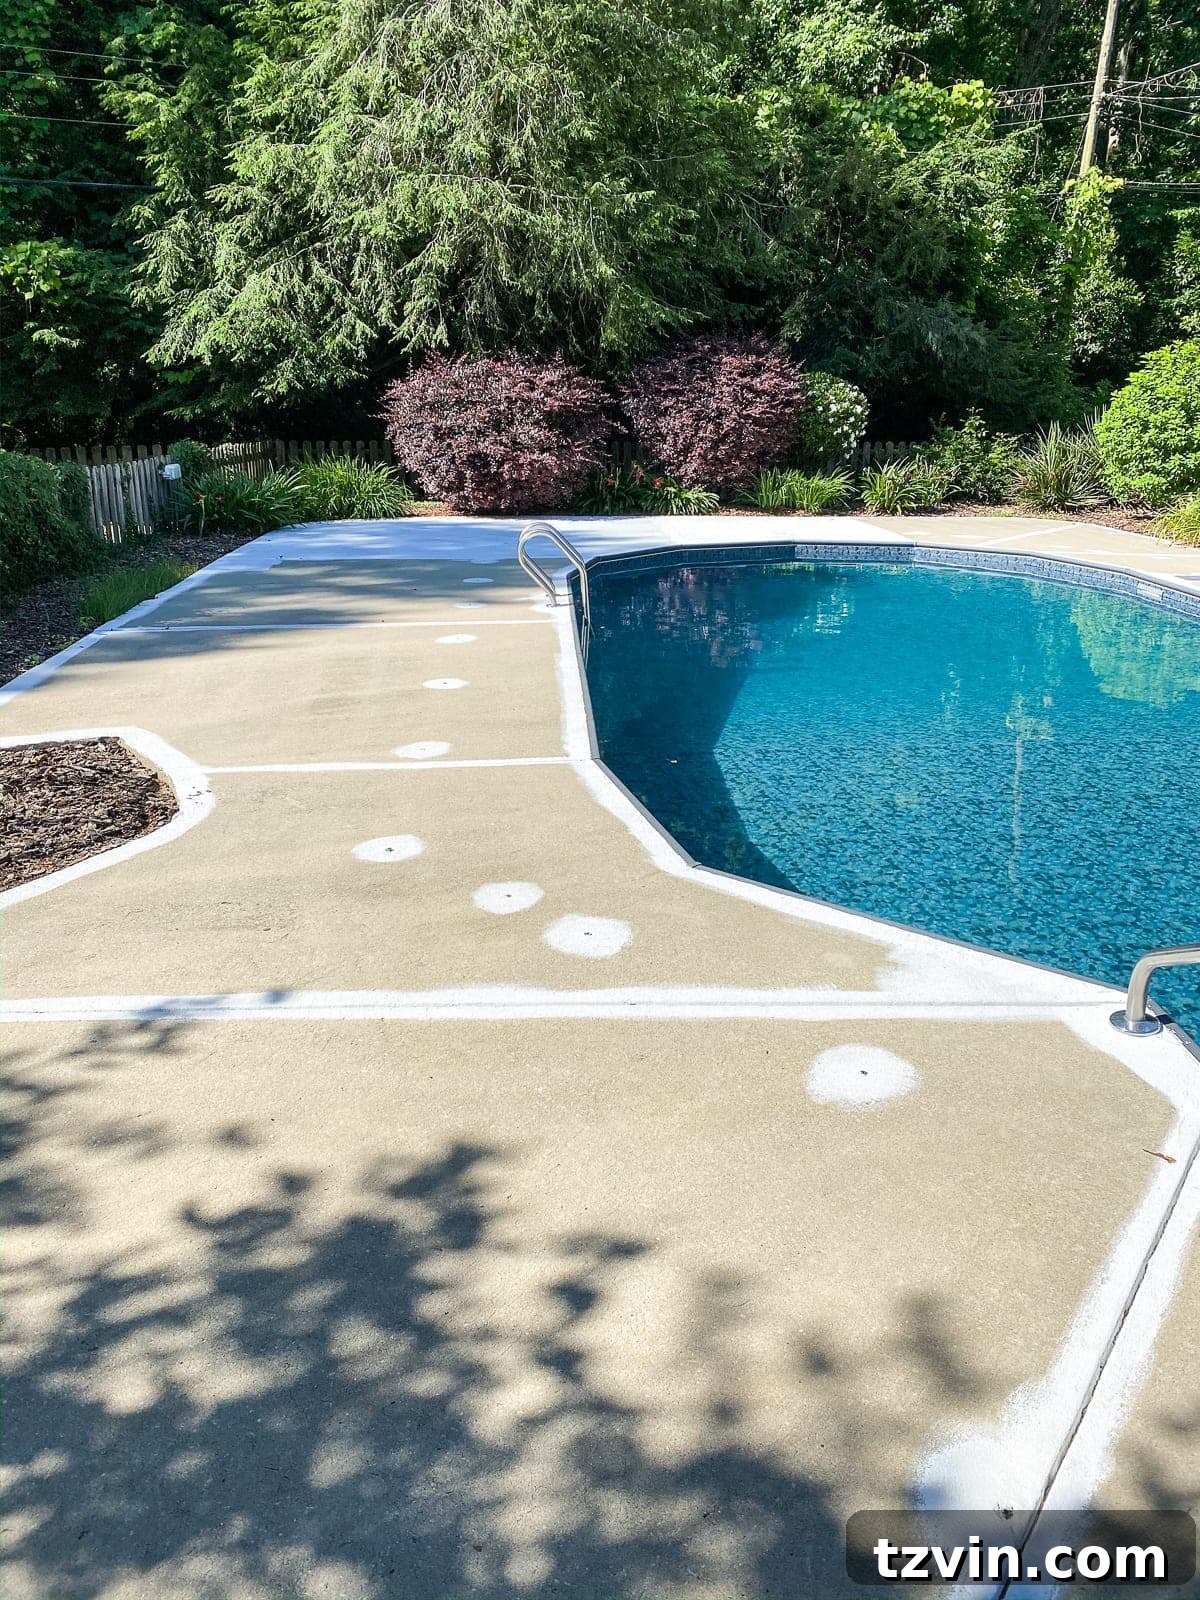
They say mistakes are proof you’re trying, and in our case, our first attempt at refreshing our concrete patio and pool deck was indeed a monumental learning experience. About a year prior to our successful endeavor, we tried to paint these surfaces with disastrous results. It was, to put it mildly, a gigantic failure.
Our initial attempt at rolling a fresh coat of paint onto the bare concrete quickly revealed a crucial truth: not all pool paints are created equal, and proper surface preparation is absolutely paramount for a lasting finish. In hindsight, trying to embark on such a project while still navigating the sleepless nights of caring for an infant with ear infections and colic was probably not the best timing for meticulous DIY work.
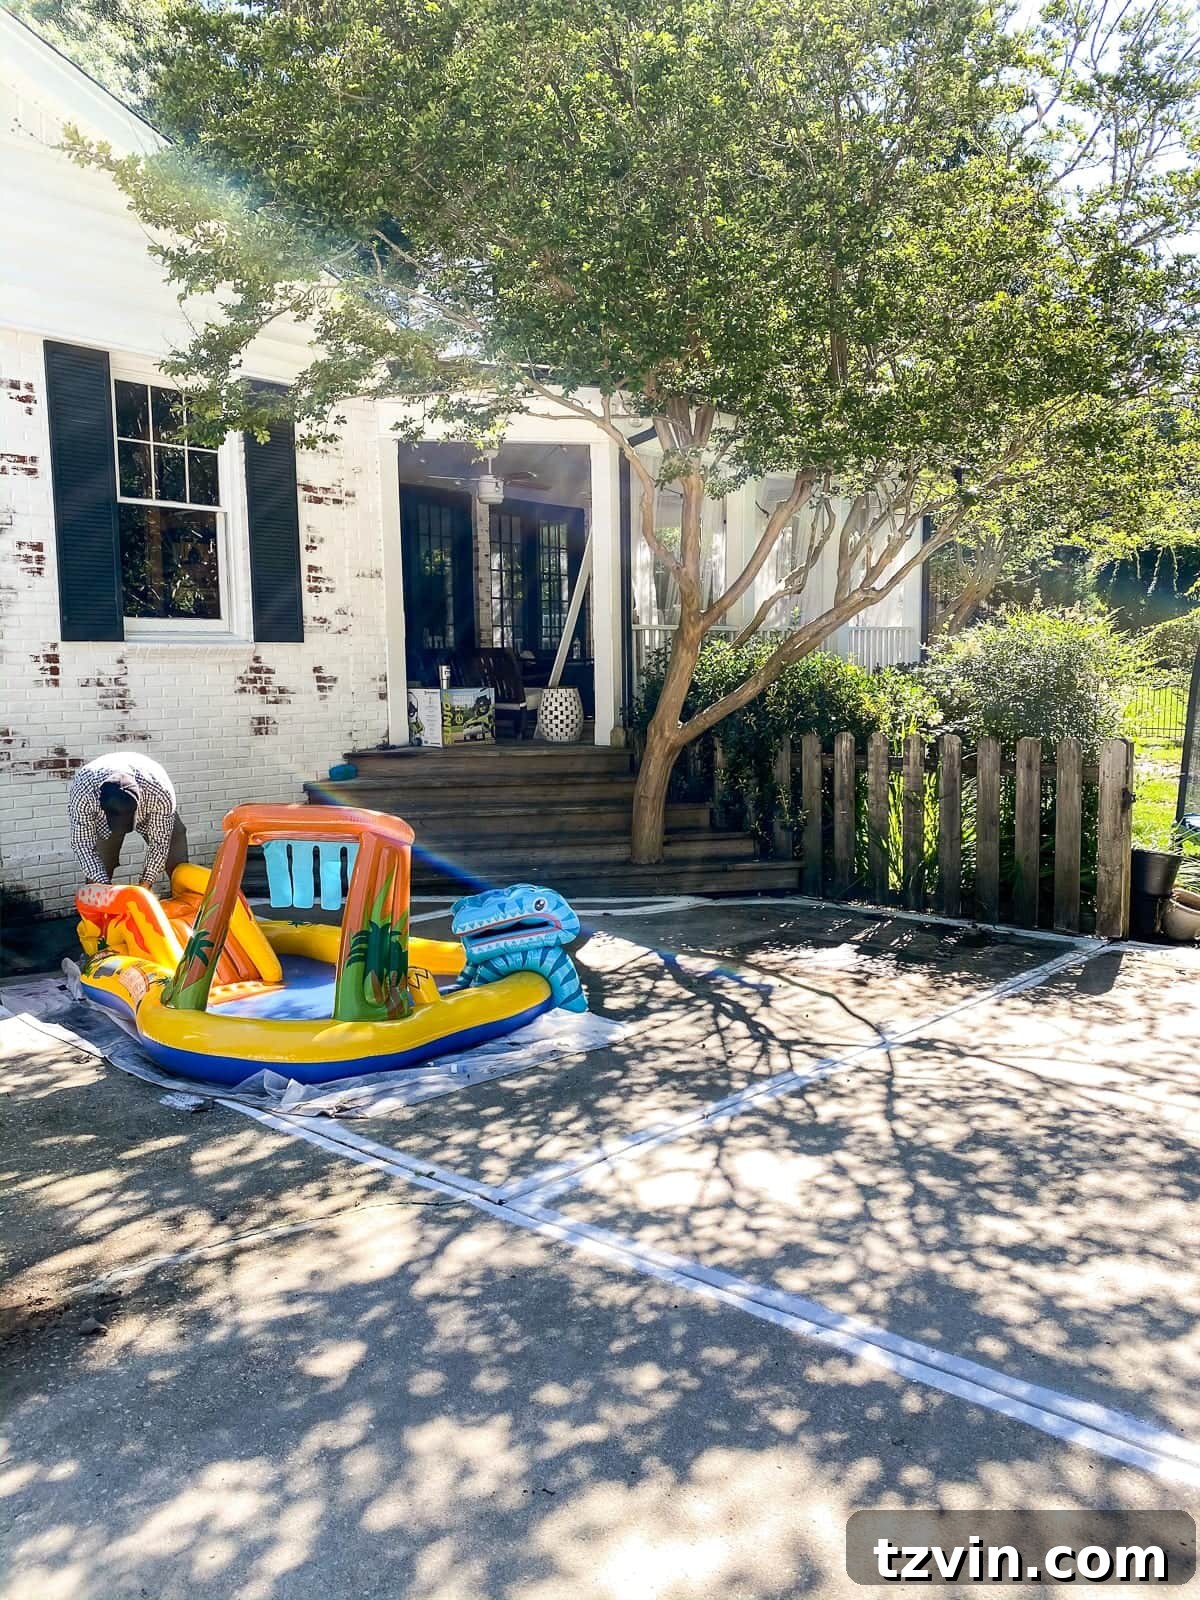
Fortunately, our second attempt – armed with thorough research and a much clearer understanding of best practices – was a complete success. We discovered an exceptional method to achieve the sophisticated look of a freshly poured concrete pool deck, effectively erasing all memory of that previous paint job fiasco.
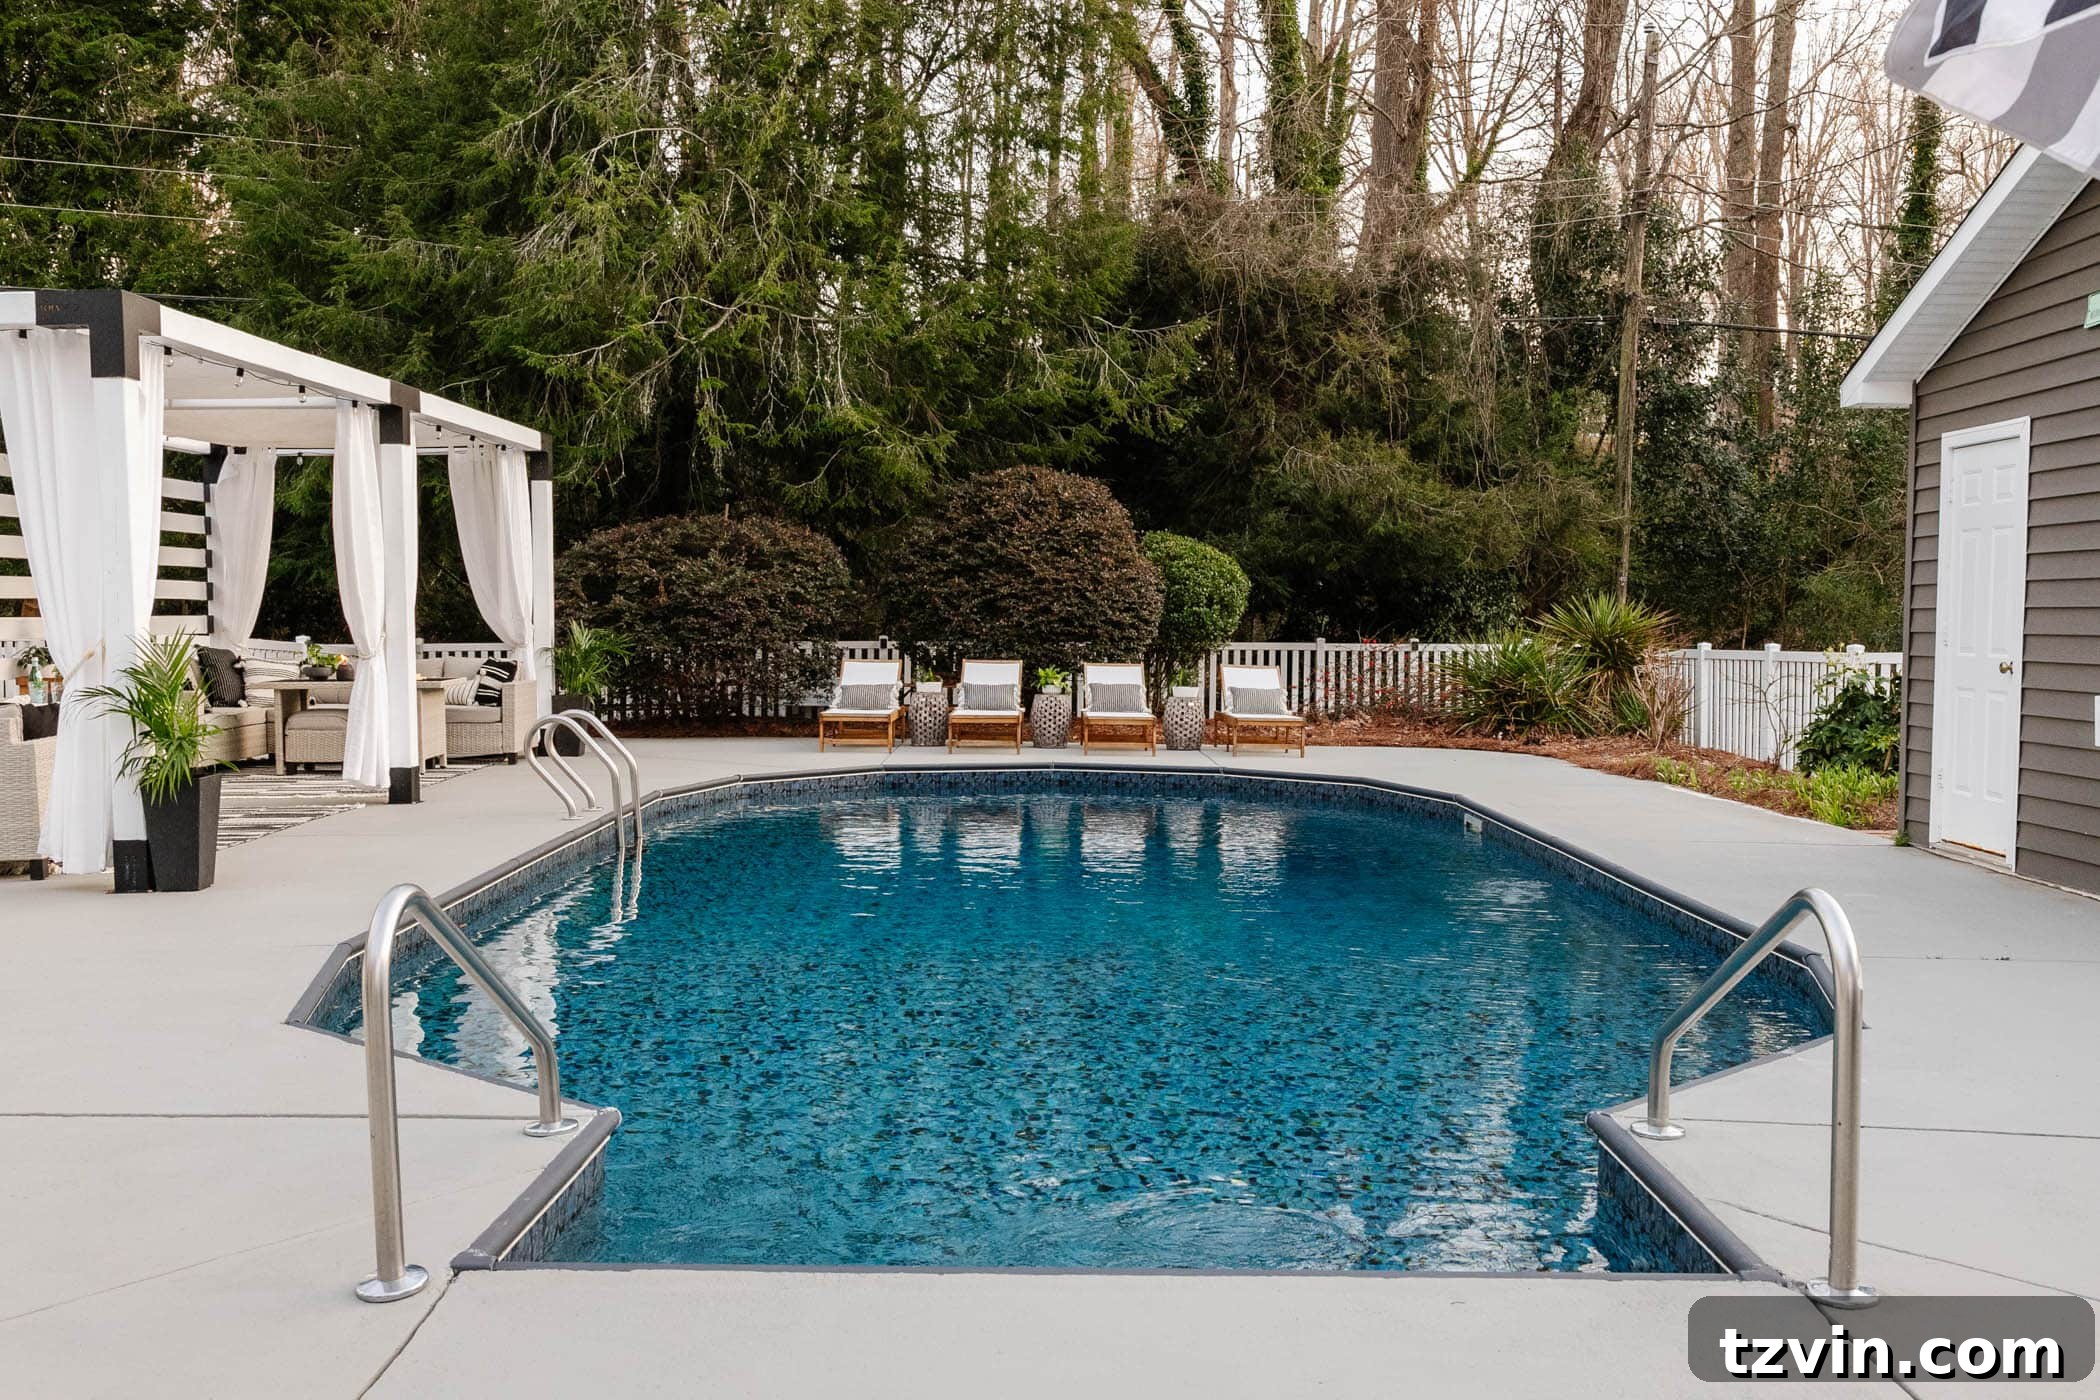
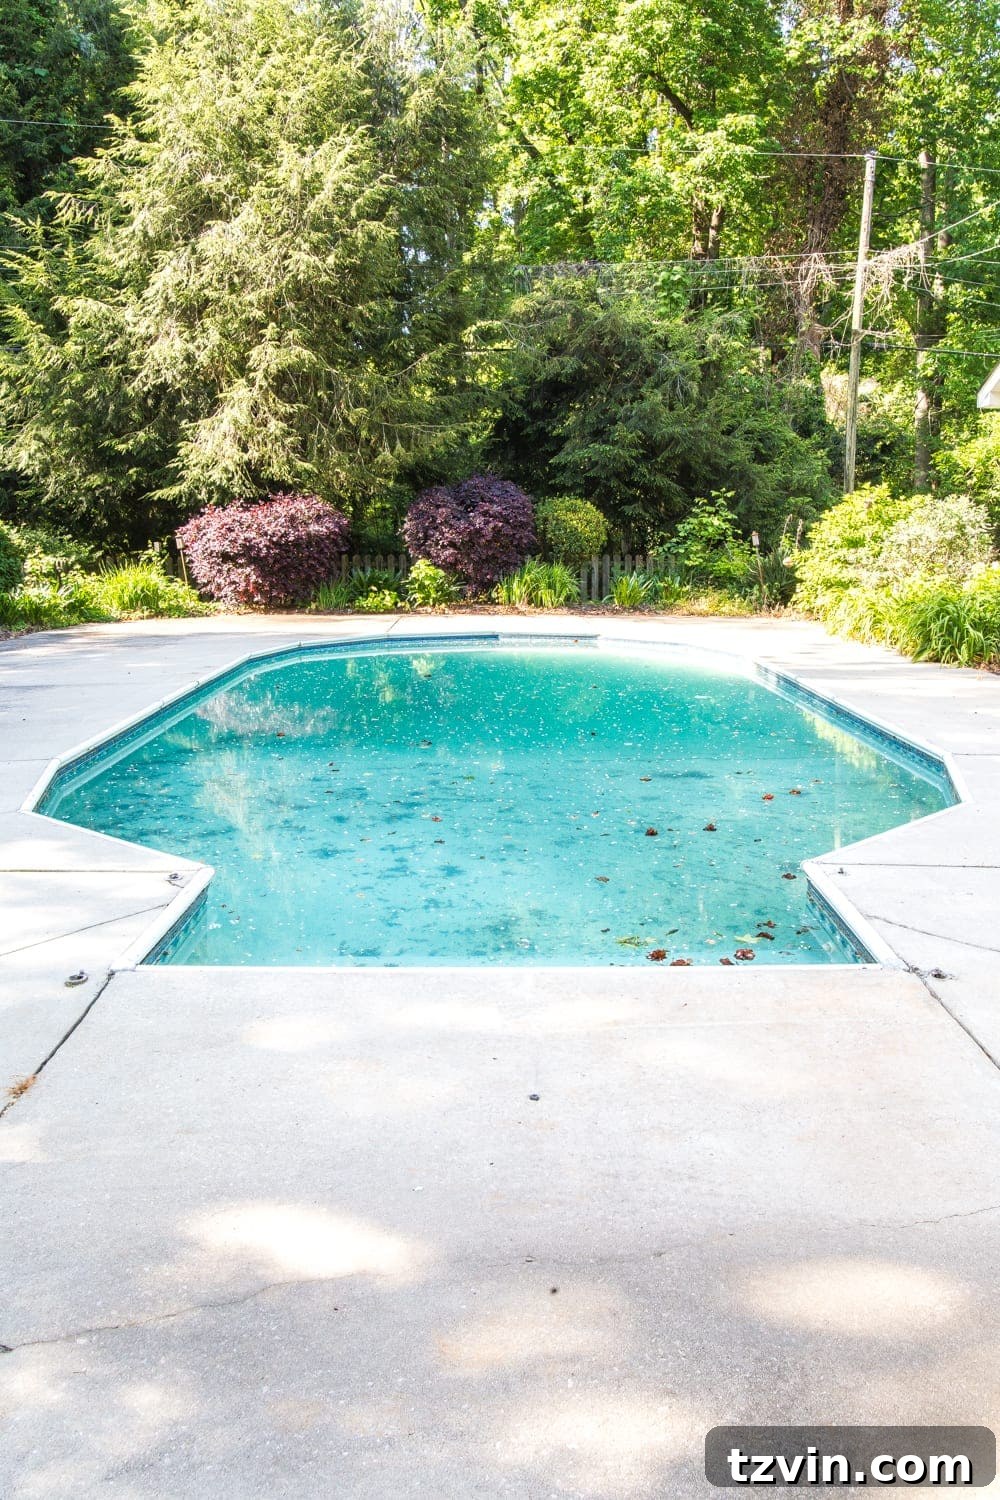
Can you truly believe the incredible transformation our painted concrete patio underwent? The difference is simply astonishing!

UPDATE: See the stunning final styled pool deck reveal here!
UPDATE TO THE UPDATE: Remarkably, four years later, this durable pool deck and patio paint continues to hold up perfectly. Despite constant exposure to corrosive salt water splashing from the pool, there are absolutely no scuffs or signs of peeling. This project truly was a triumph!
Avoiding Common Pitfalls: Costly Concrete Painting Mistakes to Sidestep
Before you embark on your pool deck painting journey, heed these critical warnings to avoid expensive and frustrating mistakes:
- Steer Clear of Bright White Paint: A word of serious caution – do NOT use bright white concrete paint for your pool deck. While lighter colors are generally recommended to keep the deck cooler on hot days, pure white will create an unbearable glare in direct sunlight, effectively burning your retinas. This was a mistake we made during our first attempt, likely influenced by the exhaustion of wrangling an infant prone to ear infections and colic.
- Never Skip Proper Surface Preparation and Priming: This is arguably the most crucial step for a long-lasting finish. Skipping the vital prep work and priming before you even open a can of patio paint will lead to premature peeling and a significantly shorter lifespan for your paint job. Concrete is a porous material; it will greedily absorb paint if not properly sealed, resulting in uneven coverage, a dull finish, and requiring more paint and more of your precious time.
- Always Incorporate a Grip Additive: For any concrete surface around a pool or patio that will get wet, slip resistance is not optional – it’s a safety imperative. Always thoroughly stir a grip additive into your paint. Failing to create a slip-resistant surface can lead to dangerous falls and injuries, turning your beautiful new deck into a hazard.
After enduring the sight of our poorly executed first paint job for over a year, we were finally motivated to rectify the situation permanently. We learned these lessons the hard way, so you don’t have to!
DIY vs. Professional: Understanding Concrete Pool Deck Painting Costs
Before committing to a DIY project, it’s wise to understand the alternatives. We initially sought a quote from a professional paint company to evaluate if hiring an expert would be a better option for this significant undertaking. The estimate we received from the contractor for painting our concrete pool deck and patio came in at a staggering $3,000.
Determined to find a more budget-friendly solution, we challenged ourselves to complete the project for under $1,000. And guess what? We succeeded! Our total material cost for this impressive transformation was just $904.22, not including the tools we already owned.
While this project is not inherently difficult, it does require dedication and time. It’s certainly a hot and time-consuming endeavor, but it’s entirely manageable for the average DIYer. If your schedule allows, we highly recommend undertaking this project in the spring or fall when temperatures are more moderate. However, we managed to complete ours in the scorching July heat of South Carolina, proving it can be done with perseverance.
Your Step-by-Step Guide: DIY Painted Concrete Pool Deck and Patio Instructions
This comprehensive tutorial will guide you through the process of painting your concrete pool deck and patio. For optimal results, ensure your concrete is in good, structurally sound condition. This method is also suitable for most types of natural stone surfaces. Below is a detailed overview of the application process.
Essential Tools
Having the right tools is crucial for efficiency and a professional finish:
- Leaf Blower: For quick initial debris removal.
- Pressure Washer: Indispensable for deep cleaning and rinsing.
- Push Broom: For scrubbing the concrete etcher into the surface.
- Plastic Watering Can: Essential for even application of the concrete etcher (avoid metal as it can react).
- Putty Knife: For smooth application of crack filler.
- Extra Large Paint Roller Frame: To cover large areas efficiently.
- Extra Large Paint Roller Tray: Accommodates larger rollers and more paint.
- Power Drill with Mixing Paddle Attachment: For thoroughly mixing paint and additives.
Recommended Supplies
These are the specific products that yielded excellent, long-lasting results for our project:
- Valspar Fast Prep Concrete Cleaner (We used 4 gallons): A powerful cleaner and etcher that prepares the concrete surface.
- DAP Liquid Cement Crack Filler: For repairing minor cracks and imperfections before painting.
- KILZ General Purpose Exterior Primer (We used 13 gallons): Essential for adhesion and paint coverage on porous concrete.
- Rustoleum Anti-Skid Additive (We used 10 packs): Crucial for creating a safe, non-slip surface around the pool.
- KILZ 1-Part Epoxy Concrete & Garage Floor Paint – Slate Gray (We used 10 gallons): A highly durable epoxy paint designed for demanding concrete surfaces.
- Extra Large Rough Paint Roller Covers: Designed for textured surfaces like concrete, ensuring proper paint application.
- 3″ Angled Paint Brush: Perfect for cutting in edges, painting into cracks, and detailing.
OUR TOTAL PROJECT COST: $904.22 (This figure represents the cost of all listed supplies and does not include tools, as we already owned most of them.)
Choosing the Right Conditions: Ideal Outdoor Concrete Paint Weather
Weather conditions are paramount for the success and longevity of your painted concrete pool deck. Before you begin, meticulously check the weather forecast and plan to execute this project over four consecutive warm, dry days. The entire process typically requires approximately three active work days, followed by a crucial 24-hour drying period after the final coat is applied.
High humidity will significantly extend drying and curing times, potentially compromising adhesion and durability. It is absolutely essential to avoid applying paint to damp surfaces, as this will almost certainly lead to peeling paint down the line. Ideally, aim for surface temperatures ranging between 50 to 70 degrees Fahrenheit (10 to 21 degrees Celsius). These conditions allow for optimal paint flow, adhesion, and curing.
For our large concrete pool deck and patio, the active labor time amounted to approximately 12 hours, not including the necessary drying intervals between each stage.
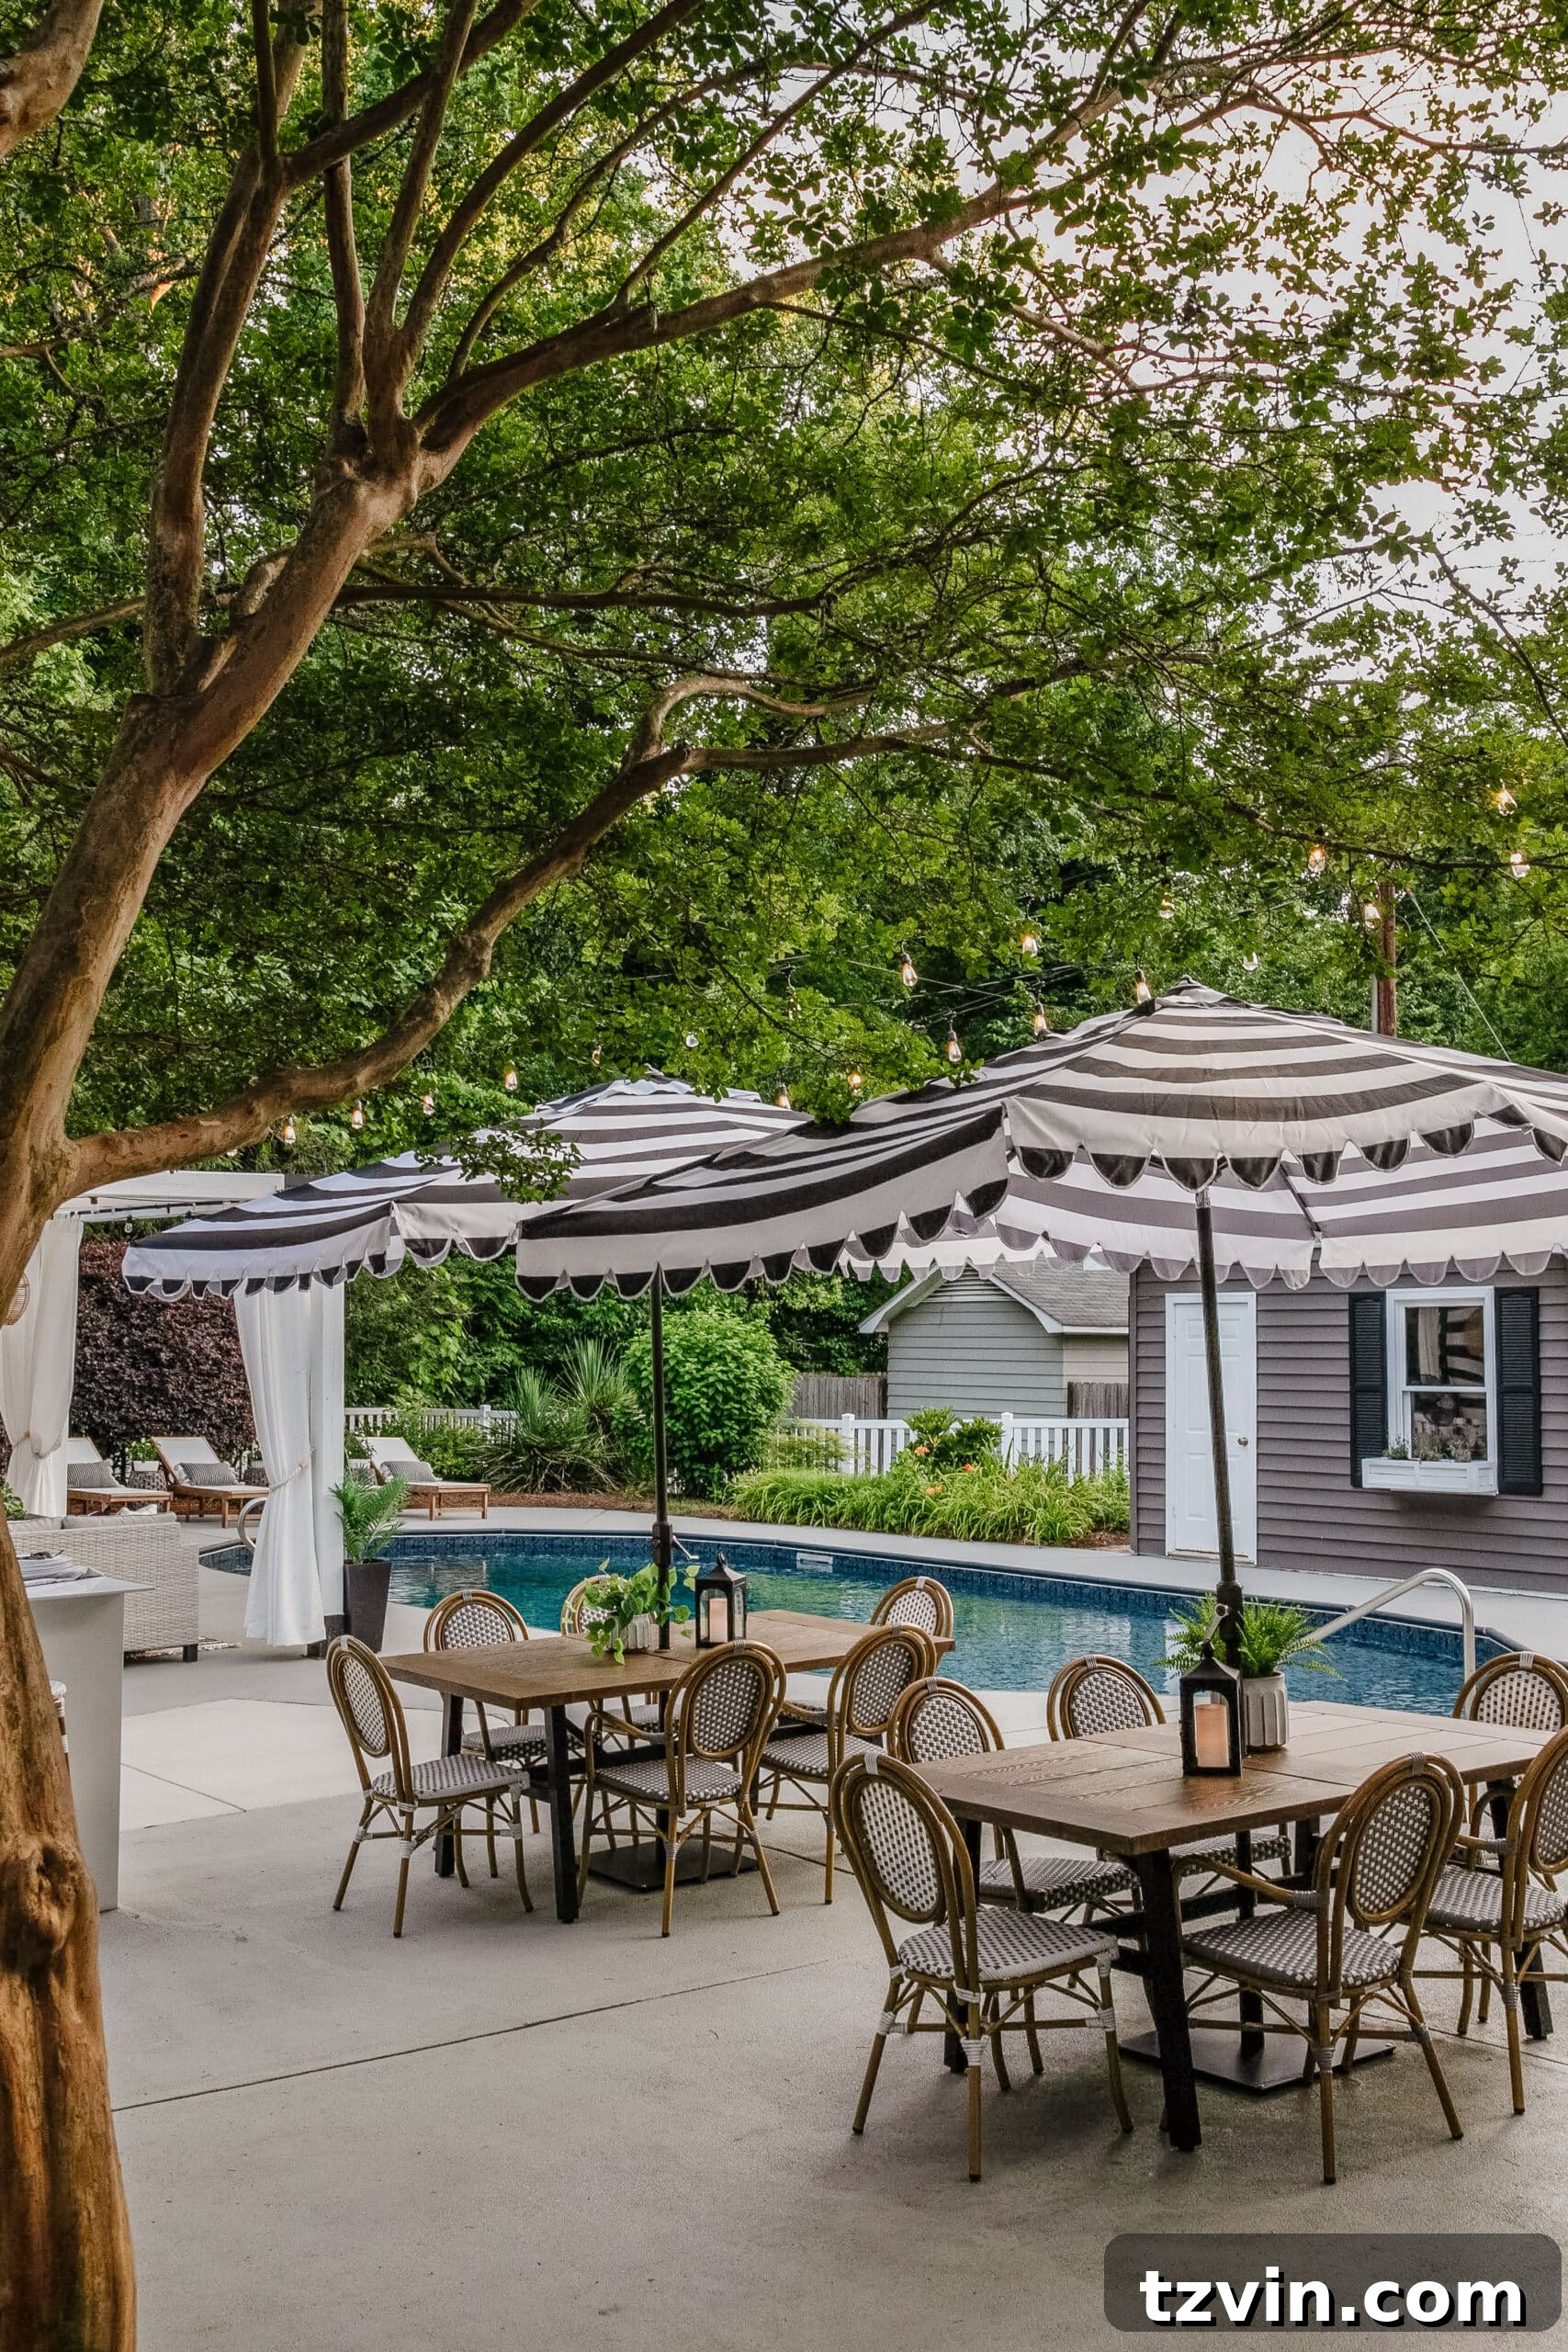
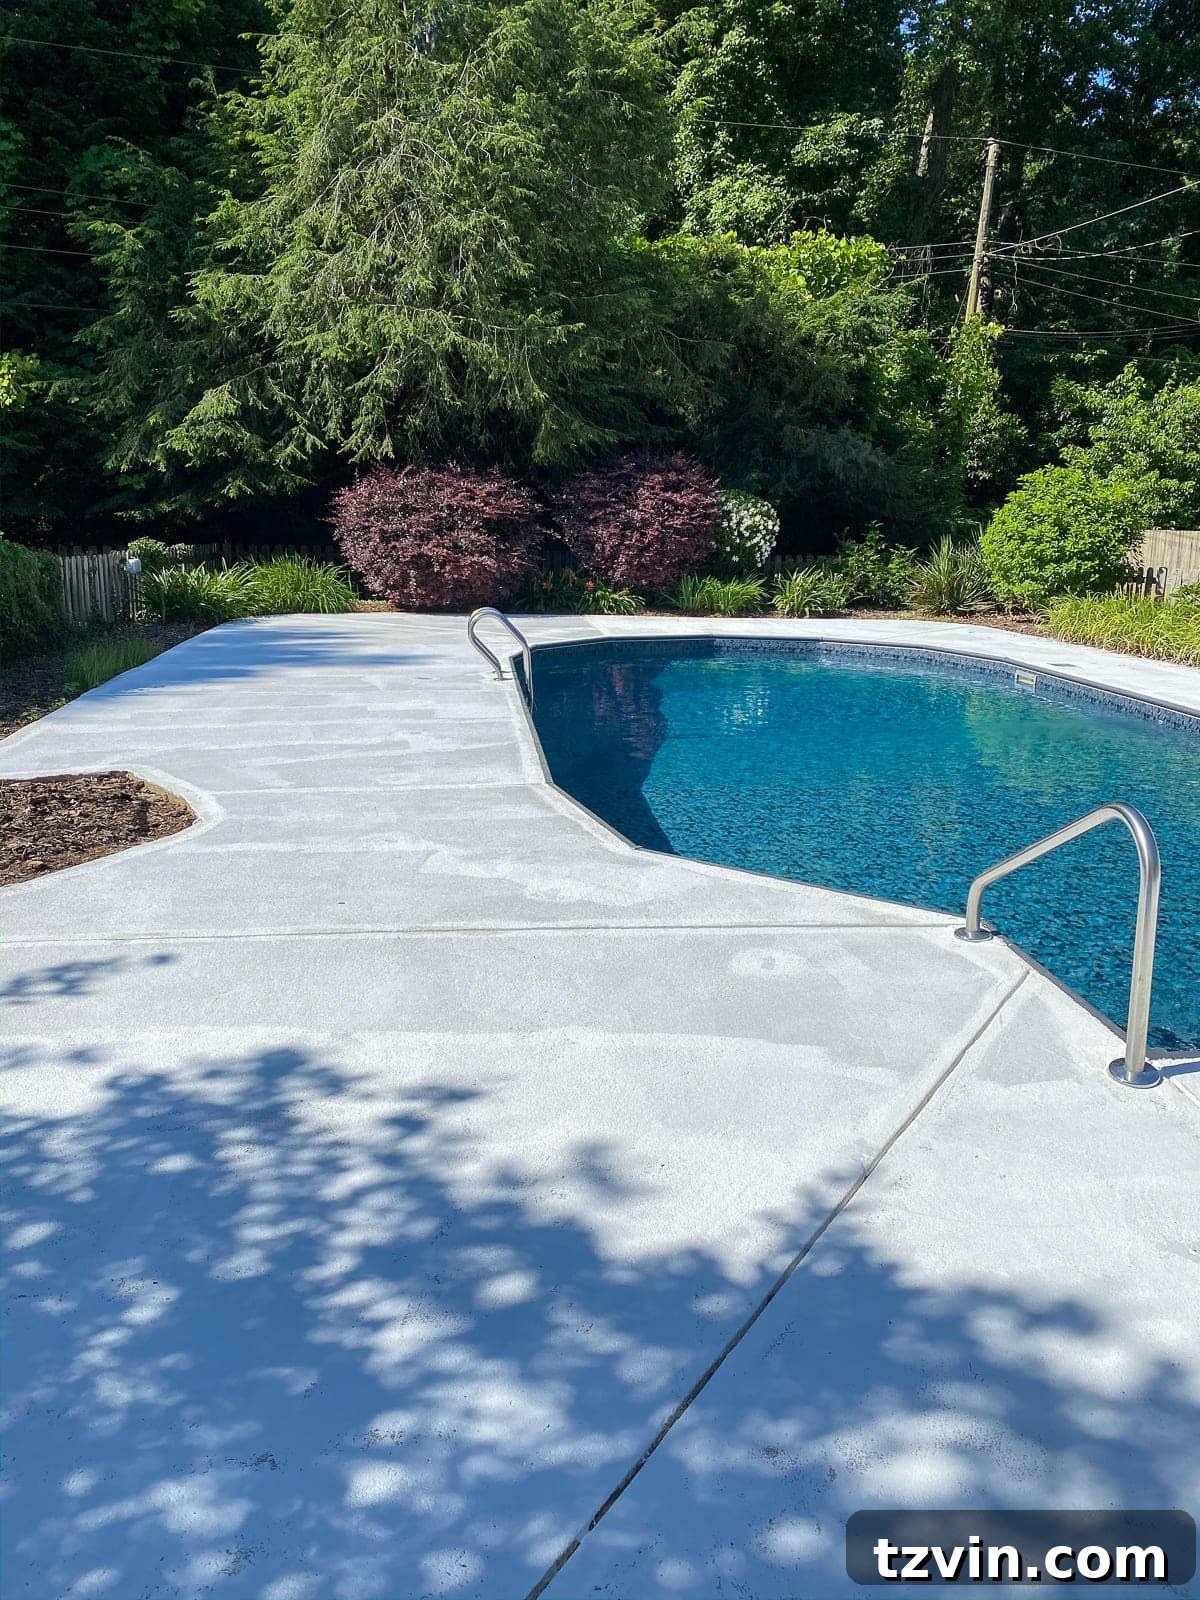
Here’s another compelling before and after comparison, highlighting how brilliantly this painted concrete has endured over four years. 😉
Step 1: Clear Away Debris
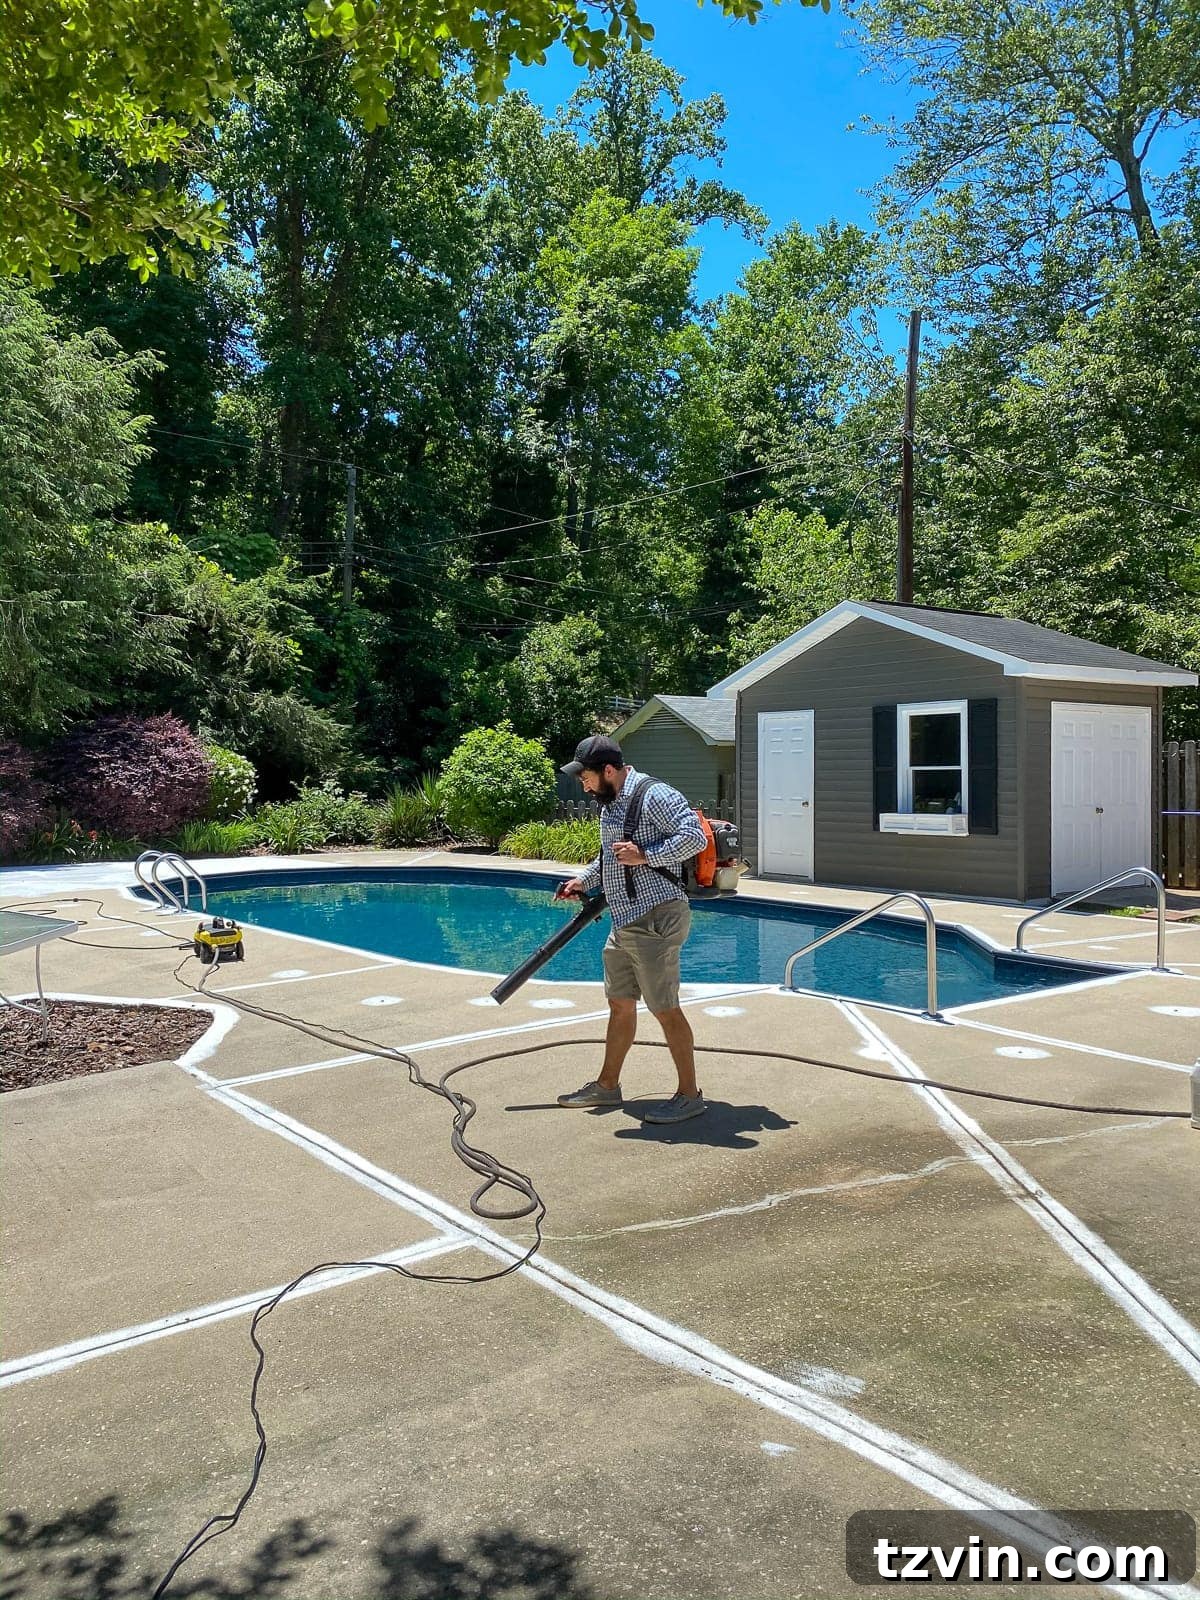
Begin your preparation by thoroughly clearing the concrete surface. Use a powerful leaf blower to remove any loose leaves, dirt, dust, and other debris. This initial sweep prevents larger particles from interfering with subsequent cleaning steps and ensures a cleaner starting point.
Step 2: Deep Clean and Etch the Concrete Surface
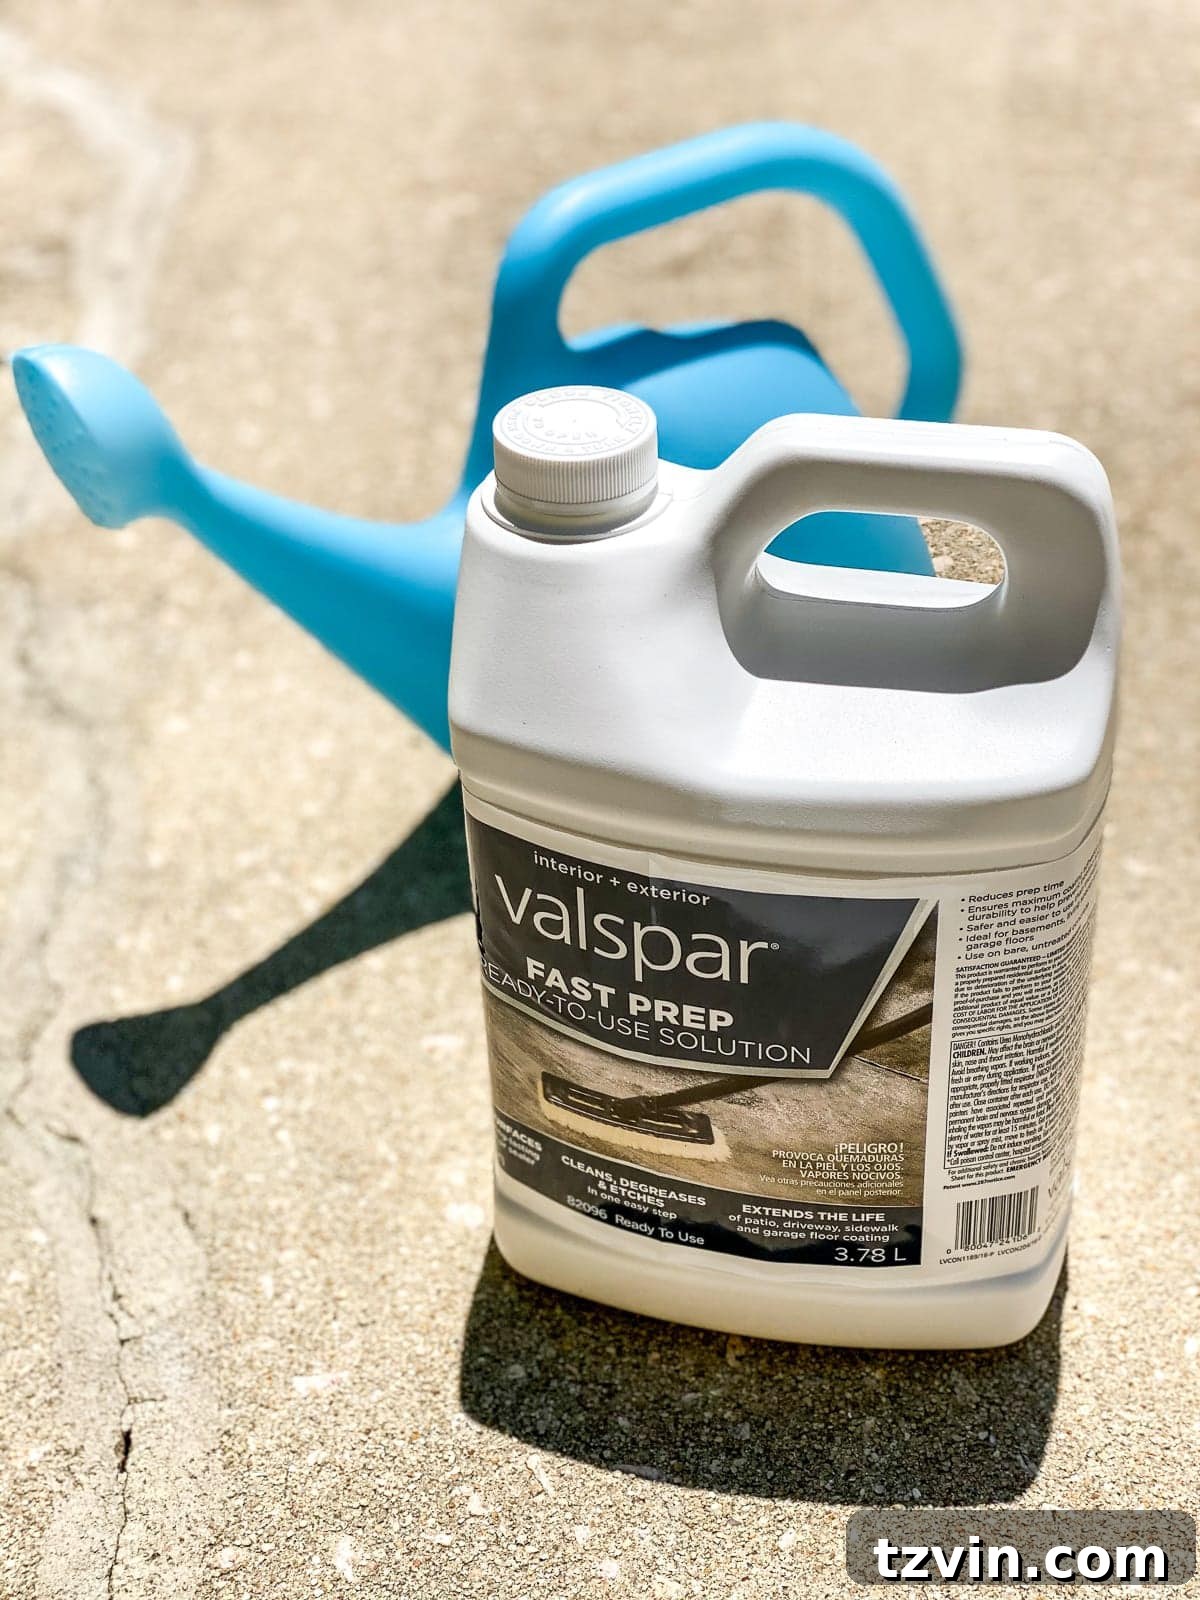
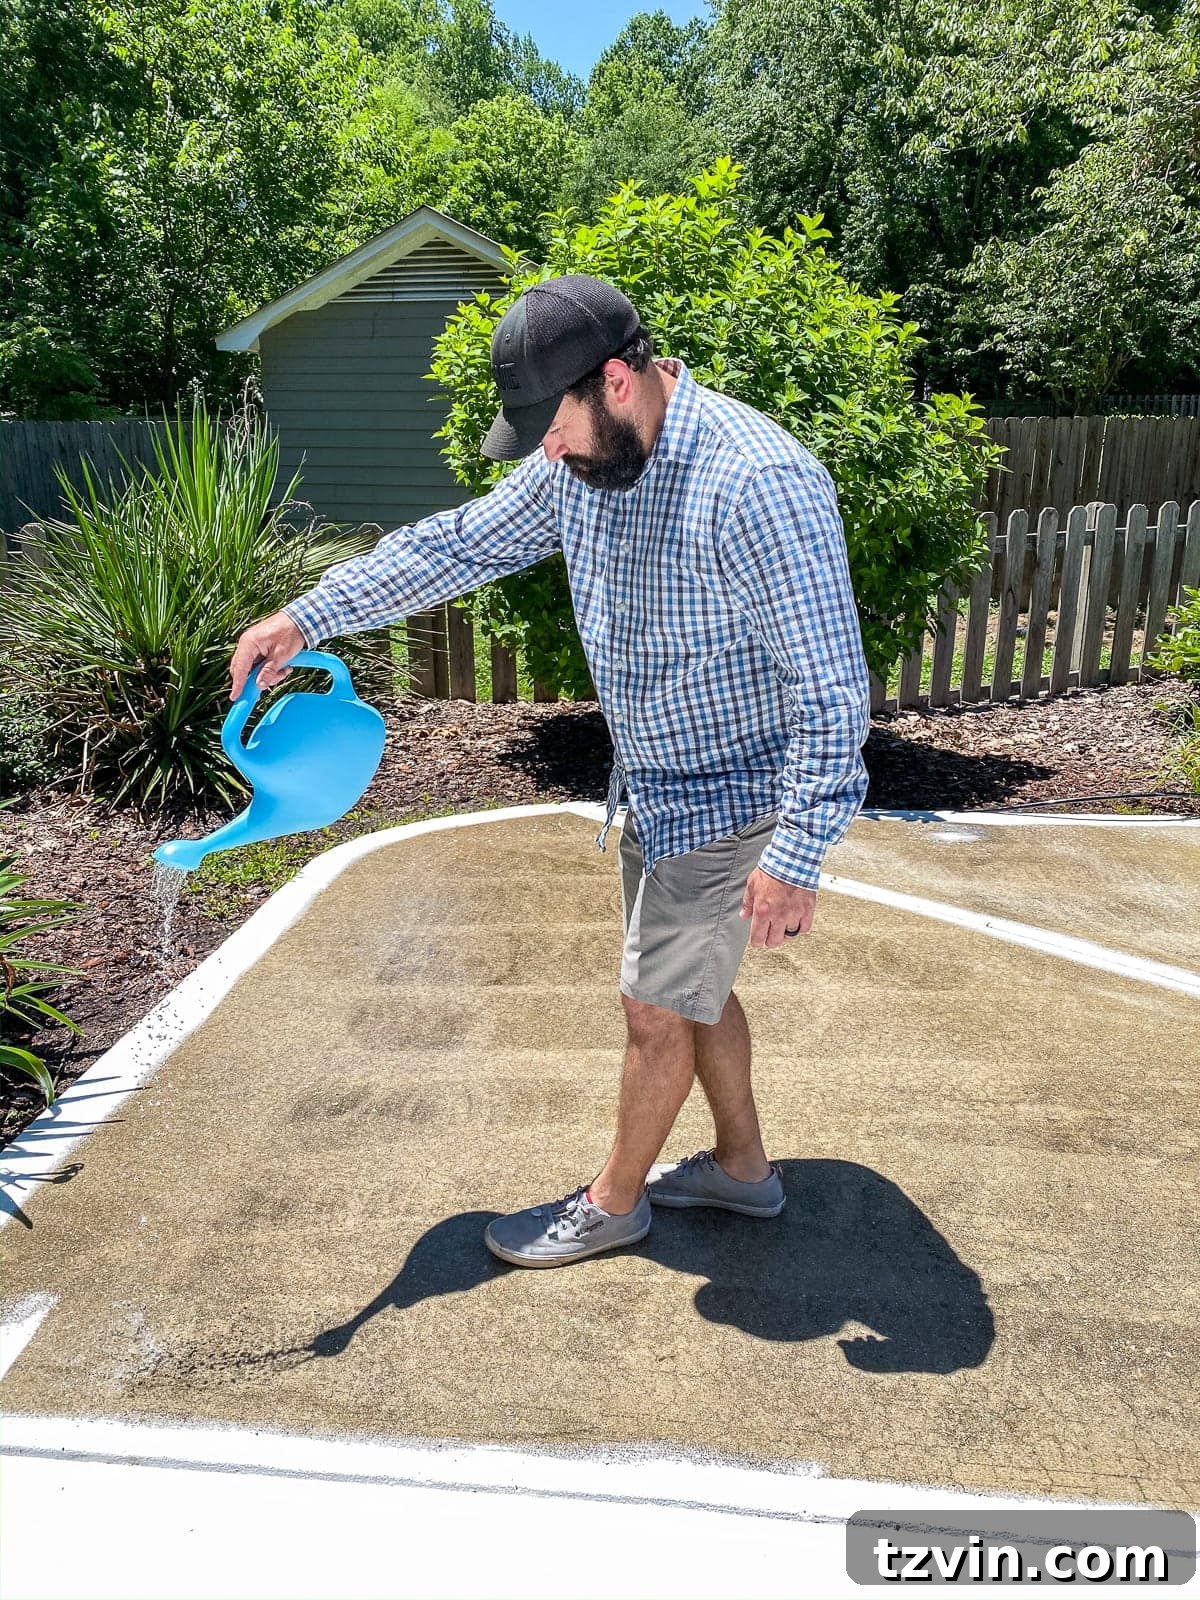
This is a critical step for proper paint adhesion. Work in manageable 10-square-foot sections to prevent the cleaner from drying prematurely. First, use a garden hose to thoroughly dampen a section of the concrete. Always wear appropriate footwear; working with bare feet is not recommended when handling chemicals.
Fill a plastic watering can (never use a metal can, as it can react with the etcher) with the recommended concrete cleaner & etcher. Pour the solution evenly over the damp concrete surface. The etcher works by creating a slightly rougher, porous surface, which allows the primer and paint to bond more effectively.
Step 3: Vigorously Scrub the Surface
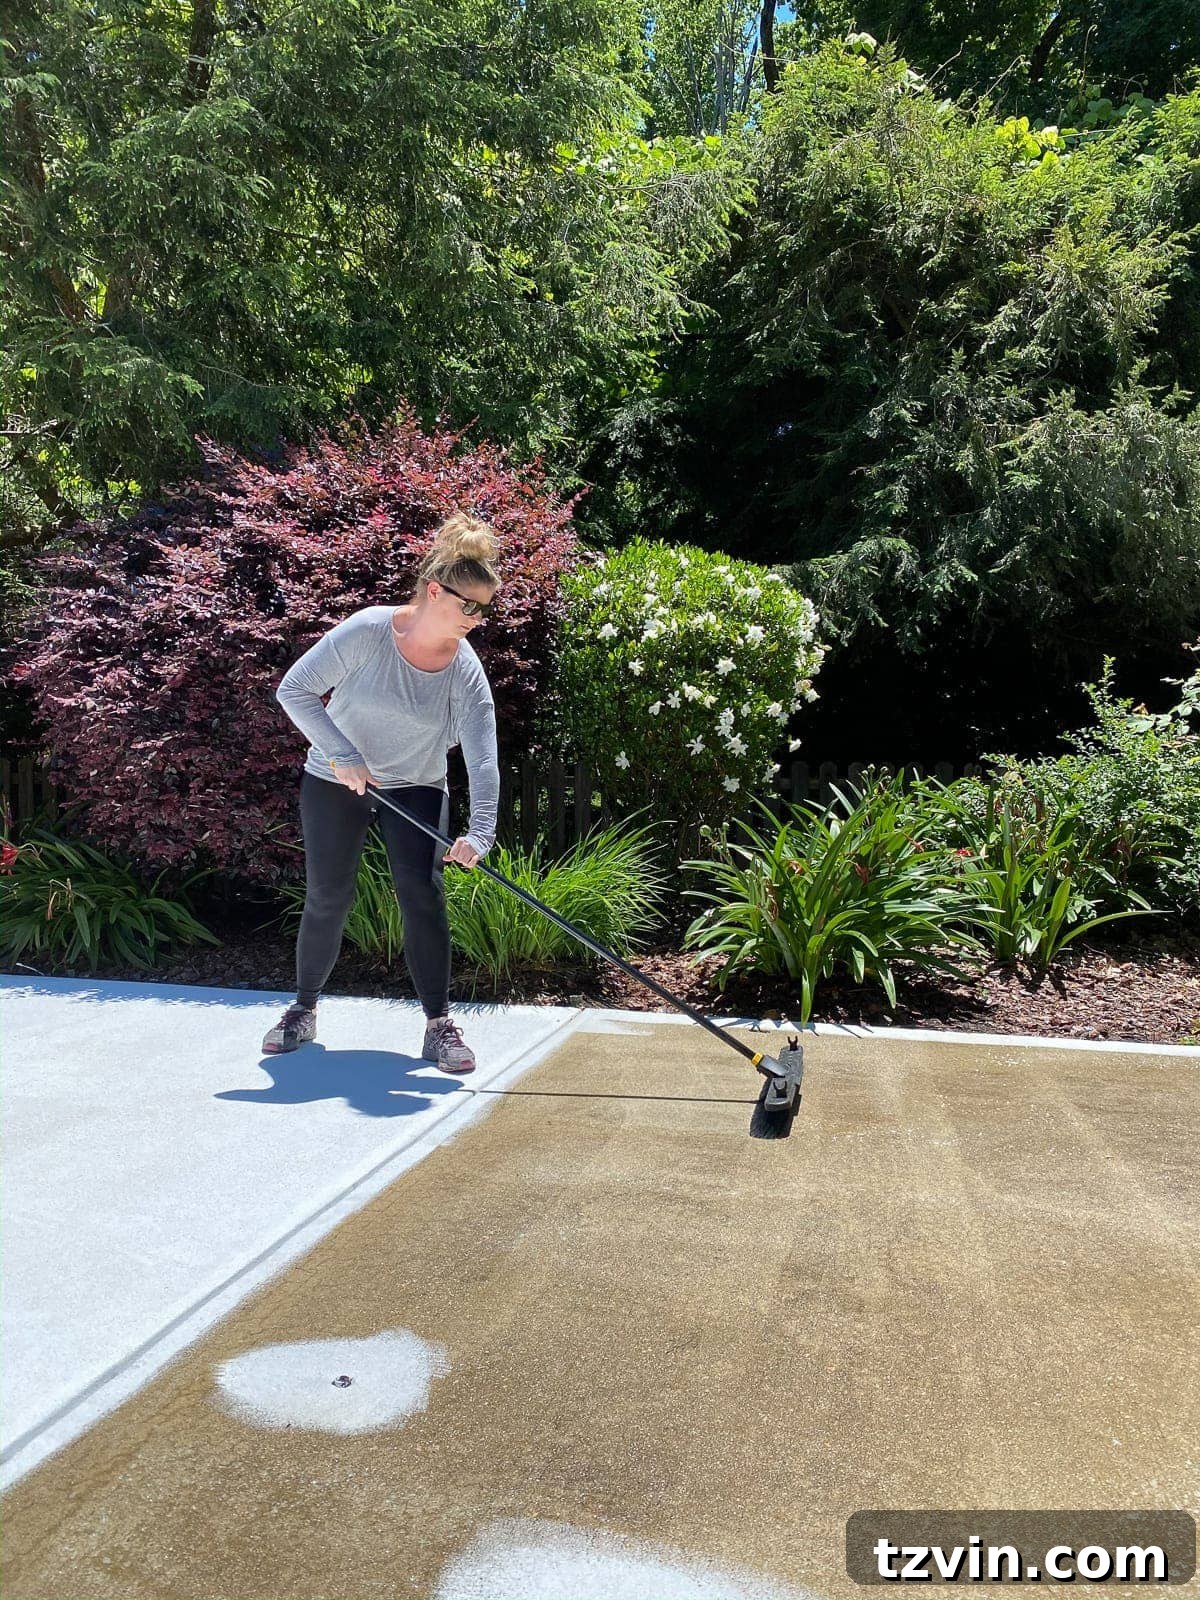
Allow the concrete cleaner and etcher to sit on the surface for 2-3 minutes. During this time, you should observe it fizzing and bubbling, which indicates that it is actively cleaning and reacting with the concrete. Using a stiff-bristled push broom, thoroughly scrub the entire section. Work in two perpendicular directions to ensure comprehensive cleaning and etching, removing all embedded dirt, grime, and efflorescence.
Step 4: Rinse Thoroughly with a Pressure Washer
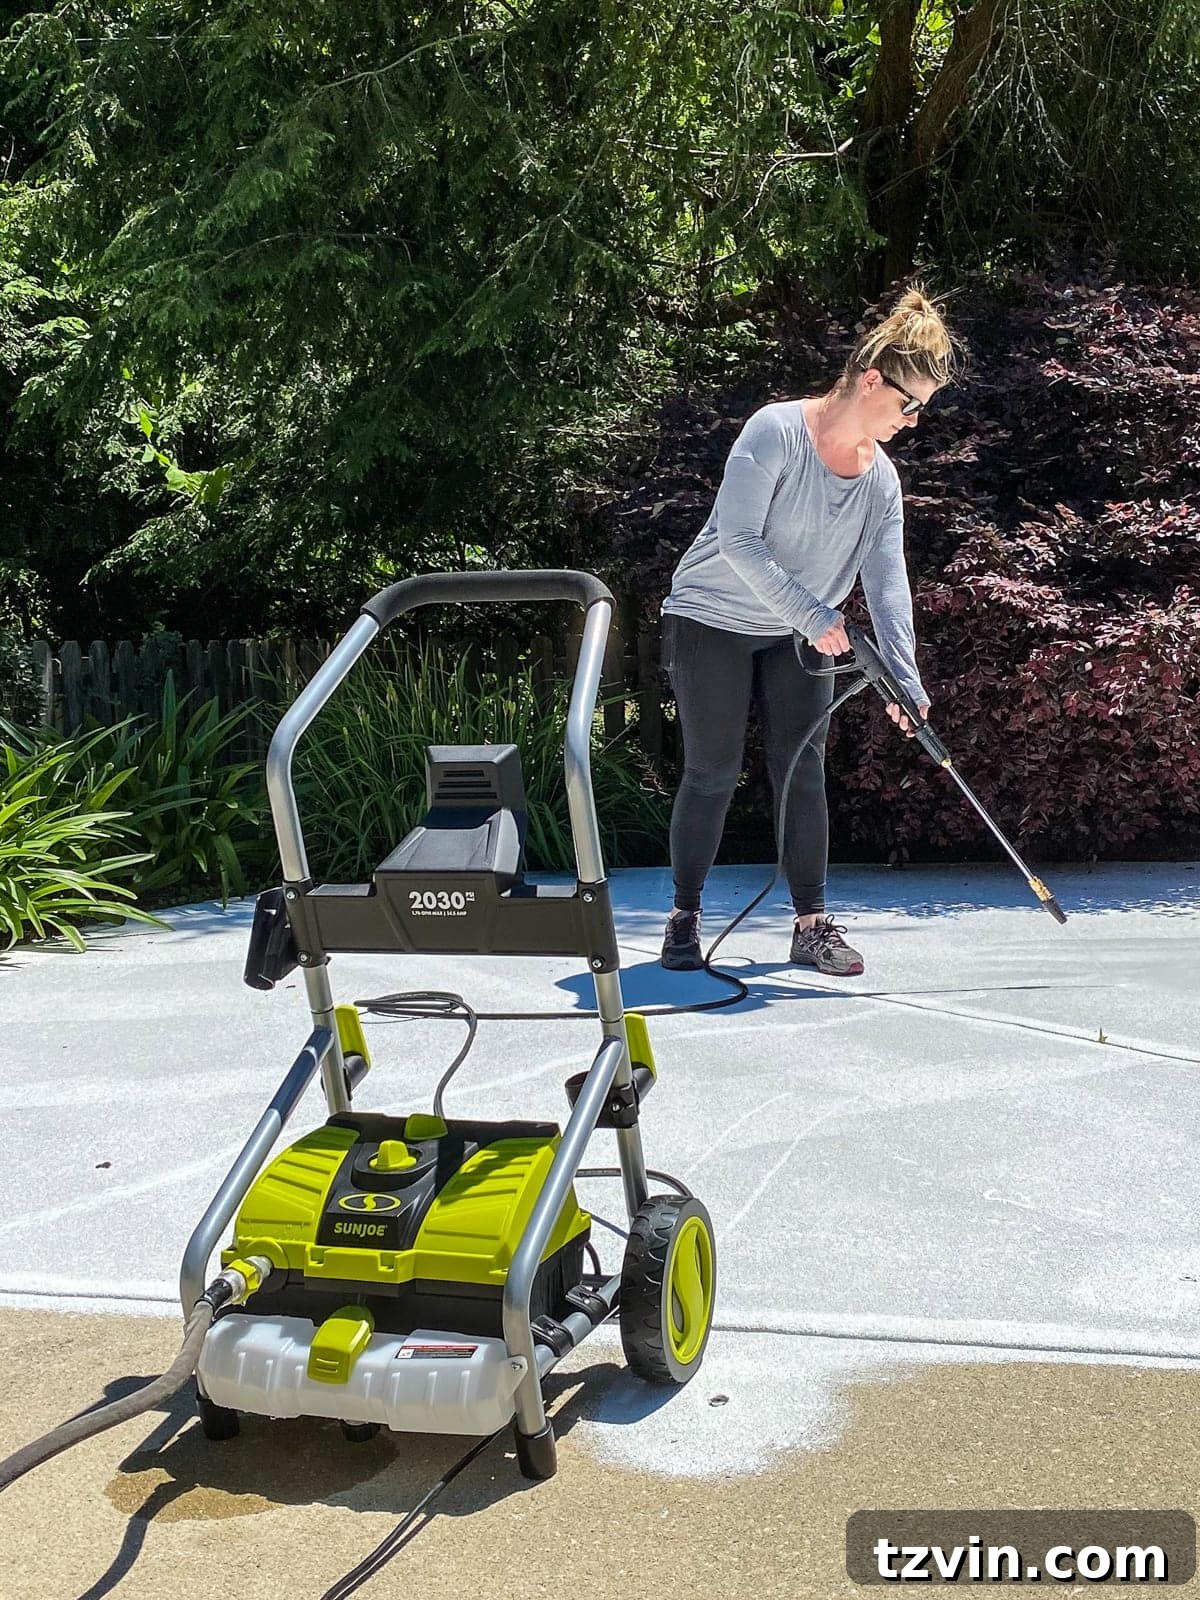
Once you’ve finished scrubbing each section, use a powerful pressure washer to completely rinse away the concrete cleaner, etcher, and any dislodged dirt or grime from the porous surface. Ensure all residue is removed to prevent future adhesion issues. We highly recommend this specific power washer for its effectiveness. After rinsing, allow the concrete to fully and completely dry before proceeding to the next step. This can take several hours depending on weather and humidity.
Step 5: Repair Cracks and Fill Holes
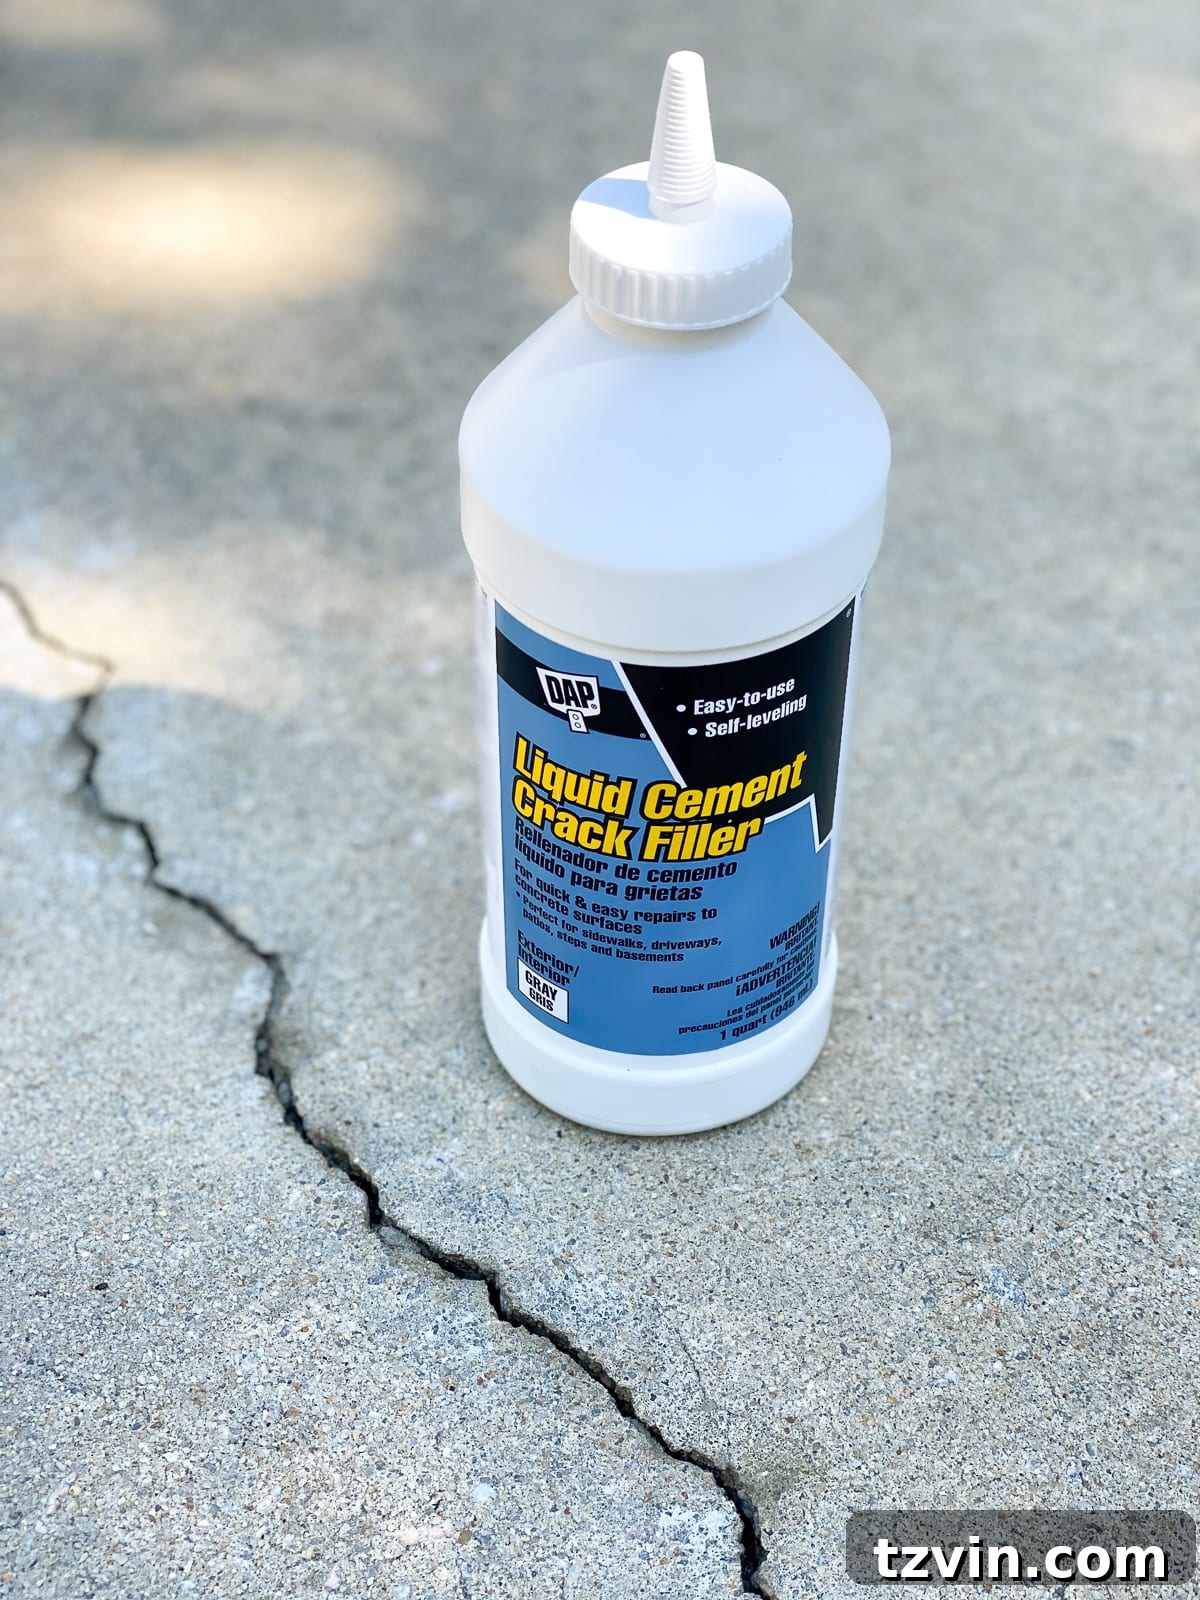
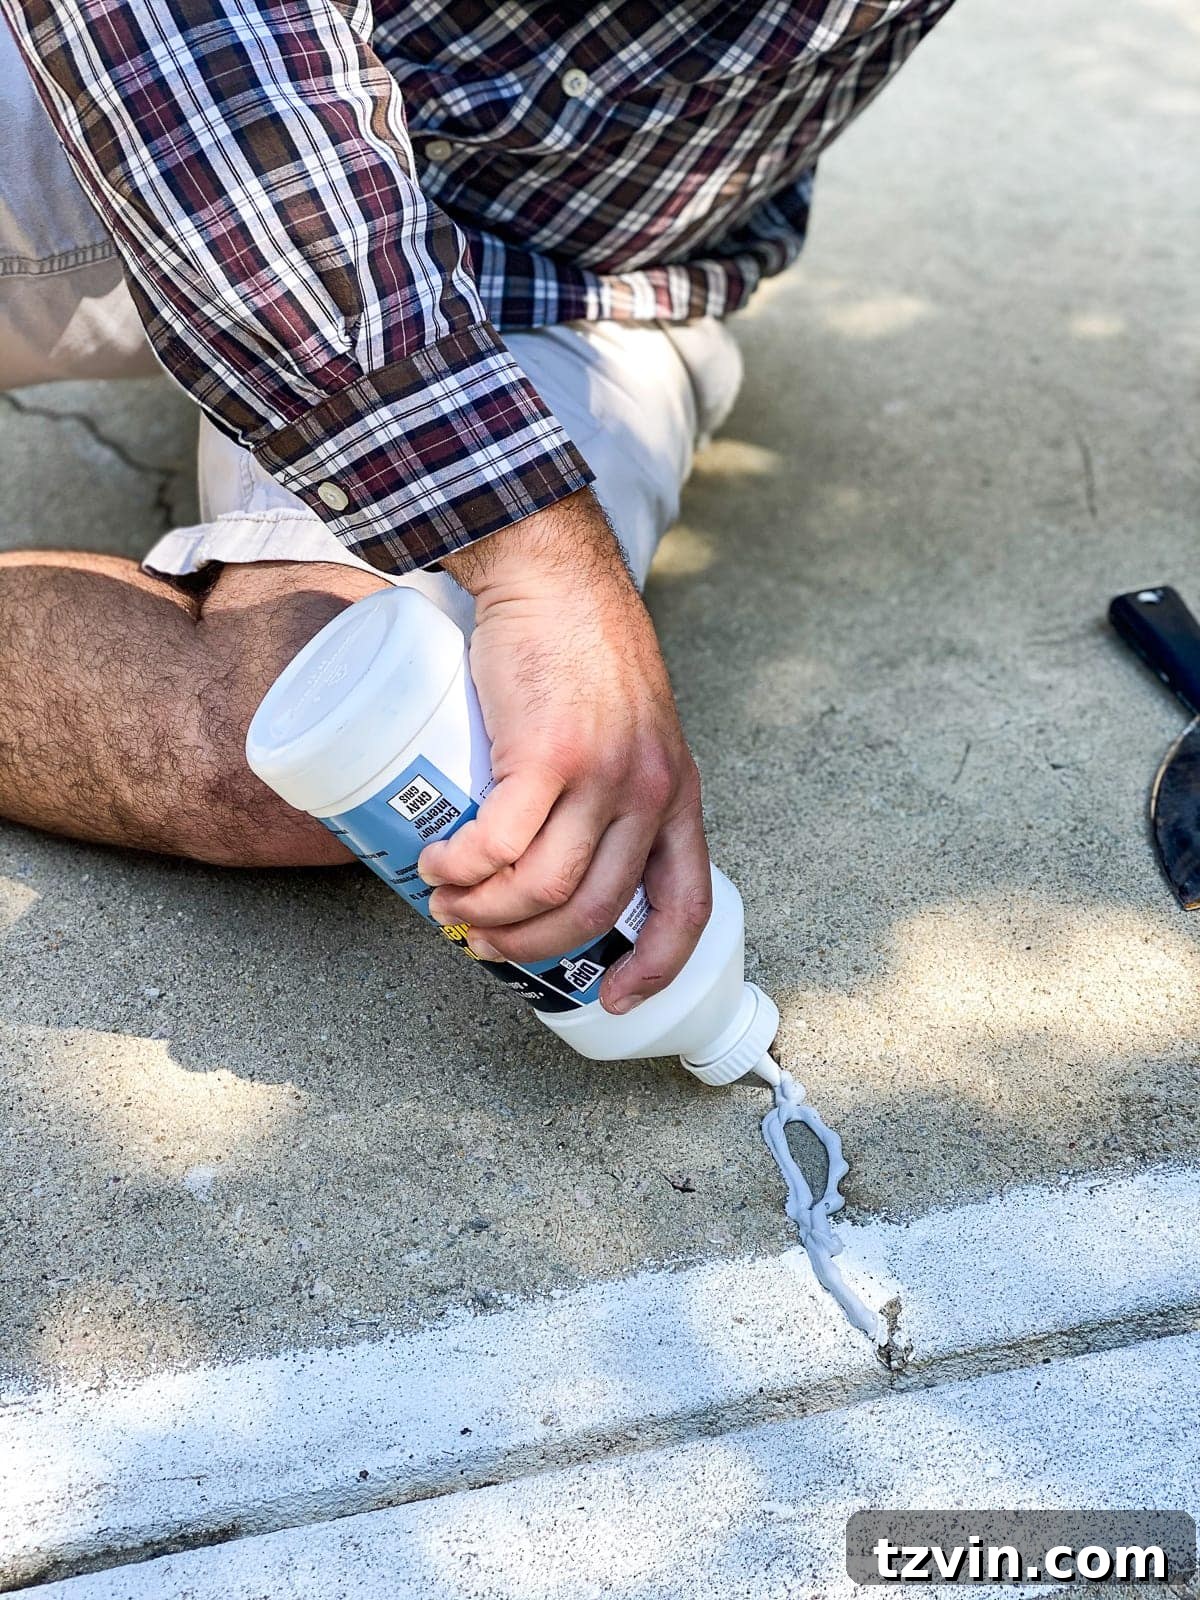
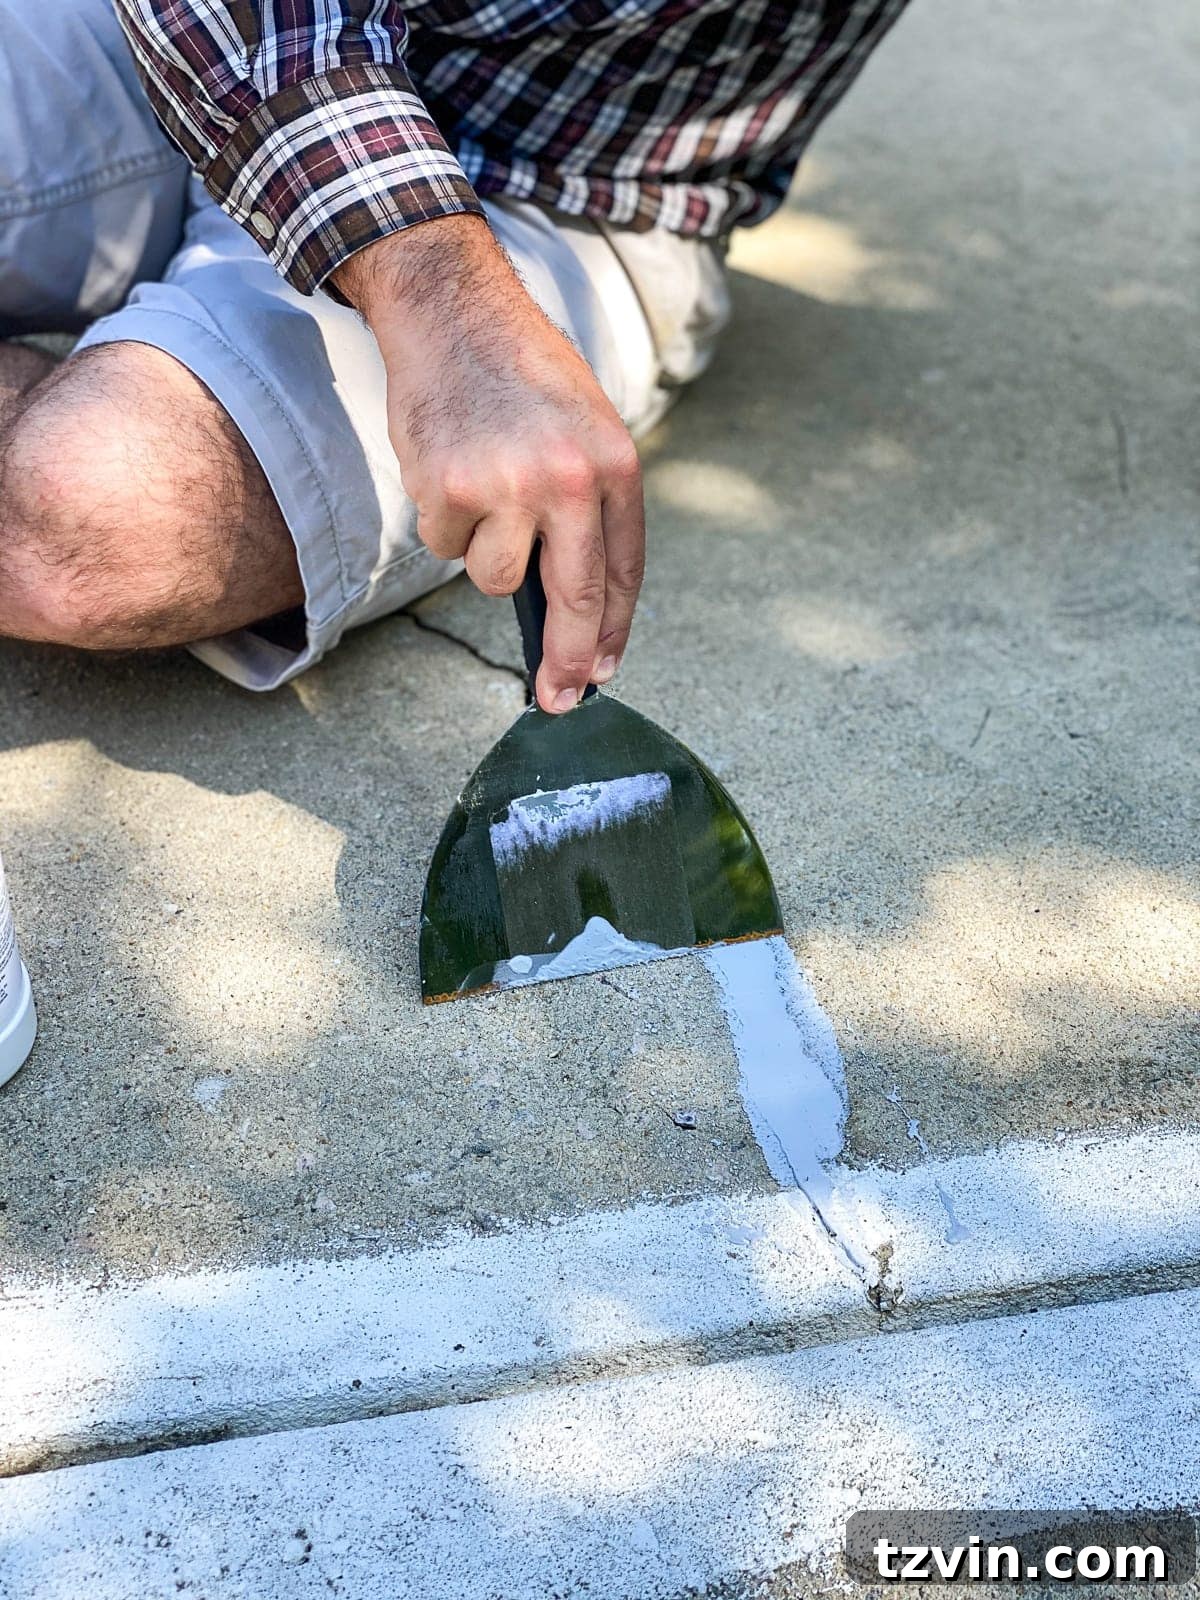
With your concrete surfaces now thoroughly clean and dry, it’s time to address any imperfections. Carefully remove any loose or peeling existing paint. Then, fill any cracks, chips, or holes in the concrete. Liquid Cement Crack Filler is an excellent choice for a quick and durable repair, offering flexibility and strong adhesion. Apply the crack filler with a putty knife, spreading it smoothly and evenly to ensure a seamless repair. Allow the filler to dry completely according to the manufacturer’s instructions before moving on.
Step 6: Apply a High-Quality Exterior Primer
Once your repairs are dry, apply a single, even coat of KILZ General Purpose Exterior Primer. This step is non-negotiable for achieving a professional and long-lasting finish. Primer seals the porous concrete, prevents excessive paint absorption (saving you paint!), and creates an optimal bonding surface for the topcoat. Use an extra-large medium-nap roller for efficient application across large flat areas. For edges, tight corners, and hard-to-reach spots, switch to a 3-inch angled paint brush to ensure thorough coverage.
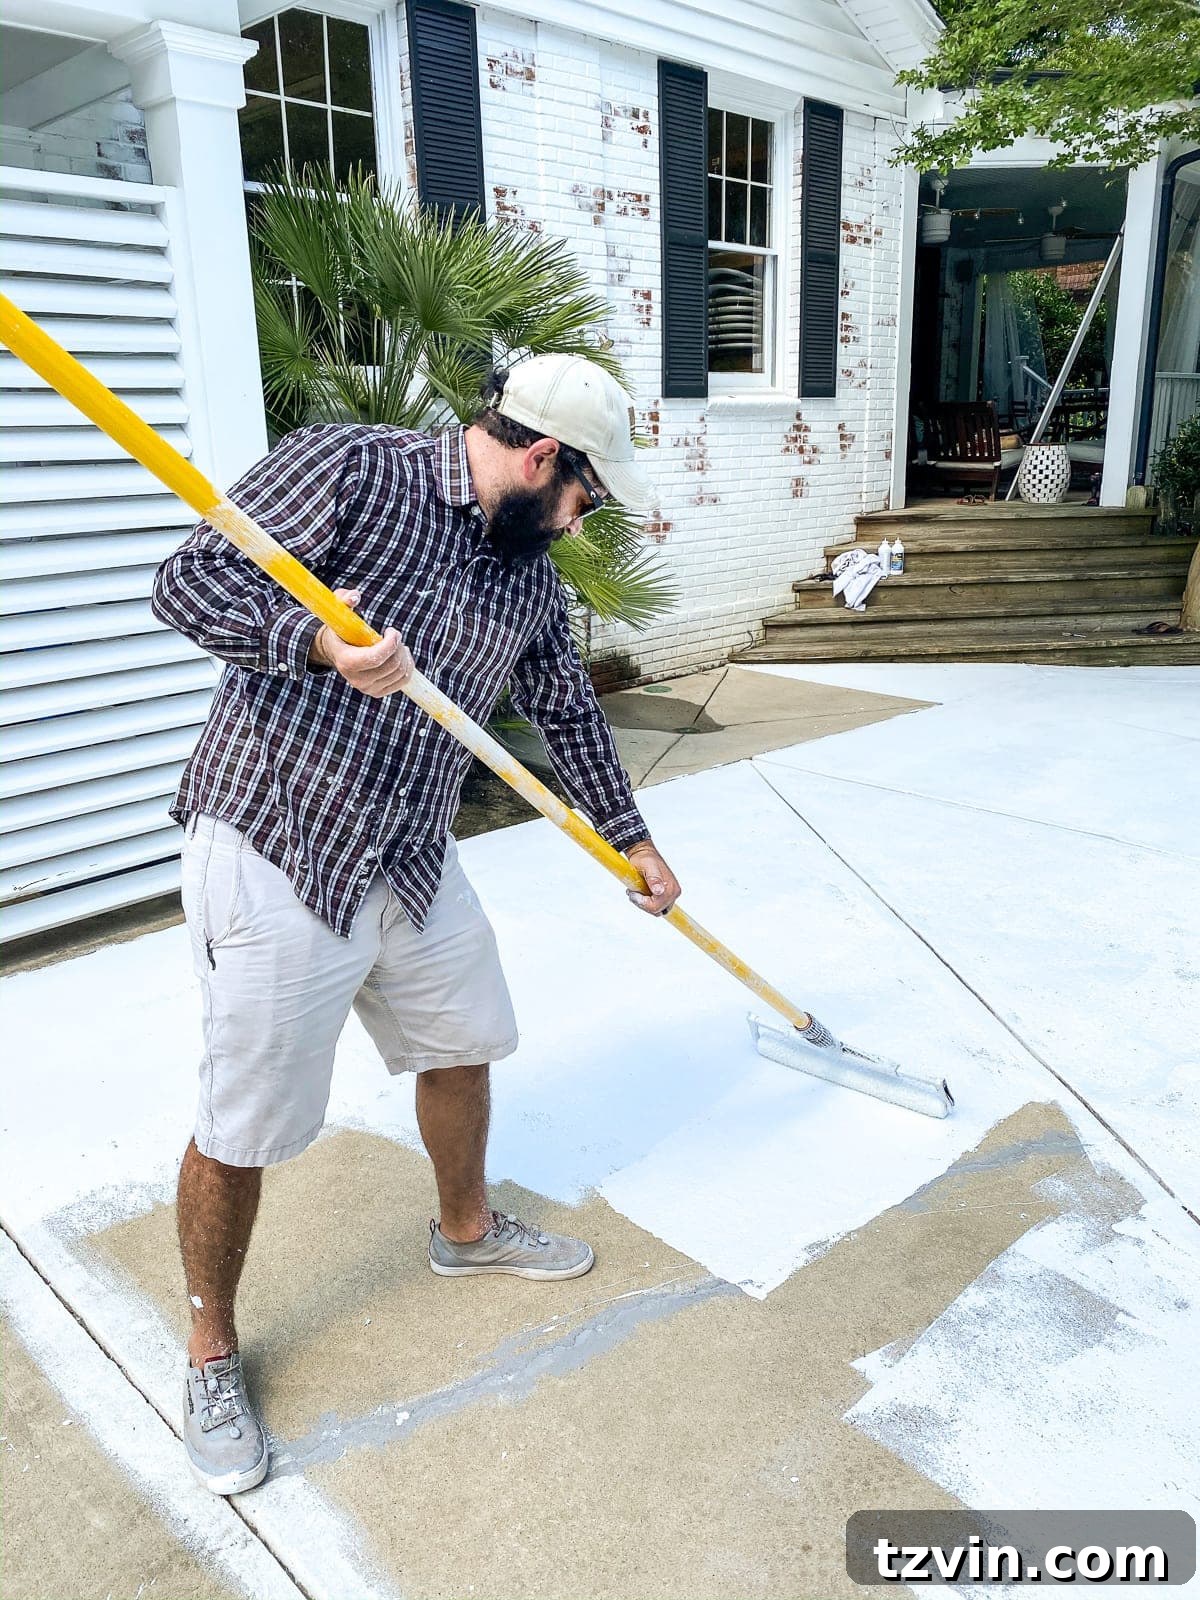
Step 7: Allow the Primer to Fully Dry
Patience is key at this stage. Allow the primer coat to dry completely. Depending on external factors like weather conditions, temperature, and relative humidity, this can take up to 24 hours. Resist the urge to rush this step; inadequate drying can compromise the adhesion of your final paint coat, leading to bubbling or peeling. Always refer to the primer manufacturer’s specific drying time recommendations.
Step 8: Prepare Paint with Anti-Skid Additive
This critical step ensures safety around your pool. In a large 5-gallon bucket, combine the KILZ Concrete & Garage Floor Epoxy Paint (we used 5 gallons per mix) with the recommended amount of Rustoleum Anti-Skid Additive. Using a power drill equipped with a mixing paddle attachment, thoroughly blend the paint and additive until the mixture is uniform. This creates a non-slip surface, significantly enhancing safety, especially when the deck is wet. We opted for the sophisticated Slate Gray color, which beautifully mimics freshly poured concrete.
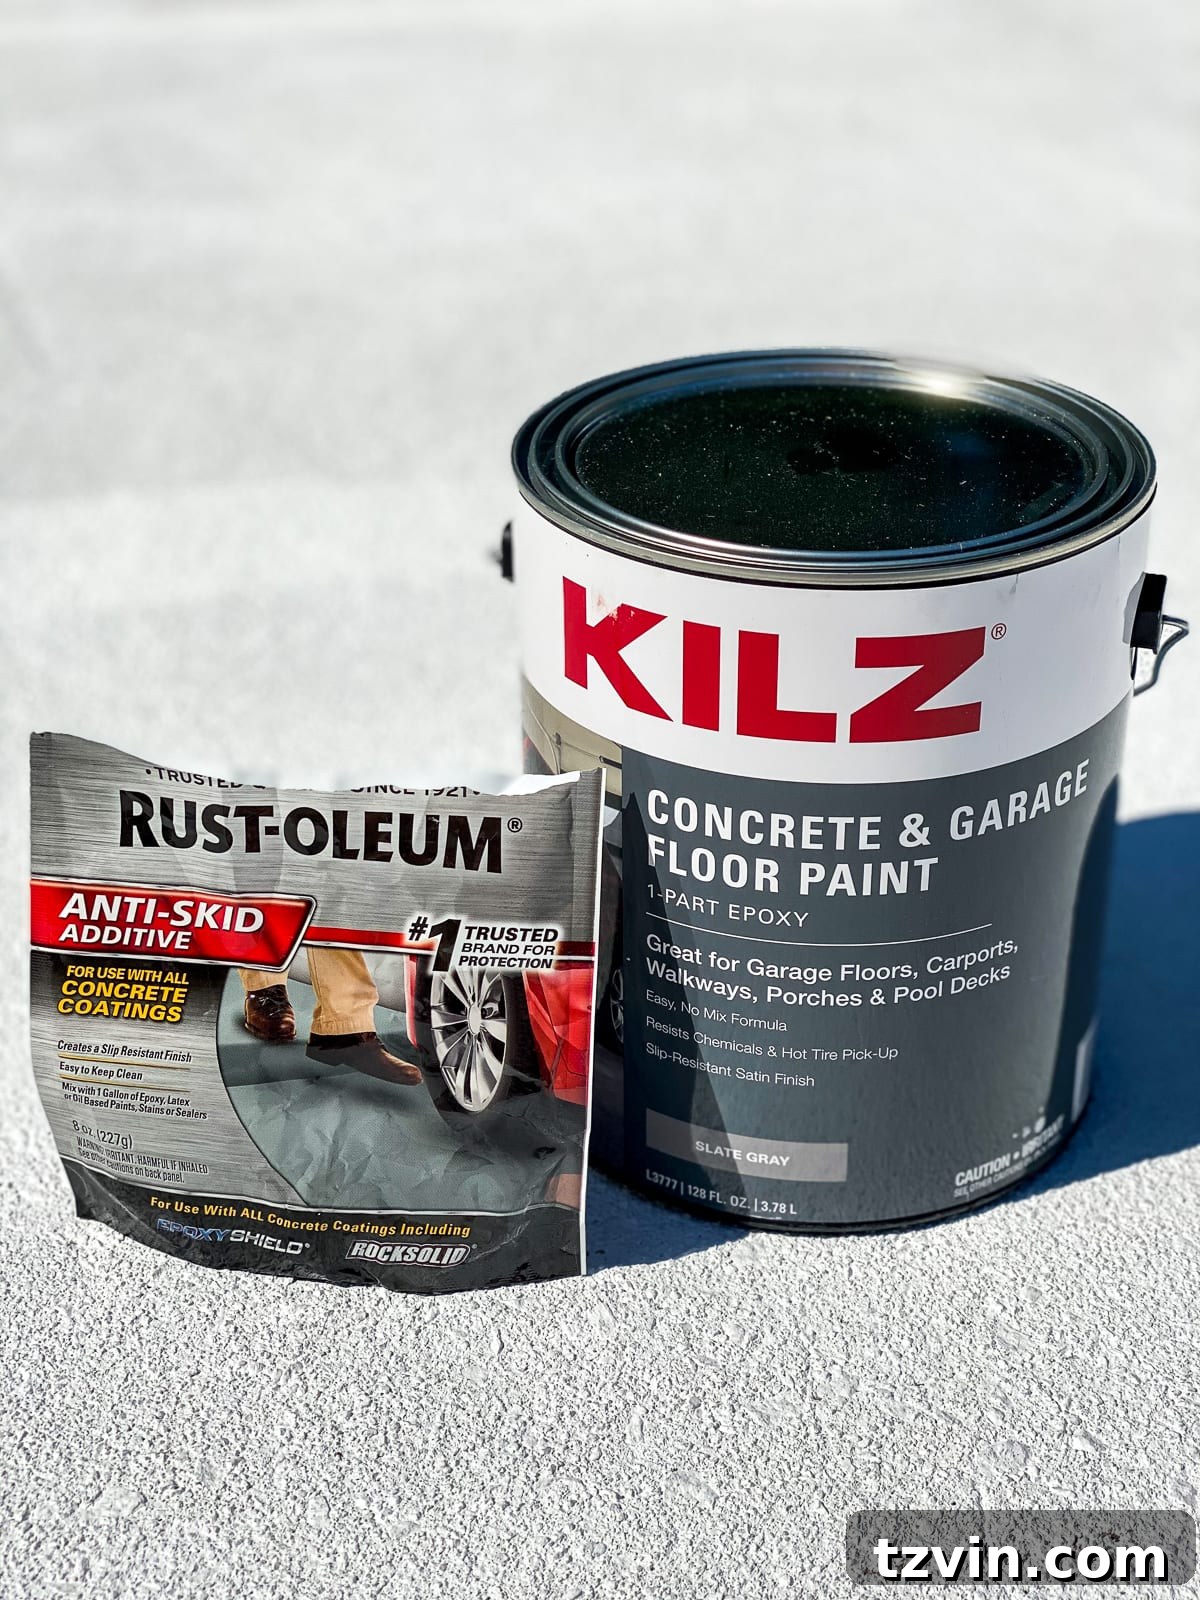
Step 9: Apply the First Coat of Paint
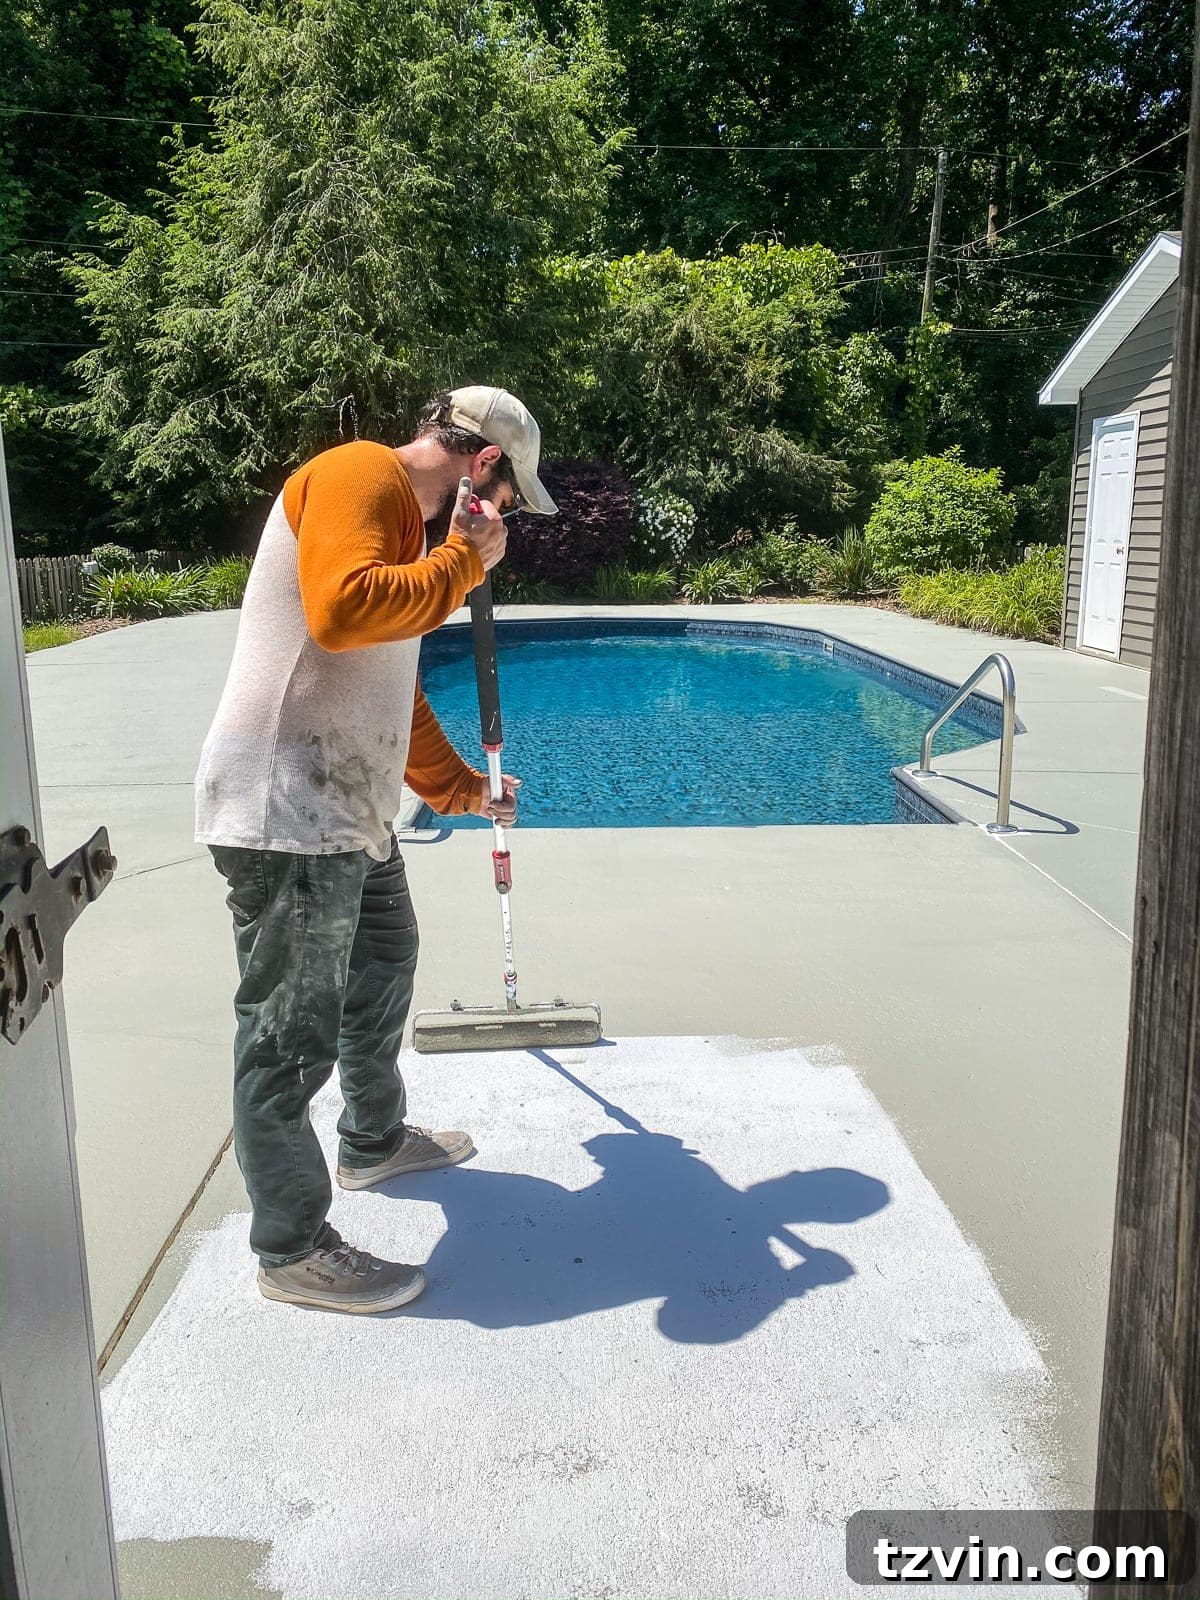
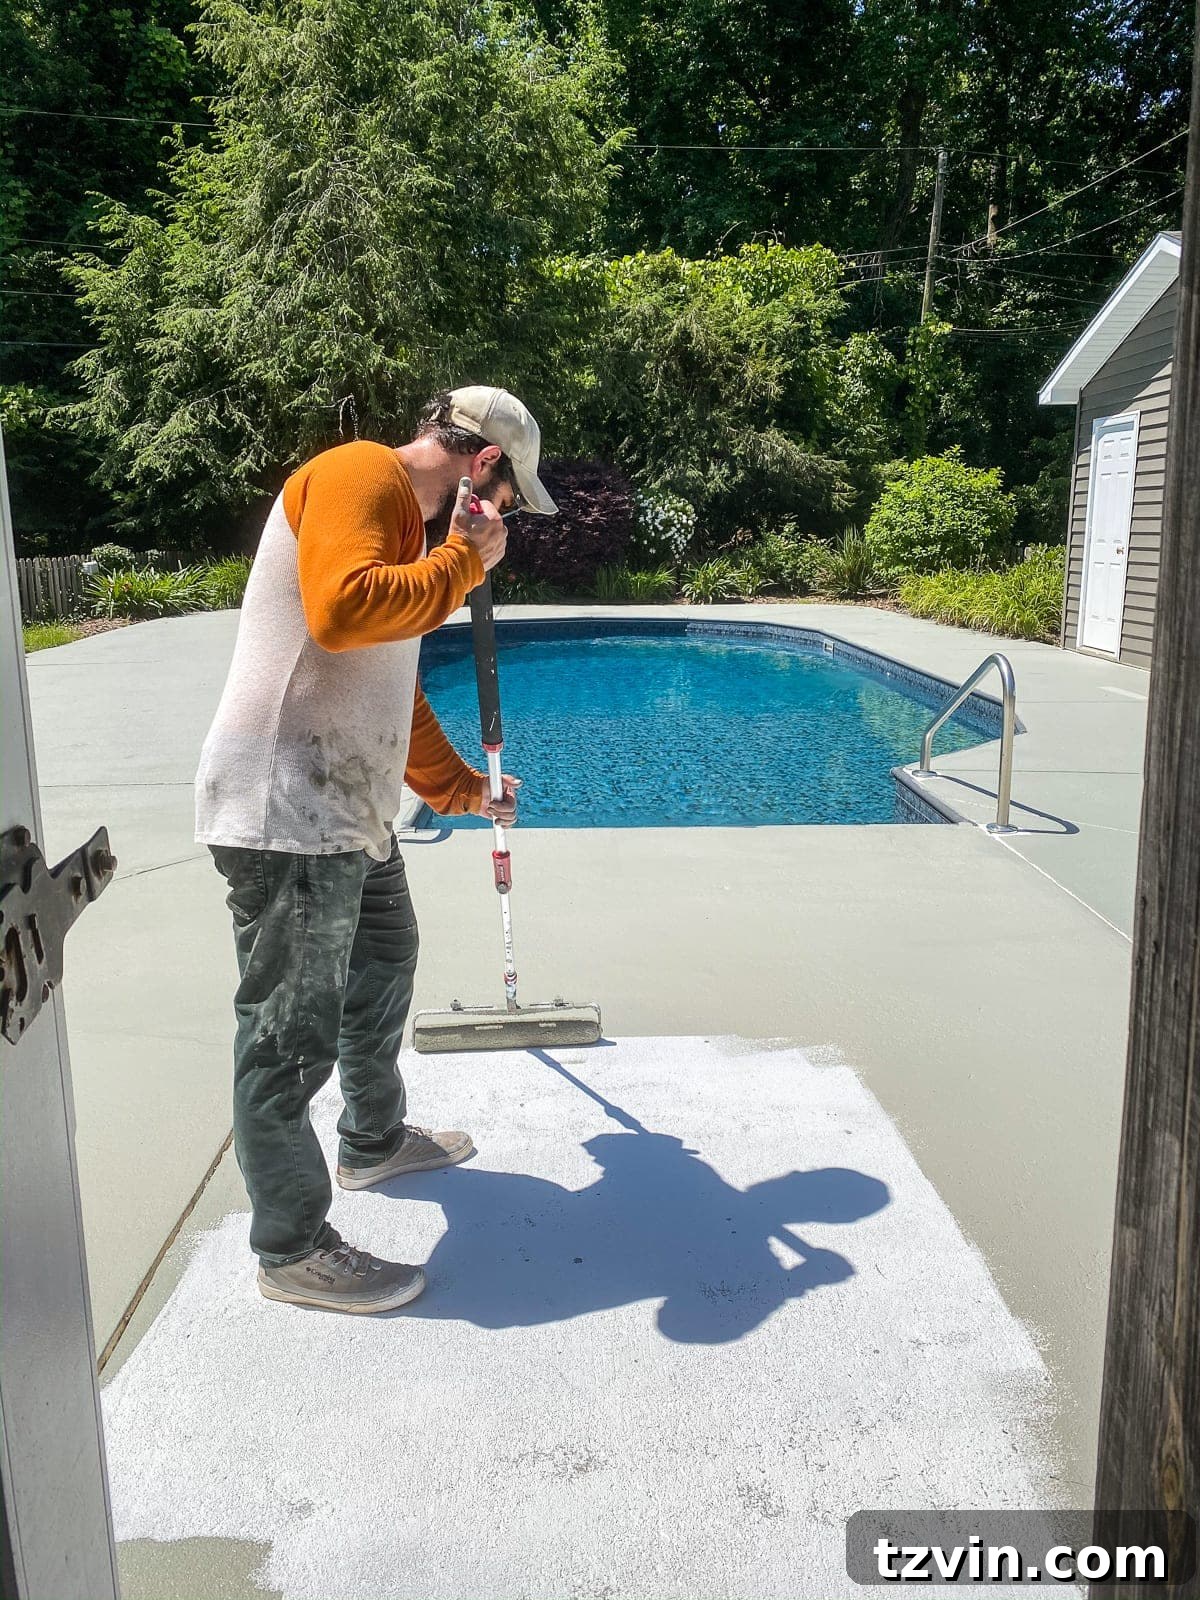
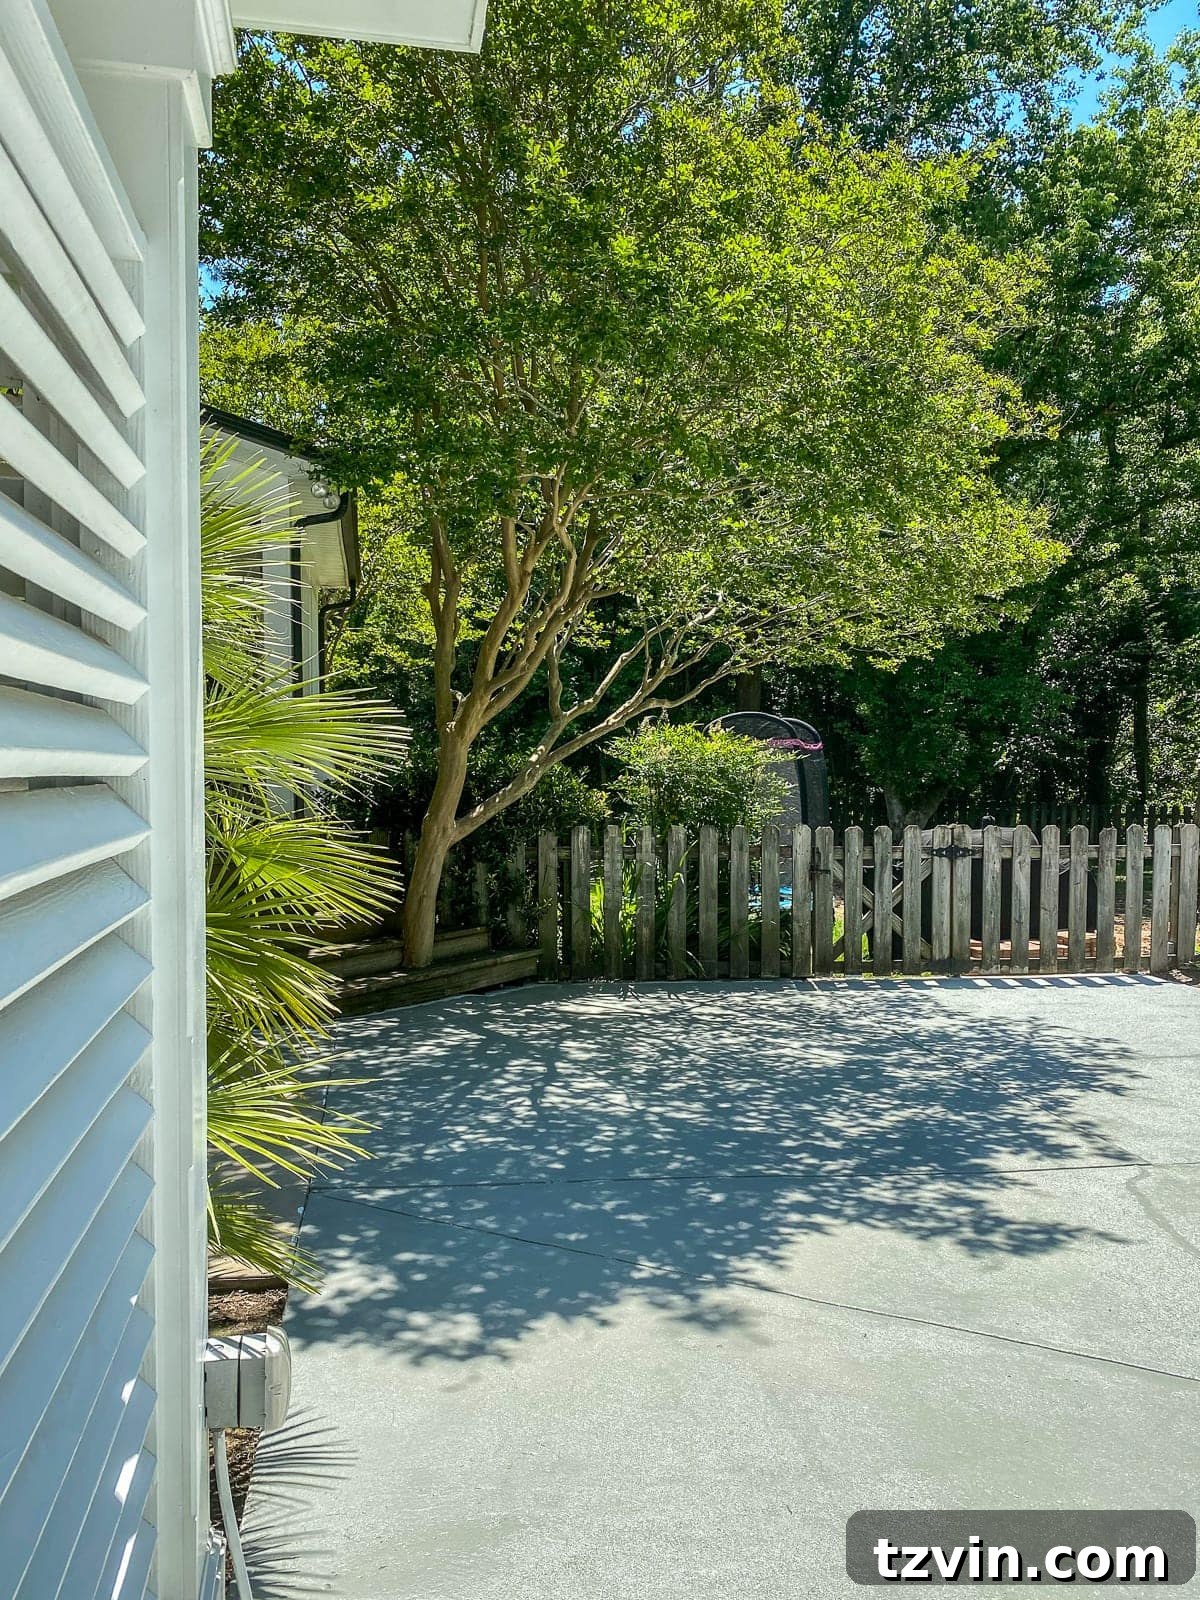
Now, it’s time to apply the anti-skid mixed paint to your primed concrete surface. Using an extra-large rough paint roller cover, begin applying the paint evenly across the large areas of your pool deck and patio. We were incredibly impressed with the coverage of this particular epoxy paint, finding that for most areas, only one coat was needed! Witnessing that first swipe of paint transform the drab concrete into a fresh, inviting surface was an enormous relief and a truly satisfying moment.
The improvement was immediate and dramatic!
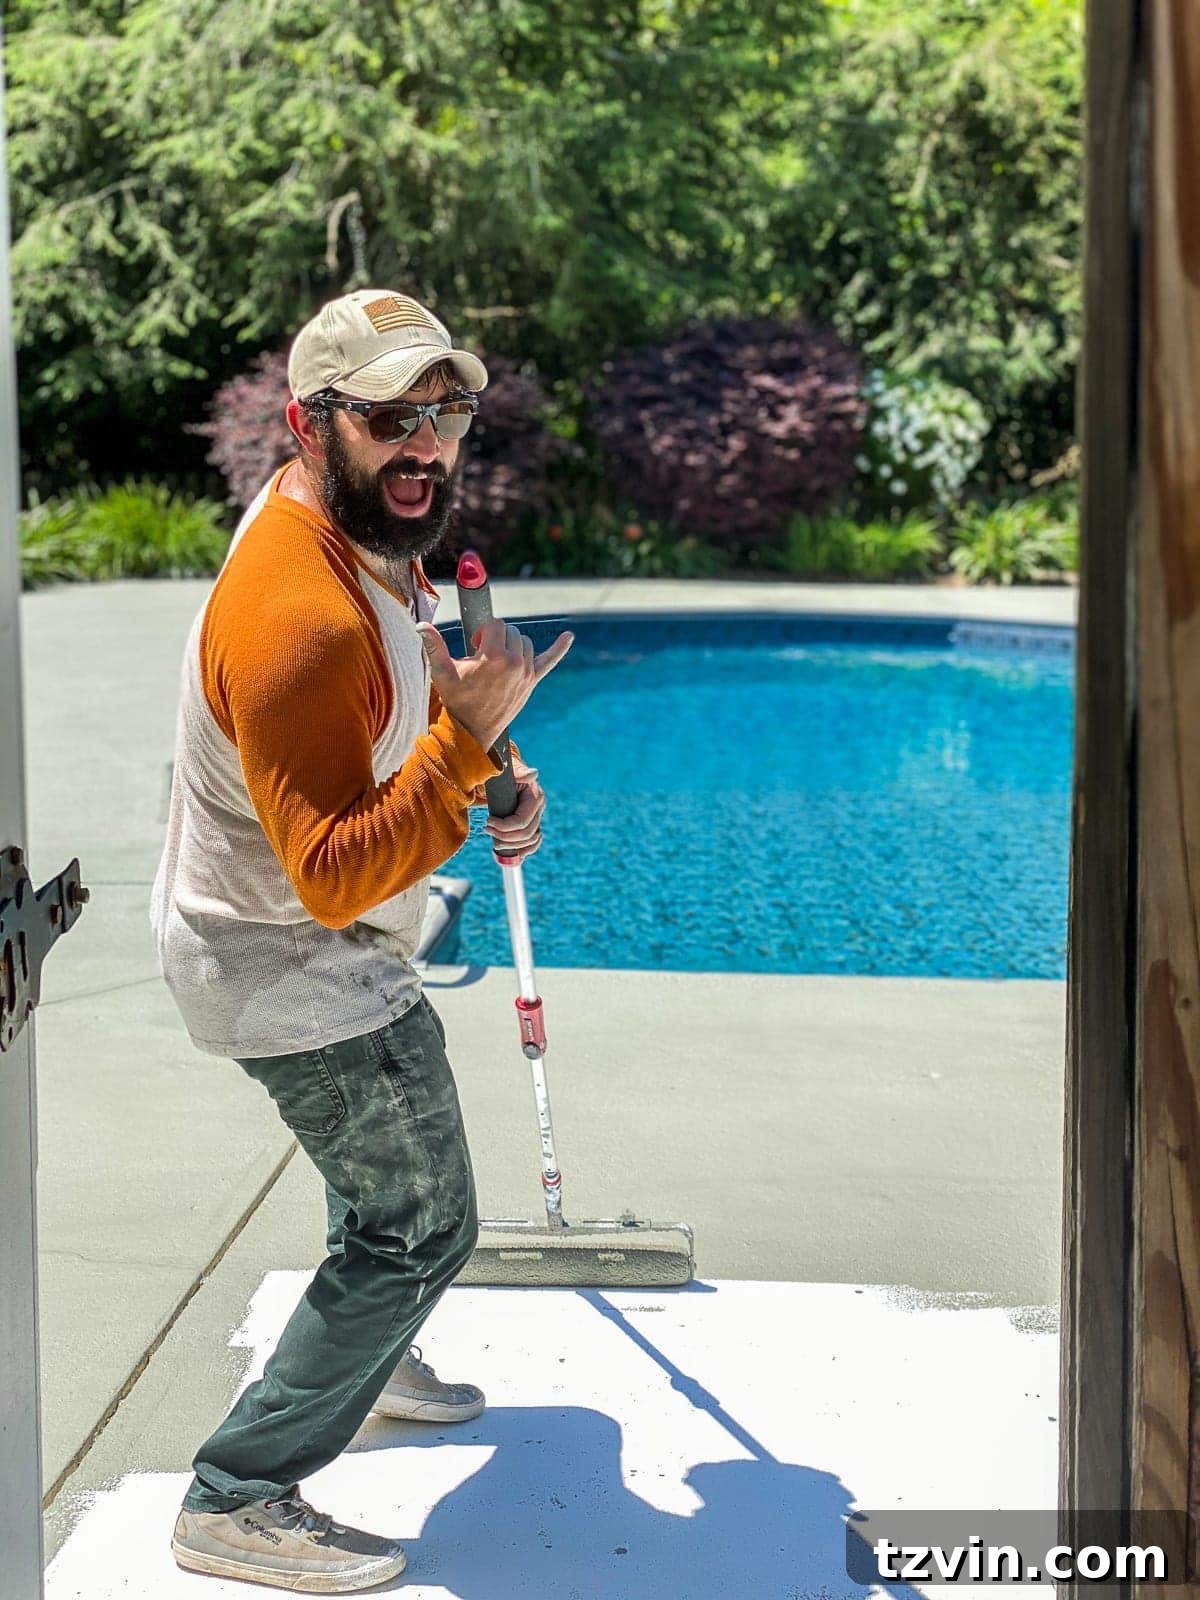
Step 10: Detail Edges and Fill Small Gaps
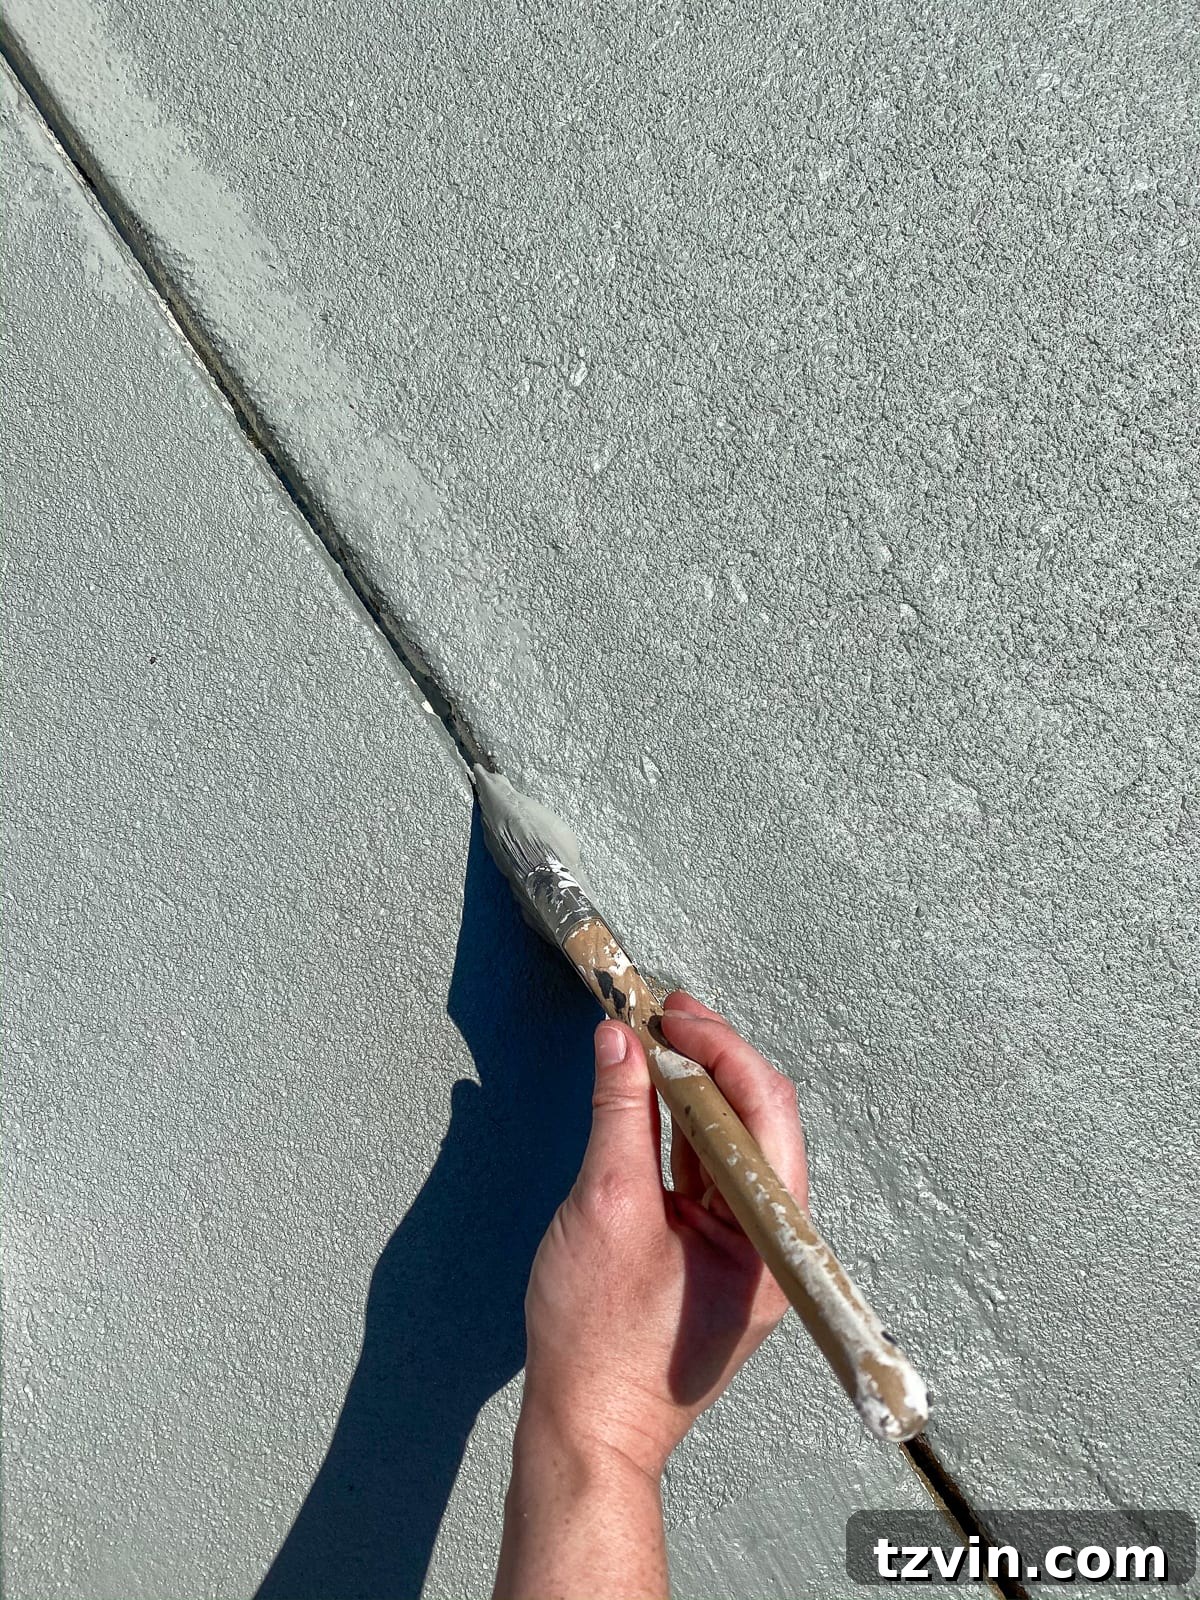
After allowing the main paint coat to dry for 24 hours (or according to manufacturer instructions), take your 3-inch angled paint brush and carefully go over any cracks, edges, and detailed areas that the roller might have missed or couldn’t reach effectively. This step ensures a clean, finished look and complete coverage. While we did this after the main rolling, you could also choose to do the “cutting in” around edges and obstacles before rolling the larger areas, which some find more efficient.
We are incredibly pleased with the final outcome! The pool deck now boasts a color and texture that closely resembles freshly poured concrete, imparting a clean, modern aesthetic to our entire backyard.
It’s important to note that the surface might feel a little slippery during its initial encounters with water. However, as the paint fully cures over the next few days to weeks, the anti-skid additive will activate more effectively, and the grip will significantly improve. During this curing period, be extra mindful and cautious when walking on wet surfaces. For any concrete area surrounding a pool, it is always a good practice to caution swimmers and guests that running on the deck is strictly prohibited, regardless of anti-slip treatments, to prevent potential falls.
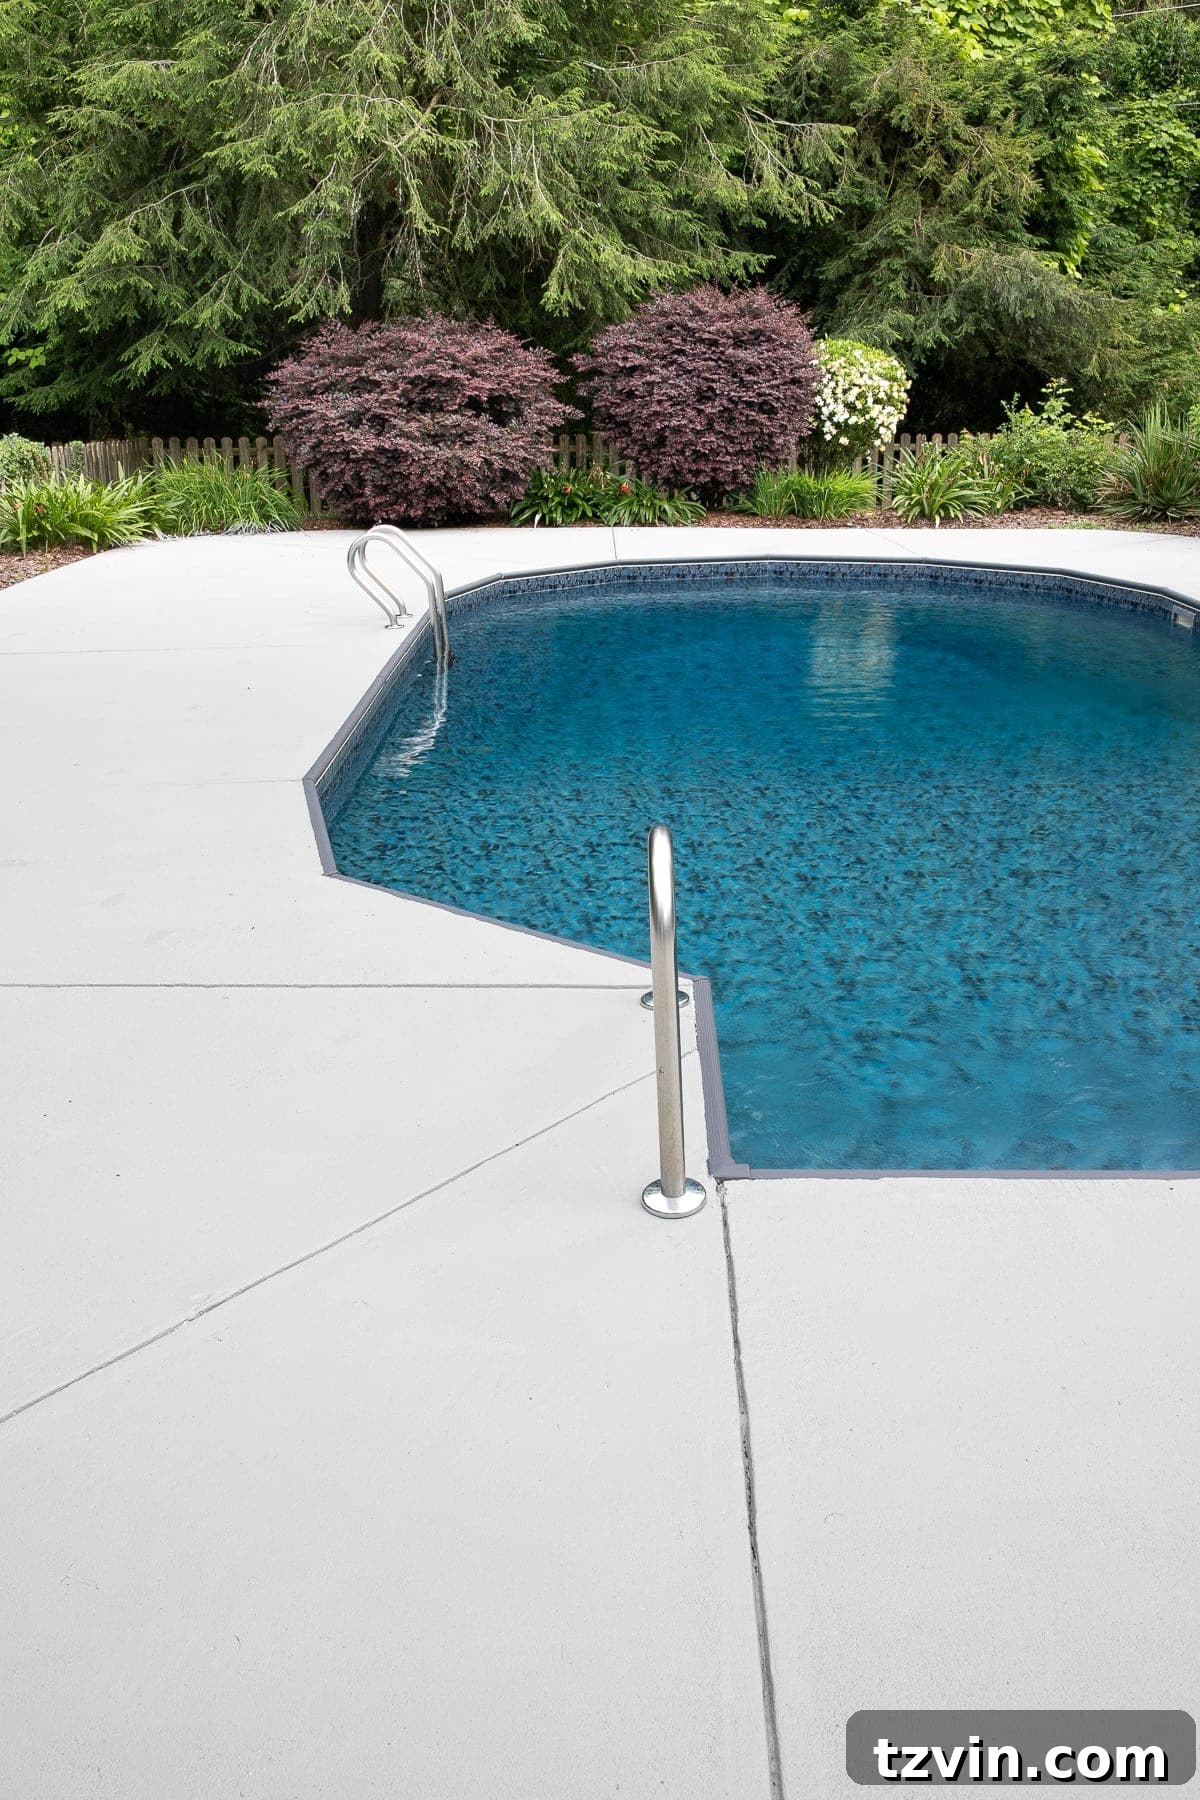
Witnessing the dramatic difference in our painted concrete patio and pool deck over the past two years is truly inspiring! This transformation has breathed vibrant new life into our entire backyard, making it a much more inviting and aesthetically pleasing space.
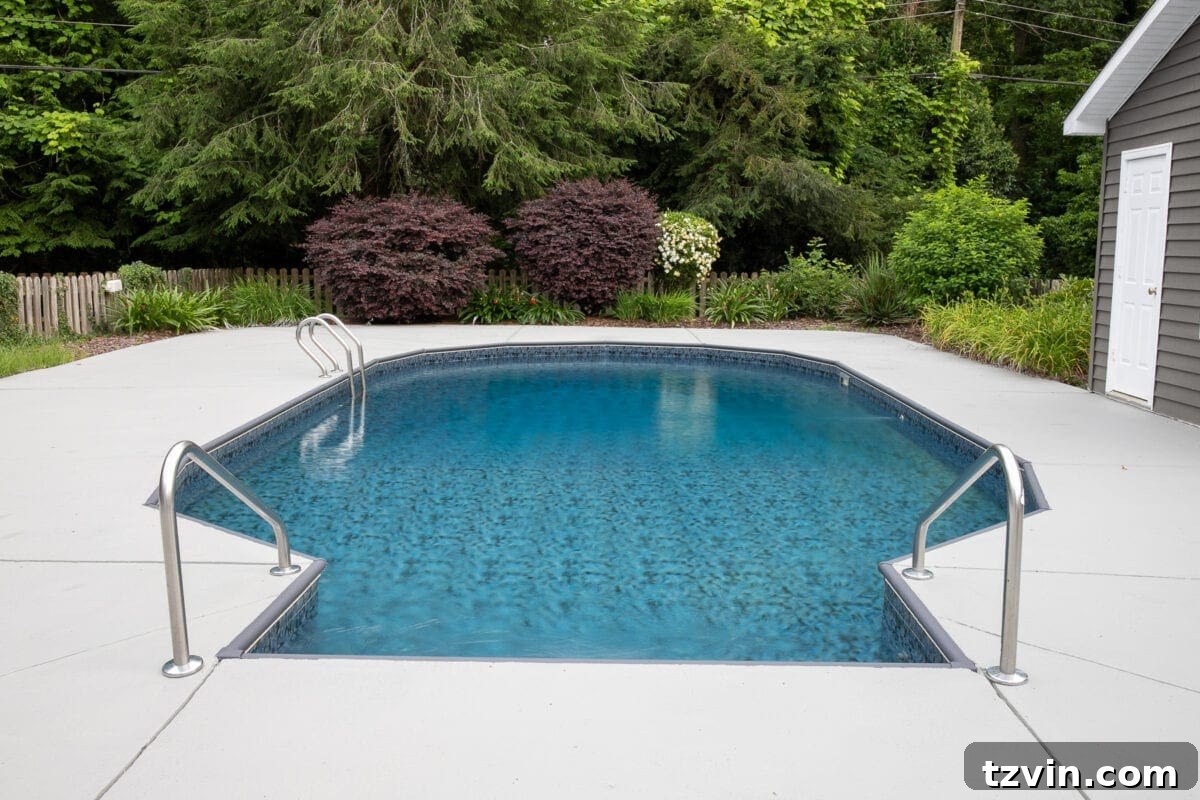
Enduring Performance: How the Painted Pool Deck Held Up After 4 Years
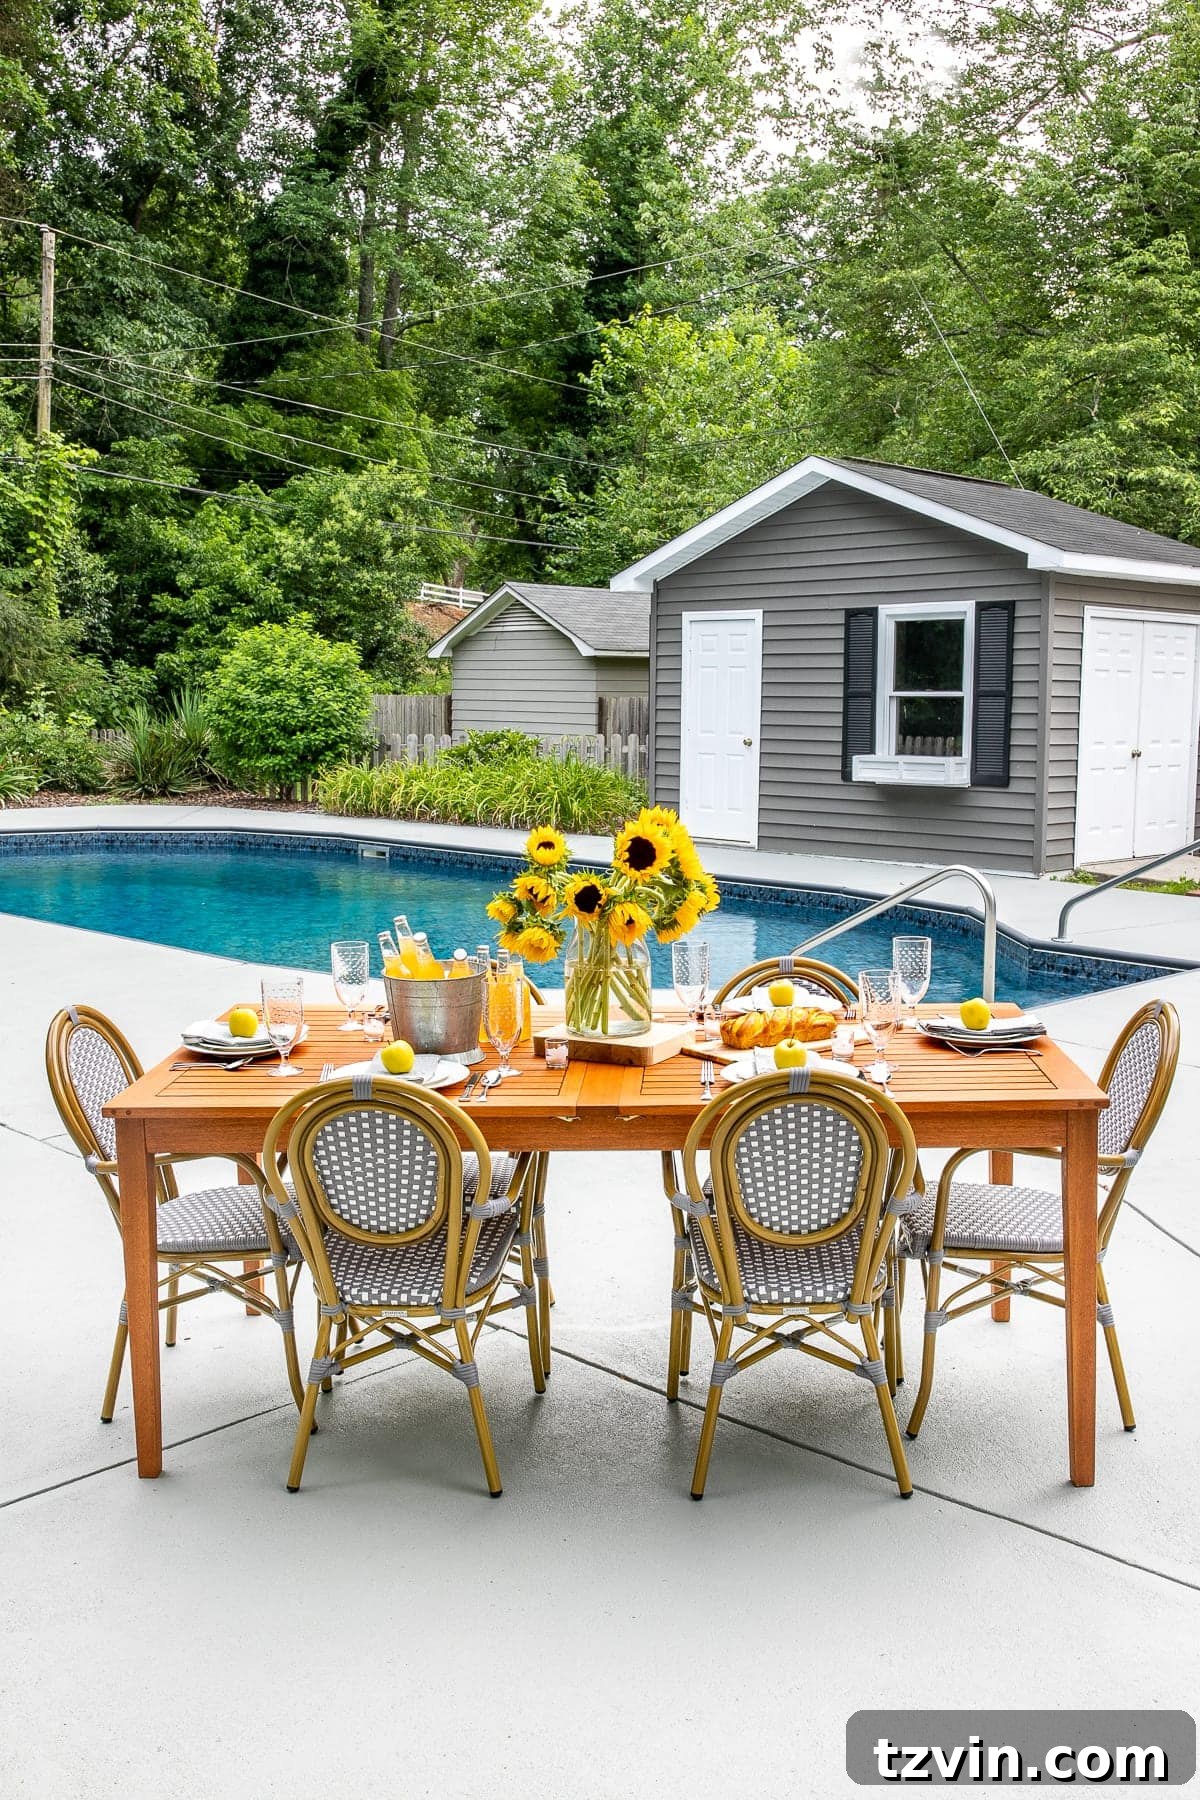
The true measure of a successful DIY project is its longevity, and we are thrilled to report that our painted concrete pool deck and patio area still looks absolutely amazing, even four years after its application. This enduring quality speaks volumes about the method and materials we chose.
The finish has proven to be incredibly resilient. We’ve observed no discernible color change or fading from harsh UV rays, a testament to the quality of the epoxy paint. The extensive prep work combined with the durable epoxy paint type was undoubtedly the correct approach for lasting results. Furthermore, we have a saltwater pool, and the constant splashing of corrosive pool water onto the deck has caused absolutely no problems with the paint. We initially had concerns that harsh pool chemicals might cause damage or peeling, but this has never materialized as an issue.
Remarkably, we haven’t had to perform any touch-ups or apply any additional protective finishes since the initial application. The surface has maintained its integrity and aesthetic appeal without any further intervention.
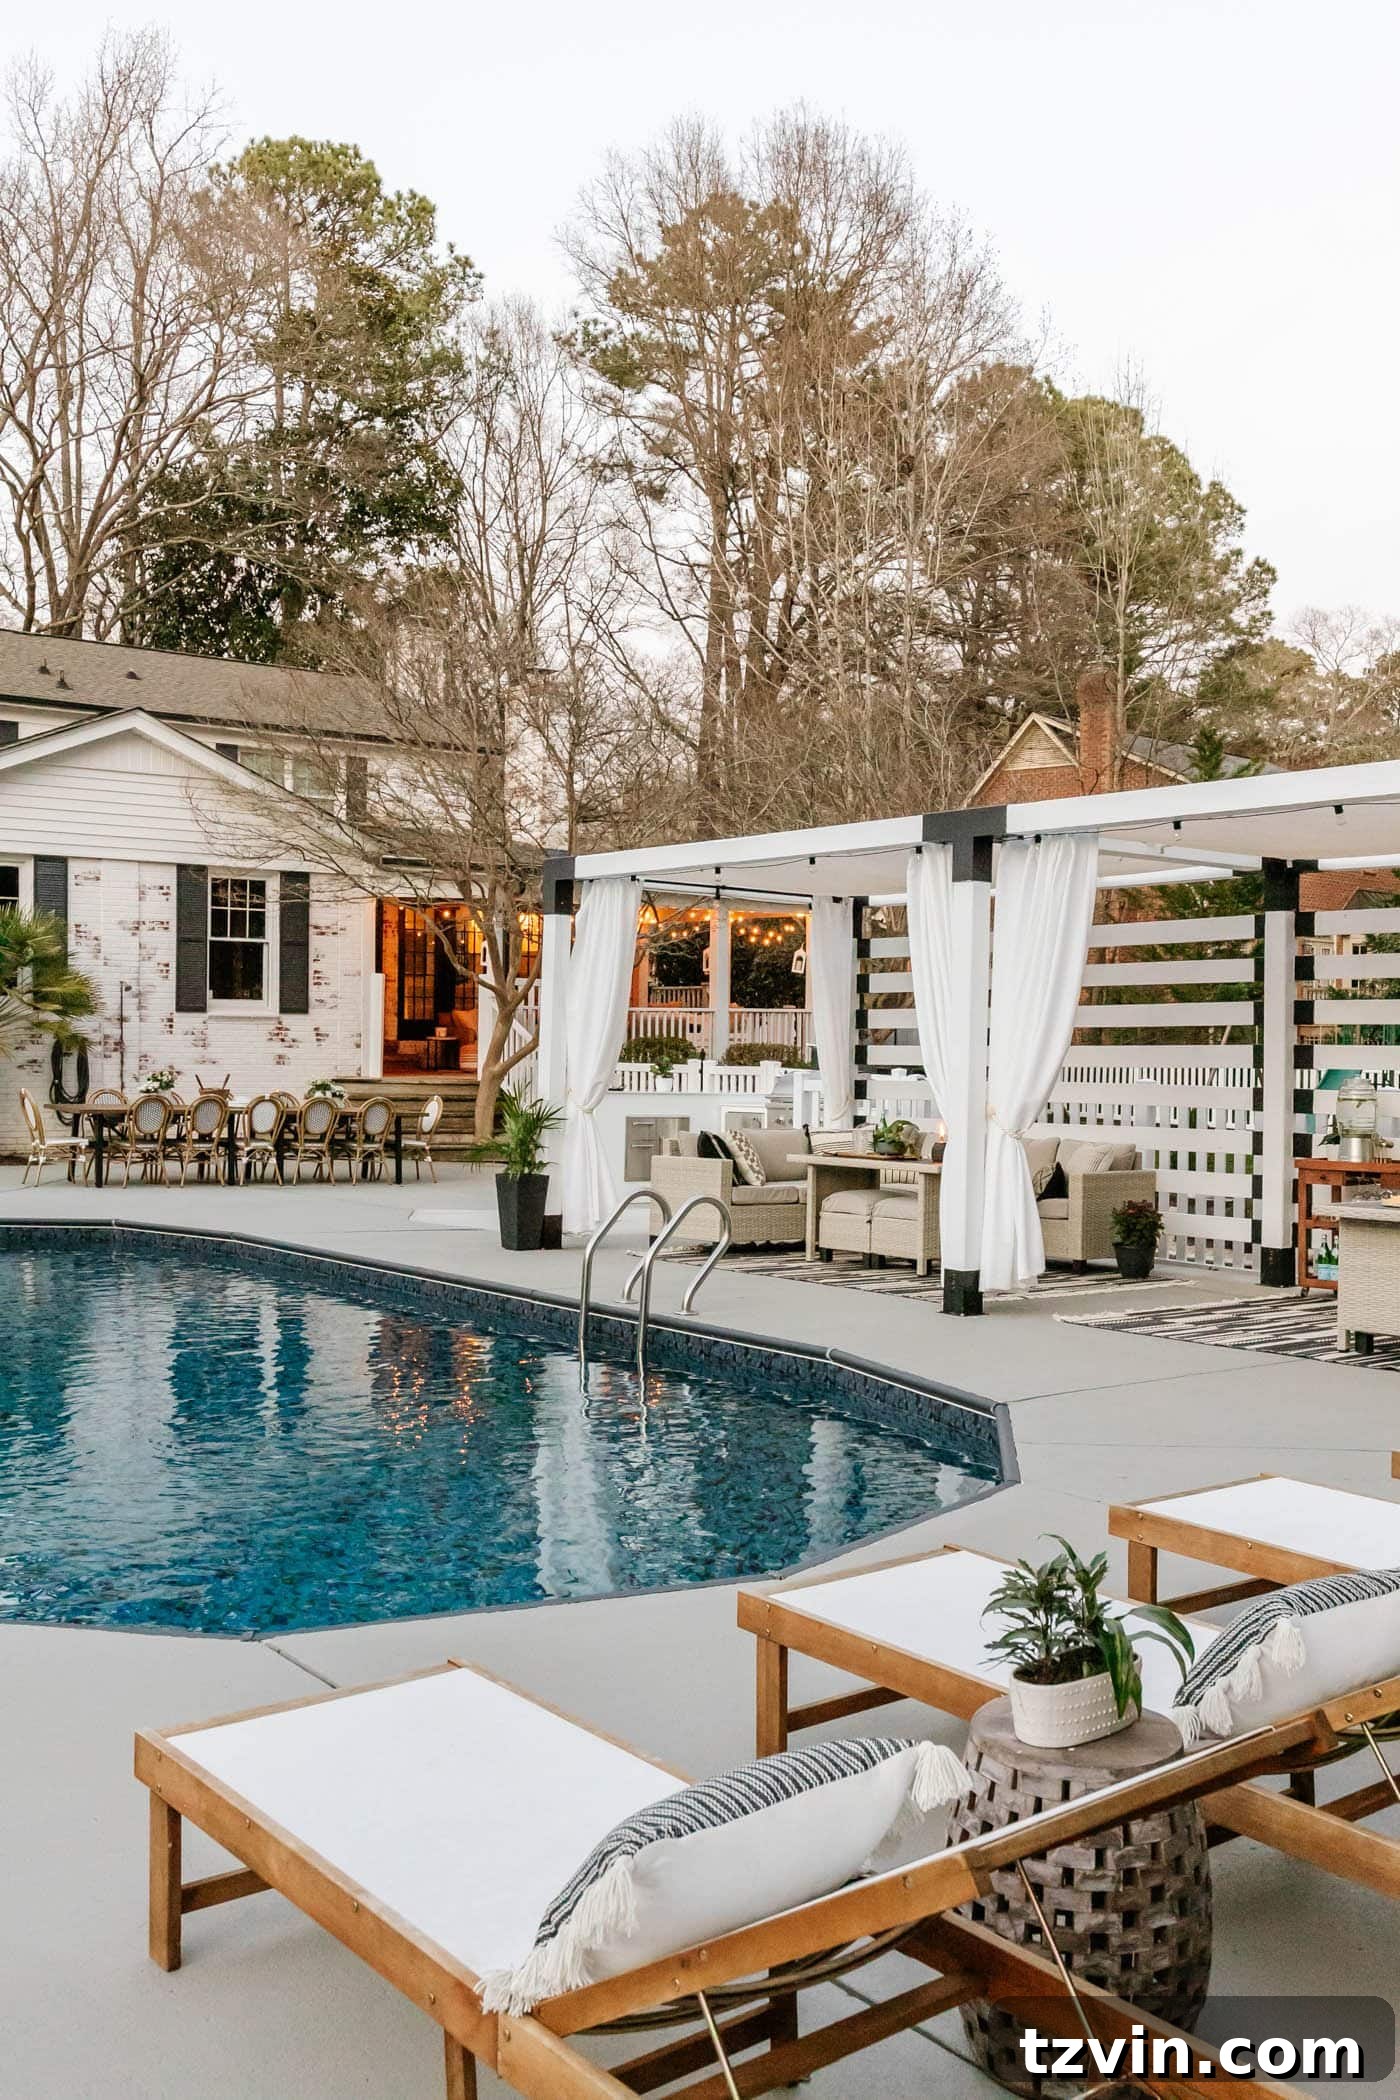
UPDATE: Discover more photos of our concrete pool deck and patio, still looking as good as new after 4 years!
Frequently Asked Questions About Pool Deck Painting
For superior durability and longevity on concrete pool decks and patios, epoxy paints are highly recommended. These paints offer excellent resistance to chemicals, abrasions, and moisture, making them ideal for high-traffic, outdoor environments. Crucially, it’s vital to mix in an anti-skid additive before application to create a safe, non-slip surface, especially around wet areas.
Absolutely, applying a primer coat before painting a concrete pool deck is essential. Primer serves multiple vital functions: it ensures proper adhesion of the topcoat to the porous concrete surface, seals the concrete to prevent excessive paint absorption (which saves you money on paint), and creates a uniform base for a smoother, more even finish. Skipping this step often leads to poor paint adhesion and premature peeling.
When properly prepared and painted with high-quality epoxy paint and an anti-skid additive, a concrete pool deck paint job can last for many years, often 5-10 years or even longer. Factors like climate, traffic, adherence to preparation steps, and the quality of materials used will all influence its lifespan. Our own project, for example, is still holding up perfectly after 4 years with no signs of wear.
It is highly recommended to avoid painting a pool deck in humid weather. High humidity significantly extends drying and curing times for both primer and paint, which can lead to poor adhesion, bubbling, peeling, and a compromised finish. Always aim for low humidity and moderate temperatures (ideally between 50-70°F or 10-21°C) to ensure optimal results and longevity for your painted surface.
Explore More Inspiring Backyard Pool Ideas
How to Build a Luxurious DIY Backyard Pool Cabana Pergola
Our Walmart Patio Furniture Review: Over 2 Years Later
Ultimate Swim Party Checklist & Backyard Party Planning Tips
Discover the Best Pool Toys for Kids and Adults This Summer
Easy DIY Modular Outdoor Kitchen Kit Build – What You Should Know
See more inspiring DIY backyard home improvement ideas here.