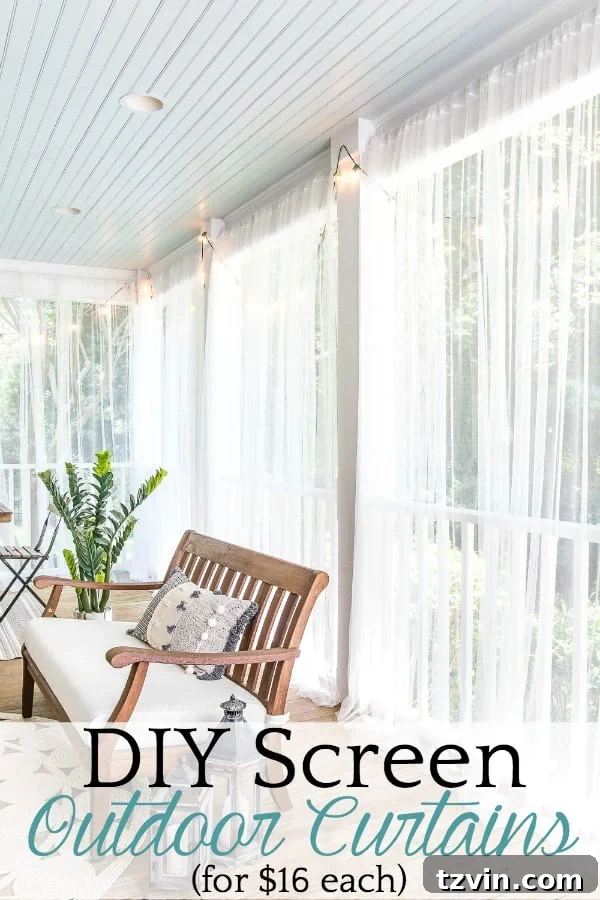
Transform Your Porch: DIY Outdoor Curtains for Bug-Free Living – A Quick, Cheap & Elegant Solution
Have you ever dreamed of enjoying your outdoor living space without the constant annoyance of buzzing mosquitoes and other uninvited insect guests? Imagine evenings spent relaxing on your porch, shielded from pests, enveloped in an atmosphere of serene comfort and sophisticated charm. If you’ve been searching for an affordable, effective, and stylish way to enhance your porch experience, you’re in the right place. This guide will reveal a clever DIY hack to create stunning outdoor curtains that act as an alternative to traditional screened porches, all without breaking the bank or requiring extensive home modifications.
For the past year, we’ve poured our efforts into meticulously sprucing up our back porch, turning it into a true extension of our home. It’s truly rewarding when a simple “light bulb moment” not only works but surpasses all initial expectations, delivering results even better than we could have imagined! We’ve tackled several projects to bring this vision to life, culminating in a space that’s now both beautiful and functional.
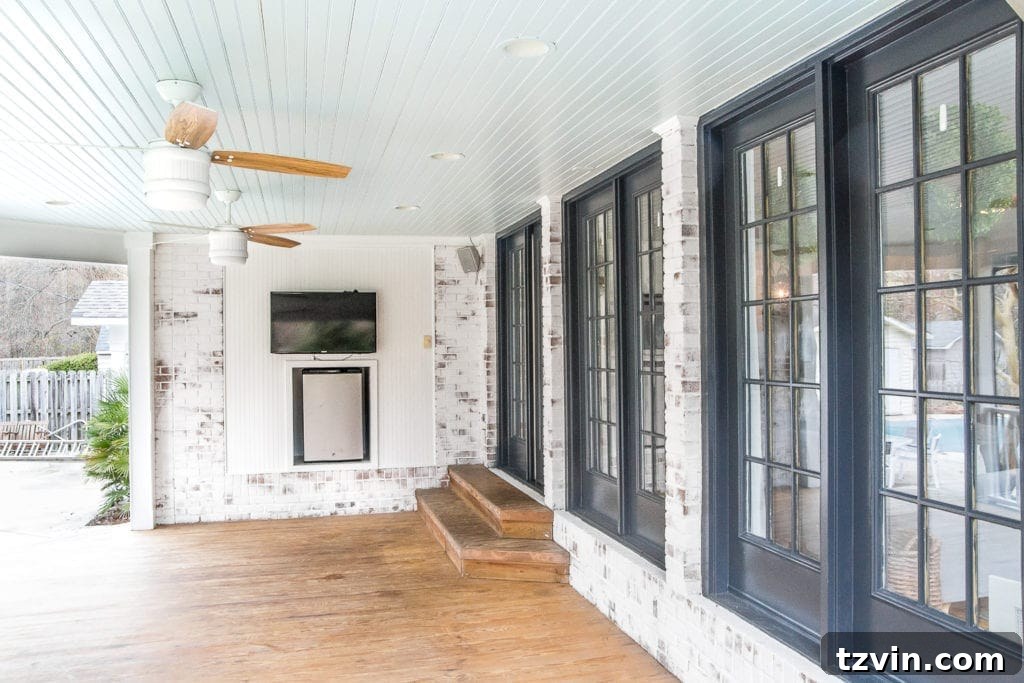
Our journey began a few months ago with a significant aesthetic upgrade. After dedicating time this winter to limewashing the brick exterior and giving our doors a fresh coat of paint, the porch looked dramatically improved. The transformation was remarkable, creating a brighter, more inviting facade. Yet, one persistent challenge remained, casting a shadow over our outdoor enjoyment.
Elegant and Effective: Curtains as a Screen Porch Alternative
While our porch was visually appealing, one significant hurdle always dampened our summer evenings: the relentless presence of bugs. Mosquitoes, gnats, and other creepy crawlies seemed to emerge with the setting sun, making evening relaxation a constant battle. We yearned for an effective barrier, but the idea of investing in expensive, permanent screens felt like a compromise. Traditional screened porches, while practical, often enclose the space, diminishing that desired open, airy connection to the backyard we cherished. We wanted the best of both worlds – bug protection without sacrificing the expansive feel of our outdoor sanctuary.
The solution presented itself during a serendipitous trip to IKEA a few weeks ago. Tucked away in the home textiles section, I stumbled upon a revelation: incredibly affordable mosquito net curtains, priced at an astonishing $5 per pair. A “light bulb” truly went off! It immediately hit me – these weren’t just ordinary curtains; they were the perfect material for DIY outdoor curtain screens. This simple discovery sparked the idea for a project that would revolutionize our porch and allow us to reclaim our summer evenings.
Why Choose DIY Outdoor Curtains? Benefits Beyond Bugs
Opting for DIY outdoor curtains offers a multitude of advantages over conventional screening methods, making it an increasingly popular choice for homeowners:
- Unbeatable Cost-Effectiveness: This project is incredibly budget-friendly compared to the thousands of dollars often required for professional screen porch installations. You get premium benefits without the premium price tag.
- Easy & Quick Installation: Forget complicated tools or extensive labor. This DIY project is designed for simplicity, making it accessible even for novice crafters. Most porches can be transformed in an afternoon.
- Damage-Free Solution: Using tension rods and Command hooks means no drilling, no holes, and no permanent alterations to your porch structure. This is ideal for renters or homeowners who prefer non-invasive solutions.
- Ultimate Flexibility: Enjoy the best of both worlds! Keep your curtains open for an unrestricted, breezy feel, or close them completely to create a bug-free zone, enhance privacy, or provide shade from the sun.
- Enhanced Aesthetics: Sheer curtains add a touch of elegance, luxury, and softness to your outdoor space, transforming it into a stylish oasis. They create a “room-like” ambiance while maintaining an open connection to nature.
- Versatile Pest Protection: While primarily excellent for mosquitoes, these curtains can also deter other flying insects, allowing you to enjoy your outdoor space without constant swatting.
- Light Rain & UV Protection (with treatment): When treated with a weatherproofing spray, your curtains gain an extra layer of defense, offering protection against light rain showers and harmful UV rays, helping to preserve your outdoor furniture.
Gathering Your Supplies: Everything You Need for Your Porch Transformation
One of the most appealing aspects of this project is the minimal and affordable supply list. You won’t need specialized tools or expensive materials, just a few key items that are readily available. Here’s what you’ll need to create your own bug-free haven:
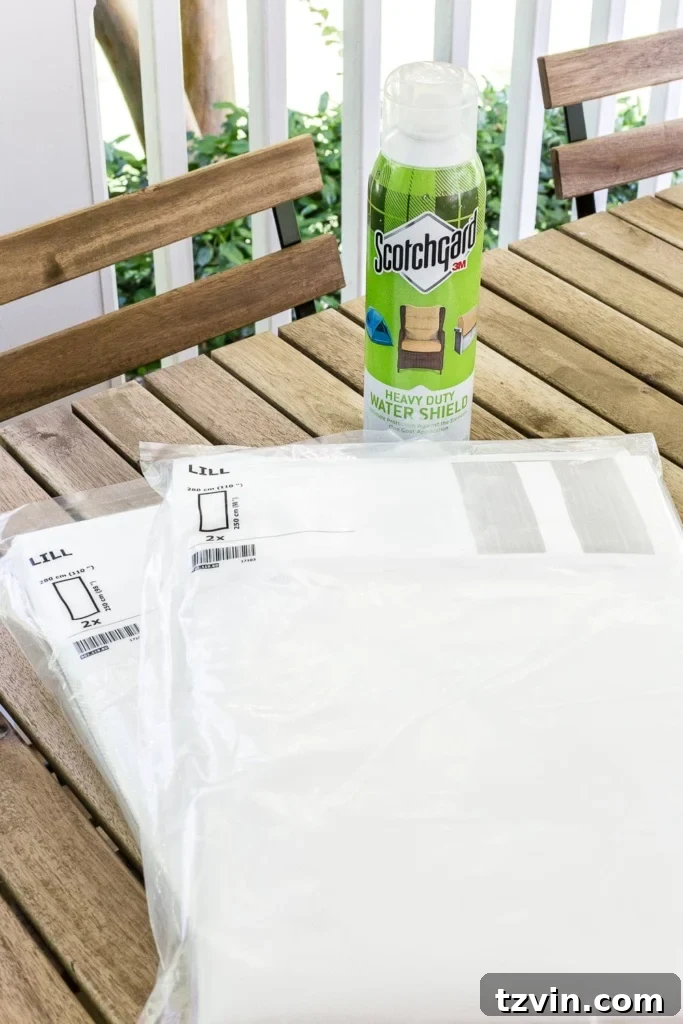
- IKEA Lill Curtain Panels: These are the star of our show! The Lill curtains are incredibly sheer, lightweight, and most importantly, inexpensive. Their fine mesh acts as an excellent barrier against insects while allowing air to flow freely and light to filter through beautifully. You’ll want to measure your porch openings to determine how many pairs you’ll need.
- Scotchgard Heavy Duty Water Shield: This product is crucial for extending the life and functionality of your outdoor curtains. It creates a durable, invisible barrier that repels water, resists stains, and provides UV protection, preventing your sheer curtains from yellowing or deteriorating due to sun and rain exposure.
- Tension Rods: These adjustable rods are key to a damage-free installation. They expand to fit snugly between your porch posts or walls, eliminating the need for drilling. Choose rods that are strong enough to hold the lightweight curtains and span your desired openings.
- 5-Pound Command Hooks: Command hooks are a DIYer’s best friend! The 5-pound capacity hooks are perfect for supporting the lightweight tension rods and curtains without leaving any residue or damage upon removal. Ensure you get enough hooks for each end of every tension rod.
The grand total for all these supplies came to under $100 for six curtain panels, roughly $16 per opening. This is an incredibly small investment for such a significant impact on your outdoor living experience.
Step-by-Step Guide to Your Bug-Free Porch Oasis
Step 1 – Weatherproof Your Curtains with Scotchgard
The IKEA Lill curtains are delicate and designed for indoor use, so a vital first step is to prepare them for the elements. To ensure your curtains withstand the outdoor environment – resisting rain, preventing mildew, and avoiding yellowing from the sun – it’s absolutely worth the small extra investment in Scotchgard Heavy Duty Water Shield. This treatment will significantly prolong their life and maintain their pristine appearance.
For this project, I spent about an extra $10 on two bottles of Scotchgard. Lay your mosquito net curtains flat in a well-ventilated area, preferably outdoors on a tarp or drop cloth. Spray an even coat of the Scotchgard Water Shield over the entire surface of each curtain panel, ensuring good coverage. Follow the product instructions for drying times and reapplication if recommended. While it’s always a good idea to cross your fingers, considering Scotchgard is specifically designed to protect outdoor fabrics, I’m genuinely optimistic about its effectiveness here. This protective layer will make a huge difference in keeping your curtains looking fresh and functional for seasons to come.
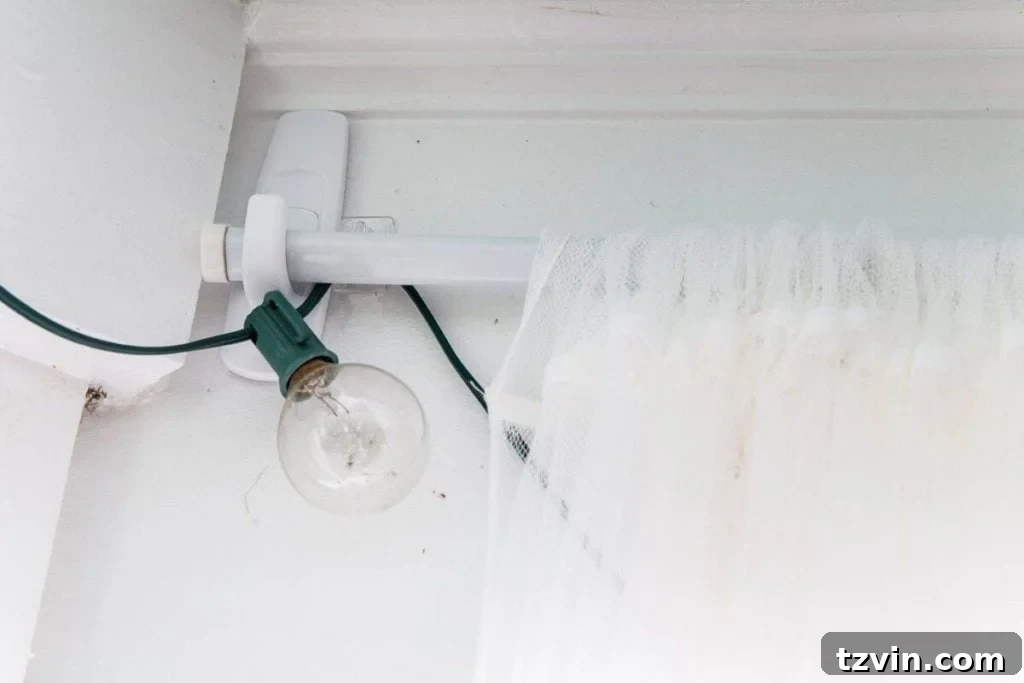
Step 2 – Install Tension Rods with Command Hooks
Next, it’s time to hang your curtain system. This method utilizes the brilliance of tension rods and Command hooks for a quick, secure, and entirely damage-free installation. I purchased six tension rods at Walmart, costing around $6 each, making them another incredibly budget-friendly component of this project.
Before applying the Command hooks, ensure your porch posts or walls are clean and dry for optimal adhesion. Robert and I then strategically placed the Command hooks as high as we possibly could, close to our porch ceiling, for maximum coverage and a sleek, elevated look. Follow the instructions on the Command hook packaging carefully – press firmly for the recommended time and wait for at least an hour before hanging anything on them. Once the hooks are securely in place, simply adjust your tension rods to fit snugly between the hooks, and then slide your treated curtain panels onto the rods before mounting them. This entire process was incredibly swift and causes no damage whatsoever. This means if we ever decide to remove the curtains or change our porch setup, we won’t have to worry about patching unsightly screw holes or dealing with any permanent alterations.
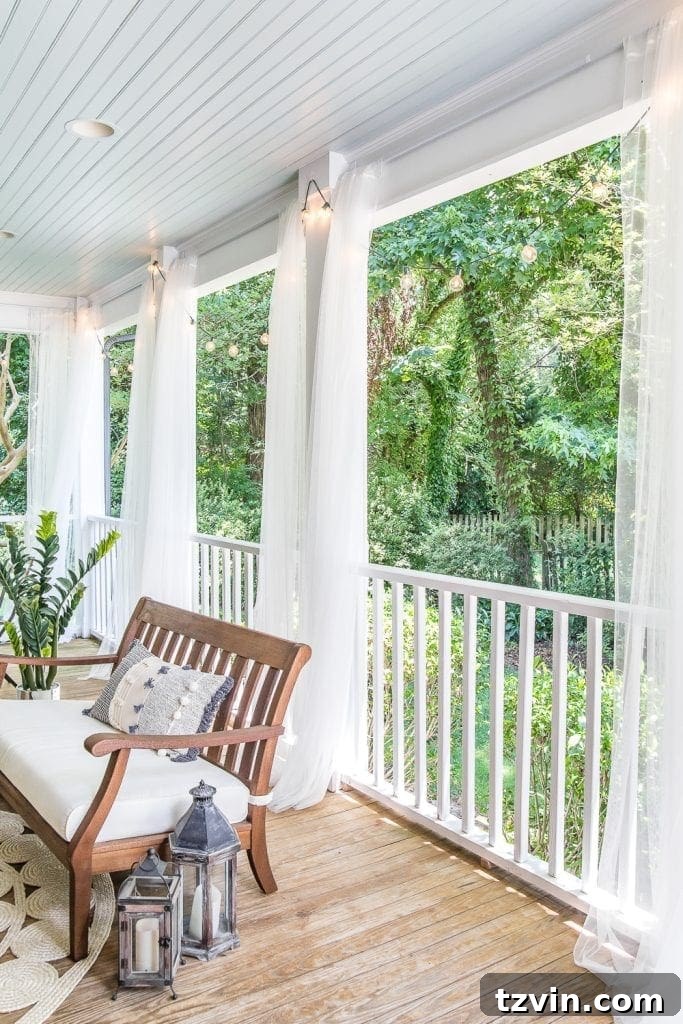
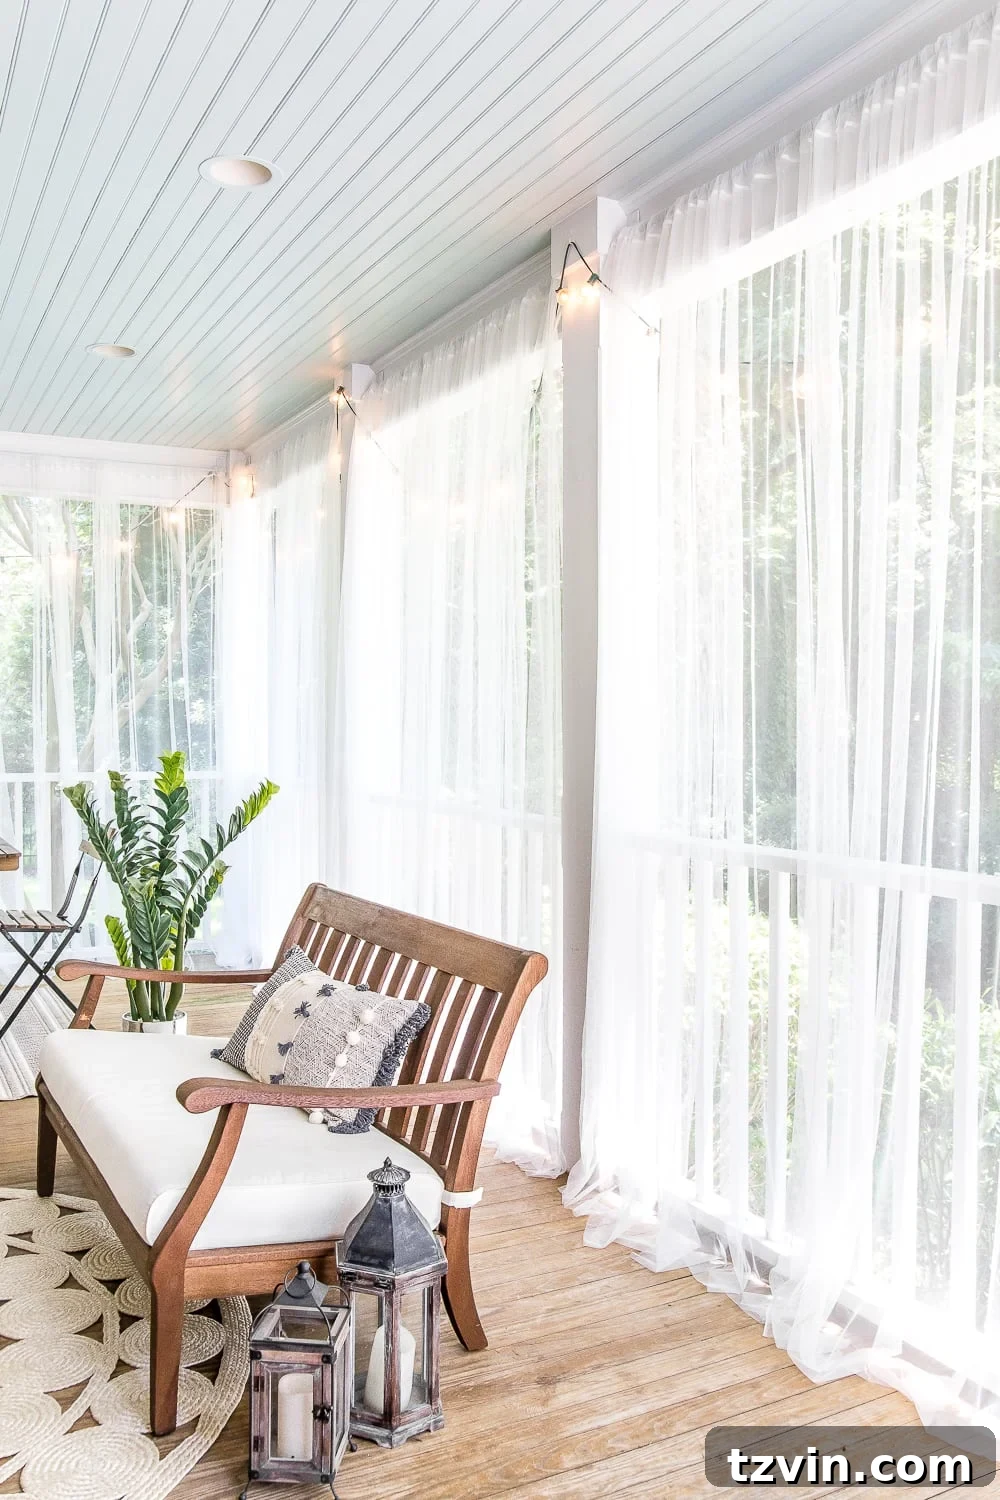
I genuinely cannot believe how elegant and luxurious our back porch looks now! The sheer curtains instantly elevate the space, adding a sophisticated touch that makes it feel like an extension of our indoor living areas. We now have the incredible freedom to open and close them as needed. So, as the evenings draw in and the inevitable swarm of bugs begins, we can simply glide the curtains shut, creating an instant bug-free zone. This flexibility is truly a game-changer for enjoying our outdoor space.
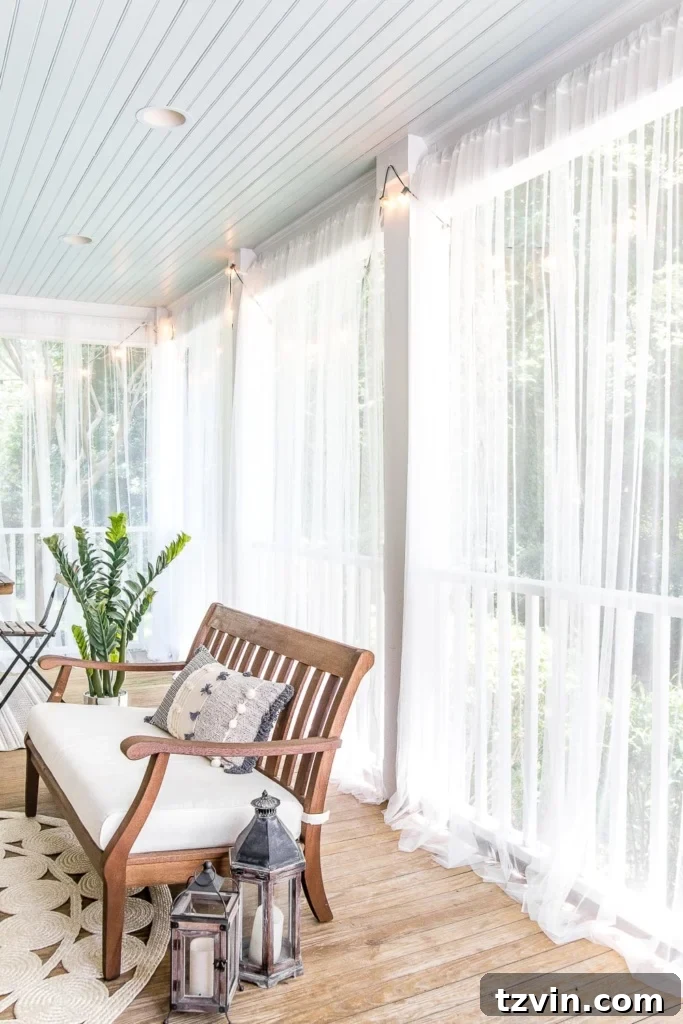
Step 3 – (Optional) Secure Panels for Breezy Days
While the primary function of these curtains is bug protection and aesthetics, you might find that on breezier days, they tend to billow and move with the wind. To maintain a neat appearance and ensure a consistent bug barrier, securing the bottom of your curtain panels is a practical and easy enhancement. This step is entirely optional, depending on your local weather conditions and personal preference.
There are several simple solutions for securing your panels:
- Tie-Backs or Velcro Straps: You could easily loop ties to the corners of the panels and secure them around your porch posts. Alternatively, adhesive velcro strips can be attached to the bottom corners of the curtains and corresponding posts.
- Sewn-In Weights: For a more discreet solution, consider sewing small fishing weights or dedicated curtain weights into the bottom hems of your curtains. This adds just enough heft to keep them from flying around too much. (This is a classic trick many brides use to keep outdoor wedding veils from blowing away!)
- Magnetic Holdbacks: Magnetic curtain holdbacks can be attached to the fabric and clasped around posts or to the fabric itself to keep panels neatly gathered or held taut.
Implementing one of these methods will ensure your curtains stay in place, maintaining their elegant drape and consistent protection, even when there’s a gentle breeze.
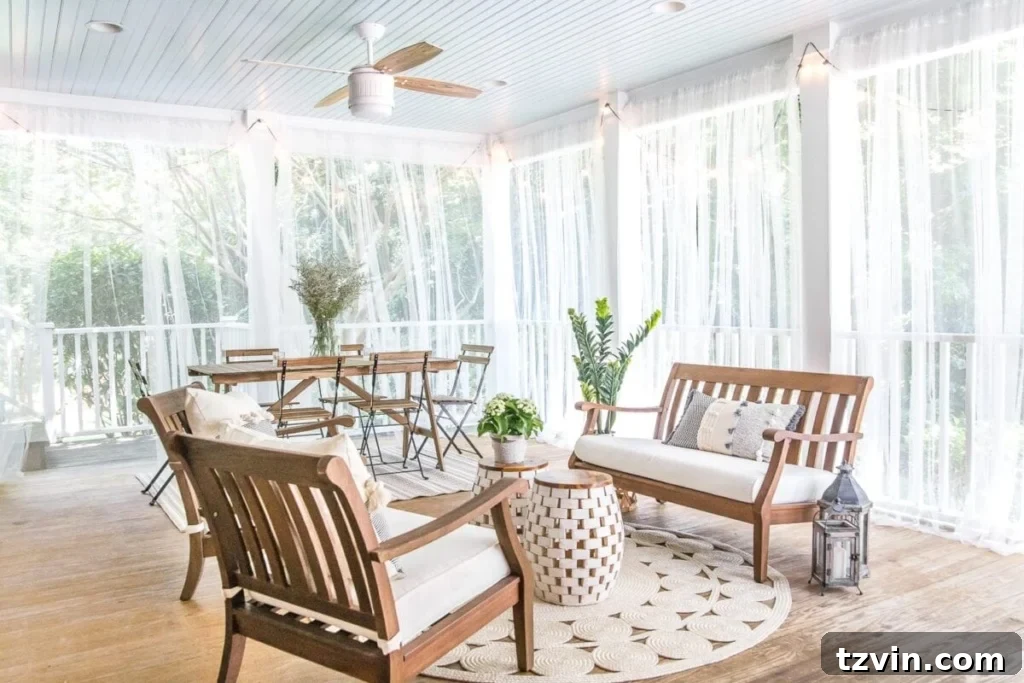
Enjoying Your Newly Transformed Outdoor Oasis
The immediate effect of adding these DIY outdoor curtains is astounding. Our porch, which once felt somewhat exposed, now looks significantly larger and more cohesive, almost like an outdoor room. The sheer fabric creates a sense of enclosure and intimacy without feeling restrictive, allowing us to fully embrace and utilize this space like never before. Beyond just bug protection, these curtains also offer an extra layer of privacy, gently filtering views while still allowing natural light to flood in. They even provide a bit of shade during the sunniest parts of the day, making the porch comfortable at any hour.
This project has truly become one of my all-time favorites, not just for its practicality but for the immense aesthetic upgrade it brought. We’ll be sharing more details about our complete porch decorating sources and design choices very soon, but I simply couldn’t wait to share this ingenious and budget-friendly trick with all of you. It’s a testament to how simple, affordable solutions can yield incredibly impactful results.
Share Your DIY Successes!
Have you embarked on similar money-saving outdoor space makeovers? Or perhaps you’ve discovered unique solutions for combatting those persistent creepy crawlies in your own backyard? We’d love to hear your experiences and tips! Here in South Carolina, I’m often convinced the state bird is really the mosquito, so any and all bug-busting strategies are always welcome!
Embrace the comfort and elegance of an insect-free porch this season. With this quick, cheap, and undeniably chic DIY project, you can transform your outdoor area into the perfect retreat you’ve always envisioned.
If you want to save this post for later inspiration and share it with others, you can pin it here: