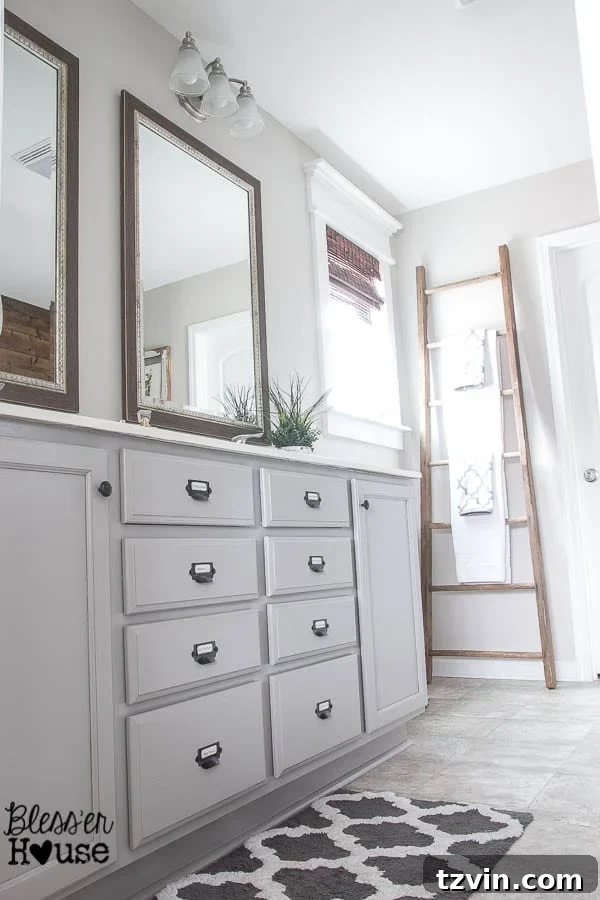
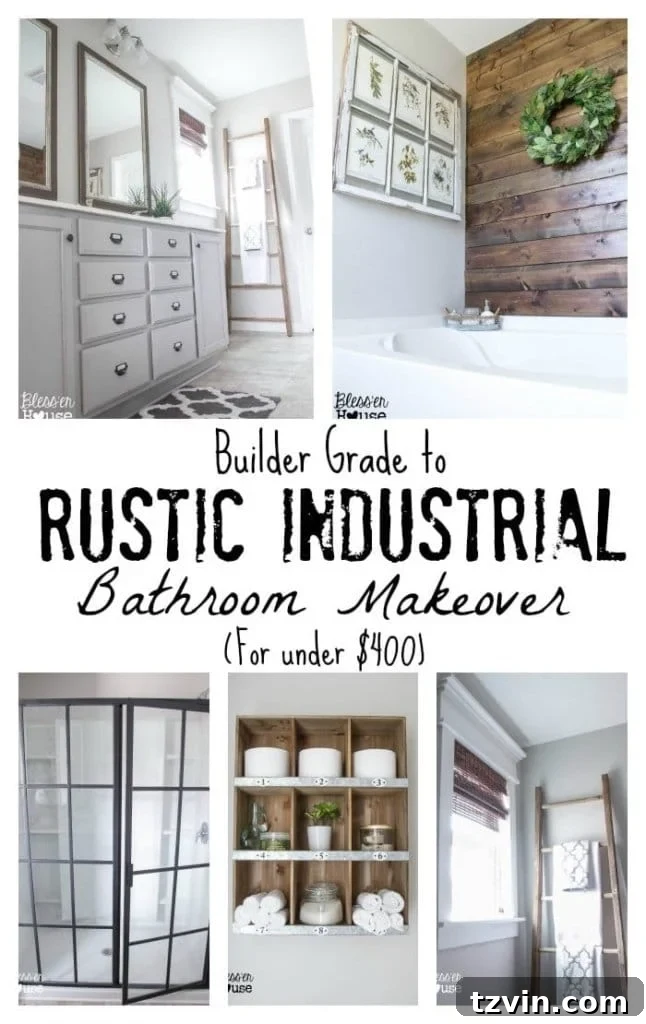
From Builder-Grade Bland to Rustic Industrial Sanctuary: Our Master Bathroom Makeover on a Budget
The anticipation for this master bathroom reveal has been building for weeks, and it’s finally here! Every project seems to take a little longer than planned, but the immense satisfaction of seeing a vision come to life makes every moment worthwhile. This isn’t just any makeover; it’s my first truly intentional, planned-out room transformation. While the rest of our home has evolved organically through fortunate finds and spontaneous changes, I yearned to carve out a distinct, tranquil escape in our master bathroom. After all, our focus has predominantly been on the downstairs areas until now, leaving this crucial space craving attention.
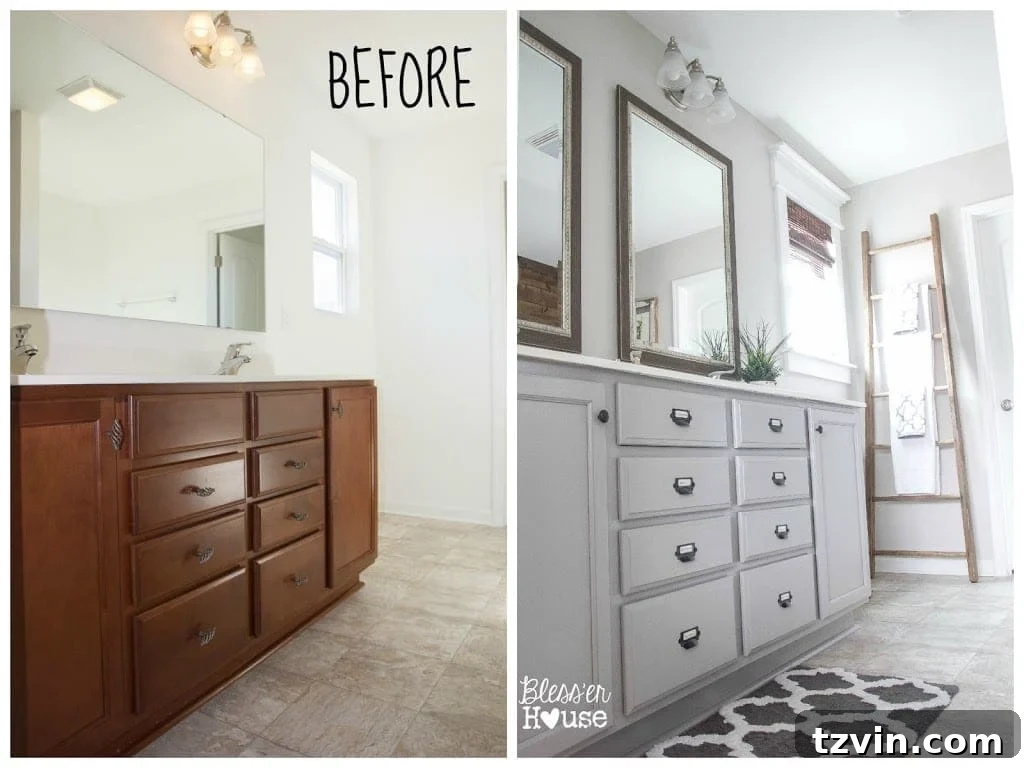
The Uninspiring Canvas: Our Builder-Grade Bathroom Before
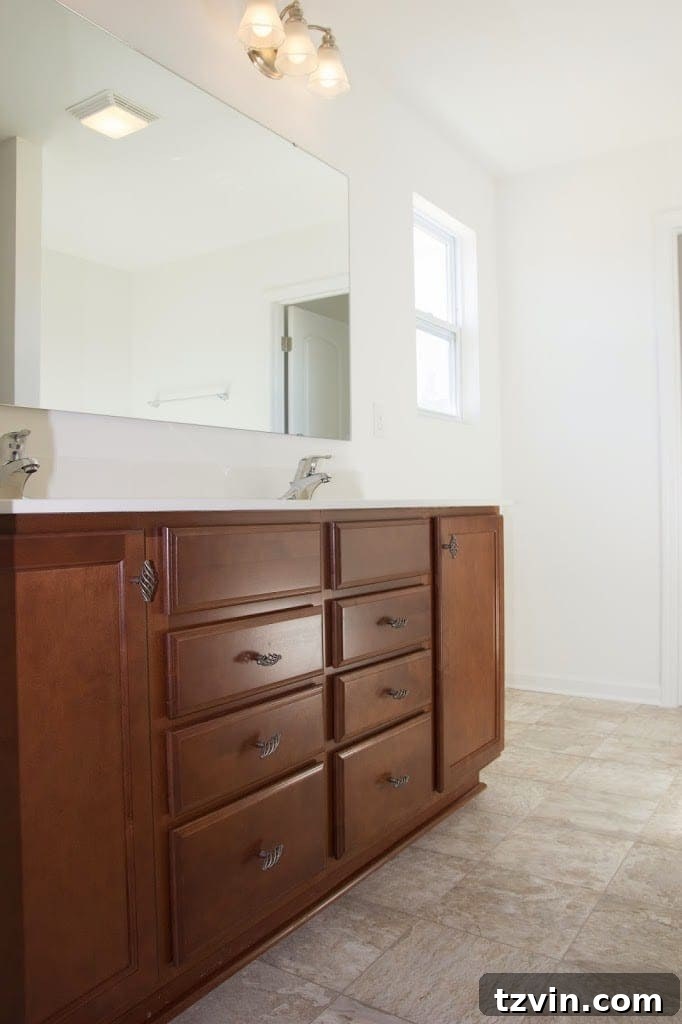
When we first moved in, this space was the epitome of builder-grade simplicity. Think white primer walls, standard issue flooring, a basic frameless mirror, an unadorned window, and a plain nickel-framed shower door. It was functional, yes, but entirely devoid of character or warmth. It served its purpose but offered no solace or design inspiration.
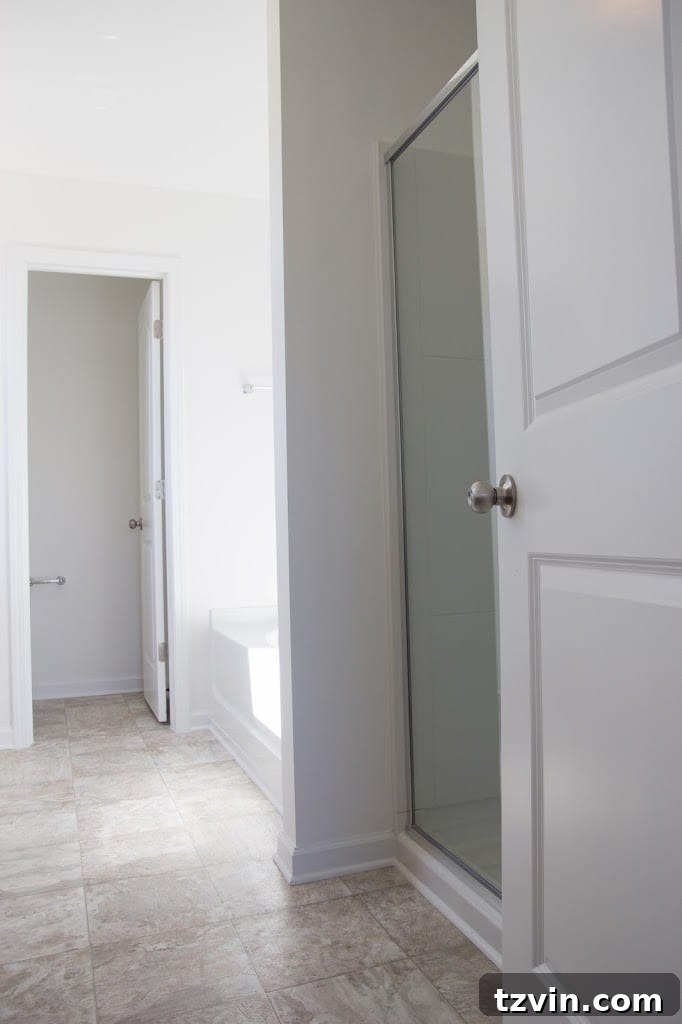
While some might see such a stark beginning as a challenge, I viewed it as an incredible opportunity. Instead of the arduous task of tearing out old, outdated features, we had a pristine, blank canvas. This allowed us the freedom to infuse personality and style without the added complexities of demolition and extensive repairs. It was a foundation ripe for transformation.
Crafting a Vision: Rustic Industrial Charm on a $400 Budget
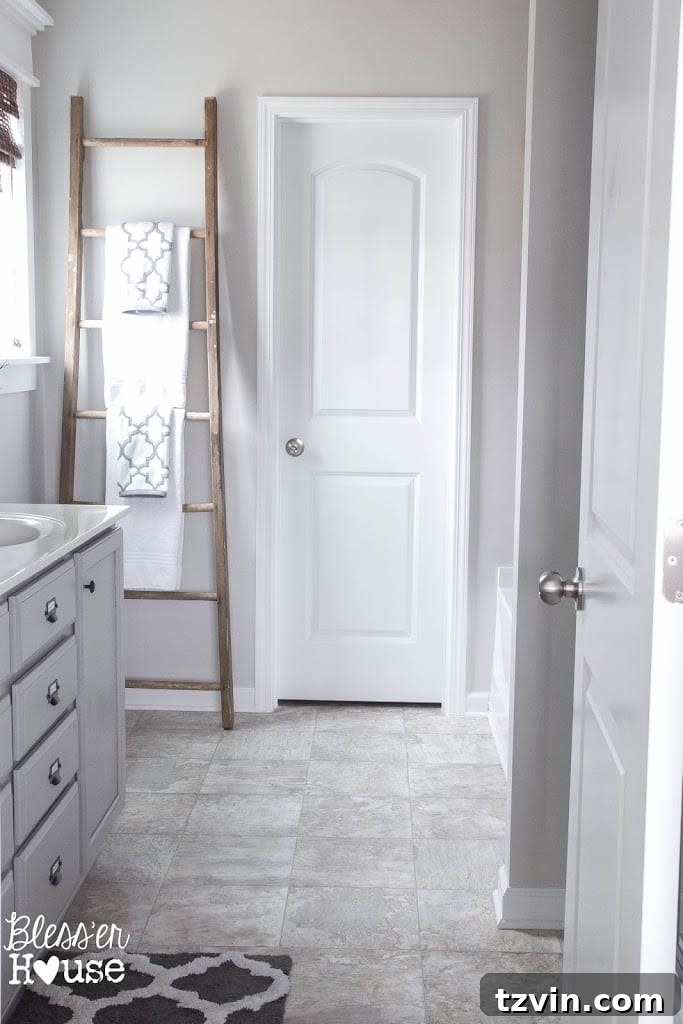
My goal was clear: to imbue this sterile space with character and a calming ambiance, all while adhering to a strict budget of less than $400. The vision was a rustic industrial aesthetic – a blend of warm, natural textures with the raw, edgy appeal of industrial elements. This design direction promised to introduce depth and comfort, transforming our functional bathroom into a true retreat.
And I’m thrilled to report: mission accomplished.
Key Transformations: Injecting Personality and Style
Refined Reflections: Upgrading Builder-Grade Mirrors
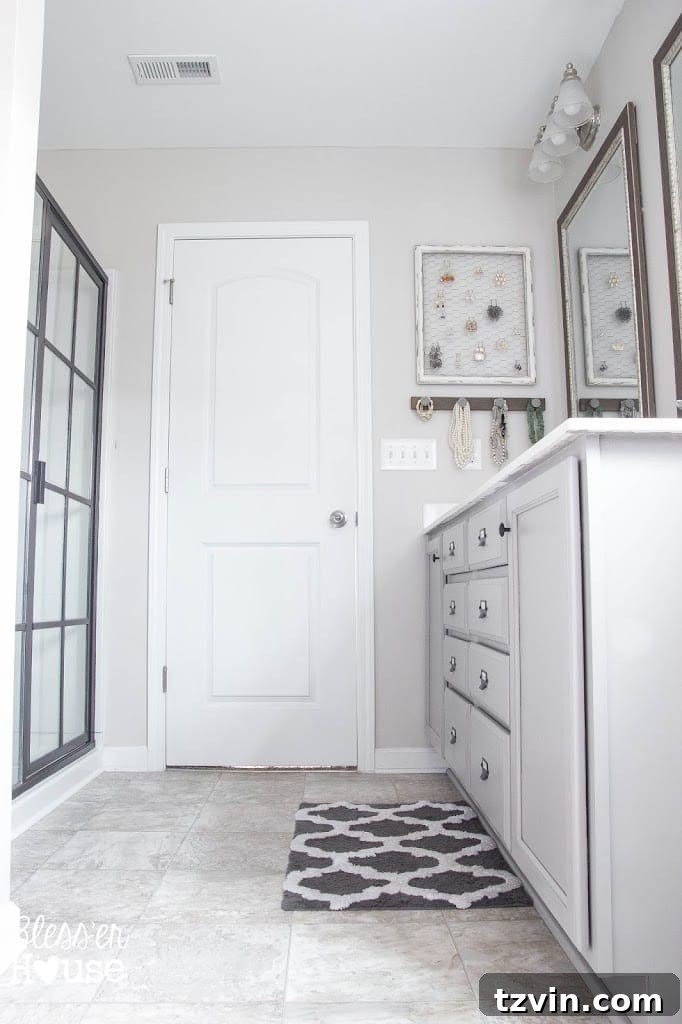
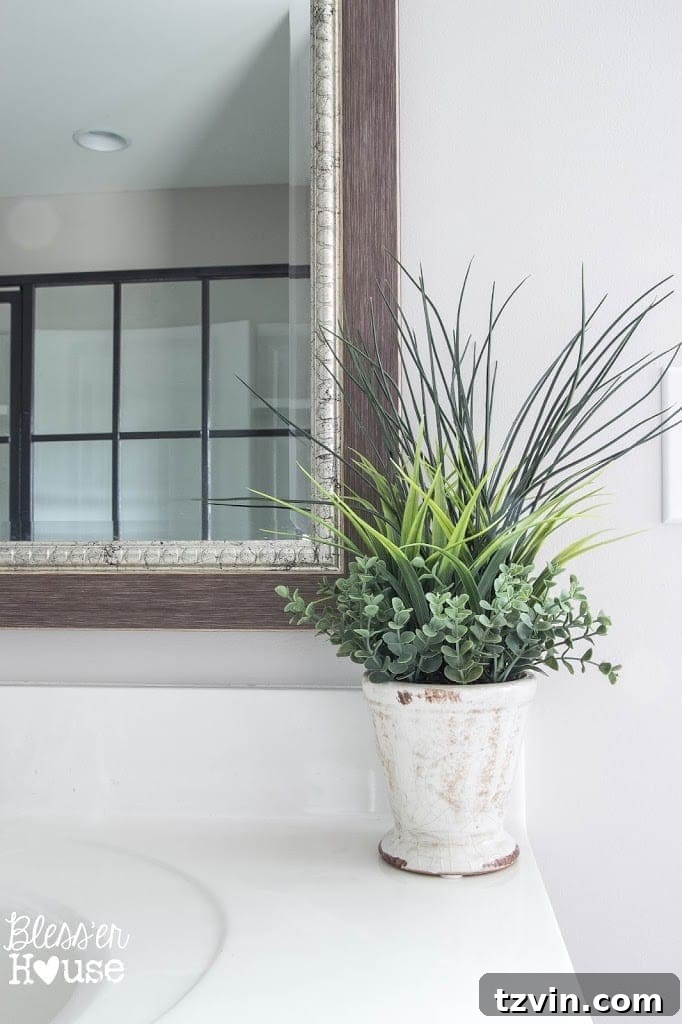
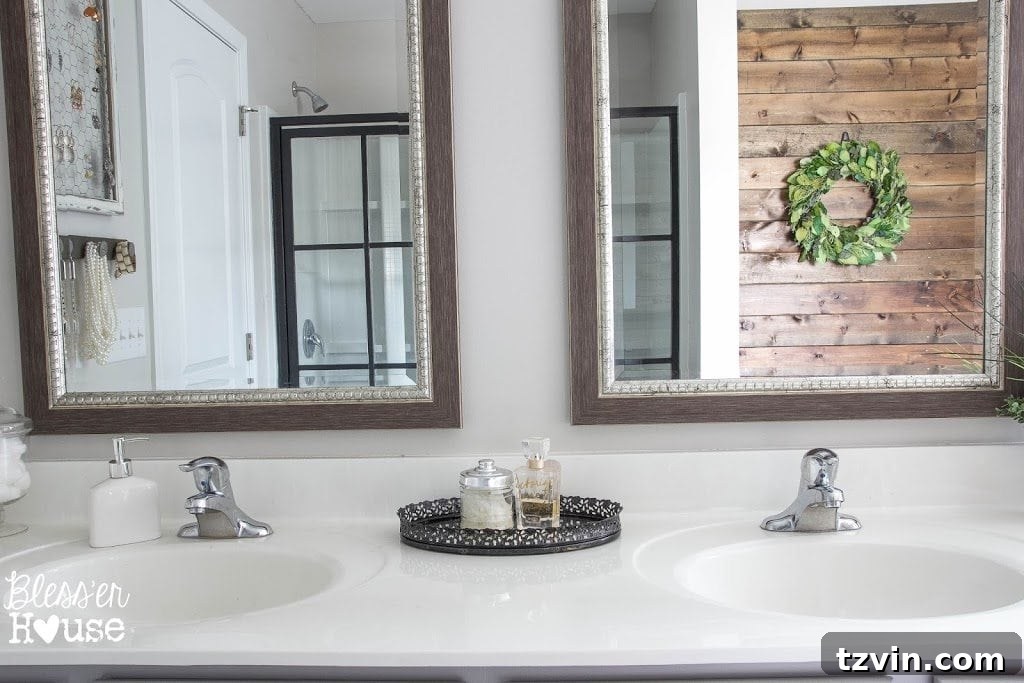
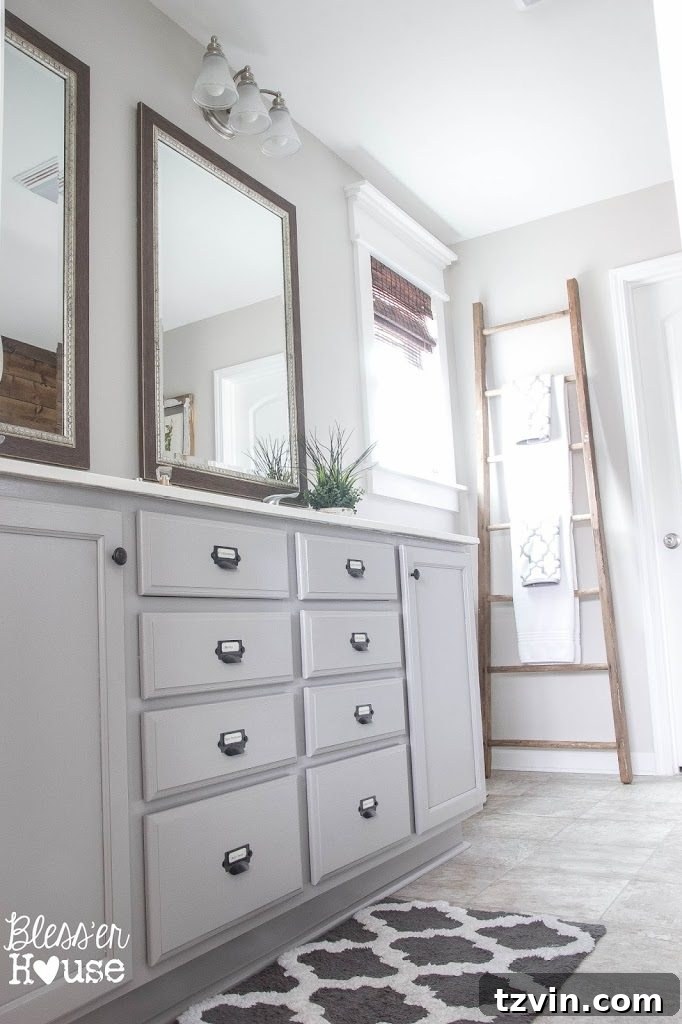
The journey began with a simple yet impactful change: replacing the generic frameless mirror with two stylish alternatives. I stumbled upon these gems at Kirkland’s for just $19 each. Their rustic frames, subtly infused with a hint of glam, perfectly set the tone for the aesthetic we were building. This small investment immediately elevated the vanity area, providing both functionality and a significant style upgrade. As for the old mirror? It now serves a new purpose in our garage, where Robert uses it to check his form during workouts, proving that even builder-grade items can find a second life.
The Industrial Edge: DIY Factory Window Shower Door
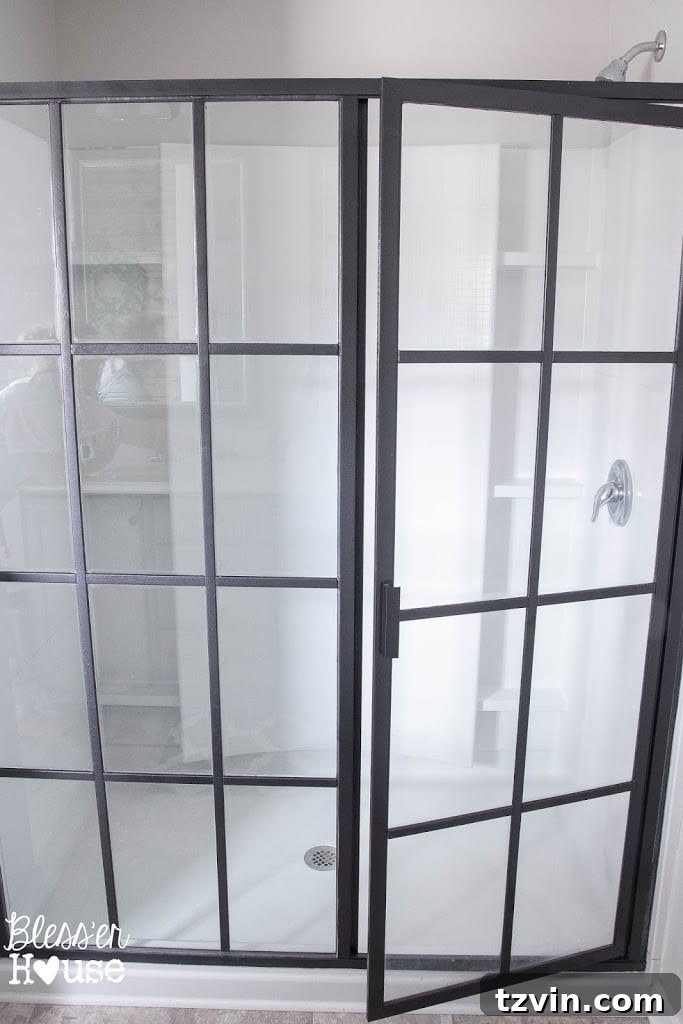
One of the most dramatic transformations came from giving our basic nickel-framed shower door an industrial makeover. Inspired by a captivating factory window shower door I pinned on Pinterest ages ago, I set out to replicate the look. With a few clever tricks and less than $60, I managed to create a custom, high-impact industrial design that completely transformed the shower area. It’s a testament to how a bit of DIY ingenuity can create a high-end look without the high-end price tag.
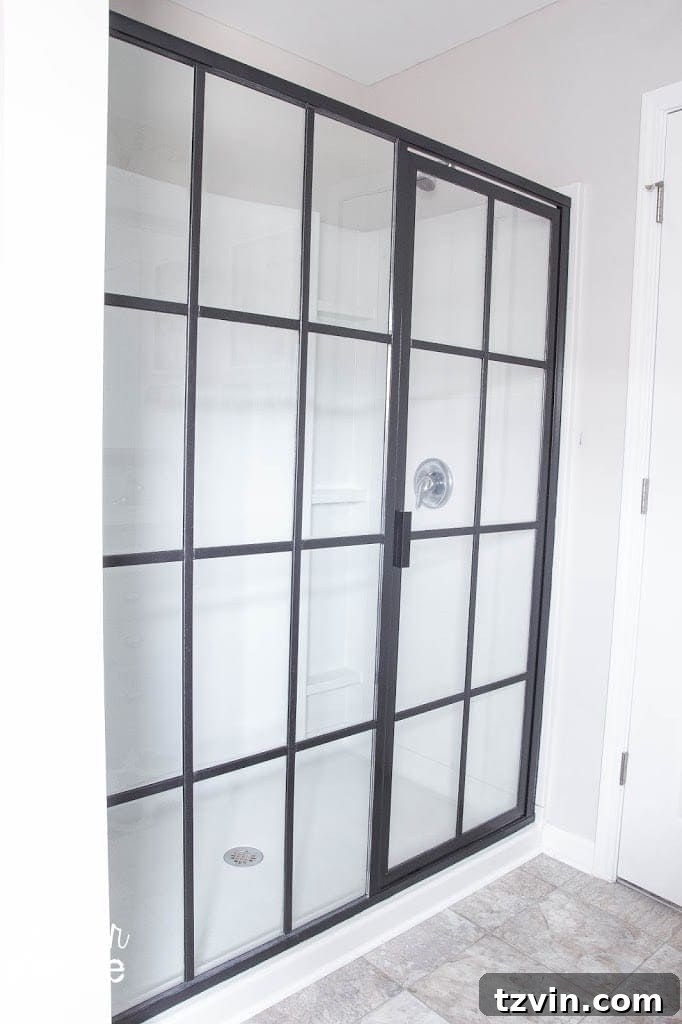
The result is truly awesome, wouldn’t you agree? This project alone drastically changed the bathroom’s character, pushing it firmly into the rustic industrial realm. If you’re curious about the step-by-step process, you can find the full tutorial here.
Window Wonderland: Adding Architectural Moulding
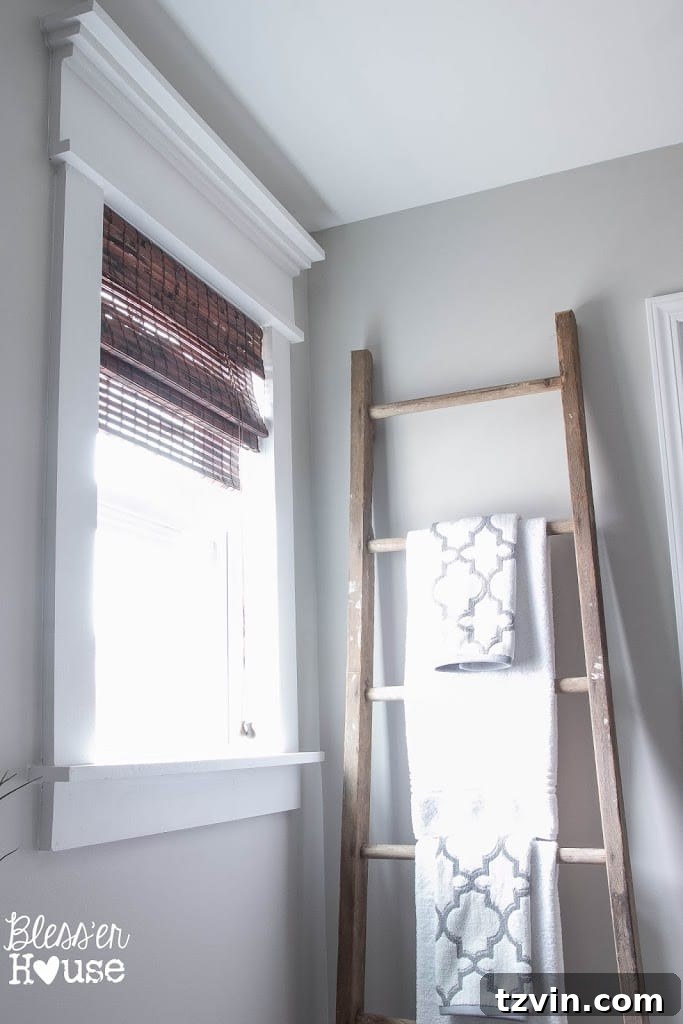
Last month, we also tackled our molding-less window, giving it a much-needed facelift. This simple addition of architectural molding instantly added a significant amount of character and visual interest to an otherwise overlooked feature. It’s often the small details that make the biggest difference in elevating a space from ordinary to extraordinary, and this window transformation perfectly illustrates that point.
Rustic Utility: Reclaimed Ladder as a Towel Rack
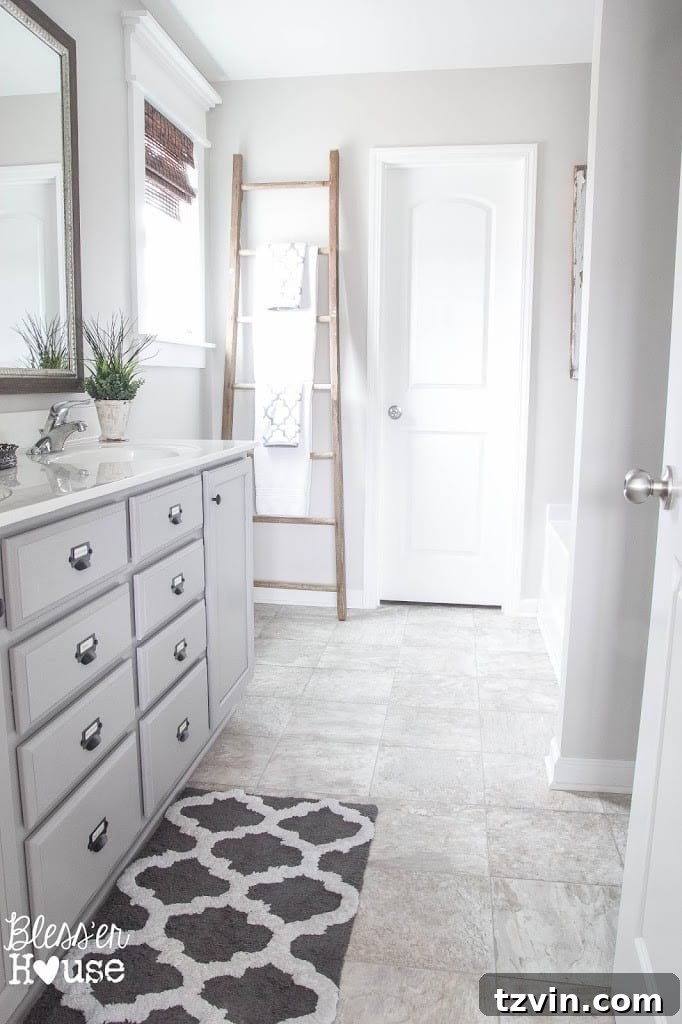
Embracing the rustic side of our design, we repurposed a beautiful old ladder discovered in my in-laws’ barn. After a thorough cleaning and a couple of coats of polyurethane to protect its aged charm, it became the perfect, unique towel rack. I absolutely adore its weathered, beaten-up appearance; it tells a story and adds an authentic layer of rustic character that new items simply can’t replicate. It’s both functional and a true statement piece.
Vintage Charm: Old Window Wall Decor
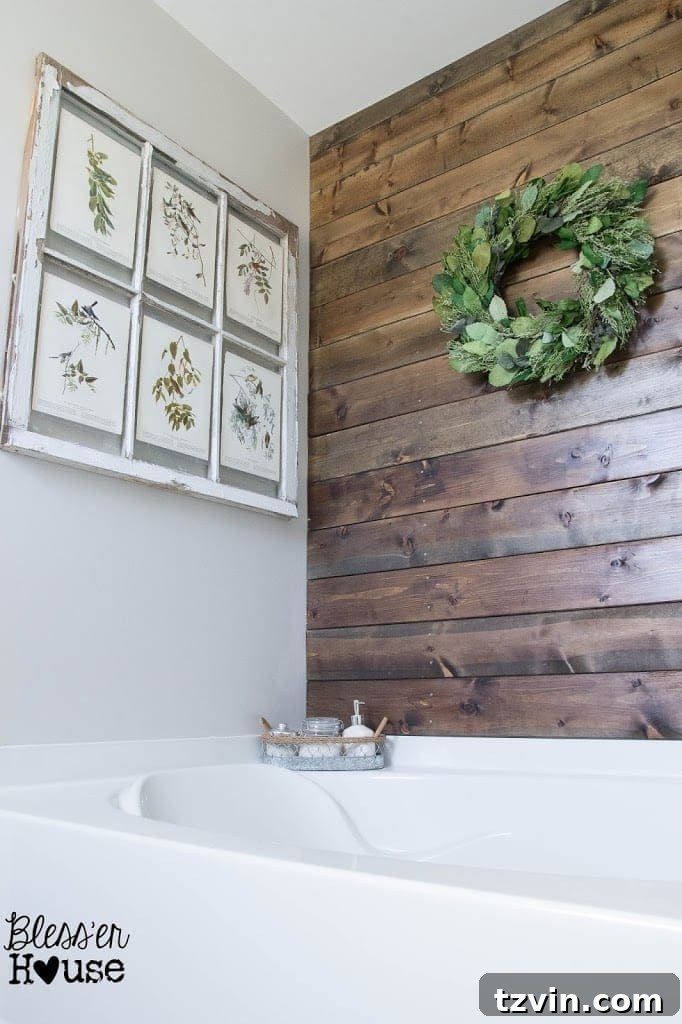
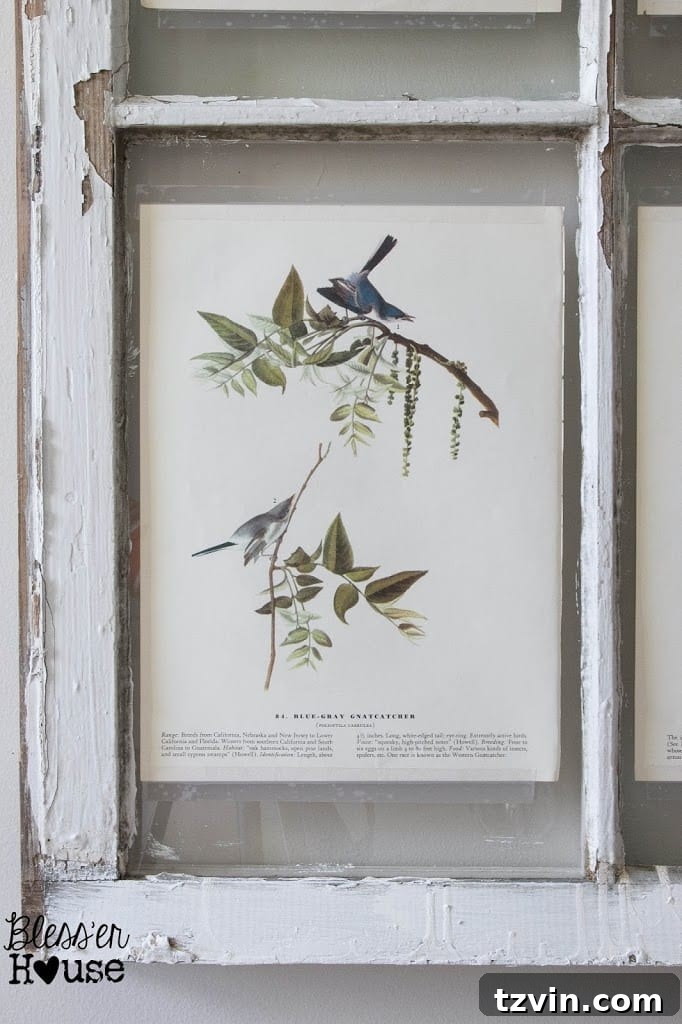
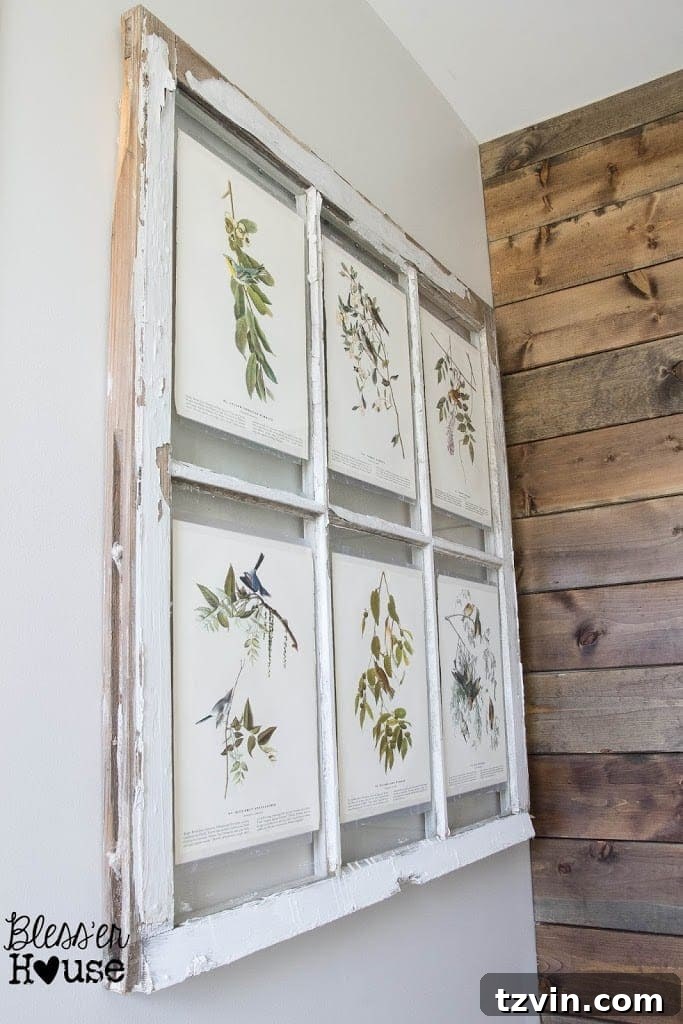
Another treasured find from my in-laws’ barn was an old window, which we decided to hang as unique wall decor. To breathe new life into it, I added a few carefully selected pages from an old Audubon field guide book, laminating them and taping them behind the glass panes. This simple artistic touch brought the window to life, creating a captivating focal point that combines vintage aesthetics with a touch of natural beauty.
The Plank Wall Power: Adding Personality to the Tub Nook
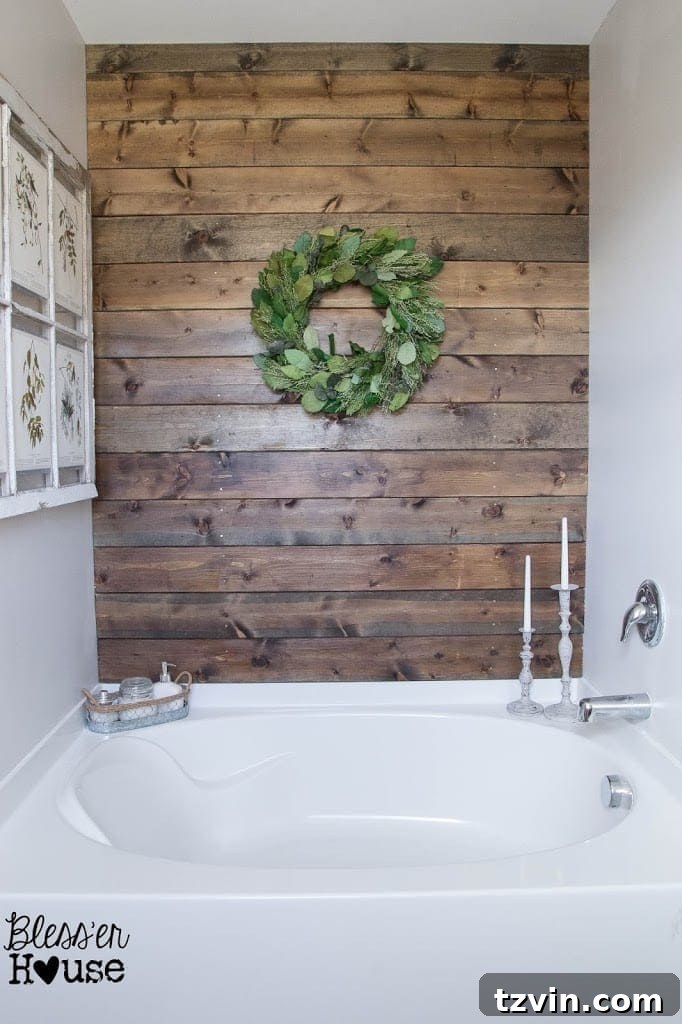
Our DIY weathered wood plank wall has truly injected a wealth of personality into our formerly plain garden tub nook. The distressed wood finish provides texture, warmth, and a focal point that dramatically transforms the entire area. It’s a design element that speaks volumes, adding character and a sense of history that perfectly complements the rustic industrial theme. This plank wall isn’t just decoration; it’s an immersive design statement that enhances the entire bathroom’s atmosphere.
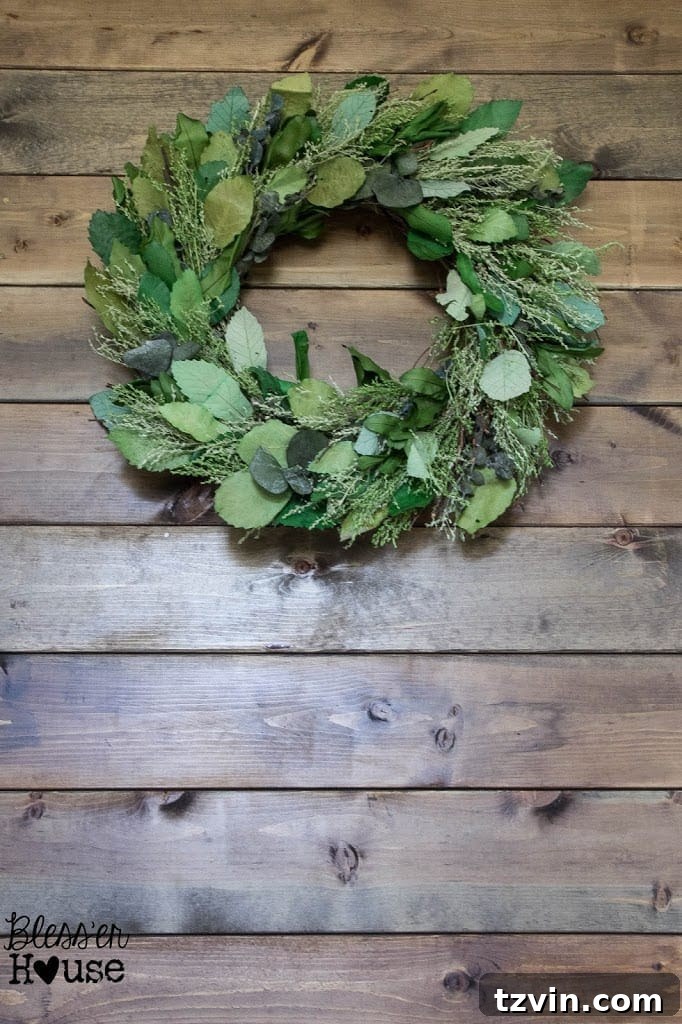
Let me tell you, soaking in bubble baths is now an absolute dream – so incredibly inviting that it even brings out some nostalgic 90s slang! This space has become a true haven, perfect for unwinding after a long day. The rich texture of the wood combined with the serene ambiance makes it feel like a high-end spa experience, all within the comfort of our own home and achieved on a budget.
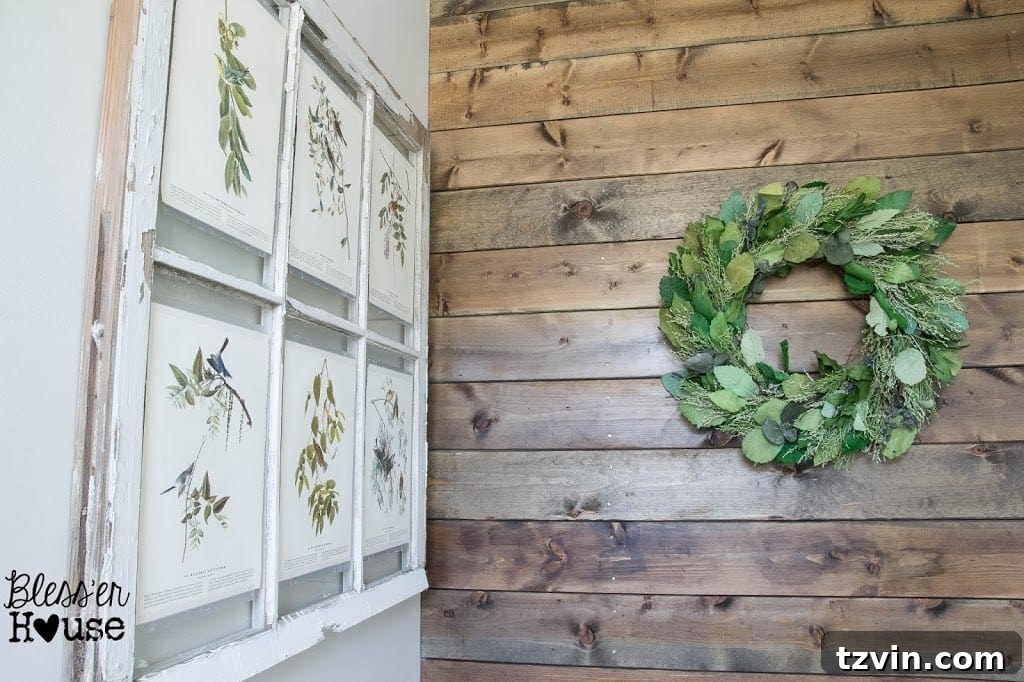
As I mentioned in a previous post, I’m striving to embrace blank spaces for a more minimalist approach. I’m currently battling the urge to hang something on the other blank wall in our tub nook. It’s a fine line between adding charm and creating clutter, and sometimes less truly is more. What are your thoughts? Should I leave it blank, allowing the plank wall to truly shine, or would a carefully chosen piece of art complete the look? I’d love to hear your opinions on striking that perfect balance.
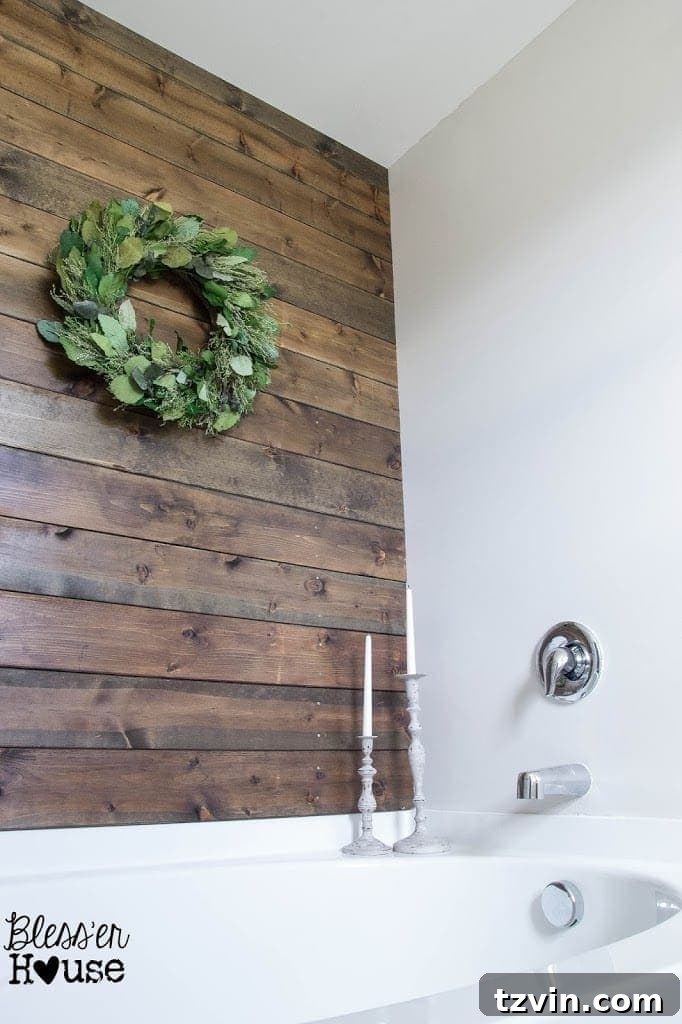
My thrifted candle holders initially looked adorable on the tub ledge, adding a soft glow to the space. However, with Olivia’s curious climbing habits while I get ready, they’ve been safely relocated to our hallway window shelf, well out of her reach. We’ll just pretend they’re always there, perfectly placed to enhance the peaceful atmosphere. It’s all part of balancing aesthetics with the realities of family life!
Addressing Humidity: Wood in a Bathroom Environment
A common question I receive about the wood plank wall concerns its durability in a humid bathroom environment. Our experience has been overwhelmingly positive. The key for us is that this wall is above a tub that isn’t frequently used by our little one, meaning it’s not subjected to daily splashes or constant moisture. To ensure its longevity, I applied two coats of marine-grade polyurethane, which provides excellent moisture resistance. Since its installation a month ago, we’ve encountered absolutely no problems, and the wood remains as beautiful as the day we put it up. This treatment is crucial for protecting wood in any high-moisture area.
Water Closet Refresh: Simple Storage Solutions
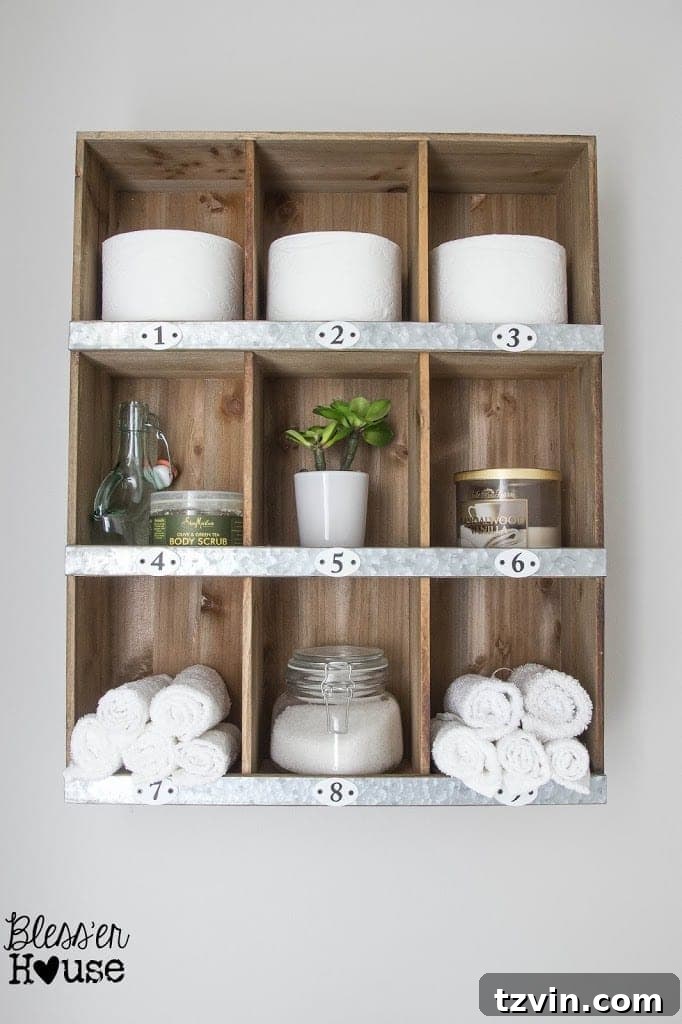
Even the smallest spaces deserve attention. For our water closet, we opted for a simple cubby shelf, which provides an ideal spot for organizing various odds and ends. It’s a practical addition that helps maintain order and keeps essential items within easy reach, without overwhelming the compact area.
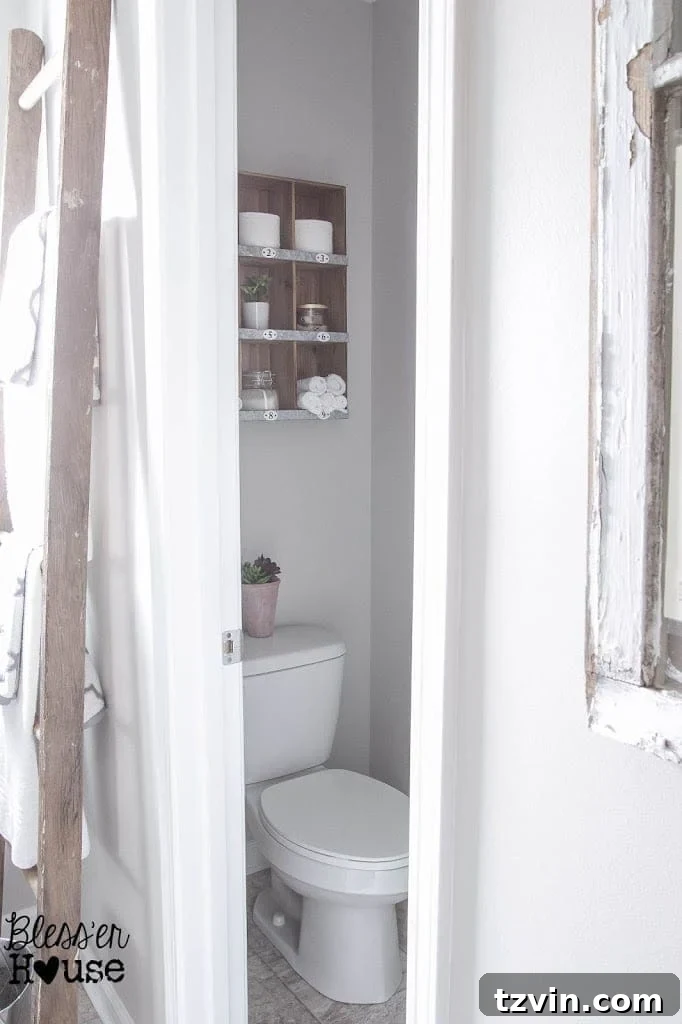
This shelf is perfect for storing smaller items like washcloths, bath salts, and candles, adding both convenience and a touch of curated charm. It demonstrates that thoughtful design can be applied to even the most utilitarian corners of a home, enhancing both form and function.
Brightening the Vanity: Painted Bathroom Cabinets
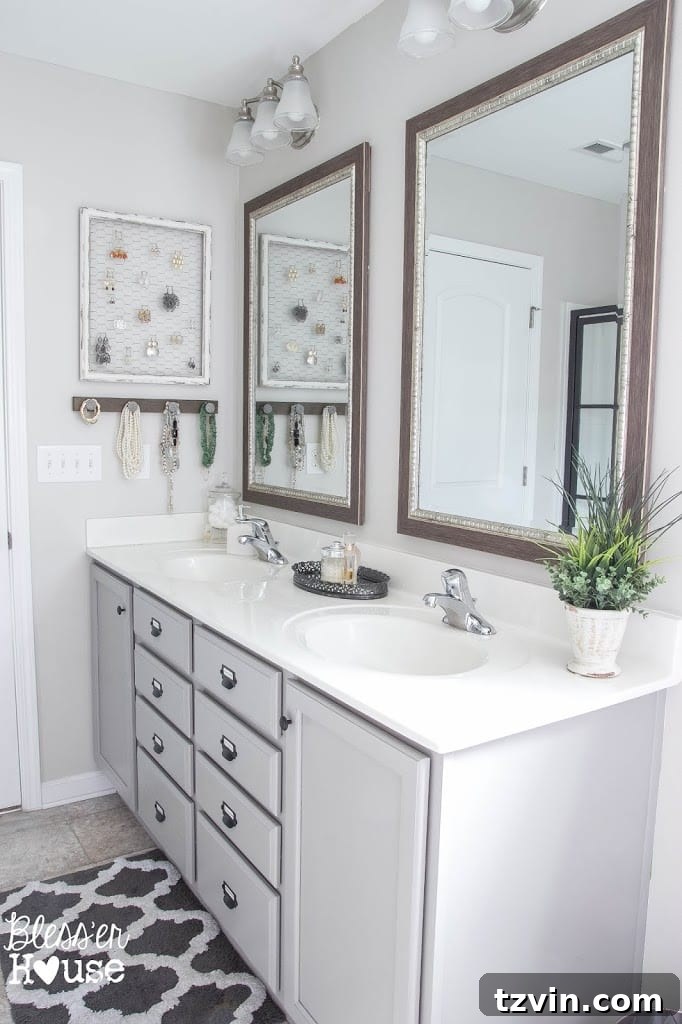
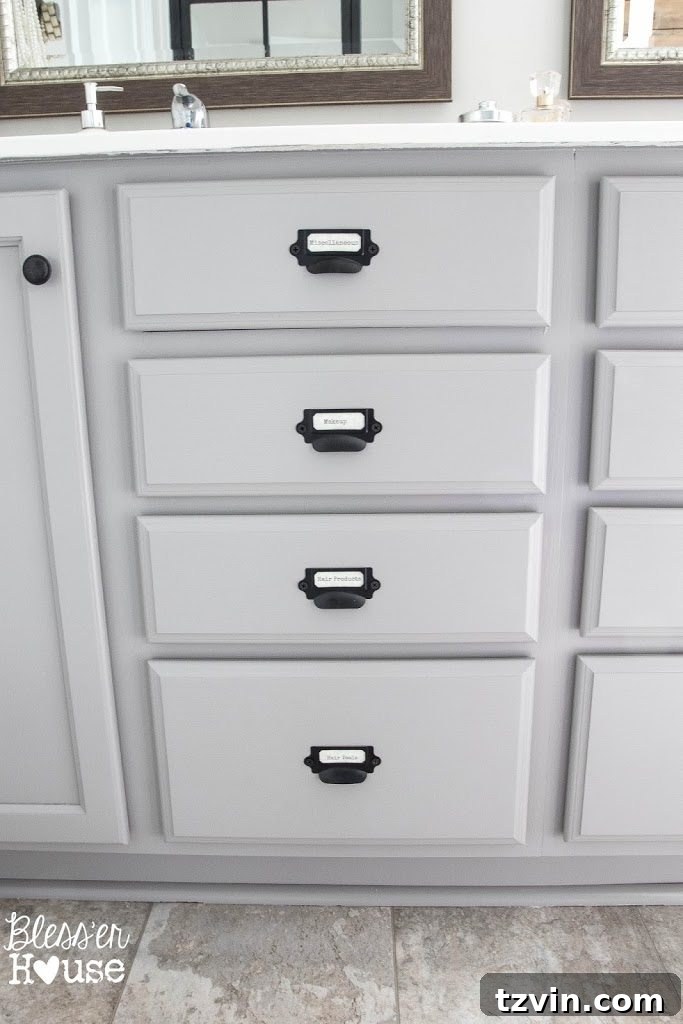
Last week, I shared all the intricate details of our painted bathroom cabinets. Choosing a lighter shade has made a dramatic difference, instantly brightening the entire room and making it feel significantly larger and more open than when they were their original wood tone. The fresh paint provides a clean, updated foundation that harmonizes beautifully with the rustic industrial elements we’ve introduced, proving that paint is indeed one of the most powerful tools in a budget renovator’s arsenal.
The Challenges of Capturing Beauty: Photographing a Narrow Space
I genuinely wish I could capture a better shot to showcase our industrial shower and the charming wood plank wall side-by-side. Unfortunately, our bathroom’s long and narrow layout makes photographing the space quite tricky. Despite my best efforts, this is the most comprehensive view I can get, highlighting the beautiful interplay of these two key design elements. Rest assured, the real-life effect is even more stunning!
Smart Storage: DIY Jewelry Organizer
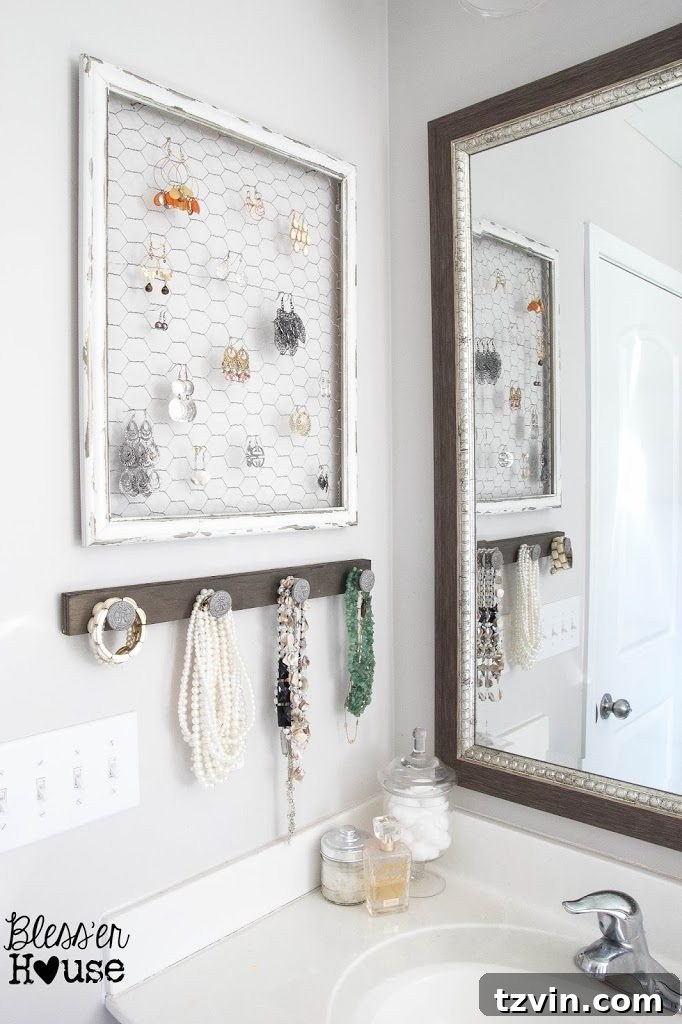
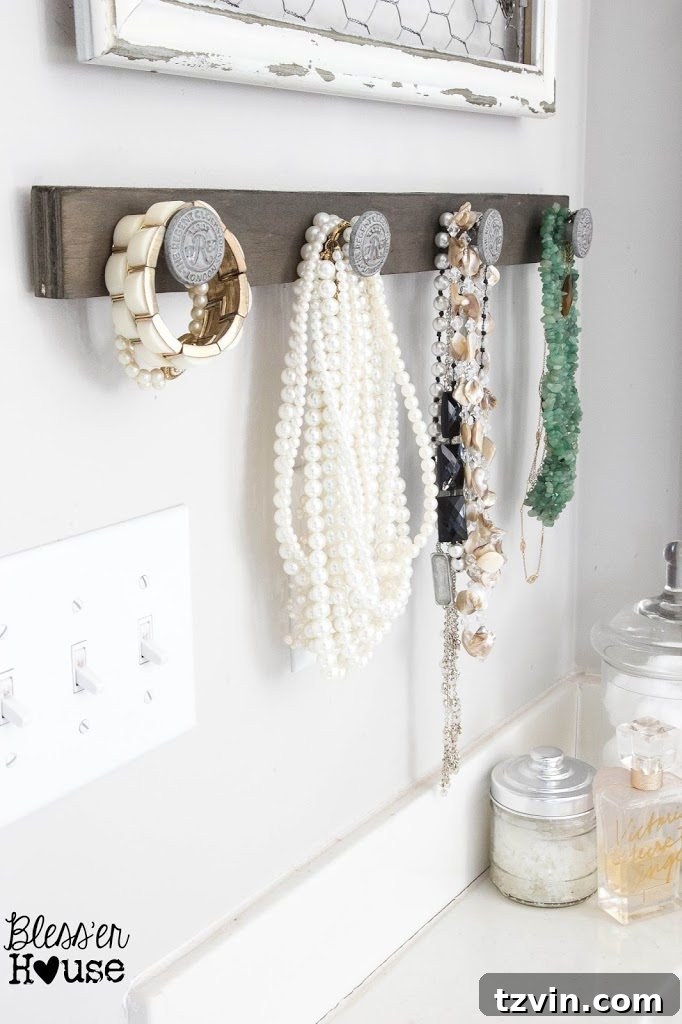
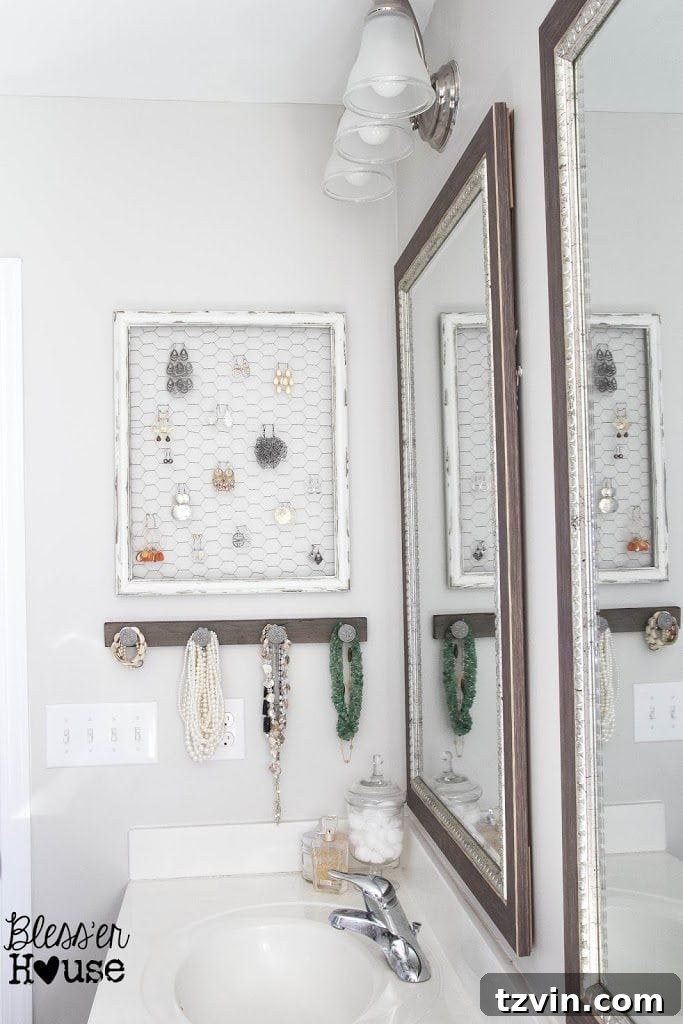
Having all my jewelry displayed neatly on our DIY jewelry organizer has been an absolute game-changer. No more digging through a tangled mess in a box; now, everything is easily accessible and beautifully showcased. This simple addition brings both order and a touch of personalized elegance to the room, making my morning routine much more efficient and enjoyable. It’s a small detail that delivers significant daily convenience.
Labeled Organization: Vanity Drawer Pulls
Our label drawer pulls have proven to be incredibly helpful in keeping all our toiletries organized. Each drawer has a designated purpose, making it easy to find what we need and put things back in their place – that is, when our two-year-old isn’t around to embark on her own “reorganization” projects! They add a delightful touch of industrial charm while serving a truly practical purpose in managing everyday clutter.
The Power of Planning: A Finished Space & Future Projects
It feels incredibly rewarding to have this space completed, fully realizing the vision we had for it. This successful, planned-out makeover has truly shifted my perspective. Now that we’ve slowed down on the immediate need to furnish once-empty rooms, I’m contemplating adopting a more deliberate, design-focused approach for all future room transformations in our house. The difference a coherent plan makes is undeniable.
The Grand Total: An Affordable Dream Come True
Curious about the final cost of our master bathroom makeover? Prepare to be amazed:
Achieving such a significant transformation for under $400 proves that stunning design doesn’t have to break the bank. With creativity, resourcefulness, and a willingness to DIY, you can turn any builder-grade space into a personalized sanctuary. Don’t forget to pin this project for later inspiration and share it with anyone looking to tackle their own budget-friendly home renovations!
Detailed Source List & Budget Breakdown
Stay Connected!
Follow our journey and get more home decor and DIY inspiration:
Facebook | Pinterest | Instagram | Twitter | Google+ | Bloglovin | Hometalk