
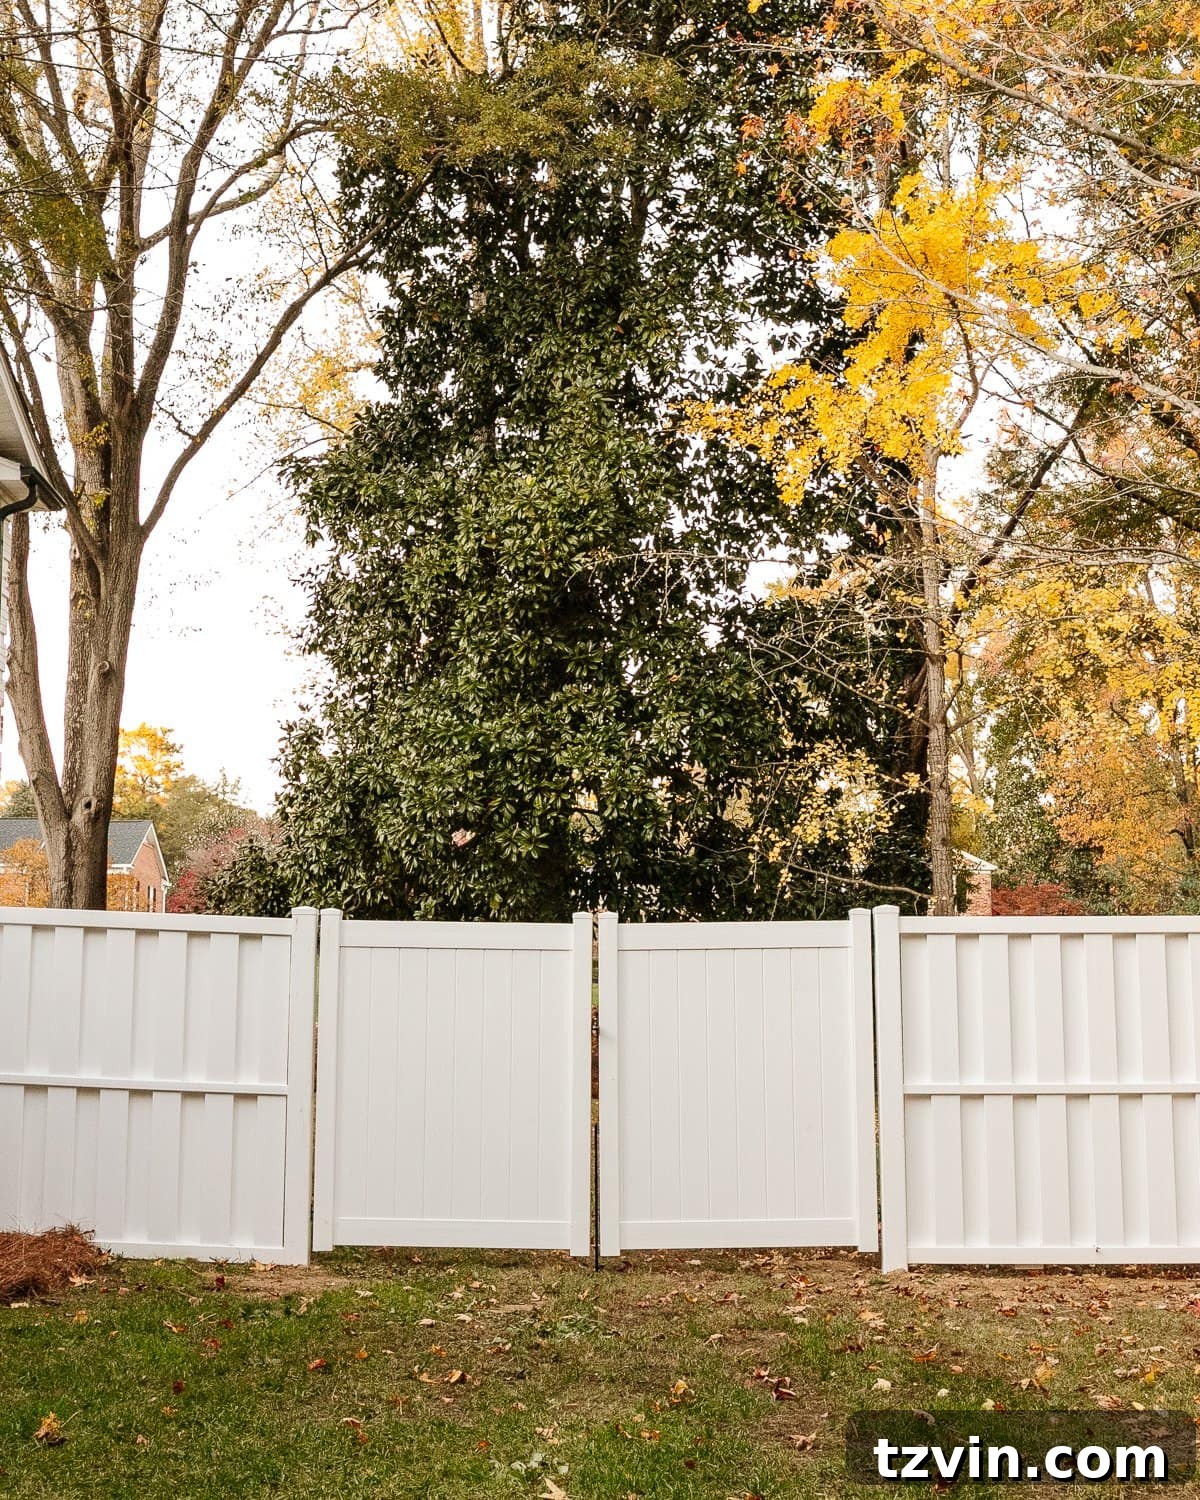
This post is sponsored by Ply Gem. All opinions are entirely our own.
Transforming Your Outdoor Space: 9 Essential Insights Before Choosing and Installing a Vinyl Fence for a Secure, Low-Maintenance Yard.
The highly anticipated vinyl fence installation is complete, marking the successful conclusion of Phase 2 of our extensive backyard renovation! This moment feels like a monumental achievement, one we’ve been envisioning for years. Finally, we can breathe a collective sigh of relief, knowing our outdoor sanctuary is now safer, more beautiful, and remarkably easier to maintain.
Do you recall the dramatic “before” state of our backyard? It’s incredible to look back at those initial images and see how much has changed. (Even little Olivia, then just 5 years old, looks so tiny in those photos!)

Today, the transformation is truly breathtaking! Our home wasn’t built in a day, and neither was this backyard oasis. The journey has been long, but the results speak for themselves.
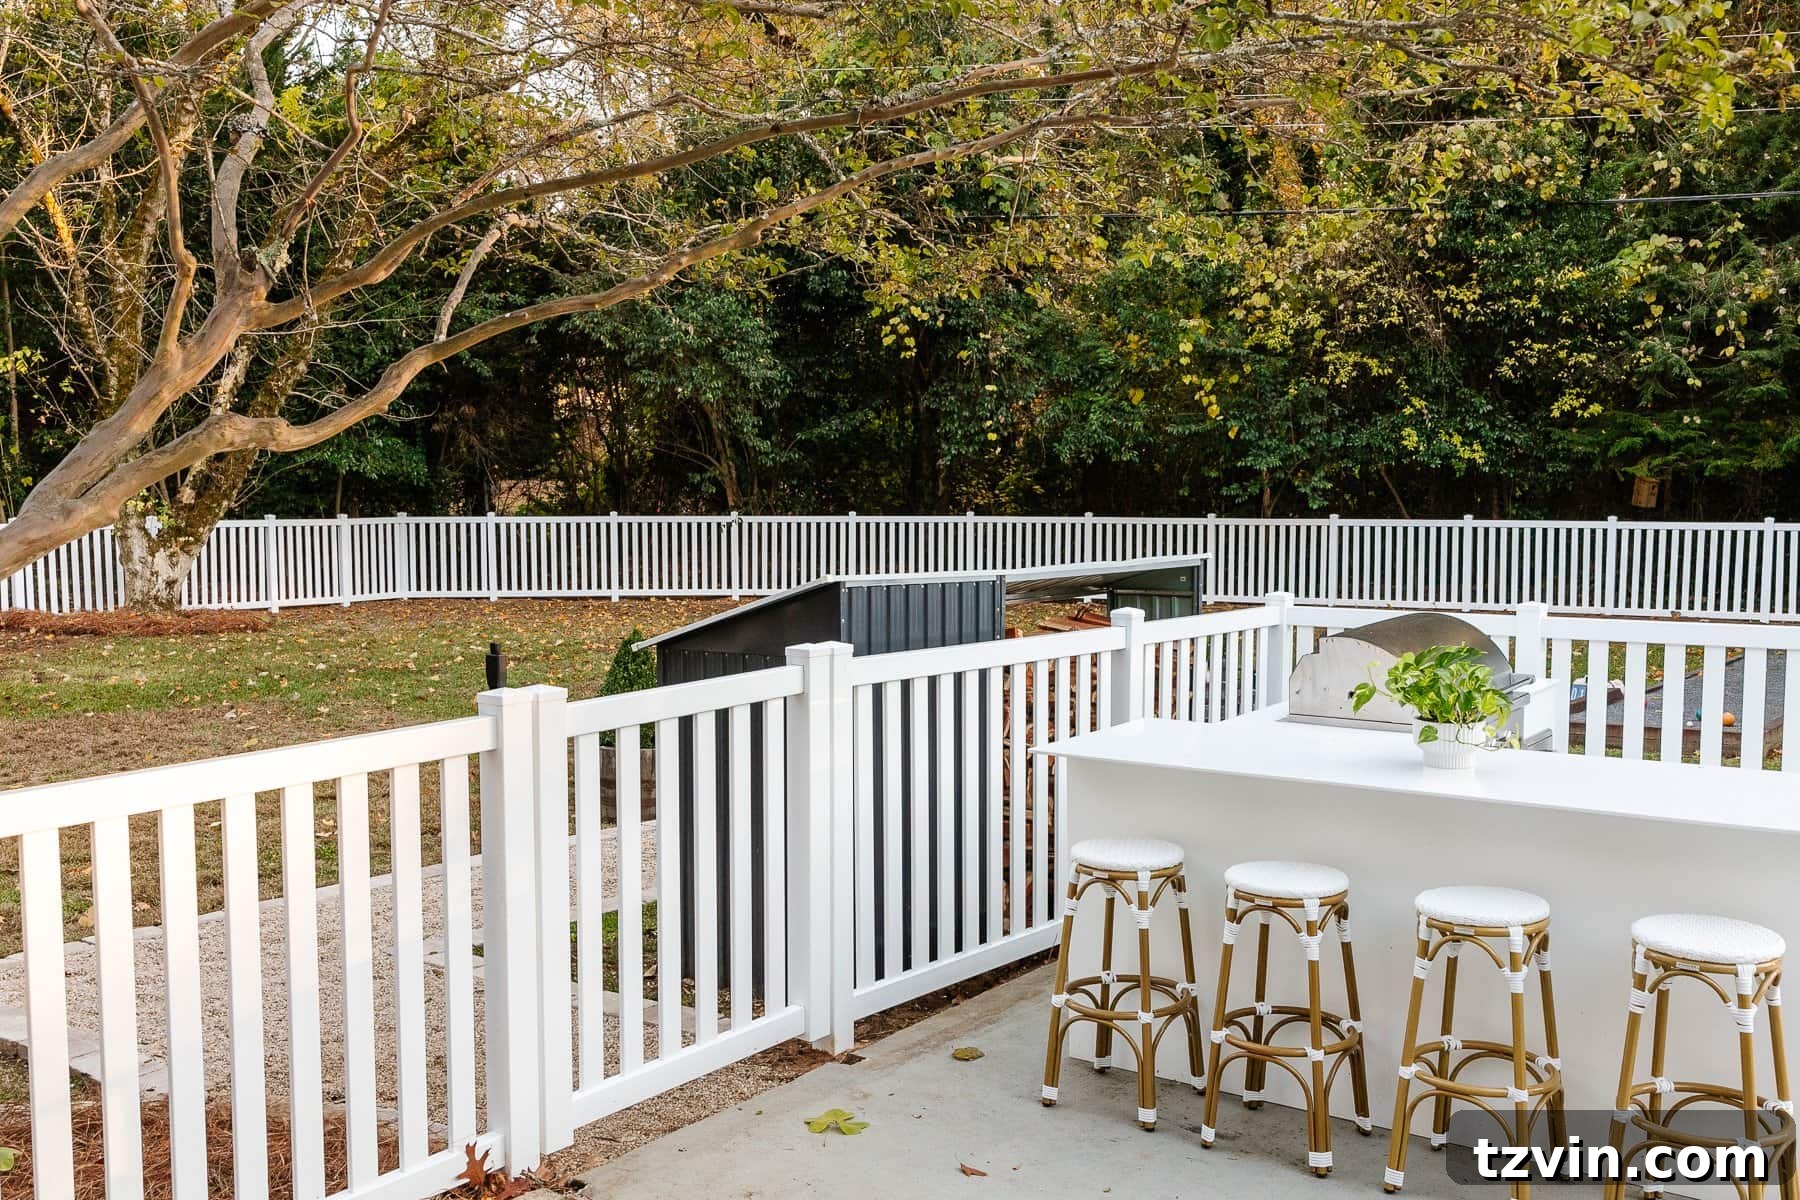
From the moment we first stepped into this house on Day 1, the decaying, half-rotted wooden fence at the back of the property was an immediate concern. For over four years, we contemplated the ideal fencing solution, meticulously considering what our yard truly needed. Our criteria were clear:
- Enhanced safety for our children and beloved family dog.
- Unparalleled durability to withstand the elements and time.
- Minimal to no ongoing maintenance requirements.
- Aesthetically pleasing design that complemented our home’s style.
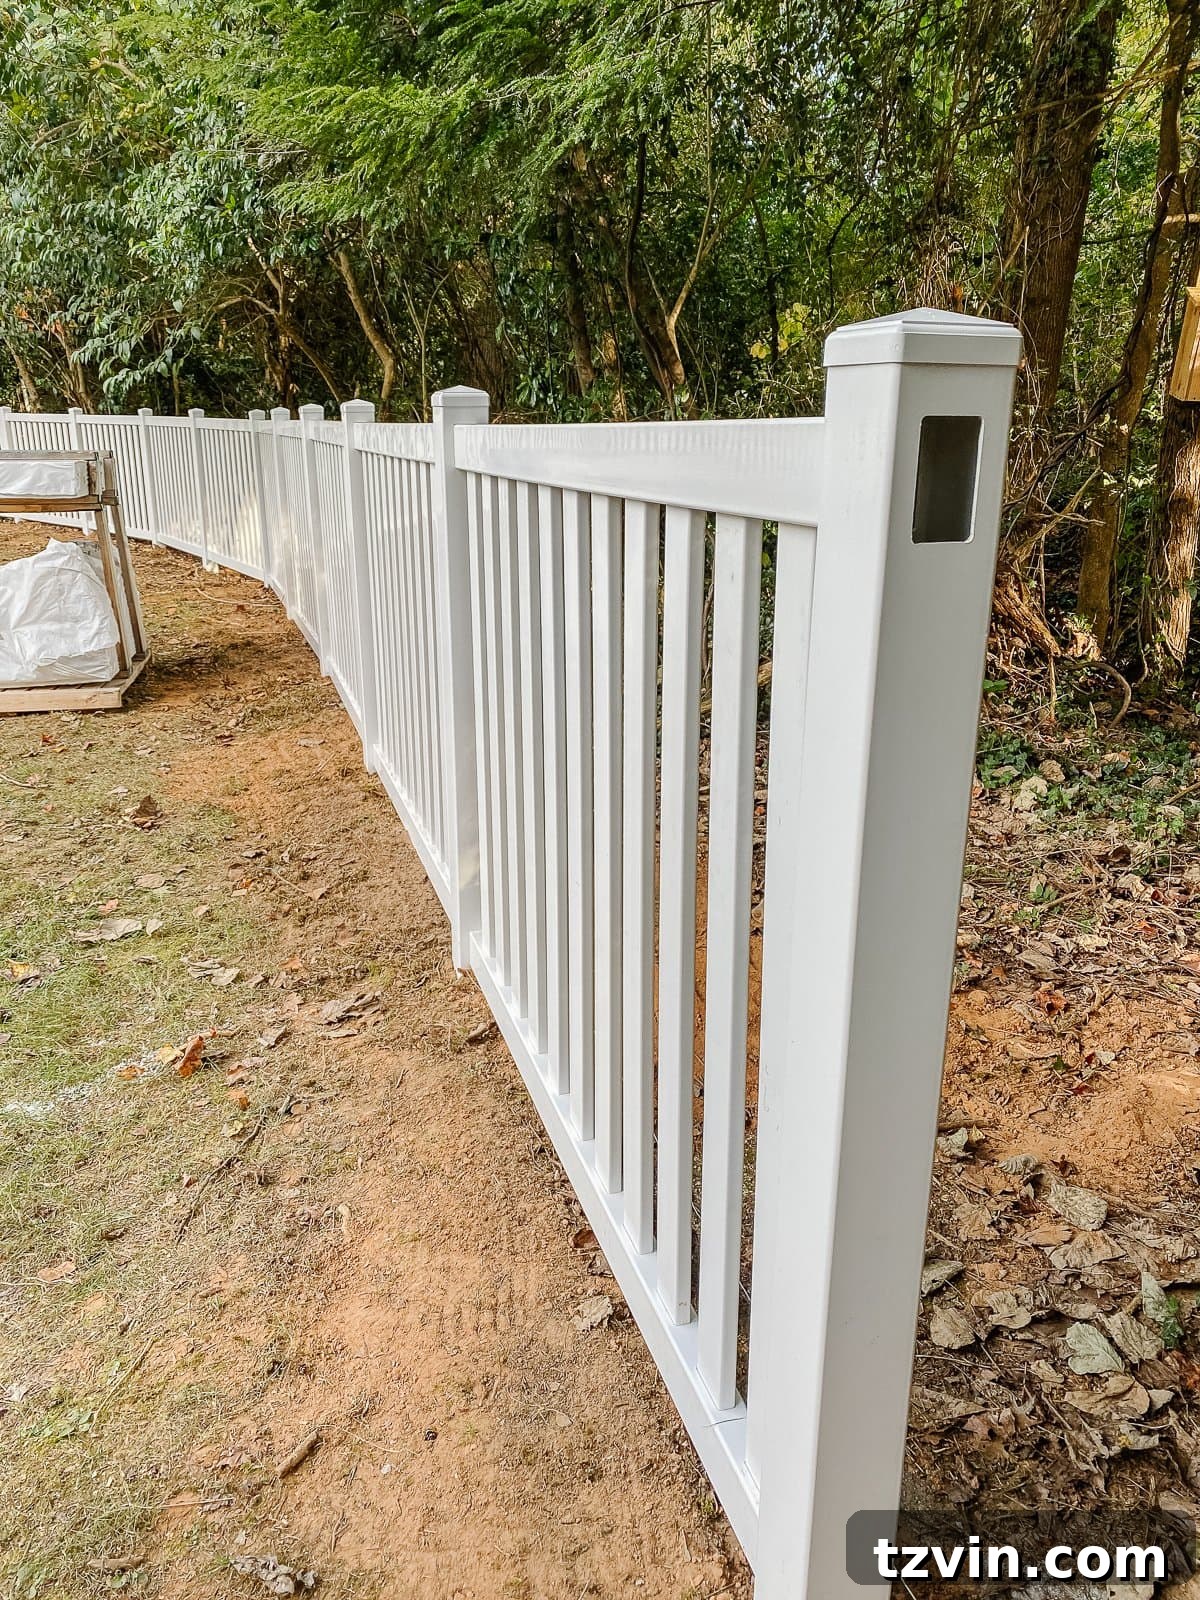
After extensive research into various fence types and brands, our decision was unanimous: a Ply Gem vinyl fence ticked every single box. We promptly contacted them to embark on this significant, much-needed fence replacement project, and the rest, as they say, is history. The contrast between our old, worn-out fence and the stunning new vinyl installation is truly remarkable.
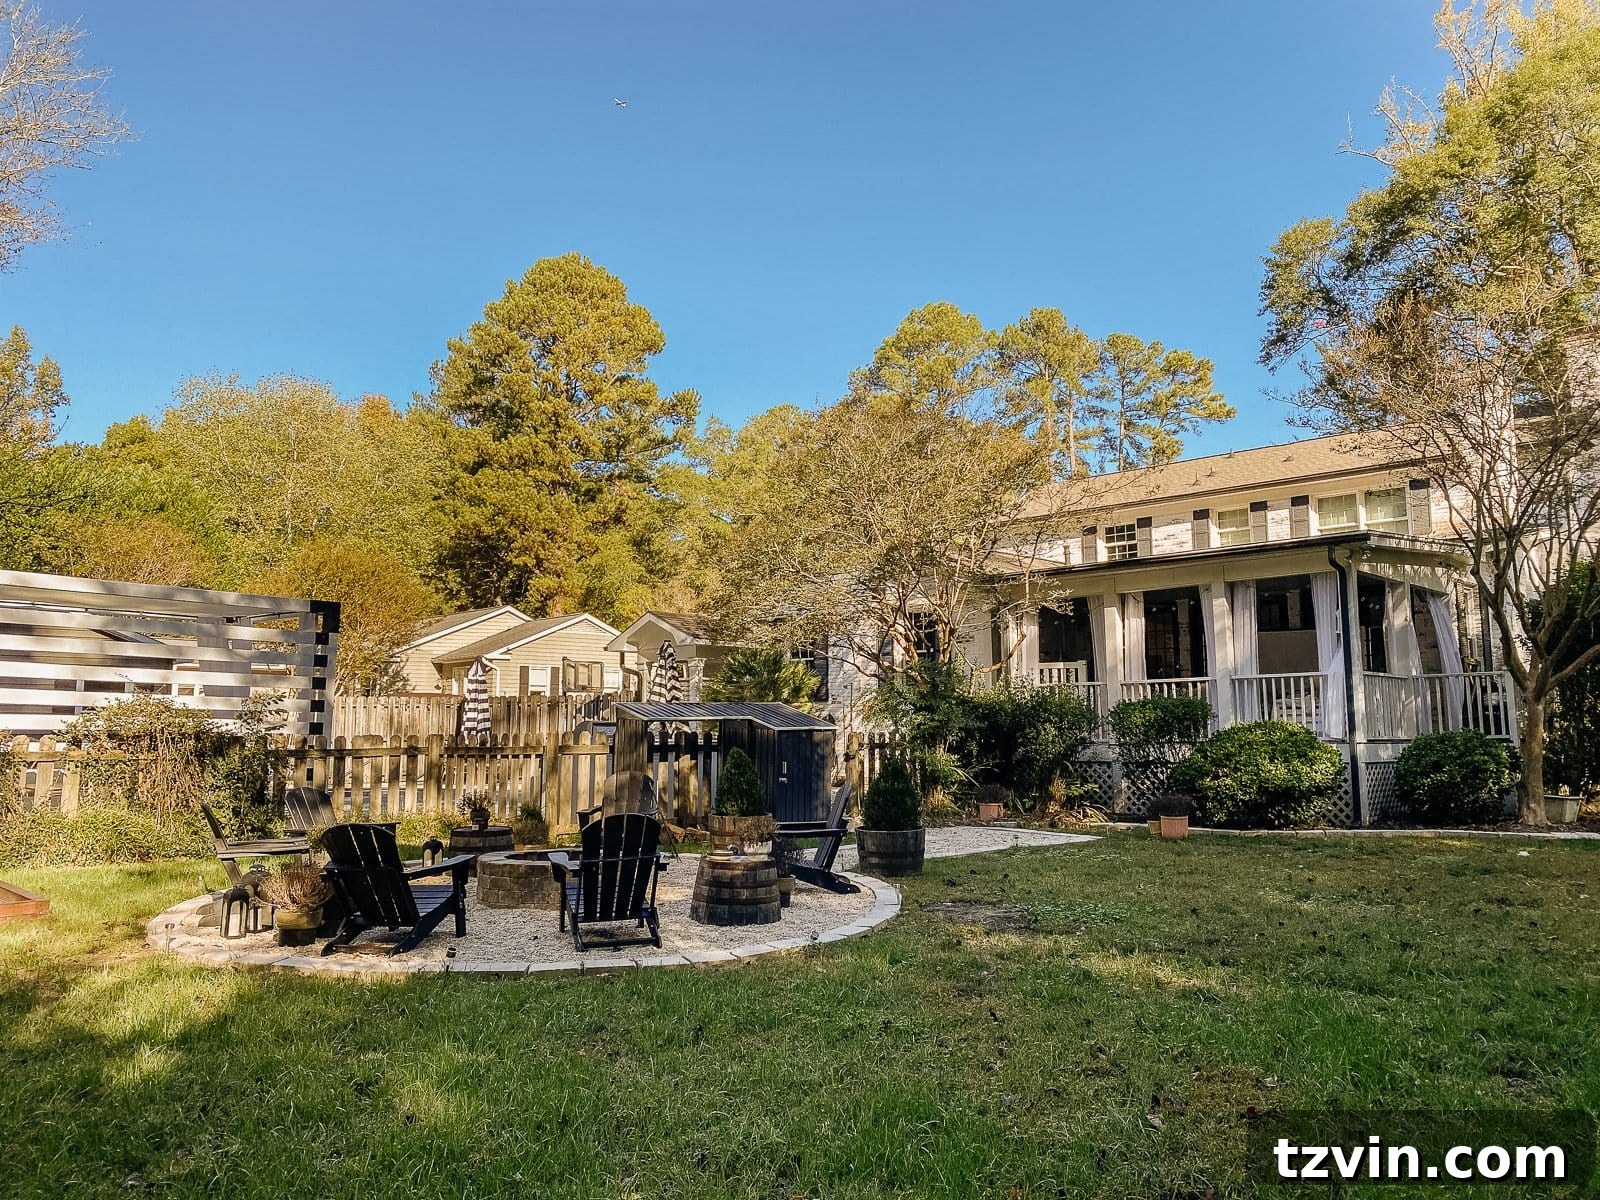
The difference this new fence makes to the overall appeal and functionality of our backyard is simply immense!

One of the most compelling features that ultimately sealed the deal for us was the transferable lifetime warranty offered by Ply Gem. This provides incredible peace of mind, assuring us that we will never have to face the daunting task of replacing this fence again. For any homeowner contemplating a major backyard fence replacement, these critical considerations can significantly streamline your decision-making process.
Essential Knowledge: 9 Things to Consider Before Investing in a Vinyl Fence
Choosing the right fence for your property is a significant decision that impacts not only the aesthetics of your home but also its security, privacy, and long-term value. Vinyl fencing has emerged as a top choice for many homeowners due to its durability, low maintenance, and versatile design options. However, before you break ground, there are several crucial factors to weigh. This comprehensive guide will walk you through nine vital aspects to consider, ensuring you make an informed decision for your ideal backyard oasis.
1. Define Your Specific Fencing Needs and Goals
Before exploring fence styles, it’s paramount to clearly articulate the primary purpose of your new fence. Different fence types serve different functions, and understanding your needs will guide your choice:
- Privacy: If your main goal is to shield your yard from prying eyes or block unwanted views, a privacy fence is essential. These fences feature solid panels with no gaps, offering maximum seclusion.
- Boundary Definition: For simply marking property lines or enclosing a large area without obstructing views, a ranch rail fence or a low picket fence might suffice.
- Containment: To keep pets safely contained or delineate specific areas like a garden, a semi-privacy or picket fence can be effective. For livestock, a robust ranch rail system is often preferred.
- Safety: Around pools or playgrounds, safety is paramount. A non-climbable picket fence, typically with a minimum height of 4 feet and specific gate latching mechanisms, is usually required by local building codes to prevent unsupervised access.
- Decoration/Aesthetics: Sometimes, a fence is primarily chosen to enhance curb appeal and complement the home’s architecture. Ornamental picket fences or decorative lattice accents can achieve this.
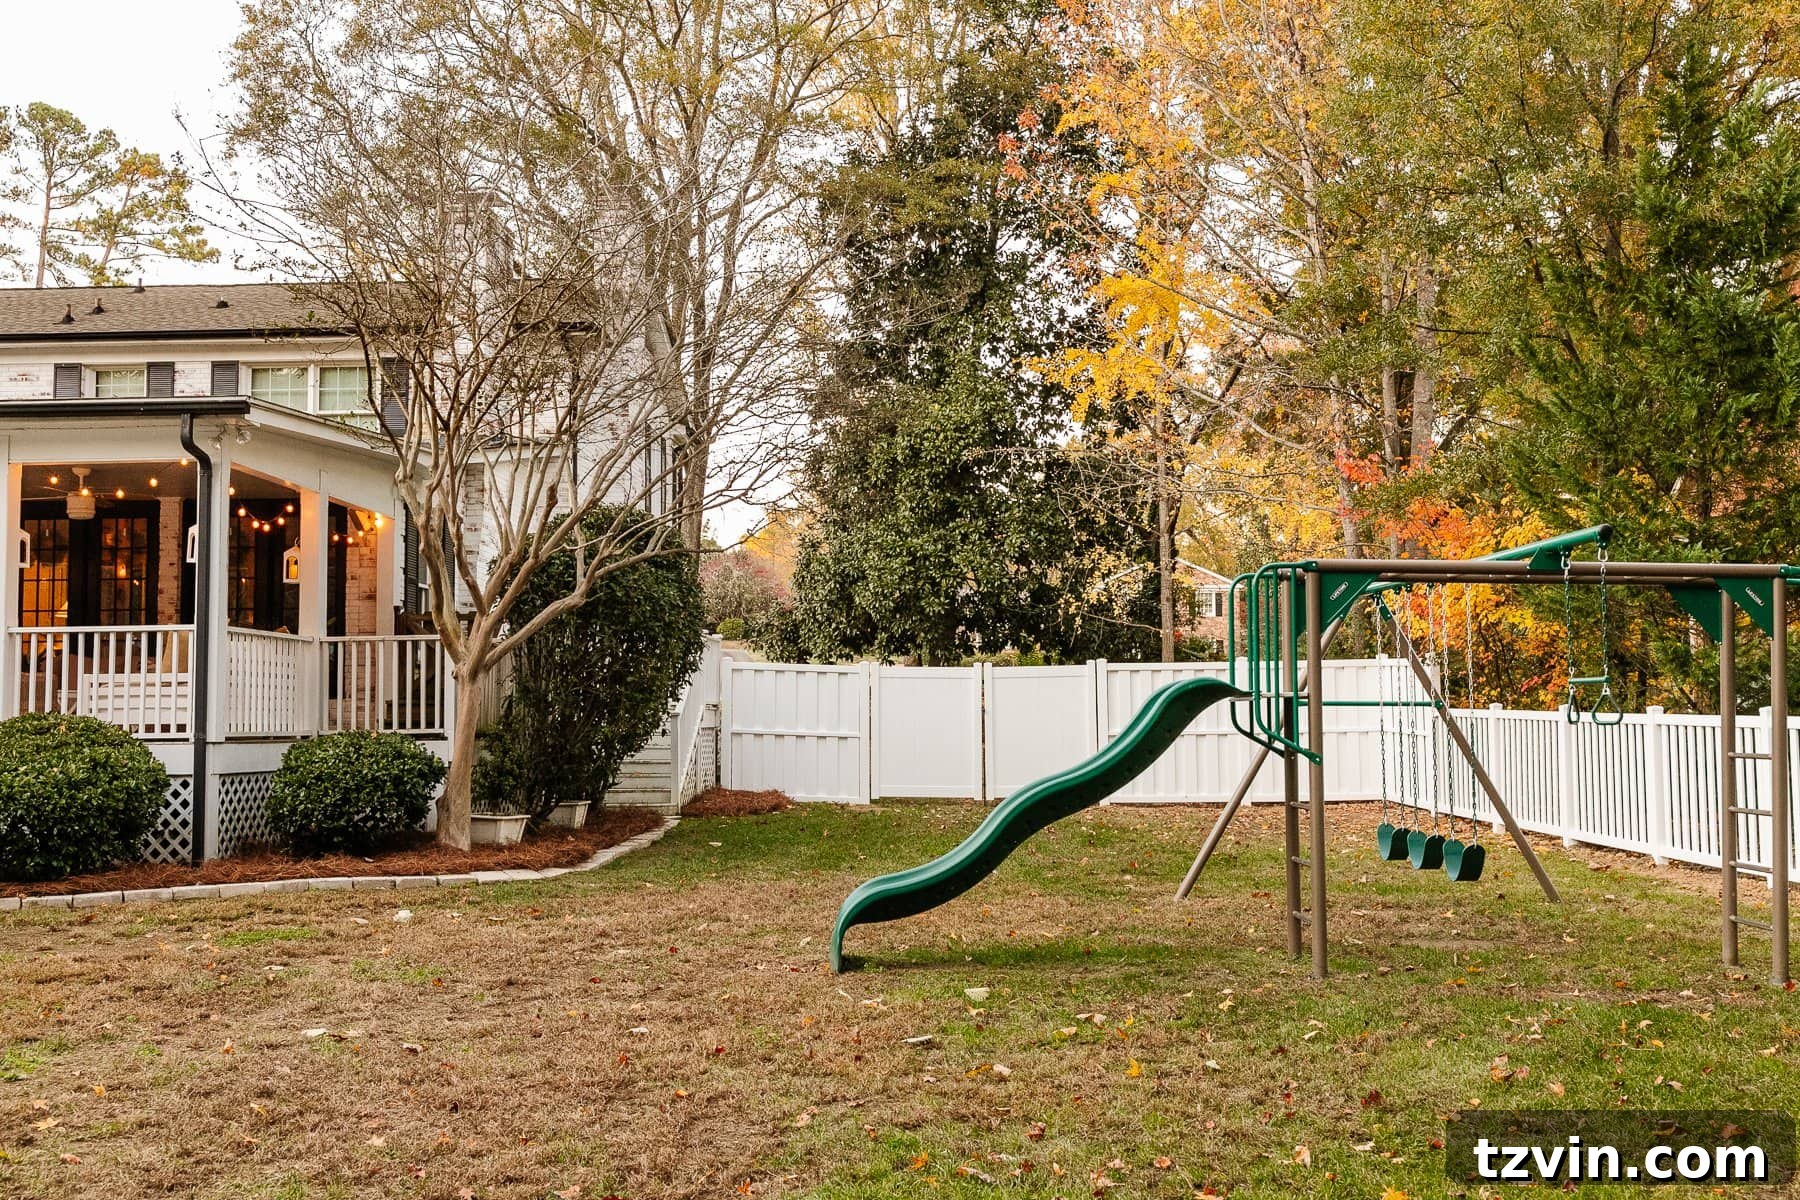
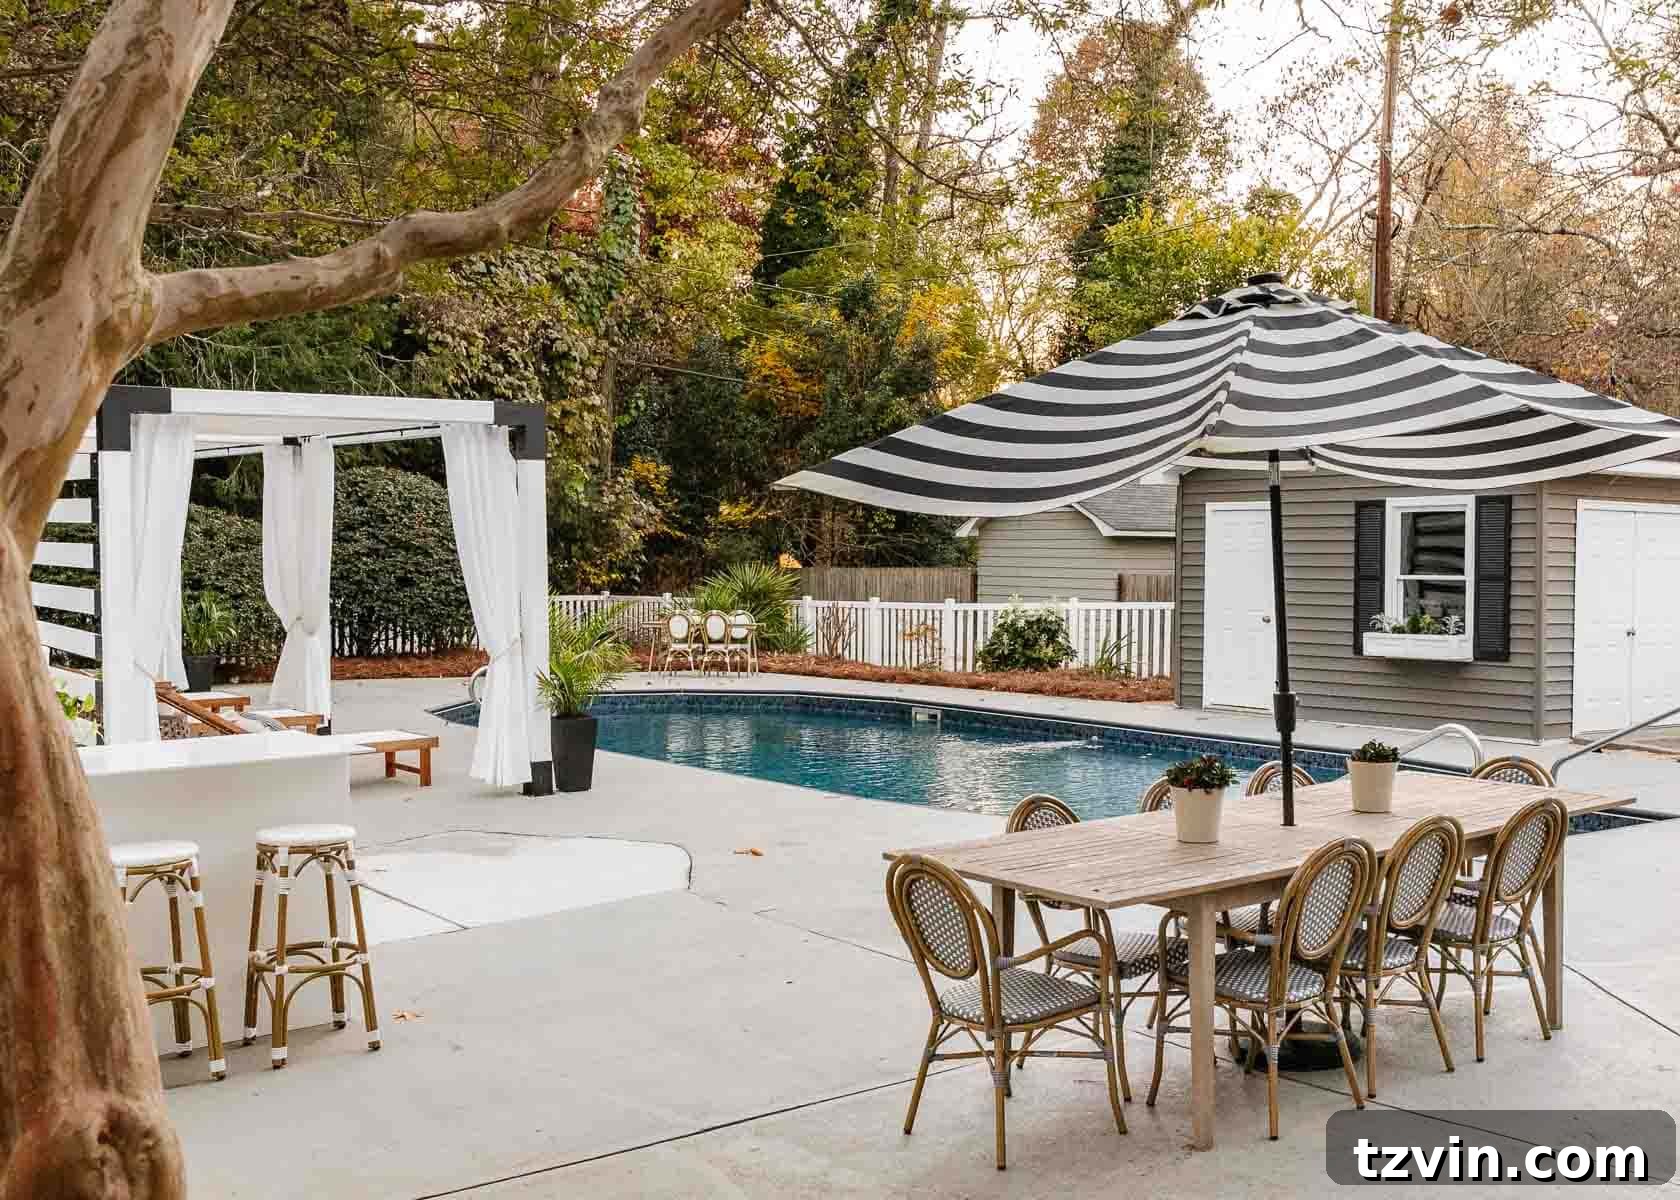
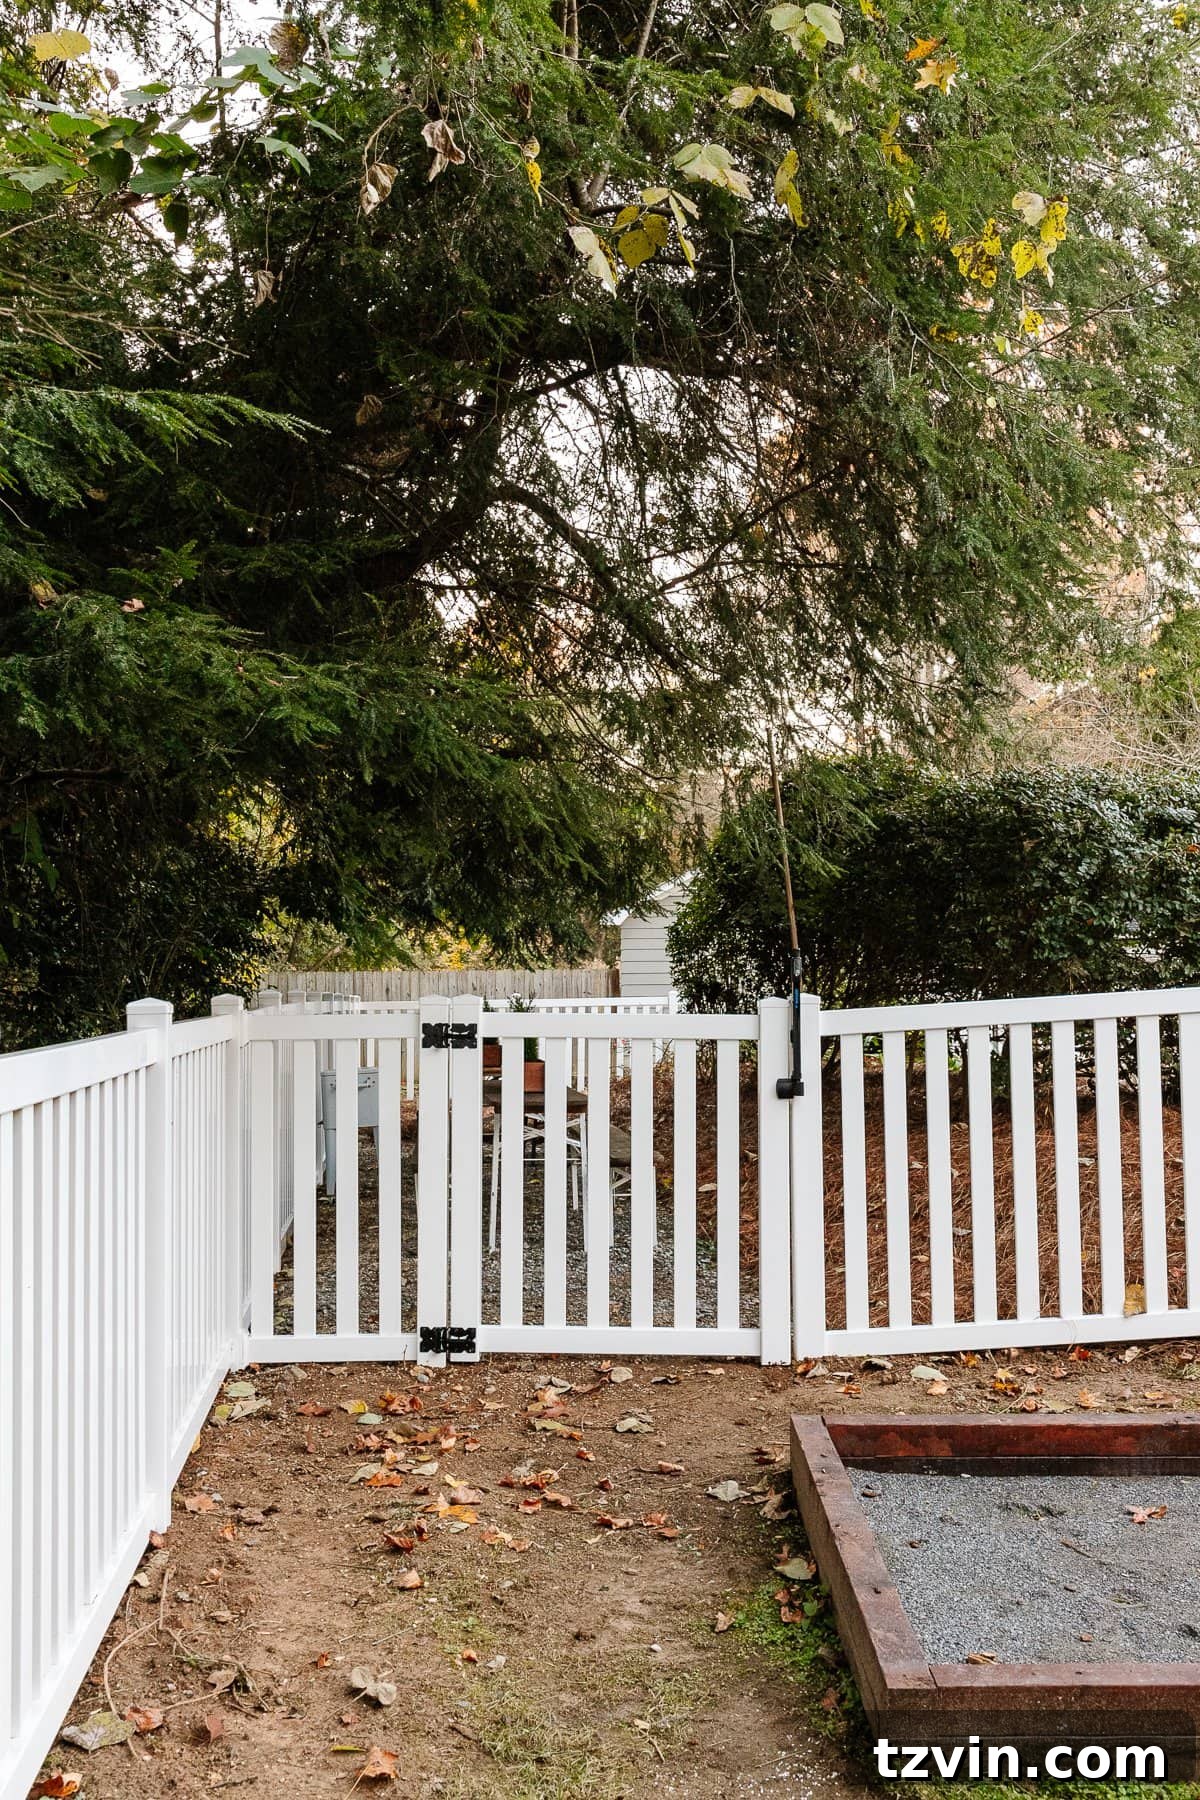
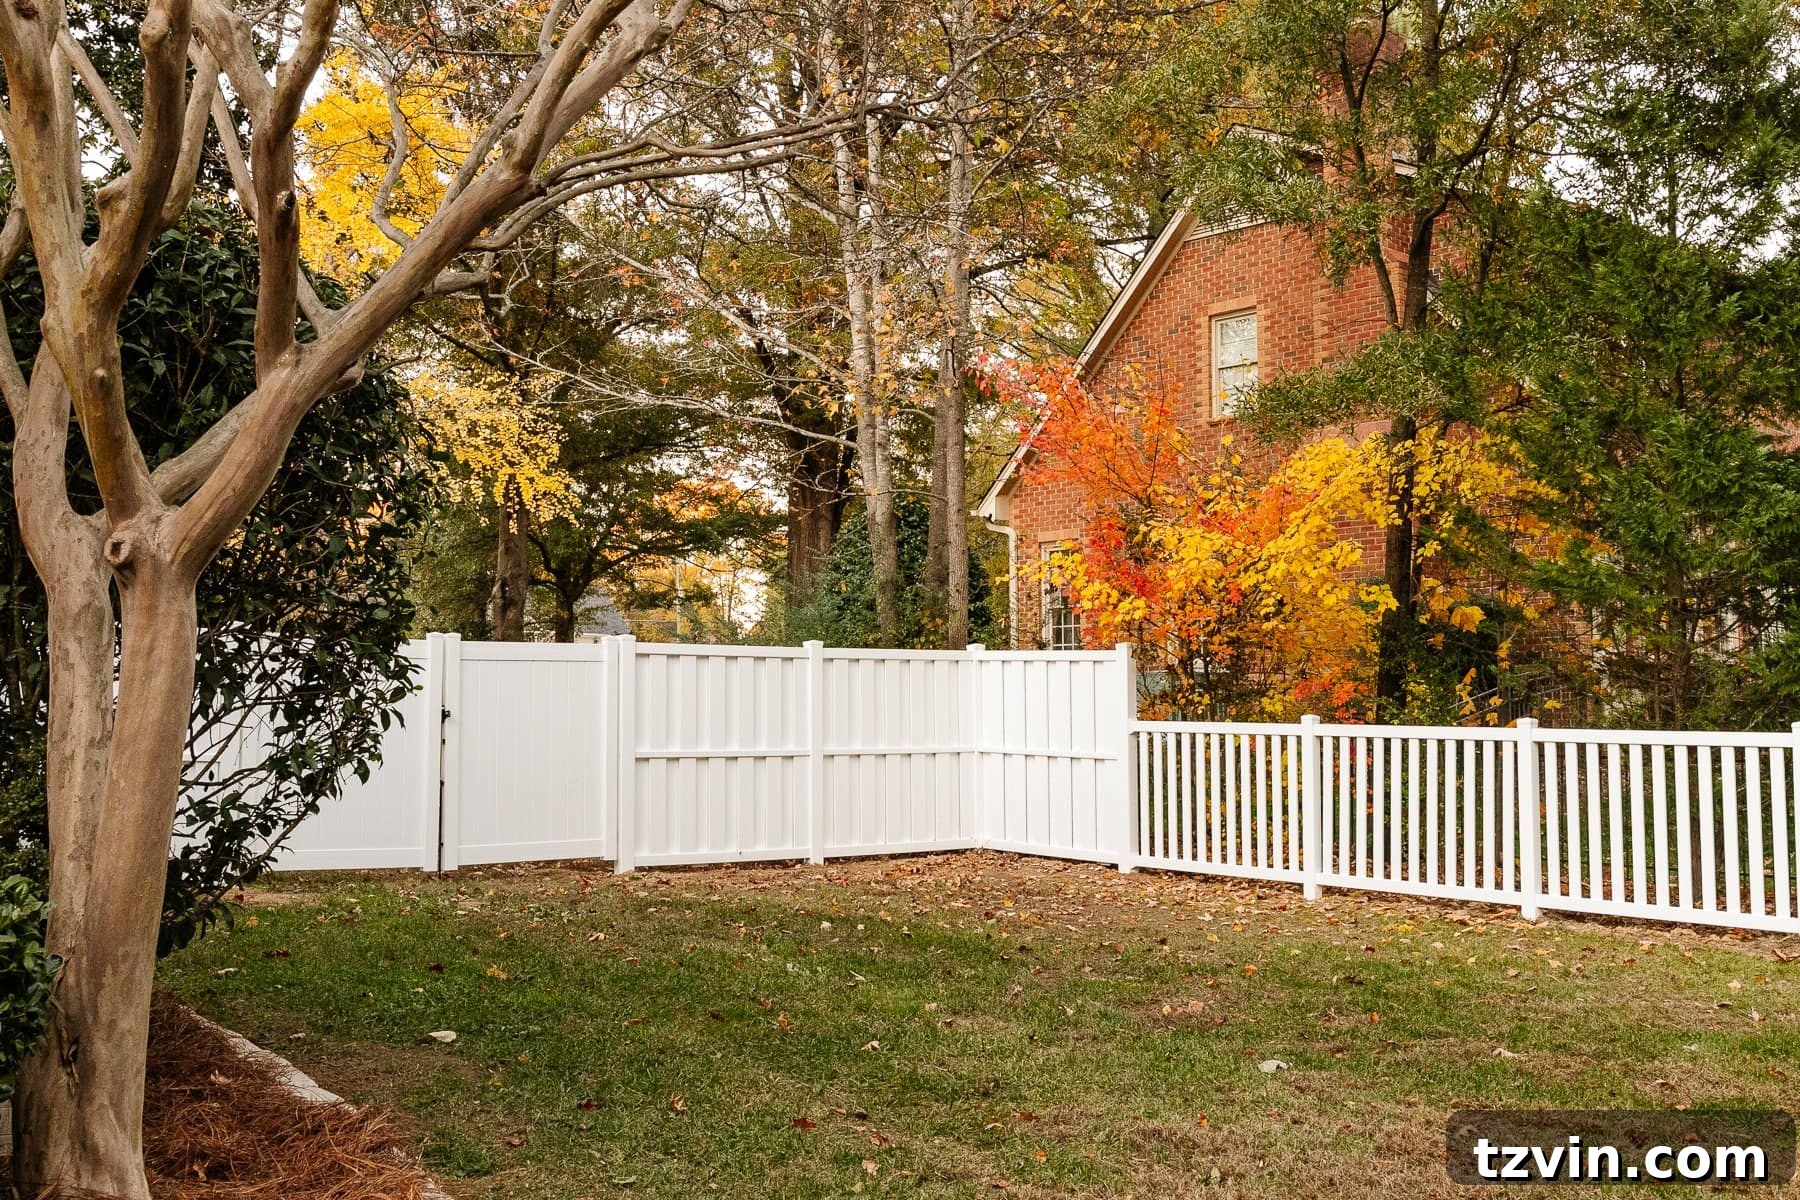
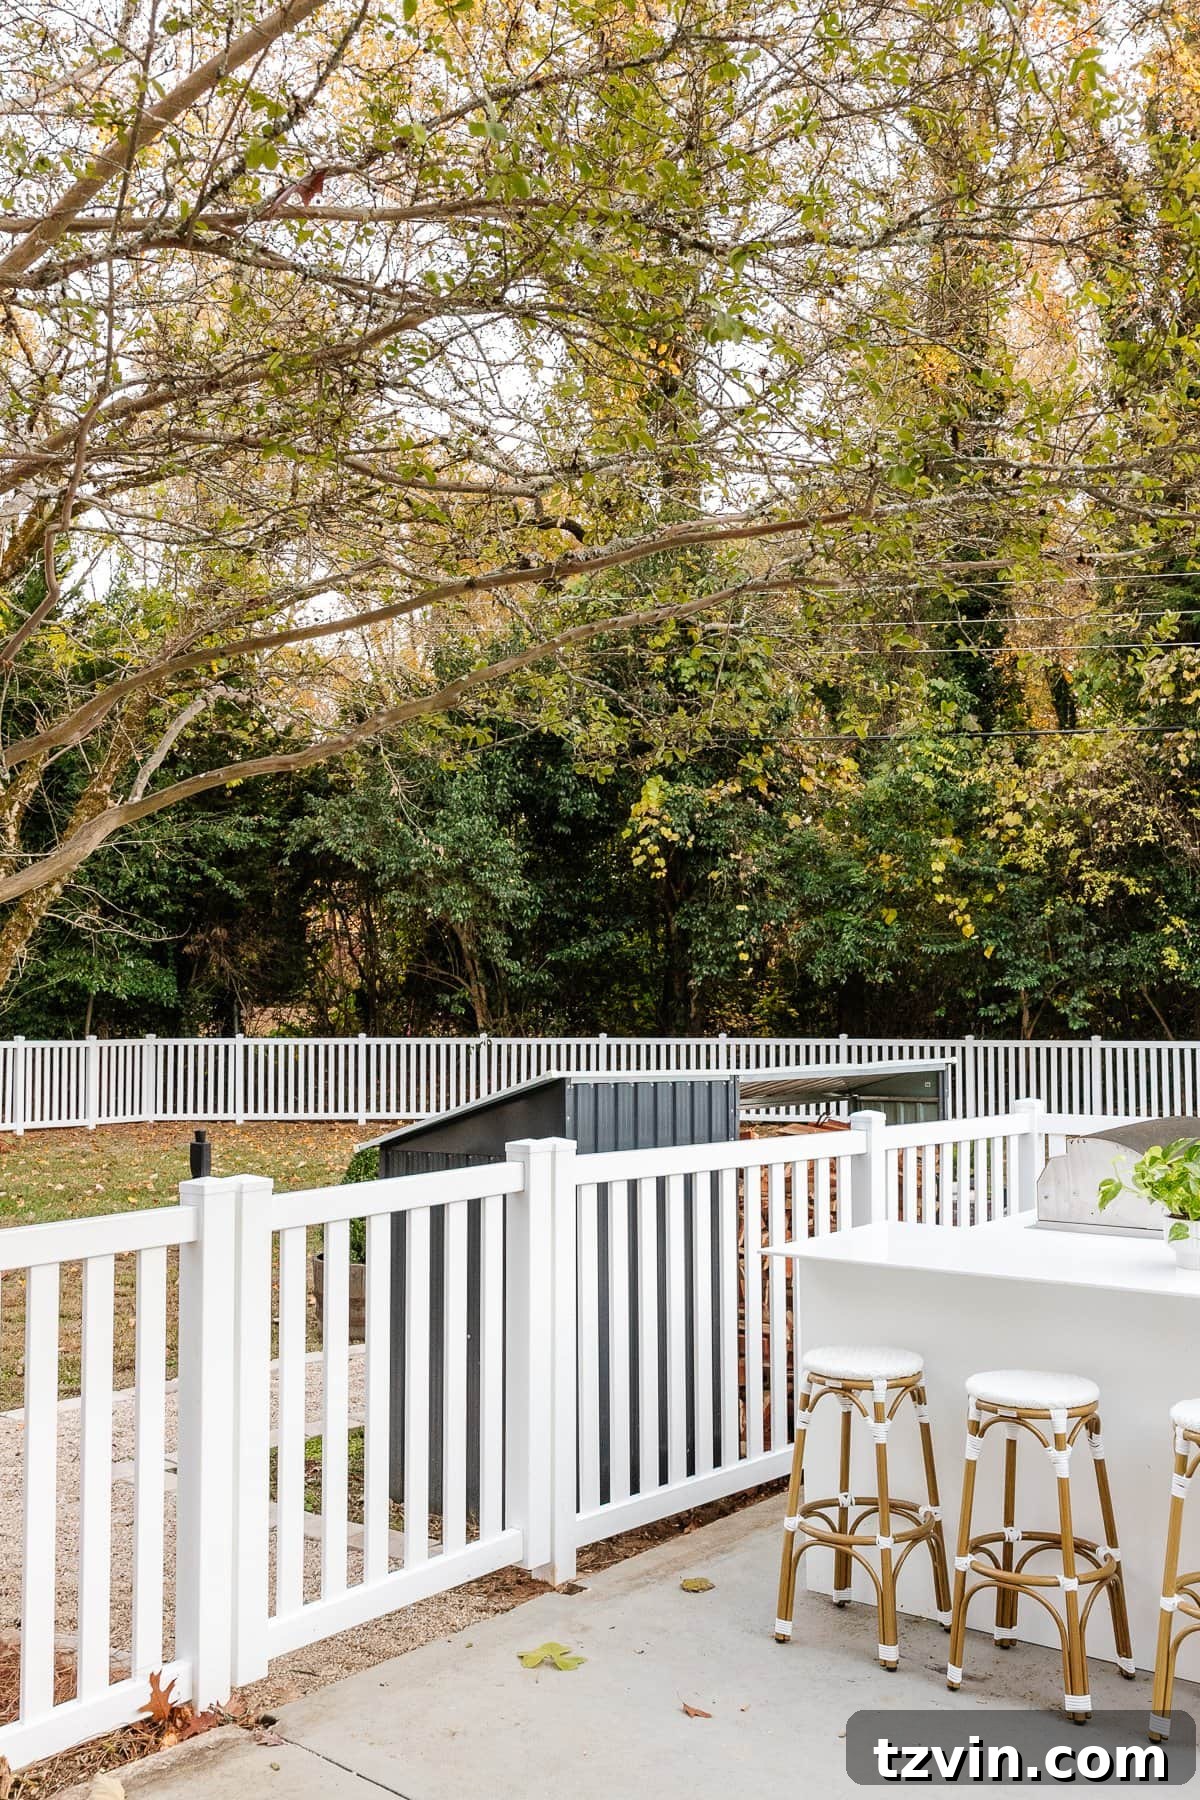
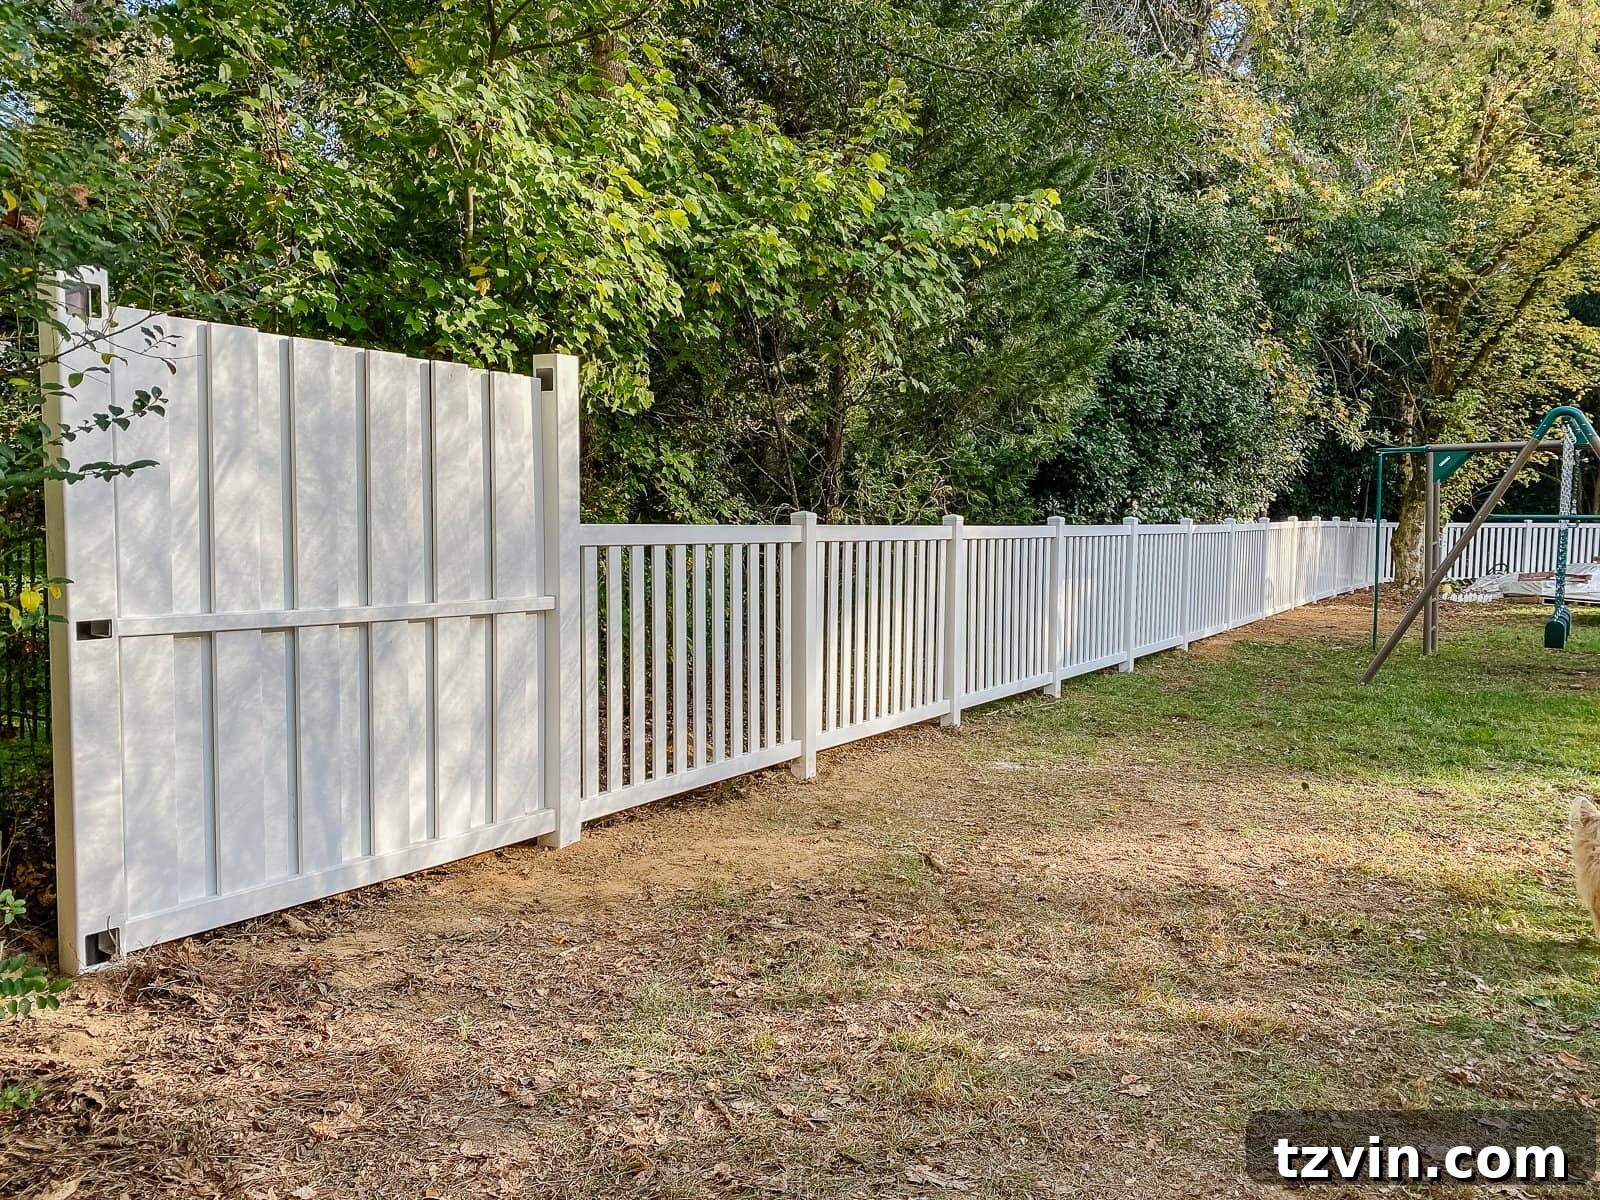
In our particular situation, our needs were multifaceted: privacy from the road, an attractive decorative element, and crucial safety for our kids and dog. To achieve this, we strategically combined fence styles. We opted for a full privacy fence along the front of our backyard, facing the main road, to create a secluded haven. For the remainder of the yard, particularly around the playground and pool areas, we chose a classic picket fence. This allowed for clear visibility, preventing the yard from feeling overly enclosed while still providing necessary division and safety barriers.
2. Harmonize with Your Home’s Architectural Style and Color Palette
A fence isn’t just a barrier; it’s an integral part of your home’s exterior design. The style, color, and texture of your fence should seamlessly integrate with your house’s architecture and overall aesthetic. Consider these aspects:
- Traditional Homes: For classic or colonial-style residences, a fence with elegant curves, decorative post caps, or even wood-look accents can be ideal. A Rising Rail Privacy Fence, for example, offers a sophisticated and timeless appeal.
- Modern Rustic or Farmhouse Styles: Homes with a modern rustic or farmhouse aesthetic benefit from fences that evoke natural textures and simple, clean lines. A Closed Picket fence in an Aged Cedar finish, even in vinyl, can beautifully complement such designs, providing warmth and character.
- Contemporary Homes: Sleek, minimalist homes often pair well with fences featuring crisp lines, geometric patterns, and perhaps darker color choices or innovative panel designs.
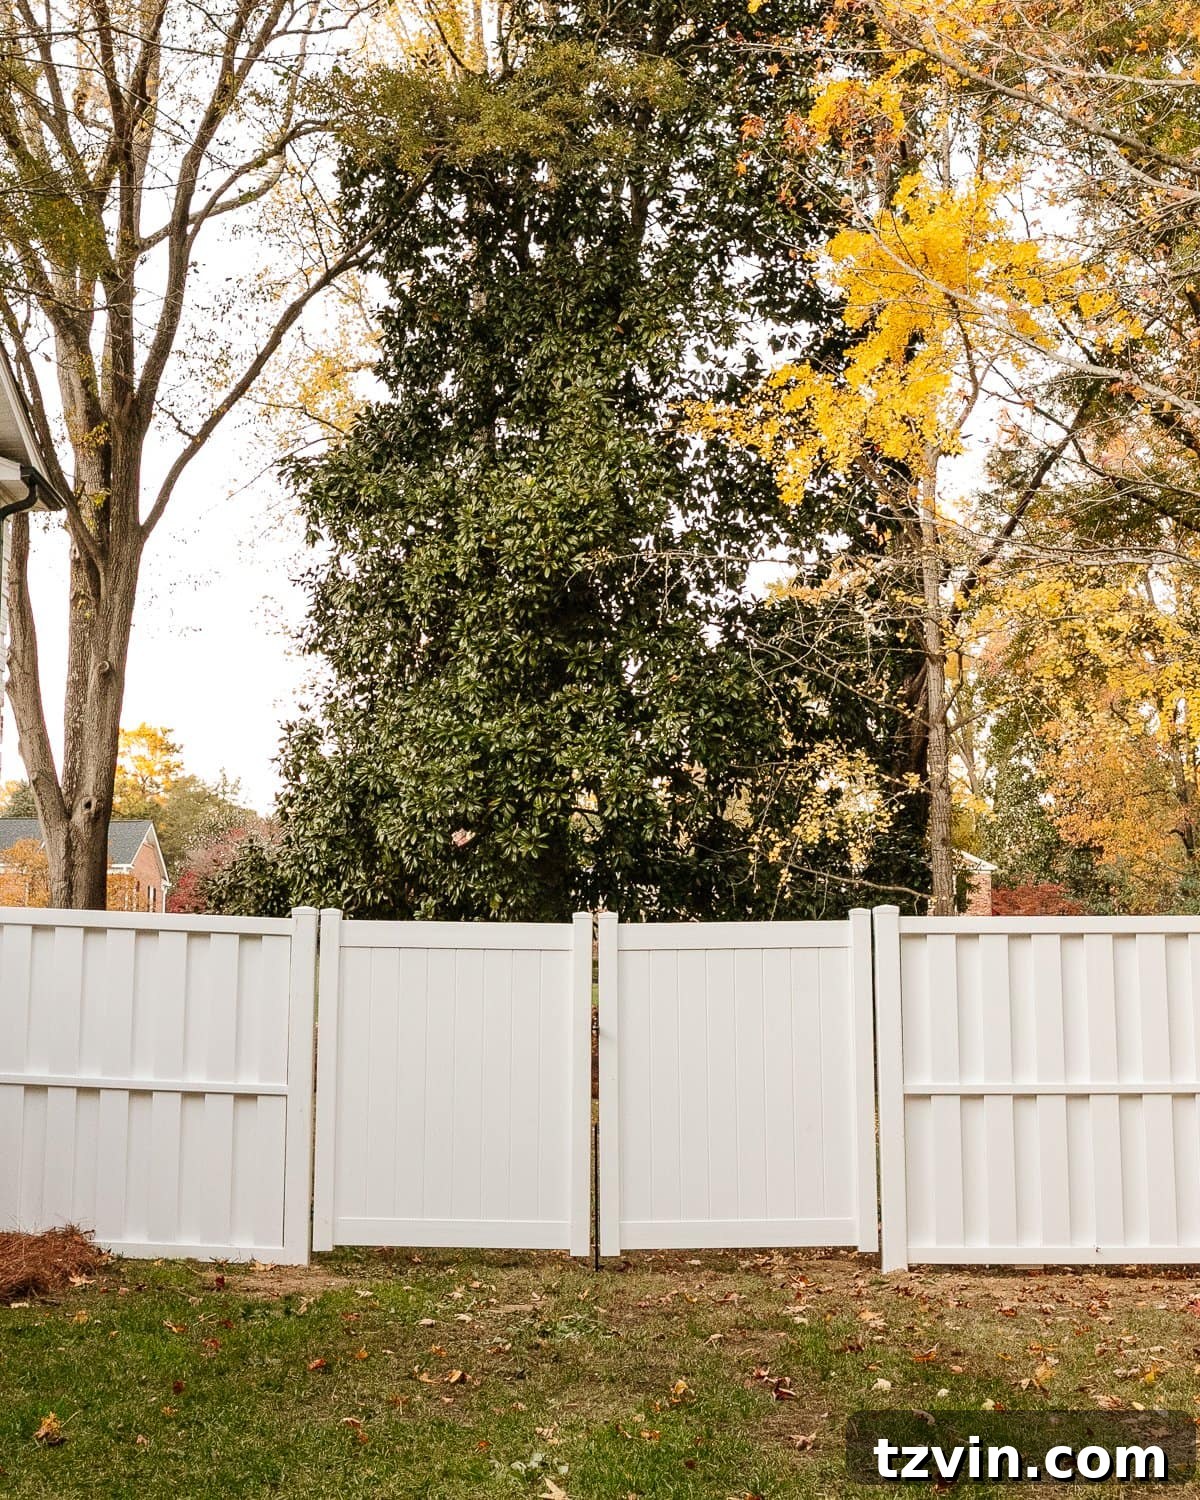
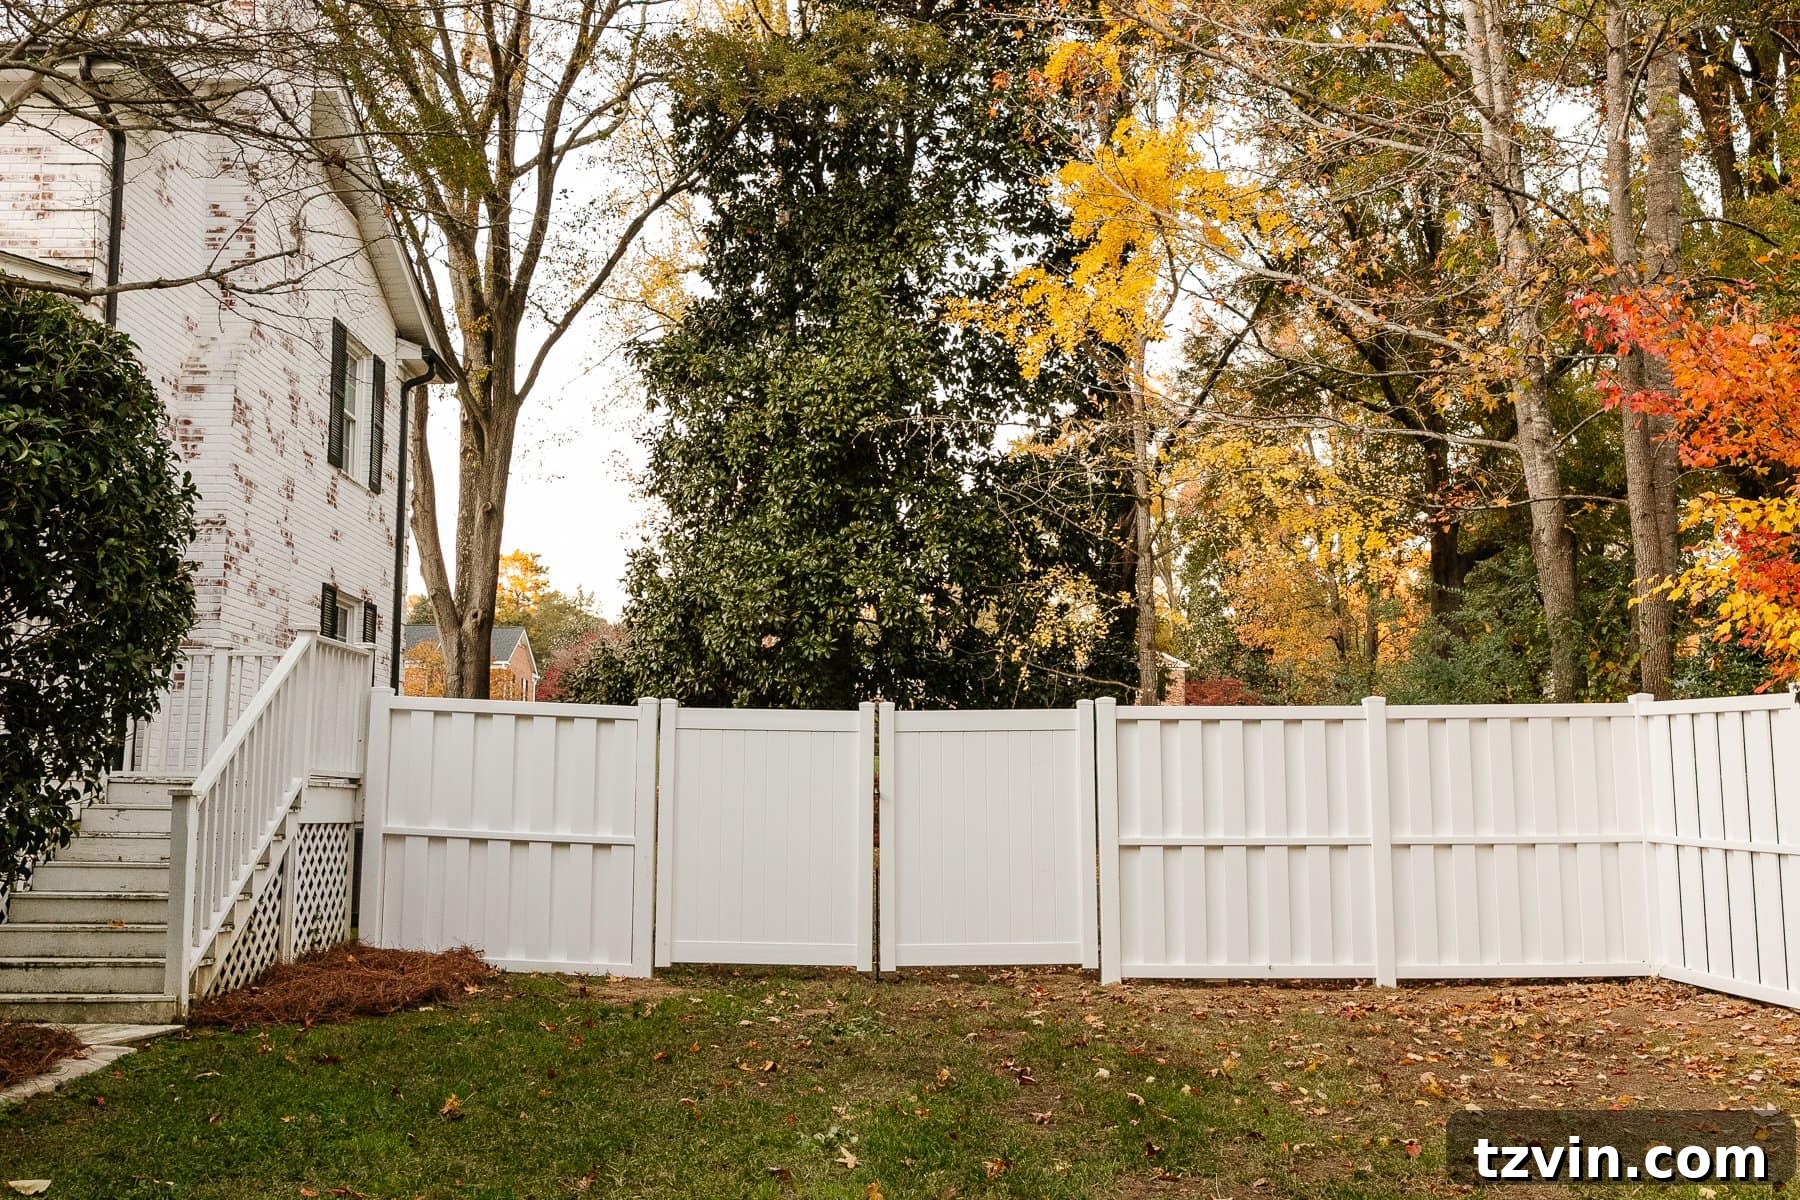
For our home, which boasts a classic, timeless architectural style, we chose a traditional white Shadow Box Privacy and Closed Picket fence. Its clean lines and classic color felt universally appealing and ensured it wouldn’t look dated as trends evolve. This choice not only provided the functionality we needed but also enhanced our property’s curb appeal with an elegant, enduring look.

3. Conduct Thorough Research on Local Regulations and Permits
Ignoring local regulations can lead to costly fines, mandatory removal, or legal disputes. Every county, city, town, and even individual neighborhood has its own set of rules governing fence installations. Before purchasing any materials or beginning work, you must:
- Contact Your HOA: If you live in a community with a Homeowners Association, they will almost certainly have specific guidelines regarding fence materials, height, style, color, and placement. Obtain written approval before proceeding.
- Consult Local Building Code Officials: Reach out to your municipal planning or building department. Inquire about local zoning ordinances, height restrictions (especially for front yards vs. backyards), setback requirements (how far from property lines your fence must be), and approved materials.
- Permit Requirements: Ask if a fence installation permit is required in your area. Many jurisdictions mandate permits to ensure compliance with safety and structural standards. Failing to secure a permit can result in delays, fines, and the potential need to dismantle and rebuild your fence.
- Pool Fence Regulations: If you’re installing a fence around a pool, be aware that there are often very strict regulations regarding height, gate self-latching mechanisms, and gate swing direction for safety.
Being proactive in your research and communication with these authorities will save you significant headaches and expenses down the line.
4. Analyze Cost vs. Durability and Long-Term Value
Initial cost is always a factor, but it’s crucial to consider the long-term investment. While materials like wood or metal fencing might have a lower upfront price point compared to vinyl, their lifecycle costs can quickly add up.
- Wood Fences: Susceptible to rot, insect infestation, warping, and fading. Requires regular staining, painting, or sealing every few years, which incurs ongoing material and labor costs. Lifespan is typically 10-15 years, often requiring full replacement.
- Metal Fences (e.g., Wrought Iron, Aluminum): Can rust, chip, or dent. Wrought iron requires periodic scraping and repainting to prevent rust. Aluminum is more resistant but can still suffer cosmetic damage. Repair or replacement costs can be significant.
-

- Vinyl Fences: Known for exceptional durability. Resistant to rot, rust, insects, fading, and warping. Requires virtually no maintenance beyond occasional cleaning. While the initial investment might be higher, the absence of ongoing maintenance costs and the long lifespan (often backed by lifetime warranties) make vinyl fencing highly cost-effective in the long run. It truly pays for itself over decades by eliminating repeated repair, painting, or replacement expenses.

Despite the slightly higher initial investment, we firmly believe our vinyl fence was the smarter financial decision. The transferable lifetime warranty means we’ll never have to worry about replacing this fence again, saving us thousands in future materials and labor. This long-term value and peace of mind made it the clear winner for our family.
5. Verify Your Property Lines with a Professional Survey
Building a fence even slightly outside your property line can lead to significant and expensive legal issues with neighbors. This is a common pitfall that can be entirely avoided with proper due diligence. You must ensure you know exactly where your property begins and ends.
- Professional Survey: The most reliable method is to hire a licensed surveyor to accurately mark your property boundaries. This typically involves identifying existing markers and setting new, clearly visible stakes.
- County Records: Alternatively, check with your county’s records office (often the Assessor’s or Recorder’s office) to see if an existing survey of your property is on file. While helpful, it’s still advisable to confirm these boundaries on the ground, as old markers can be lost or obscured.
This step is non-negotiable for avoiding potential disputes, mandatory fence relocation, or even legal action from an aggrieved neighbor. An accurate survey provides undeniable proof of your property limits.
6. Engage in Open Communication with Your Neighbors
While establishing your fence is ultimately your decision (within legal and HOA guidelines), fostering good neighborly relations is invaluable. Informing your neighbors about your plans beforehand demonstrates respect and can prevent misunderstandings or conflicts.
- Early Notification: Share your intentions to install a new fence well in advance. Explain the type of fence, its location, and the approximate timeline for the project.
- Address Concerns: Give them an opportunity to voice any concerns they might have. While you may not be able to accommodate every request, open dialogue can often resolve minor issues before they escalate.
- Potential Cost-Sharing: In some cases, neighbors might be willing to share the cost of a fence, especially if it benefits both properties. This is a conversation to have early on.
We were fortunate to have wonderful neighbors who we absolutely adore, making this conversation easy and pleasant. Their understanding and support made the project even smoother.
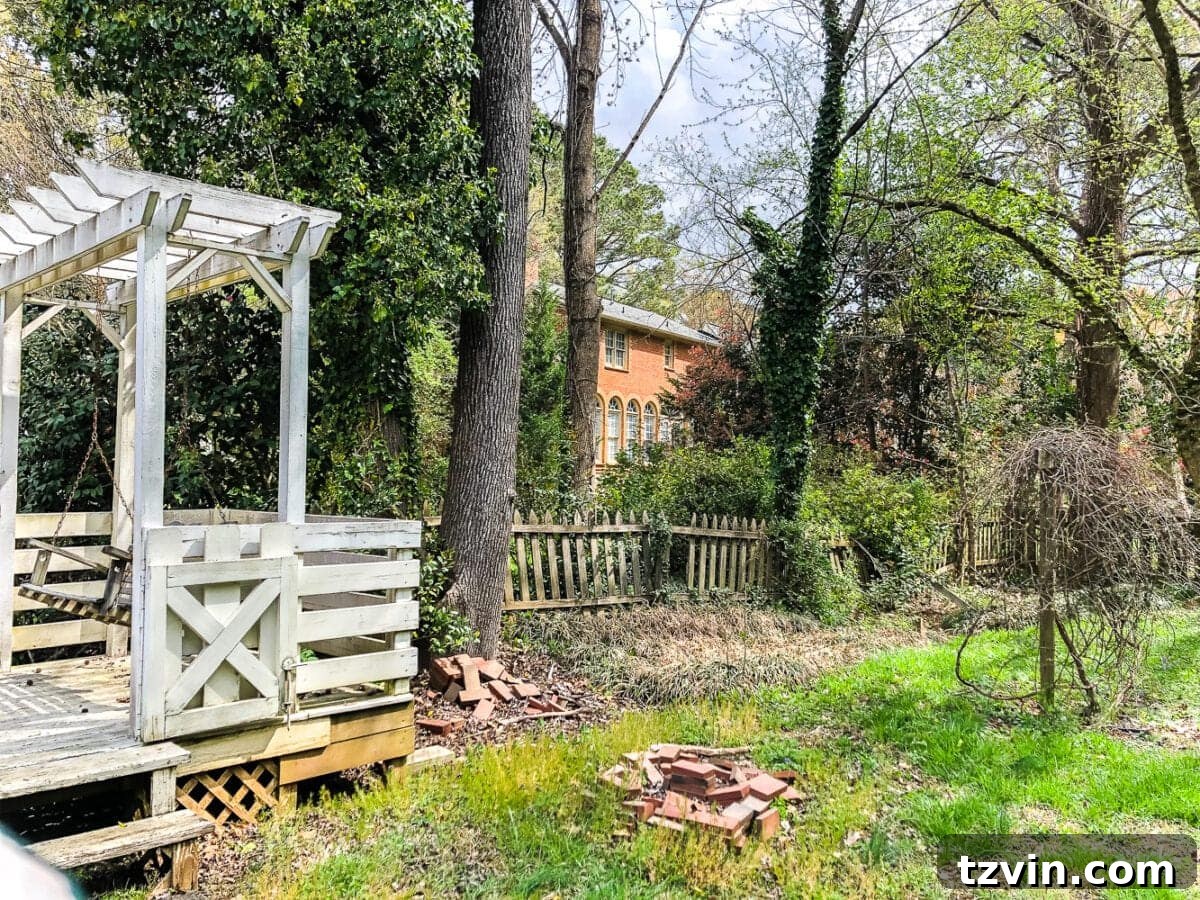
(For context, here’s another look at what our yard looked like before this ambitious project. The transformation is truly astounding!)
7. Mandate Underground Utility Markings (Call 811!)
Before any digging commences in your yard, it is legally required and critically important to locate and mark all underground utilities. Accidentally striking a utility line can lead to severe consequences:
- Safety Hazards: Damaged gas lines can cause explosions, electrical lines can lead to electrocution, and water lines can cause flooding.
- Service Interruptions: Cutting a utility line can disrupt essential services for your home and potentially an entire neighborhood.
- Costly Repairs and Fines: You could be held liable for thousands of dollars in repair costs and hefty fines.
The solution is simple: always call 811, the national “Call Before You Dig” hotline, a few business days before you plan to dig. This free service notifies local utility companies (gas, electric, water, sewer, cable, telephone) to send technicians to mark the approximate location of their underground lines on your property. This simple call is a vital step for safety and compliance.
8. Strategize Gate Quantity, Placement, and Size
Gates are crucial for accessibility and flow within your fenced area. Careful planning of their number, location, and dimensions will significantly enhance the functionality of your backyard.
- Minimum Two Gates: It’s generally recommended to have at least two access points to your backyard for convenience and emergency access.
- Wide Access Gate: Ensure at least one gate is wide enough to accommodate large equipment, such as lawnmowers, wheelbarrows, garden tractors, or even small utility vehicles. Double gates are often ideal for this purpose.
- Traffic Flow: Consider how people will move through your yard, especially during social gatherings or when accessing different zones (e.g., garden, play area, pool). Strategic placement can prevent bottlenecks.
- Security: All gates should be sturdy and equipped with reliable latches that can be secured, especially for pool fences where self-latching, self-closing gates are often mandatory.
For our extensive backyard, we meticulously planned our gate system. We installed a wide double gate on each side of our house, providing easy access from the front yard for all our lawn equipment and larger items. A dedicated pool entrance gate from the front yard ensures direct access for swimmers. Additionally, within the dividing picket fence line between the pool and playground areas, we incorporated two gates. This design optimizes traffic flow, making it easy for guests to navigate between different activity zones during gatherings while maintaining separation when needed.

9. Evaluate the Best Installation Method: DIY or Professional Contractor?
Deciding whether to tackle your fence installation as a do-it-yourself project or to hire professionals involves weighing your time, skills, budget, and the complexity of the job.
- DIY Installation: Installing a vinyl fence yourself is absolutely achievable for many homeowners, especially with systems like Ply Gem’s, which are designed for straightforward assembly. Renting equipment like a power auger can significantly expedite the digging process. The primary advantage of DIY is saving thousands of dollars in labor costs. However, it requires a significant time commitment, physical effort, and a willingness to learn and follow detailed instructions meticulously.
-
- Hiring a Contractor: For projects involving old fence removal, uneven terrain, or a desire for quick completion, hiring a professional contracting team often makes the most sense. Contractors bring specialized equipment, expertise, and a dedicated crew, ensuring the job is done efficiently, correctly, and safely.
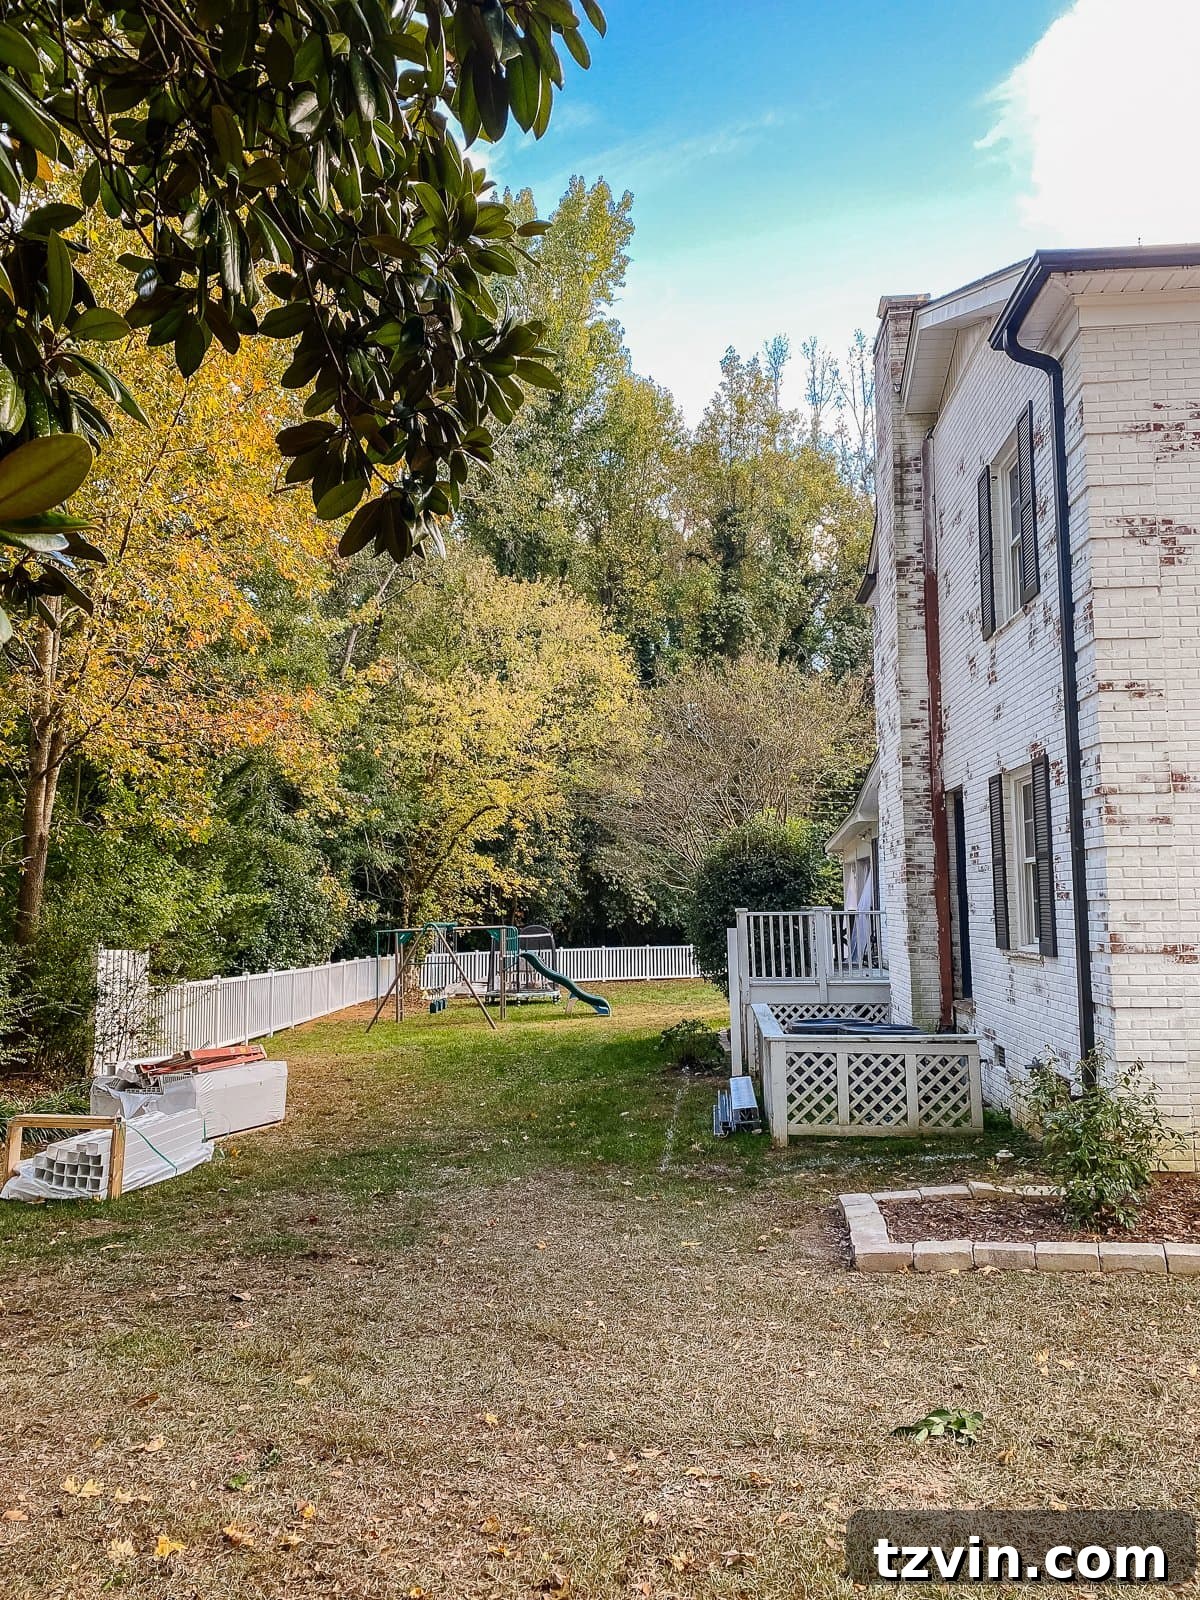
In our particular case, the project involved the arduous task of removing a dilapidated old wooden fence first. This alone would have required renting multiple pieces of equipment, dealing with the heavy labor, and hauling away a substantial amount of old wood. Considering the time (potentially months for us) and the significant expenses involved in renting equipment and disposal, hiring a contracting team was the most practical and efficient solution for us.
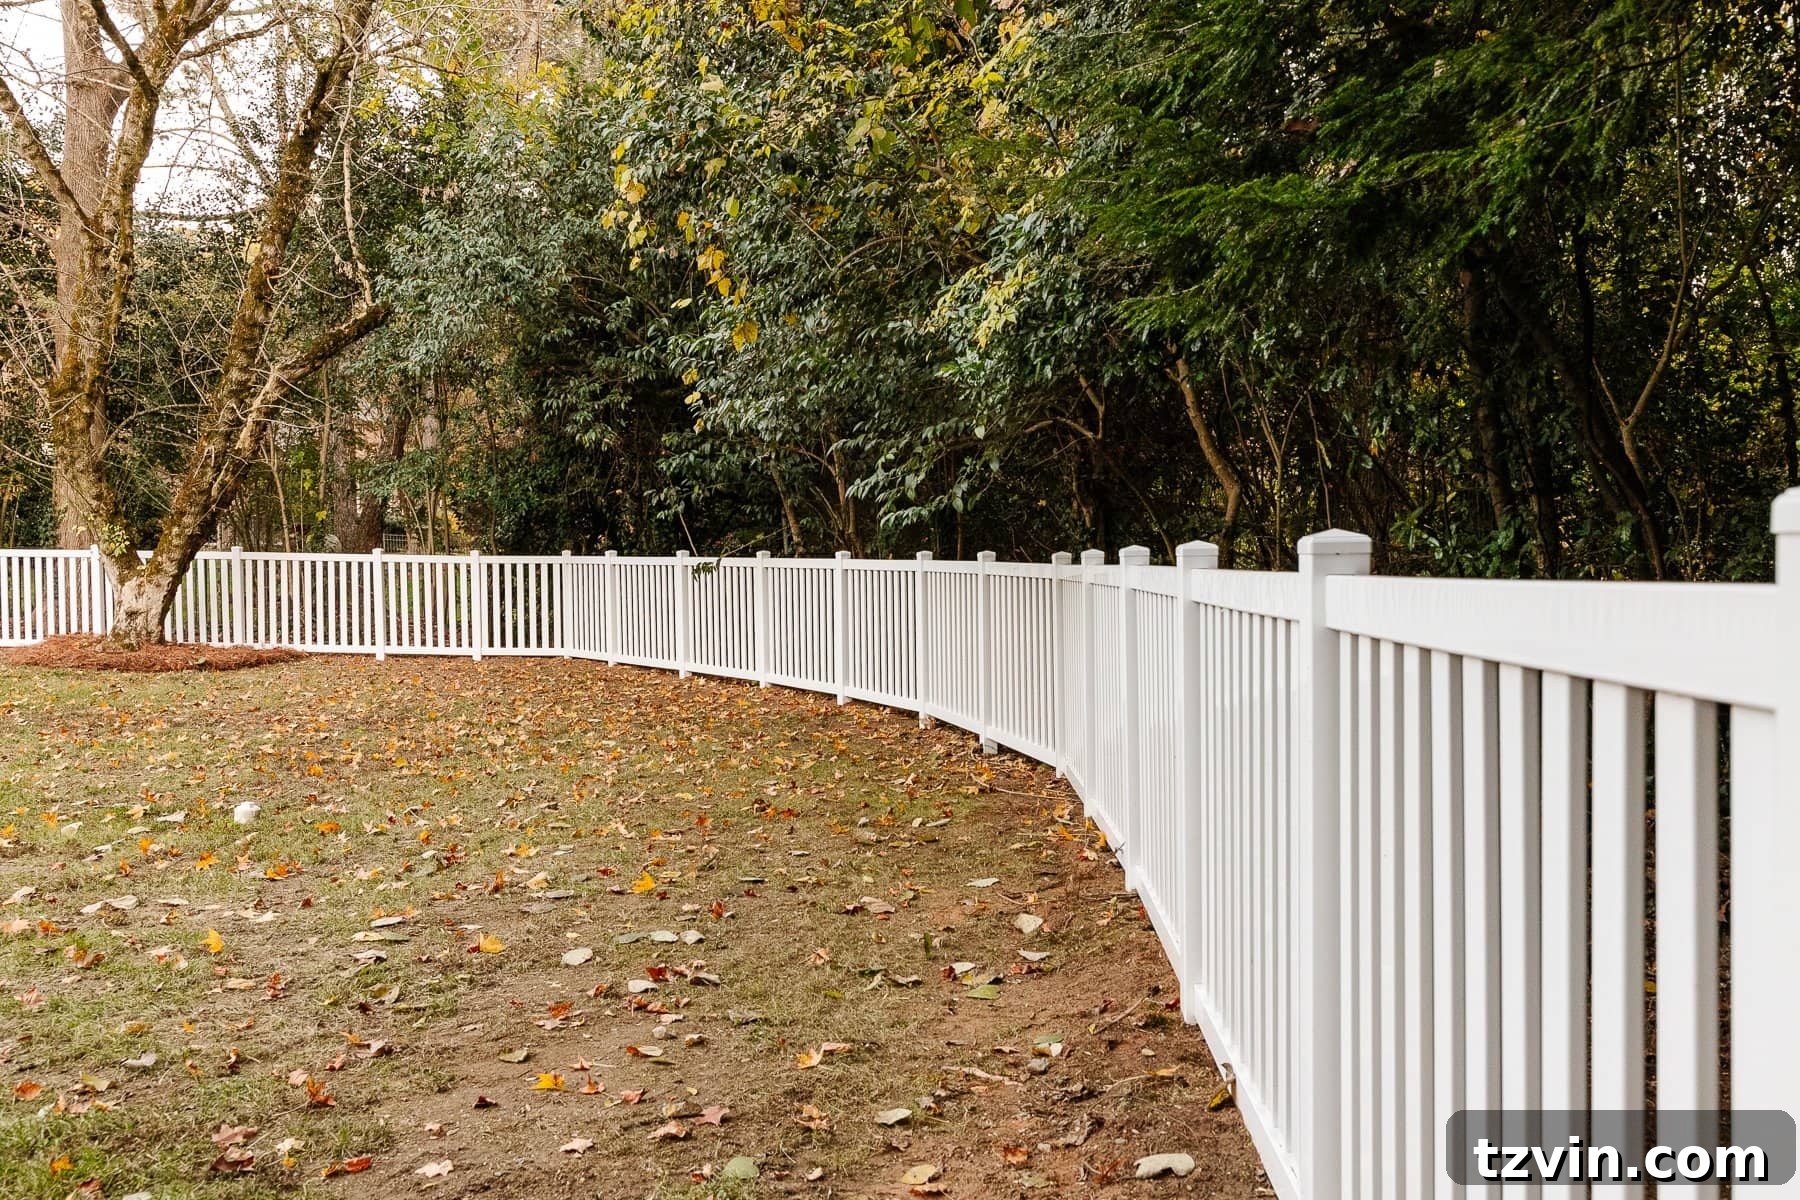
Our contractors completed the entire project, from removal to installation, in just two weeks with a team of four men. While the labor cost was approximately $10,000, the savings in our time, the rental costs for specialized equipment, and the safety concerns associated with the removal and heavy lifting wouldn’t have amounted to much less for us. Therefore, we remain confident in our decision to hire professionals.

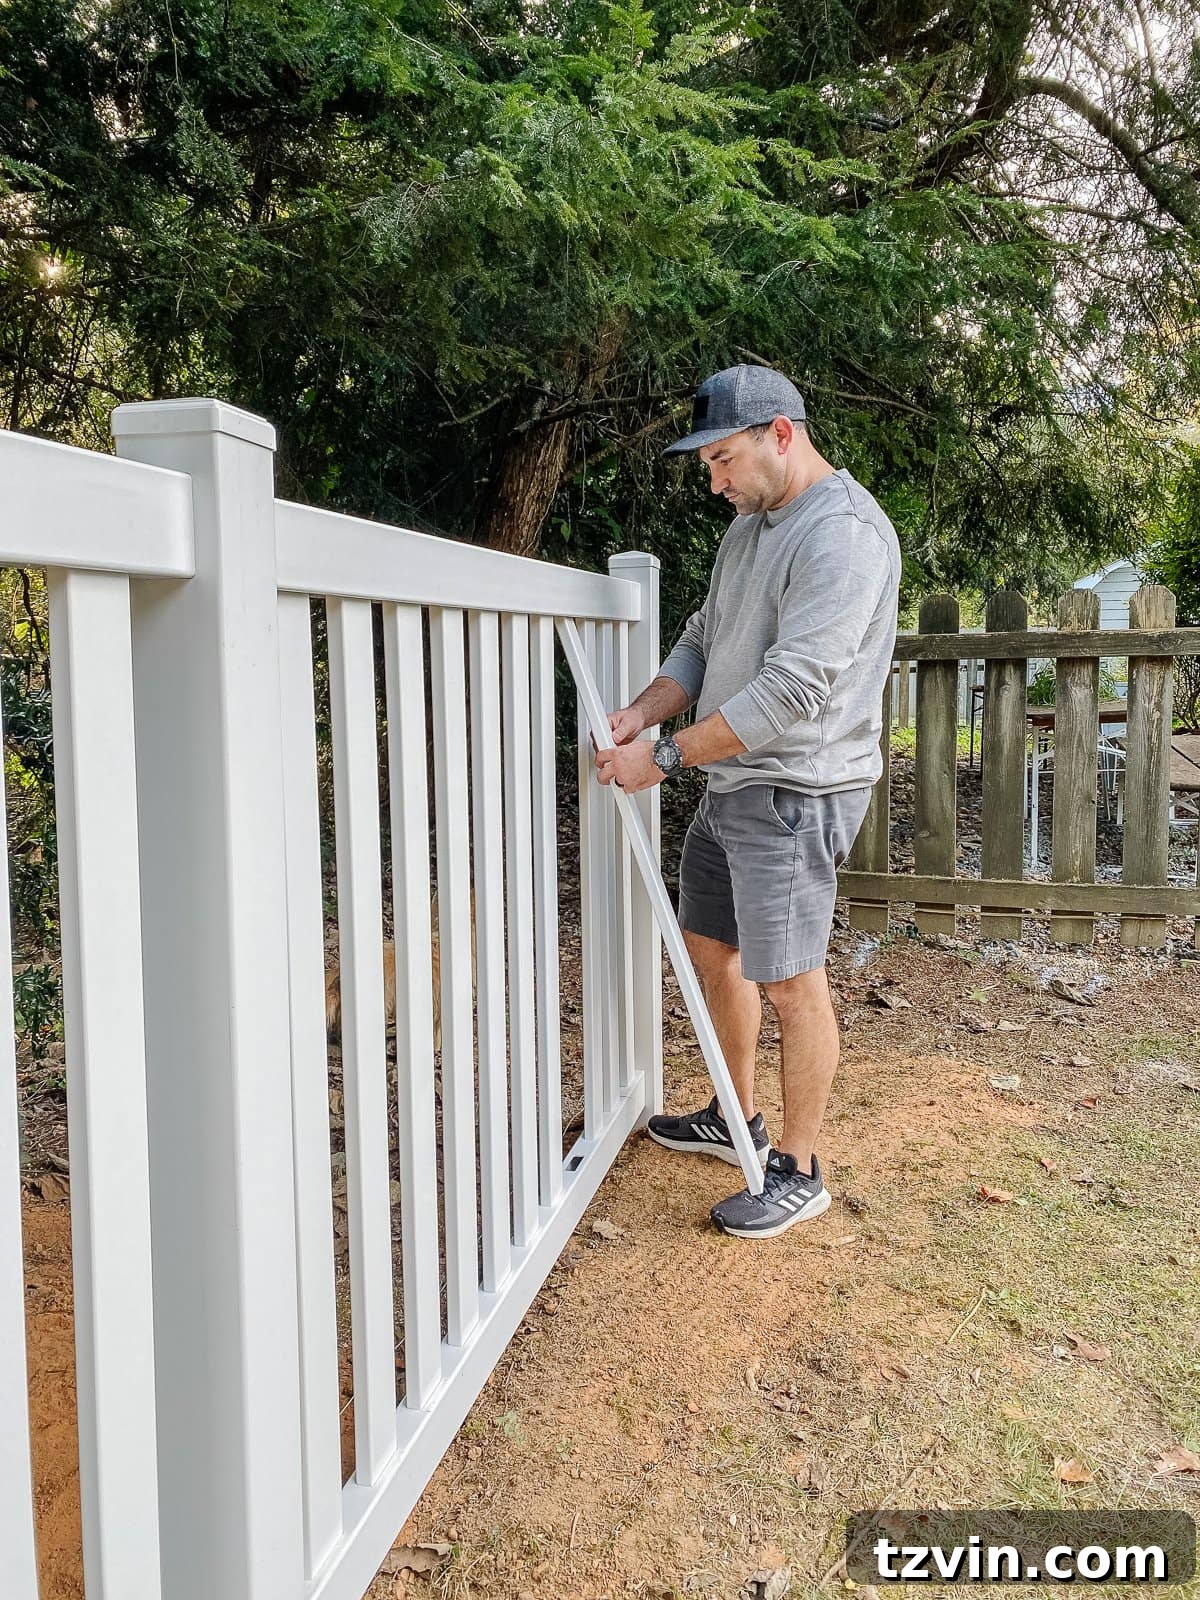
However, we did assemble a few sections of the vinyl fence ourselves to understand the process, and we can confirm that it is indeed simple enough for a DIY installation. Had we not faced the challenge of old fence removal, we would have confidently taken on the task of a full DIY installation.
Step-by-Step Guide: How to Install a Vinyl Fence
For those considering the DIY route, here’s a simplified breakdown of the general steps involved in installing a vinyl fence. Always consult your specific Ply Gem installation instructions for detailed, product-specific guidance.
1. Dig Post Holes Accurately
- Diameter: Dig post holes approximately 10 inches in diameter. You can use a manual post-hole digger for smaller projects or rent a power auger for larger, more efficient digging.
- Depth Regulations: Before digging, always consult your local building authorities for specific post-hole depth regulations in your area. A general rule of thumb is that the hole should be about one-third of the post’s total depth (e.g., a 6-foot fence post might require a 2-foot deep hole).
- Extra Depth for Gravel: Dig an additional 6 inches deeper than the regulation depth to create space for a gravel base, which aids in drainage and stability.
- Enhanced Stability for Key Posts: Gate posts and main end posts should be set an extra 6 inches deeper than standard posts to ensure maximum stability, as they bear more stress.
- Gravel Base: Push about 6 inches of gravel into the bottom of each post hole. This layer prevents water from collecting around the base of the post, significantly reducing the risk of erosion and frost heave.
2. Set the Fence Posts Securely
- Concrete Preparation: Fill the post holes with quick-setting concrete, carefully following the mixing and setting instructions provided on the concrete bag.
- Post Placement: Drive the hollow vinyl post into the center of the concrete-filled post hole using a rubber mallet. Continue until the bottom of the post firmly rests on the gravel base.
-
- Plumb and Level: Immediately use a level to ensure each post is perfectly plumb (vertically straight). Make any necessary adjustments while the concrete is still wet.
- Concrete Slope: Finish by shaping the concrete at the top of the post hole so it slopes away from the post. This design prevents water from pooling around the post, further enhancing drainage.
- String Line for Alignment: Begin by setting your main corner posts and end posts first. Once these are plumb and set, tie a taut string line between them. Use this string as a guide to ensure all subsequent line posts are installed in a perfectly straight line.
- Final Adjustments: Before the concrete fully cures and hardens, double-check every post for plumb and level. Make any final adjustments as needed to ensure a professional and straight fence line.
-
3. Attach Fence Panels Efficiently
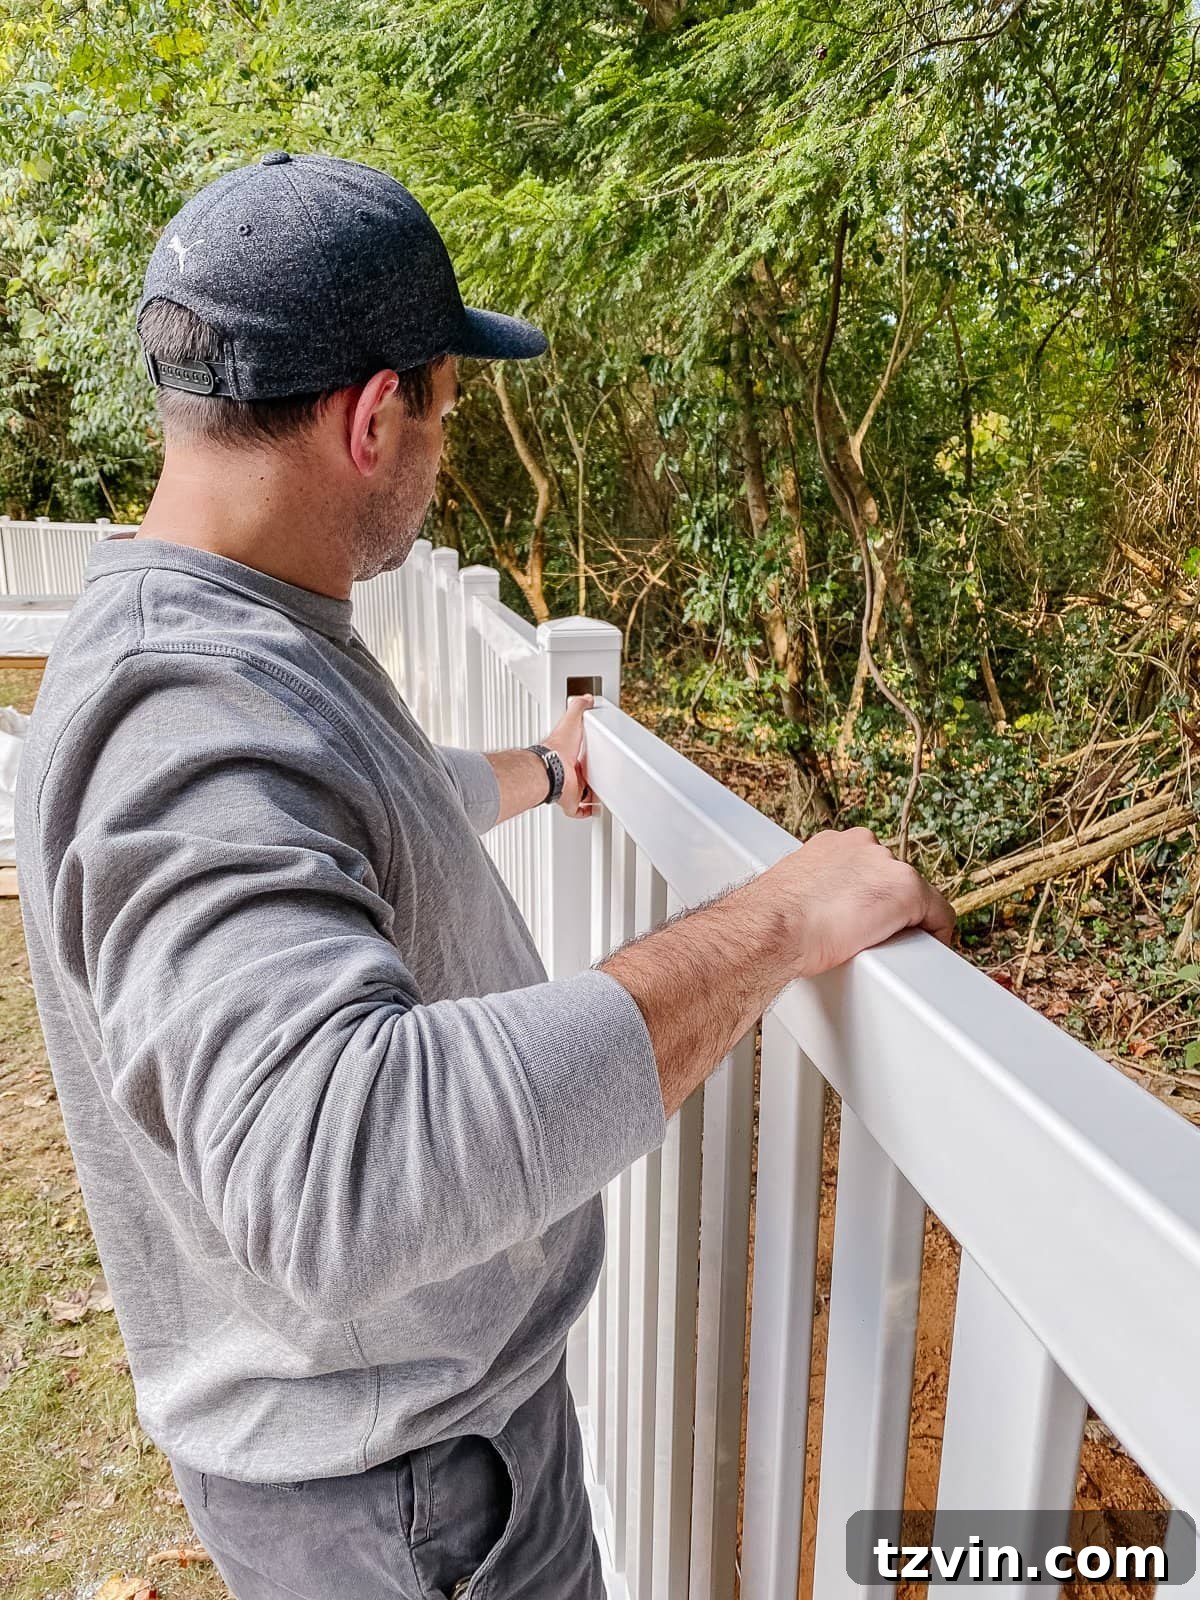
- Install Rail Brackets: Following Ply Gem’s specific instructions, securely screw the rail brackets to the installed fence posts. These brackets are designed to hold the horizontal fence rails.
-
- Insert Rails: Slide the horizontal fence rails into the newly attached post brackets. Secure them firmly to the brackets with screws as directed.
- Assemble Panels: Next, carefully slide the vertical pickets or full privacy panels into the channels of the top and bottom rails. Ensure they are fully seated and aligned according to the design of your chosen fence style.
-
4. Install Gates with Precision
- Gate Opening Width: To determine the necessary opening width between your gate posts, add approximately 1-1/4 inches to the actual width of your gate panel. This extra space accounts for hardware clearance and proper swing.
- Hardware Clearance: Aim for a gap of approximately 5/8 inch on each side of the gate between the gate posts. This small gap is crucial for hardware installation and allows the gate to swing freely without binding.
- Reinforce Gate Posts: For added stability and to support the weight of the gate, insert two outdoor-rated 2×4 lumber pieces inside each hollow vinyl gate post. These provide a solid anchor for the gate hardware.
- Attach Hardware: Pre-drill holes into the reinforced gate posts, then securely attach your gate hinges and latch hardware. Ensure the gate swings smoothly and latches securely.
-
Effortless Vinyl Fence Maintenance
One of the most appealing aspects of vinyl fencing is its incredibly low maintenance. Unlike wood, which requires regular staining or painting, or metal, which can rust, vinyl stands up beautifully to the elements. Our future maintenance routine is remarkably simple: we anticipate only needing to give the fence an occasional quick pressure wash. This will typically only be necessary if we ever notice any signs of mold, mildew, or accumulated dirt. Otherwise, once installed, this fence is truly “done” – ready to enhance our backyard for decades to come with minimal fuss.
Our (Semi) Finished Backyard Transformation
With the new vinyl fence in place, our yard now radiates a polished, clean, and bright aesthetic that truly elevates the entire property. The crisp white lines and fresh appearance make an incredible difference. We are eagerly looking forward to seeing our outdoor space truly come alive in the warmer months when the grass is lush green and all the landscaping flourishes.
While this phase marks a significant completion, we still have a few dream projects on the horizon. We might eventually add a charming playhouse for the kids, dedicate more attention to improving our turf and gardening areas, and perhaps even stamp the concrete around the pool deck for an enhanced finish. However, for now, this feels like a monumental “finished-for-now” moment, allowing us to fully enjoy the fruits of our labor.
It’s truly humbling to look back at where we started just a few years ago…
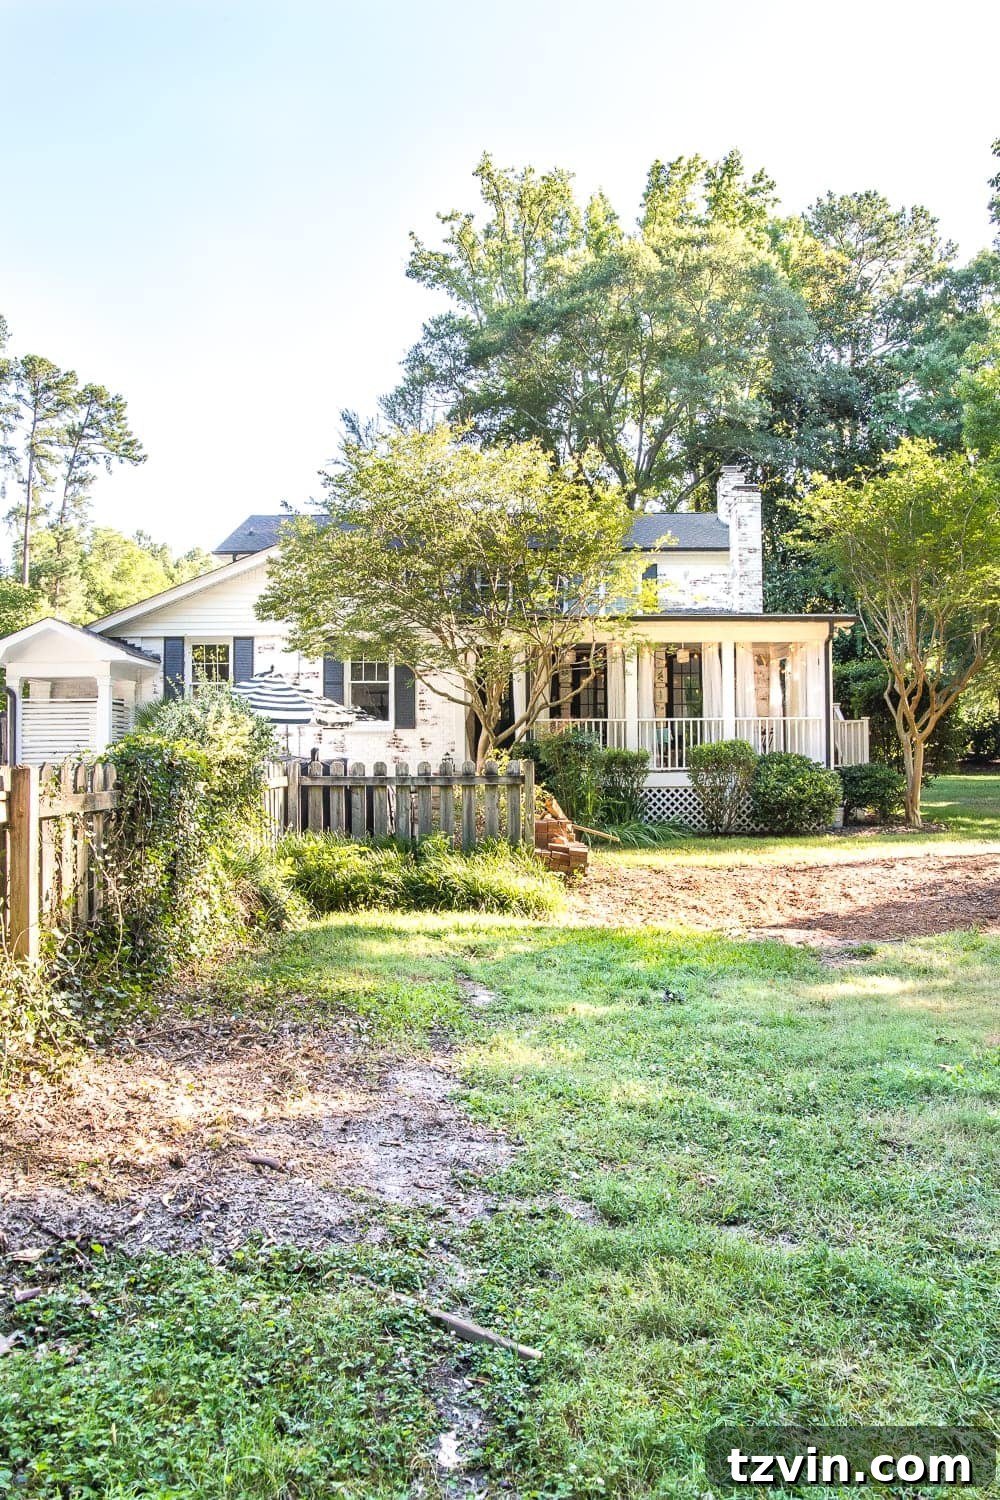
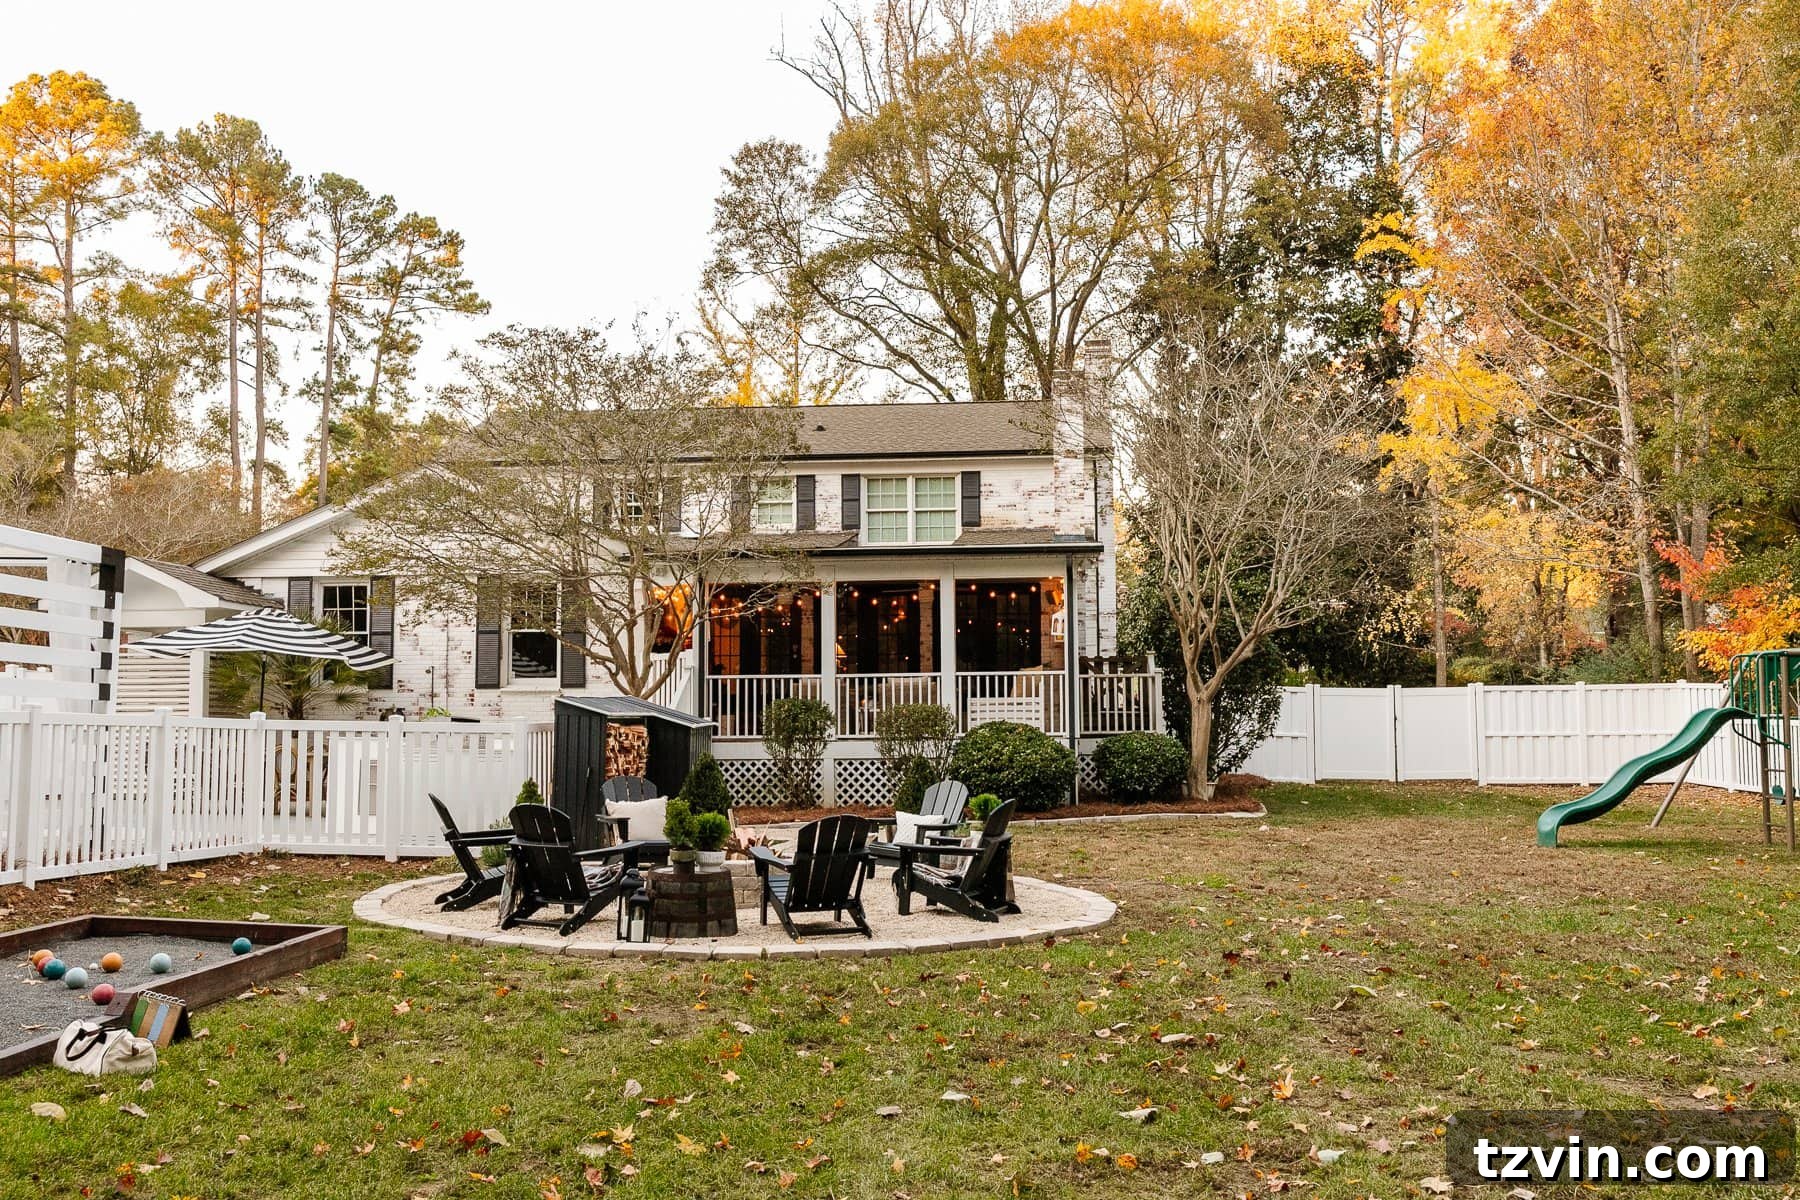
The sheer difference these past four years have made to our outdoor living space is still incredible to us.

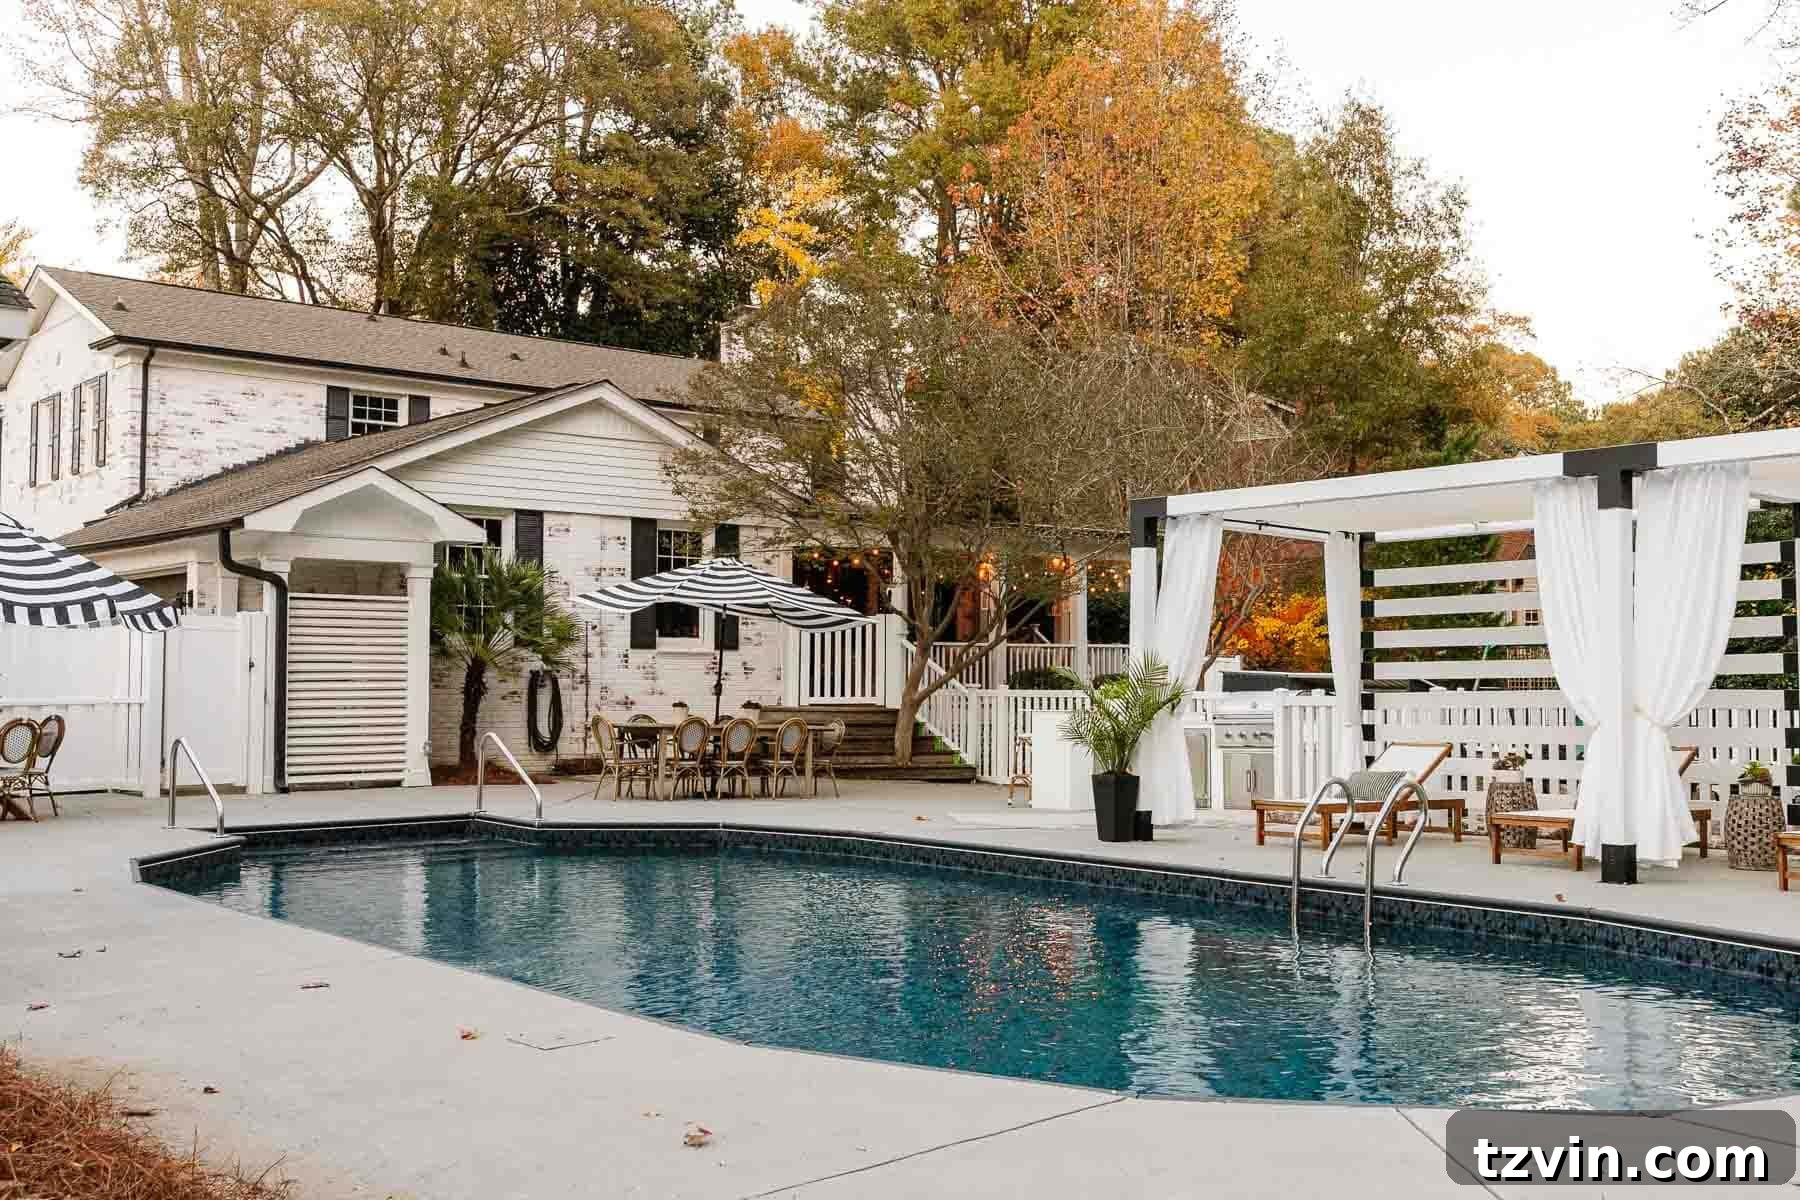
Undeniably, it has required a tremendous amount of hard work and, at times, considerable stress. Yet, this transformed backyard is undeniably our family’s happy place, a setting where countless cherished memories are made. That invaluable experience is something we wouldn’t trade for anything in the world.
Soon, we’ll be sharing a comprehensive budget breakdown of our entire backyard overhaul, consolidating all the various outdoor projects we’ve undertaken into one detailed post, in case you missed any of the individual transformations.
For more insights into vinyl fencing, including frequently asked questions and a wider array of styles, you can visit Ply Gem’s FAQs and explore their various vinyl fence styles.
Have you recently installed a backyard fence, or embarked on any significant backyard improvement projects this year? We’d love to hear about your experiences and transformations!

Explore More Backyard Transformation Projects:
- Backyard DIY Fire Pit Done in a Weekend
- DIY Pergola Cabana Reveal!
- Our Modular Outdoor Kitchen Built in a Day!
- Our Back Porch Refresh
- Swimming Pool Liner Makeover Reveal
- At Home Gym Shed Makeover on a Budget!
- How to Paint Vinyl Siding & Pool Shed Makeover
- DIY Painted Concrete Pool Deck and Patio
- DIY Hidden Backyard Beer Garden
- DIY Bocce Ball Court
- FAQs About Our Limewashed Brick