
Crafting the Perfect Faux Reclaimed Wood Tabletop: A DIY Transformation Guide
Welcome, fellow DIY enthusiasts and home decor tricksters! In the world of interior design, sometimes the most stunning transformations don’t come from expensive purchases or rare finds, but from clever illusions. If you’re anything like me, you appreciate the beauty of a genuine antique or a piece of naturally aged wood, but you also love the thrill of creating that same coveted look on a budget, with a dash of creativity, and often with far greater practicality. This project is a testament to that philosophy – achieving a gorgeous reclaimed wood aesthetic on a solid painted table top using just a circular saw, paint, and a little bit of ingenuity. It’s about creating depth, character, and a story for your furniture without breaking the bank or sacrificing functionality.
The Appeal of Faux: Why Fake It (Beautifully)?
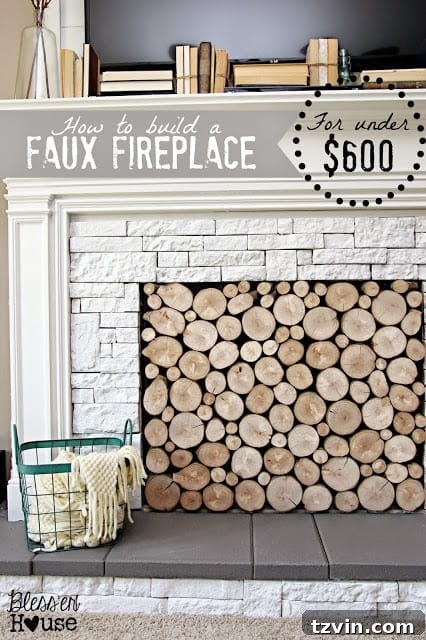
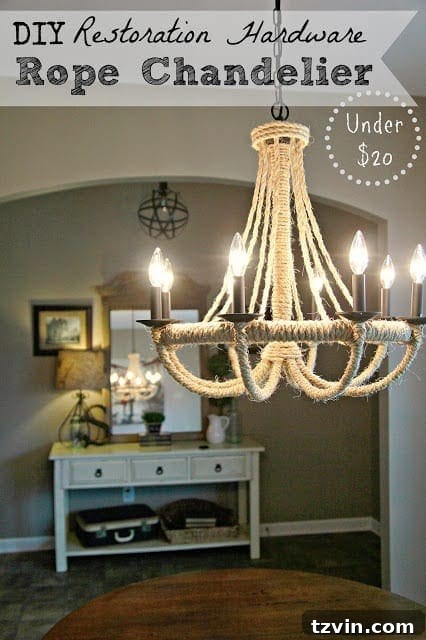
You might call me a “faux” enthusiast, and I wear that badge with pride! From our striking faux fireplace that anchors our living room to the distressed “wood” frames that add vintage charm and our elegant knock-off chandelier, many elements in our home are designed to look far more expensive and elaborate than they actually are. It’s not about deception; it’s about smart design, resourceful decorating, and embracing the endless possibilities of DIY. The French term “faux” elevates it, making it sound much more chic than simply “fake,” doesn’t it? Just like calling Target “Tar-jay” adds a certain je ne sais quoi.
Today, I’m thrilled to share one of my latest “faux” triumphs: a coffee table top that now boasts the rustic elegance of reclaimed wood planks. This project was born out of necessity, creativity, and a touch of stubborn determination when my initial week-long DIY plans hit a few unexpected snags. As any seasoned DIYer knows, roadblocks are part of the journey. Sometimes you have to pivot, embrace Plan B (or C, or D!), and find new ways to achieve your vision. This coffee table transformation became my unexpected but deeply rewarding project, proving that sometimes the best ideas emerge when you least expect them.
The Genesis of a Grand Transformation: Our $50 Craigslist Trunk Table
Our story begins with a fantastic find on Craigslist a few months back: a functional trunk table, snatched up for a mere $50. This piece was an absolute gem in terms of utility, offering incredible storage solutions. It featured convenient drawers for organizing DVDs and a liftable top – perfect for stashing away toys and keeping our living room clutter-free. In my book, functionality like that is always a winner.
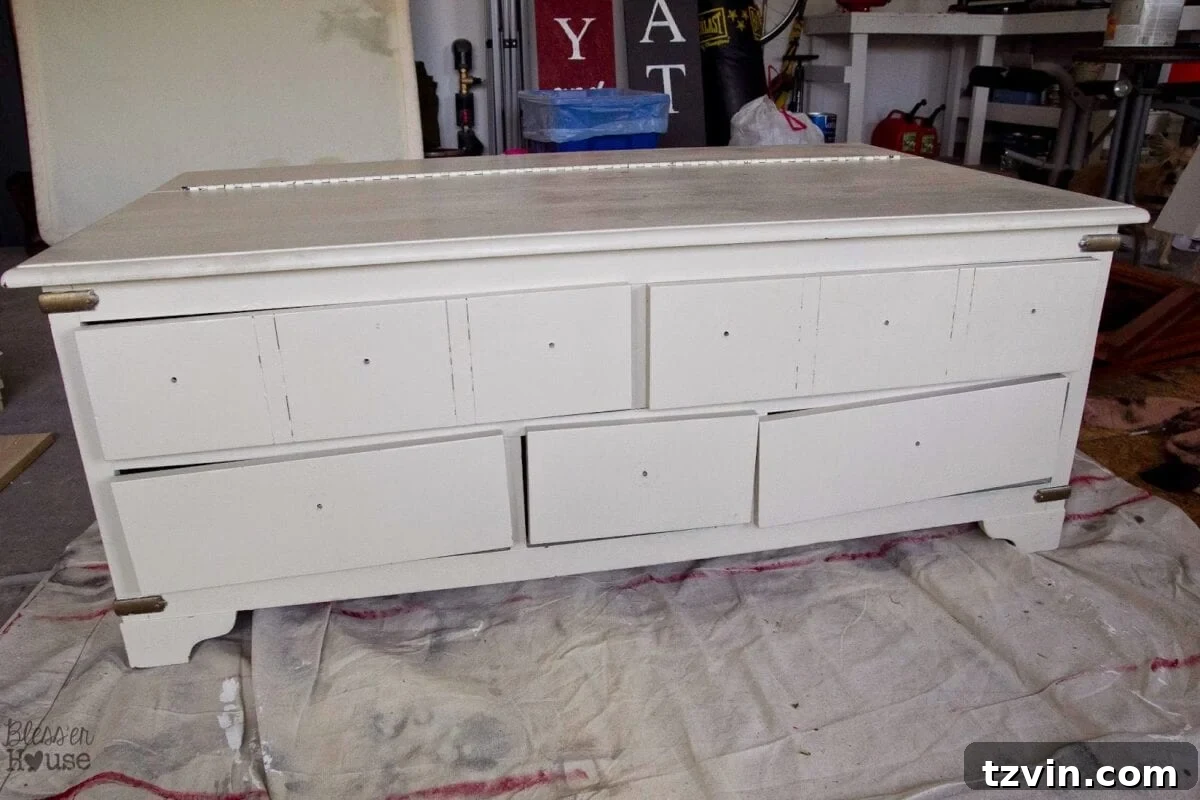
However, while practical, the table’s appearance was, to put it mildly, bland. Surrounded by beige sofas and a beige carpet in our living room, it contributed to an overwhelming sense of “vanilla.” I adore neutrals, but even my love for a muted palette has its limits. This table desperately needed a personality infusion. My heart was set on a reclaimed planked wood top, but there were significant obstacles:
- Functionality First: Nailing real wood planks onto the existing top would have rendered the invaluable toy storage completely useless. The lift mechanism would be hindered, and the entire purpose of the trunk table would be undermined.
- Material Limitations: Stripping the table down to bare wood was not an option, as the trunk was constructed from veneered MDF. This material doesn’t take to traditional stripping and staining in the same way solid wood does, and attempting to do so would likely damage the surface.
This is where the magic of DIY inspiration truly shines. Thanks to my trusty friend Pinterest, I stumbled upon two brilliant tutorials that provided the perfect blueprint for achieving the look I desired without the need to purchase a single new piece of lumber. These guides showed me how to mimic the appearance of weathered, planked wood using simple tools and paint, turning a design challenge into an exciting opportunity.
Inspired by DIY Gurus: Essential Resources
The DIY community is a treasure trove of innovation, and I’m incredibly grateful to the talented bloggers who share their knowledge. This project wouldn’t have been possible without these two foundational tutorials:
- DIY Faux Planked Desk by Maison de Pax
- Faux Finish Weathered Wood Grain by Pretty Handy Girl
Both offered exceptional guidance and served as a solid starting point, allowing me to adapt and tweak their methods to suit my specific project needs. I highly recommend visiting both links to gather their comprehensive supply lists and detailed step-by-step instructions. While their methods provided the initial spark, I’m excited to share my own refined process, incorporating some of my own twists and preferred products.
The Faux Reclaimed Wood Tabletop Process: Step-by-Step
Transforming our vanilla coffee table into a rustic, reclaimed-wood-inspired centerpiece was a multi-step process, but each stage was crucial in building up the convincing illusion. Here’s a detailed breakdown of how I achieved this stunning faux finish.
Step 1: Planning and Marking Your Faux Planks
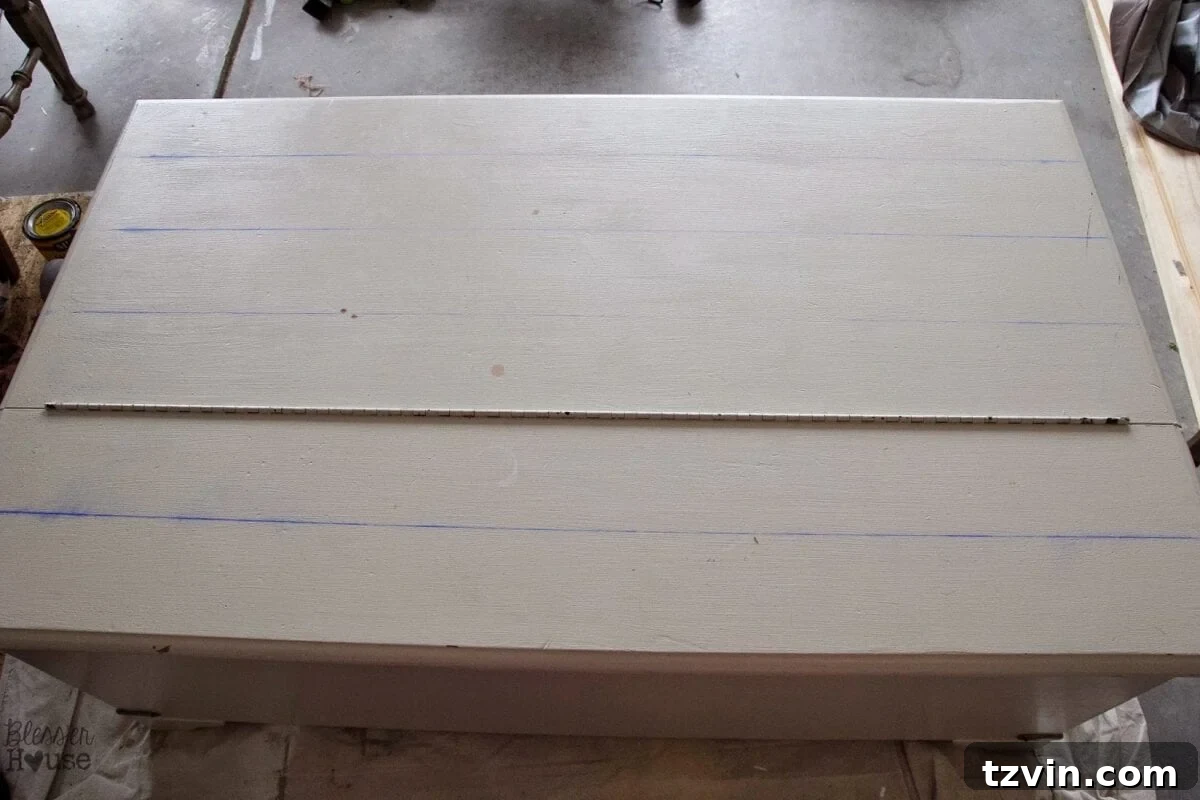
The first step in creating a believable planked look is to carefully plan your “plank” layout. I began by measuring the total width of the table top. My table was 30 inches wide. I decided on the number of planks I wanted to create, aiming for a realistic, balanced appearance. Conveniently, the existing hinge structure of the trunk table was almost perfectly at the one-third mark, which naturally guided my initial divisions. Ultimately, I decided to mark my faux planks at every 5 inches across the width of the table, creating six distinct plank sections.
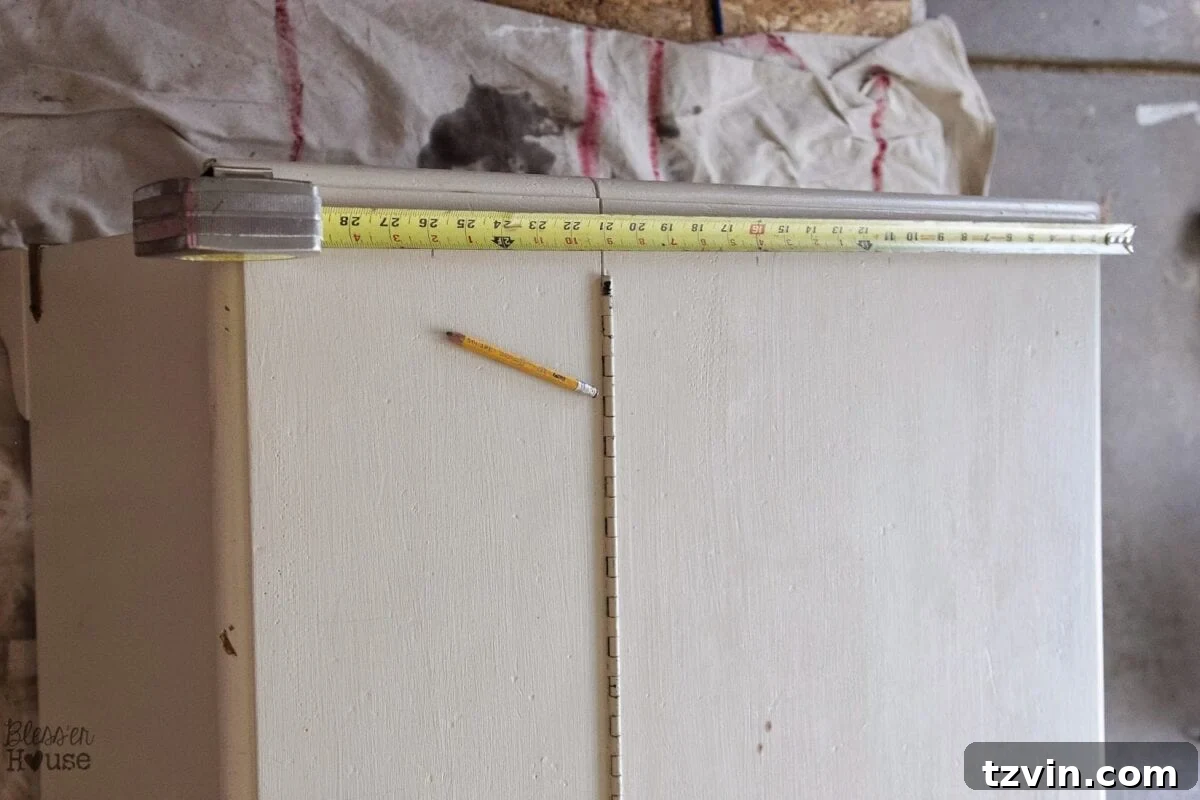
Once I had my measurements, I used a chalk line to precisely mark where each faux plank division would be. This ensured straight, consistent lines, which are essential for a professional-looking finish. Take your time with this step, as accurate marking will determine the success of your cuts.
Step 2: Cutting the Faux Plank Grooves with a Circular Saw
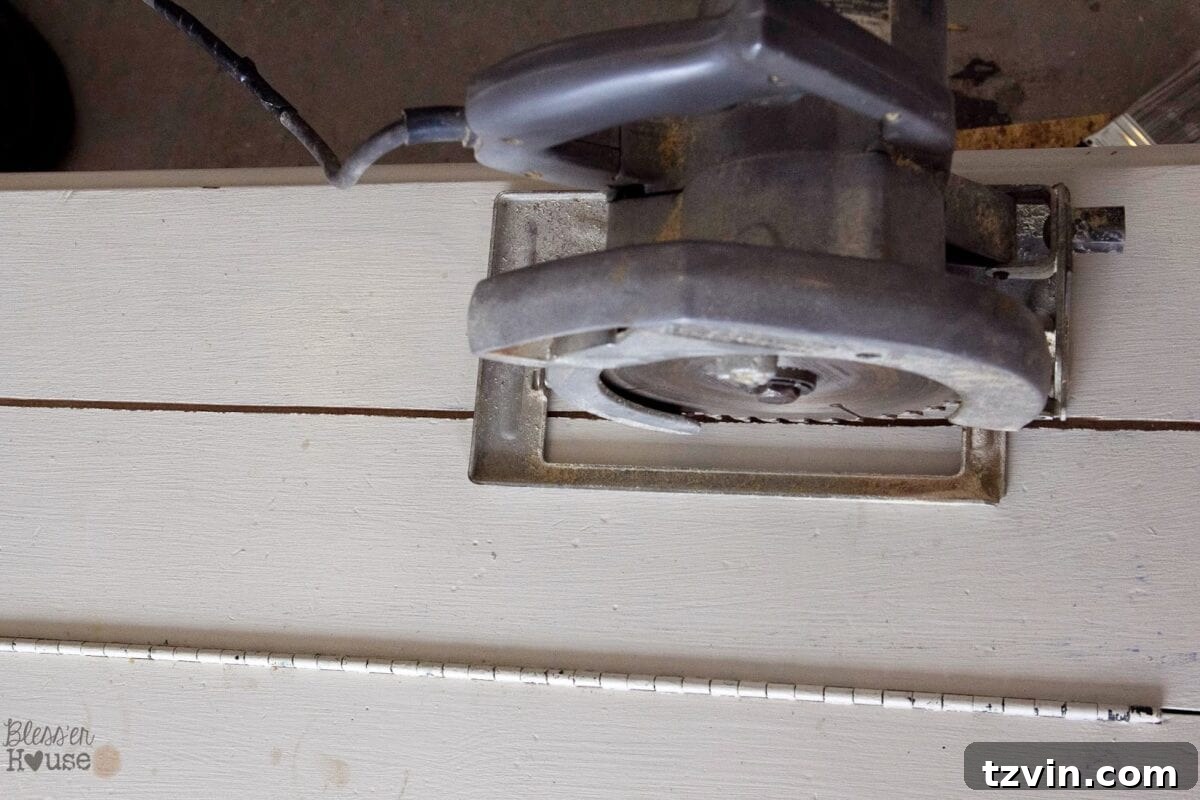
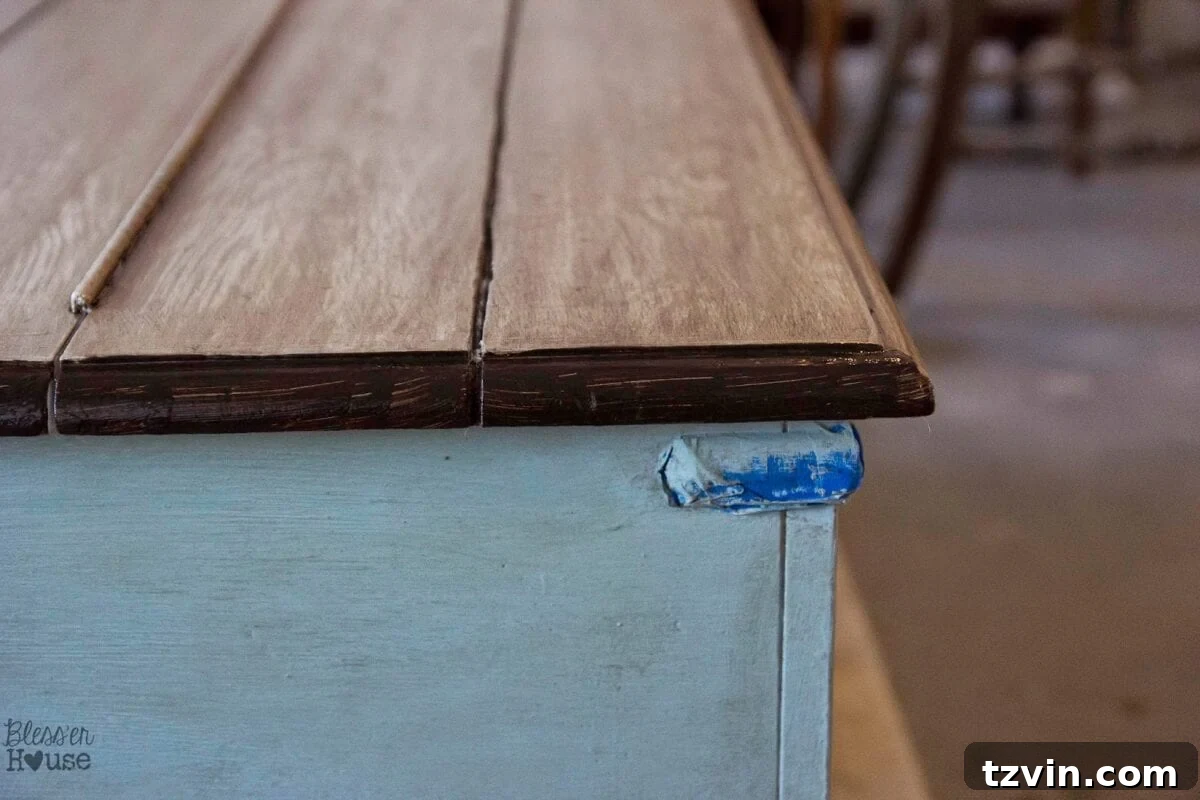
Now for the part that truly sells the illusion of individual planks: creating shallow grooves. Using a circular saw, set to a depth of just 1/8 of an inch, my incredibly helpful husband carefully cut along all the chalk lines on both the table top and its sides. The shallow depth is crucial here; you’re not cutting through the table, but merely scoring the surface to create the visual and tactile separation between your “planks.”
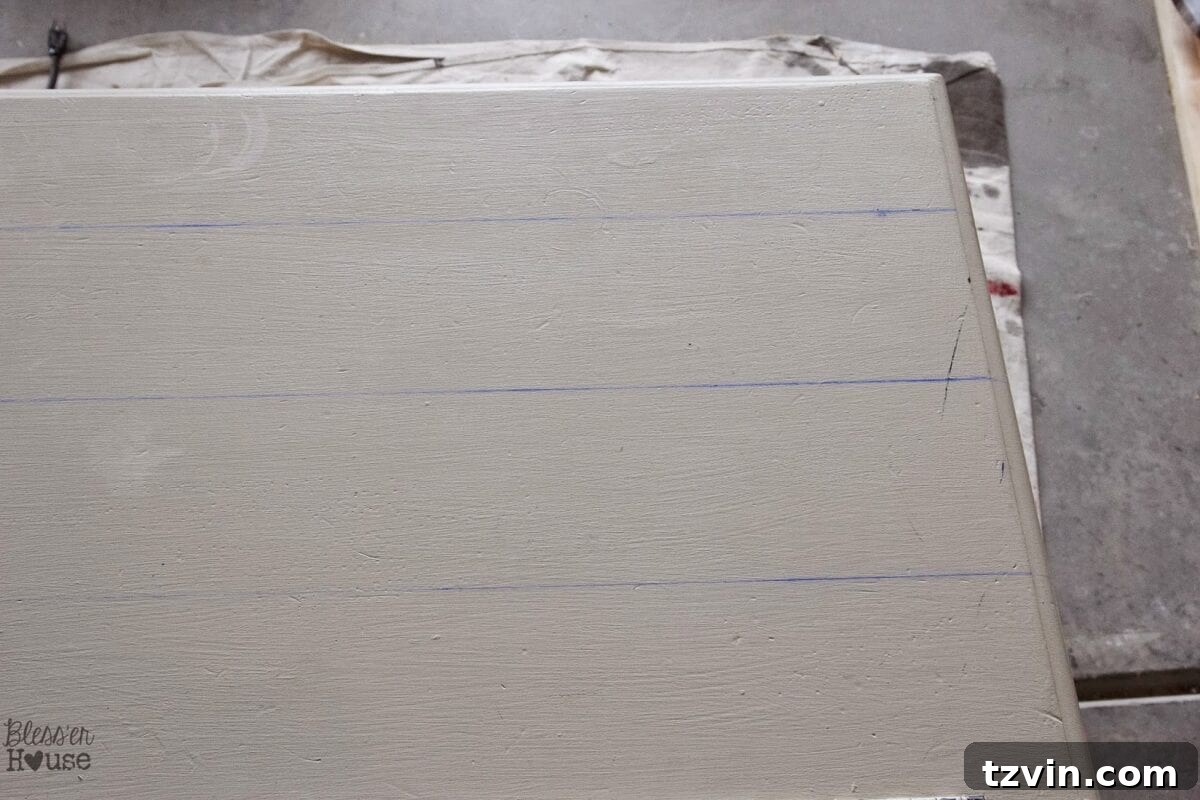
Safety Note: If you’re new to power tools, always practice on a scrap piece of wood first to get a feel for the saw and ensure your depth setting is correct. Always wear appropriate safety gear, including eye protection. While my husband usually handles the power tools for my projects (a privilege I’m happy to maintain as long as he’s willing!), a circular saw is a fantastic tool to master for many DIY tasks. These shallow cuts add an authentic texture and depth that paint alone cannot fully replicate.
Step 3: Defining the Grooves with Dark Wax
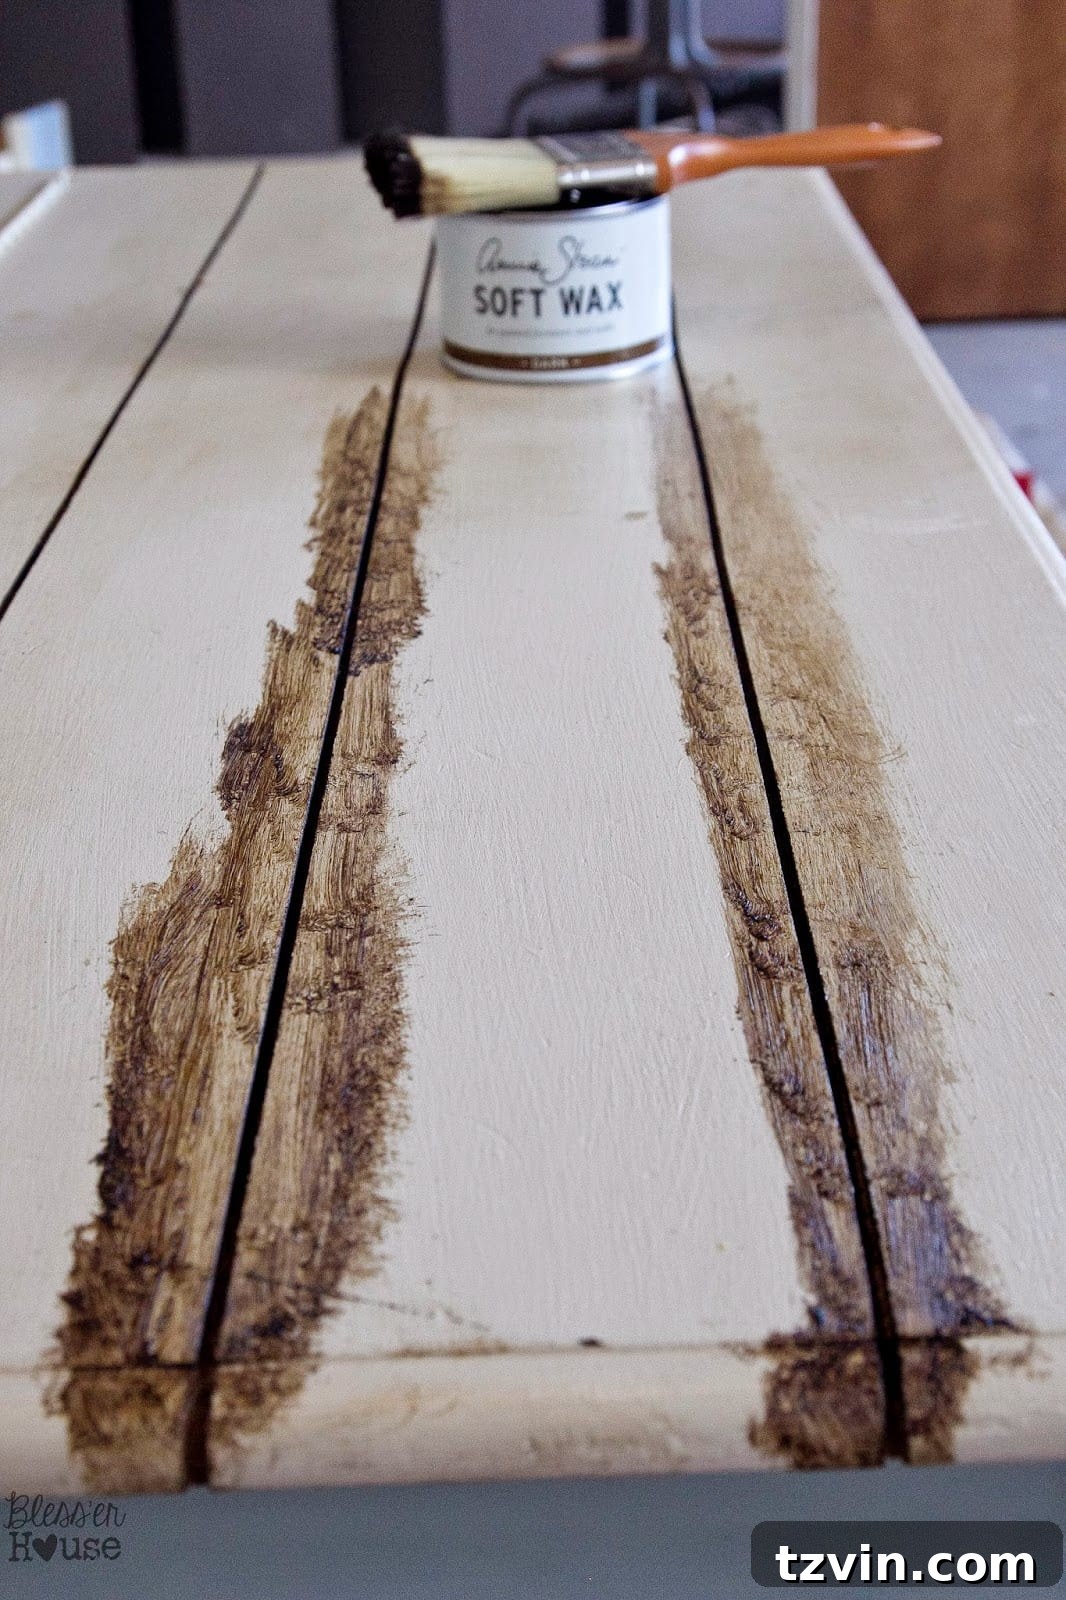
To further enhance the appearance of aged, separate planks, I applied Annie Sloan Dark Wax into the newly cut grooves. This step is key for giving the “plank” lines more definition and creating a subtle, weathered effect, mimicking the dirt and grime that naturally collects in the seams of real reclaimed wood. Simply work the wax into the grooves using a small brush or rag, then immediately wipe away any excess from the surrounding surface. The dark wax settles into the shallow cuts, making them pop and adding a layer of authenticity.
Step 4: Layering Paint and Glaze for a Rich Base
Now, the real fun begins with the wood grain finish. This technique relies on layering different shades of paint and glaze to build up a realistic, multi-dimensional wood texture. While the specific materials can vary, I used a combination of paint and glaze for this crucial step. (For specific material recommendations, I encourage you to check out the Pretty Handy Girl tutorial here).
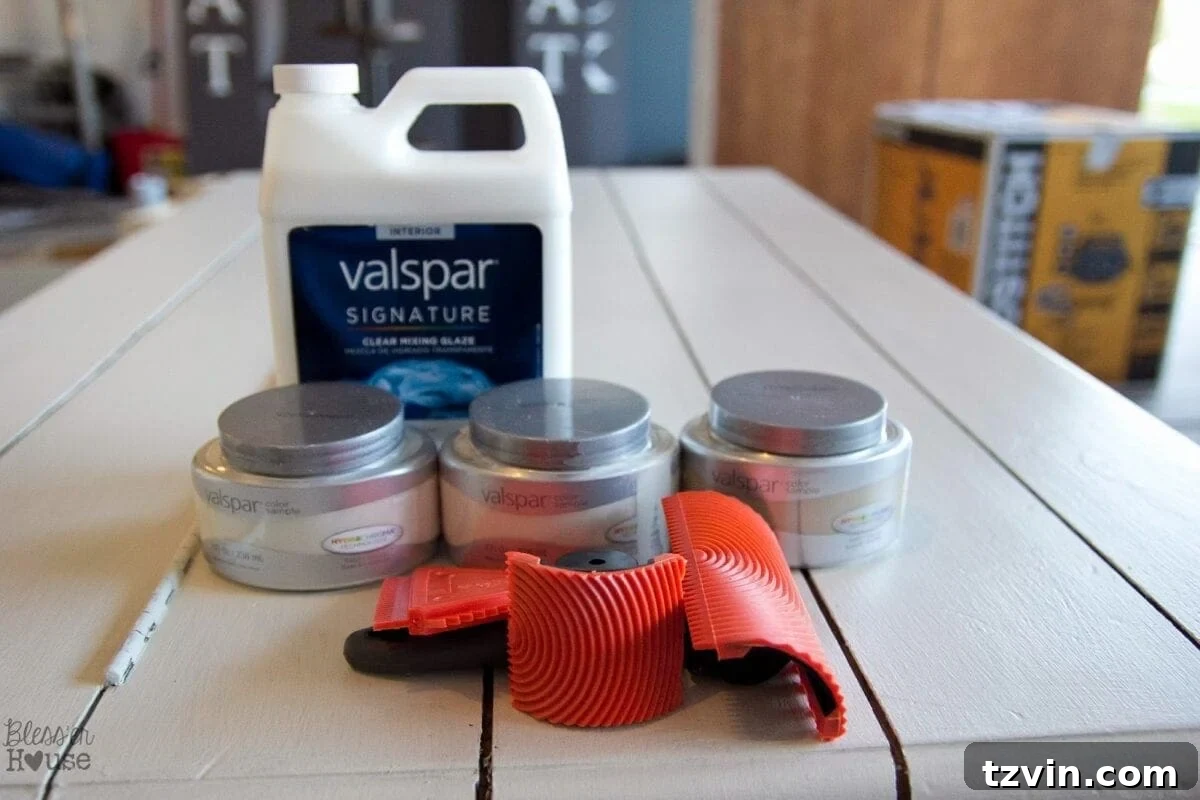
First, I applied a base coat of paint across the entire tabletop. This light, neutral color provides a foundational layer for the subsequent graining steps. Once the base coat was completely dry, I prepared a mixture of clear glaze and a slightly darker shade of paint. This mixture was then brushed lightly over the base coat, allowing some of the lighter base color to show through. The glaze helps extend the drying time of the paint, giving you more working time to manipulate the finish.
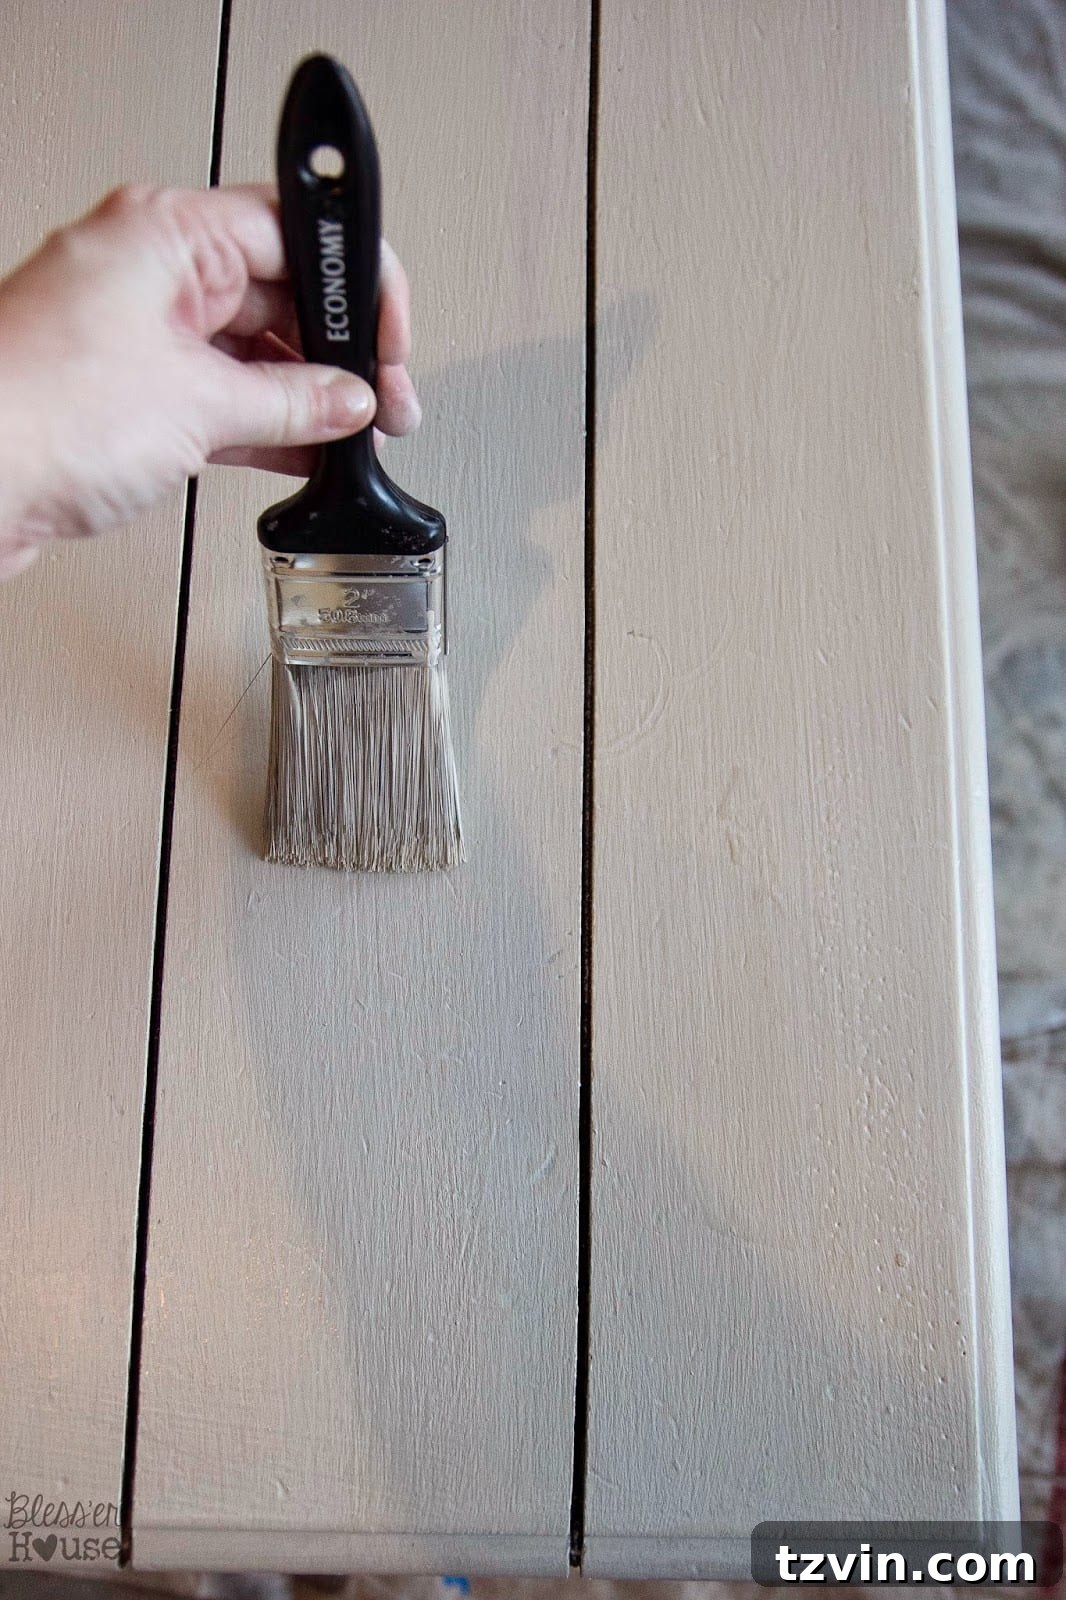
Step 5: Creating the Wood Grain Effect with a Graining Tool
This is where the transformation truly comes alive! Once the initial glaze layer is dry, it’s time to apply the final glaze/darker paint mixture for the wood grain. I worked on one faux plank section at a time to ensure the mixture remained wet enough for the graining tool to work its magic effectively. This methodical approach ensures consistent results across the entire surface.
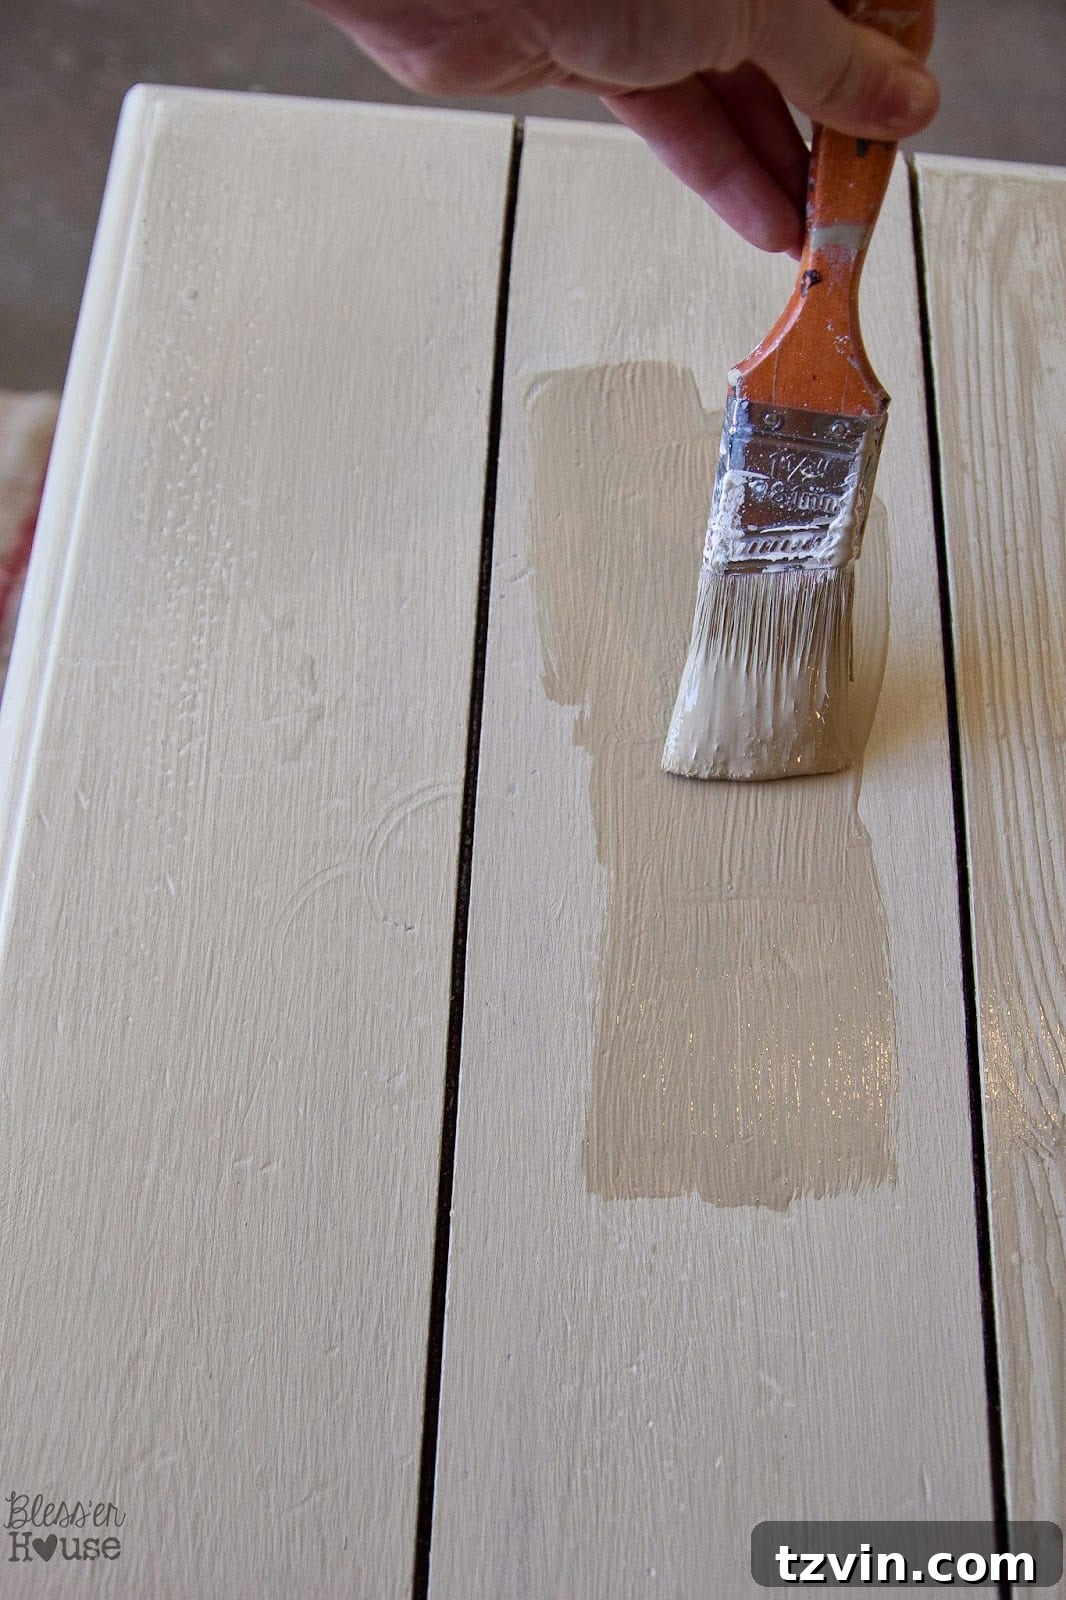
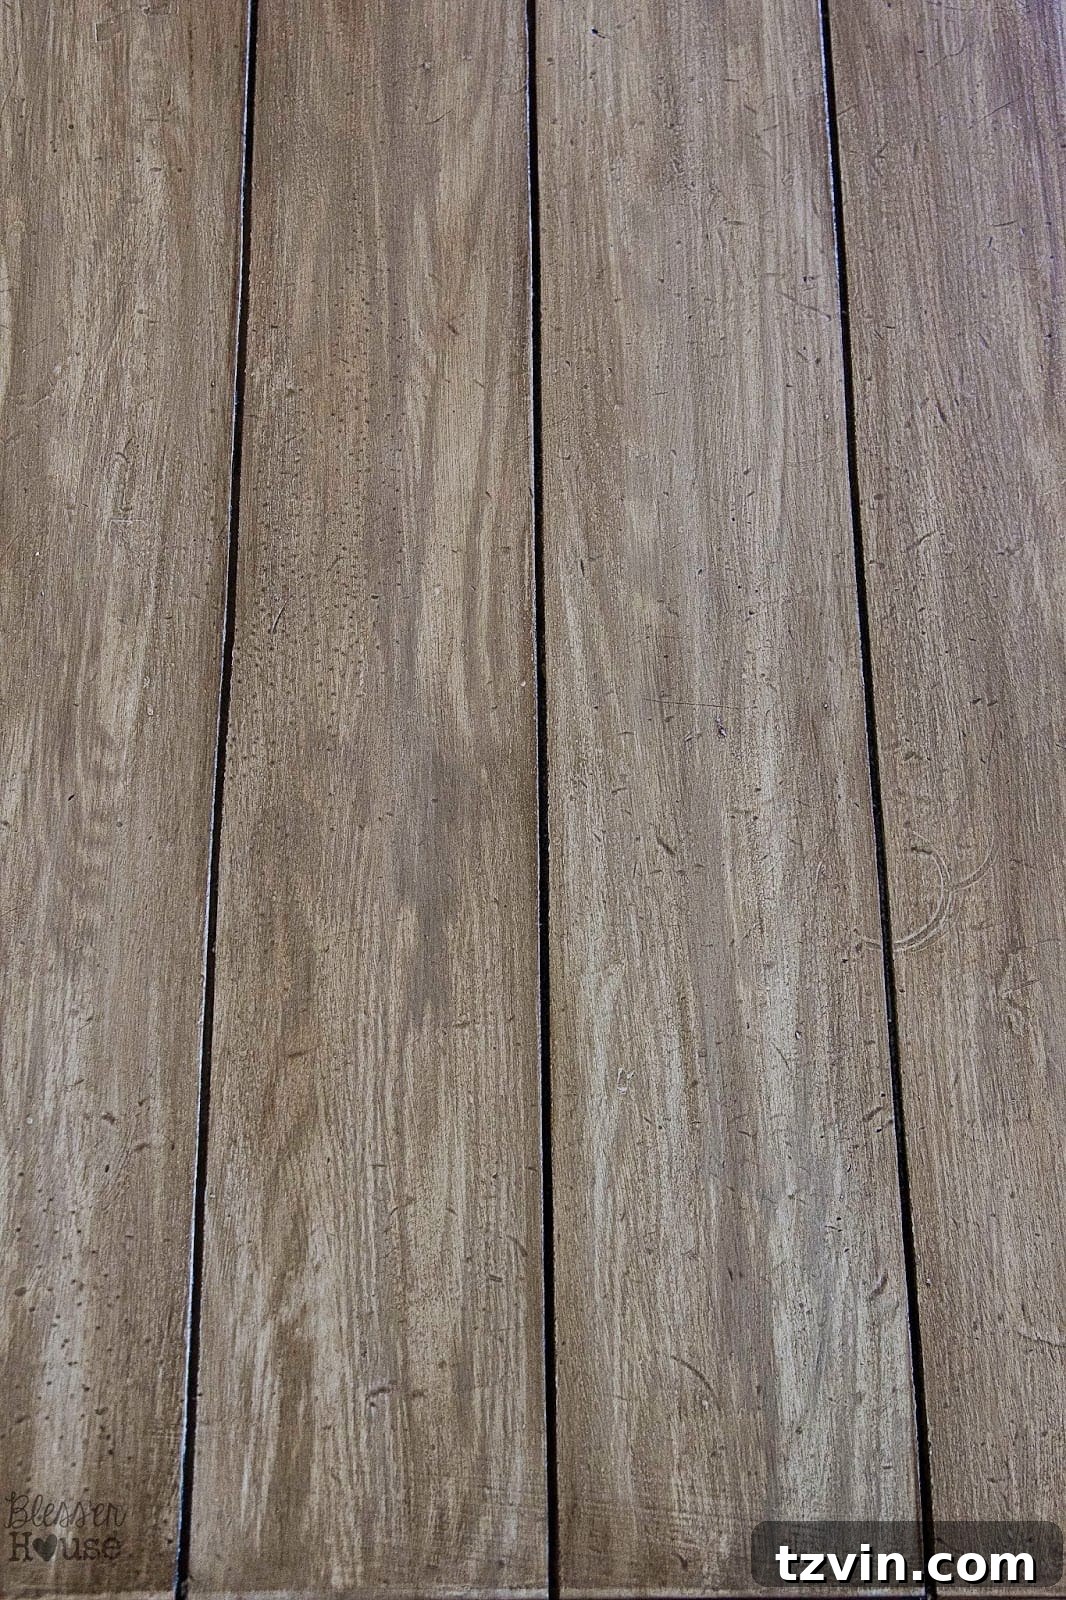
With the fresh layer of glaze, I used a specialized wood graining tool. This tool, often made of rubber with a textured edge, allows you to drag and rock it through the wet paint glaze to create incredibly realistic wood grain patterns. Experiment with different rocking motions and angles to achieve varied and natural-looking grain lines, just like real wood.
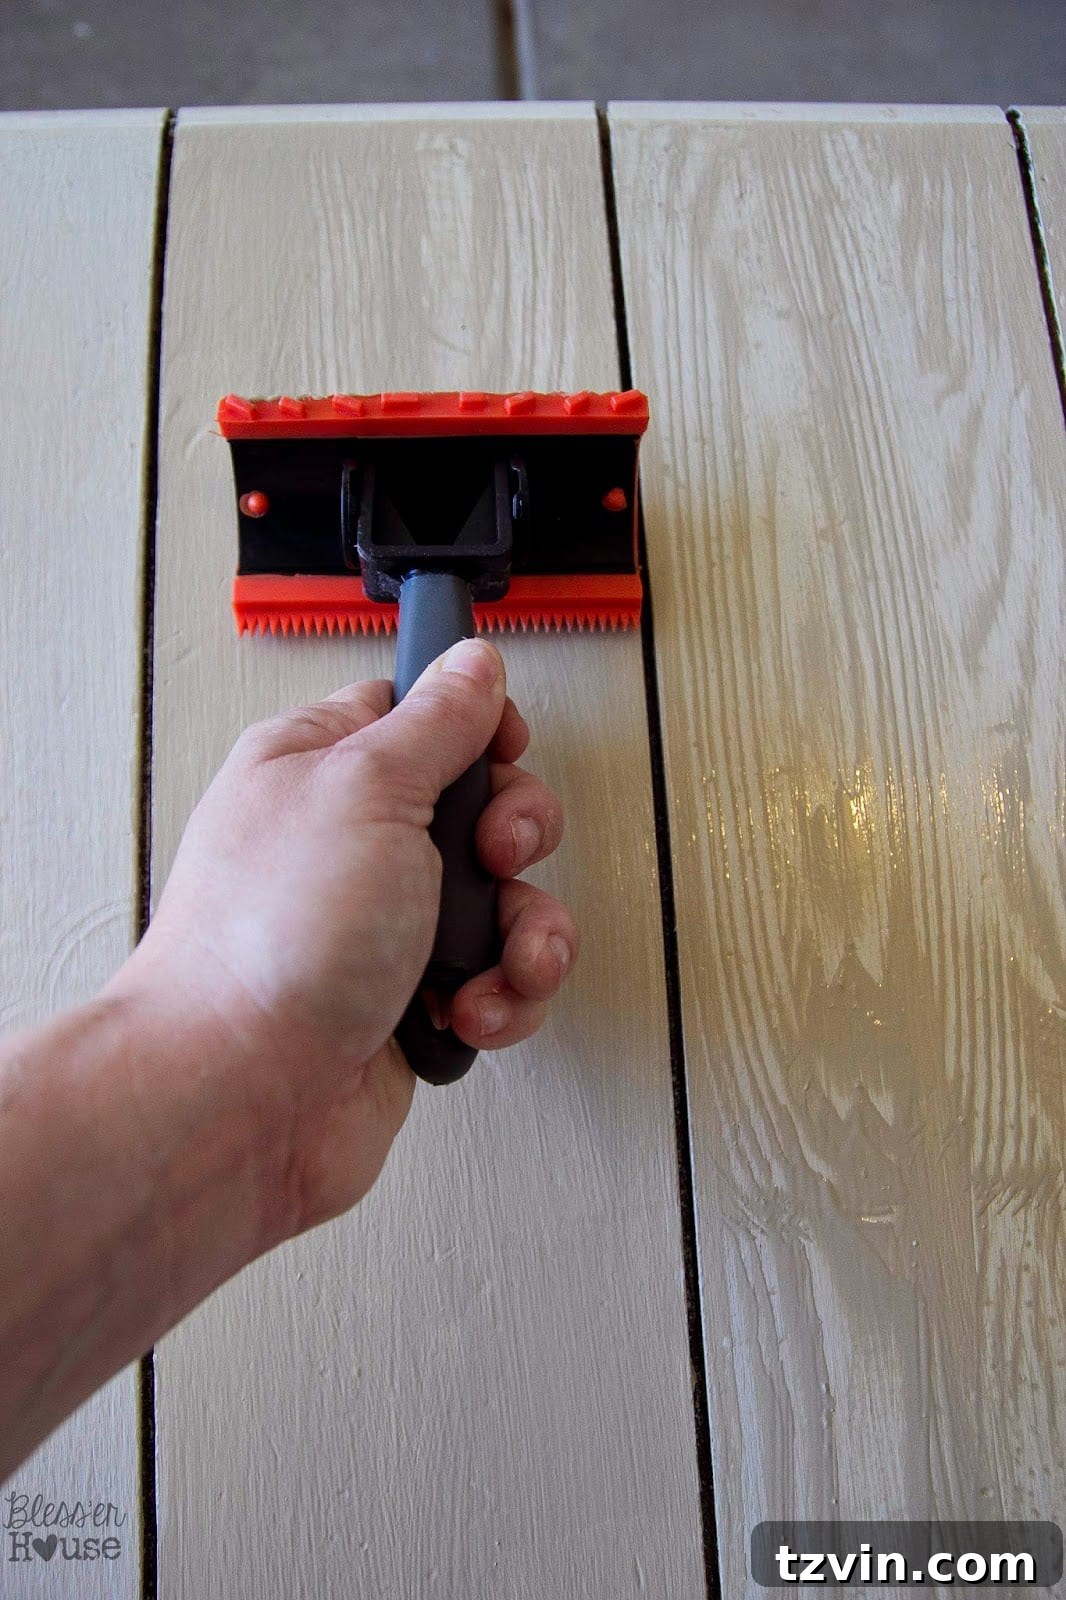
Don’t forget the sides of your table! Using a smaller wood graining tool, or even a fine-toothed comb, apply the same technique to the edges of the table to extend the faux wood look seamlessly. This attention to detail ensures a complete and believable transformation.
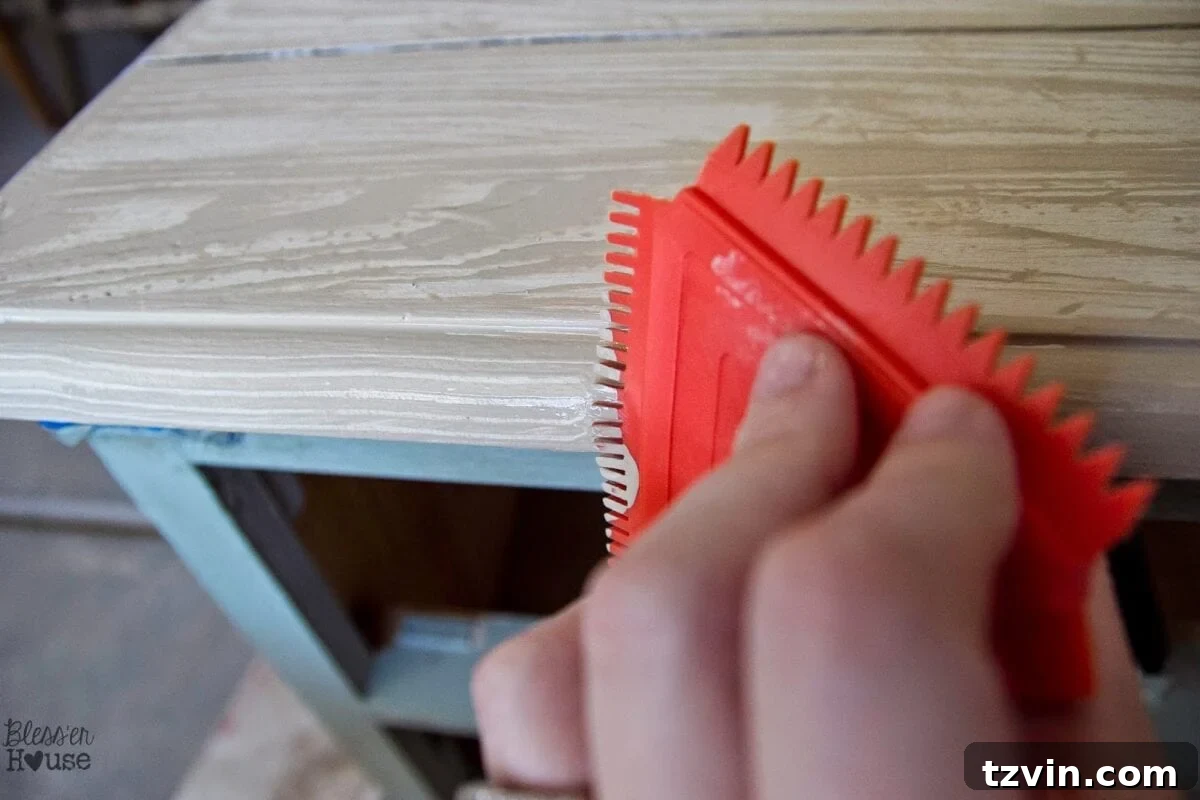
Step 6: Adding a Light Glaze and Finalizing with Gel Stain
Once the darker paint glaze and graining effect were thoroughly dry, I brushed on a very light, random glaze on top of the newly created grain. This step adds another subtle layer of depth and distress, mimicking the natural variations found in aged wood. It’s about building up transparent layers to create a rich, complex finish.
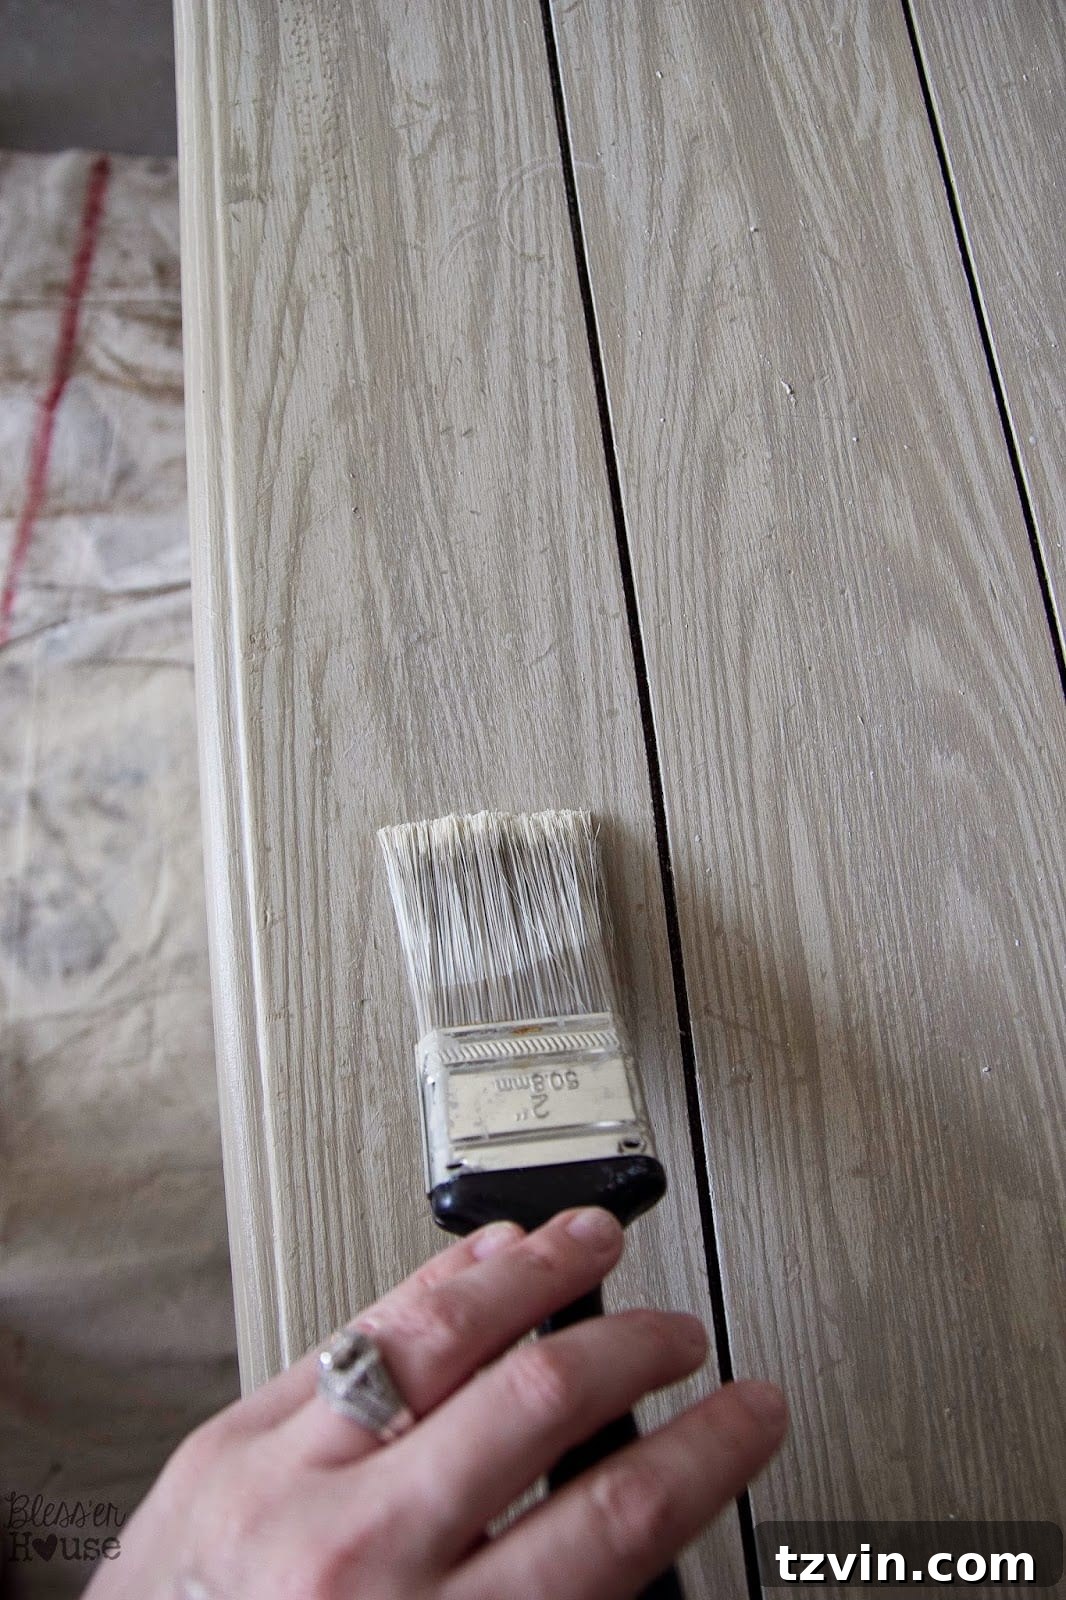
Here’s where I diverged slightly from some of the initial inspiration. Instead of using Minwax Finishing Cloths, I opted for General Finishes Gel Stain in Antique Walnut. This choice was deliberate, as I wanted to achieve a deeper, richer wood tone that would beautifully complement the existing layers. Gel stain has a wonderful, pudding-like consistency that makes it incredibly easy to work with; it doesn’t drip easily and provides excellent control.
I applied the gel stain one plank section at a time, wiping it on with a rag and then immediately wiping off the excess. This process allowed me to control the intensity of the stain, ensuring it settled into the grain and distressed areas, deepening the overall color without obscuring the intricate faux grain. The difference is subtle but significant, adding a warmth and richness that truly elevates the reclaimed wood look.
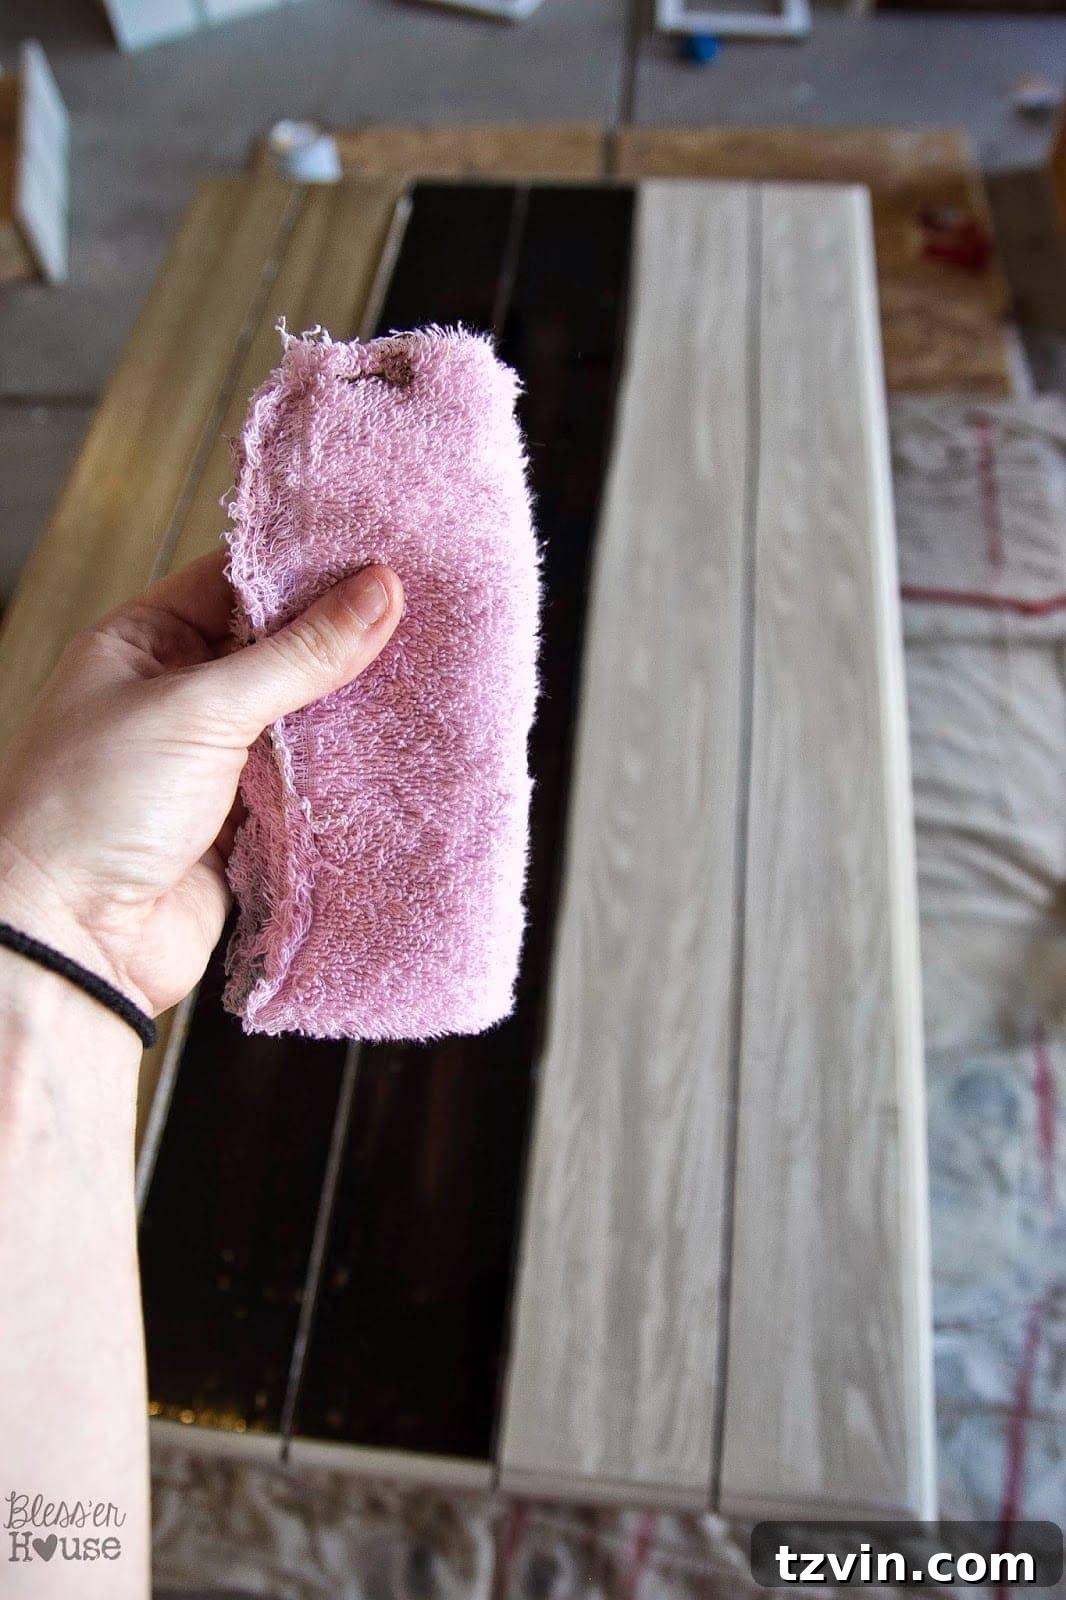
Just look at the contrast! The gel stain brings out the depth and complexity, making the faux finish incredibly convincing. Remember to extend this staining process to the sides of the table as well, ensuring a cohesive and finished look from every angle. You can even catch a sneaky peek of the trunk’s new color in the background – a hint of another exciting transformation to come!
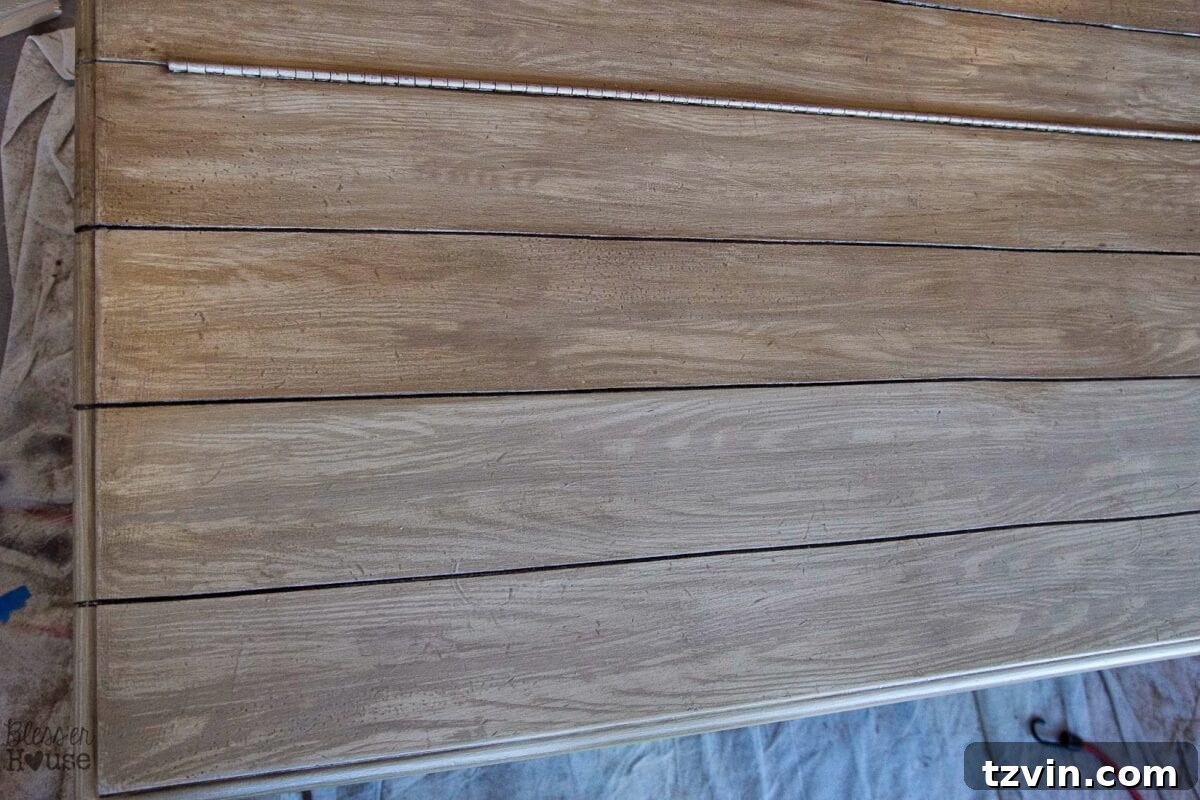
The Rewarding Result: A Beautifully Transformed Tabletop
There you have it – a beautifully crafted faux reclaimed wood table top! While I’ll admit it involved a fair number of steps and a bit of patience, the final result was undeniably worth every bit of effort. The transformation is dramatic and genuinely enhances the character of our living space.
I am absolutely thrilled to put this piece back in our living room, all beautified and ready to serve its dual purpose as a stylish centerpiece and a practical storage solution. The temporary chaos of toys scattered across our floor during this project was a small price to pay for such a stunning makeover. On the bright side, our toddler certainly enjoyed having the entire house temporarily converted into her sprawling playroom! But now, it’s time to restore order and enjoy the fruits of our labor.
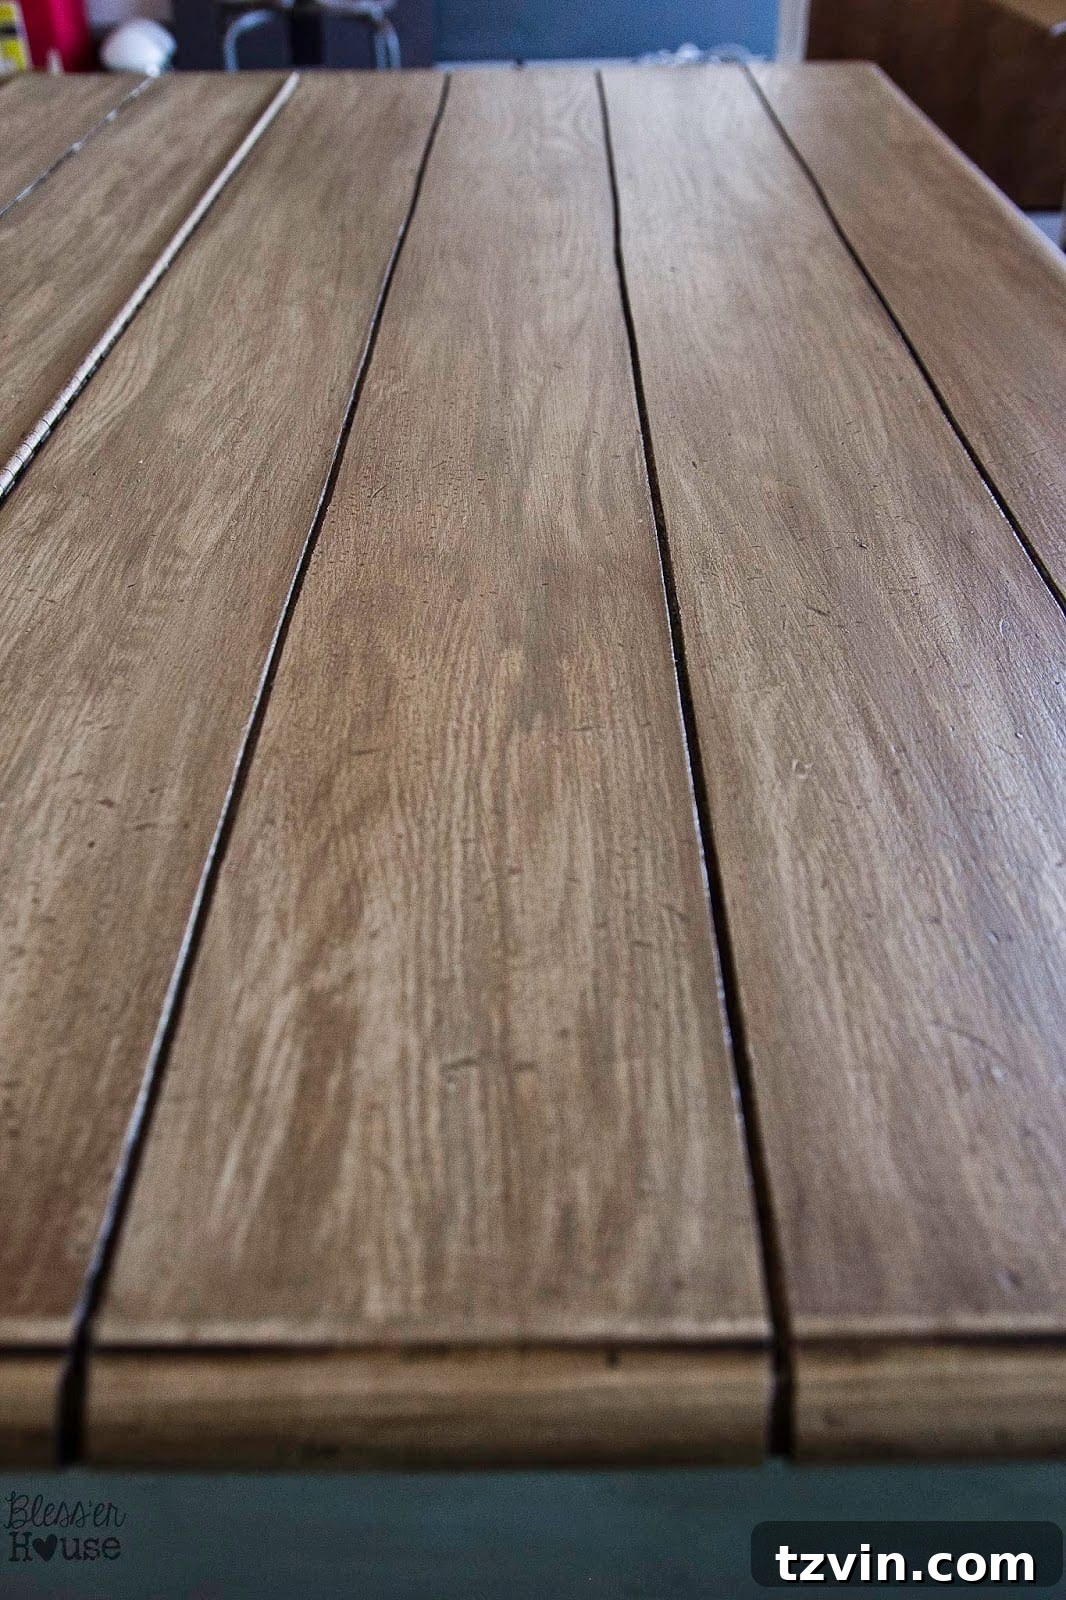
This project is a perfect example of how you can achieve high-end looks with resourceful DIY techniques, transforming functional pieces into decorative statements. It’s an ideal solution for those who love the rustic charm of reclaimed wood but need to work with existing furniture, adhere to a budget, or maintain specific functionalities. I encourage you to try this technique on your own furniture pieces. With a little patience and the right tools, you too can create a captivating faux reclaimed wood finish that will impress everyone.
Be sure to check back in soon! I can’t wait to get our house fully back in order so I can share more of the exciting home projects I’ve been working on.
Explore More Faux-tastic DIY Projects!
If you enjoyed this creative “faking it” approach to home decor, you might love these other DIY illusions:

Blessings,

Follow me on
Bloglovin
Or find me on
Facebook| Twitter| Pinterest| Google+