
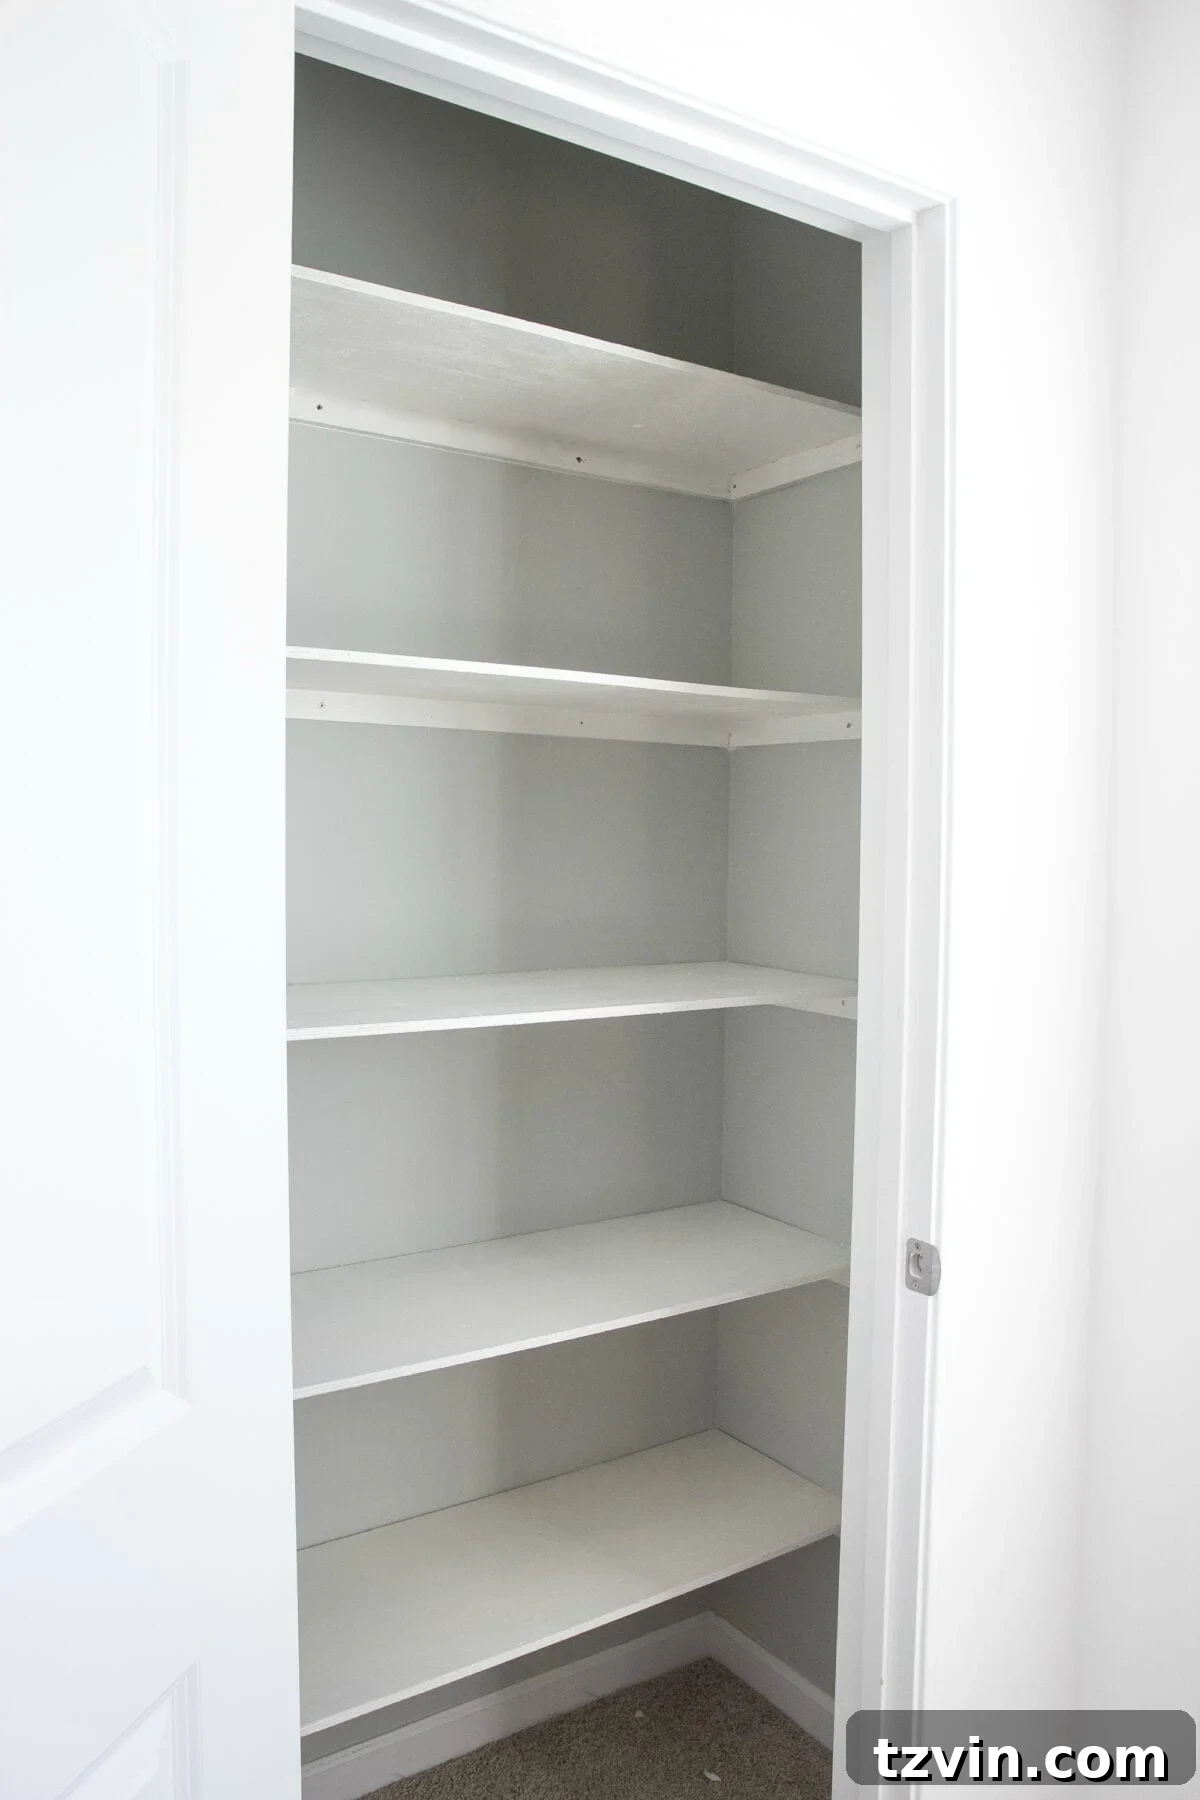
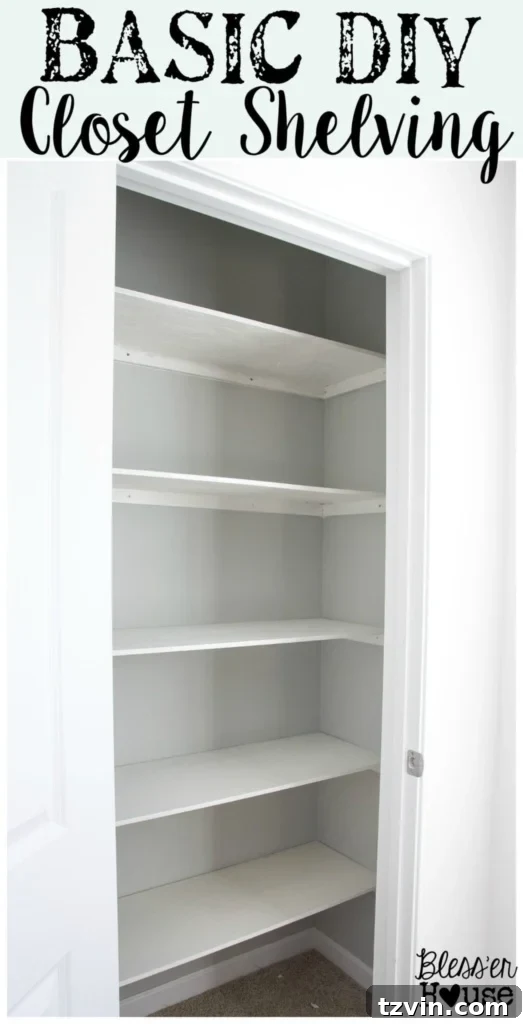
Transform Your Cluttered Closet: Easy DIY Shelves for Beginners – Under 2 Hours and $80!
Are you tired of staring at a cramped, chaotic closet that adds stress instead of serenity to your home? You’re not alone! Many homeowners grapple with inefficient storage, especially in utility spaces or guest rooms. If your closet is more of a catch-all than an organized oasis, it’s time for a change. And guess what? You don’t need expert carpentry skills or a massive budget to achieve it. This guide will walk you through building basic DIY closet shelves using beginner-friendly tools and techniques, all in less than two hours and for under $80.
The holidays might bring joy and cheer, but they also often bring an influx of new items, making existing storage challenges even more apparent. For us, the New Year’s resolution list always includes a major decluttering and organizing spree, and our closets were at the top of that list. Specifically, one notoriously dysfunctional closet in our upstairs playroom was crying out for a makeover. It was Exhibit A in the case of “closet potential unmet.”
Just look at it! A sea of random boxes and bags, overflowing with supplies. This kind of disarray doesn’t just look bad; it actively hinders productivity and creativity. It makes finding anything a chore and often leads to purchasing duplicates because you can’t locate what you already own. This particular space was meant to be a functional storage area, but it had become a symbol of neglected organization.
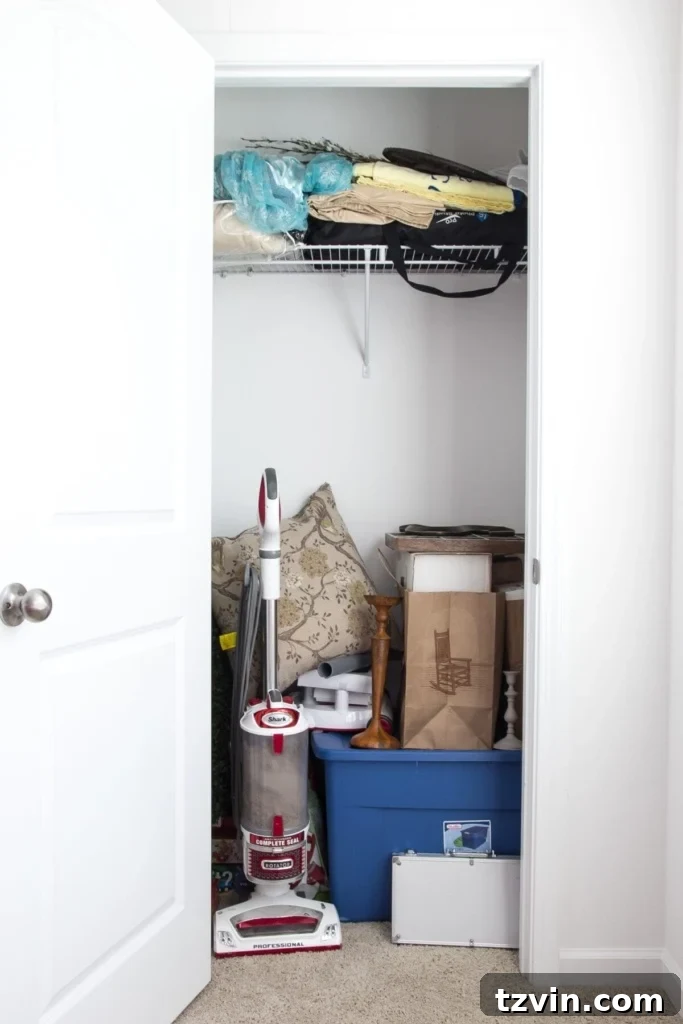
Blech! A sight that certainly doesn’t spark joy or inspiration. After years of promising myself I’d tackle the accumulating clutter, it was clear that the “getting settled in” excuse had long since expired. It was time for a full reset. When facing overwhelming disorganization, sometimes the best approach is to clear everything out and start fresh. A clean slate truly allows you to envision the potential of a space.
UPDATE: See the fully organized craft closet here.
My journey into crafting and DIY projects had, shall we say, taken on a life of its own. What started as a creative hobby quickly led to an accumulation of supplies that threatened to swallow our home office whole. To call it a “disaster” would be an understatement; it was pure chaos. If I wanted to create anything—which is practically every day—I first had to embark on an archaeological dig through random boxes, bags, and piles. Something had to give, and “Organize Craft Closet” became my top resolution for the year.
I knew this closet, conveniently located adjacent to our playroom, held the perfect potential to contain the crafting chaos. All it needed were some simple, robust DIY craft closet shelves to transform it into a highly functional storage hub. This project isn’t just about building shelves; it’s about reclaiming space, fostering creativity, and bringing order to an otherwise messy part of our lives.
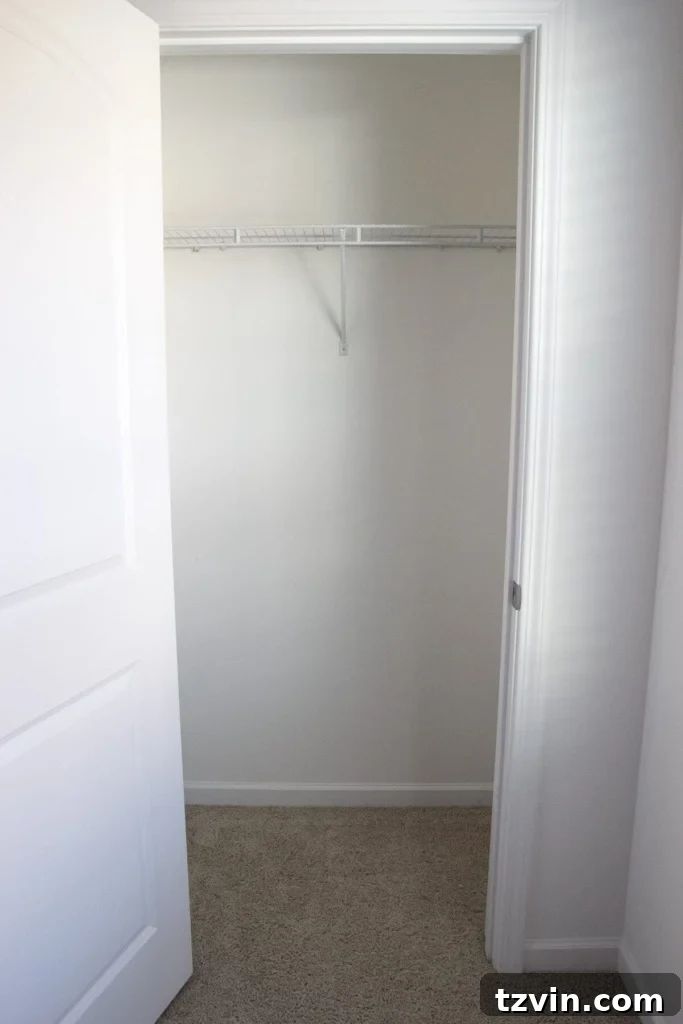
Essential Supplies for Your DIY Closet Shelves
This project is designed to be budget-friendly and accessible for beginners. The materials listed below are commonly available at most hardware stores. (Affiliate links are provided below for convenience. For more info, see my full disclosure here.)
- 5 – 1x2x8 furring strips: These will form the sturdy support structure for your shelves. Their smaller dimension makes them easy to work with.
- 1 – 3/4″ thick primed hardwood plywood board: We used a board cut into strips at 4’x14″. The “primed” aspect is key for saving time on painting. Remember, the exact size of your strips will depend on the unique width and depth of your closet. Always measure your space before purchasing!
- Drywall and stud anchors: Crucial for ensuring your shelves are securely mounted. We highly recommend these specific anchors for their reliability, especially when you can’t hit a stud.
- Power drill: An indispensable tool for any DIY project, making quick work of driving screws and pre-drilling holes.
- 2″ wood screws: For attaching the furring strips and securing the plywood shelves.
- Level: Absolutely essential for ensuring your shelves are perfectly straight and functional.
- Pencil: For precise marking of your measurements.
- Paint and paint brush: To give your new shelves a polished, finished look. Using leftover paint can help keep costs down!
Step-by-Step Guide to Building Your DIY Closet Shelves
This project is designed with beginners in mind, proving that custom closet organization doesn’t have to be complicated. Follow these straightforward steps to achieve a perfectly organized craft or utility closet.
1. Remove Existing Shelving (Goodbye Wire Shelves!): To start, the very first thing Robert and I did was remove the flimsy wire shelf that was already in the closet. Honestly, those things are the bane of organized living! They sag, items fall through, and they offer very little stability. Removing them creates a clean slate and allows you to build a much more robust and functional shelving system.
2. Measure and Mark Shelf Placement: With the closet cleared, we meticulously measured and marked where we wanted each shelf to go. This is a critical step for maximizing your storage. We decided on a 14-inch spacing between shelves, specifically chosen to perfectly accommodate the height of the storage boxes we planned to use for our craft supplies (more on these organizing essentials later this week!). When measuring, consider what you’ll be storing to determine optimal shelf heights. Use your tape measure and pencil to mark the desired height for the bottom of each shelf support on both side walls and the back wall.
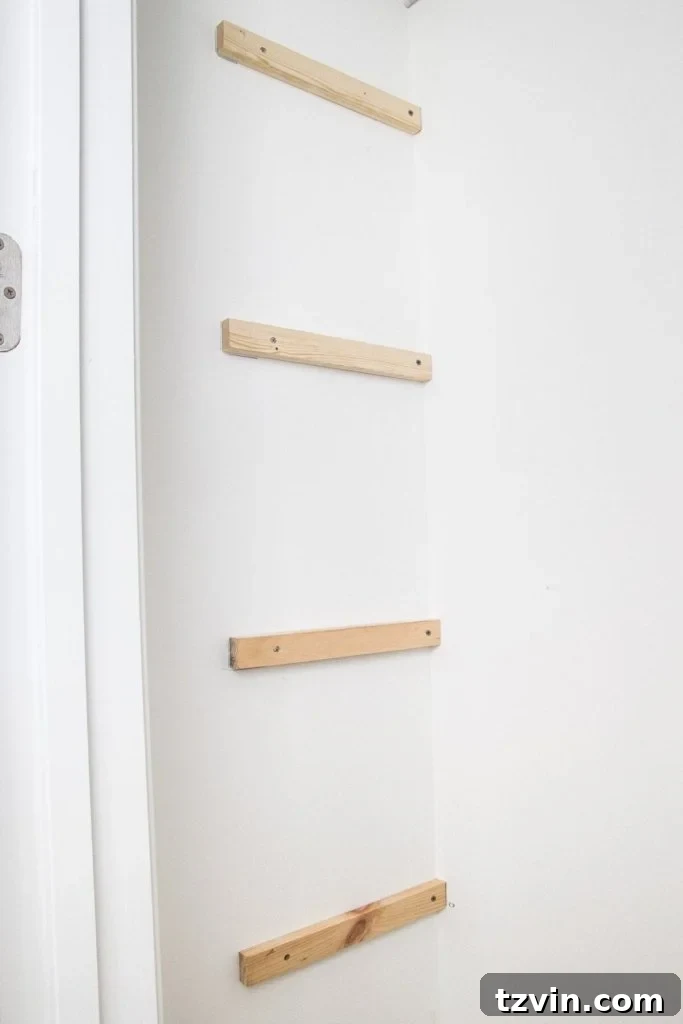
3. Install Side Supports: Next, we cut the 1×2 furring strips into 10 lengths, each measuring 14 inches. These pieces will serve as the side supports for our shelves. For each shelf, you’ll need two of these pieces, one for each side of the closet. We carefully placed each 1×2 strip on the side walls at our marked lines, ensuring it was perfectly level using our spirit level. Once aligned, we secured them into wall studs using 2-inch wood screws. Hitting a stud provides the strongest possible anchor for your shelves.
4. Secure with Drywall Anchors (When Studs Aren’t Available): Given that our shelves were 14 inches deep, we often could only hit one wall stud per side support. To ensure maximum stability for the other end of these supports, we pre-drilled pilot holes through the wood strips and into the drywall. Then, we used robust drywall anchors to securely fasten the unsupported ends. These “little guys” are incredibly effective for providing strength where studs aren’t present, preventing any wobbling or sagging.
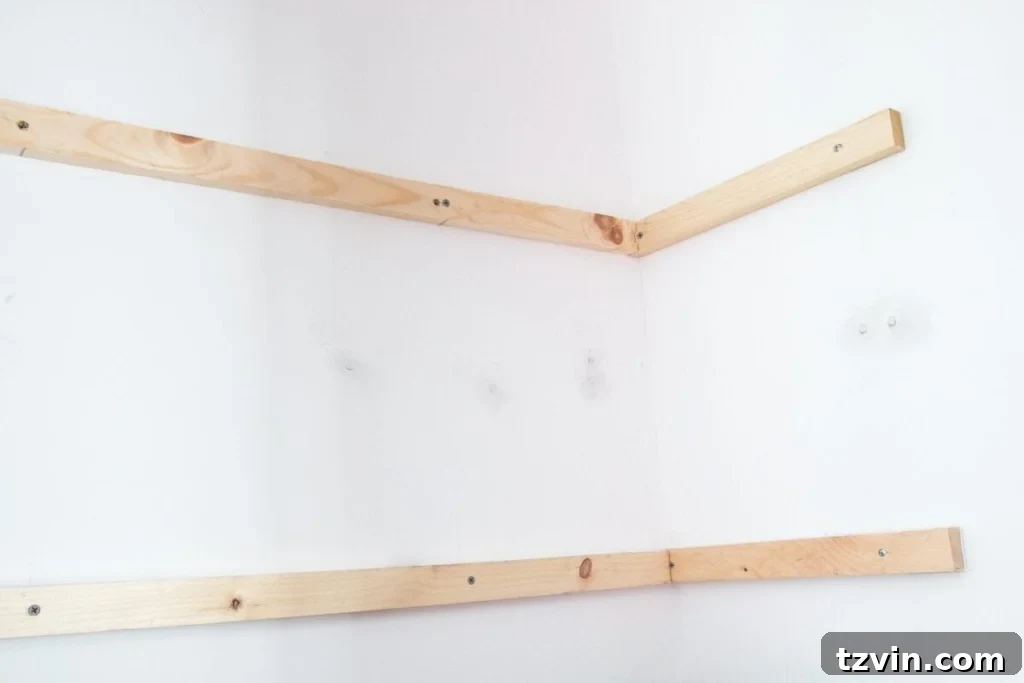
5. Add the Back Wall Supports: After the side support 1×2 strips were firmly in place, we measured the width of the back wall between the side supports for each shelf. We then cut additional 1×2 strips to these precise lengths. These back strips connect the two side supports, creating a continuous, stable ledge for the plywood shelf to rest upon. We anchored these back wall strips into studs with more wood screws, adding another layer of structural integrity.
6. Place and Secure the Plywood Shelves: With all the support strips installed, it was time for the actual shelves. We simply placed our pre-cut plywood strips directly on top of the 1×2 supports. For added security and to prevent any shifting, we screwed the plywood shelves down into the 1×2 supports from the top. And just like that, the basic structure of our new, sturdy shelves was complete! It’s a surprisingly straightforward process that yields incredibly robust results.
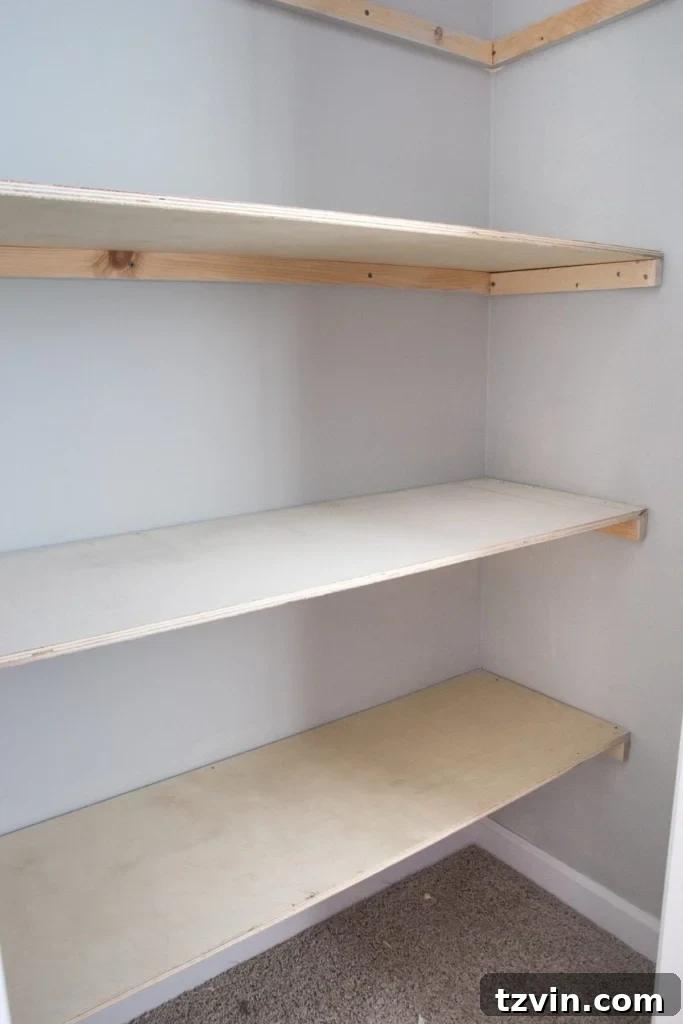
7. Paint the Closet Walls (A Lesson Learned): I painted the walls of the closet *after* we put up the shelves. While it’s certainly doable this way, hindsight is 20/20, and I can confidently say it would have been significantly easier to paint the walls *before* installing the shelves. This allows for cleaner lines and less awkward brush maneuvering. I simply used some leftover Benjamin Moore Gray Owl paint from Olivia’s bedroom makeover, which helped keep the project budget-friendly.
8. Paint the Shelves for a Finished Look: After the walls dried, I moved on to painting the shelves themselves. We used leftover Sherwin Williams Pure White. A crucial tip: raw plywood can absorb an incredible amount of paint. By using pre-primed hardwood plywood, we saved a significant amount of time and paint, as it required far fewer coats to achieve a smooth, even finish. This step truly elevates the look of your DIY shelves from utilitarian to polished.
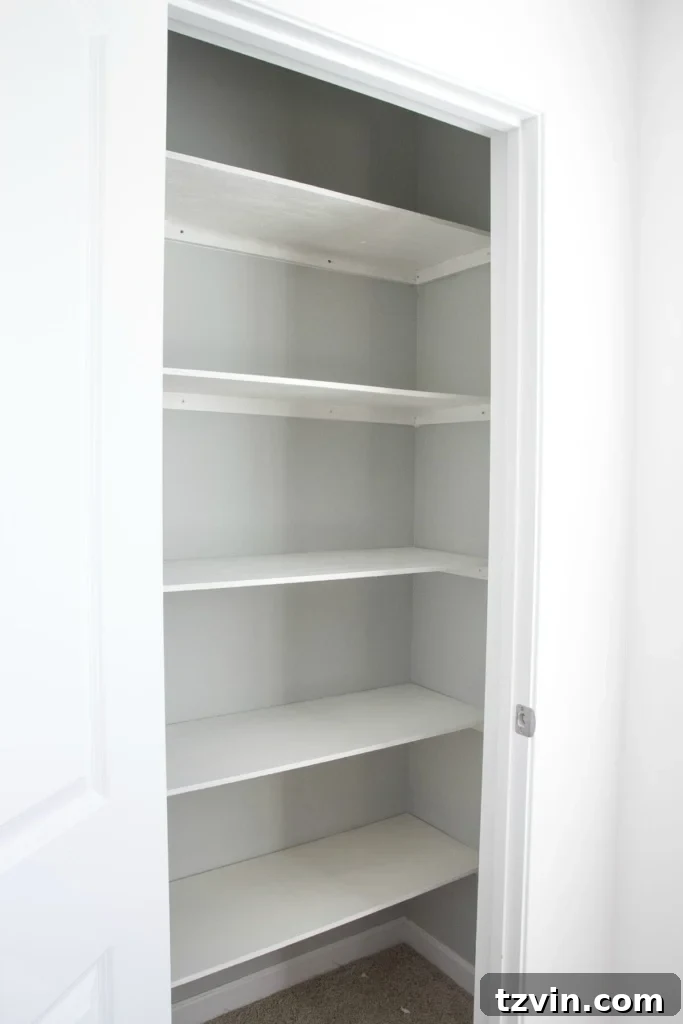
9. (Optional) Caulk for a Seamless Finish: For those who desire a more professional, built-in look, you could certainly caulk the seams and gaps on the underside and along the edges of the shelves. This step fills in any imperfections and creates a truly seamless appearance. However, since these shelves are primarily for utility purposes in a craft closet, I opted to skip this step. The main goal was functionality and organization, so I didn’t fuss too much about minor aesthetic details. It’s totally up to you if you’re a caulk and wood filler kind of DIYer, even for your closets!
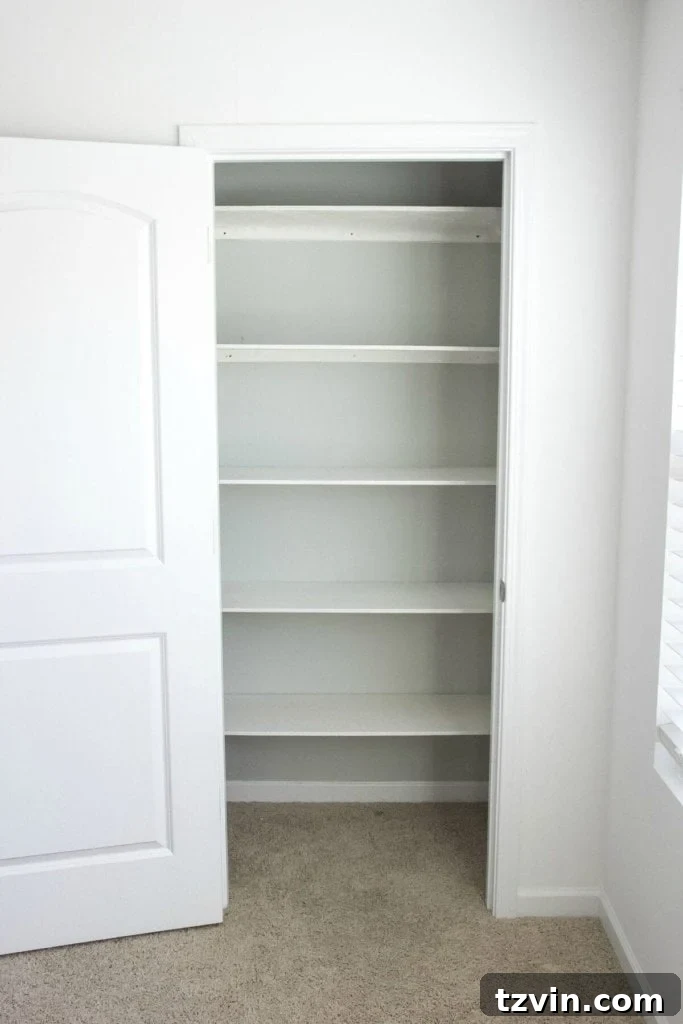
I’m absolutely thrilled to finally have a bit of order in this once chaotic space! While getting creative often means getting a little messy, having dedicated, organized storage means the mess is temporary and easily contained. The full reveal of our organized craft closet, complete with storage solutions, will be coming your way later this week!
This entire DIY project truly was quick, efficient, and incredibly inexpensive, coming in right around $80 for all the wood, hardware, and paint. We managed to keep costs low by utilizing leftover paint (only needing about a quart’s worth for each color) and opting for readily available, affordable materials like furring strips and primed plywood. The satisfaction of a tidy, orderly space is an amazing breath of fresh air, making me wonder why I don’t prioritize organizing more often.
Of course, there might be that energetic kiddo running around, eager to “help” undo all my hard work, but the foundation of solid, custom shelving makes a world of difference. Now, with this success under our belt, it’s time to tackle two more closets! This project represents a huge, impactful start. Have you been feeling the organizing itch lately to kick off the New Year? What chaotic areas of your house have you tackled, or plan to tackle? And do you also have a little one who enjoys making cleanup a continuous adventure? As many parents know, cleaning your house with kids around can sometimes feel like trying to brush your teeth while eating Oreos – a never-ending, sweet, and slightly messy endeavor!

Related Posts You Might Enjoy
- How to Convert Closets to Built-In Shelves for a Custom Look
- Office Update: How to Build a Closet from Scratch
- Our Small Master IKEA Closet Reveal! Smart Storage Solutions
- DIY IKEA Closets in Our Master Using Billy Bookcases for Affordable Organization