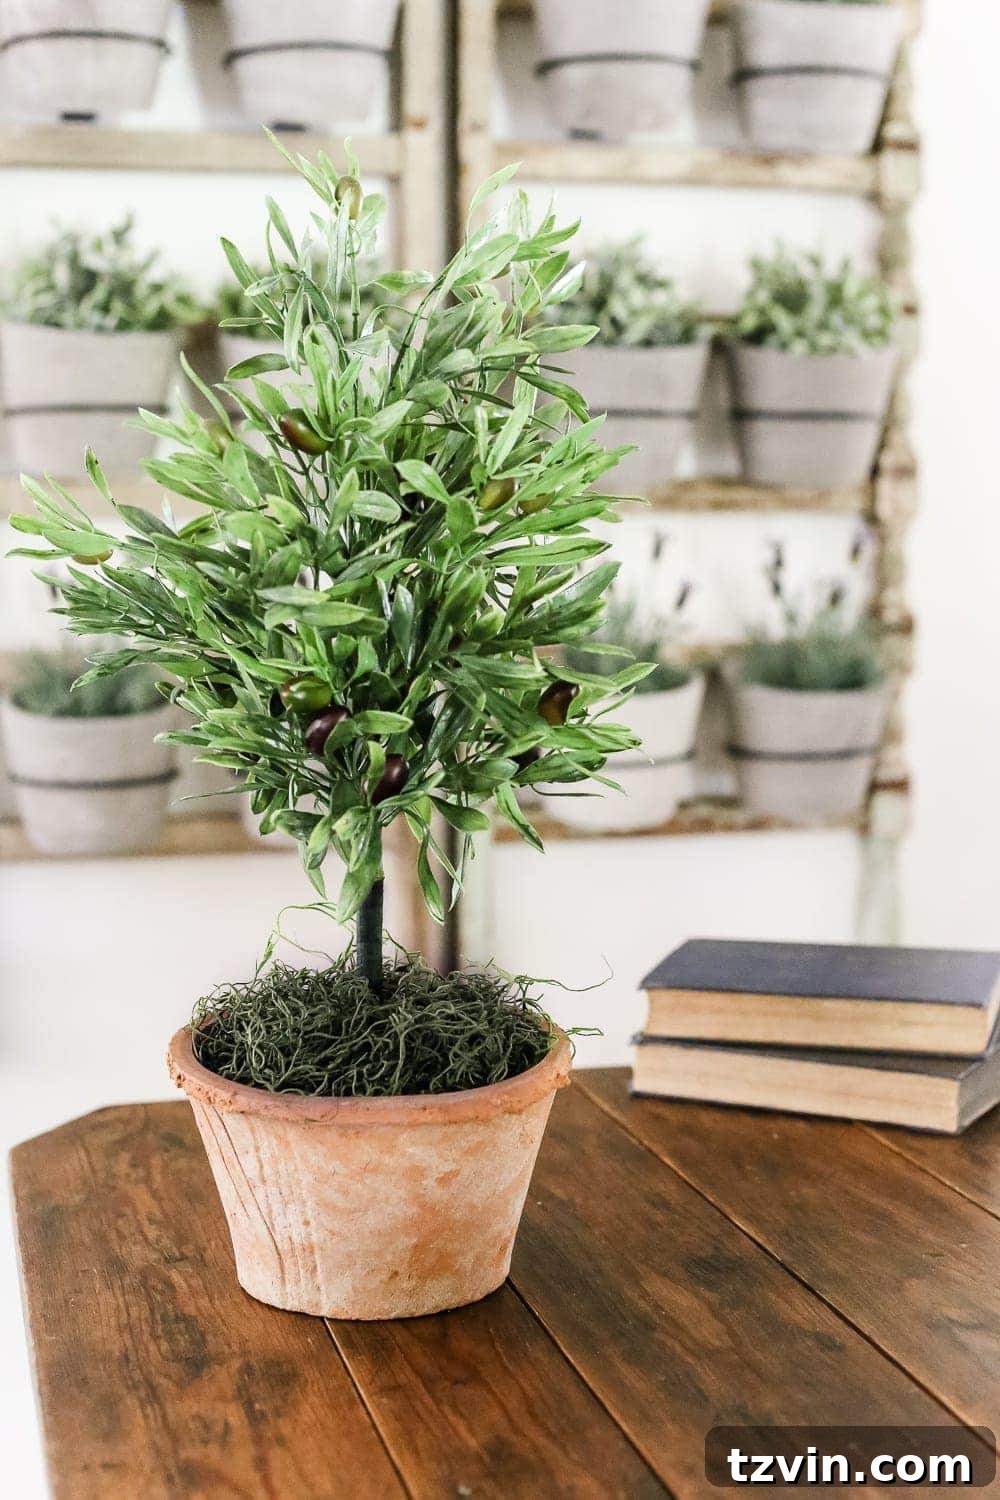
Welcome to a summer where the serene beauty of the olive topiary tree takes center stage in home decor. Moving beyond the popular fiddle leaf figs and the rustic charm of magnolia wreaths, olive branches are emerging as the freshest trend in botanical styling, offering a timeless elegance that resonates deeply within any home. I’ve affectionately dubbed this “the summer of the olive topiary,” and for good reason. They possess a delicate grace, often seen as the more refined, understated cousin to the sturdy boxwood, bringing a fresh perspective to indoor greenery.
In a world often filled with the hustle and bustle of daily life, and especially after numerous home improvement projects, I find myself craving tranquility and a sense of calm within our living space. Olive branches, historically symbolic of peace and harmony, beautifully embody this desire. Their subtle green hues and slender forms introduce a sophisticated yet natural element, providing a much-needed breath of fresh air and a touch of Mediterranean serenity that transforms any room into a more peaceful sanctuary. It’s this quiet elegance and profound symbolism that makes them my absolute favorite among the recent decor trends.
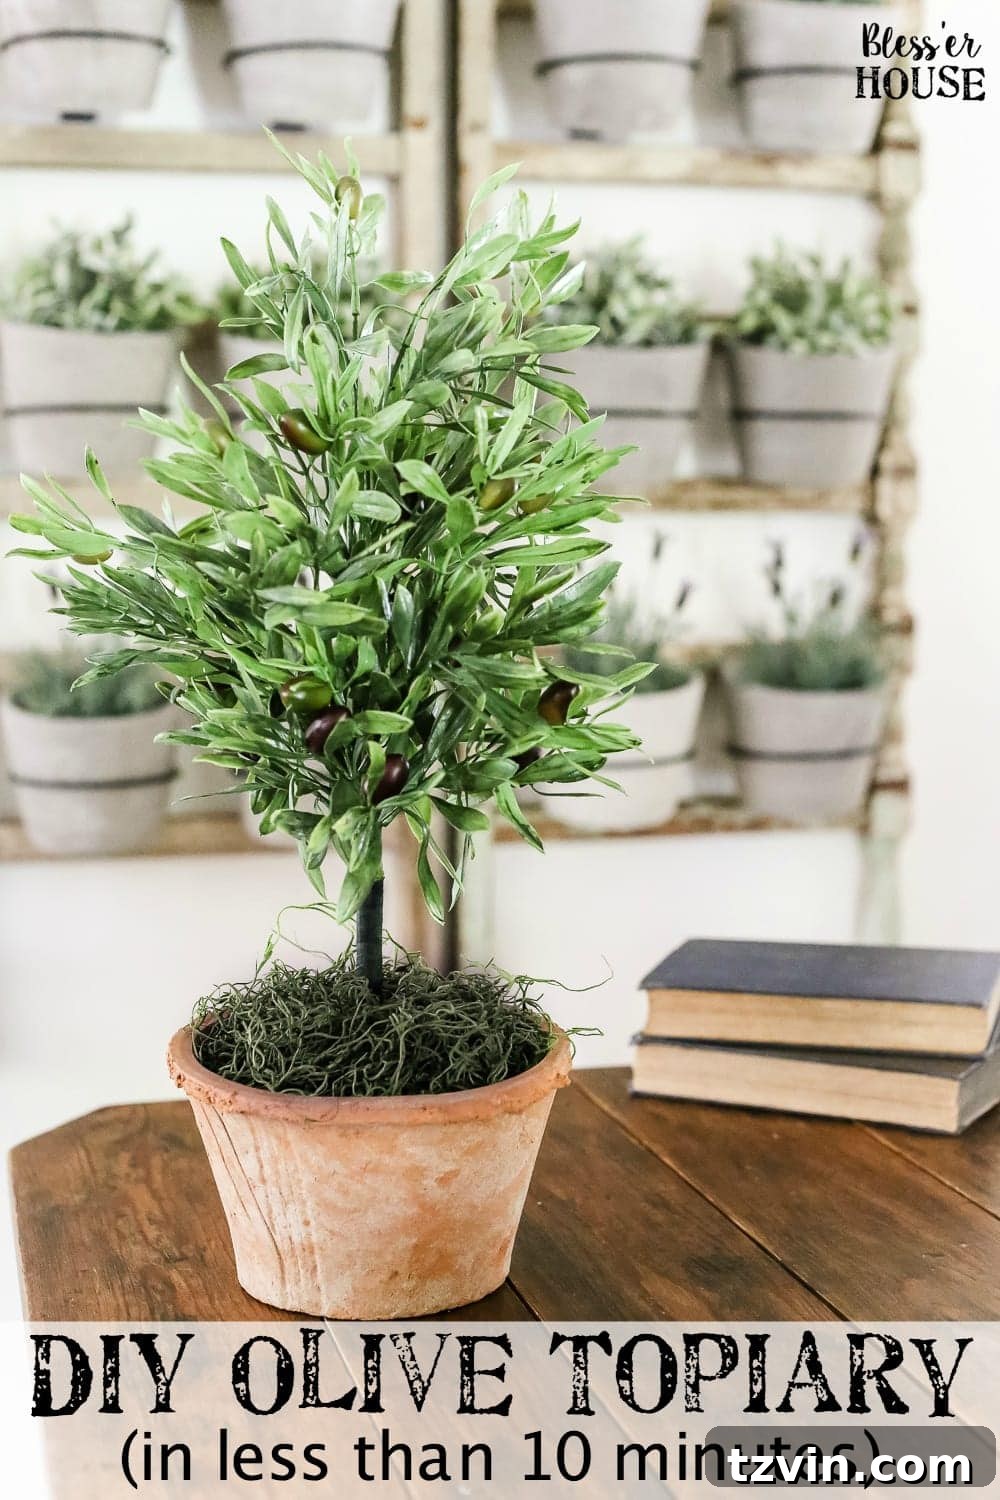
Today, I’m thrilled to be part of an exciting “DIY Summer Decor Hop,” where I’ve joined forces with the incredibly talented Taryn from Design, Dining, and Diapers, along with eleven other phenomenal bloggers. This collaborative event is a fantastic opportunity to share fresh, inspiring ideas for sprucing up your home for the warmer months. If you’re arriving here from Lucy’s enchanting blog, Craftberry Bush, a warm welcome awaits you! For those who haven’t yet explored her extraordinary work, I highly recommend a visit. Lucy’s creations are consistently breathtaking, and her contributions to this hop are undoubtedly as inspiring and beautiful as everything else she shares. Prepare to be amazed by her unparalleled artistry and keen eye for design – she truly never disappoints.
This creative hop presented the perfect moment to embark on my own do-it-yourself project: an affordable, designer-inspired version of the popular olive topiary. My goal was to prove that you don’t need to break the bank to achieve high-end looks. With a few simple supplies, all readily available at your local Walmart, I crafted a stunning faux olive topiary that exudes elegance without the hefty price tag. This project not only brings a touch of sophisticated greenery into your home but also offers the immense satisfaction of creating something beautiful with your own hands, proving that stylish decor can indeed be budget-friendly and accessible to everyone. The beauty of a DIY project like this lies in its simplicity, making it an ideal weekend activity for anyone looking to add a personalized touch to their space.
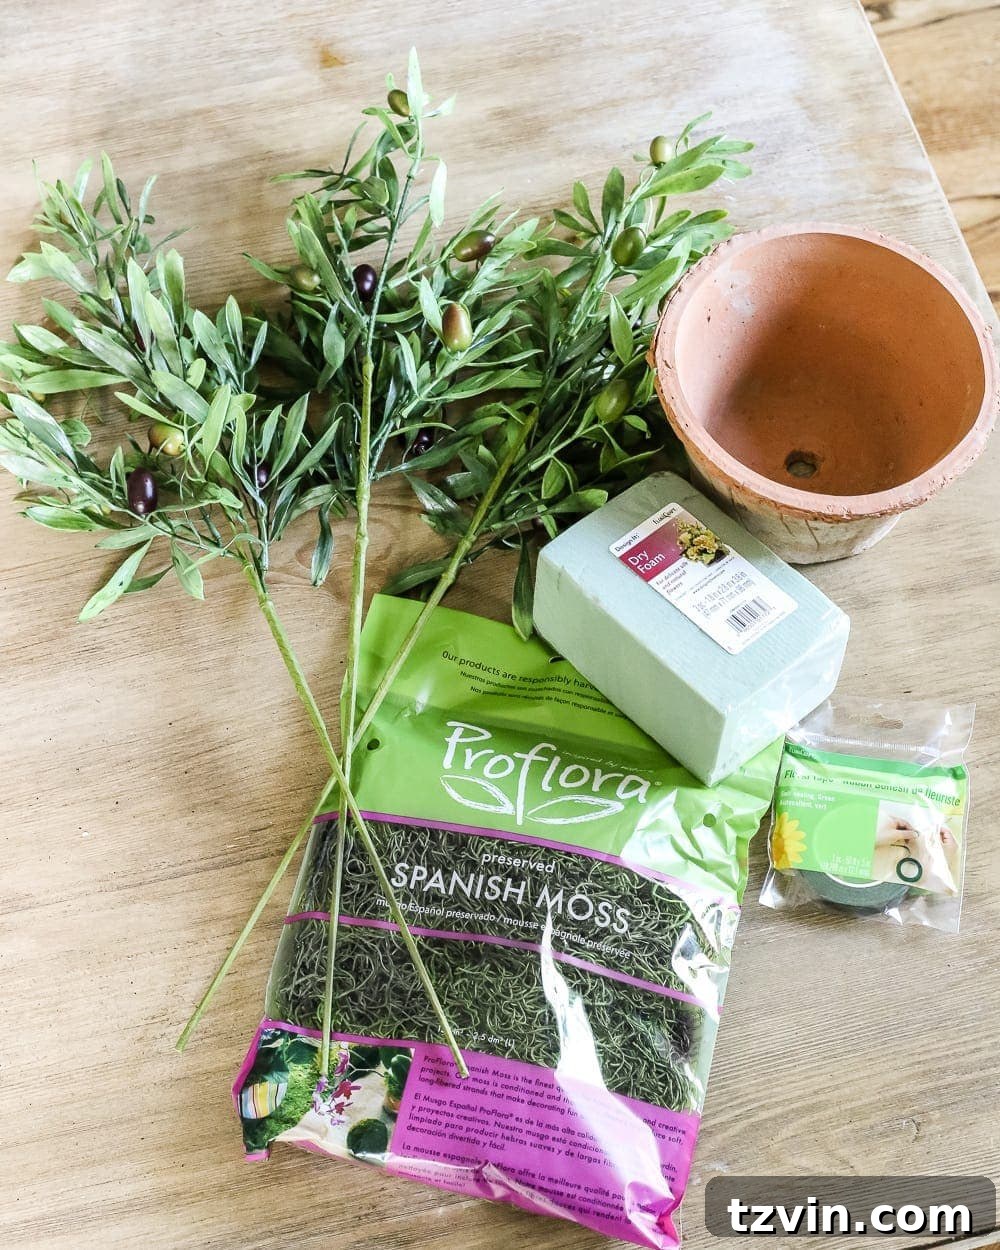
One of the most remarkable aspects of this project is the incredible realism of today’s artificial olive branches. Seriously, just look at them! The quality of faux botanicals has come a long way, making it nearly impossible to distinguish them from their living counterparts without a very close inspection. This realistic appearance is key to achieving that high-end, designer look without the need for constant care and maintenance. Choosing high-quality artificial branches ensures your topiary will retain its vibrant color and perfect shape season after season, offering enduring beauty without the typical demands of live plants. It’s a game-changer for anyone wanting lush greenery indoors, irrespective of their green thumb status or the natural light conditions in their home.
Supplies You’ll Need for Your DIY Olive Topiary: (Some affiliate links are provided below for your convenience, helping you find the exact items I used.)
To recreate this charming olive topiary, you’ll need a few essential items. Each component plays a crucial role in bringing your vision to life, combining both aesthetic appeal and structural integrity. Selecting the right materials ensures not only a beautiful outcome but also a durable decoration that will last for years to come.
- 3 Artificial Olive Branches: I managed to snag mine during a fantastic sale, making each branch an incredible value. While the exact ones might be temporarily out of stock, many craft stores and online retailers offer similar high-quality faux olive branches. The number of branches can be adjusted based on your desired fullness; two might suffice for a slender, more delicate topiary, while three or four will create a lush, robust look. If olive isn’t quite your style, don’t fret! You can easily adapt this project using other beautiful artificial options such as lemon branches for a touch of vibrant citrus, cyprus branches for a more structured, evergreen feel, or classic boxwood branches for traditional charm. The key is to find branches with a stem long enough to anchor securely into the floral foam.
- Planter Pot: The pot you choose is just as important as the branches themselves, as it sets the tone for your topiary’s style. I opted for an antique-style terracotta pot, which provides a lovely rustic and classic foundation, complementing the natural look of the olive branches. Consider the size and shape of your pot; a taller, narrower pot will create a more elegant silhouette, while a wider, shallower one might suit a bushier topiary. Ceramic, concrete, or even galvanized metal pots can offer different aesthetic vibes, from modern minimalist to industrial chic.
- Wire Cutters: These are indispensable for trimming the artificial branch stems to your desired length. Regular scissors often won’t cut through the sturdy wire cores of faux branches, so a good pair of wire cutters is essential for clean, precise cuts.
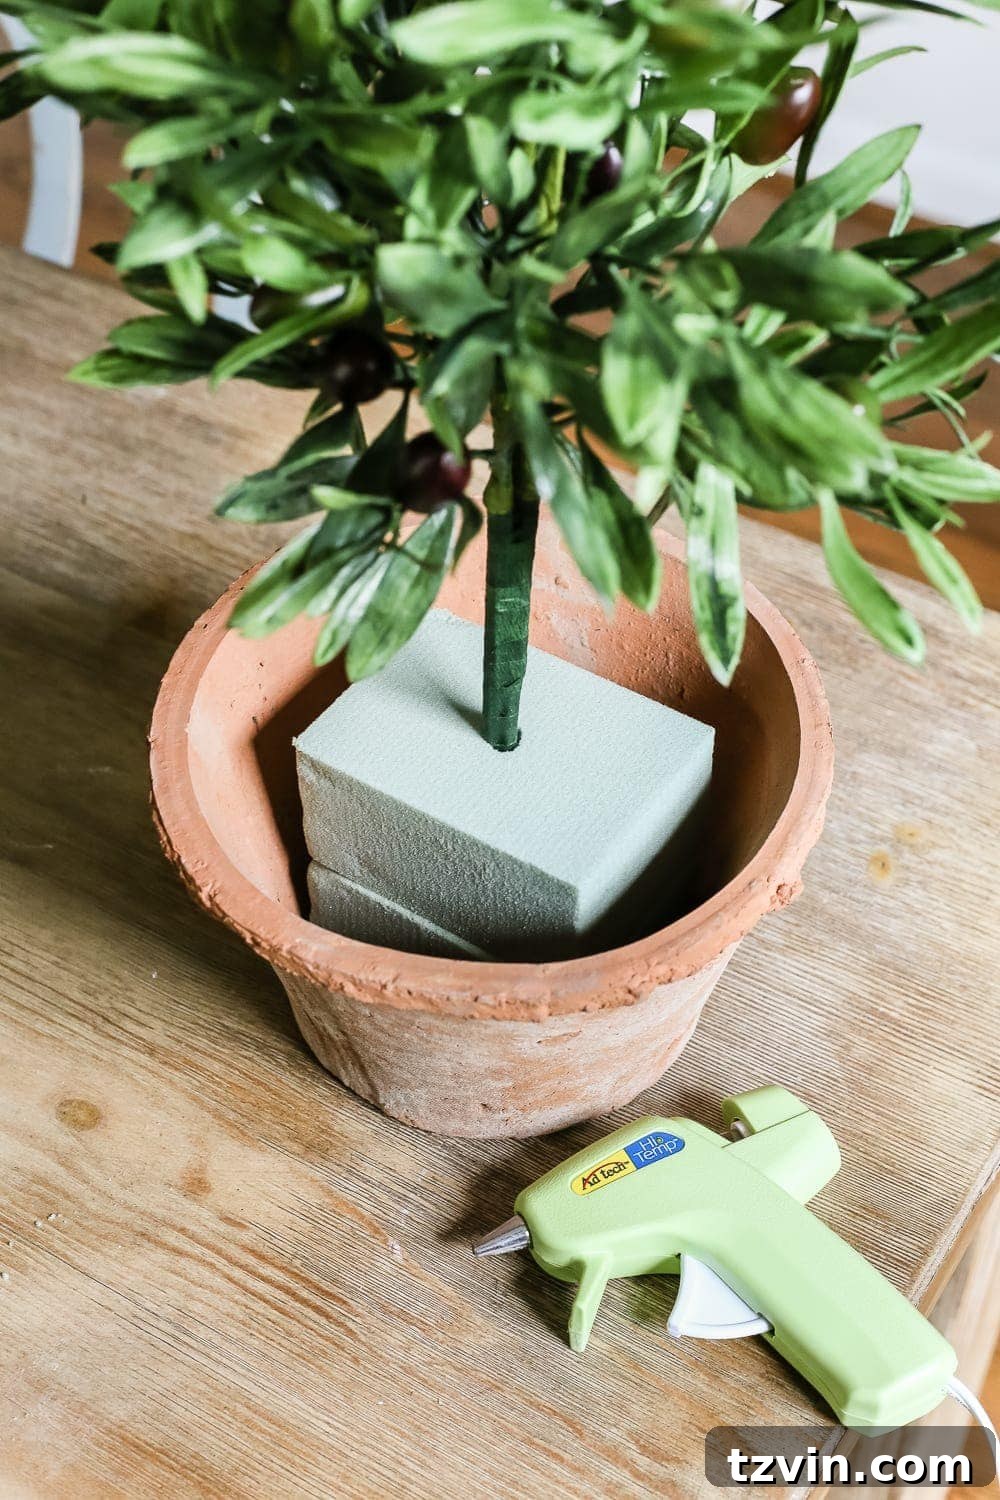
- Hot Glue Gun and Glue Sticks: A hot glue gun is your best friend for securing the floral foam within the pot and for neatly attaching the Spanish moss. Its quick-drying nature makes the assembly process efficient and straightforward.
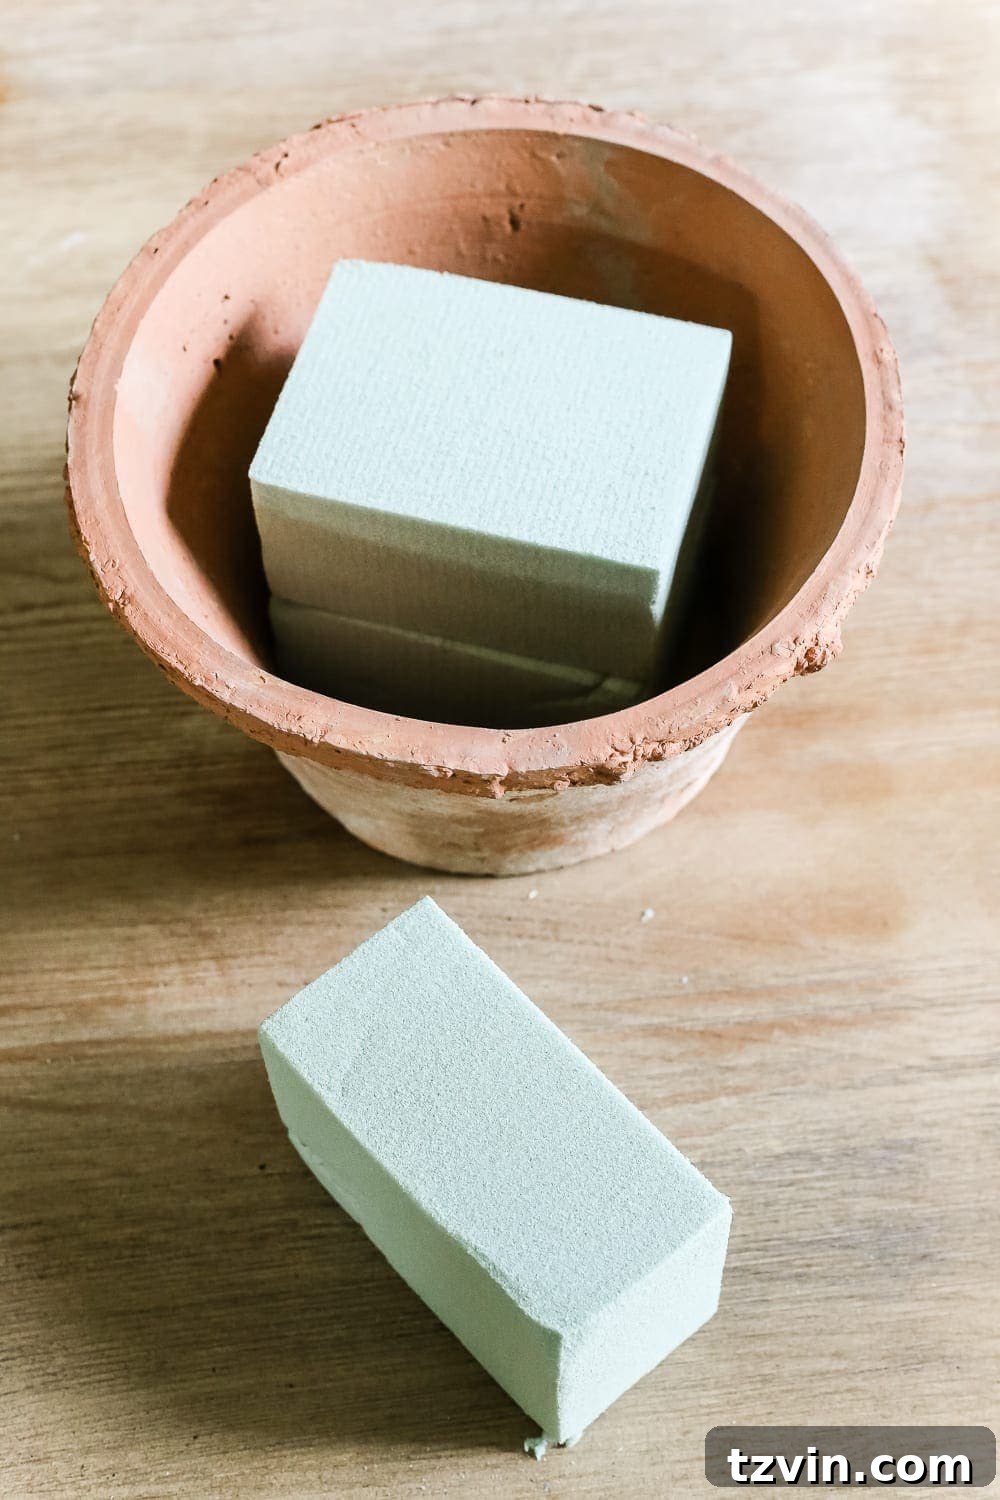
- Dry Floral Foam Blocks: These foam blocks serve as the sturdy foundation for your topiary, securely holding the artificial stems in place. Dry floral foam is specifically designed for artificial arrangements, offering the necessary density and grip without crumbling. You’ll likely need one or two blocks, depending on the depth and width of your planter.
- Spanish Moss: This natural-looking moss is perfect for covering the floral foam and creating a polished, finished look at the base of your topiary. It adds an authentic touch, enhancing the organic feel of the arrangement. Alternative coverings include decorative pebbles, river rocks, or even small bark chips for a different textural element.
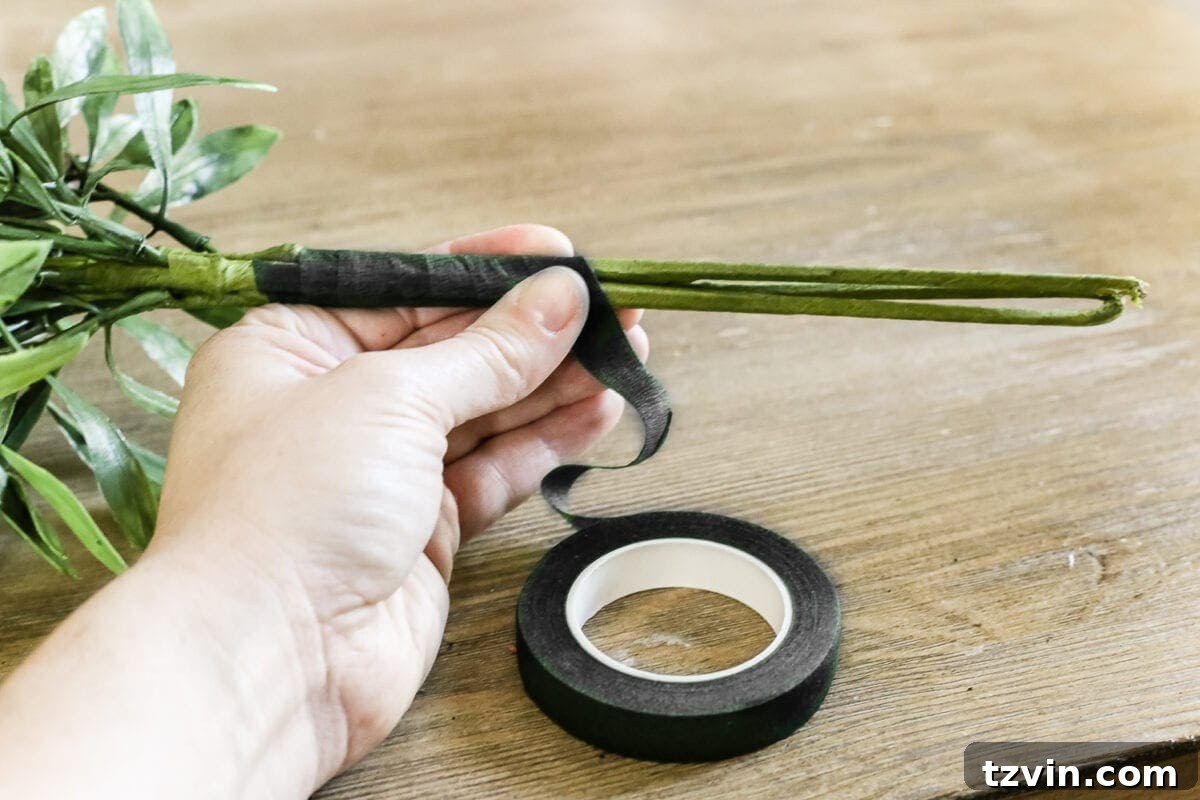
- Floral Tape: Essential for bundling your artificial branches together. Floral tape is slightly adhesive and stretches, allowing you to create a tight, secure bind that keeps all the stems aligned and stable before inserting them into the foam.
Now that we have all our supplies, let’s dive into the simple steps to create your own beautiful olive topiary!
**Step-by-Step Guide to Crafting Your Olive Topiary:**
Step 1: Prepare Your Branches. Begin by deciding on the desired height of your topiary. If you prefer a shorter, more compact topiary, use your wire cutters to snip the branch stems to the appropriate length. Remember, you can always cut more off, but you can’t add it back, so measure twice and cut once. Consider where your topiary will be placed; a taller topiary might suit a floor space or a large entryway, while a shorter one is perfect for a tabletop or shelf. This initial step allows for complete customization to fit your specific decor needs and aesthetic preferences. Be sure to make clean cuts to avoid fraying.
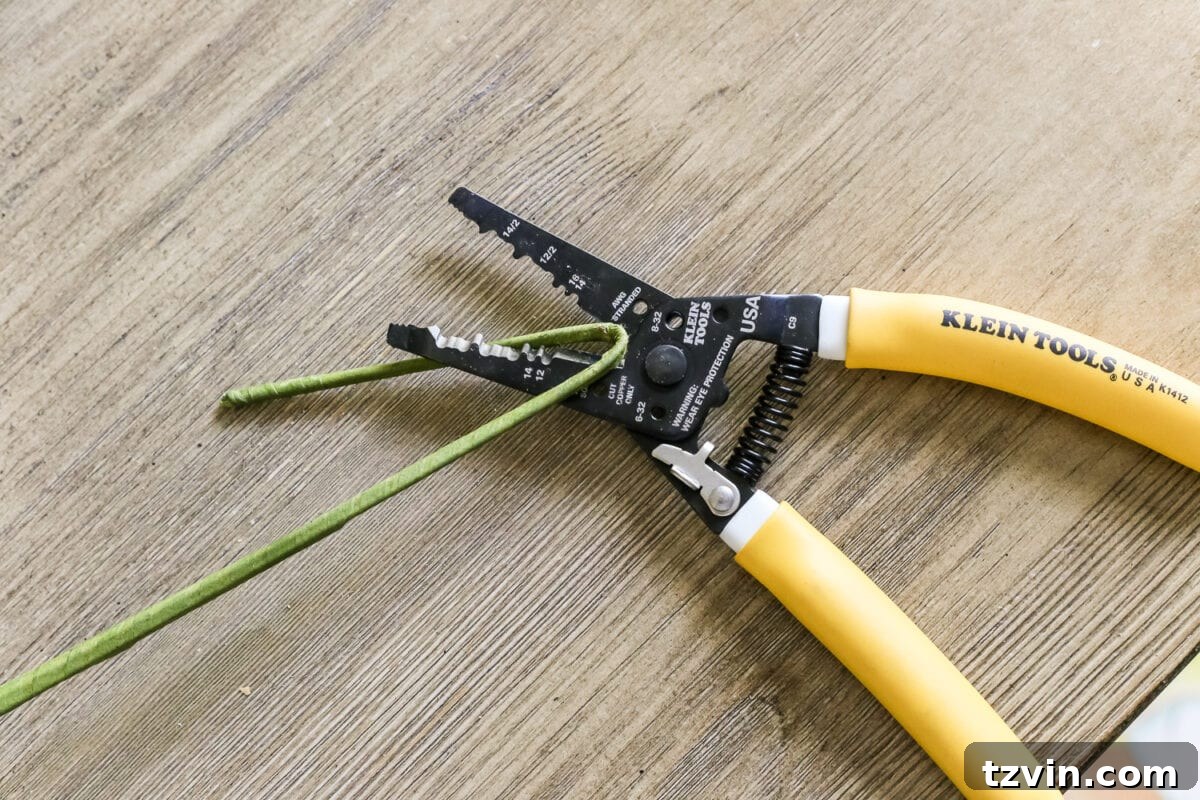
Step 2: Bundle the Stems. Once your branches are trimmed to size, gather all the stems together, aligning them neatly. Then, use floral tape to bundle them tightly. Start wrapping the tape from just below where the foliage begins and continue down the entire length of the stems, creating a single, sturdy trunk. This ensures your topiary has a strong, unified base that will stand securely in the floral foam. As a personal reflection, I realized after completing my topiary that I could have achieved a lovely, slightly less dense look with just two olive branches. The choice between two or three (or more!) branches is entirely yours, depending on how full and lush you want your topiary to appear. Experiment with different branch counts to find your ideal aesthetic. The key is to ensure the bundle is tight enough to be stable.
Step 3: Secure the Floral Foam. Take your planter pot and apply a generous amount of hot glue to the bottom. This will help secure the floral foam in place and prevent it from shifting. Then, carefully stack one or two dry floral foam blocks into the center of the pot. Ensure the foam fits snugly, trimming it with a knife if necessary to get a perfect fit. The goal is to create a stable base for your topiary that won’t wobble. If your pot is deep, you might need two blocks stacked; for shallower pots, one might suffice. The hot glue provides that extra layer of security, making your topiary robust and ready for display.
Step 4: Insert the Olive Stems. With your floral foam firmly in place, it’s time to add your bundled olive stems. Carefully push the taped bundle through the center of the stacked foam blocks, applying gentle pressure until it feels securely anchored. Ensure the topiary is straight and centered within the pot. This step is where your topiary truly begins to take shape, so take your time to adjust it until you’re happy with its positioning. The rigidity of the dry floral foam will hold the stems firmly, creating a stable and upright structure for your faux tree. A slight twist as you push can help ease the stems into the foam without damaging either component.
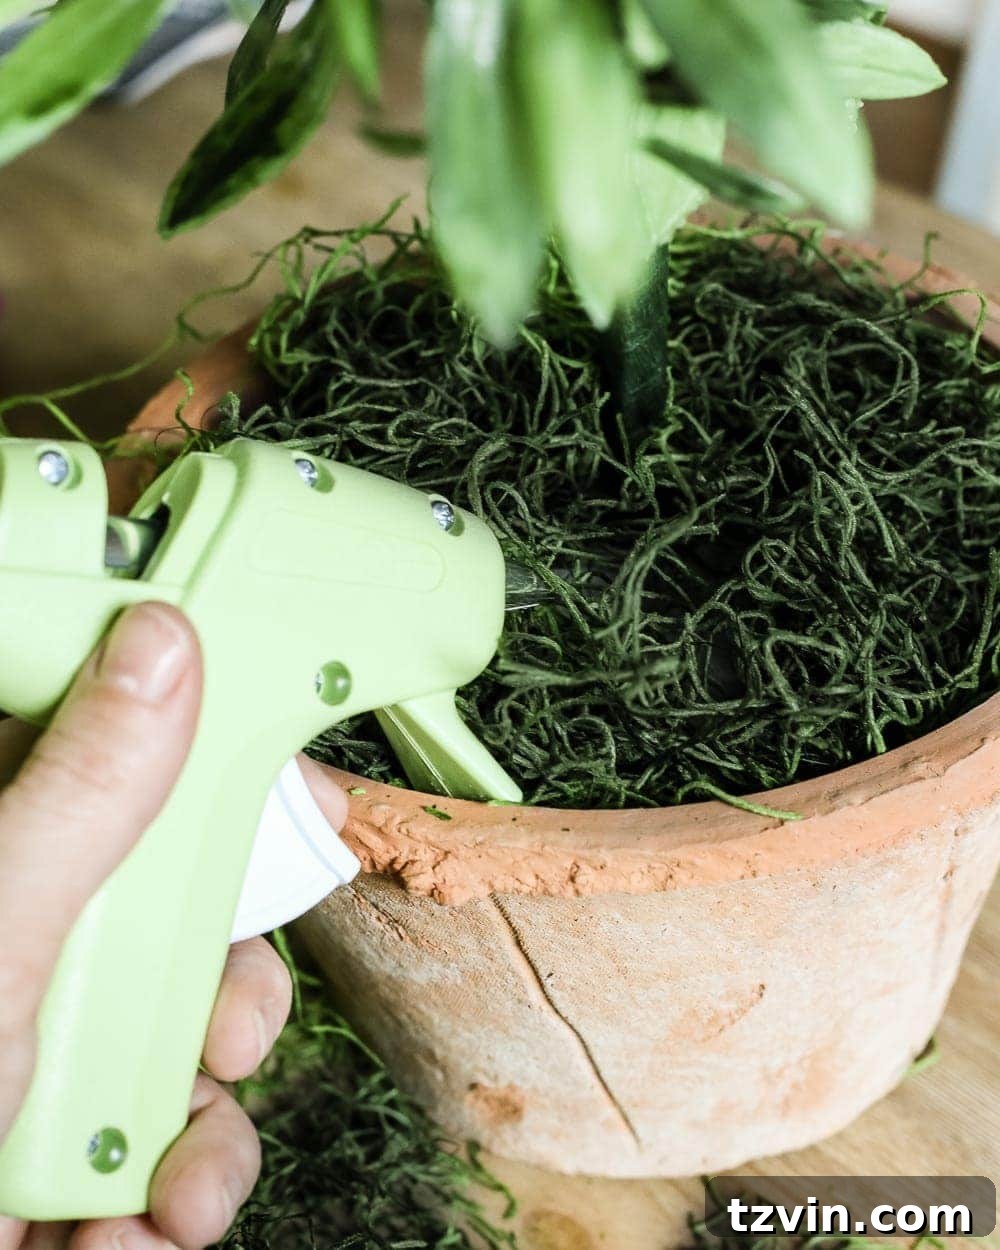
Step 5: Conceal and Finish with Moss. The final touch involves covering the visible floral foam and creating a natural, finished look. Begin by stuffing Spanish moss into any gaps around the edges of the dry foam blocks. Once the sides are covered, place a generous layer of Spanish moss on top of the foam, entirely concealing it. Use small dabs of hot glue to secure the moss in place, particularly around the base of the olive stems and along the edges of the pot. This step not only hides the mechanics of your arrangement but also adds to the organic and authentic appeal of your DIY olive topiary, making it look as though it’s growing naturally from the pot. Consider adding extra moss around the base of the “trunk” for a fuller, more established appearance.
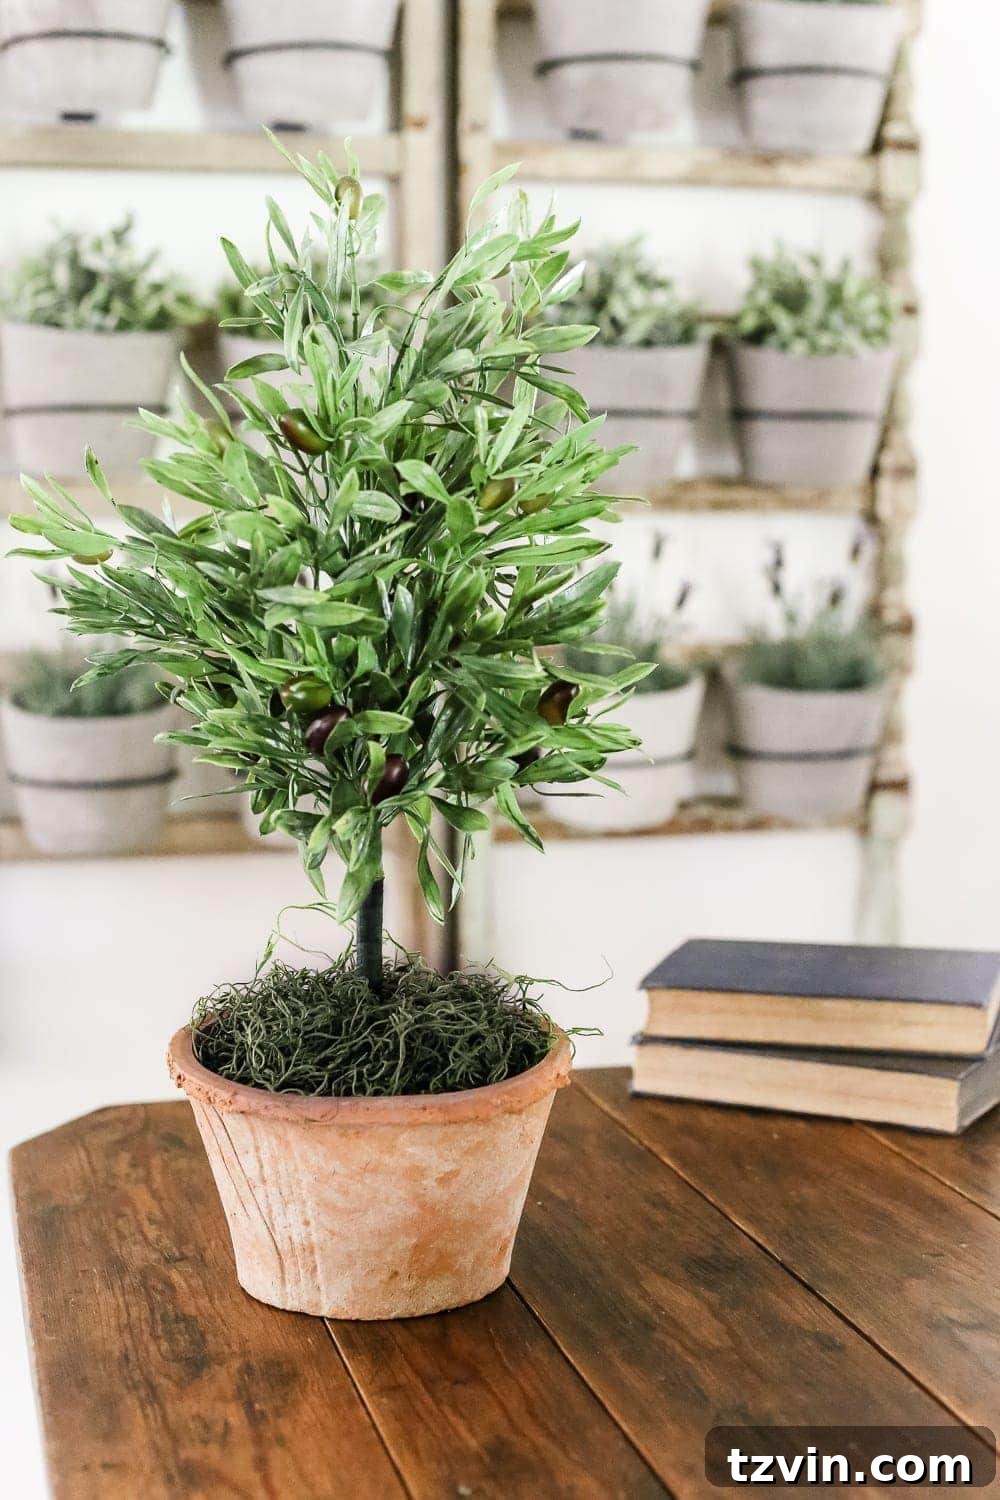
And just like that, your charming DIY olive topiary is complete! Isn’t it absolutely adorable? There was a fleeting moment when I almost wished I had left the stems a bit longer, embracing a slightly more scraggily, wilder aesthetic with perhaps just two branches for a sparser look. However, even with its current, neatly trimmed and fuller appearance, it exudes an undeniable cuteness and elegance. This project truly showcases how a simple craft can yield such a sophisticated and appealing piece of decor. The joy of creating something beautiful and personalized for your home, especially something so effortlessly chic, is truly unmatched. The beauty of this project lies in its adaptability; whether you prefer a neatly manicured look or a more rustic, untamed style, this tutorial provides the perfect foundation.
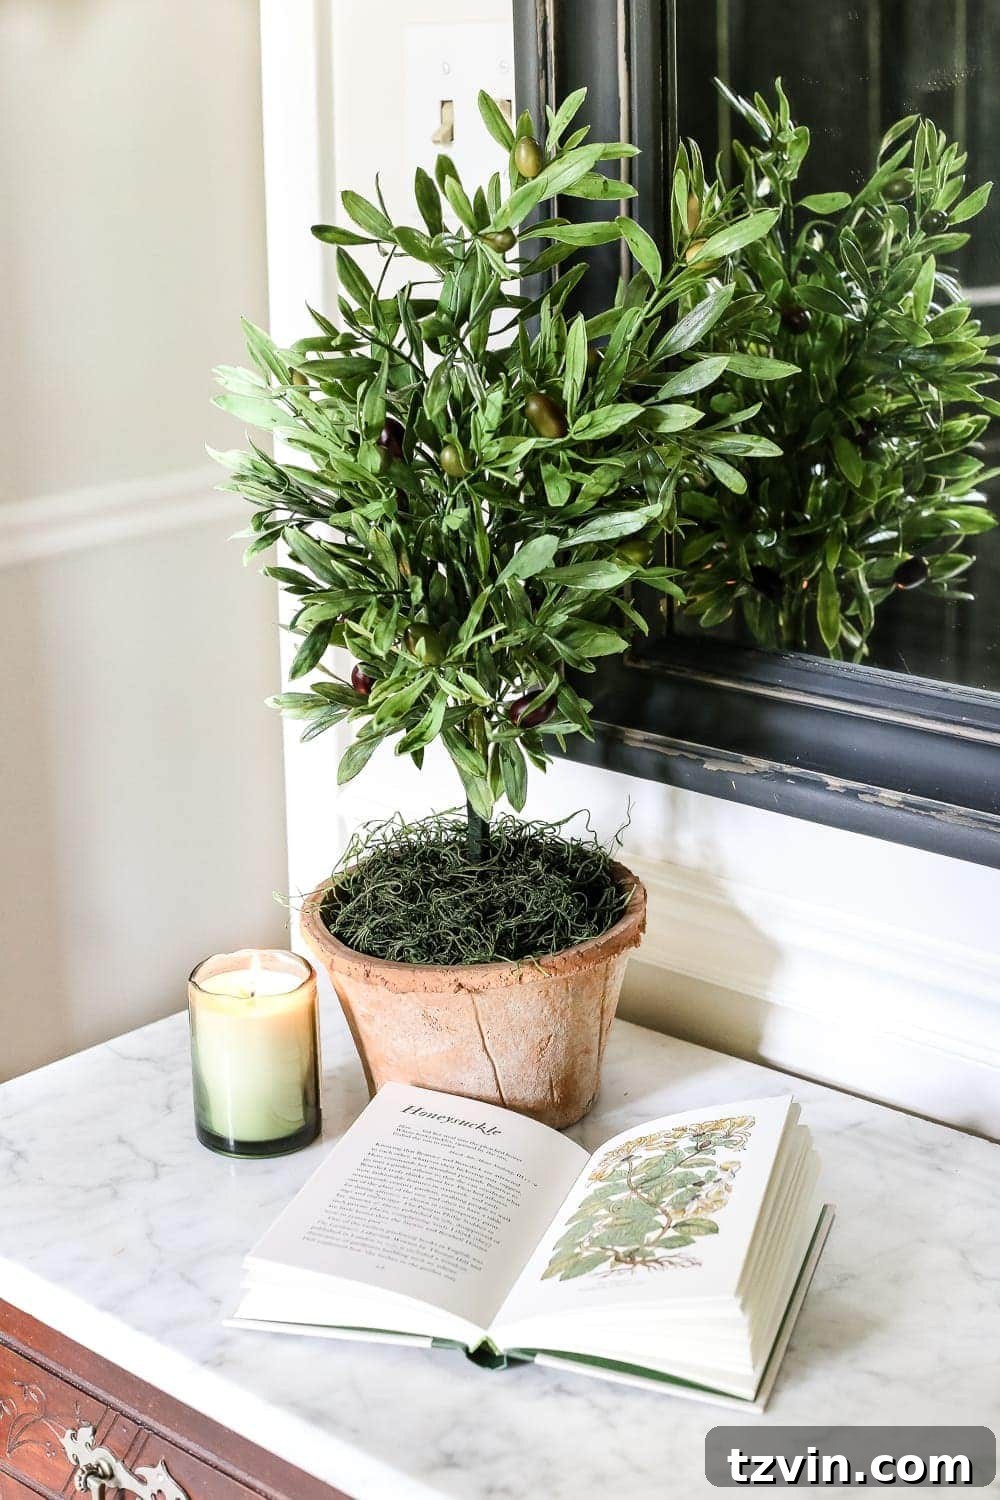
What makes this project even more appealing is its incredible speed – it truly took all of 10 minutes from start to finish! This makes it an ideal craft for anyone short on time but big on desire for beautiful home accents. The ease and quick turnaround have left me incredibly tempted to create several more versions, exploring different types of greenery to match various seasonal and stylistic themes. Imagine a pair flanking a doorway or a collection of varying heights on a large console table. For now, this delightful olive topiary has found its perfect, permanent spot on our foyer table, where it welcomes everyone with its peaceful presence. I anticipate it will remain a beloved fixture not just for the rest of the summer, but through the fall, the winter, and likely for the entire year to come, becoming a timeless piece of our home decor. Its versatility and enduring charm make it a year-round favorite.
Our creative journey through the DIY Summer Decor Hop continues! Your next exciting stop is with the wonderful Kelly from Live Laugh Rowe, where she’s sharing her inspiring project. I’ve already had a peek, and I must say, her farmhouse-inspired patriotic wreath is quite possibly my favorite patriotic project I’ve ever encountered! It’s brimming with charm, ingenuity, and a heartfelt nod to classic Americana, all with her signature farmhouse touch. Prepare to be inspired by her incredible craftsmanship and unique design sensibilities. Don’t miss out on seeing how she transforms simple materials into such a stunning display of national pride and rustic elegance. Each stop on this hop offers fresh ideas and creative inspiration, ensuring you find something special to enhance your home’s summer decor.
If you’re eager to embark on the full adventure of the DIY Summer Decor Hop and discover all the amazing projects from start to finish, you can easily circle back to the beginning! Simply start your journey here to explore every inspiring creation shared by our talented group of bloggers. Each post is packed with innovative ideas and step-by-step instructions to help you infuse your home with beautiful, handmade decor this summer. Happy hopping and happy crafting!