
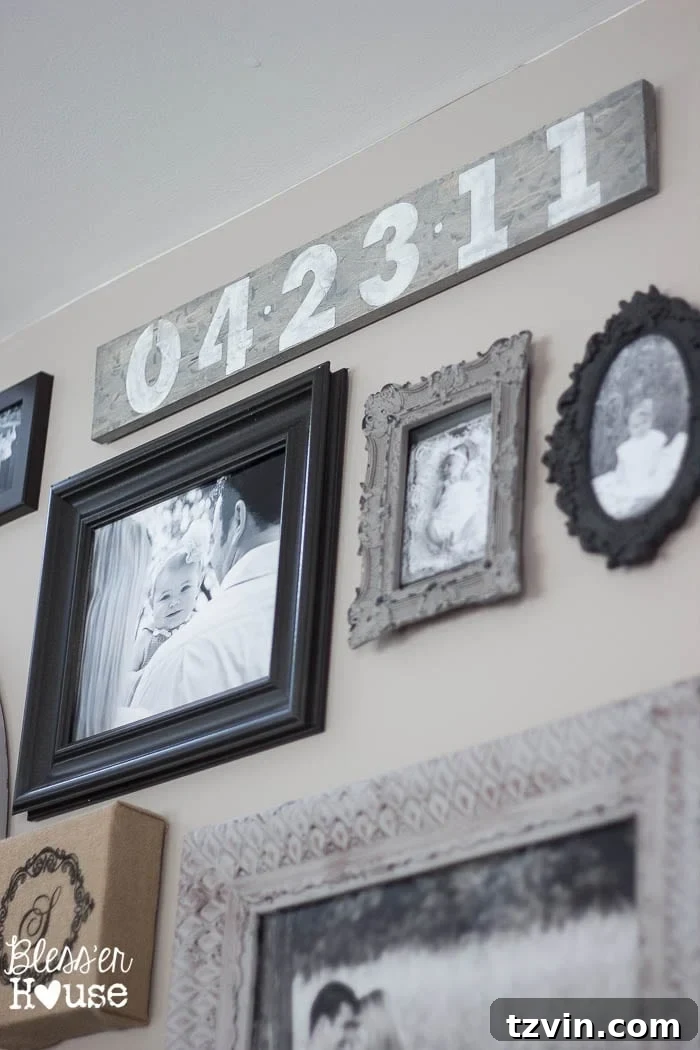
We all have those significant dates that mark milestones in our lives – anniversaries, birthdays, or the day a special journey began. Yet, amidst the beautiful chaos of daily life, even the most cherished dates can occasionally slip our minds. My husband, Robert, and I recently had one of those moments, a conversation where we collectively drew a blank on our anniversary date. In just five whirlwind years, we’ve navigated Robert’s transition from the Marines, celebrated college graduations, embarked on our dating journey, got engaged, exchanged vows, launched new careers, welcomed a baby, moved three times, and built our dream home. That’s a lot of life crammed into a short span, making it understandable why the years sometimes blur into one beautiful memory. This universal experience sparked a creative solution that not only solved our forgetfulness but also added a deeply personal touch to our home decor: a stunning DIY faux driftwood anniversary sign.
Our gallery wall, a focal point in our living room, had one small, perfectly positioned blank space at the very top, just waiting for the right piece to complete its story. An anniversary date sign, crafted with love and a rustic aesthetic, felt like the ideal finishing touch. The best part? This meaningful piece of home decor cost me a mere $4, thanks to readily available craft supplies and a bit of ingenuity. It’s truly amazing what you can create when you dip into your stash of leftovers, proving that beautiful, personalized decor doesn’t have to break the bank. If you’re looking for a simple yet impactful project to commemorate a special date or gift to a loved one, this faux driftwood sign is a delightful and affordable endeavor. It’s a subtle yet effective way to ensure those precious dates are always remembered, beautifully displayed for all to see.
Crafting Memories: Why a Faux Driftwood Anniversary Sign is the Perfect DIY
More than just a reminder of a date, this DIY faux driftwood sign embodies a blend of rustic charm, personal significance, and creative expression. The weathered aesthetic of driftwood evokes a sense of timelessness and natural beauty, perfectly complementing various decor styles, from farmhouse chic to coastal serene. By choosing to create this piece ourselves, we weren’t just making a sign; we were crafting a tangible symbol of our journey, a visual anchor for our memories. It’s an opportunity to infuse our home with a unique narrative, making our living space truly our own.
The allure of DIY projects lies in their ability to deliver high-impact results without the high-end price tag. This project, in particular, showcases how resourcefulness can lead to stunning outcomes. By repurposing scrap wood and leftover stains, we transformed forgotten materials into a cherished keepsake. This not only saved money but also gave a second life to items that might otherwise have gone unused. The process itself is therapeutic, offering a creative outlet that results in a beautiful, functional piece of art. For anyone who appreciates personalized touches and the satisfaction of a handmade item, this faux driftwood sign is an immensely rewarding project to undertake.
Gathering Your Crafting Essentials: Materials for Your Rustic Sign
Embarking on any DIY project begins with assembling your tools and materials. For this faux driftwood anniversary sign, you’ll find that many items might already be lurking in your garage or craft cabinet, making it an incredibly budget-friendly endeavor. The key is to embrace the rustic, imperfect nature of the project, which means even slightly worn tools can contribute to the authentic look. Here’s a detailed list of what you’ll need to bring your vision to life:
- 1 piece of pine board: Choose a size that fits your desired space. The beauty of this project is its flexibility; any size can work, so pick one that complements your existing decor or the gap you intend to fill on your gallery wall.
- Hammer, chain, or any other hard objects: These are your secret weapons for achieving that distressed, ‘driftwood’ texture. Think creatively – old wrenches, screws, or even rocks can add unique indentations and character.
- Pre-stain wood conditioner*: While optional, this product is a game-changer for achieving an even stain. It helps prevent blotchiness, especially on soft woods like pine, ensuring a professional-looking finish.
- Rustoleum Weathered Gray Wood Stain: This specific stain is fantastic for mimicking the natural gray tones of aged driftwood. It’s the magic ingredient that truly transforms your ordinary pine board.
- Number stencils*: Select a font and size that aligns with your aesthetic vision. Stencils make it easy to create crisp, uniform numbers, even if you don’t consider yourself an artist.
- Pencil: For tracing your stencils onto the wood before painting, allowing for adjustments and clean lines.
- Craft brush: A small, fine-tipped brush is ideal for filling in stencil outlines and detailed work.
- White acrylic paint*: Standard white acrylic paint provides a great contrast against the weathered gray stain, making your anniversary date pop.
- Medium grit sandpaper: Essential for distressing the painted numbers and achieving that perfectly aged, worn-in look.
- Sawtooth hangers*: I recommend using two for larger signs to ensure it hangs level and securely on your wall.
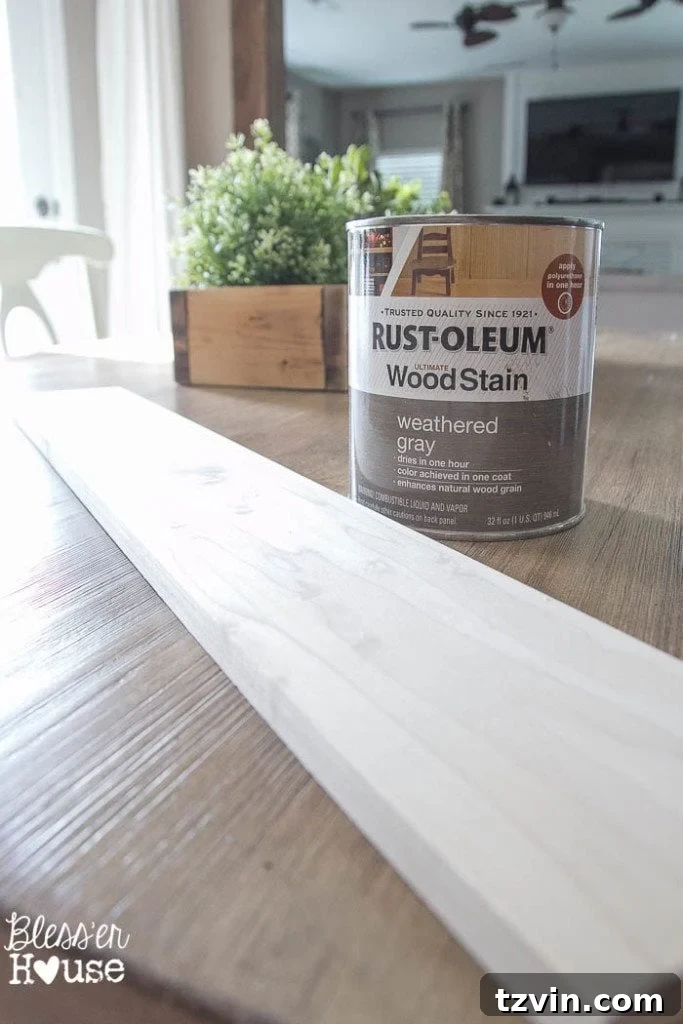
I was fortunate enough to have almost an entire quart of this weathered gray stain leftover from our oversized antique map project, and it was practically begging to be used. Over the past year, from constructing our faux fireplace, installing window moldings, and creating a bathroom plank wall, we’ve amassed quite a collection of scrap wood. Our garage, I’ll admit, is a bit of a creative madhouse, no sugar coating it! It’s from this treasure trove of reclaimed materials that I sourced the perfect-sized pine plank for our anniversary sign, proving that sometimes the best project materials are those you already have on hand.
Step-by-Step Guide: Crafting Your Faux Driftwood Masterpiece
Transforming a simple pine board into a rustic, weathered piece of art is a surprisingly straightforward process. Each step builds upon the last, contributing to the authentic driftwood aesthetic that makes this sign so appealing. Follow these instructions carefully, and you’ll soon have a personalized keepsake for your home.
Step 1: Preparing Your Wood Plank for a Rustic Touch
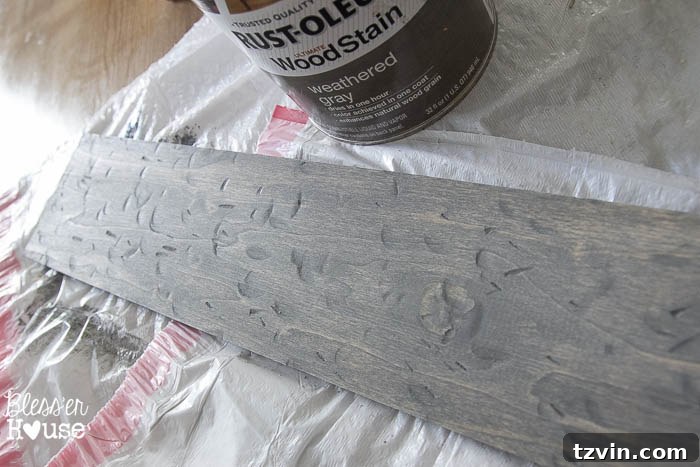
The first and arguably most fun step in creating your faux driftwood sign is giving your pine board some character. Real driftwood is shaped and smoothed by the elements, often bearing marks from its journey. We want to mimic that natural wear and tear. I selected a suitable pine plank from our scrap pile and then proceeded to truly beat the thing to a pulp!
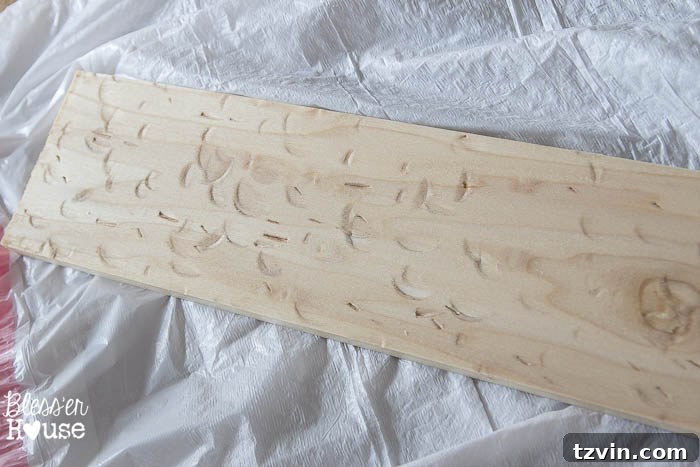
Using both sides of a hammer and a chain, I roughed up the wood, hitting it, scraping it, and making dents and grooves. The goal is to create imperfections – dings, scratches, and varied textures – that simulate years of exposure to the elements. Don’t be shy; the more varied the marks, the more authentic your driftwood will appear. If you ever feel a bit stressed out, I highly recommend grabbing some tools and smacking a piece of wood. It’s surprisingly cathartic and you’ll feel better, I promise! Just be sure to do this on a protected surface and wear appropriate safety gear, like gloves and eye protection.
Step 2: Conditioning and Staining for that Authentic Driftwood Look
Once your wood has achieved the desired level of distress, it’s time to prepare it for staining. I already had a quart of wood conditioner from a previous project – our hallway hook rack – so I put it to good use. Wood conditioner is a fantastic product, especially for softwoods like pine, as it helps the stain absorb more evenly, preventing blotchiness and creating a consistent finish.
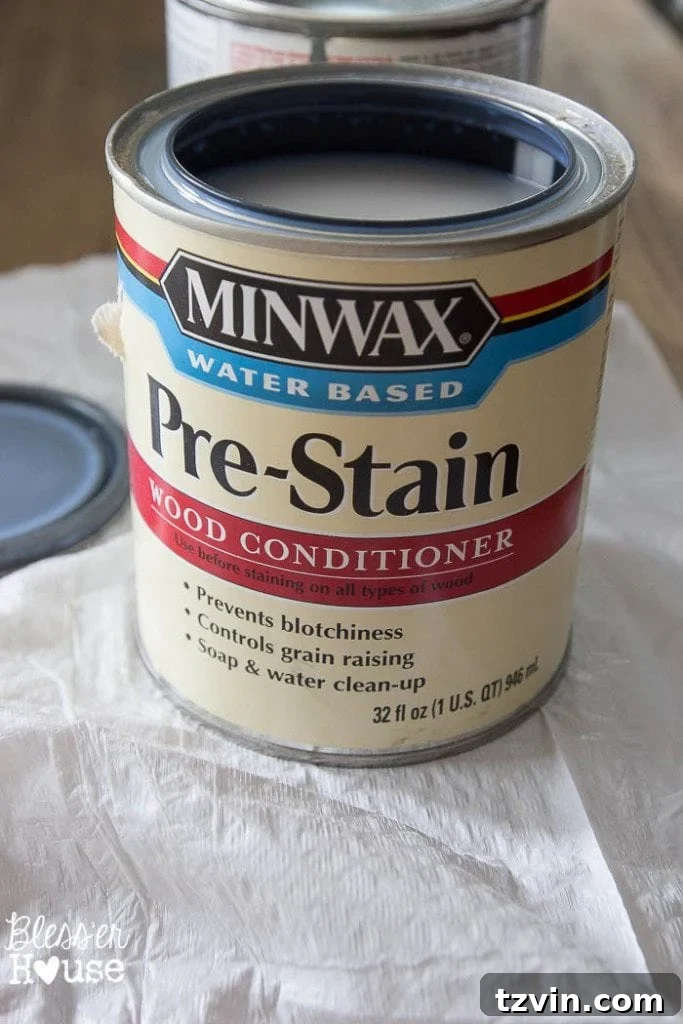
I simply followed the instructions on the back of the can to condition the wood. After allowing the conditioner to penetrate for the recommended time, it was ready for the stain. I then swiped on the Rustoleum Weathered Gray Wood Stain, letting it sit for just about a minute before wiping away the excess. The result was truly gorgeous! For not being real driftwood, I am incredibly convinced by how authentic this stuff makes the wood look. The pre-stain conditioner really proved its worth, ensuring the weathered gray tone was consistent and beautifully aged across the entire plank, highlighting all the textures we created in Step 1.
Step 3: Personalizing with Your Special Date
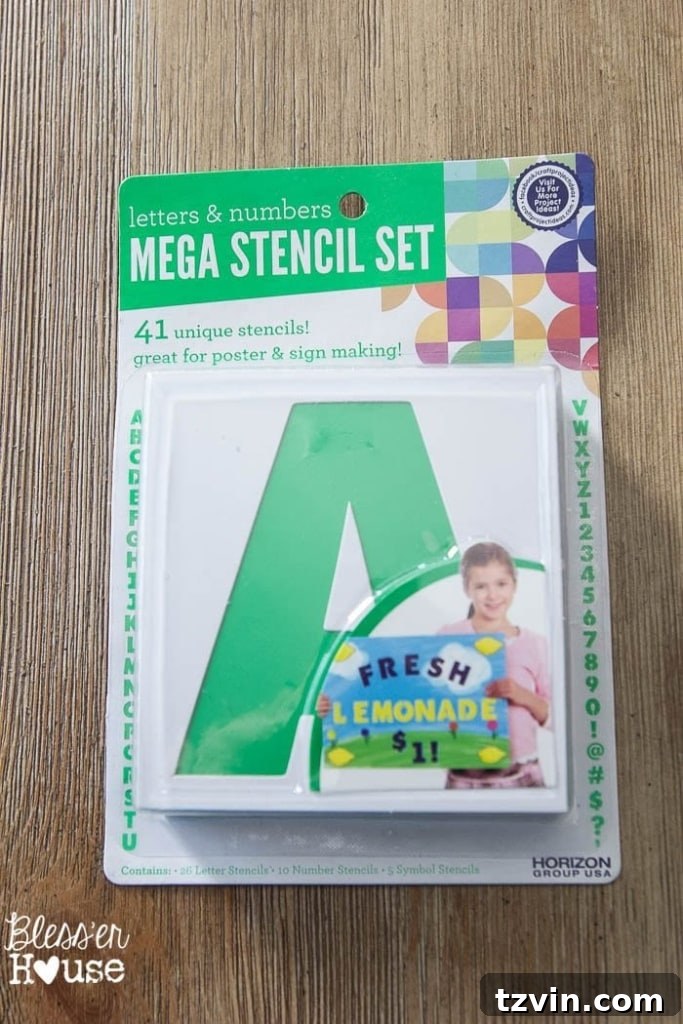
With your faux driftwood plank beautifully aged, it’s time to add the personal touch – your special anniversary date. The only supply I needed to purchase for this entire project was a stencil set, which I happily found in the craft aisle of Walmart. (Because, let’s be honest, that’s where all the cool kids get their emergency craft supplies, right? I’m usually the one dancing down the aisle, singing along to whatever music is playing.)
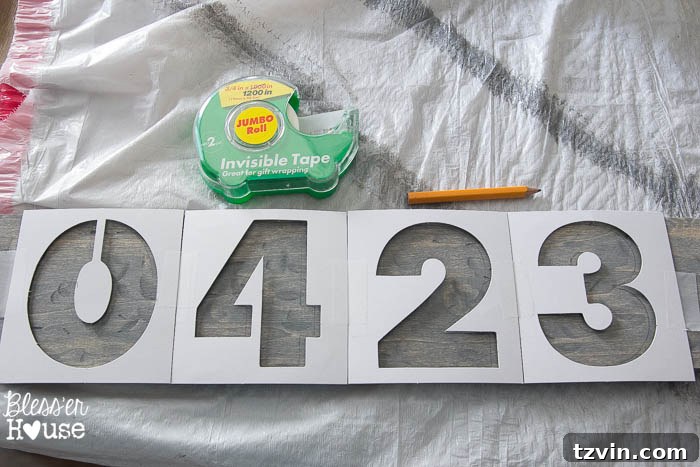
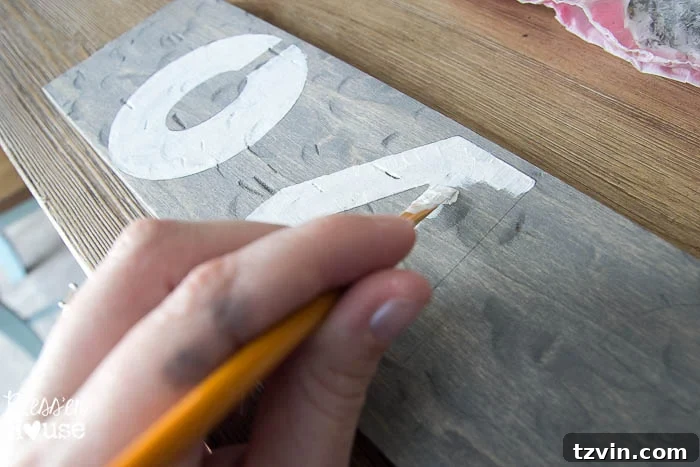
To preserve the stencils for future projects, I opted to trace the numbers with a pencil rather than directly painting them. This allows for precision and the ability to correct any errors before committing with paint. I carefully taped the stencils down to prevent any shifting while tracing, ensuring my numbers would be perfectly aligned and evenly spaced. Once traced, my artistically-challenged self – which honestly means anyone can do this! – managed to carefully fill in the numbers with white craft paint. I used a small craft brush for this, taking my time to ensure crisp lines. It often helps to apply multiple thin coats of paint rather than one thick coat, as this prevents bleeding under the stencil and gives a smoother finish.
Step 4: Adding the Final Distressed Details and Hanging Hardware
Once the white paint was completely dry, the sign was ready for its final transformation. I gave the entire sign a gentle once-over with medium grit sandpaper. This step is crucial for achieving that perfectly aged, faded look. Sanding helps to subtly blur the edges of the numbers, making them appear as if they’ve been naturally worn over time, just like true driftwood. It also further integrates the painted numbers with the weathered wood background, enhancing the overall rustic aesthetic.
After achieving the desired level of distress, the last step was to add the sawtooth hangers to the back. For a sign of this size and to ensure it hangs perfectly level, I used two hangers, placed equidistant from the center. Attaching them is simple – just mark your spots, center them, and secure them with small nails or screws. And that was it! The project was complete. So simple, incredibly cheap, and profoundly meaningful. The sign now looks perfectly at home on our gallery wall, seamlessly blending with our collection of cherished memories.
A Sentimental Addition to Our Gallery Wall
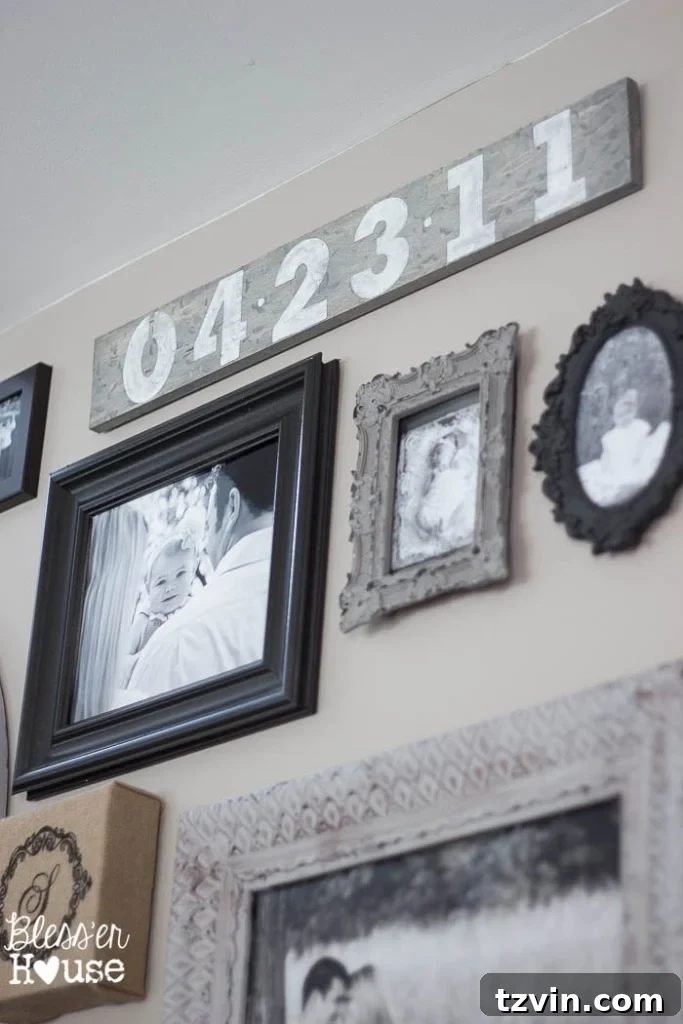
Robert is genuinely thrilled that there’s significantly less chance of him ending up in the “doghouse” now that we have a prominent anniversary reminder displayed on our living room wall. Truth be told, I often need the reminder more than he does! This sign has become more than just a decorative piece; it’s a constant, gentle nudge of a very important date, beautifully integrated into our everyday view.
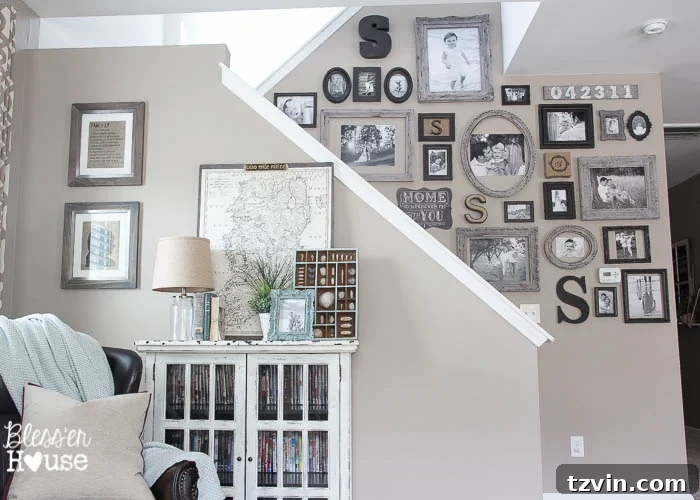
If you happened to read yesterday’s post about discovering your decor style, this gallery wall was truly an “aha!” moment for me. When we first assembled all these photos within our thrifted, painted frames, something simply clicked into place. It defined a significant part of our home’s aesthetic and emotional core.
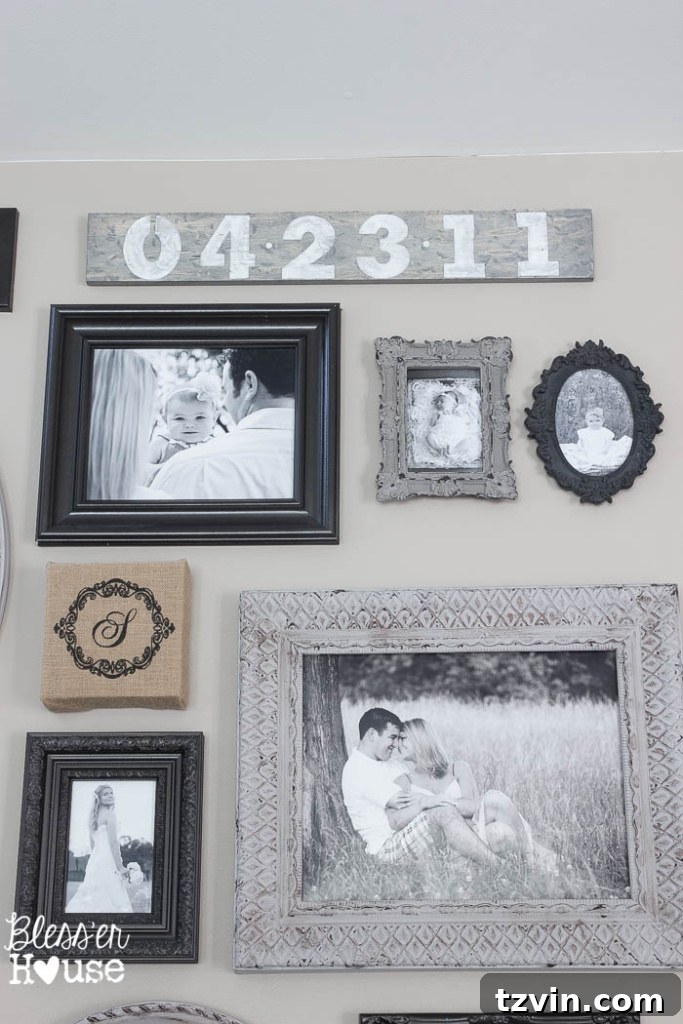
These frames have graced our wall for over a year now, and I honestly don’t think I’ll ever tire of gazing at the pictures. Each one captures a favorite moment from the past five years of our incredibly fast-paced life. Despite the rapid changes and whirlwind experiences, it has been an exhilarating rollercoaster ride filled with joy and growth. I wouldn’t trade a single moment of it for anything. Trusting God through all the ups and downs of our marriage so far has only deepened my faith and trust in Him, knowing He will guide us through whatever the future may hold.
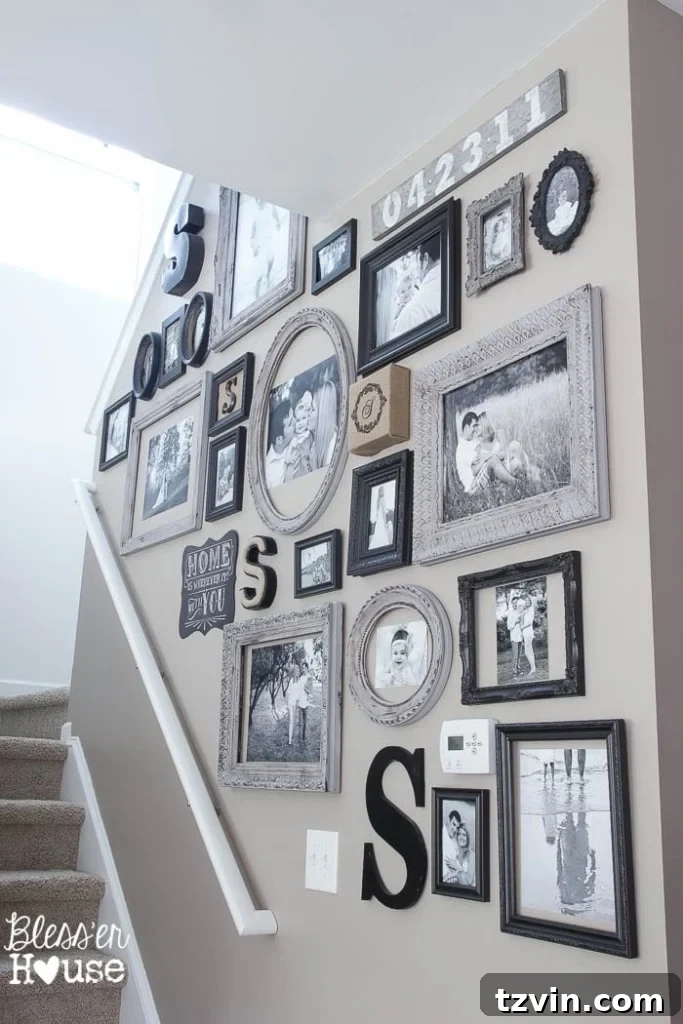
This entire wall serves as a constant, beautiful reminder of everything that is most important to us – our family, our journey, and our faith. It feels incredibly appropriate that it’s displayed prominently in the very center of our house, a testament to the foundation of our home and our lives. Five years ago, when my best friend asked me to marry him, I never could have envisioned our life exactly as it is now. I certainly couldn’t have planned it better myself. It’s a good thing I’m not the one in charge of the grand plan, as God’s design has proven far more wonderful than anything I could have imagined.
Beyond the Anniversary: Other Creative Uses for Faux Driftwood Signs
While an anniversary date sign is a deeply personal and cherished piece, the faux driftwood technique and personalized sign concept extend far beyond just commemorating wedding dates. This versatile DIY project can be adapted to create a variety of meaningful and stylish decor items for your home or as thoughtful gifts. Consider these alternative ideas to spark your creativity:
- Family Name Signs: Create a sign featuring your family’s surname and perhaps the year your family was established. This makes a beautiful focal point in a living room or entryway.
- House Numbers: A faux driftwood plank can be transformed into a charming and rustic house number sign for your porch or near your front door, adding curb appeal with a personalized touch.
- Inspirational Quotes or Verses: Choose a favorite quote, Bible verse, or a meaningful phrase to stencil onto a larger driftwood plank. This can serve as daily inspiration in any room.
- Milestone Markers: Beyond anniversaries, create signs for birthdays, a baby’s birth date, or a significant achievement date.
- Wedding or Baby Shower Gifts: A personalized sign makes for a heartfelt and unique gift that will be treasured for years to come. Customize it with the couple’s names, wedding date, or the baby’s name and birth details.
- Seasonal or Holiday Decor: Stencil phrases like “Welcome Fall,” “Merry & Bright,” or “Gather Here” for interchangeable seasonal decor that you can display throughout the year.
- Directional Signs: For a backyard or garden, create faux driftwood signs pointing to different areas like “Garden,” “Patio,” or “Relax.”
The beauty of this project lies in its adaptability. The weathered gray stain and distressed wood technique provide a fantastic foundation for any text or design you wish to incorporate. So don’t limit yourself to just anniversary dates – let your imagination guide you to create unique, rustic signs for every special occasion and corner of your home.
This week, I’m thrilled to be heading to the Haven Conference in Atlanta, where I’ll connect with so many incredibly talented home and DIY bloggers from around the world. If you happen to be a Haven Maven attending, I absolutely cannot wait to see you there!
Next week, I’ll be sharing two exciting new projects that I am truly ecstatic about, along with all the delightful details from the Haven conference. Until then, make sure to follow me on Instagram for all sorts of fun shenanigans, behind-the-scenes glimpses, and daily doses of home inspiration.

Follow Bless’er House for more DIY inspiration:
Facebook | Pinterest | Instagram | Twitter | Google+ | Bloglovin | Hometalk