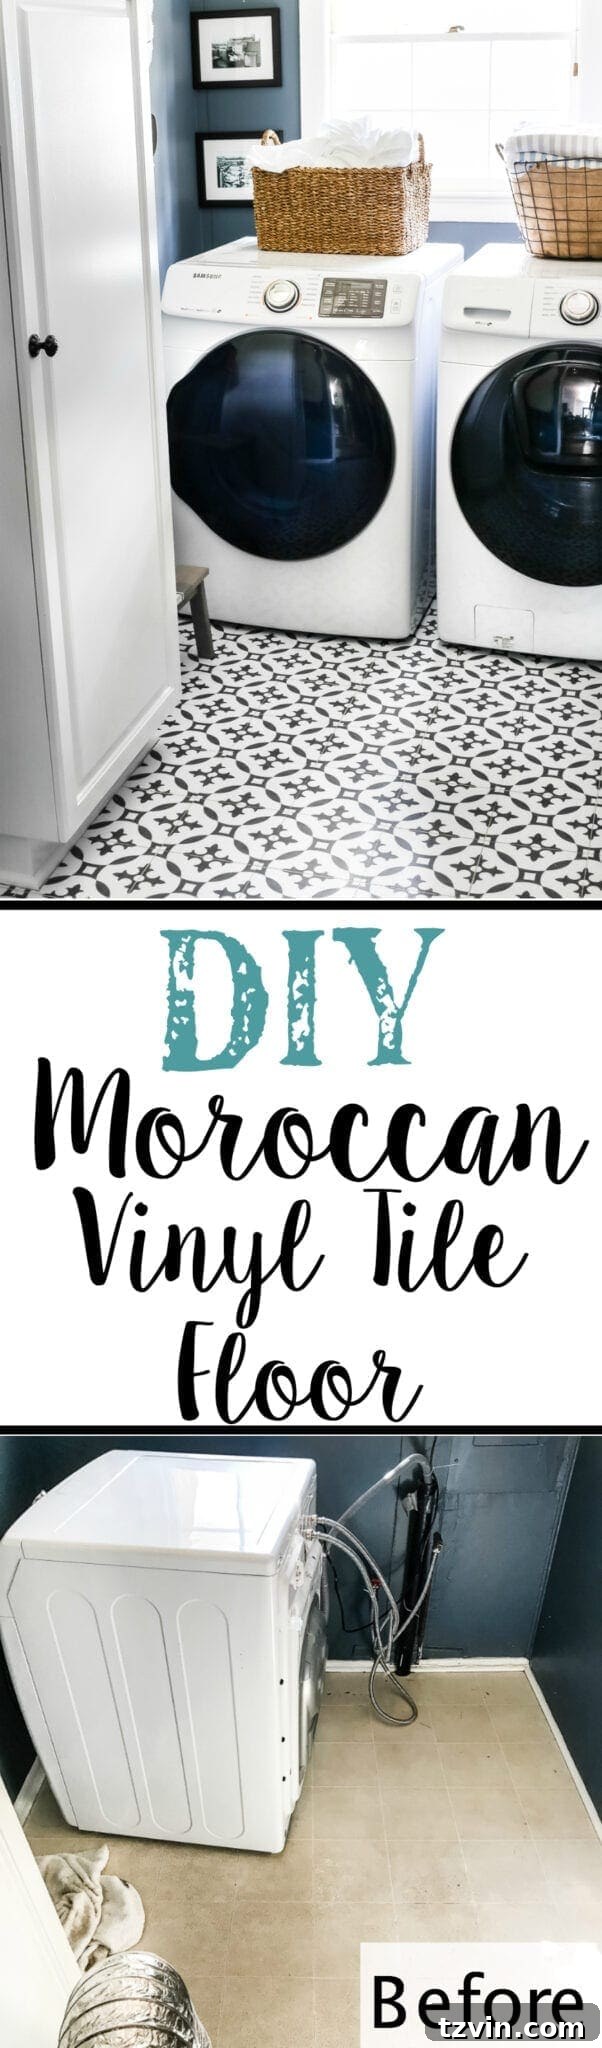
Transform Your Space with DIY Moroccan Peel & Stick Vinyl Tiles: A Complete Installation Guide
Welcome to another exciting DIY adventure! If you’ve been dreaming of a stunning floor makeover without the mess, the hefty price tag, or the time commitment of traditional tiling, you’re in the right place. Today, we’re diving into the incredibly satisfying world of peel and stick vinyl tiles, specifically focusing on how to achieve that coveted Moroccan-inspired look. This tutorial will guide you through installing beautiful, self-adhesive vinyl tiles, proving that a dramatic transformation can be both simple and affordable.
For a long time, the idea of updating our unsightly laundry room floor lingered. I envisioned a fresh, clean space, but the thought of painting over the existing vinyl floor, with its potential for mess, fumes, and questionable durability, was less than appealing. While many DIY enthusiasts achieve fantastic results with painted stencils, I was determined to find an even more streamlined, long-lasting solution. And that’s when I discovered the magic of vinyl Moroccan peel and stick tiles – a game-changer that delivered stunning results with minimal fuss.
(Eager to see the complete laundry room transformation? Click here for the full reveal of this high-contrast space.)
Why Choose Peel and Stick Vinyl Tiles for Your Floor Renovation?
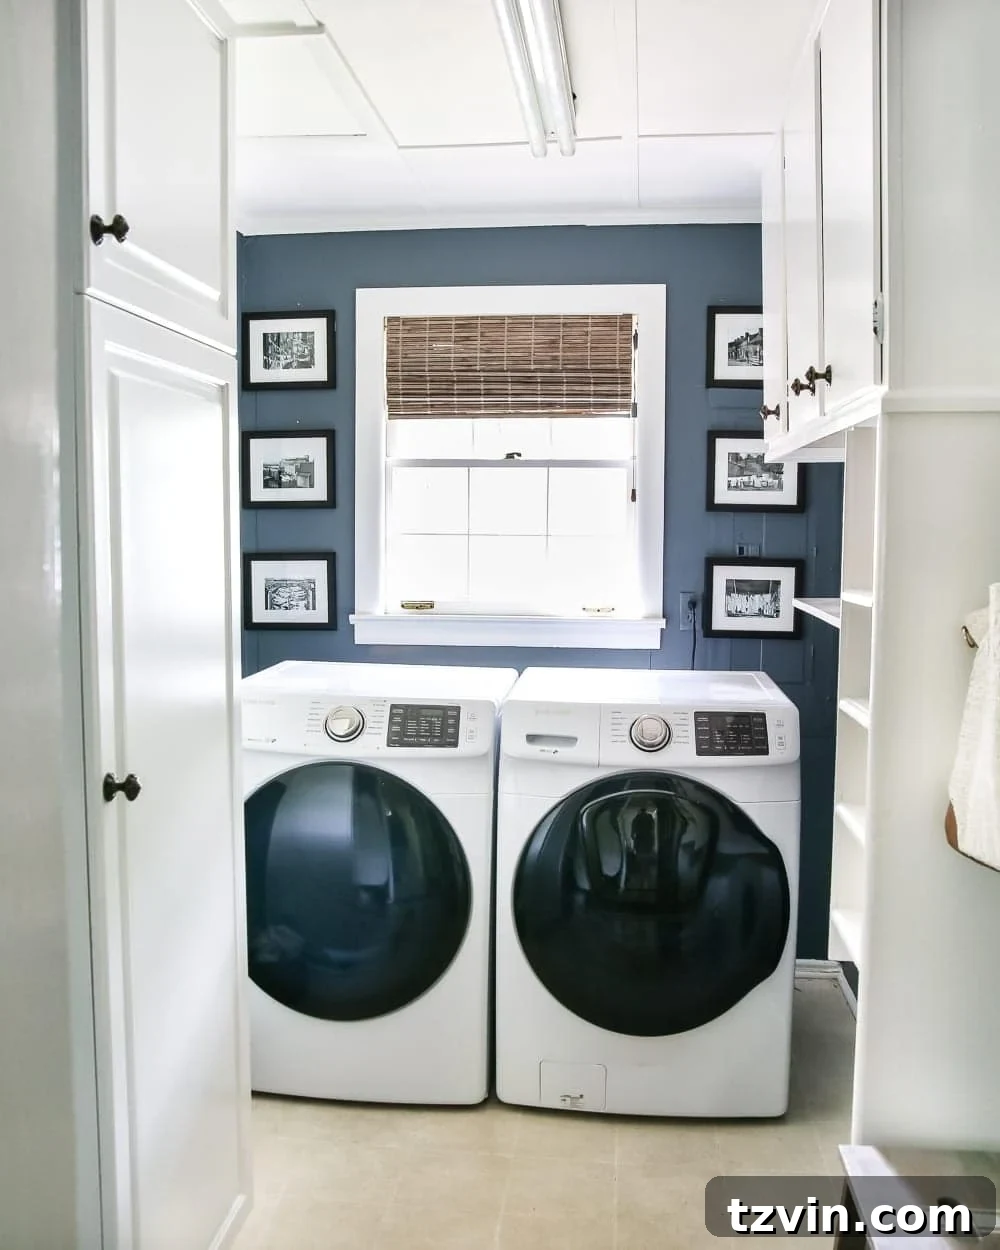
Our laundry room, a true workhorse of the house, had a floor that desperately needed an upgrade. It was an outdated, dingy vinyl surface that detracted from the entire space. We had already tackled painting the walls, cabinets, ceiling, and trim – essentially, everything that stood still long enough! The floor, however, presented a unique challenge. While stenciling with paint seemed like an option, the prospect of a less messy, less odorous, and potentially more durable alternative was incredibly appealing. That’s precisely what peel and stick vinyl tiles offered.
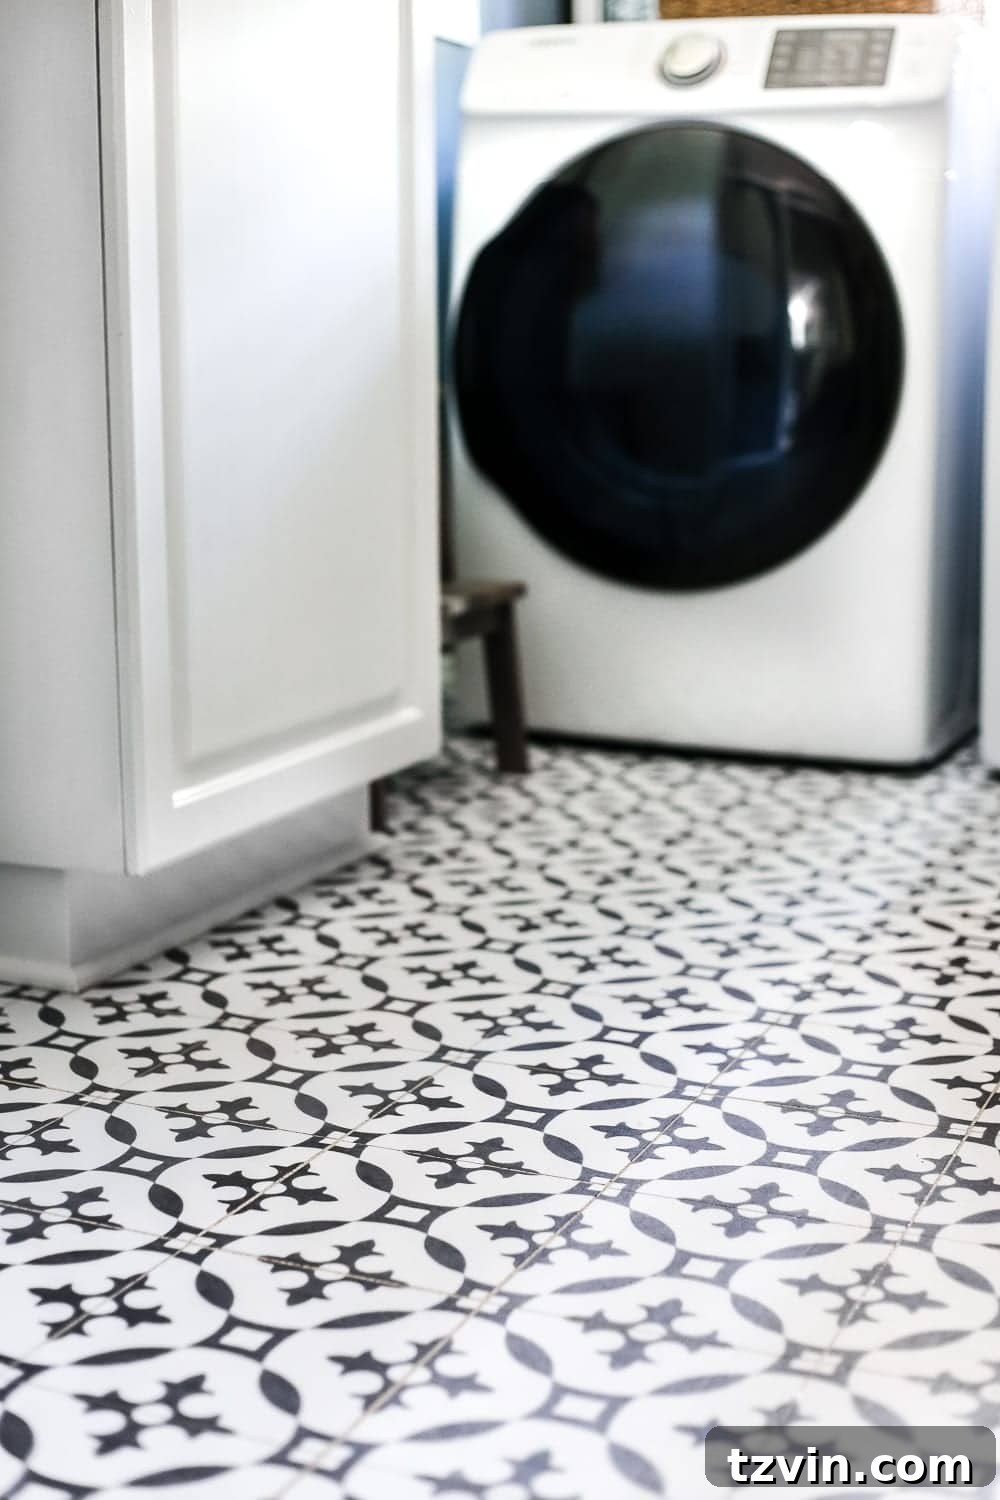
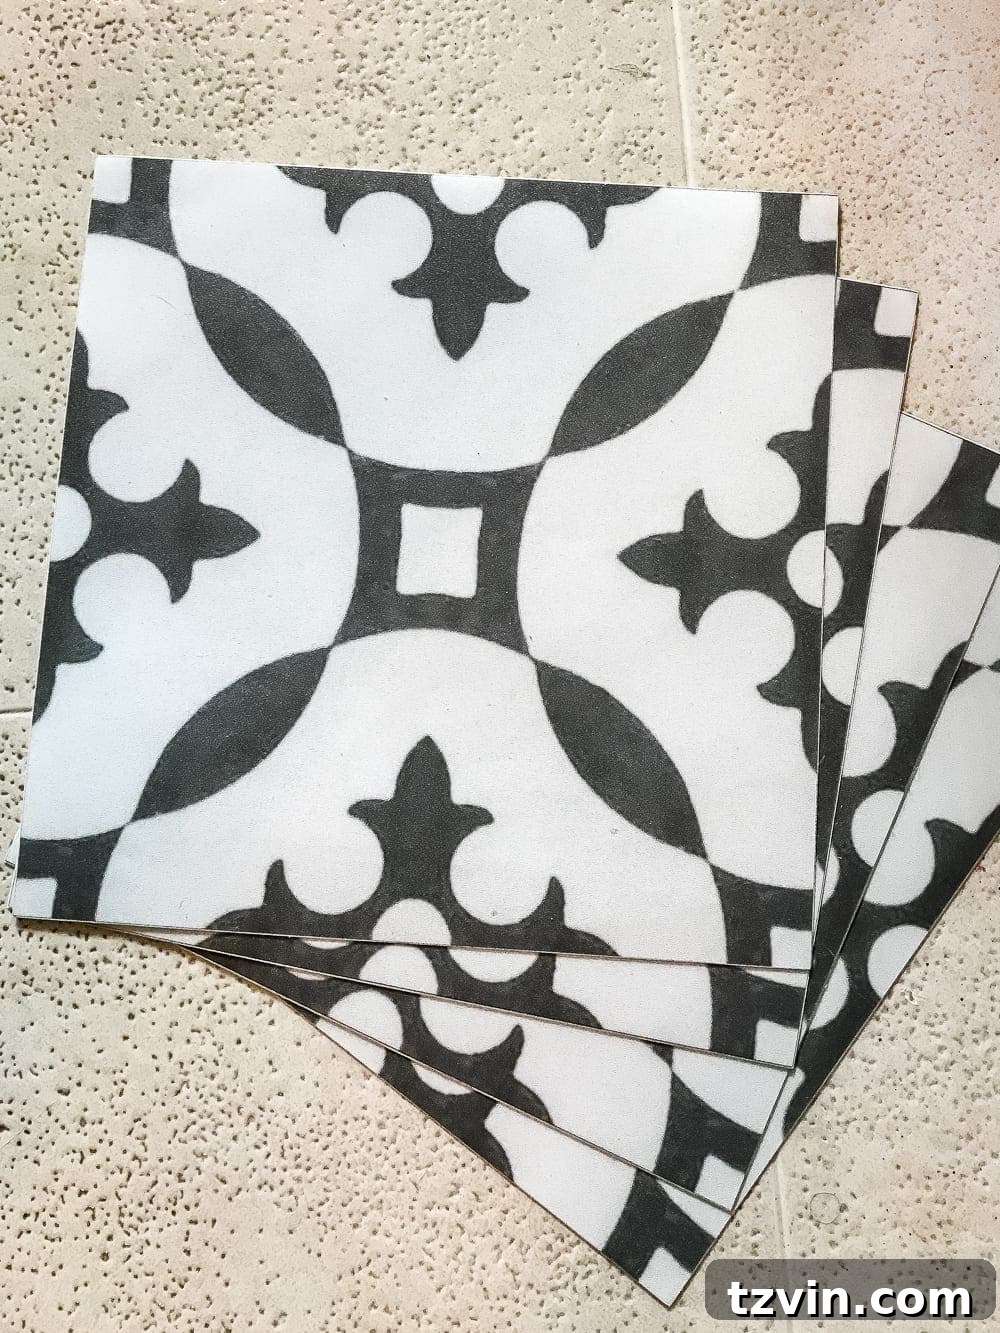
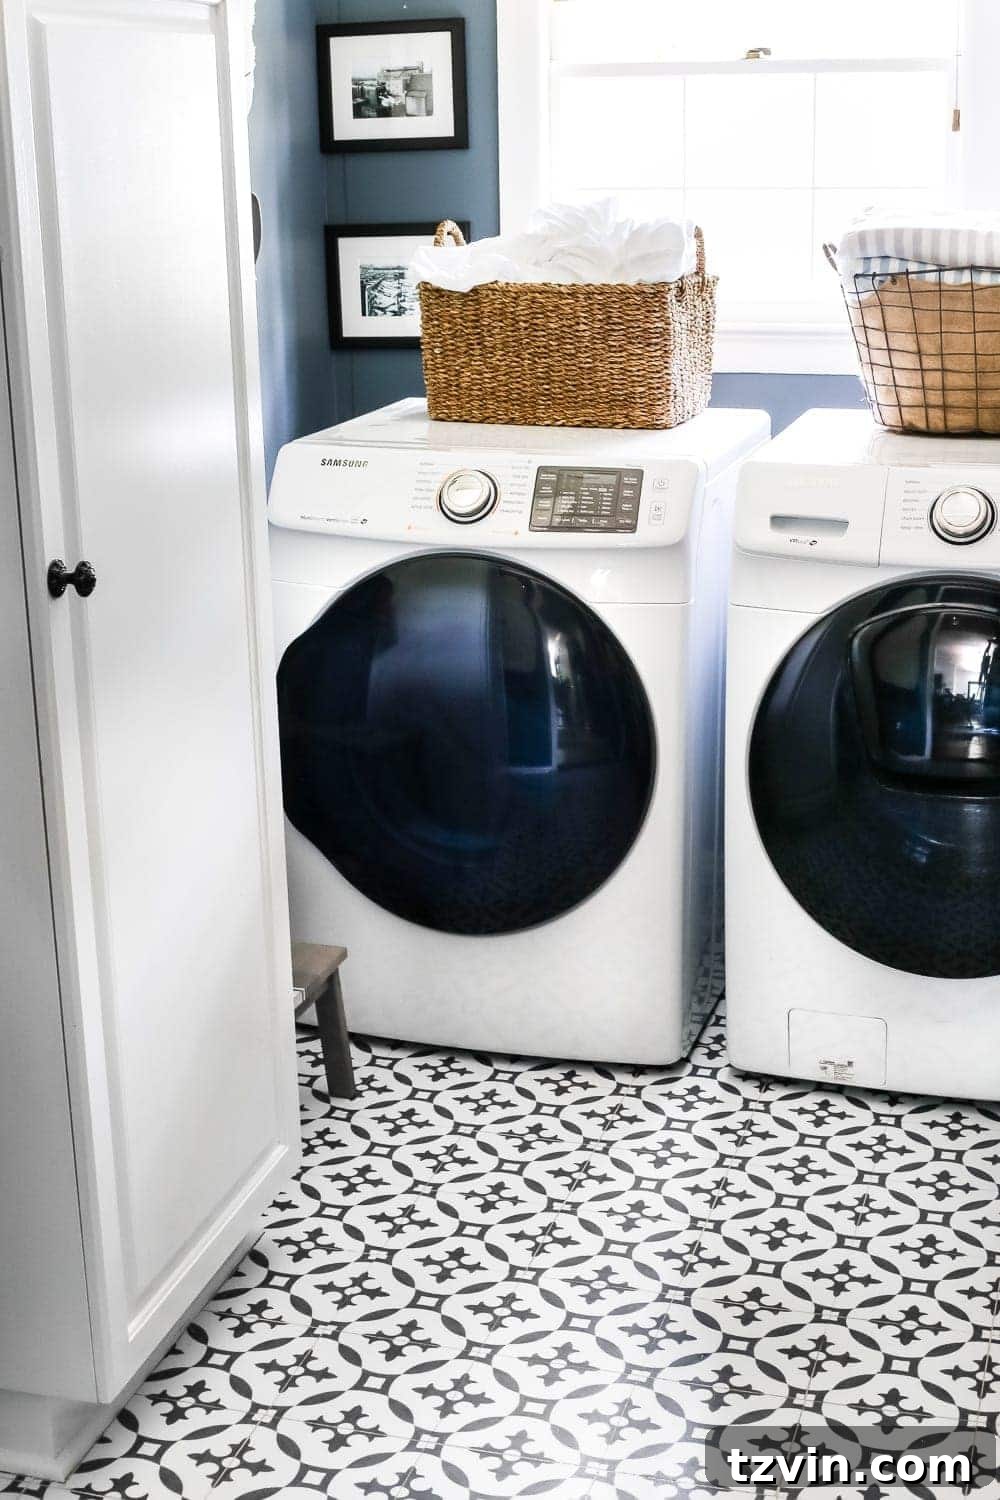
After exploring numerous options and even sharing a collection of my favorite peel and stick tile designs, I settled on a striking black and white Moroccan pattern. This choice wasn’t just about aesthetics; the high-contrast design adds a fantastic “va-va-voom” factor while also being practical for a high-traffic area. The intricate pattern cleverly disguises any dirt or lint we might track in, ensuring the floor always looks fresh and clean.
Let’s take a moment to appreciate the “before” – the floor that ignited this entire project:
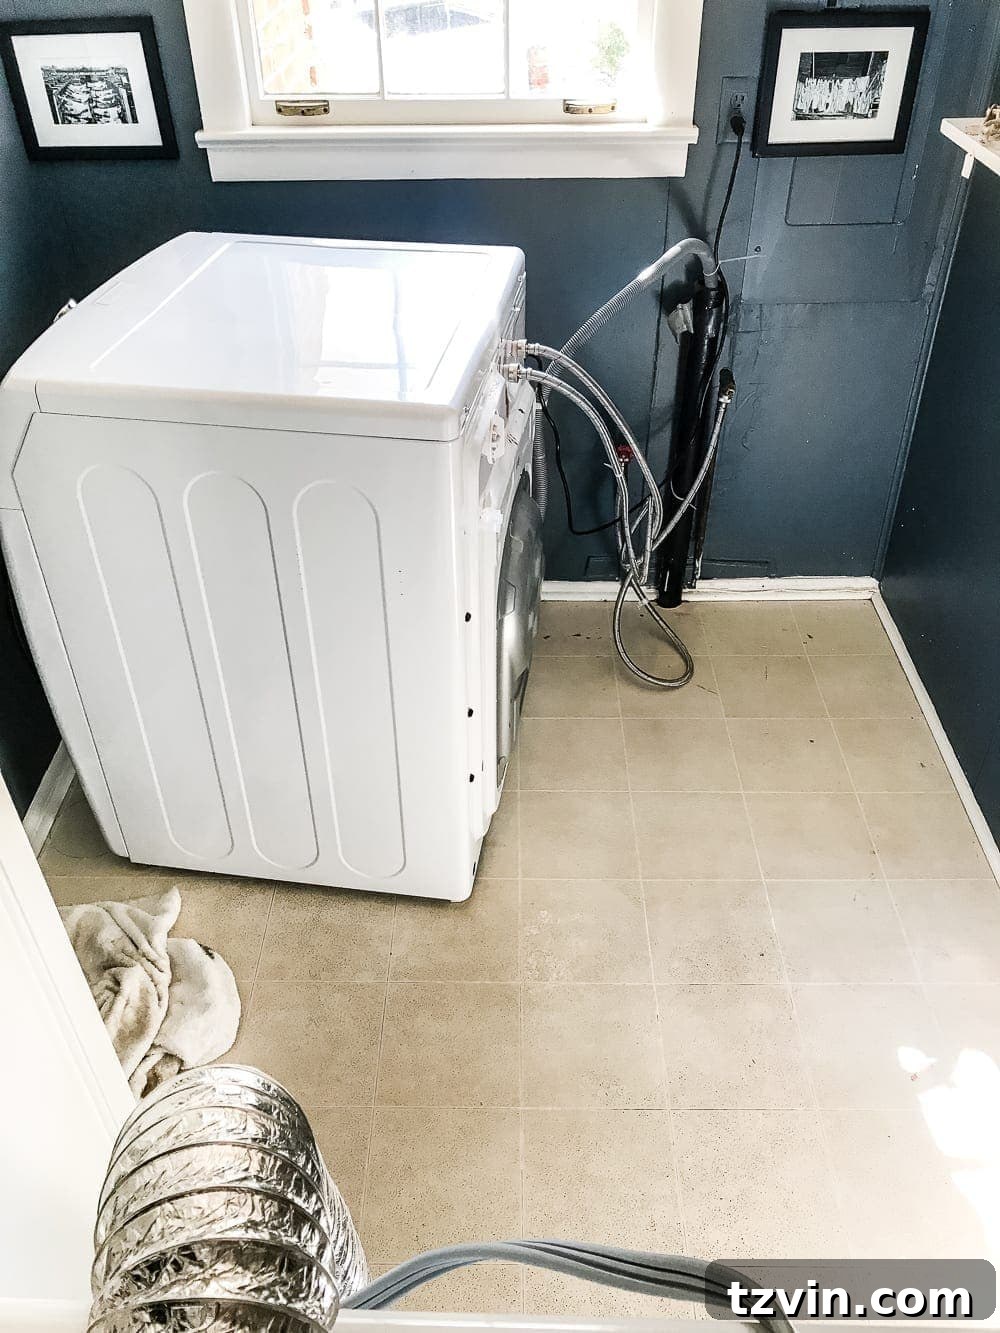
As you can see, it was far from inspiring. While our long-term vision includes a more extensive Phase 2 renovation – tearing out the 1960s cabinets, reconfiguring the layout for better flow, and installing genuine tile – we needed an immediate, impactful, and budget-friendly cosmetic fix. This is where peel and stick vinyl tiles shine. They offer an incredible temporary or semi-permanent solution that completely revitalizes a space without the commitment or cost of a full-scale overhaul.
Gather Your Tools: Essential Supplies for Vinyl Tile Installation
Ready to transform your floors? Here’s a comprehensive list of the supplies you’ll need. (Some affiliate links are provided below for your convenience, which may earn a small commission at no extra cost to you.)
- Vinyl Tiles: We specifically chose matte, 20 cm floor-rated peel and stick tiles for their durability and authentic look. Ensure your chosen tiles are suitable for flooring applications, as some are designed only for walls.
- Krud Kutter TSP Substitute: An excellent degreaser and cleaner crucial for preparing your existing floor surface.
- Dry Rag Towels: Essential for cleaning and drying the floor thoroughly. Microfiber towels work well.
- Wallpaper Smoother Tool: Or a similar flat edge tool like a felt-edged squeegee. This helps press the tiles firmly and eliminate air bubbles.
- Utility Knife: A sharp utility knife with fresh blades is indispensable for precise cuts.
- Pencil: For marking cuts and creating templates.
- Tape Measure: For accurate measurements.
- Chalk Line (Optional but Recommended): Especially useful if your existing floor lacks straight lines or if walls are uneven.
- Straight Edge Ruler or T-square: For guiding your utility knife during straight cuts.
Detailed Step-by-Step Installation Guide
Step 1: Meticulous Floor Preparation
The success of any peel and stick tile installation hinges on proper surface preparation. Begin by thoroughly sweeping or vacuuming your existing vinyl floor to remove all loose dirt and debris. Next, it’s time for a deep clean. Mix your Krud Kutter TSP substitute according to the product instructions and scrub the entire floor. This powerful cleaner will remove any grease, grime, or residue that could compromise the adhesive’s bond. Allow the floor to dry completely. Any moisture trapped underneath the tiles can lead to adhesion issues and potential molding down the line. A clean, dry surface is paramount for long-lasting results.
Step 2: Planning Your Layout and Starting Point
Strategically choosing your starting point can make a significant difference. We began installing the tiles in the area that would be hidden under the washer and dryer. This allowed us to get a feel for the process, practice cutting, and perfect our alignment technique in a less visible spot. If your existing flooring, like ours, features straight lines, you can use these as a natural guide to keep your new tiles perfectly aligned. However, if your subfloor is uneven or lacks clear guidelines, it’s crucial to create a starting reference point. Use a chalk line to snap a perfectly straight line across the room, ensuring your first row of tiles is impeccable. Remember, walls are rarely perfectly straight, so relying solely on them can lead to crooked rows.
Step 3: Laying the Tiles with Precision
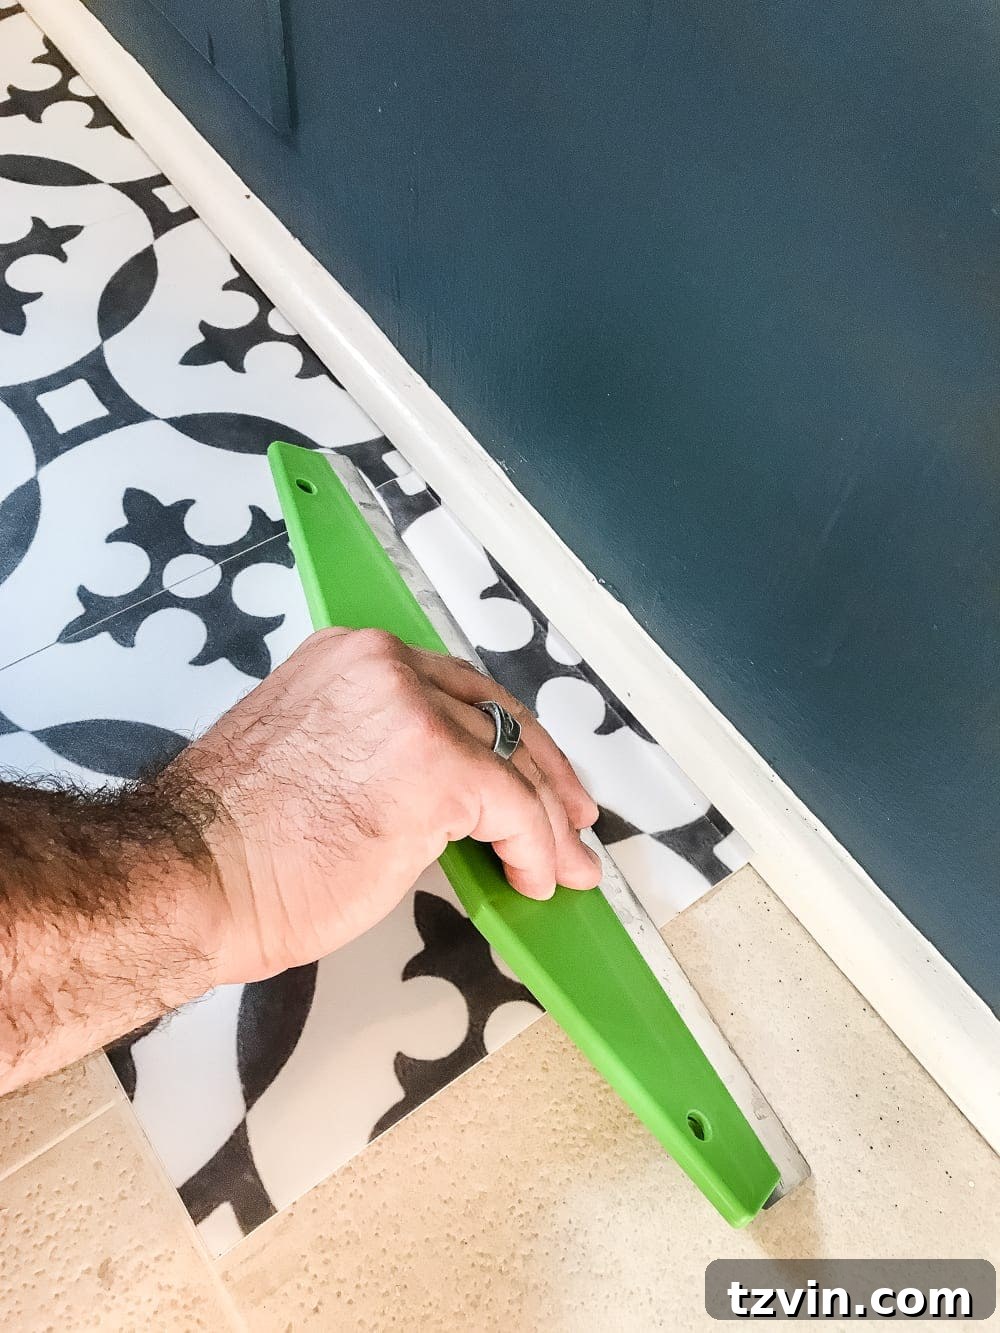
This is where the magic happens. Peel off the backing paper from a tile, align it carefully with your guide line or previous tile, and gently lay it down. Once in place, use your wallpaper smoother tool or a firm, flat hand to press the tile down, working from the center outwards. This action helps to secure the adhesive bond and push out any trapped air, preventing unsightly bubbles. In our experience, we encountered no issues with bubbling, perhaps due to the effectiveness of the smoother tool. It’s always better to be thorough and ensure maximum adhesion.
Step 4: Mastering Cuts and Trims
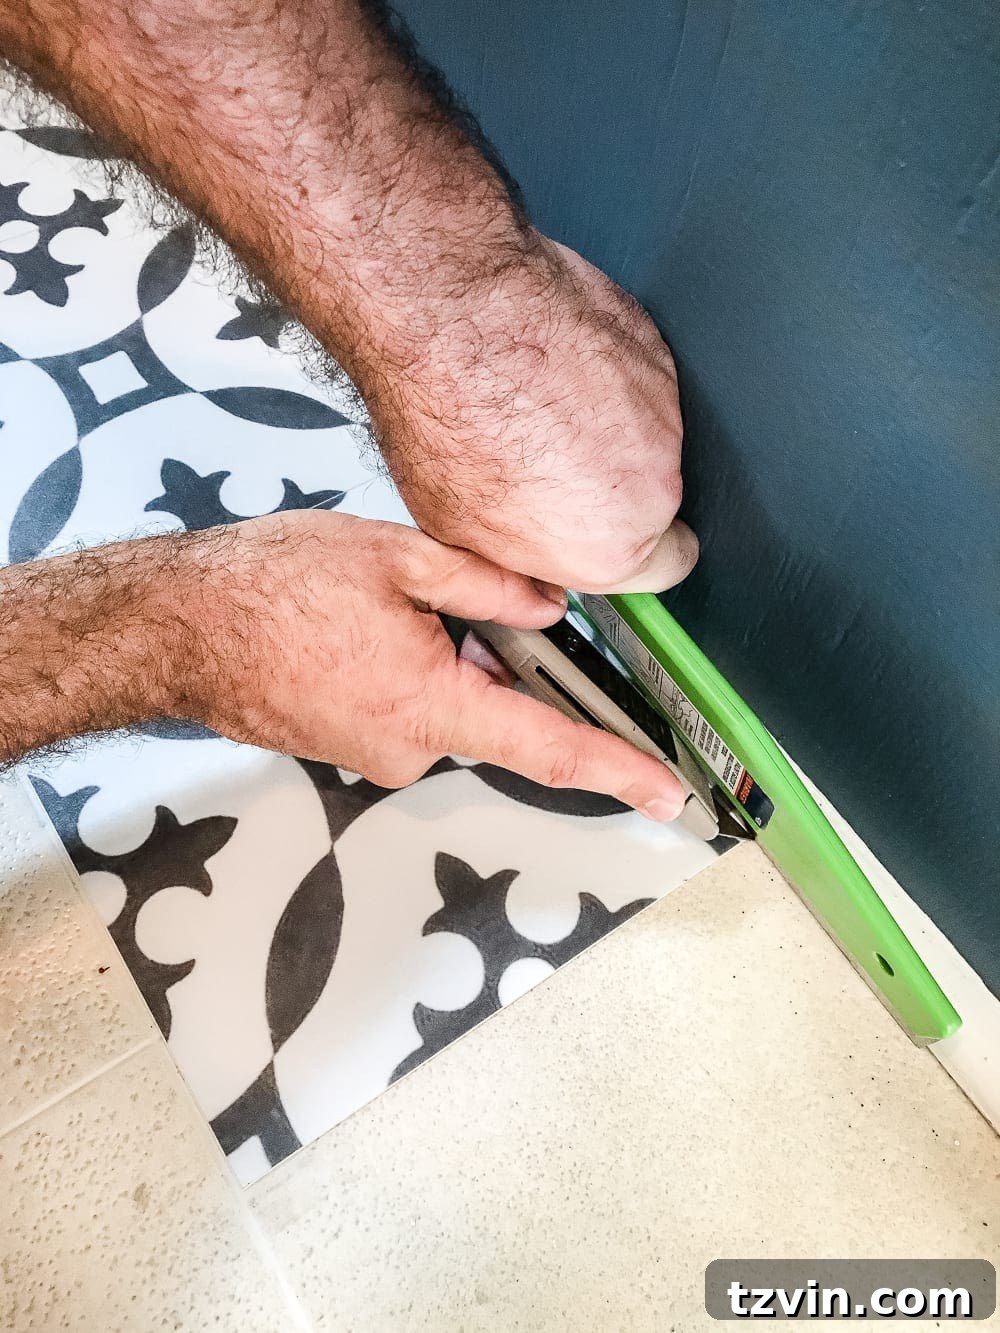
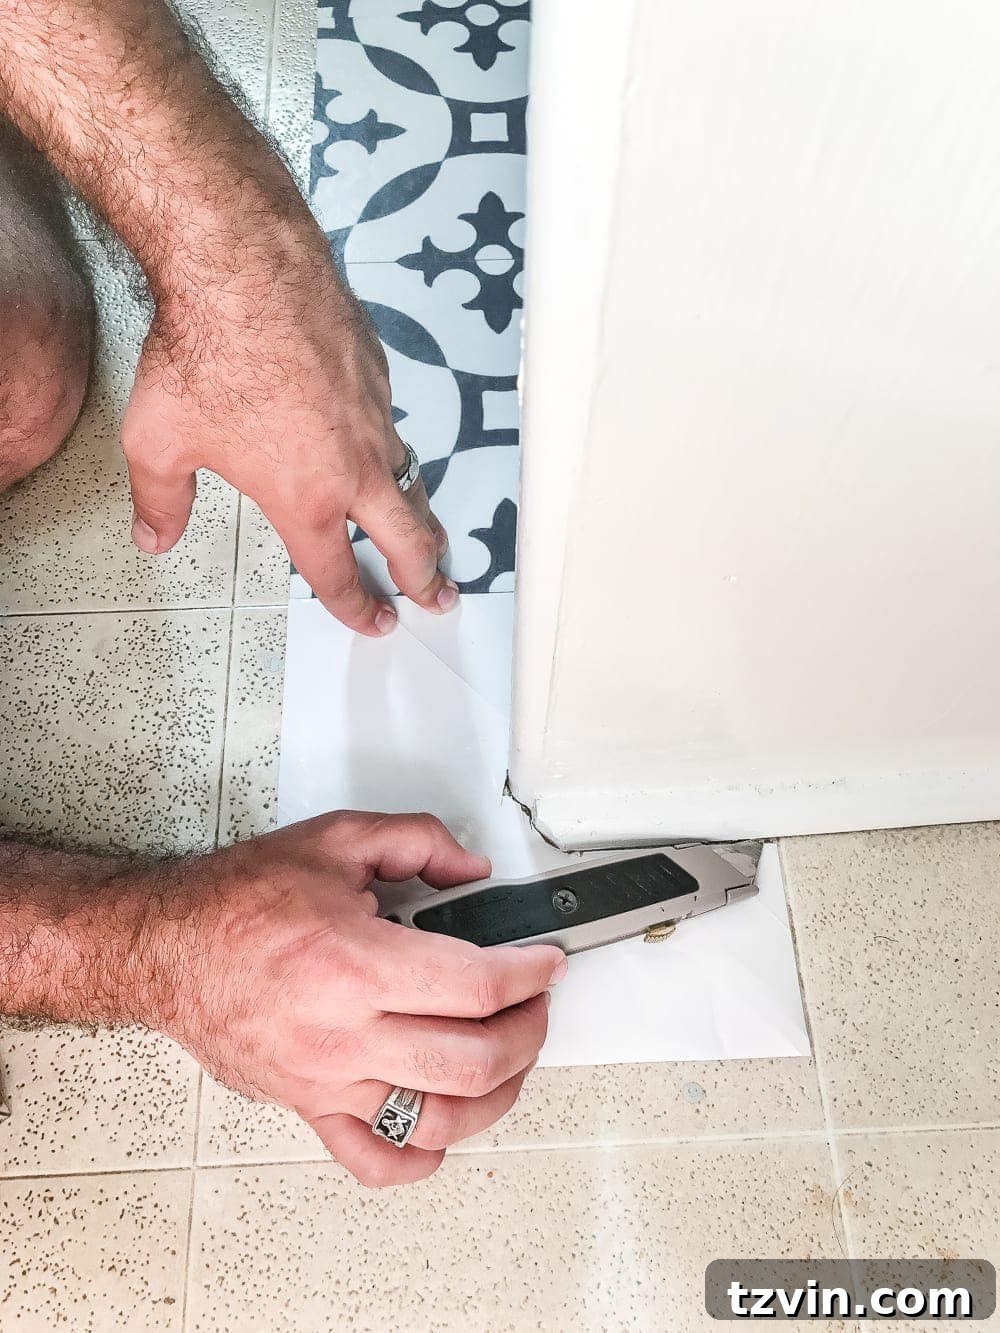
As you approach walls, doorframes, or other obstacles, you’ll inevitably need to cut your tiles. For straight cuts along edges, simply position the tile, fold it to create a crease where you need to cut, and then use your utility knife and a straight edge to score and snap the tile. For more intricate shapes around pipes or irregular corners, a clever trick involves using the tile’s backing paper as a template. Place the backing paper over the area to be tiled, trace the exact shape of the obstruction with a pencil, then cut out the template. Transfer this template to your vinyl tile, trace, and carefully cut with your utility knife. Always use a cutting mat or scrap material underneath to protect your floor.
The Stunning Transformation: Effortless Results
One of the most remarkable aspects of this DIY project was its speed. The entire installation process for our laundry room floor took only a couple of hours. Compare that to the multi-day commitment typically required for painting and stenciling a floor, which involves extensive drying times between coats. The efficiency of peel and stick tiles is truly unmatched.
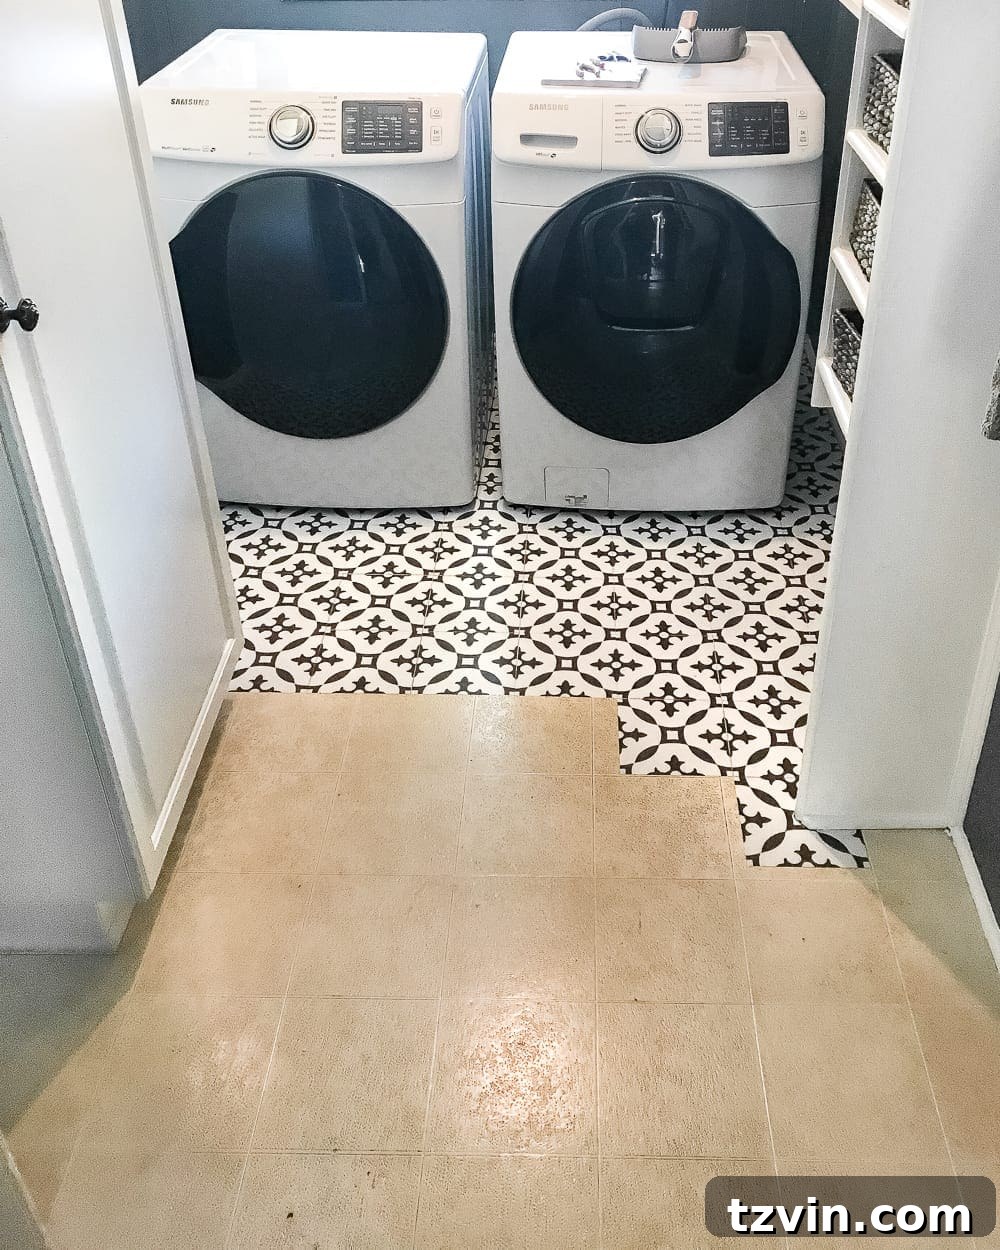
While achieving 100% perfection can be challenging in any DIY project, we were thrilled with the outcome. Some pattern alignments might have been off by a millimeter or two, but these minor details are virtually unnoticeable in the overall design. We also intentionally left about an 1/8-inch gap between tiles to create the subtle illusion of grout lines, adding to the authentic tile look. The most important thing is that the final result was a monumental improvement over the unappealing floor we started with.
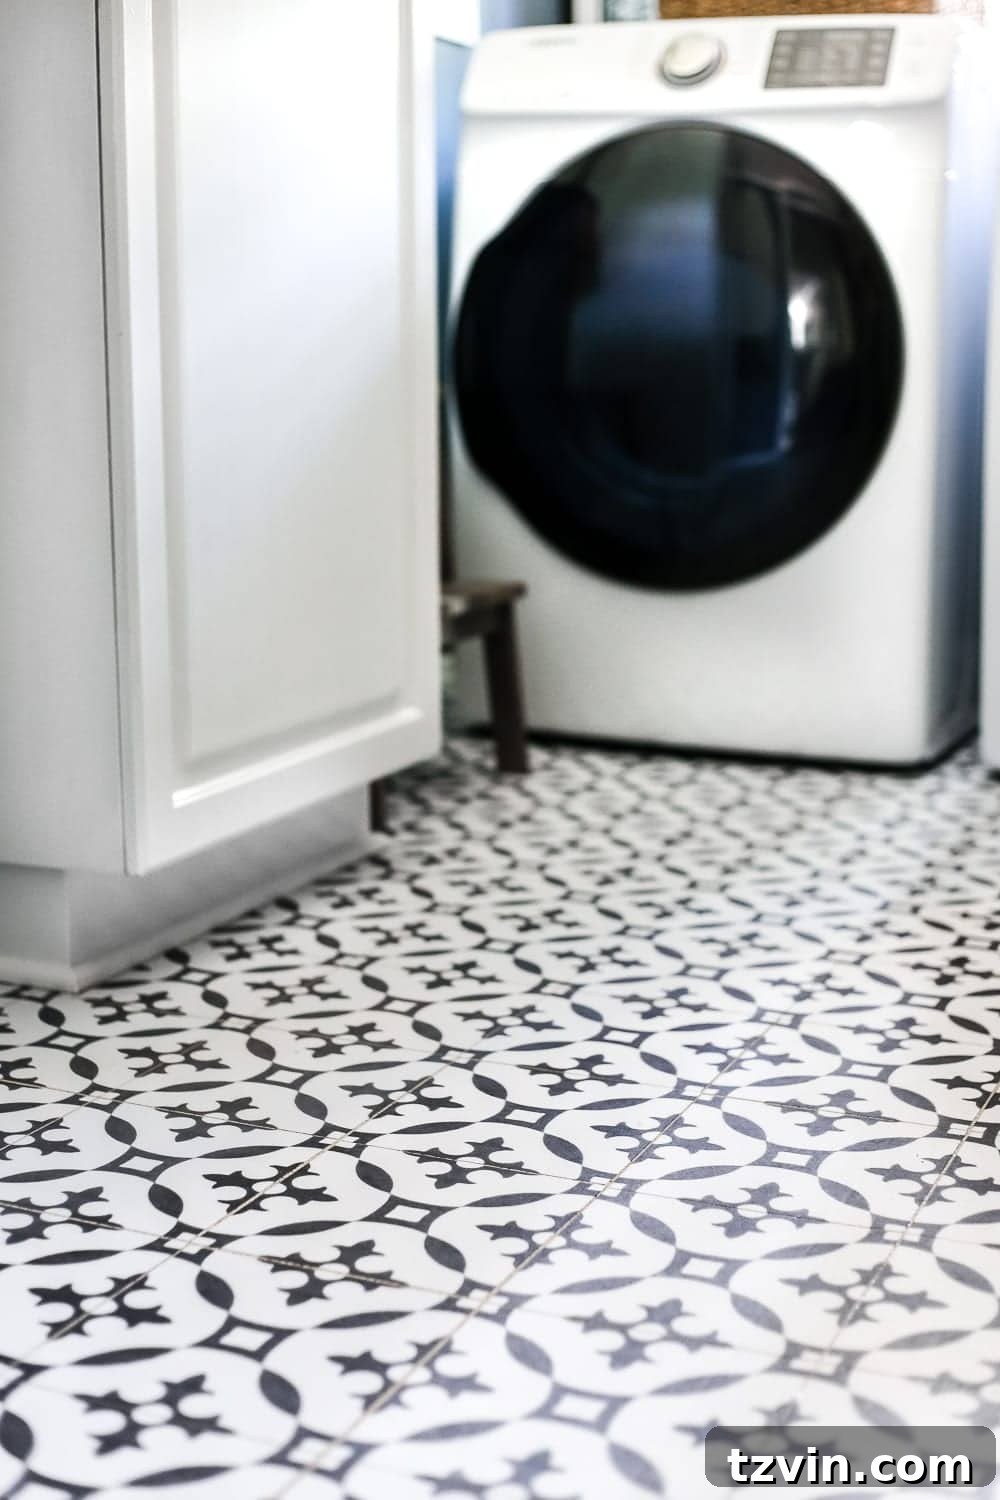
Durability and Maintenance: Living with Peel & Stick Tiles
After installation, it’s crucial to allow the adhesive to cure properly. We waited 24 hours before walking on or mopping the new floor. This curing period ensures the tiles form a strong, lasting bond with the subfloor. Once cured, the durability of these tiles truly impressed us. We even had to slide our heavy washer and dryer back into place, and not a single tile shifted or budged. It’s a testament to the strong adhesive and proper installation.
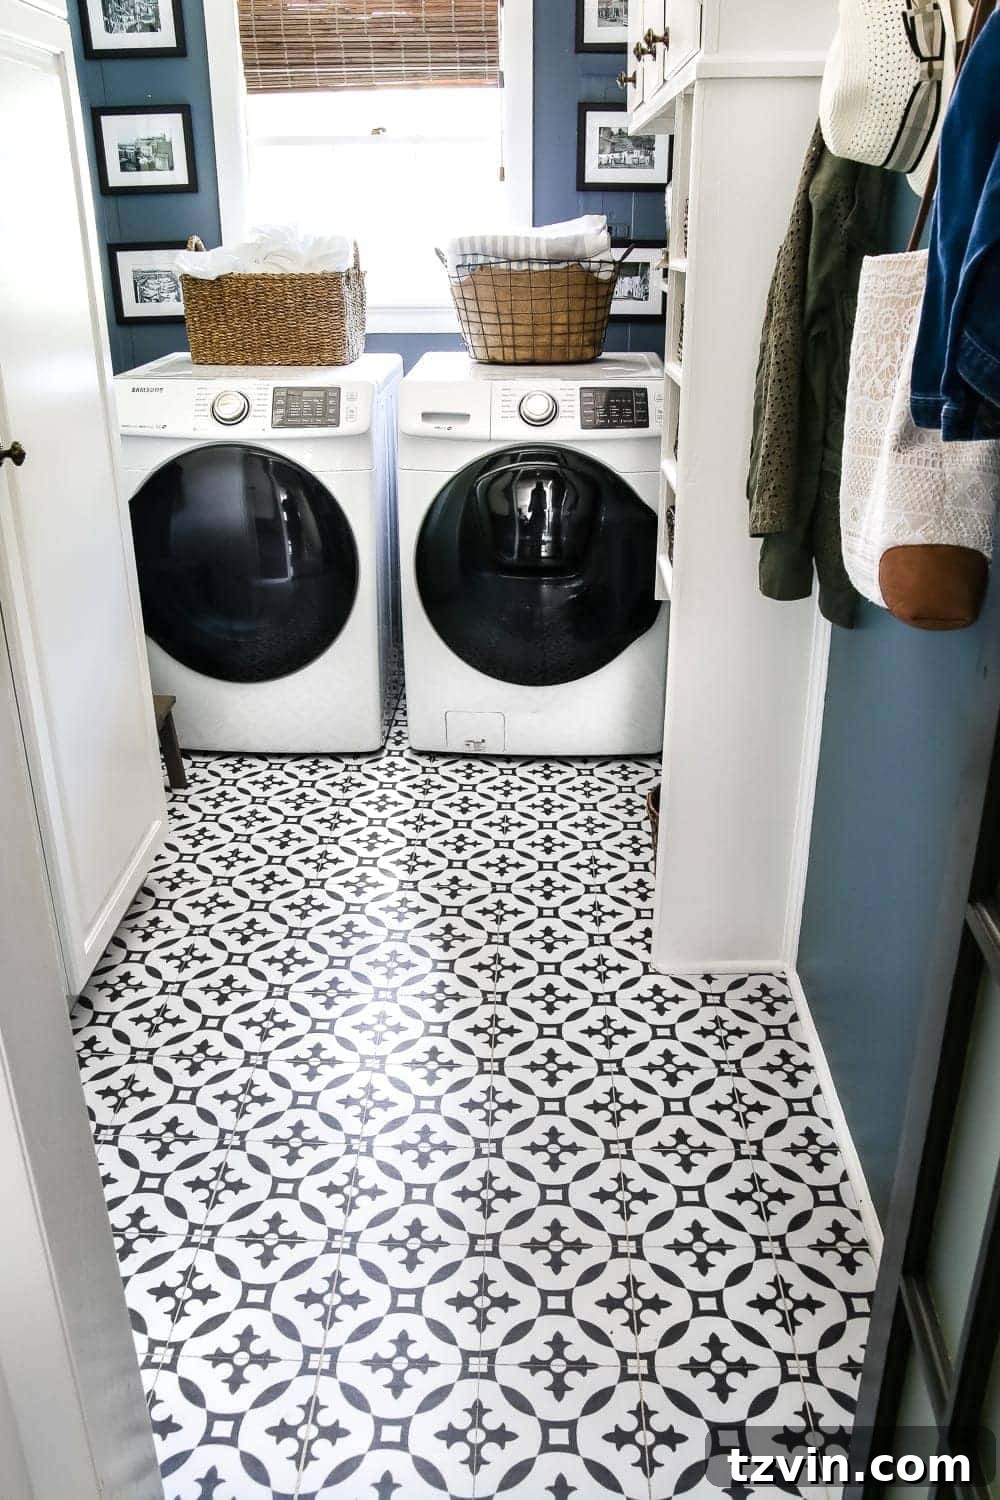
We’ve been using this laundry room consistently for several weeks now, and the floor has held up perfectly, showing no signs of wear or lifting. The ease of maintenance is another significant advantage; a simple mop and mild cleaner are all that’s needed to keep them looking pristine. Should we ever decide to change the aesthetic, replacing these tiles will be a far less daunting task than removing real Moroccan cement tile, offering incredible design flexibility for the future. However, given how much we love this pattern and its performance, we anticipate enjoying this floor for a very long time.
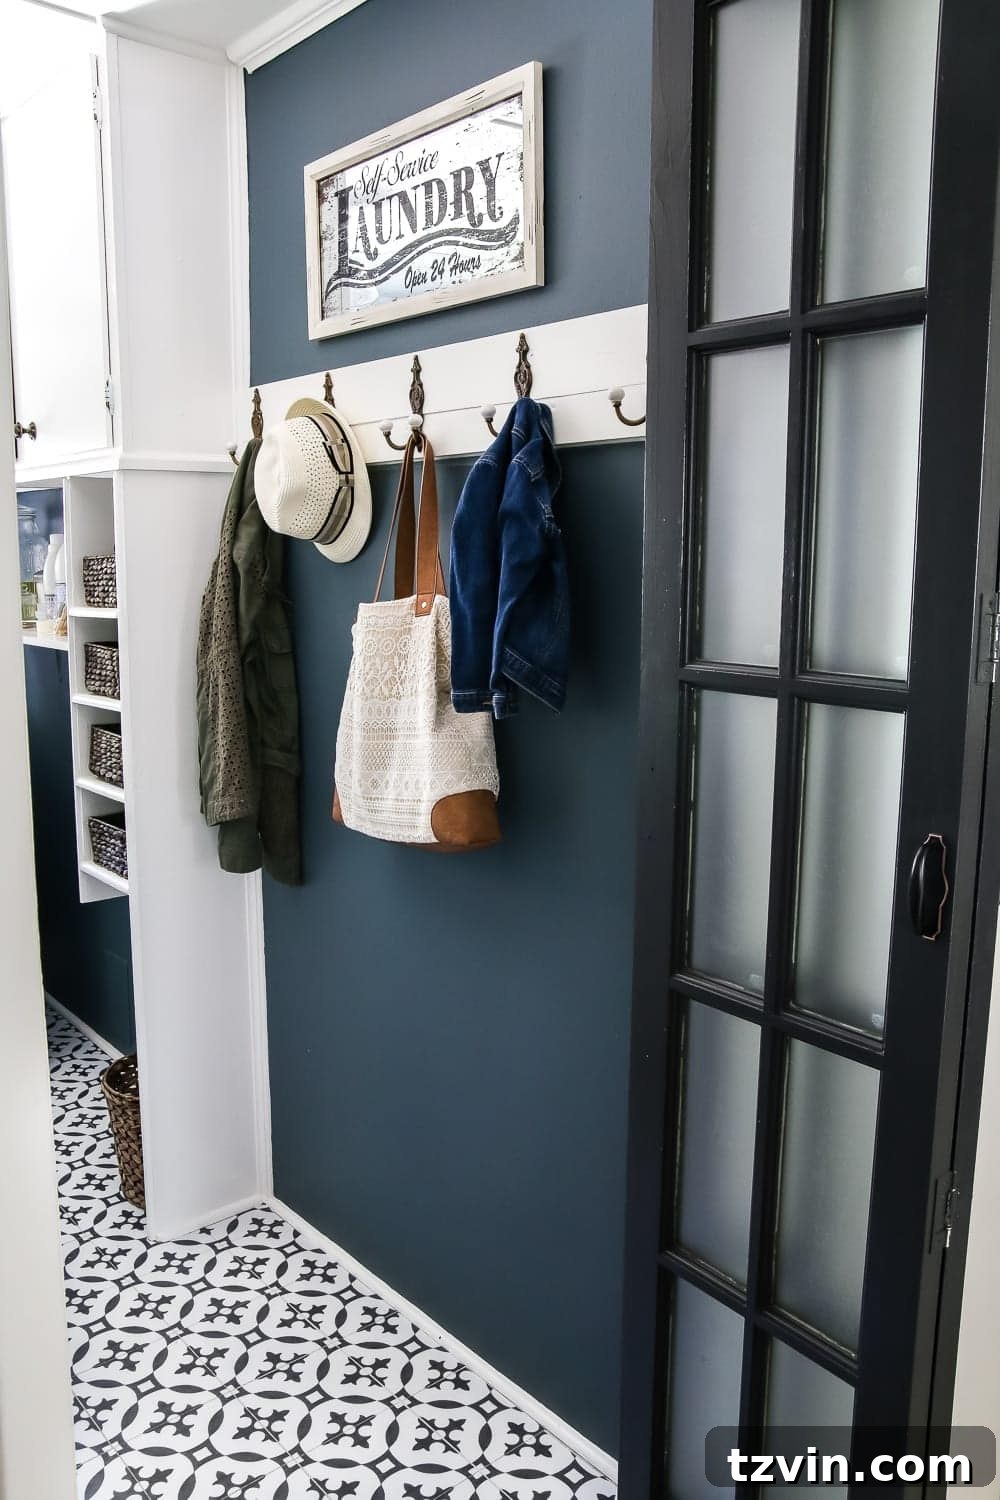
Our laundry room makeover is nearing completion! While we still have some organizing solutions to implement and a fluorescent light fixture to replace, the floor was a pivotal step in achieving the cohesive, stylish space we envisioned. It’s truly amazing how much character and vibrancy these simple tiles brought to the room.
For those embarking on similar laundry room transformations or simply looking for inspiration, here’s a rundown of other projects and sources we’ve explored for this space:
- Mood Board and Design Plans
- Laundry Room Paint Choices and Application
- Installing a French Bifold Door for Enhanced Style
- Creating Vintage Clothesline Printable Art
Have you ever used peel and stick vinyl tiles for a floor project? What was your experience like, particularly regarding their long-term durability? I’m eager to hear your thoughts and will certainly provide an update on the longevity of our tiles in about six months. Fingers and toes crossed for continued success!
If you found this DIY tutorial helpful and want to save it for future reference, feel free to pin it: