
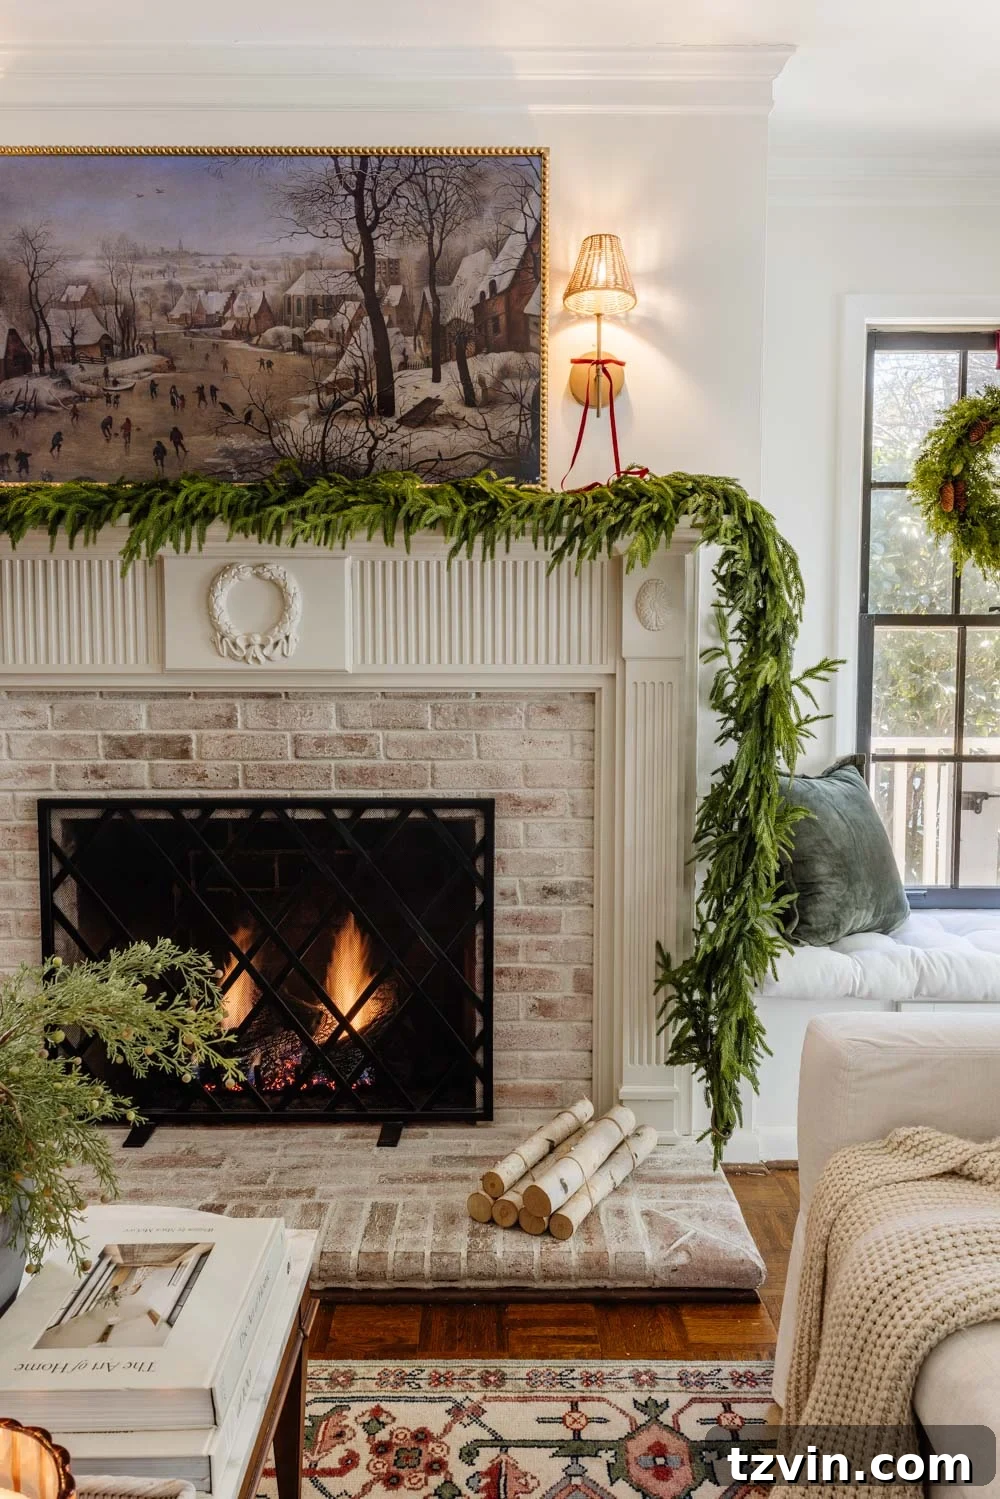
For years, a vision of an elegantly detailed fireplace has lingered in my mind, a missing piece in our beloved Federal Colonial home. Today, I am thrilled to announce that this long-awaited project is finally complete! Our house, with its distinct architectural character, deserved a fireplace that truly echoed its historic charm. We brought this vision to life by transforming our existing mantel with traditional Federal Colonial style molding, just in time to infuse our home with festive spirit for the holidays.
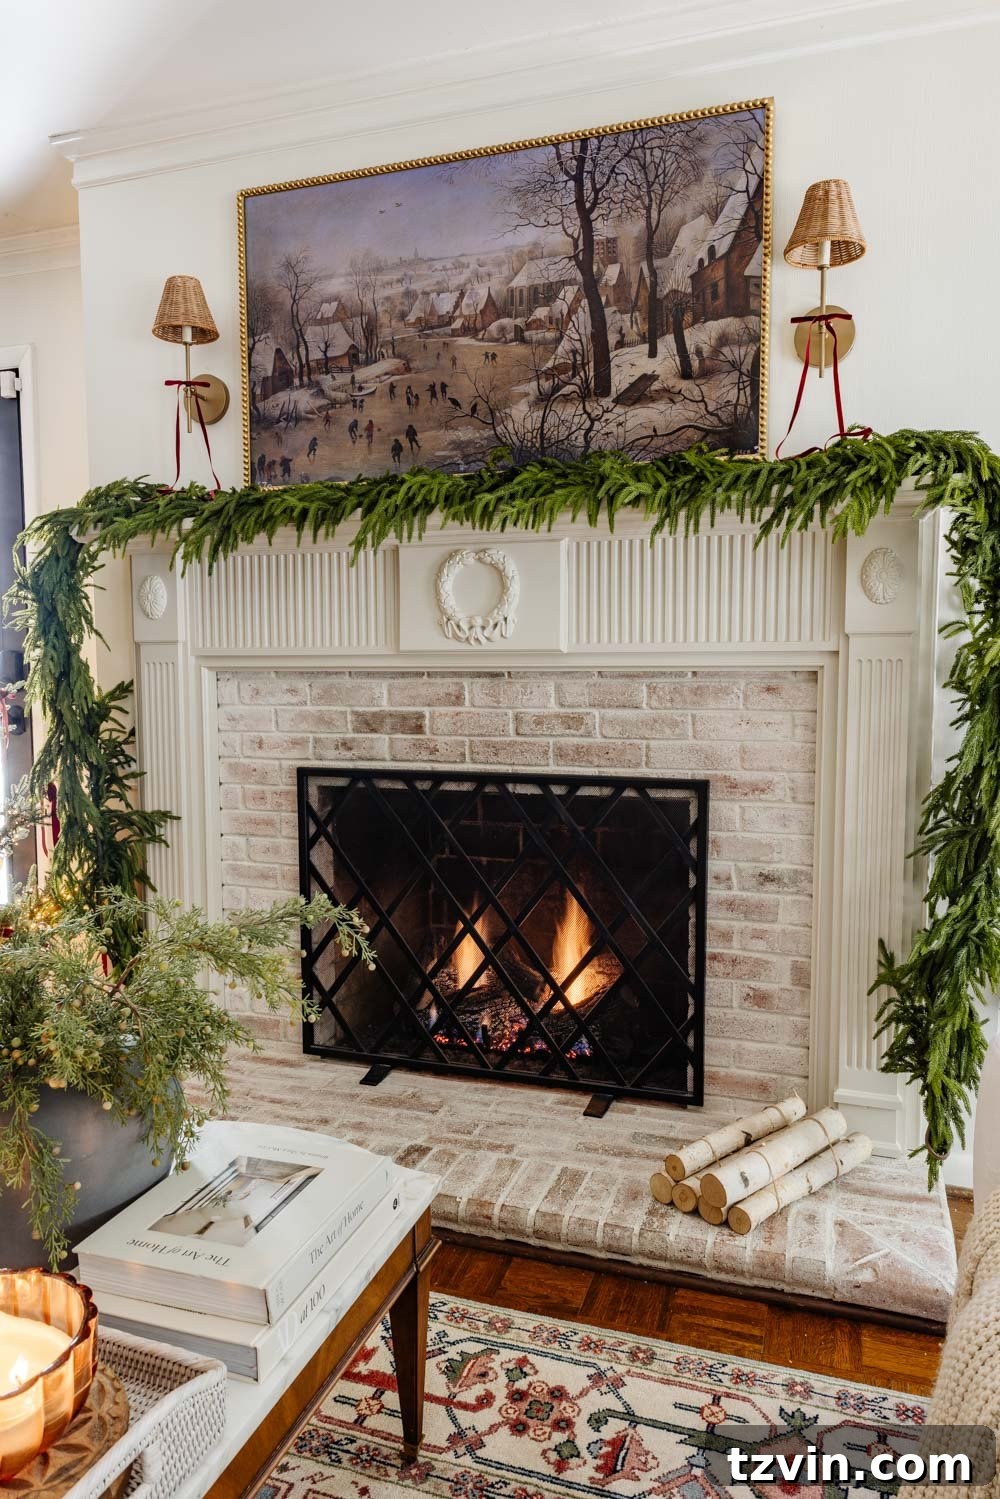
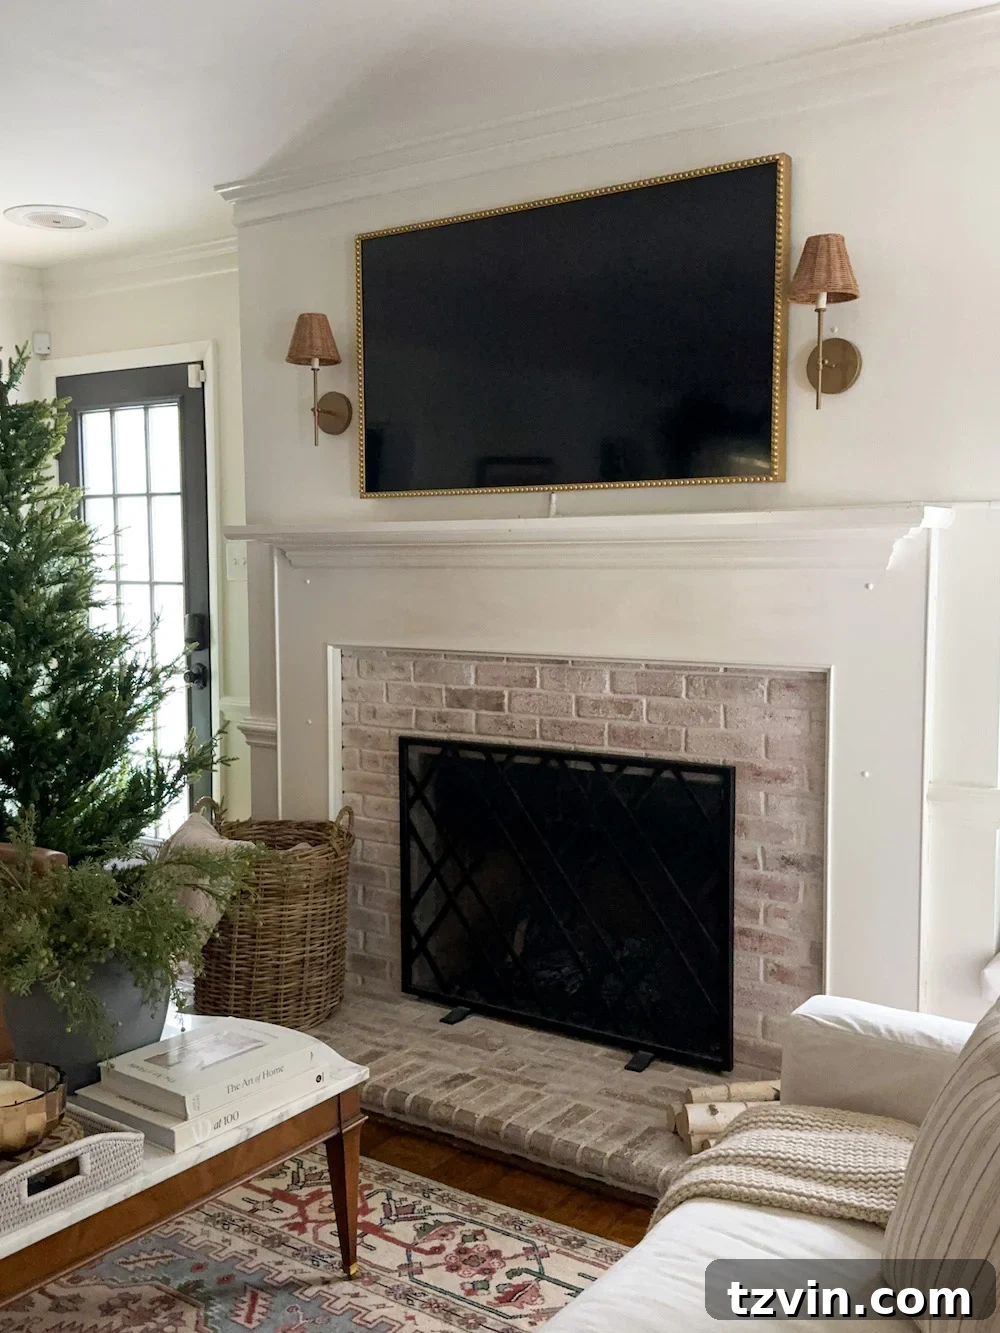
Our fireplace mantel, while functional and perfectly fine for the past eight years, was showing its age and was definitely due for a fresh coat of paint. As often happens with home improvement projects, one small task can spark a grander vision. We decided this was the perfect opportunity to go beyond a simple repaint and add the intricate embellishments that would elevate it from merely “fine” to truly spectacular. This makeover wasn’t just about aesthetics; it was about honoring the architectural heritage of our home and creating a focal point that commanded attention and warmth.
Related Reading: Discover More DIY Wall Molding Ideas to Add Character to Your Home
Elevating Your Fireplace: A Step-by-Step Guide to Traditional Mantel Molding
This ambitious yet achievable DIY project can be completed in as little as two days, making it an ideal weekend endeavor for those looking to spruce up their living space without a lengthy commitment. Imagine transforming your fireplace before the holiday season arrives, creating a cozy and elegant centerpiece for all your festive gatherings! The total cost for all supplies, excluding major power tools you might already own, came in at a surprisingly budget-friendly $393. This makes it a fantastic option for homeowners eager to make a significant impact without breaking the bank.
For those mindful of their budget or just starting their DIY tool collection, rest assured that this project is adaptable. While a powerful compound miter saw streamlines the process, we’ve included alternatives that allow you to achieve professional-looking results with more basic, less expensive tools. This flexibility ensures that anyone with a passion for home improvement can tackle this rewarding project.
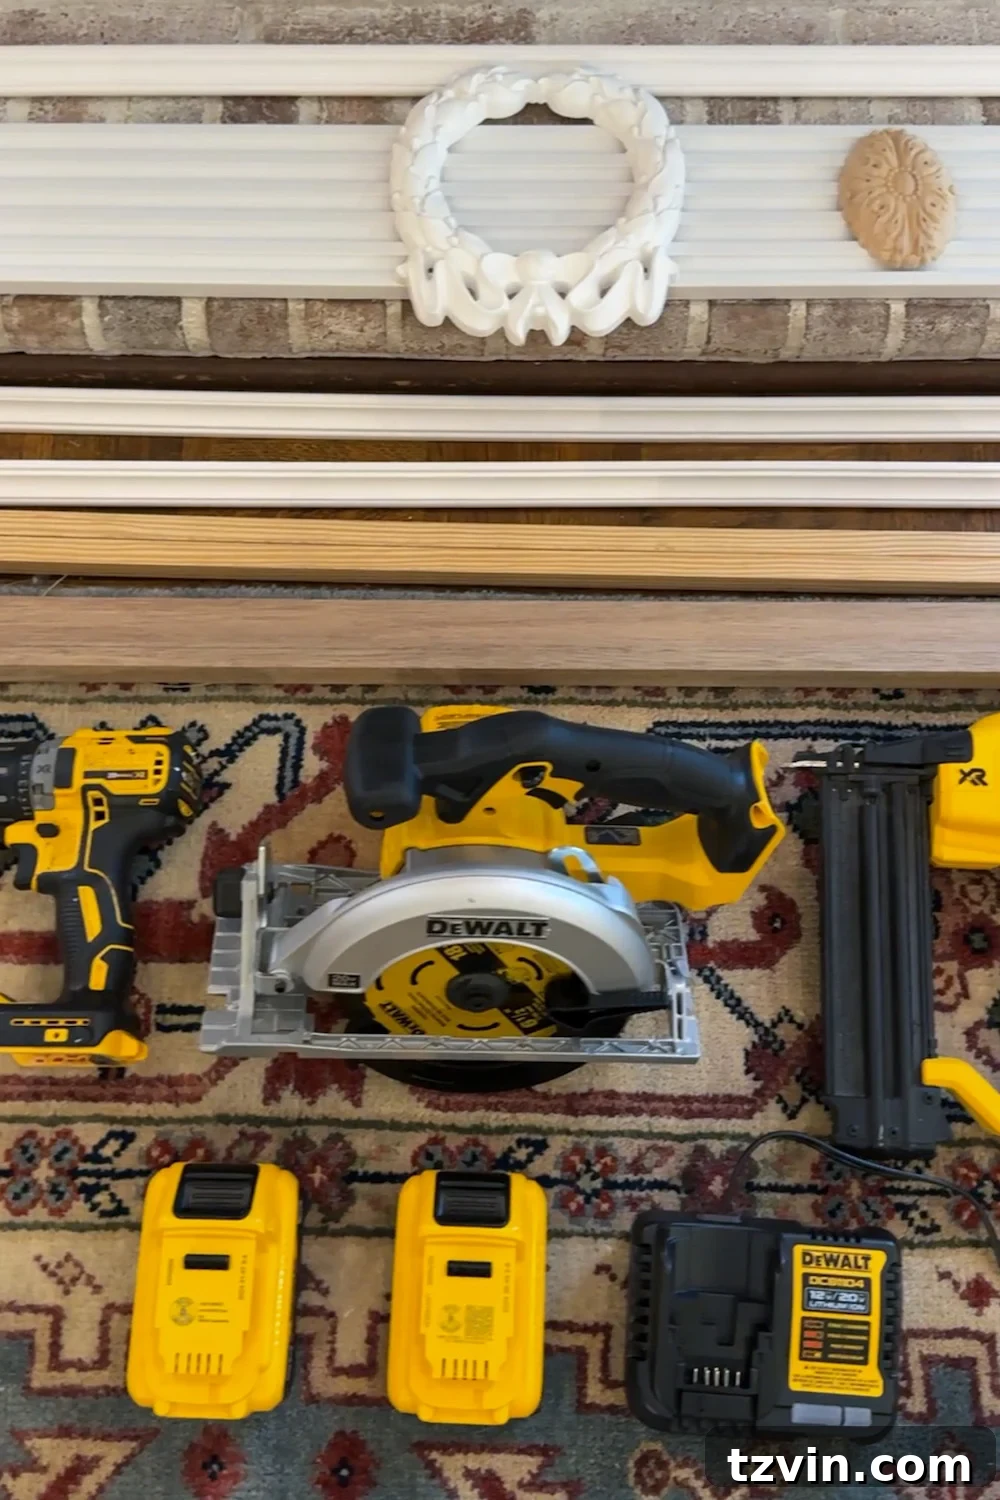
Essential Supplies for Your Mantel Makeover
To embark on this journey of transforming your fireplace, gathering the right materials is paramount. We’ve carefully selected each component to ensure both aesthetic appeal and structural integrity, resulting in a durable and stunning finish.
- Pair of Ekena Millwork 2 in. x 6 in. x 72 in. Fluted PVC Pilaster Moulding: These pre-fluted pilasters are key to achieving that classic Federal Colonial look, providing vertical architectural interest. PVC is durable and moisture-resistant, making it ideal for a long-lasting finish.
- 2 – 3/4 in. x 5-1/4 in. x 8 ft. MDF Fluted Casing: Ideal for filling the header space, MDF casing is stable, cost-effective, and takes paint beautifully, closely mimicking traditional wood profiles.
- 4 – 1 in. D X 1 in. W X 48 in. L Primed Traditional Hardwood Panel Moulding: Used for creating clean borders and defining decorative panels, this primed hardwood is ready for your chosen paint color, offering crisp lines and durability.
- 16 linear feet – 1/2 in. x 3/4 in. Solid Pine S4S Molding: This versatile molding will serve various framing purposes, offering a neat and finished edge around the detailed panels. Pine is easy to cut and work with, making it beginner-friendly.
- Ekena Millwork 8 3/4 in. x 7 3/4 in. x 3/4 in. Dublin Wreath Onlay: The central decorative element for the header, adding a touch of classic Federal Colonial sophistication and a focal point to the design.
- 2 – Ekena Millwork 5/8 in. x 3 in. x 4-1/4 in. Ashford Oval Rosette: These elegant rosettes will adorn the pilasters, enhancing the Federal Colonial aesthetic with their delicate, symmetrical form.
- 1 in. x 12 in. x 16 in. edge-glued hardwood: This piece will form the sturdy base for your central wreath onlay, offering a solid surface for attachment and, optionally, for routered detailing.
- Heavy duty construction adhesive: Essential for securely bonding decorative elements and ensuring long-lasting adhesion, especially on non-porous surfaces like PVC.
- Latex caulk: Your best friend for filling any small gaps or imperfections, creating a seamless, professional finish that prepares the surface perfectly for paint.
- Bonding primer: Crucial for ensuring excellent paint adhesion, especially on PVC and MDF, providing a uniform base for your chosen paint color and preventing future chipping.
- Behr Cabinet Doors & Trim Enamel in the color Even Better Beige: This durable enamel is perfect for high-traffic areas like a fireplace mantel, offering a smooth, chip-resistant finish that is easy to clean and maintains its beauty.
- Fine grit sandpaper: For smoothing out wood filler and ensuring a flawless, silky surface before painting, which is key to a professional look.
- Tape measure: Precision is key in molding work; a reliable tape measure is indispensable for accurate cuts and placements.
- Level: Absolutely essential for ensuring all your molding pieces are perfectly straight and plumb, preventing a crooked or uneven final appearance.
- Pry bar: For carefully removing existing molding without damaging the surrounding wall or mantel, ensuring a clean start for your new project.
Essential Tools for a Flawless Finish
Having the right tools can make all the difference in the efficiency and quality of your DIY project. While some are indispensable, we also provide alternatives for various budget and skill levels.
- Power drill/driver: For pre-drilling holes and securing screws, preventing wood splitting and ensuring secure attachments, particularly when working with denser materials or near edges.
- 23 gauge pin nailer: Perfect for attaching delicate trim pieces without leaving noticeable nail holes, making cleanup and filling much easier. Its small nails virtually disappear, creating a seamless look.
- Compact router kit (optional but recommended): While not strictly necessary, a router can add beautiful, traditional profiles to the edges of your hardwood block, significantly elevating the overall custom and professional appearance of the mantel.
- Compound miter saw: The workhorse of this project, offering quick, precise, and accurate angled cuts for all your molding pieces. Its versatility allows for various miter and bevel angles, ensuring perfect joints.
Flexible Tooling Options for Every Budget
We understand that not everyone has a fully stocked workshop or the budget for every specialized tool. That’s why we’ve outlined alternative tools that can still help you achieve fantastic results, allowing you to tailor your approach based on your budget and available equipment. With a little extra patience and careful technique, you can still achieve a professional-looking Federal Colonial fireplace.
For a truly budget-friendly start, consider using a miter box and hand saw. This traditional method requires more time and manual effort, but it’s incredibly effective for precise angle cuts on molding, especially when paired with a good quality saw blade. While it may take longer than powered saws, the satisfaction of cutting by hand and the significant cost savings make it a viable option for many DIY enthusiasts. Just ensure your measurements are exact and your saw is sharp for clean cuts.
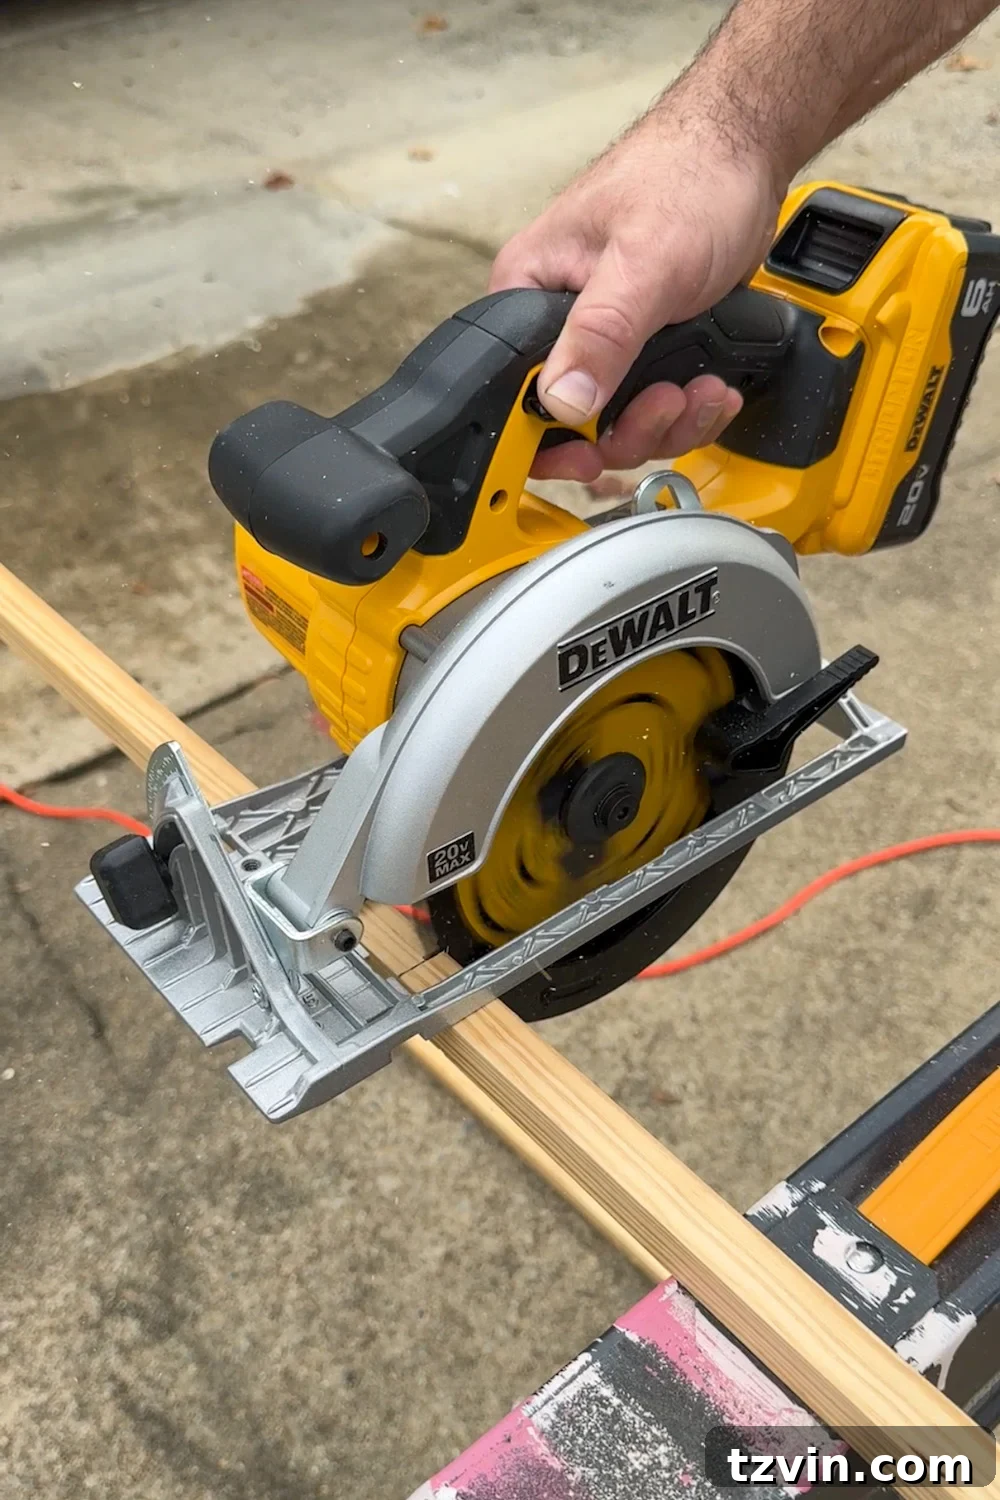
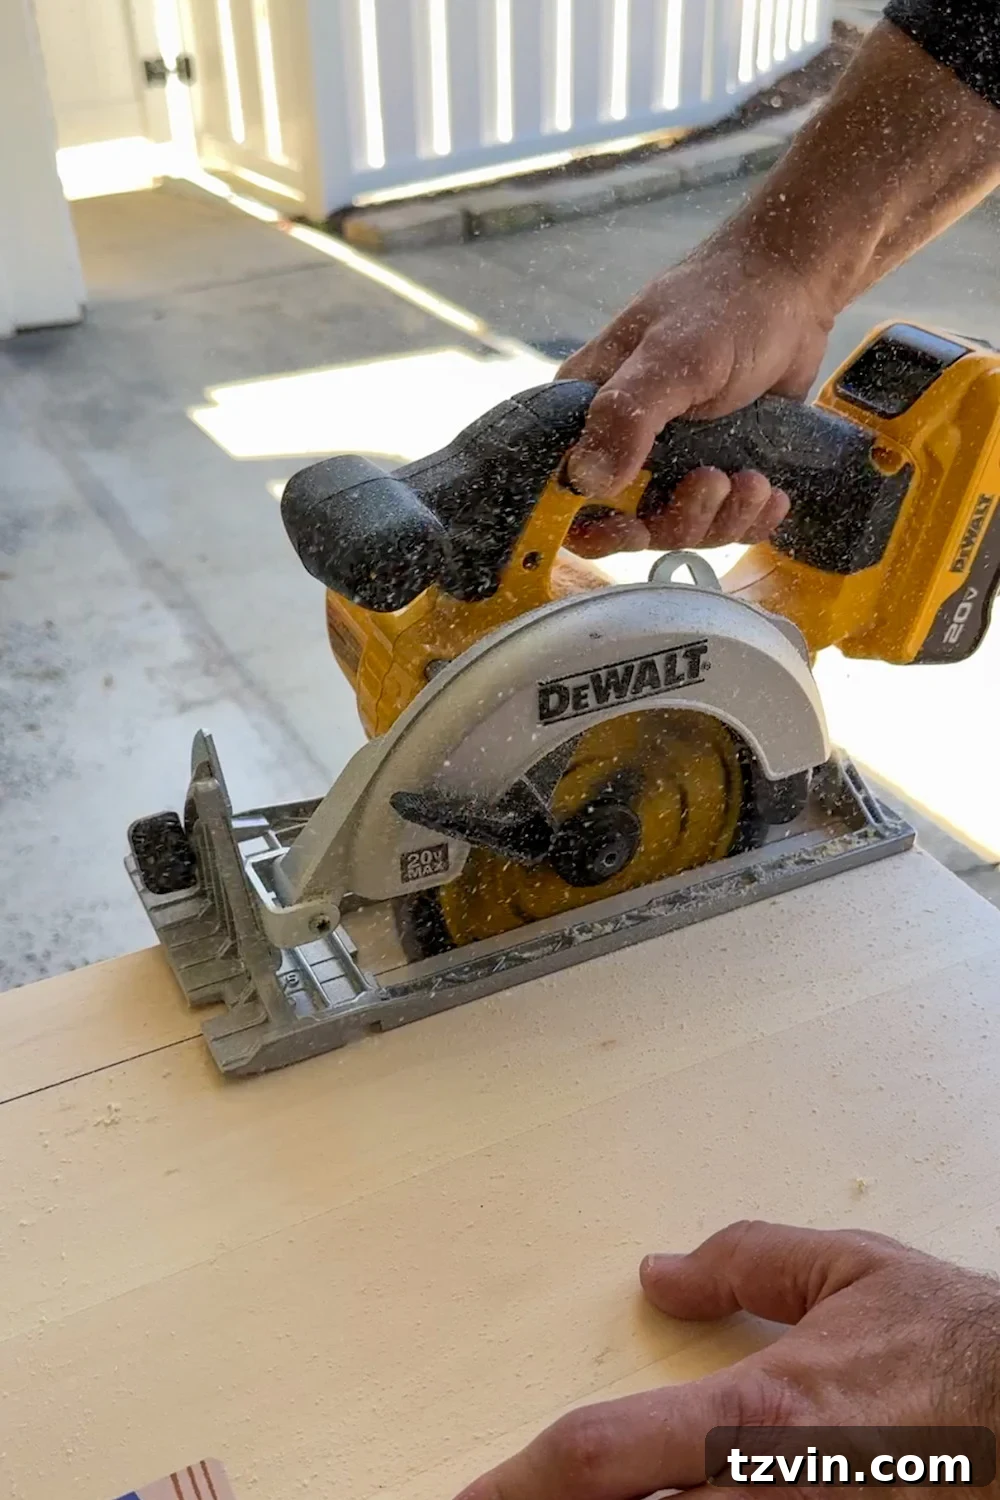
If you’re looking for a mid-range solution that balances cost and efficiency, a circular saw is an excellent choice. It provides more power and speed than a hand saw for straight cuts, significantly reducing your project time for larger pieces of material. However, for those crucial angled, miter cuts required for molding, you will still need to pair it with a miter box and hand saw or a speed square for guiding cuts to ensure accuracy. This combination offers a good balance for general cutting tasks and specific angled cuts, offering more versatility than just a hand saw.
However, for the quickest, most efficient, and most precise cuts on all types of molding, nothing beats a compound miter saw. This powerful tool allows you to make complex bevel and miter cuts with ease, ensuring seamless joints and a professional finish. It truly speeds up the process and reduces the margin for error, especially when working with numerous pieces of trim that require consistent angles. If you plan on doing many molding projects, this is a worthwhile investment.
It’s worth noting that investing in a compound miter saw was a significant decision for us, one that took several years of saving. Prior to owning one, we successfully completed numerous molding projects using a combination of a miter box, hand saw, and circular saw. So, don’t feel intimidated if you don’t have the top-of-the-line equipment. Alternatively, many hardware stores offer tool rental services, allowing you to access a compound miter saw for the duration of your project without the full purchase cost, making it accessible for a single project.
Further Inspiration: Explore Creative DIY Fireplace Ideas You Can Build Anywhere
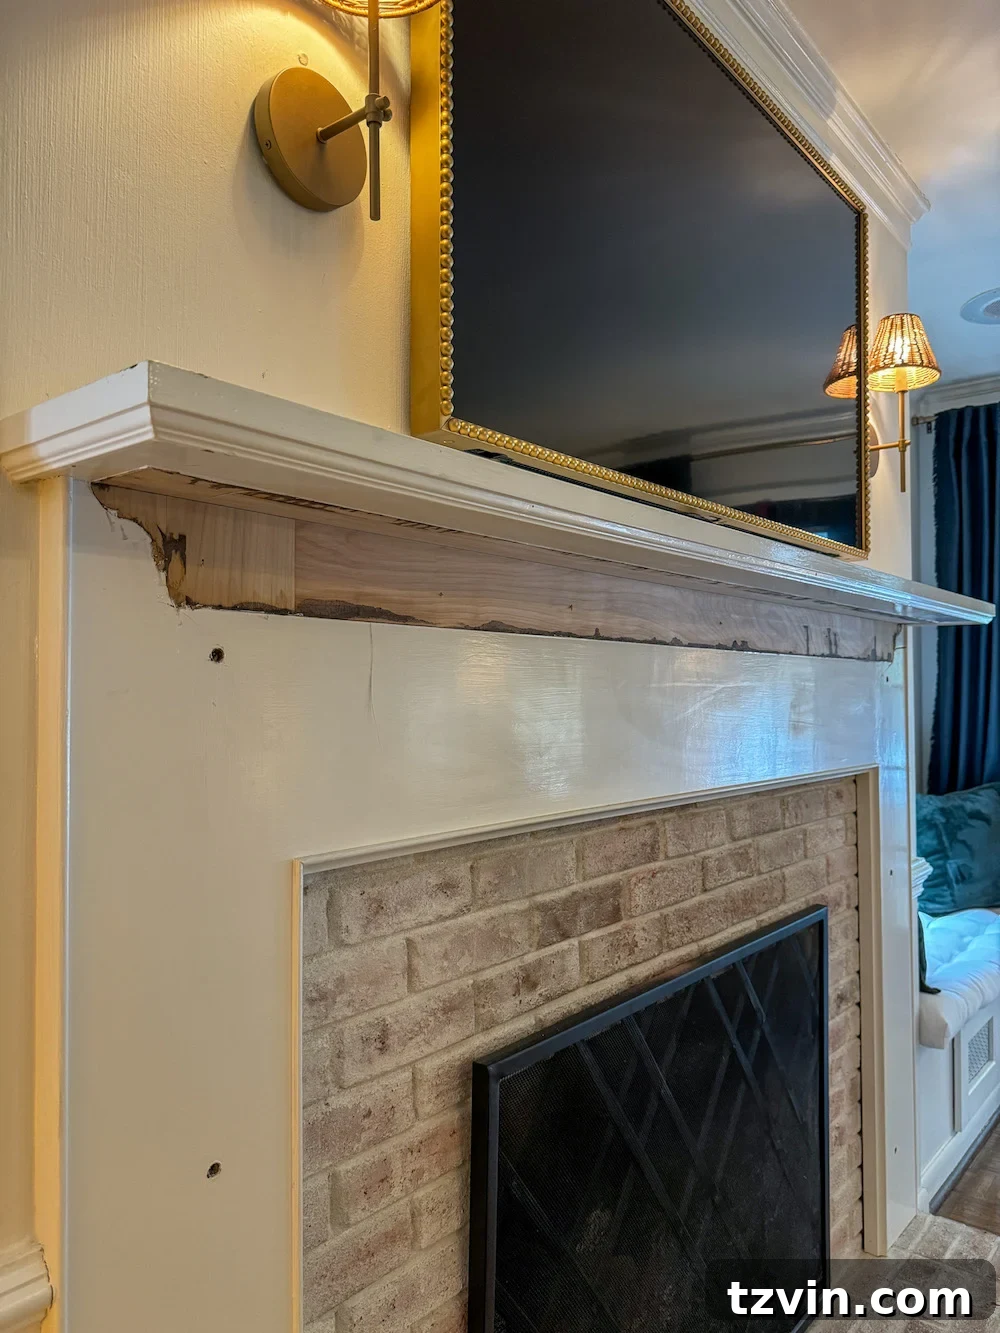
To begin our transformation, we first needed to create a clean, blank slate. Using a reliable pry bar, we carefully removed all the existing molding located directly beneath the mantel shelf. This initial step is crucial as it ensures the new, intricate Federal Colonial molding will sit flush and integrate seamlessly with the existing structure, providing a professional and polished foundation for the entire project. Take your time during this step to avoid damaging the surrounding wall or mantel.
Crafting the Foundation: Adding Pilasters and Plinths to the Mantel Legs
Pilasters are the vertical, flattened columns that flank the fireplace opening, often resting on plinth blocks. They are fundamental to the Federal Colonial aesthetic, providing a sense of grandeur and architectural detail. This section guides you through precisely installing these elegant features, which will define the vertical lines and classic structure of your new fireplace surround.
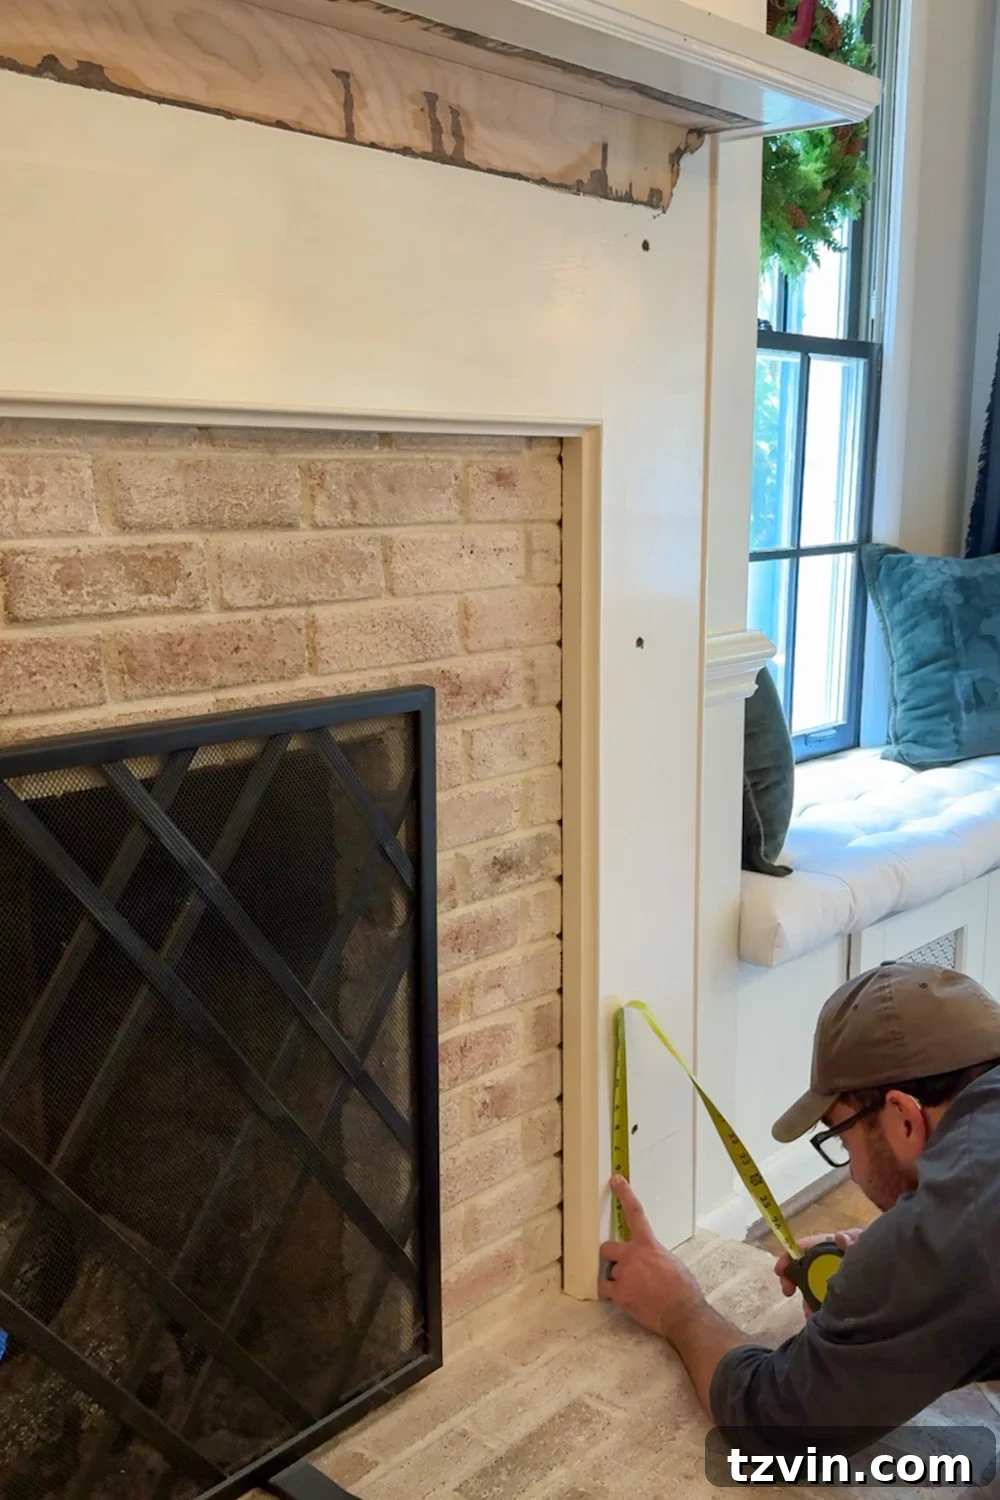
- Measure the Mantel Leg Precisely: Begin by taking an accurate measurement of each mantel leg, from the very top of the hearth to the underside of the mantel shelf. This measurement is critical for ensuring your pilaster molding pieces fit perfectly. Remember the carpenter’s adage: “Measure twice, cut once!” Double-check your measurements to avoid costly errors and ensure a snug, professional fit.
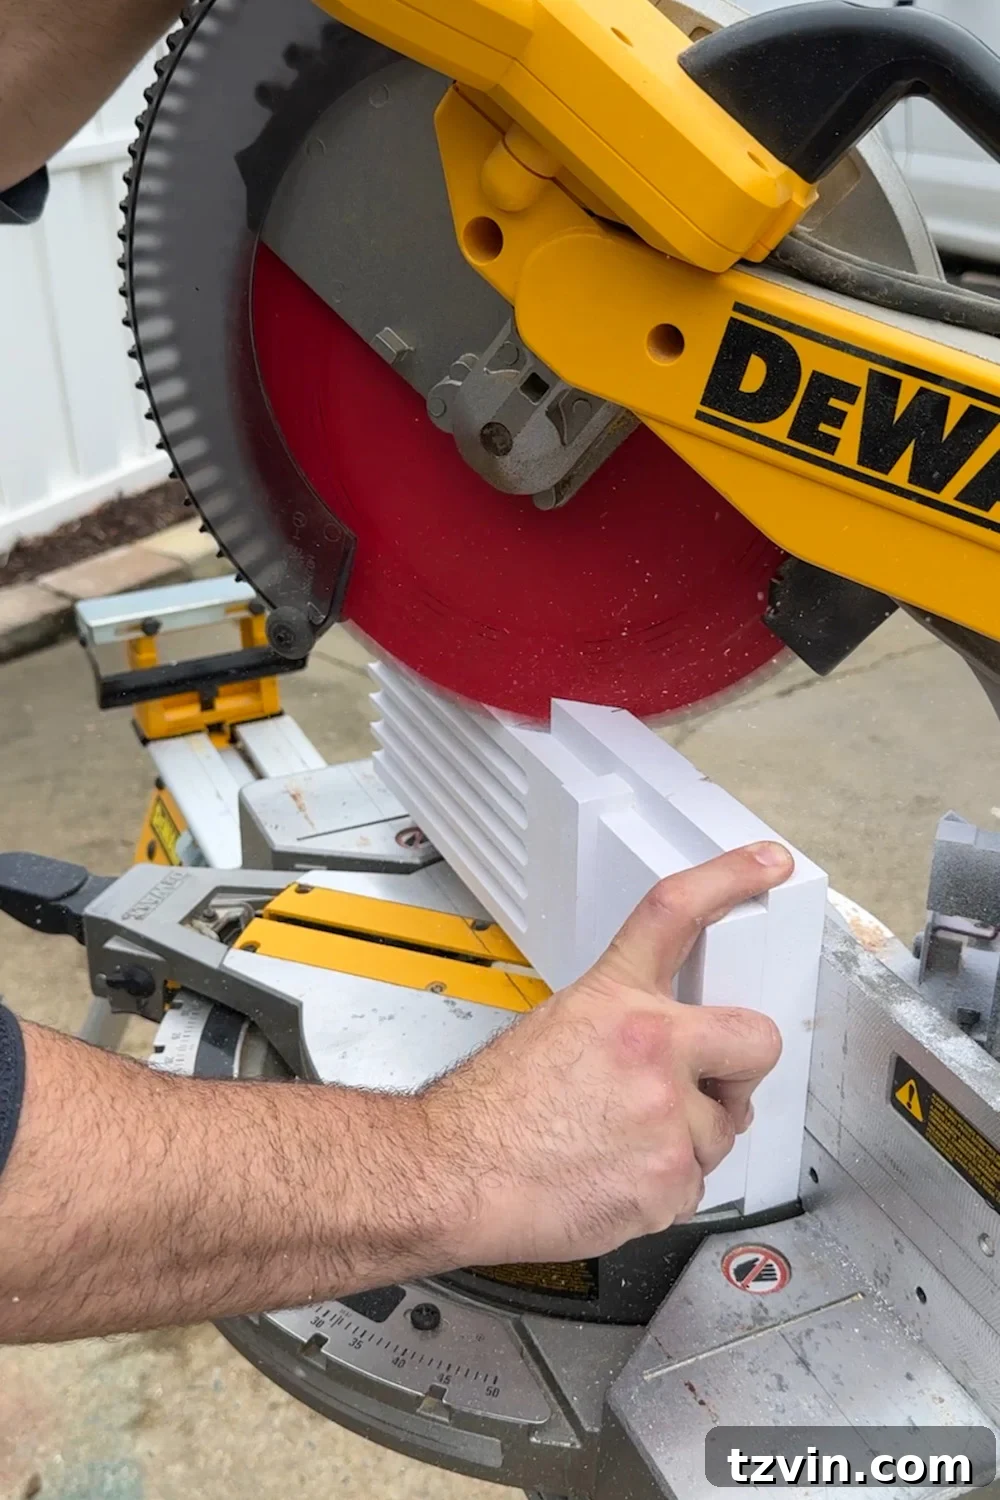
- Prepare the Pilaster Molding: Your Ekena Millwork pilaster molding comes in one long piece. Using your compound miter saw, carefully cut this molding in the middle at an angle. The goal is to create two separate pieces that, when installed, will form a continuous pilaster along the mantel leg with a visually seamless joint. Ensure the angled cut allows for a smooth, almost invisible seam once painted. This technique is often used to get the most out of a single piece of molding, especially when dealing with specific lengths.
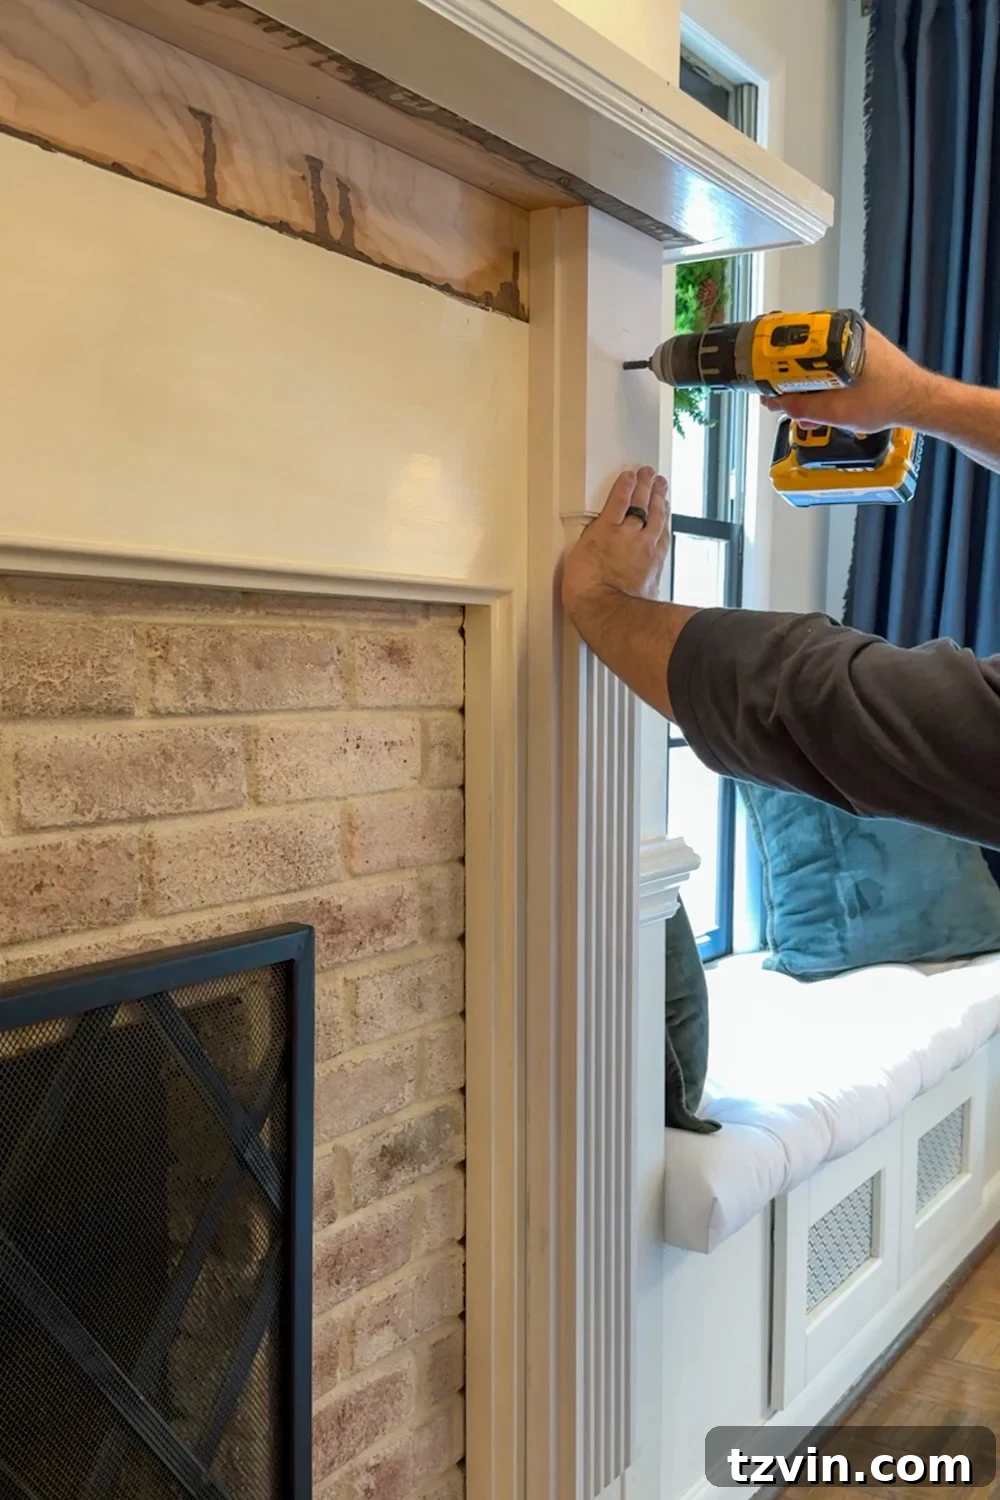
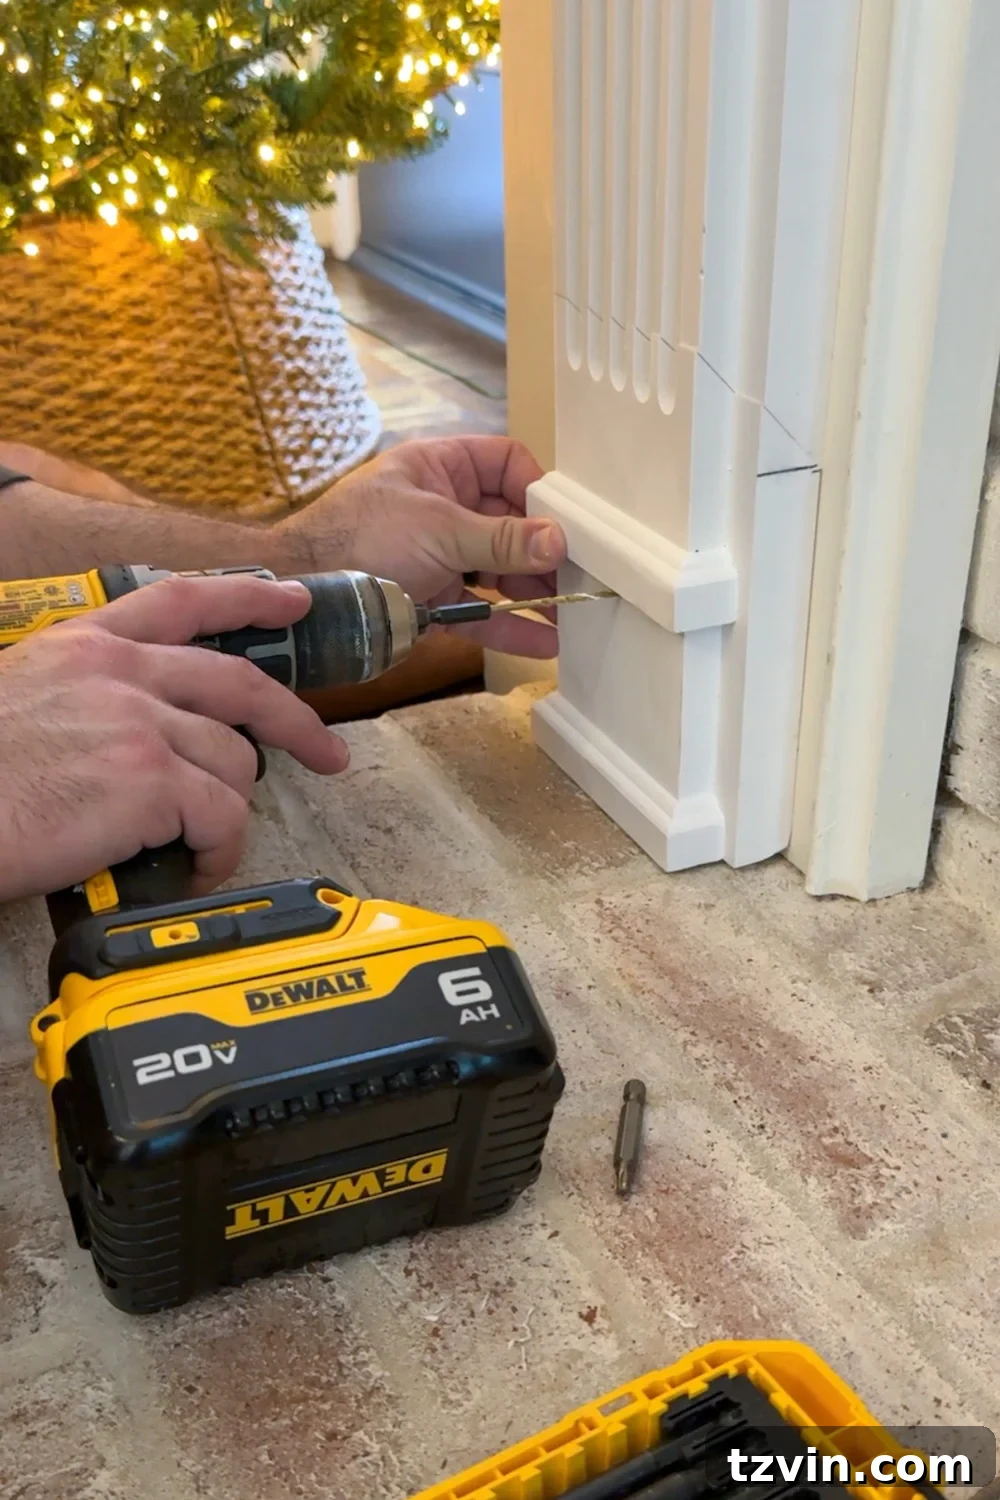
- Install the Top Pilaster Section: Take the upper portion of the pilaster molding. Position it carefully against the mantel leg, ensuring it is plumb using your level. Before attaching, it’s wise to pre-drill pilot holes at regular intervals, especially where it meets the plinth block section. This prevents the PVC or wood from splitting when screws are driven in. Apply a bead of construction adhesive to the back of the molding for extra hold, then secure the molding to the facing mantel leg using appropriate wood screws. Ensure it’s tightly secured for a professional and durable finish.
- Install the Bottom Pilaster Section: Mirror the process from Step 3 for the bottom section of the pilaster molding. Carefully align the angled cut you made in Step 2 with the top section, creating a continuous, seamless look down the mantel leg. Apply construction adhesive and then use screws, remembering to pre-drill as needed. Take your time to align these pieces meticulously, as any misalignment will be noticeable in the final painted finish. A seamless joint is key to a high-end appearance.
- Repeat for the Second Mantel Leg: Once one pilaster is perfectly installed, repeat steps 1 through 4 for the other mantel leg. Consistency is key here to ensure both sides of your fireplace are symmetrical and aesthetically balanced. Double-check your measurements, plumb, and alignments for both pilasters before moving on to the next phase.
Constructing the Elegant Fluted Mantel Header
The header is the horizontal section above the fireplace opening, connecting the two pilasters. Adding a fluted design here will dramatically enhance the Federal Colonial character, creating a rich and textured focal point. This segment involves careful measurement and assembly of various molding types to achieve a cohesive, decorative panel that ties the entire fireplace design together.
- Measure the Header Span: With the pilasters firmly in place, accurately measure the precise width of the header space between the inner edges of the two installed mantel legs. This measurement will dictate the length of your horizontal molding pieces. Use a flexible tape measure for accuracy and verify your reading.
- Cut Square Molding for Header Frame: Using either your circular saw or compound miter saw, cut two pieces of the 1/2 in. x 3/4 in. solid pine S4S molding to the exact width measurement you obtained in Step 1. These pieces will form the top and bottom frames of your fluted header panel, providing structural support and a clean edge.
- Mark Guide Lines for Placement: Before attaching anything, use your level to trace perfectly straight horizontal lines between the mantel legs. These lines will serve as your guide for attaching the square molding pieces. The top square molding piece should be positioned precisely 1 inch below the underside of the main mantel shelf, creating a consistent reveal. This attention to detail ensures symmetry and a refined appearance, crucial for the Federal Colonial style.
- Secure the Horizontal Square Molding: Apply a thin bead of construction adhesive to the back of the square molding pieces. Then, attach the two square molding pieces you cut in Step 2 to the header, using the lines you traced as your guide. Use your 23 gauge pin nailer for this step. Pin nails are ideal here as they create tiny holes that are easily filled, leaving a nearly invisible fastening method. Ensure these pieces are perfectly parallel and level across the entire span.
- Measure for Vertical Square Molding: Now, measure the exact distance between the inner edges of the top and bottom square molding pieces you just installed on the header. This precise measurement will determine the height of the vertical elements that complete your decorative box frame.
- Cut Vertical Square Molding: Cut two more pieces of the 1/2 in. x 3/4 in. solid pine S4S molding to the length determined in Step 5. These will be the vertical sides of your decorative box within the header, creating the inner frame for the fluted casing.
- Prepare Fluted Casing: Measure and cut multiple pieces of the 3/4 in. x 5-1/4 in. MDF fluted casing to the exact same measurement from Step 5. These will be the primary decorative elements within your header panel, creating the signature fluted texture.
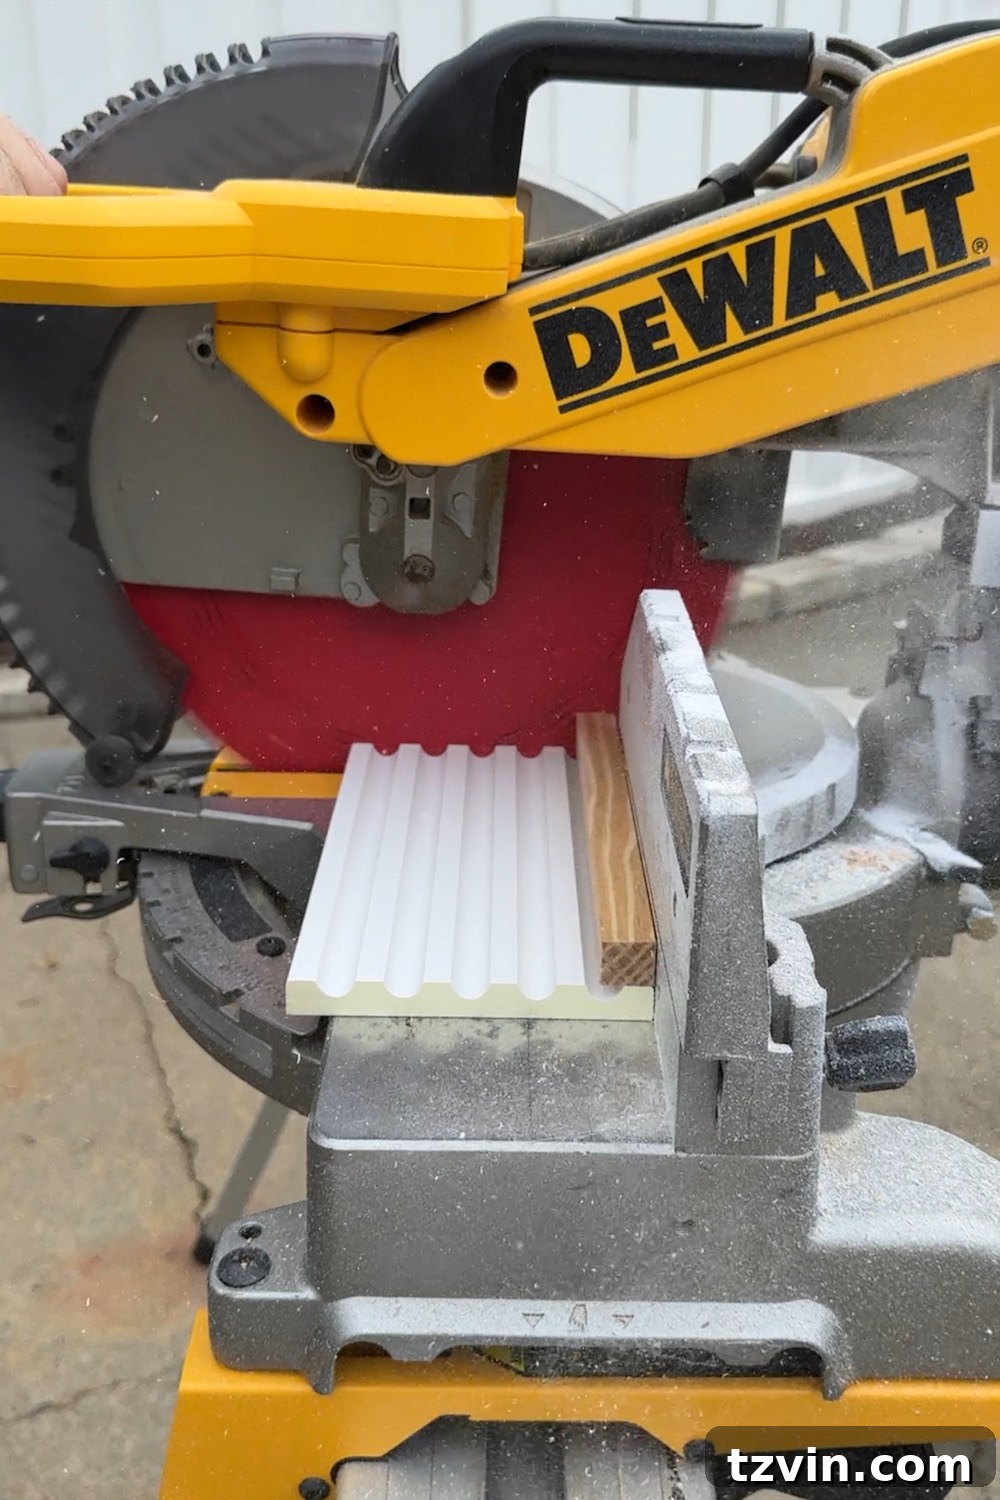
- Refine Fluted Casing Edges (Optional but Recommended): For a truly continuous and professional fluted pattern, you may need to trim the edges of your fluted casing pieces slightly. Use your miter saw to carefully shave off a small amount from the sides of each piece to ensure the flutes align seamlessly when placed side-by-side. This meticulous step prevents abrupt breaks in the pattern and creates a more bespoke, high-quality appearance.
- Assemble the Header Box and Fluted Infill: First, attach the two vertical square molding pieces (from Step 6) to the sides of the header, connecting the top and bottom horizontal pieces to complete your decorative box frame. Use your pin nailer for these attachments, applying construction adhesive for added strength. Once the frame is secure, carefully insert and attach the individual fluted casing pieces (from Step 7) side-by-side within this newly formed box, using your pin nailer. Ensure they fit snugly to create a beautiful, continuous fluted panel, working from one side to the other.
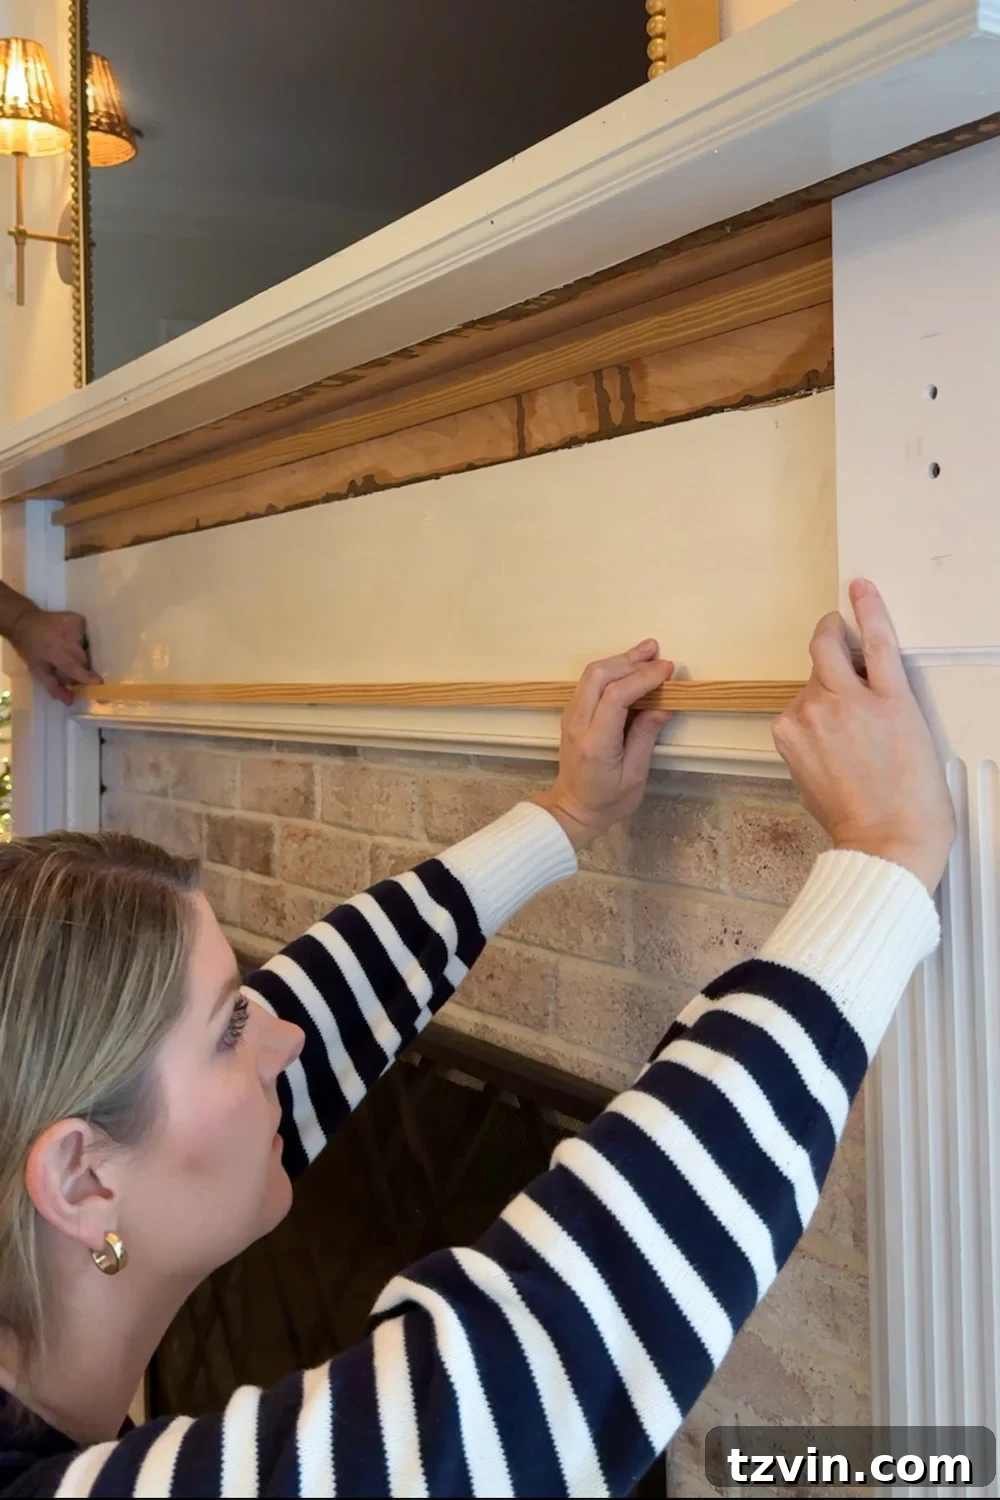
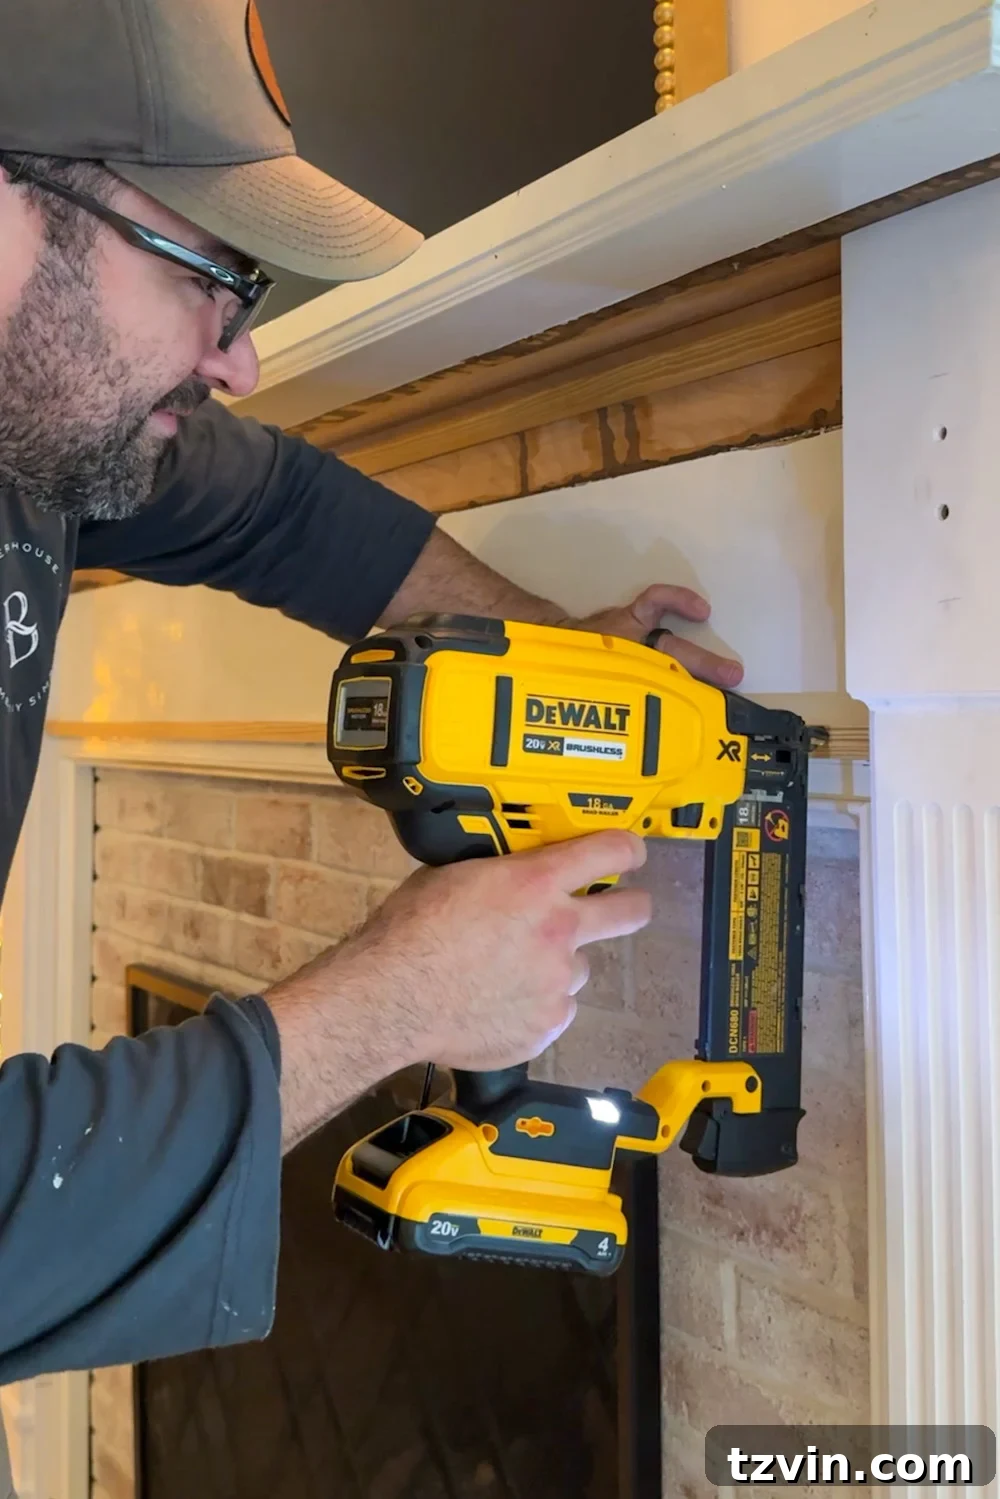
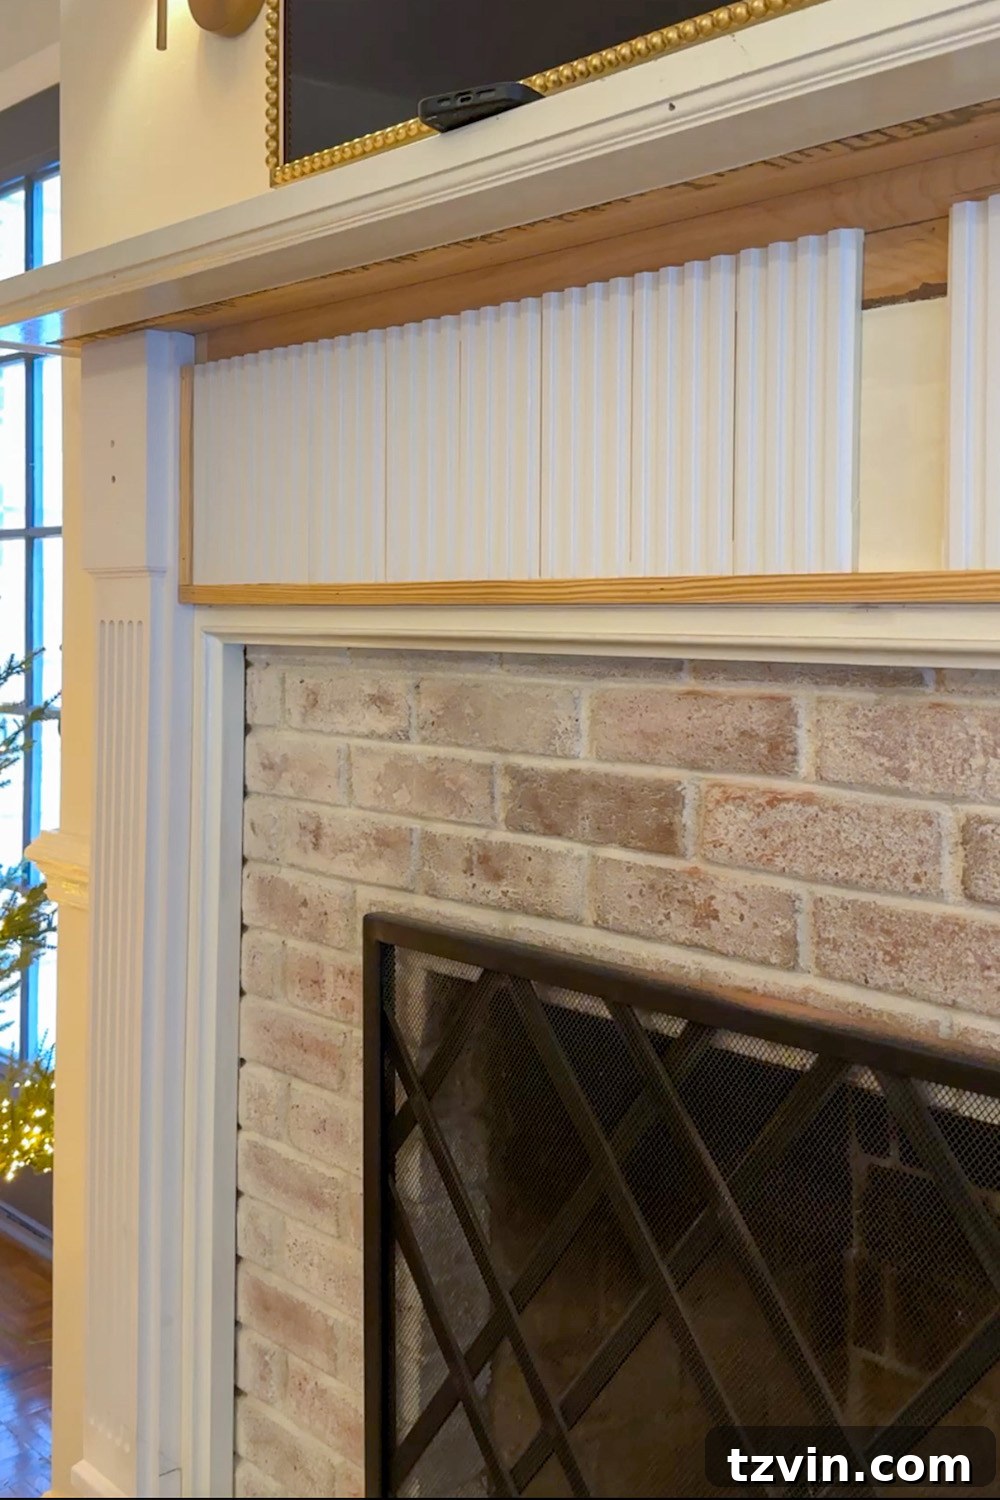
12. Install Panel Molding: Using your miter saw (or miter box and hand saw for angled cuts), carefully install the 1-inch traditional panel molding underneath the main mantel shelf. This molding will provide a clean transition and finished edge to the underside of the mantel. Additionally, wrap the plinth blocks at the base of your pilasters with the same panel molding, creating a cohesive and polished look from top to bottom. Don’t be overly concerned about minor gaps at this stage. Remember, caulk is a woodworker’s best friend and can flawlessly hide many small imperfections, making your finished product look seamless and professionally installed.
Adding Decorative Flourishes: Attaching Onlays and Central Embellishments
Onlays are decorative carvings or moldings that are applied to a surface, adding depth, texture, and intricate detail. For a Federal Colonial fireplace, these elements are crucial for achieving that characteristic elegance and a truly custom look. This section focuses on carefully positioning and securing these beautiful accents to complete your fireplace’s transformation.
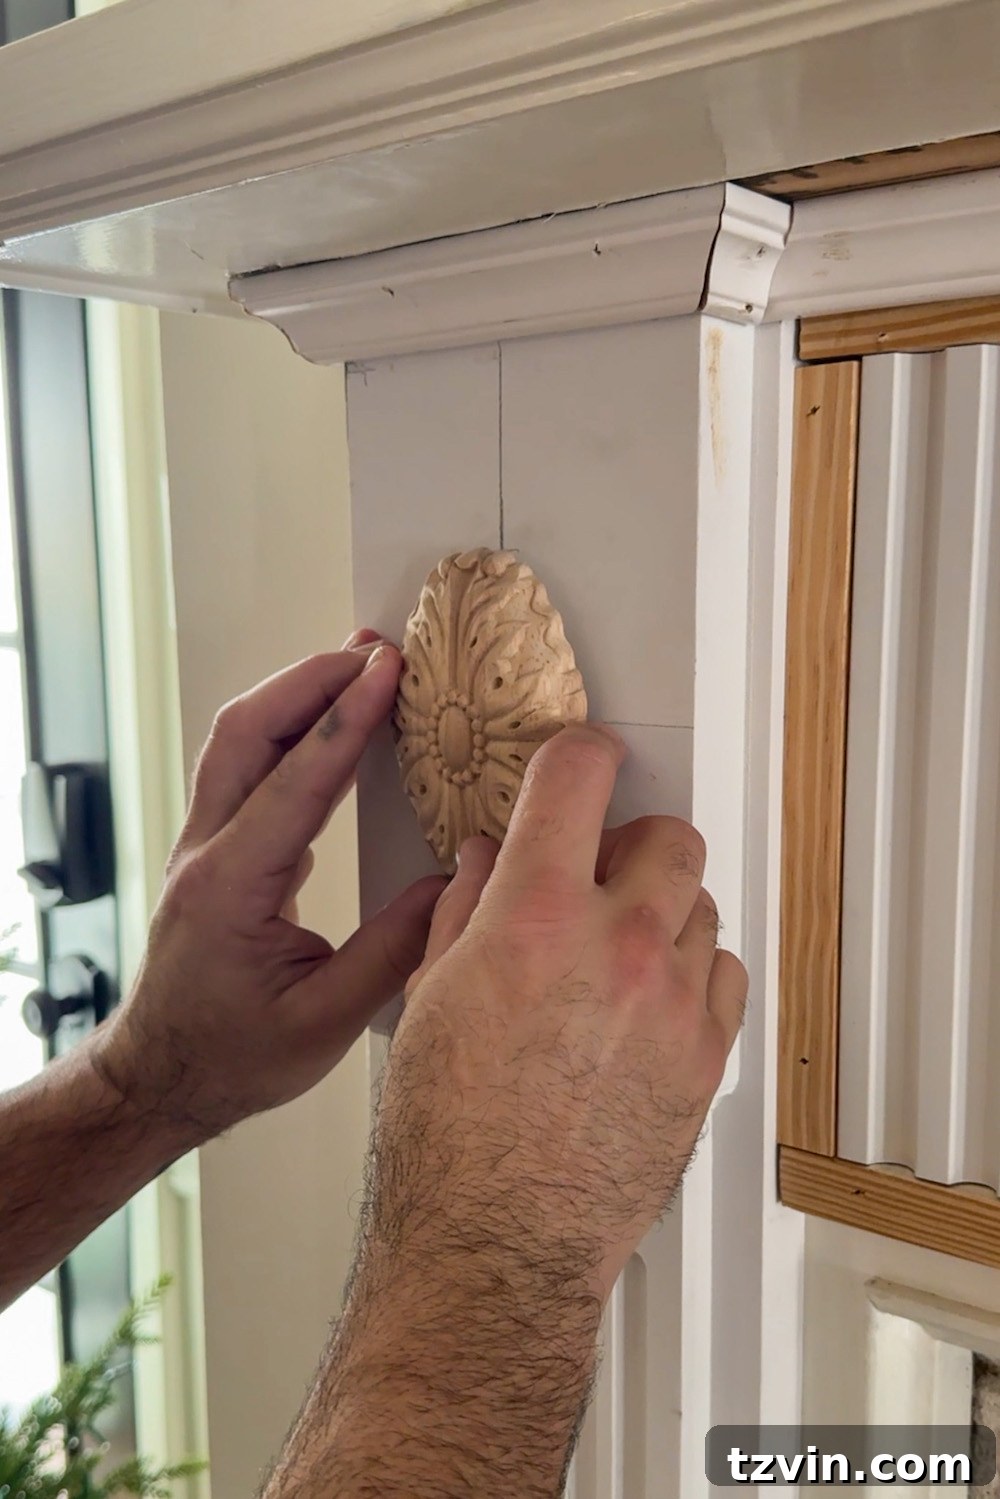
- Mark Plinth Block Centers: Using a pencil and your tape measure, precisely locate and mark the exact center of each plinth block on the pilaster molding. These marks will guide the placement of your Ashford Oval Rosettes, ensuring perfect symmetry and a balanced aesthetic. Accuracy here is vital for the overall visual appeal.
- Attach Rosette Onlays: Apply a generous but even amount of heavy-duty construction adhesive to the back of each Ashford Oval Rosette. Carefully align each rosette with the center marks you made in Step 1 and press firmly onto the plinth blocks. Hold in place for a few moments to allow the adhesive to grip, and consider using painter’s tape to hold them securely while the adhesive fully cures. This ensures a strong, lasting bond.
- Create the Central Header Block: Take your 1 in. x 12 in. x 16 in. edge-glued hardwood piece. Measure and cut it to the appropriate size so that it will fit neatly over the fluted molding in the center of your header, creating a prominent central panel. A circular saw or miter saw will make quick work of this cut, ensuring clean, straight edges.
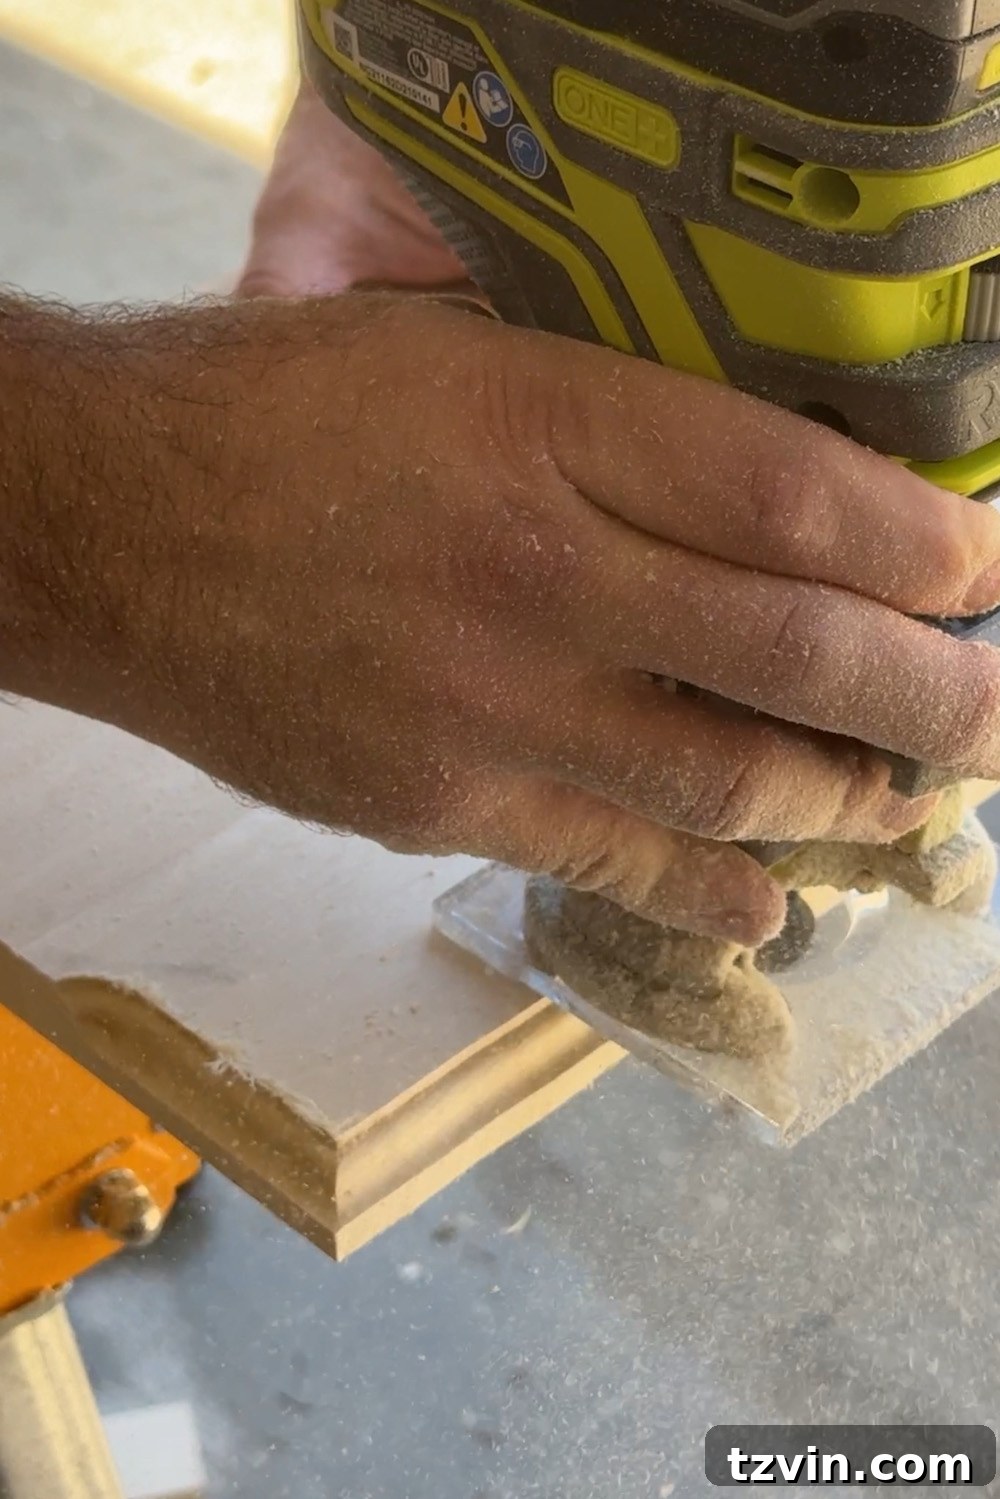
- Add Routered Edges (Optional, for Enhanced Detail): While leaving the edges straight is perfectly acceptable, consider using a compact router kit to add a decorative profile to the edges of this central hardwood block. A traditional ogee or Roman ogee bit can create a beautiful, classic detail that significantly elevates the custom look of your fireplace, giving it a truly high-end, bespoke finish. This step, though optional, truly distinguishes a good DIY from a great one.
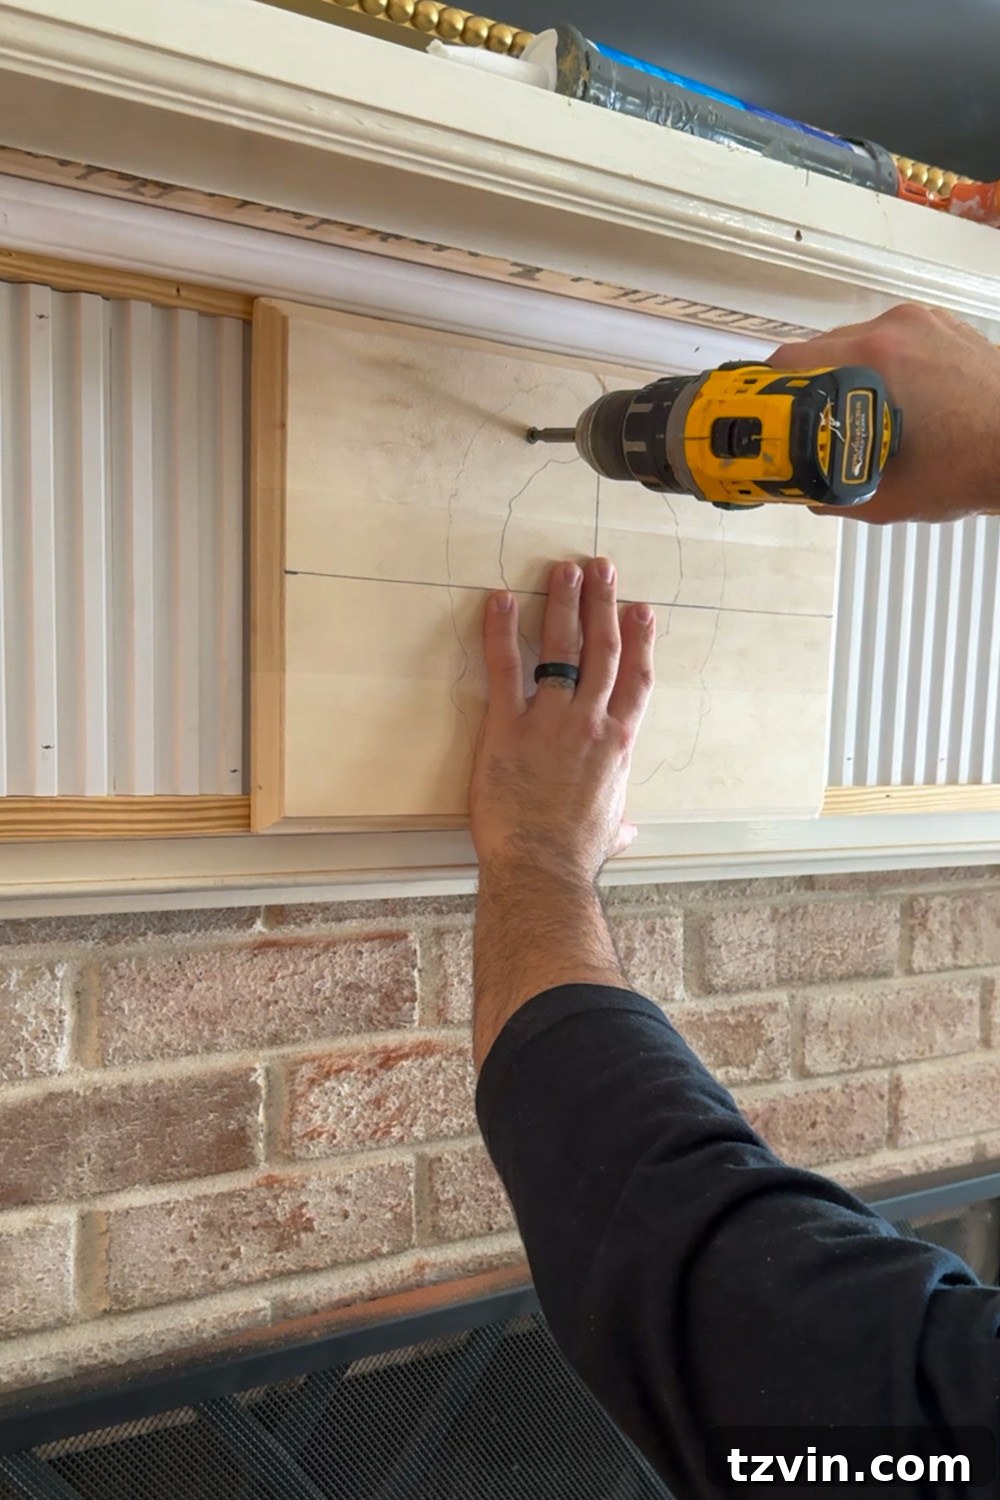
- Secure the Hardwood Block: Position the finished hardwood block centrally on the header, directly over the fluted molding. Use your level to ensure it is perfectly straight. Pre-drill pilot holes to prevent splitting, then firmly attach it using wood screws. Ensure the screws are countersunk so they can be easily covered with wood filler later for a smooth, invisible finish.
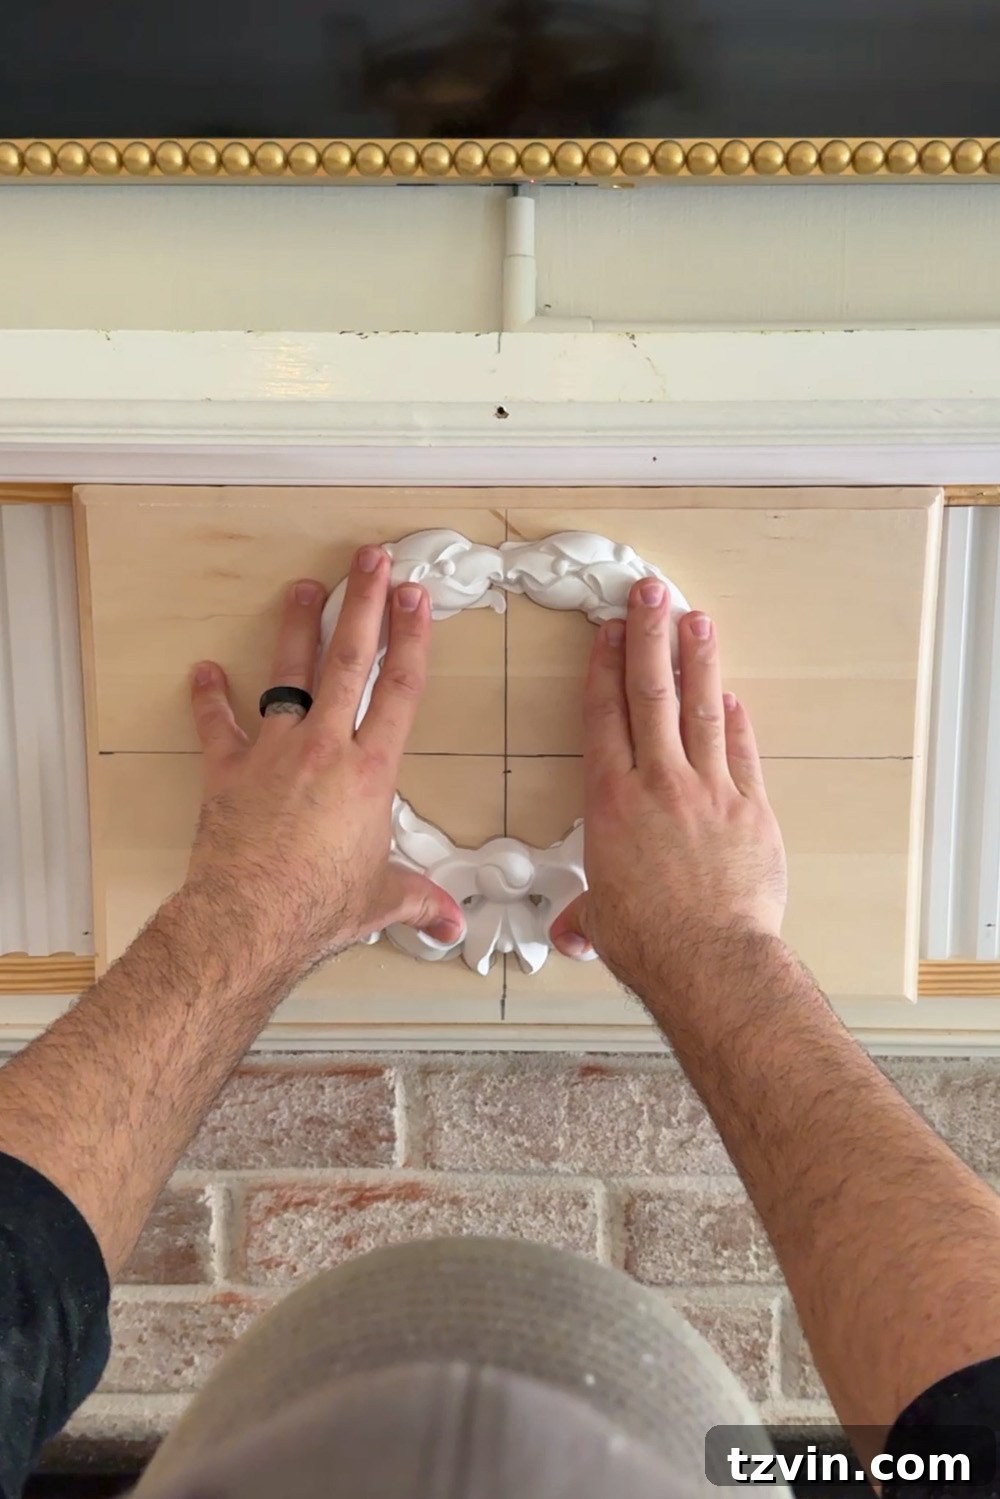
- Attach the Wreath Onlay: Apply construction adhesive to the back of the Dublin Wreath Onlay. Carefully center it on the hardwood block you just installed and press firmly. Hold it in place until the adhesive begins to set, or use painter’s tape to secure it while it cures. This wreath is the crowning jewel of your header, adding a distinct Federal Colonial motif and a touch of classical artistry.
- Finishing Touches: Caulking, Filling, and Sanding: Once all the construction adhesive has thoroughly dried, it’s time for the meticulous finishing work that transforms good work into great work. Apply latex caulk to all seams, joints, and edges where molding meets molding or molding meets the existing fireplace structure. This fills any tiny gaps, creating a seamless and integrated appearance. Next, fill all pin holes from your nailer and any visible screw holes with wood filler, ensuring a perfectly smooth surface for painting.
- Smooth to Perfection: After the wood filler has completely dried (check manufacturer’s instructions for drying times), use fine-grit sandpaper (e.g., 180-220 grit) to carefully sand all filled areas until they are perfectly smooth and flush with the surrounding molding. This step is critical for ensuring a flawless paint finish, as any bumps or imperfections will be magnified once paint is applied.
- Prime and Paint for a Lasting Impression: Finally, apply a high-quality bonding primer to all the newly installed molding, covering all surfaces evenly. Primer ensures excellent adhesion for your paint, especially on PVC and MDF elements, and provides a uniform base color. Once the primer is dry, apply two to three thin, even coats of your chosen Behr Cabinet Doors & Trim Enamel in “Even Better Beige,” allowing adequate drying time between coats (typically 2-4 hours). This durable enamel will provide a beautiful, long-lasting finish that can withstand the test of time and touch, protecting your craftsmanship for years to come.
The Grand Reveal: Our Stunning Federal Colonial Style Fireplace Makeover
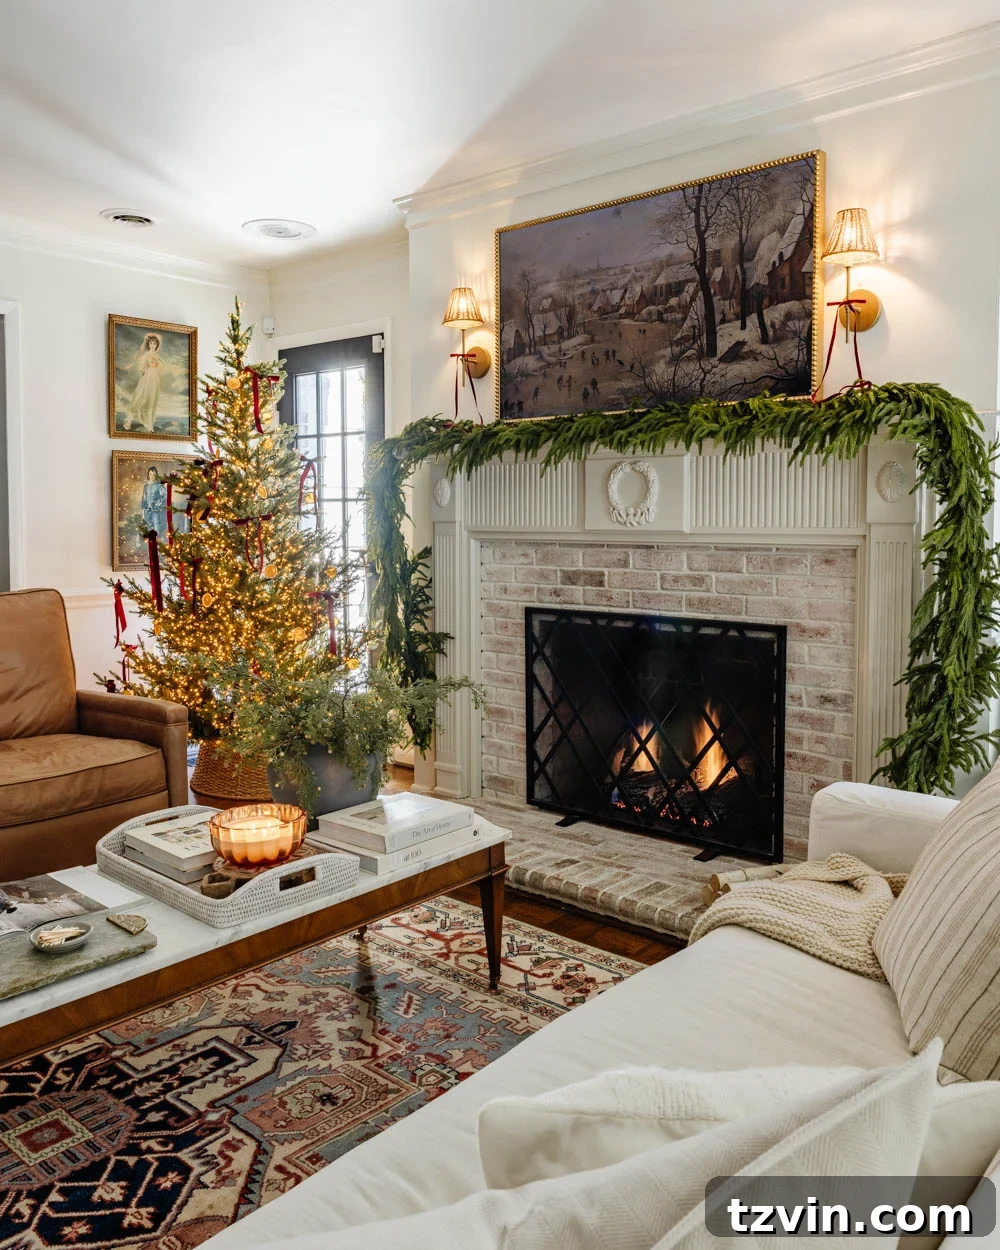
The moment of truth has arrived, and I couldn’t be more delighted with how this fireplace makeover turned out! It’s truly remarkable how adding carefully chosen molding can completely transform the character of a space. The once-plain mantel now exudes the sophisticated charm and historical elegance befitting our Federal Colonial home. Every detail, from the fluted pilasters to the decorative onlays, contributes to a cohesive and intentional design that perfectly aligns with the architectural style of our house. It feels as if this fireplace was always meant to look this way, blending seamlessly into its surroundings while simultaneously becoming the undisputed focal point of the room. This DIY project has not only enhanced our home’s value but also brought a profound sense of satisfaction and pride.
Choosing the paint color was a bit of a rushed decision, and I initially thought the Behr “Even Better Beige” would appear slightly darker than it did on the swatch. However, the final result is a pleasant surprise! Its subtle warmth and gentle contrast against our crisp white walls, painted in Benjamin Moore Swiss Coffee, create a sophisticated and inviting ambiance. The lighter beige allows the intricate details of the molding to truly pop without being overly bold, achieving a delicate balance that I absolutely adore. It’s a color that feels both classic and contemporary, effortlessly enhancing the room’s overall aesthetic and contributing to a tranquil, welcoming atmosphere that we cherish.
Complementary Project: Master the Art of a DIY Lime Washed Brick Fireplace with This Easy Tutorial
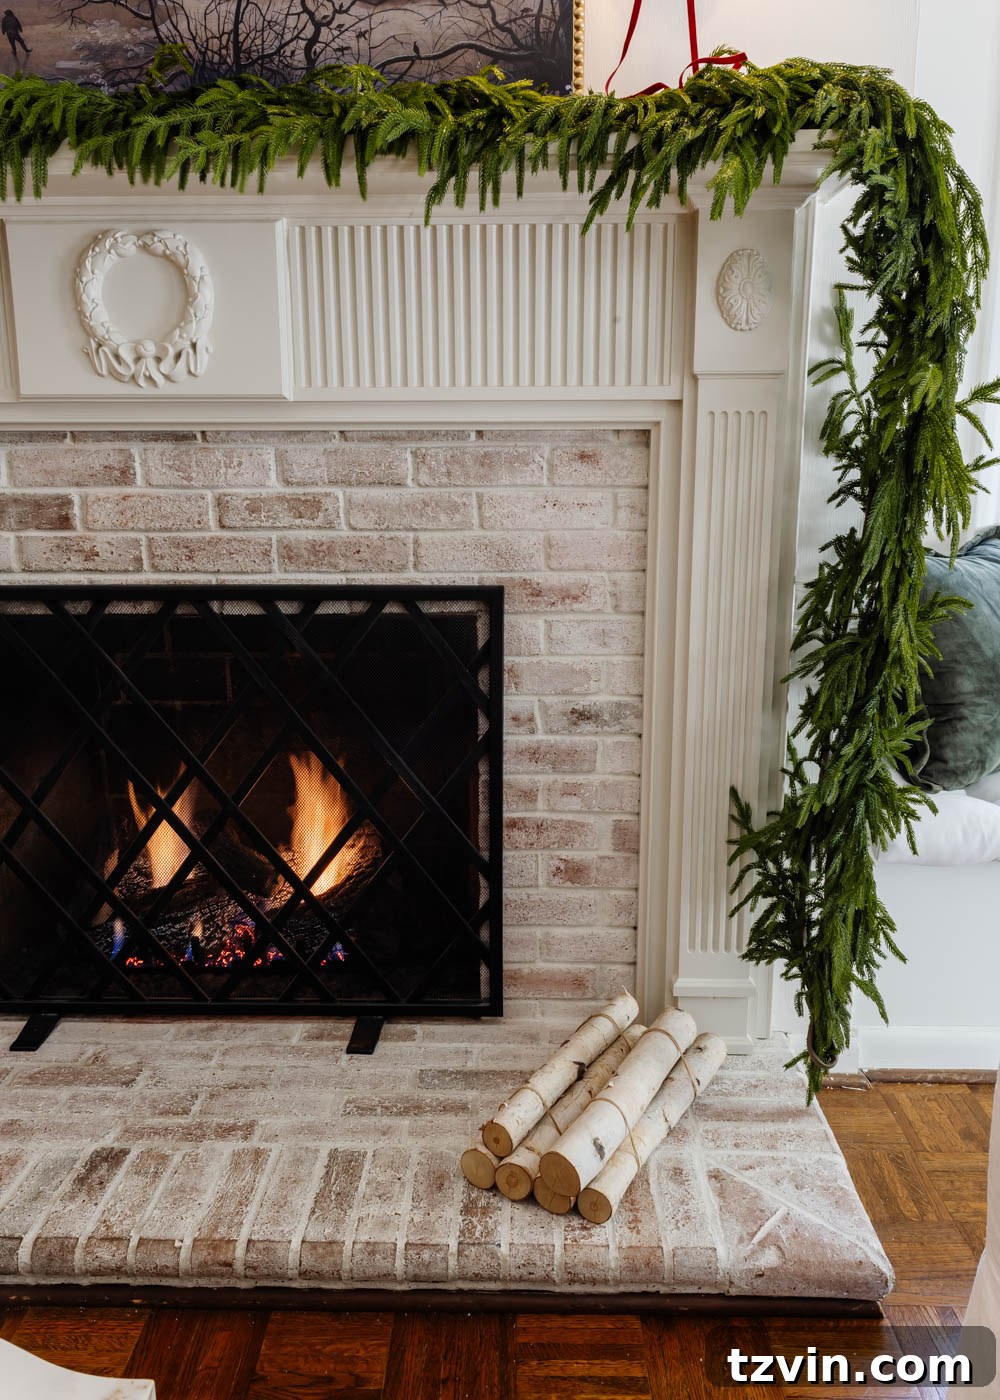
Of course, with the fireplace now looking so magnificent, we couldn’t resist styling it immediately for Christmas! My favorite realistic pine garland was the first festive touch, draped elegantly across the new mantel. The rich green against the subtle beige molding creates a captivating visual, instantly ushering in the holiday spirit. The fireplace, with its newly acquired details, feels incredibly inviting and ready to host countless holiday memories, from cozy evenings by the fire to festive gatherings with loved ones.
However, these intricate details are so beautifully crafted that I’m genuinely torn about covering them up with traditional Christmas stockings this year. The craftsmanship deserves to be fully admired! I’m currently contemplating relocating our stockings to the media room fireplace instead, allowing this Federal Colonial masterpiece to shine unobstructed throughout the season. It’s a delightful problem to have when a DIY project turns out even better than anticipated, leaving you with decisions about how best to showcase its beauty!
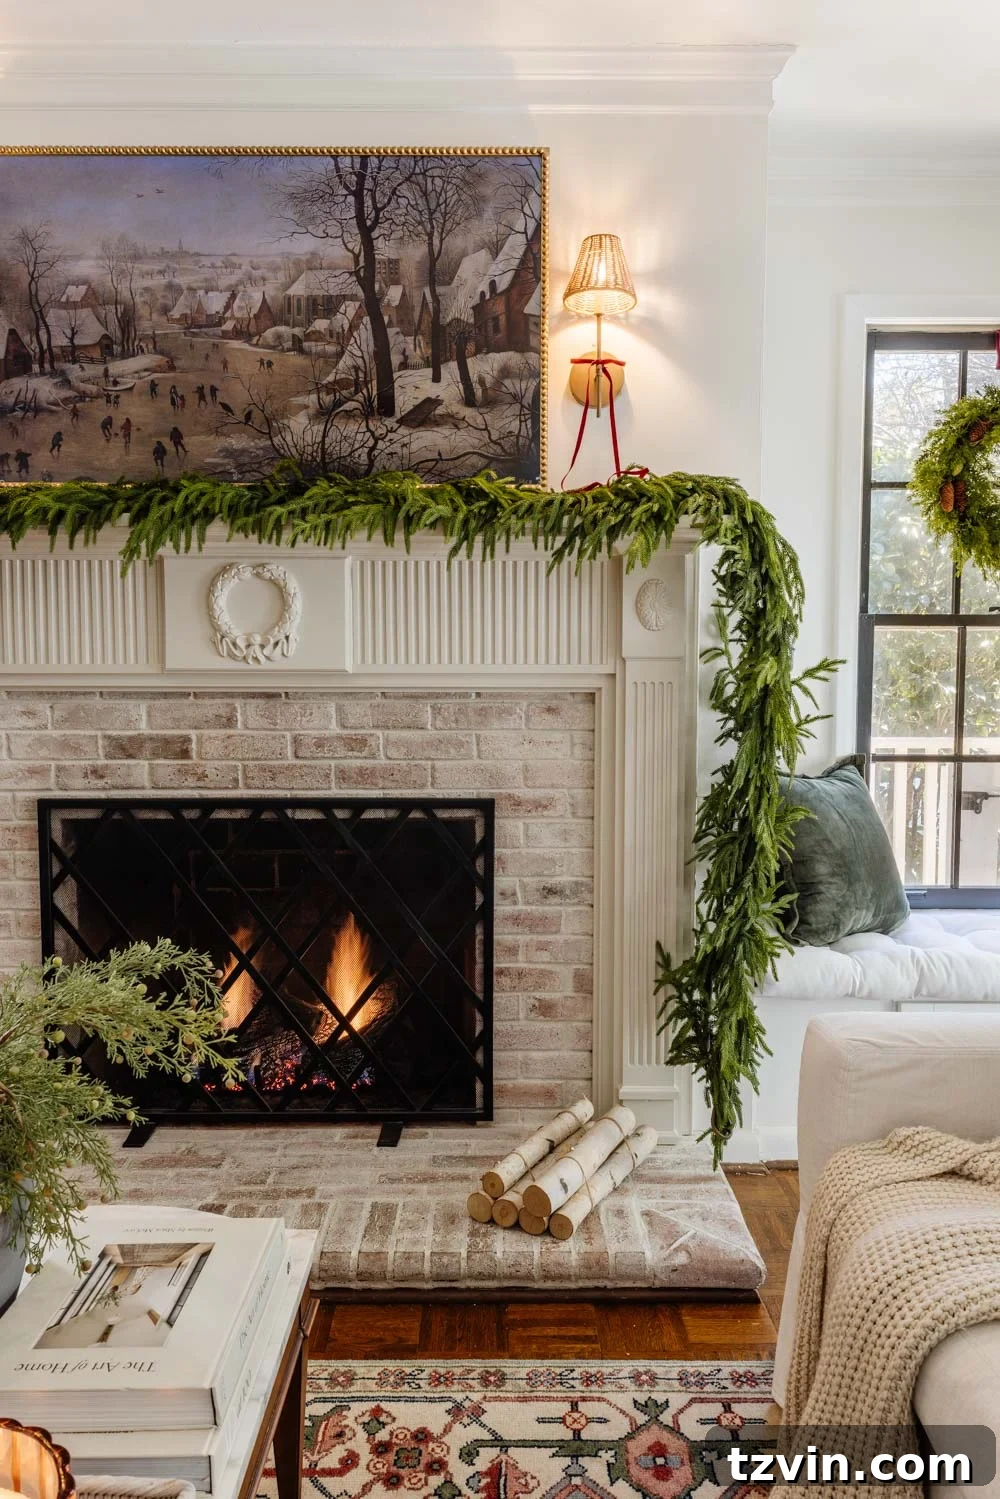
Looking ahead, I’m already envisioning the next small enhancement for this space. I’m thinking about giving our existing fireplace screen a fresh coat of high-heat gold spray paint. What do you think? Would a touch of metallic gold further complement the rich traditional style we’ve established, or should it remain as is? Your thoughts and suggestions are always welcome as we continue to personalize and refine our Federal Colonial home!
Curated Living Room Decor Sources
For those inspired by our Federal Colonial living room’s aesthetic, here is a curated list of decor items and related DIY projects that contribute to its inviting and stylish atmosphere. From furniture to art, discover where to find key pieces or how to recreate similar looks in your own home. These selections aim to inspire and guide you in achieving a cohesive and elegant traditional interior.
- DIY Bobbin Bezel TV Frame: A unique, custom frame for your Samsung Frame TV, adding a touch of traditional craftsmanship and transforming your television into a seamless piece of art.
- Samsung Frame TV: Our candid review of this innovative television that doubles as a piece of art when off, blending seamlessly into your decor.
- Limewashed Brick Fireplace: Learn how we achieved this soft, textured look for our fireplace brickwork, creating a gentle, historic patina.
- Norfolk Pine Garland: The key to lush, realistic greenery for seasonal decorating, offering a full and natural look.
- Nordic Pine Christmas Tree: A beautiful, natural-looking tree to complete your holiday decor, designed for timeless elegance.
- Juniper Stems: Perfect for adding subtle botanical touches and texture to arrangements, bringing an element of nature indoors.
- Elegant Vase: A versatile decorative piece for floral arrangements or standing alone, adding sculptural interest to any surface.
- Rattan Tray: A stylish and functional addition for organizing or serving, providing natural texture and a touch of warmth.
- Gold Sconce Lights: Adding a touch of metallic elegance and ambient lighting, these sconces provide both function and decorative appeal.
- Rattan Sconce Shades: Complementary shades that soften the light and add organic texture, enhancing the cozy atmosphere.
- Burgundy Ribbon: Ideal for adding festive accents and pops of rich color during the holidays, perfect for garlands and wreaths.
- Leather Recliner Chairs: Our honest review of these comfortable and classic seating options, offering both style and relaxation.
- Slipcovered Sofas: Insights into choosing and maintaining stylish, family-friendly slipcovered furniture, offering versatility and ease of care.
- Area Rug (similar to our vintage piece): Find a similar rug to ground your living room design with warmth and pattern, defining the seating area.
- Curated Coffee Table Books: A selection of visually appealing and interesting books to enhance your decor, perfect for styling and engaging guests.
- Fireplace Screen (similar): A decorative and functional element to complete your fireplace setup, adding safety and style.
- “Pinkie” Art Print and “Blue Boy” Art Print: Classic portraiture adding a touch of timeless elegance to the walls, a nod to traditional artistry.
Expand Your Home’s Character: More DIY Molding Inspiration
If this fireplace makeover has ignited your passion for adding architectural detail to your home, you’re in luck! Molding is a versatile and impactful way to infuse character, elegance, and a custom feel into any space. It’s a relatively budget-friendly method to dramatically elevate the perceived value and aesthetic appeal of your home. We’ve gathered more DIY ideas to help you continue your journey of transforming your home with beautiful trim work, encouraging you to explore the endless possibilities of decorative molding.
- How to Install DIY Stair Wainscoting the Easy Way: A detailed guide to adding classic wainscoting to your staircase, elevating a high-traffic area with sophisticated paneling that adds both visual interest and protective layering.
- 8 DIY-able Wall Molding Ideas to Add Character to Your Home: Explore a variety of wall molding styles that can dramatically enhance the look and feel of any room, from simple chair rails to intricate picture frame molding, offering creative ways to define and decorate your walls.
- DIY Fireplace Ideas You Can Make Anywhere: Don’t have an existing fireplace but dream of having one? This resource offers creative solutions for building beautiful fireplace surrounds and focal points in any space, regardless of structural limitations, bringing warmth and charm to any room.