

Transform Your Shelves: DIY Restoration Hardware French Mute Books on a Budget
Have you ever found yourself gazing at your bookshelves, admiring your vast collection, only to be struck by a nagging feeling that something just isn’t quite right? Perhaps it’s the chaotic mix of mismatched spines, the jarring clash of vibrant covers, or simply the overwhelming sense of visual clutter that disrupts the harmony of your carefully curated space. If this resonates with you, then you’re not alone. Many of us accumulate books from diverse sources – thrift store finds, yard sale gems, college textbooks, and beloved novels picked up from countless browsing trips. While each book holds sentimental value, collectively, they can create an aesthetic challenge, especially in a dedicated area like a home office or living room where a sense of calm and order is paramount.
There’s a fine line between a well-loved, lived-in feel and outright disorganization. In our quest for an elegant and streamlined home office, we faced this very dilemma. Our bookshelves, once a source of literary pride, had become a visually busy array of disparate titles, sizes, and colors. This kind of visual noise can be distracting, detracting from the overall design aesthetic you’re striving to achieve. It was clear that a change was needed to bring a sense of cohesion and sophistication to our space without sacrificing our treasured collection.
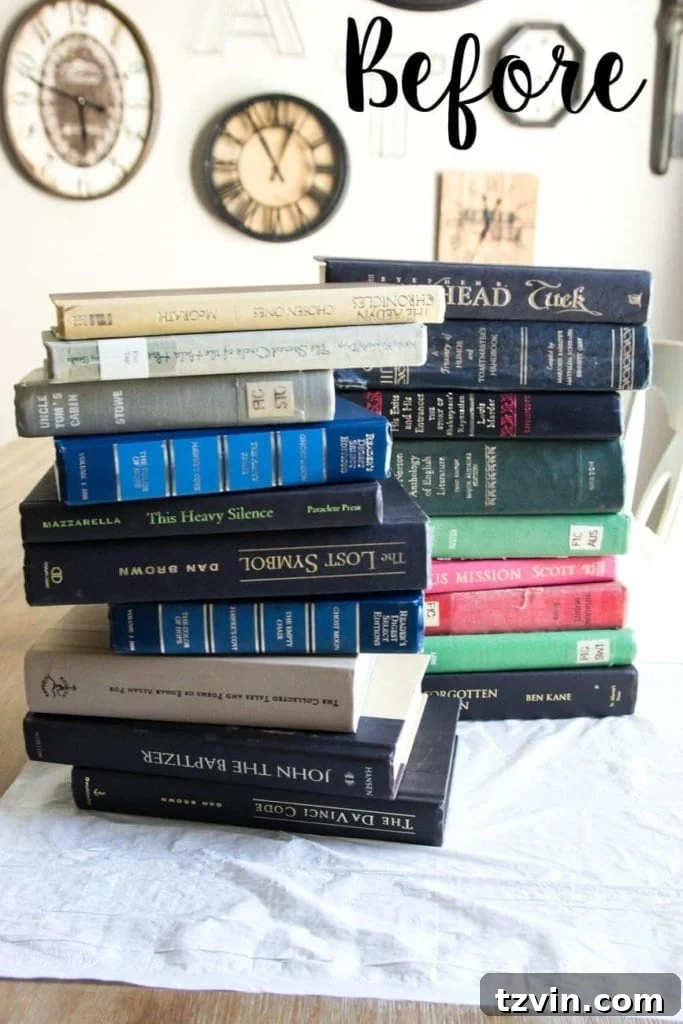
Our office makeover journey began with a clear goal: to create a functional yet beautiful workspace. One of the biggest design obstacles we encountered was the perpetually cluttered appearance of our bookshelves. From worn paperbacks to brightly colored hardcovers, the sheer variety of books, gathered over years from diverse places like thrift stores, yard sales, teaching careers, and college days, created a visually overwhelming scene. Instead of looking like a thoughtful collection, they simply appeared disorganized, spilling onto the floor in several unruly stacks. This visual chaos was a constant source of frustration, making the entire room feel less like a sanctuary and more like a storage unit.
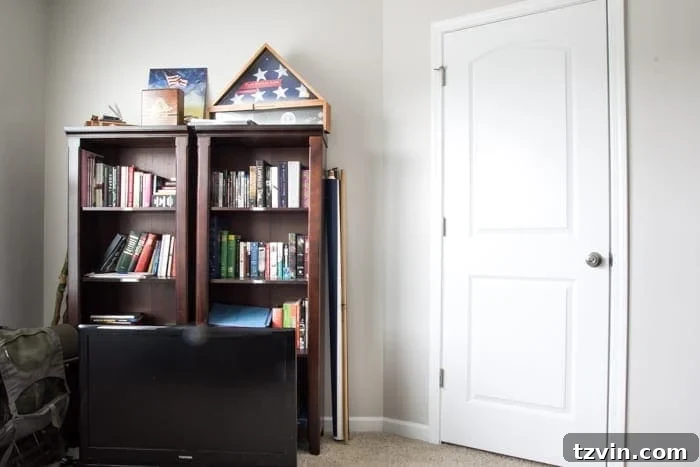
The challenge was simple: how to maintain our beloved book collection while achieving a cohesive and elegant look that aligned with our desired home office aesthetic? The answer, surprisingly, came from a rather unconventional source: painting the books themselves. Yes, you read that correctly – painting books. It might sound radical to some, perhaps even blasphemous to devoted bibliophiles, but this creative solution offered a path to visual harmony and sophistication, transforming ordinary books into stylish decorative elements.
Inspiration Strikes: The Allure of Restoration Hardware French Mute Books
The idea to paint our books wasn’t born out of thin air. A year or two prior, I had encountered the exquisite Restoration Hardware French mute book bundles. These beautifully minimalist book sets, often featuring plain, aged covers and spines, exuded an understated elegance and a timeless, European charm. Known in French as “couverture muette,” or “mute cover,” these books historically were bound without printed titles or authors, often intended for re-binding or simply for their aesthetic appeal in libraries and studies. They offered a serene, monochrome backdrop that allowed other decorative elements to shine, providing a sense of quiet luxury.
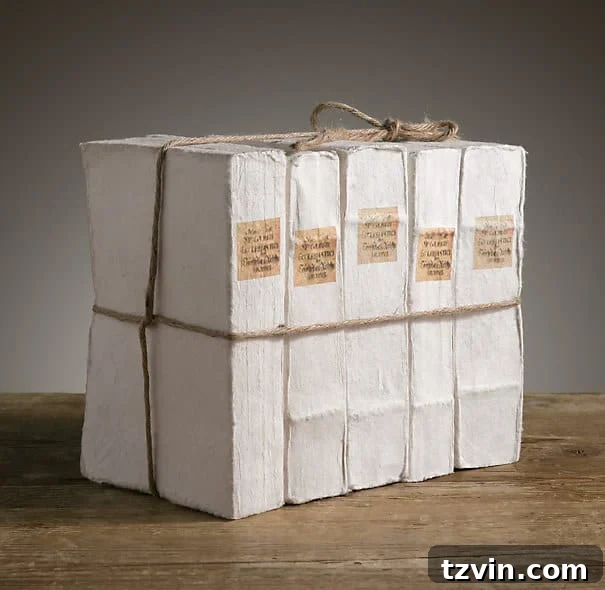
However, the price tag for five of these blank, pre-made books – a steep $125 – was simply not in our budget. It sparked a realization: why buy when you can DIY? The core concept seemed simple enough to recreate at home, offering an incredibly cost-effective way to achieve that high-end, streamlined look. This project promised to be a quick and rewarding afternoon endeavor, capable of instantly elevating our office shelves from cluttered chaos to fancy-schmancy chic, all while retaining the functional purpose of our books.
Your Guide to DIY French Mute Books: Supplies & Step-by-Step
Ready to transform your own book collection into a sophisticated decor statement? This project is surprisingly straightforward and requires only a handful of readily available supplies. The beauty of this DIY lies in its simplicity and the dramatic impact it has on any space.
Supplies you’ll need for this elegant book makeover:
- Annie Sloan Chalk Paint in Old White: Opting for chalk paint is key here. Its unique properties allow it to adhere beautifully to almost any surface, including book covers, with minimal prep work. “Old White” provides a classic, neutral base that mimics the aged aesthetic of genuine French mute books.
- Annie Sloan Clear Soft Wax: This wax is essential for sealing the chalk paint, providing a protective layer that enhances durability and offers a subtle, soft sheen. It also prepares the surface for an optional antiquing step.
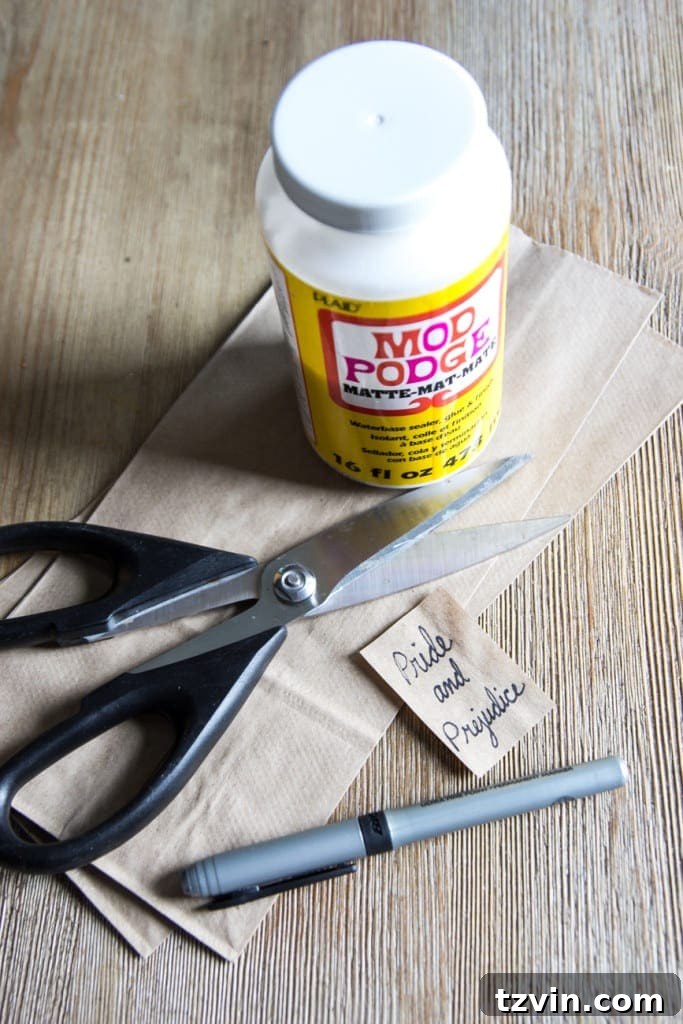
- A few brown paper lunch bags: Don’t underestimate these humble bags! They’re perfect for creating authentic-looking, slightly textured labels that evoke an antique, handmade feel.
- Scissors: For cutting your paper labels to size.
- Mod Podge in Matte: This all-in-one glue, sealer, and finish is ideal for attaching the paper labels securely to the book spines while providing a durable, matte finish that won’t appear glossy or artificial.
- Ultra-fine tip black permanent marker: Crucial for writing out your book titles or decorative elements on the labels. The fine tip allows for precision and a hand-lettered, vintage script look.
- 2 craft brushes: Dedicate one brush for applying the chalk paint and another for the clear wax. This prevents contamination and ensures smooth, even application.
- Clean, dry lint-free rag: Essential for buffing the wax and ensuring a smooth, streak-free finish.
- A stack of your own books: The stars of the show! Gather books of various sizes, preferably with hardcovers, though paperbacks can also be adapted.
Step-by-Step Book Painting Process:
With your supplies gathered, let’s dive into the transformation process. This project is not only satisfying but also remarkably quick, making it perfect for an afternoon DIY session.
1. Prepare Your Books for Painting
Begin by setting up your workspace. I found our kitchen table to be an ideal spot, protected with a drop cloth or old newspaper. Lay out all the books you intend to paint. For optimal coverage and ease, open each book face down. This position allows you to comfortably paint the covers and spines without getting paint on the pages. If you have paperback books, carefully rip off their covers so that only the pages remain, mimicking the look of older, unbound texts or setting them up for a clean, minimalist spine.
2. Apply the Chalk Paint
Using one of your craft brushes, apply a single coat of Annie Sloan Chalk Paint in Old White to the covers and spines of your books. Chalk paint is incredibly forgiving and offers excellent coverage. A single coat often suffices to achieve a beautiful, opaque finish, especially on lighter-colored original covers. However, if your books have very dark or patterned covers, or if you prefer a more solid, deeper white, a second coat can be applied after the first has dried. Remember to paint all edges and creases of the covers meticulously to ensure a uniform and professional appearance. Let the paint dry completely according to the manufacturer’s instructions, which is usually quite fast for chalk paint.
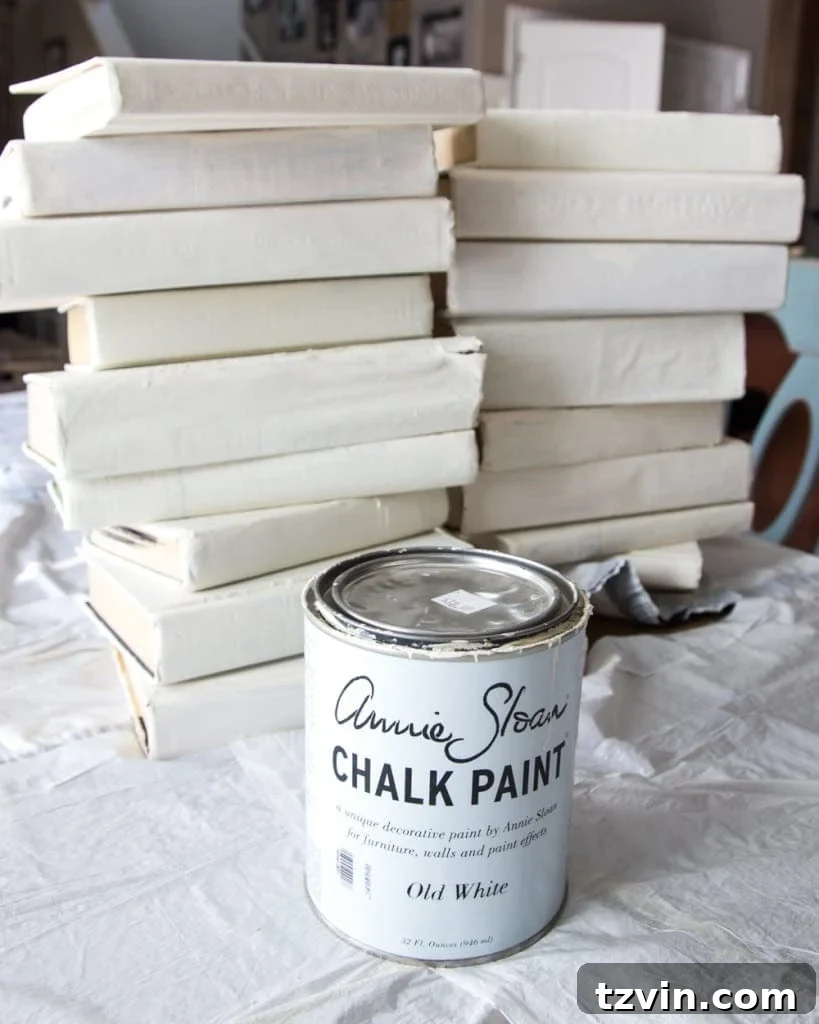
3. Seal with Clear Wax (and Optional Dark Wax)
Once the paint is thoroughly dry to the touch, it’s time to seal your newly painted covers. Take your second clean craft brush and rub on a generous, even coat of Annie Sloan Clear Soft Wax. Work in sections, applying the wax and then immediately wiping off any excess with a clean, lint-free rag. This step is crucial for protecting the paint and providing a smooth, durable finish. Buff lightly to bring out a subtle sheen. If you desire a more antique, aged appearance, you can follow the clear wax application with a thin layer of dark wax. Dark wax settles into the crevices and corners, creating a beautiful, time-worn patina. This step is entirely optional and depends on the specific aesthetic you’re aiming for.
4. Craft and Apply Your Custom Labels
Now for the creative touch that truly brings these “mute” books to life! Take your brown paper lunch bags and cut them into rectangular pieces. These rectangles will serve as your book labels. The brown paper’s natural texture and color lend themselves beautifully to an aged, vintage look. With your ultra-fine tip black permanent marker, carefully write desired titles or decorative elements onto these paper labels. You can choose actual book titles, classic literary references, or simply French-inspired words or numbers to enhance the aesthetic. Don’t worry about achieving perfect handwriting; a slightly imperfect, hand-lettered look actually adds to the authentic, antique charm of French Revolutionary-style mute books, or “couverture muette.”
Once your labels are complete, use a small amount of Mod Podge in Matte to adhere them to the spines of your painted books. Apply a thin, even layer of Mod Podge to the back of each label, carefully position it on the book spine, and then gently press down to remove any air bubbles. You can also apply a thin top coat of Mod Podge over the label for extra protection and a seamless finish. The matte finish of the Mod Podge ensures that the labels blend in beautifully without any undesirable shine.
The Grand Reveal: Stylish & Organized Office Shelves
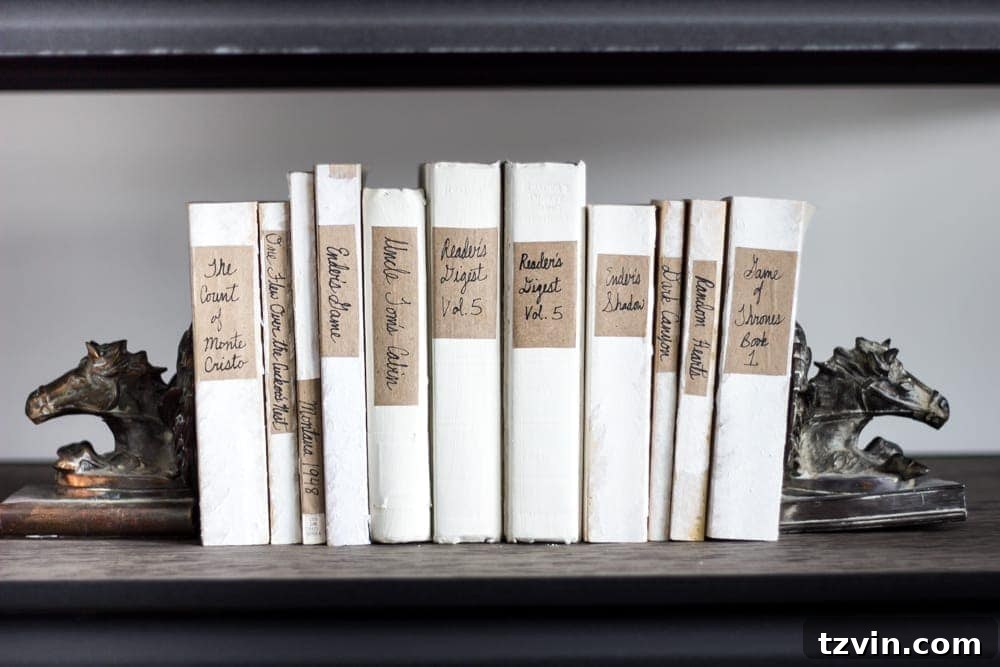
With the painting and labeling complete, the transformation of our home office shelves was nothing short of remarkable. The once chaotic array of books now presented a serene, unified, and undeniably chic aesthetic. Each book, reimagined with its muted cover and custom label, contributes to an overall sense of refined organization, mimicking the sophisticated look found in high-end decor stores but achieved on a fraction of the budget.
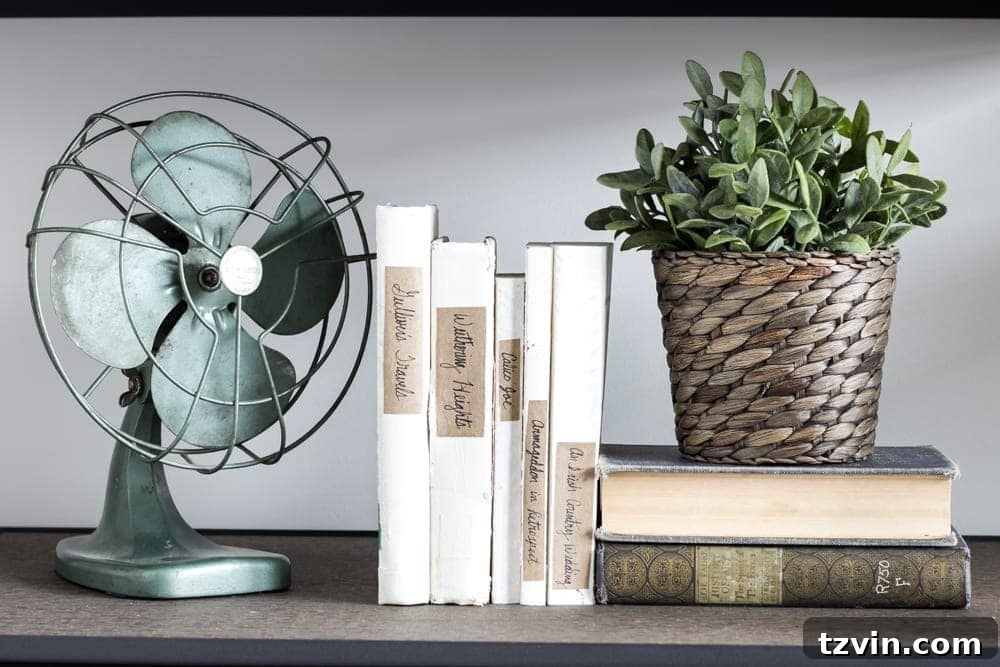
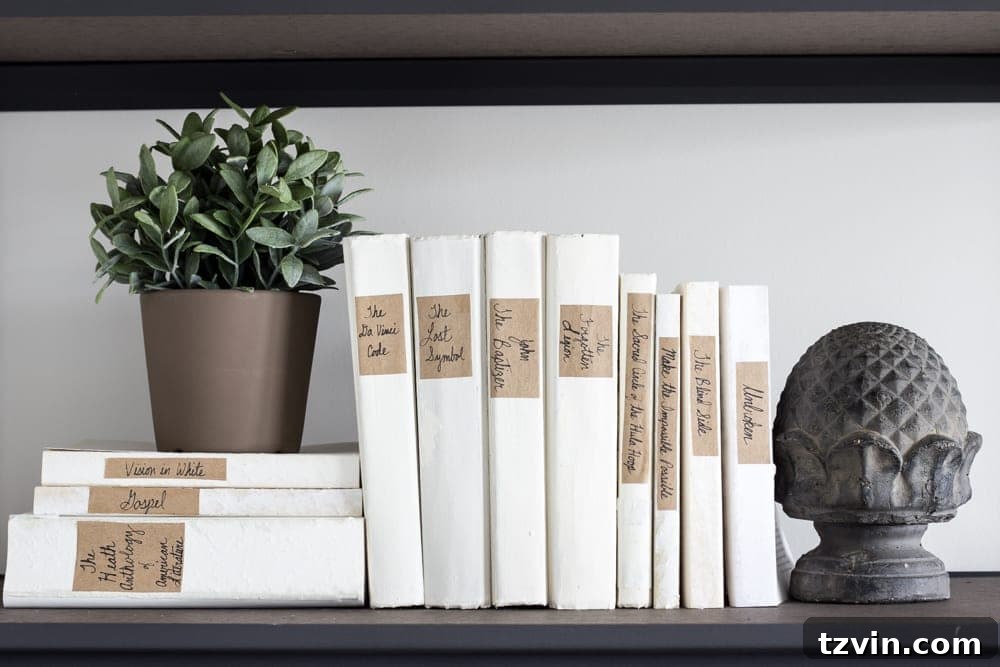
Beyond the books, integrating other decor elements like this unique concrete finial statue, a recent thrift store discovery, further enhances the curated feel. It perfectly complements the sophisticated, industrial-chic vibe we’re cultivating in the office, demonstrating how thoughtful details can tie a whole room together. The neutral palette of the books provides a versatile backdrop, allowing accent pieces to stand out beautifully without competing for visual attention.
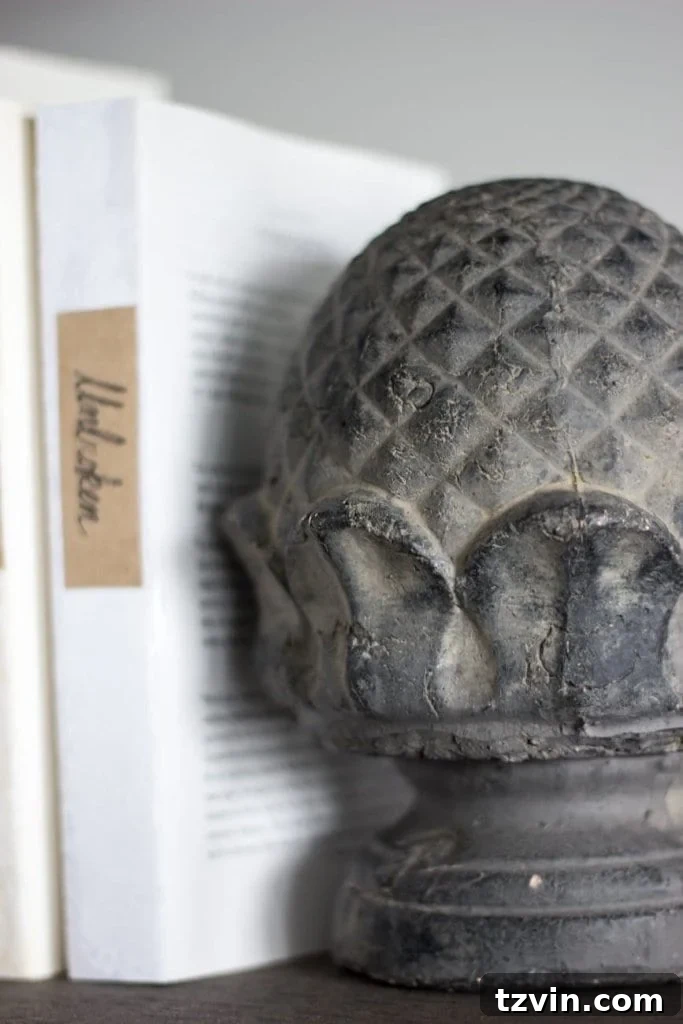
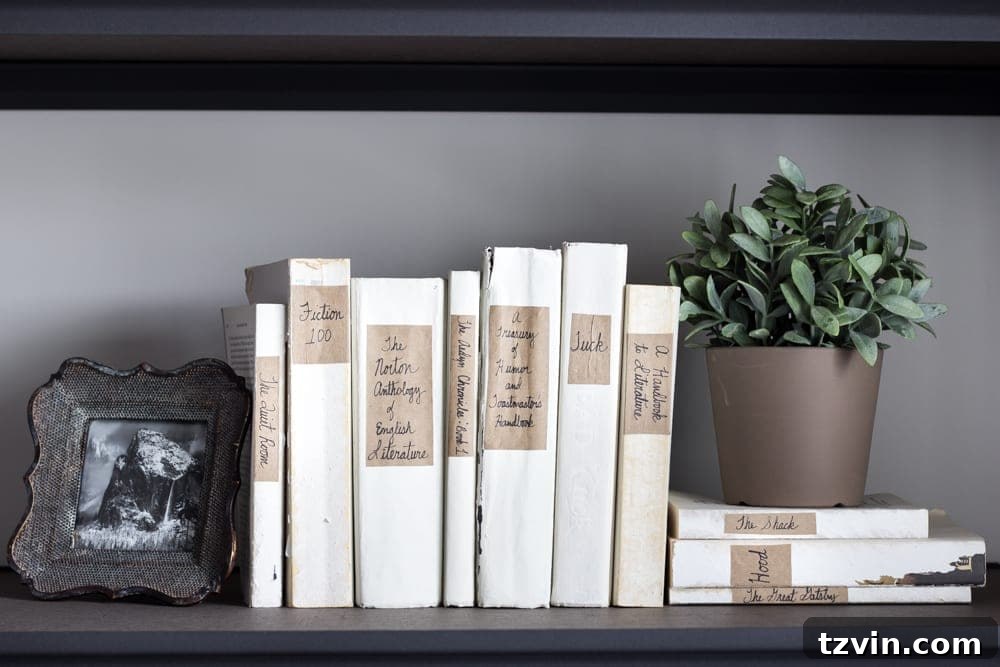
While I’ll eventually undertake the task of rearranging all our books into proper genres for ultimate organization, for now, they function beautifully as cohesive decor on our shelves. William Shakespeare and Nicholas Sparks, once disparate entities, now stand side by side in harmonious unity, their painted covers bridging the literary gap. This project proves that you don’t have to sacrifice functionality for style; you can have both, even if it means rethinking traditional approaches to book display.
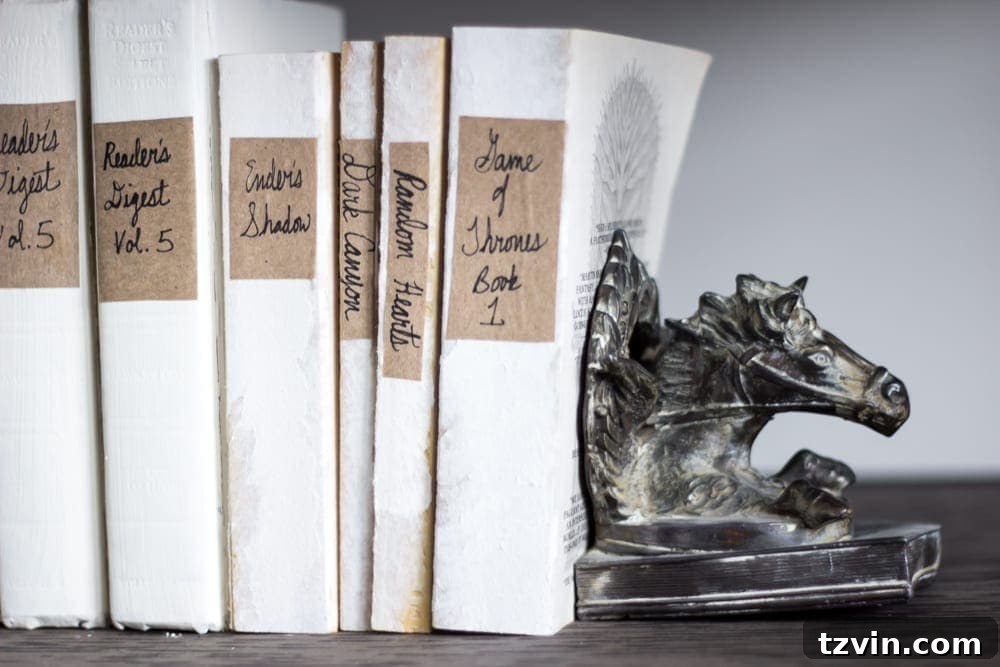
This DIY Restoration Hardware French Mute Books project is just one piece of our larger office transformation. There are many more exciting developments happening in this space that I can’t wait to share with you all very soon!
So, what are your thoughts? Have I gone completely mad by painting our cherished books? Is there a librarian somewhere out there feeling a pang of horror? Or are you, perhaps, inspired to grab your paintbrushes and give your own bookshelves a refresh? As a lifelong bookworm, I assure you that as long as I can still access and read them, my literary heart is content. Do you have any amazing must-reads on your list that you’d recommend? Maybe if I start stocking up on summer reads now, warmer weather will finally make its much-anticipated appearance. One can certainly hope!
UPDATE! Explore More Office Makeover Projects:
If you’re as excited about home office transformations as we are, you’ll love discovering the other DIY projects that went into creating our dream workspace. Each link below offers detailed guides and inspiration for crafting a stylish and functional environment:
- Office Before Shots and Makeover Mood Board: See where it all began and the vision that guided our transformation.
- DIY RH Inspired French Mute Books: A deeper dive into this very project and its impact.
- DIY Vintage Pull-Down Map: A fantastic way to add character and a touch of wanderlust to your walls.
- Industrial Shelving: Learn how to create sturdy, stylish shelving that complements the industrial aesthetic.
- Faux Zinc Safe Makeover: Give an old safe a sophisticated, metallic facelift.
- Easy Office Sign: Personalize your space with a custom, charming office sign.
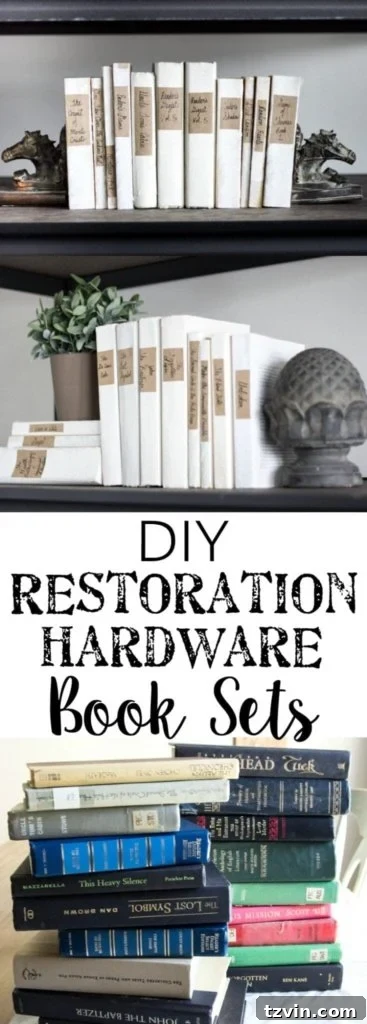
Join the “Trash to Treasure” Movement!
This project was part of a wonderful collaboration with my “Trash to Treasure Transformation” friends. It’s always inspiring to see how others breathe new life into forgotten items. You can explore all the other incredible thrifty before-and-after projects on their blogs:
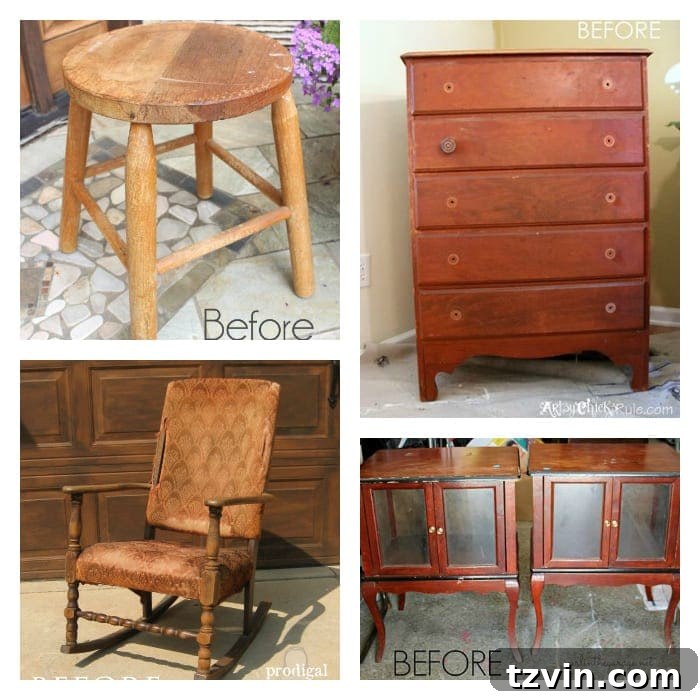
Clockwise from top left, discover more amazing DIY transformations:
Confessions of a Serial DIYer | Artsy Chicks Rule | Girl in the Garage | Prodigal Pieces

Follow Blesser House for more DIY inspiration:
Facebook | Pinterest | Instagram | Twitter | Google+