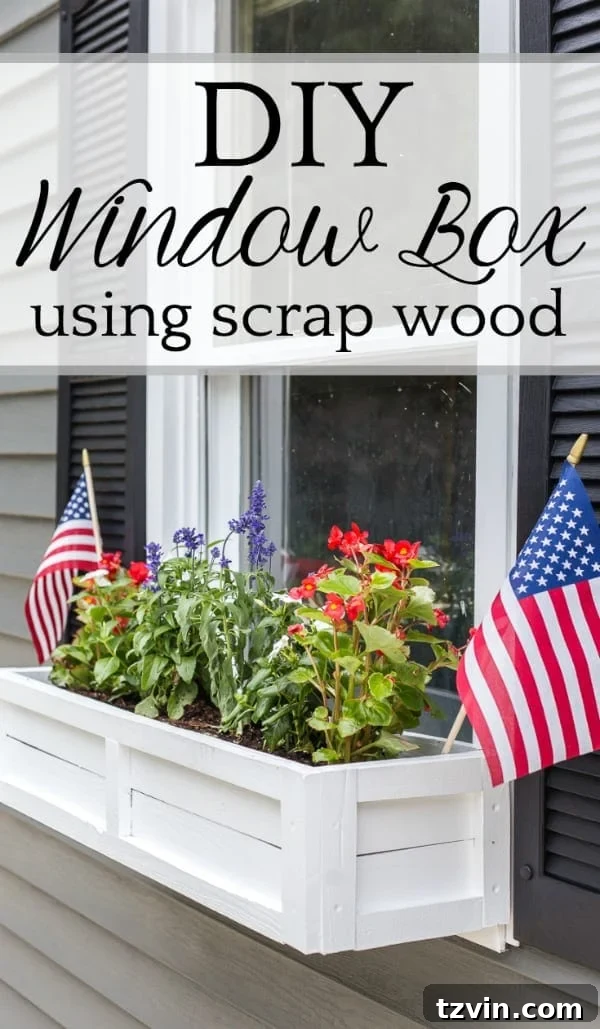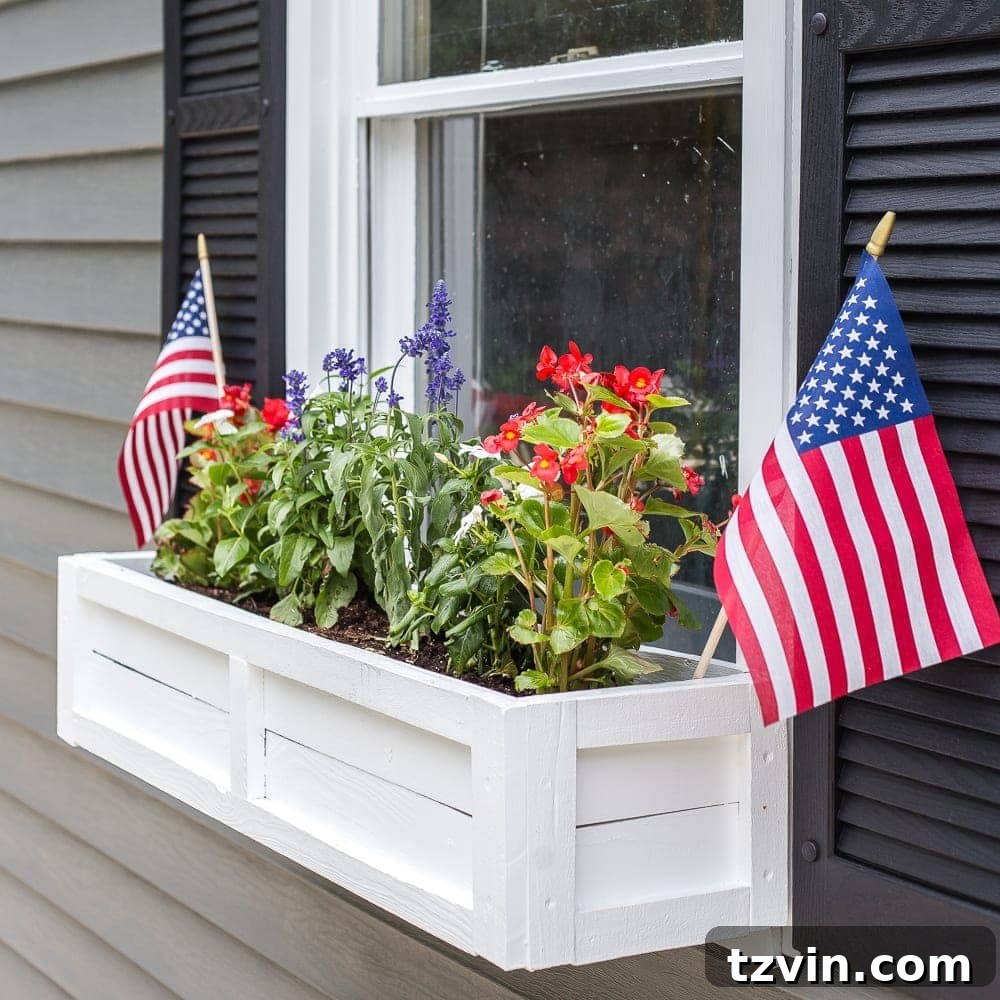
Transform Your Home: A Step-by-Step Guide to Building DIY Window Boxes from Scrap Wood
There’s immense satisfaction in taking something destined for the trash and transforming it into a beautiful, functional piece for your home. Here at our blog, we absolutely adore projects involving scrap wood, thrift store finds, and simple paint makeovers. If you’ve been a part of our community for a while, you know our passion for upcycling and budget-friendly decor runs deep.
Recently, our focus shifted to an exciting exterior project: giving our pool shed a much-needed refresh. After enhancing our backyard with a newly lined swimming pool, the shed looked a bit… forgotten. It was drab, lacking character, and desperately needed a touch of charm to complement its vibrant new surroundings. (Keep an eye out for the full reveal of our stunning pool shed makeover coming very soon!)
UPDATE: See the final pool reveal here!
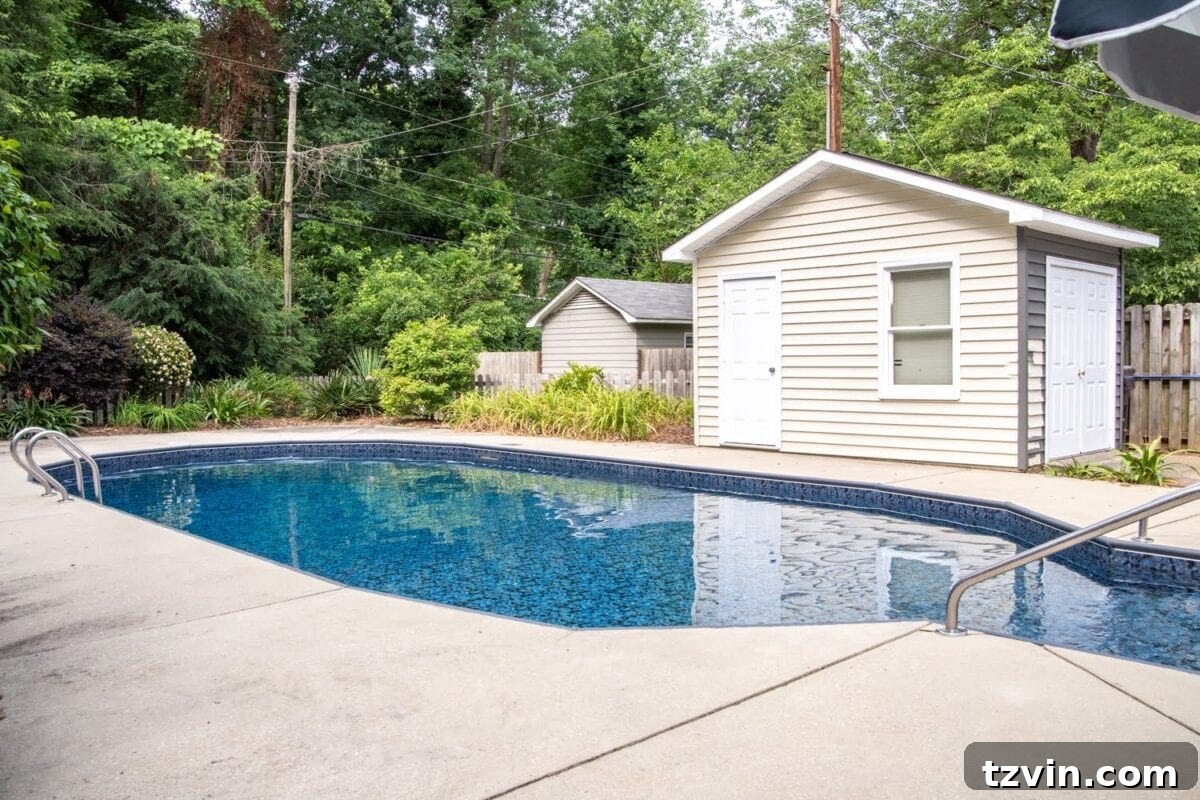
Once the essential paint job was complete, we still felt something was missing. The shed had a fresh coat, but it yearned for that extra special touch. And then, it hit us: window boxes!
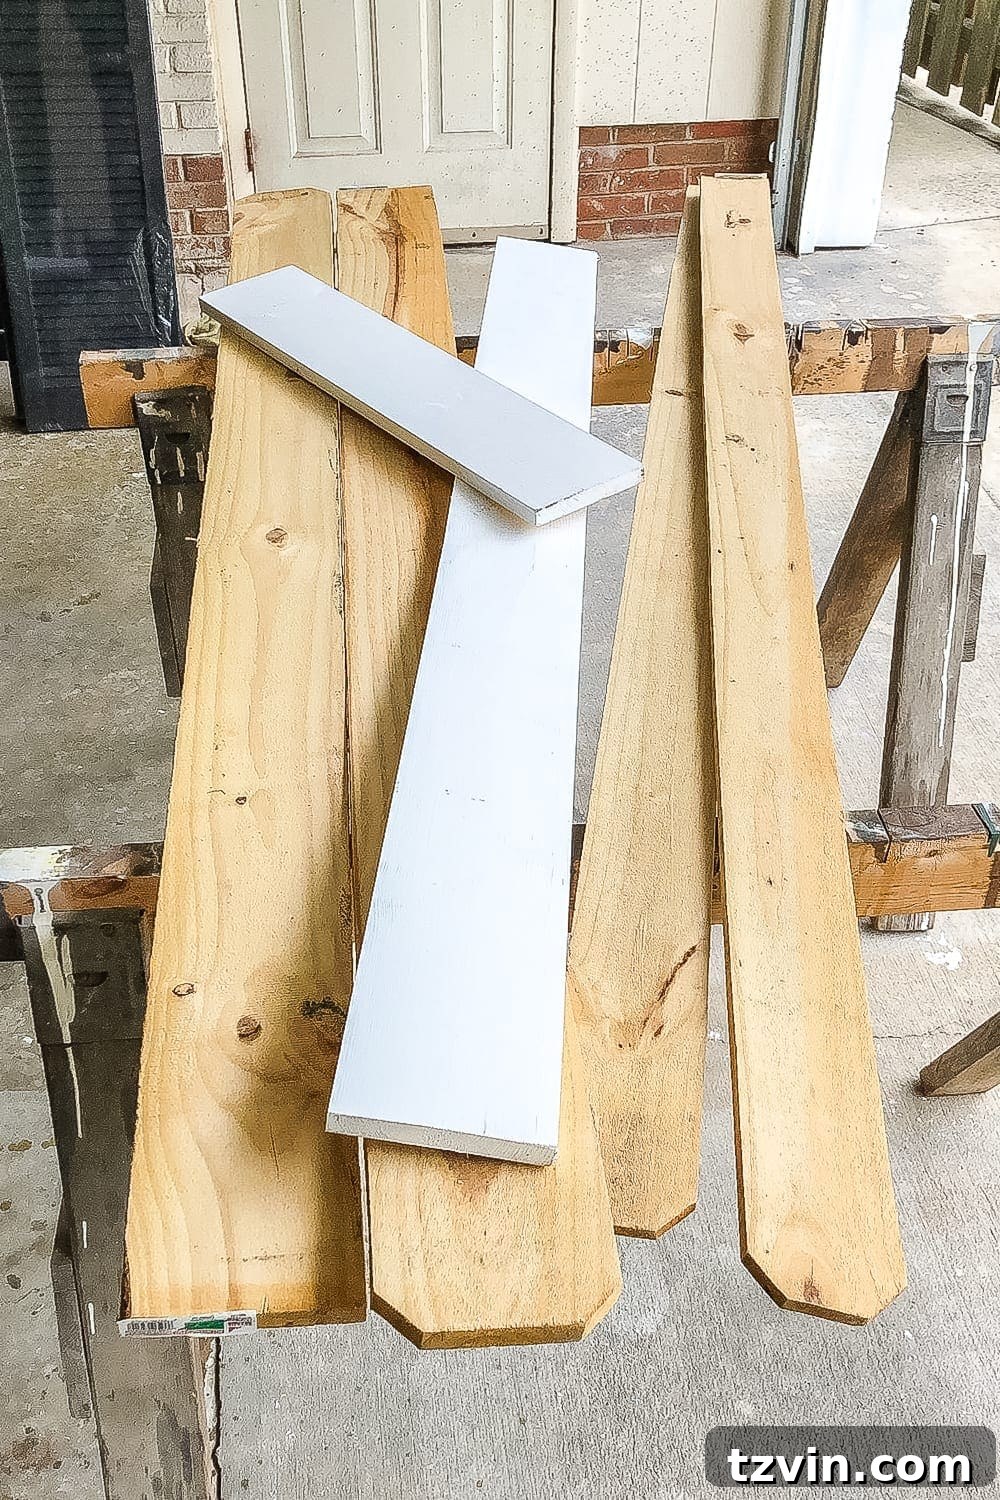
Our workshop is a treasure trove of leftover materials from past projects. Whether it’s after a major bathroom renovation (where we famously whipped up some beautiful cutting boards from remnants) or small repairs, we always seem to have a stash of scrap wood. This time, we had several planks left over from patching our fence – planks that were absolutely perfect for crafting charming window boxes.
Coupled with some leftover exterior paint, this project turned out to be almost entirely FREE! It’s a fantastic example of how a little creativity and a pile of discarded materials can yield incredible results without breaking the bank.
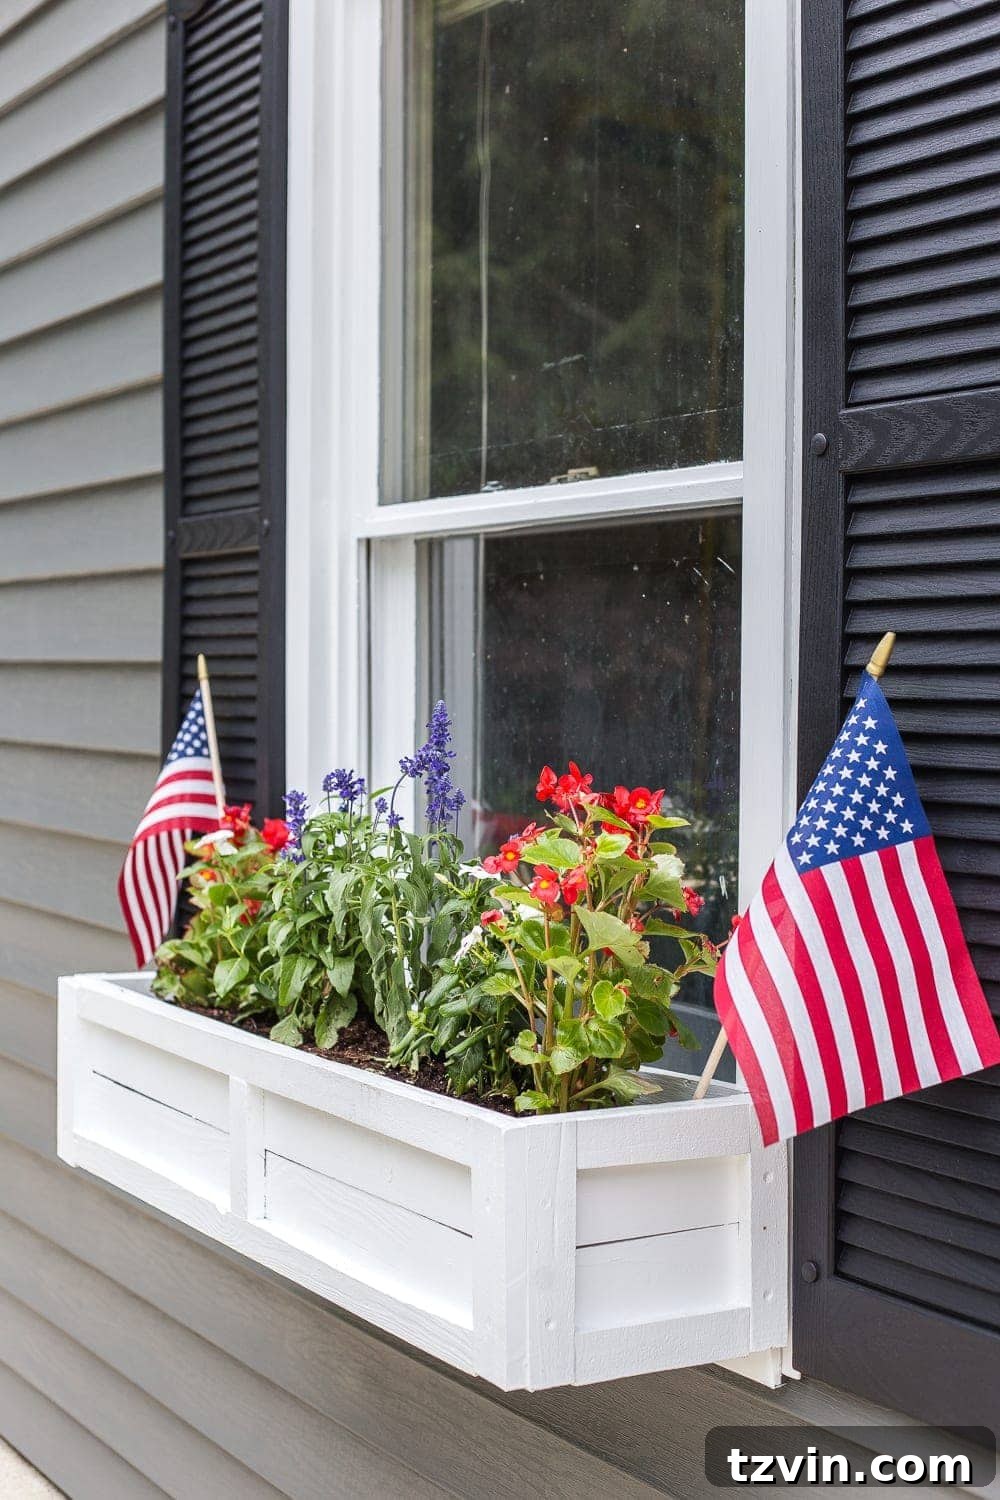
If you’re looking for a simple, impactful way to boost your home’s curb appeal and add a touch of personality to your exterior windows, this DIY window box tutorial is for you. It’s an ideal project for utilizing any scrap wood you might have lying around, transforming it into something both beautiful and practical.
These handcrafted window boxes bring a refreshing aesthetic to any home. They offer a perfect opportunity to introduce vibrant colors and textures through your favorite flowers and plants, enhancing the architectural features of your house. Beyond the visual appeal, choosing to build your own window boxes from recycled materials like scrap wood is an eco-friendly choice, reducing waste and giving new life to materials that would otherwise be discarded. Plus, the satisfaction of creating something with your own hands that adds such significant value to your home is truly priceless.
(Some affiliate links are provided below to help you find the right tools and materials. Full disclosure here.)
Essential Supplies for Your Scrap Wood Window Box Project
Before diving into the construction, gather all your materials and tools. Having everything ready ensures a smooth and efficient building process. While we used specific types of wood, feel free to adapt this list based on the scrap wood you have available. The key is structural integrity and weather resistance for outdoor use.
Materials:
- Fencing Boards: Approximately 4 boards, depending on the desired size of your window box. You can substitute these with any suitable exterior-grade scrap wood planks.
- 1×2 Boards: For reinforcing corners and providing a finished look.
- Wood Screws: Exterior-grade screws for strong, weather-resistant assembly.
- Finishing Nails: For securing trim and adding extra stability.
- Wood Filler: To fill screw holes and imperfections for a smooth surface.
- Medium Grit Sandpaper: For smoothing surfaces after filling and before painting.
- Exterior Primer: Essential for sealing the wood and ensuring paint adhesion and durability.
- Exterior Paint: Choose a color that complements your home’s exterior. Ensure it’s rated for outdoor use to withstand weather elements.
- Window Box Liner: A plastic liner is crucial for holding soil and moisture, protecting your wooden box from rot.
- Potting Soil: High-quality soil suitable for your chosen plants.
- Flowers of Your Choice: Select plants appropriate for your climate, sunlight exposure, and aesthetic preferences.
Tools:
- Tape Measure: For accurate measurements.
- Circular Saw: For precise cuts of your wood pieces. A miter saw or table saw can also be used.
- Brad Nailer: (Optional, but highly recommended for efficiency) For quickly attaching 1×2 boards. A hammer and finishing nails work just as well.
- Power Drill/Driver and Bits: For pre-drilling holes and driving screws.
- Square Tool: To ensure all cuts and assemblies are perfectly square.
- Framing Square: Useful for marking and checking larger dimensions.
- Galvanized L Brackets: For securely mounting the window box to your home.
- Pencil: For marking cut lines.
- Paint Brush of Your Choice: Or a paint sprayer for a faster, smoother finish.
The Detailed Step-by-Step Window Box Building Guide
Creating your own window box is a rewarding project that can be completed over a weekend. Follow these steps carefully to ensure a durable and beautiful finished product.
Step 1: Precise Measurements are Key
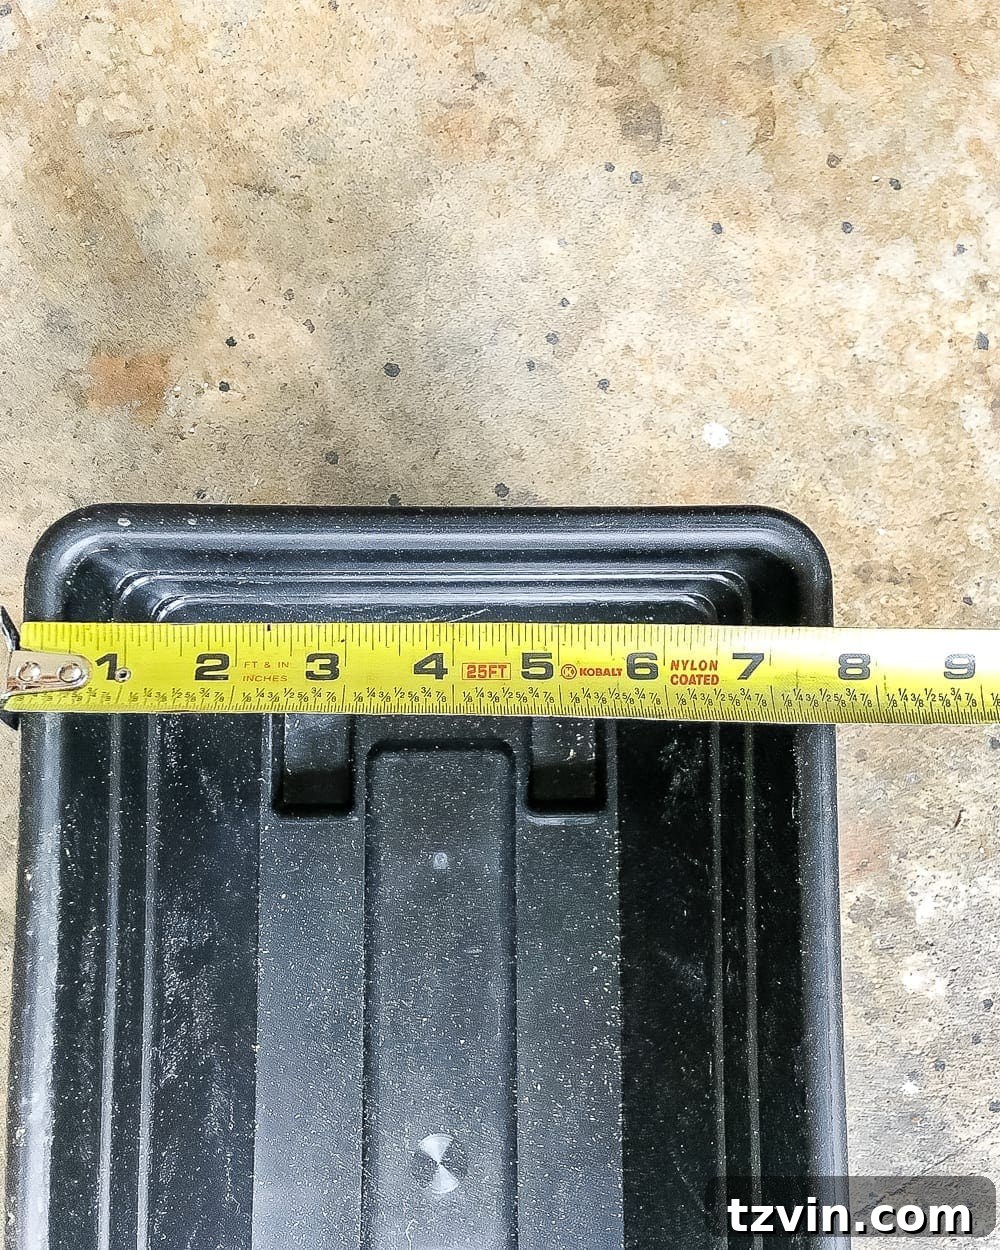
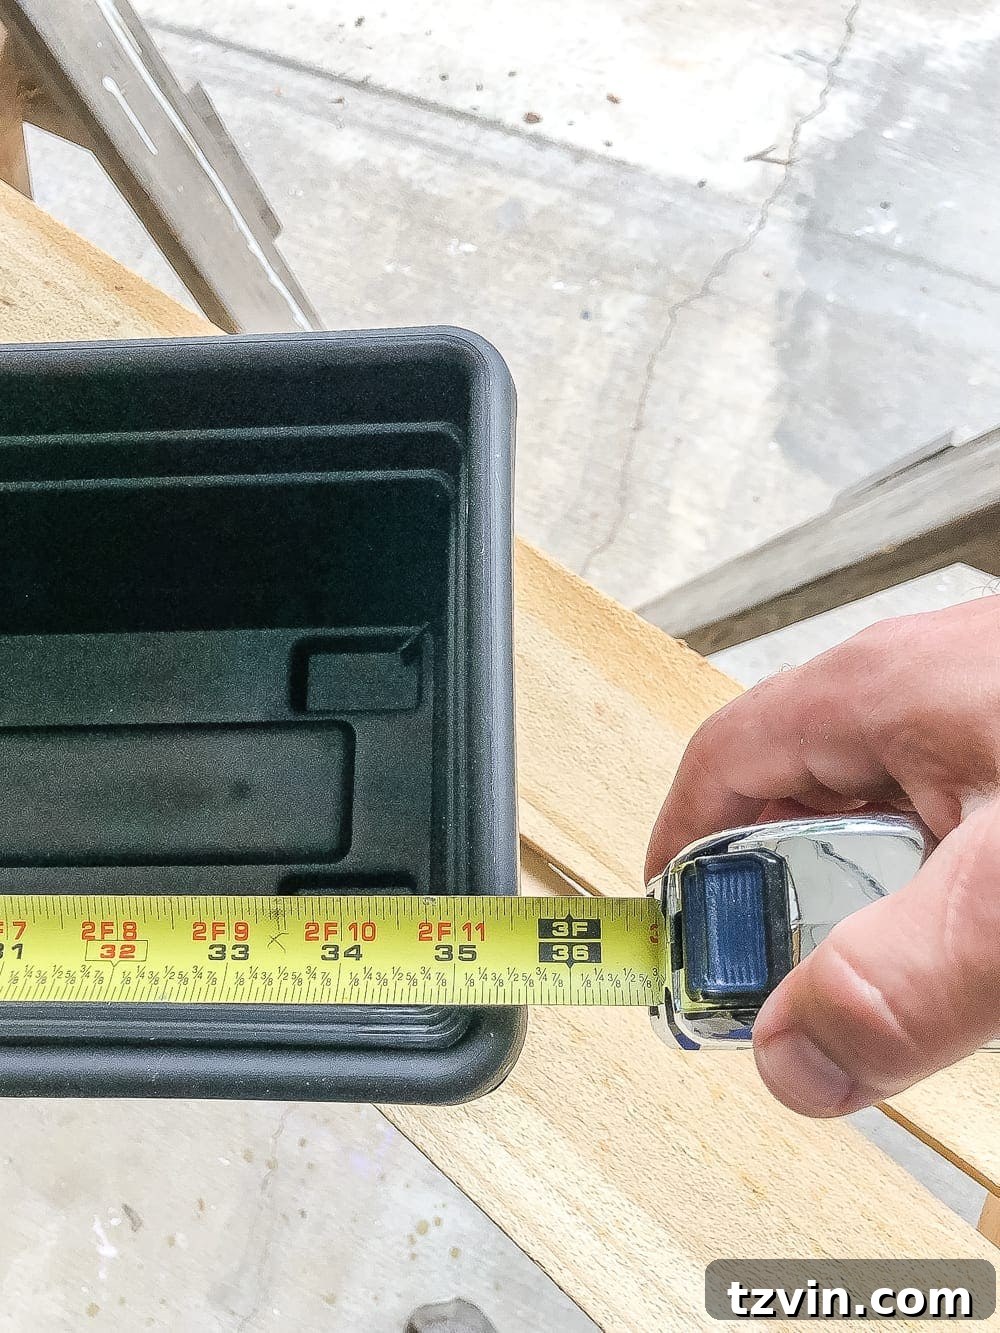
Begin by measuring your window box liner. This liner will dictate the internal dimensions of your wooden box. Measure its width, length, and depth. To determine your wood cuts, you’ll need to add the thickness of your side running boards to each measurement. We recommend adding an additional 1/4 inch to each dimension for a little extra wiggle room, making it easier to insert and remove the flower box liner.
Step 2: Rip Wood to Desired Widths (If Needed)
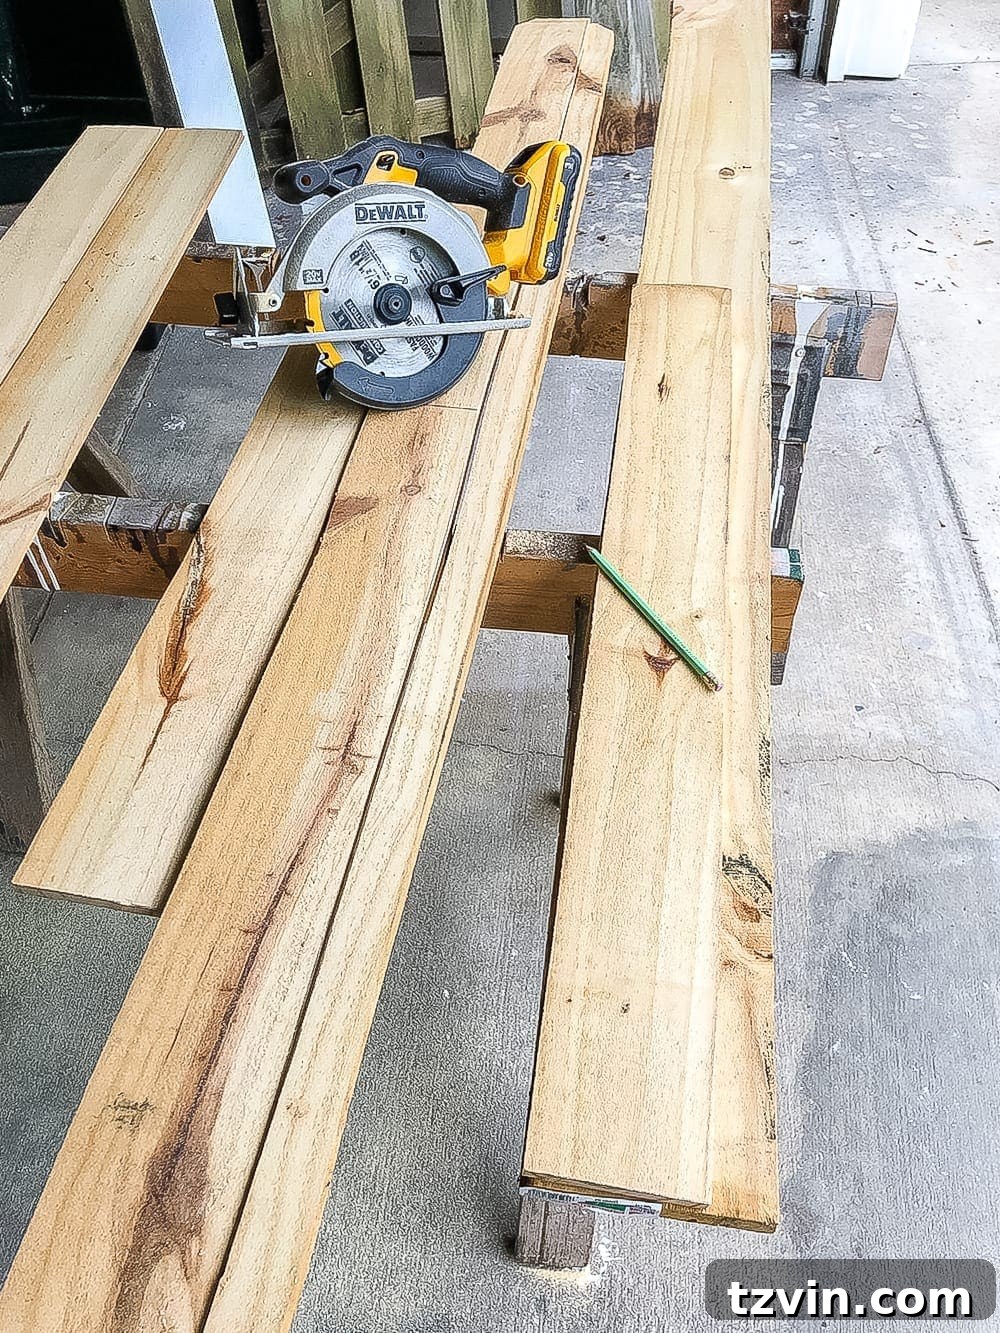
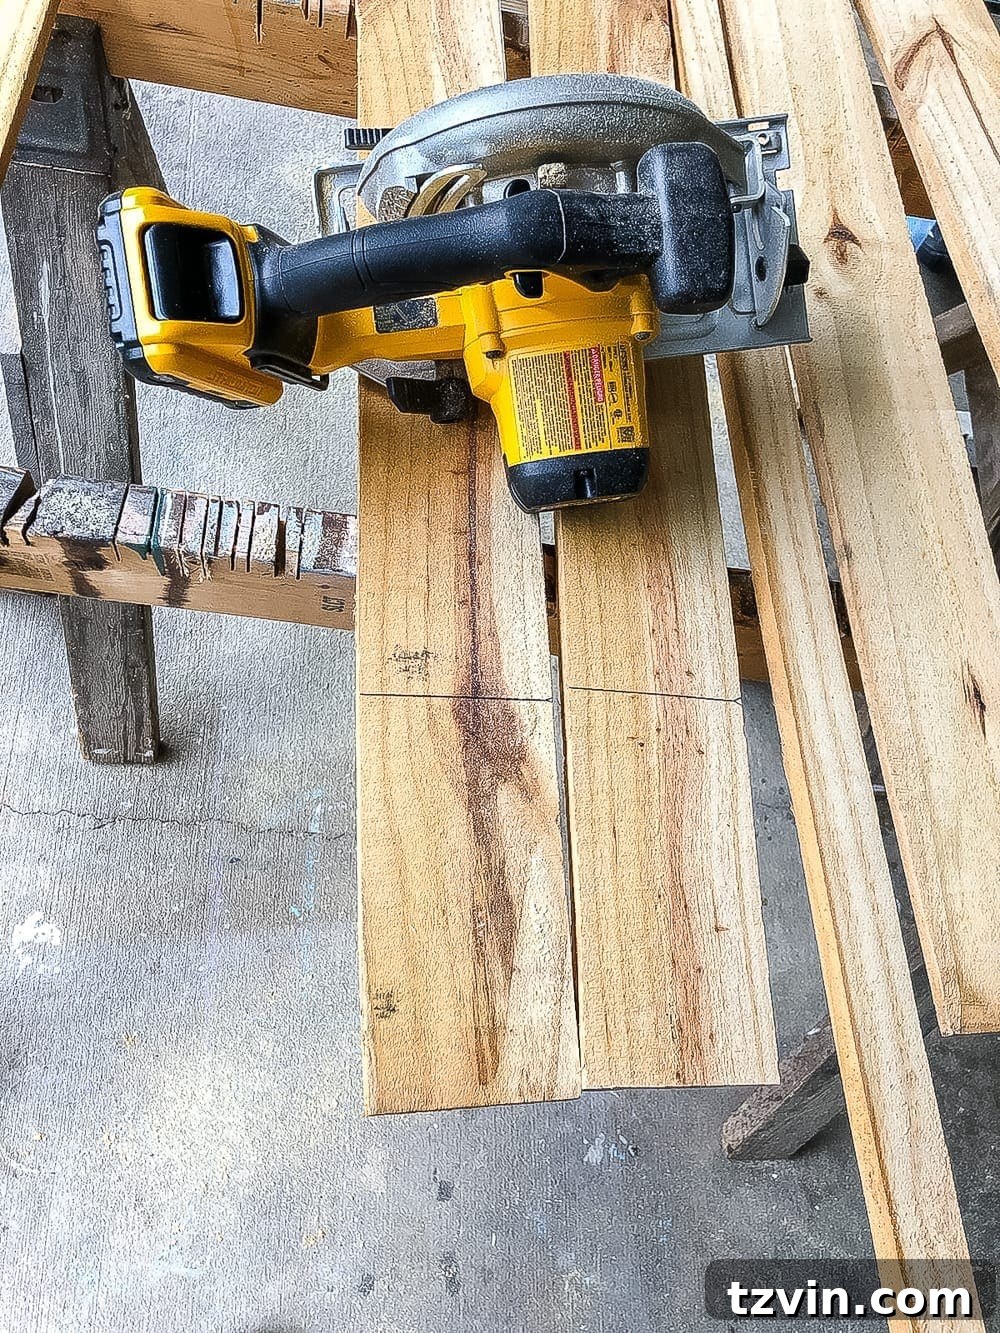
If your scrap wood planks are wider than desired, you’ll need to “rip” them down to the correct width. Using a circular saw (or a table saw if you have one available), carefully cut the length of the wood down the middle to achieve the necessary width for the sides, front, and back of your window box. Always prioritize safety when using power tools, wearing appropriate eye and ear protection.
Step 3: Mark Your Wood Pieces
Transfer your calculated measurements onto your wood pieces. Use your pencil and a square tool to mark precise cut lines. Double-check all measurements before marking to avoid errors.
Step 4: Cut All Wood Components
Using your circular saw, carefully cut along your marked lines. Ensure all cuts are straight and precise. This step typically yields two longer pieces for the front and back, and two shorter pieces for the ends of your window box.
Step 5: Assemble the First Side
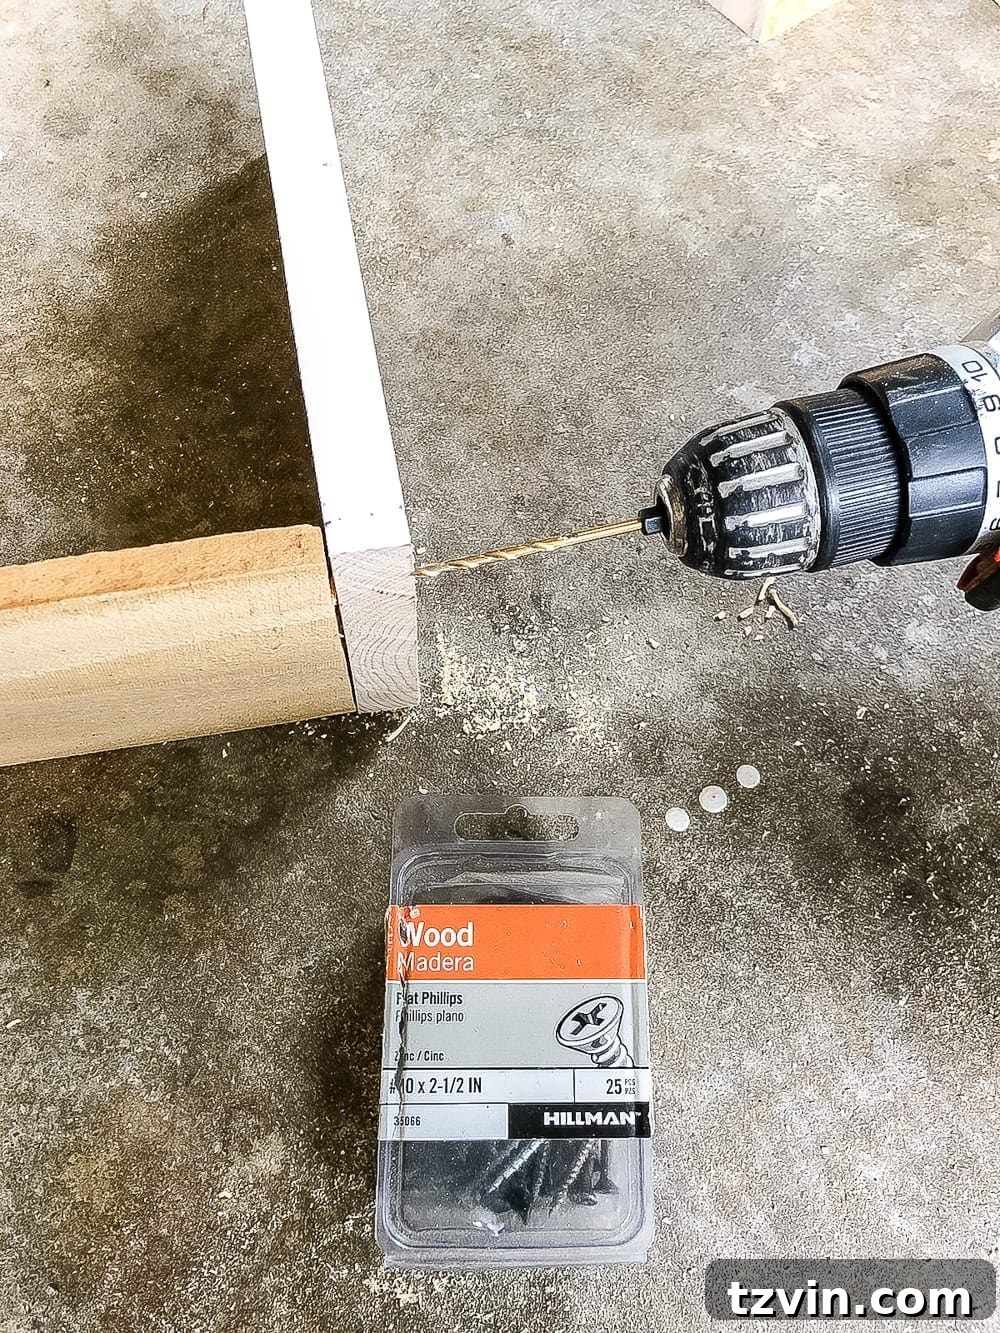
Begin forming your box by attaching one of the end pieces to a longer piece. Align them at a perfect right angle, then secure them using wood screws. Pre-drilling pilot holes is recommended to prevent the wood from splitting, especially with scrap or older wood.
Step 6: Complete the Four-Sided Box
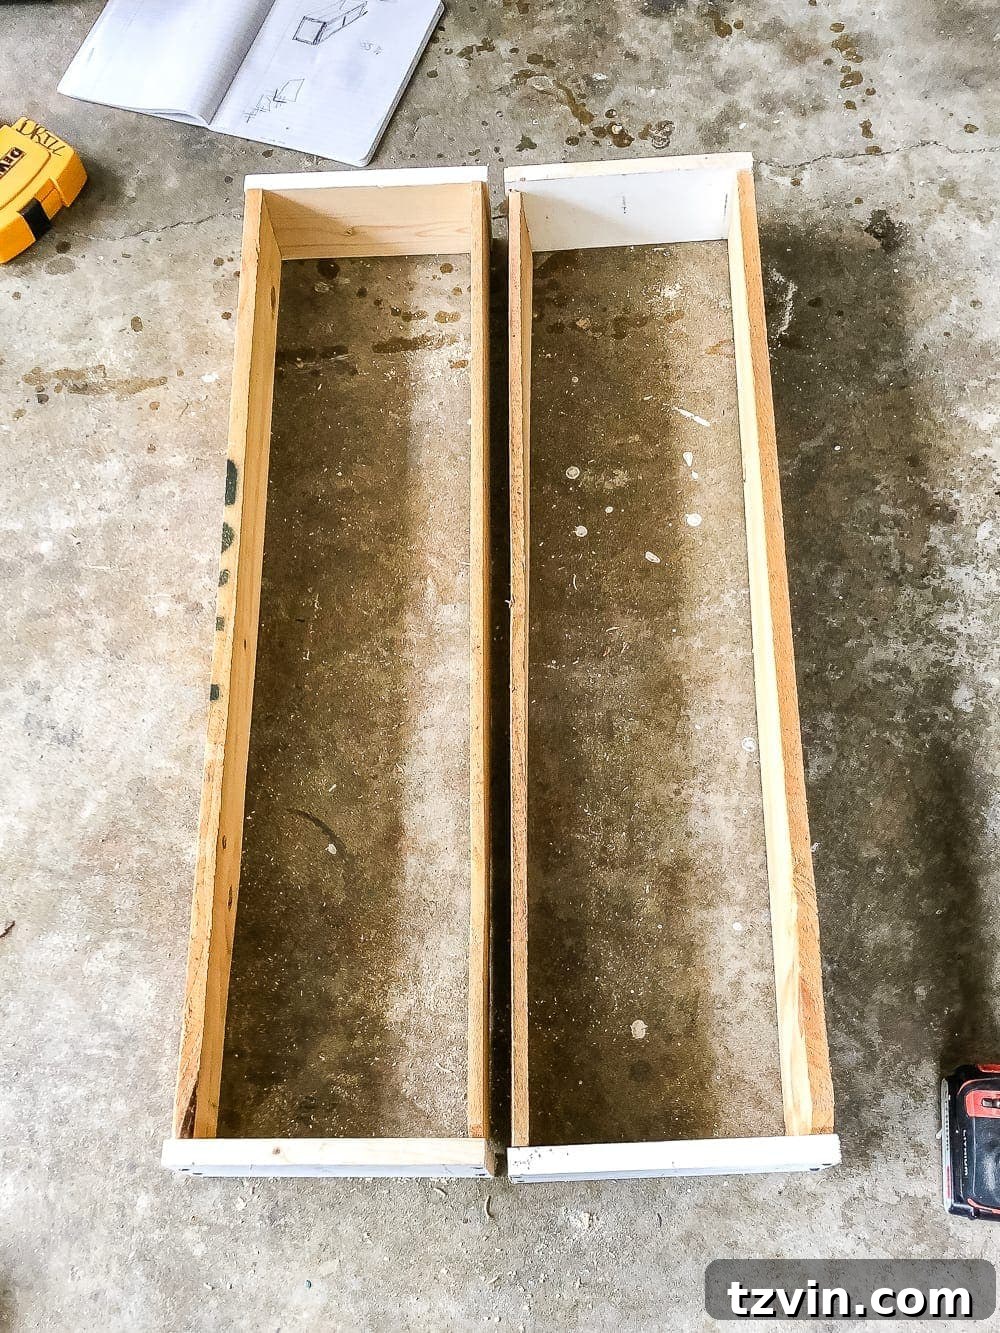
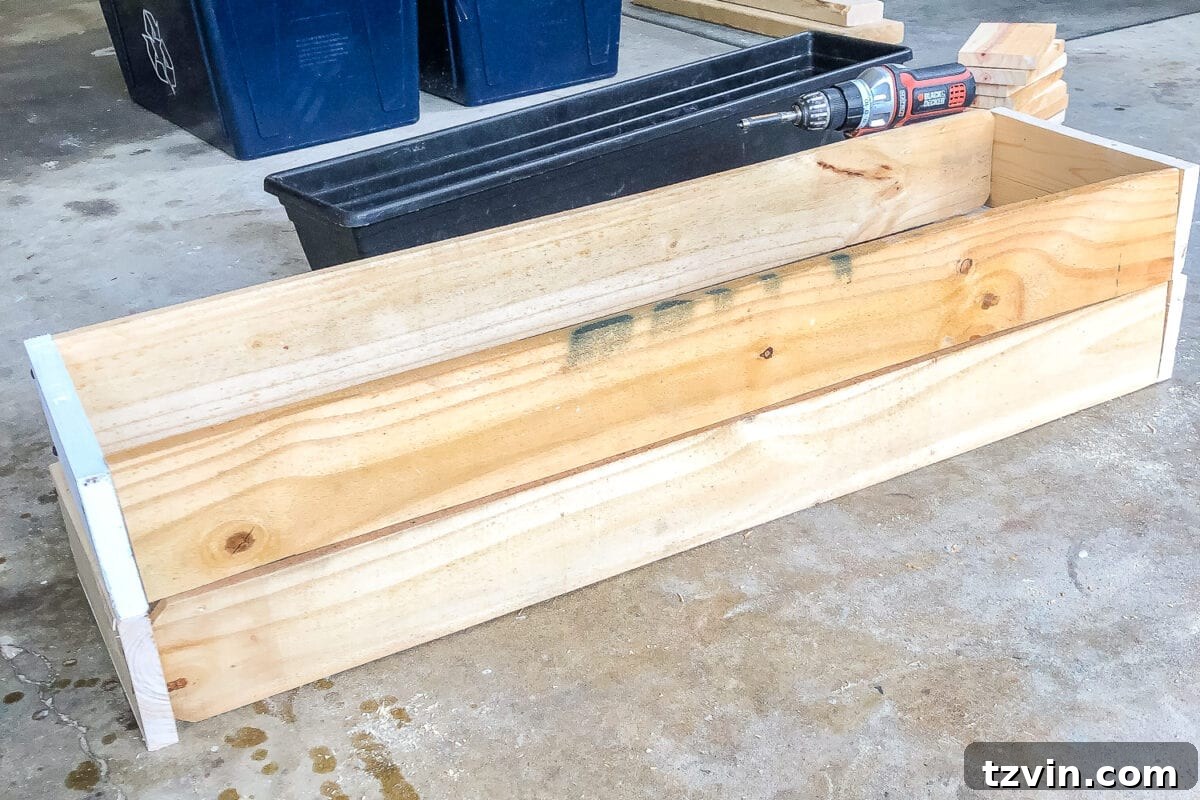
Repeat the process from Step 5 on the other side, attaching the remaining end piece to the assembled section. Then, connect the second long piece to complete the four-sided rectangular box structure. Ensure all corners are square and the connections are robust.
Step 7: Add Structural Reinforcement and Trim
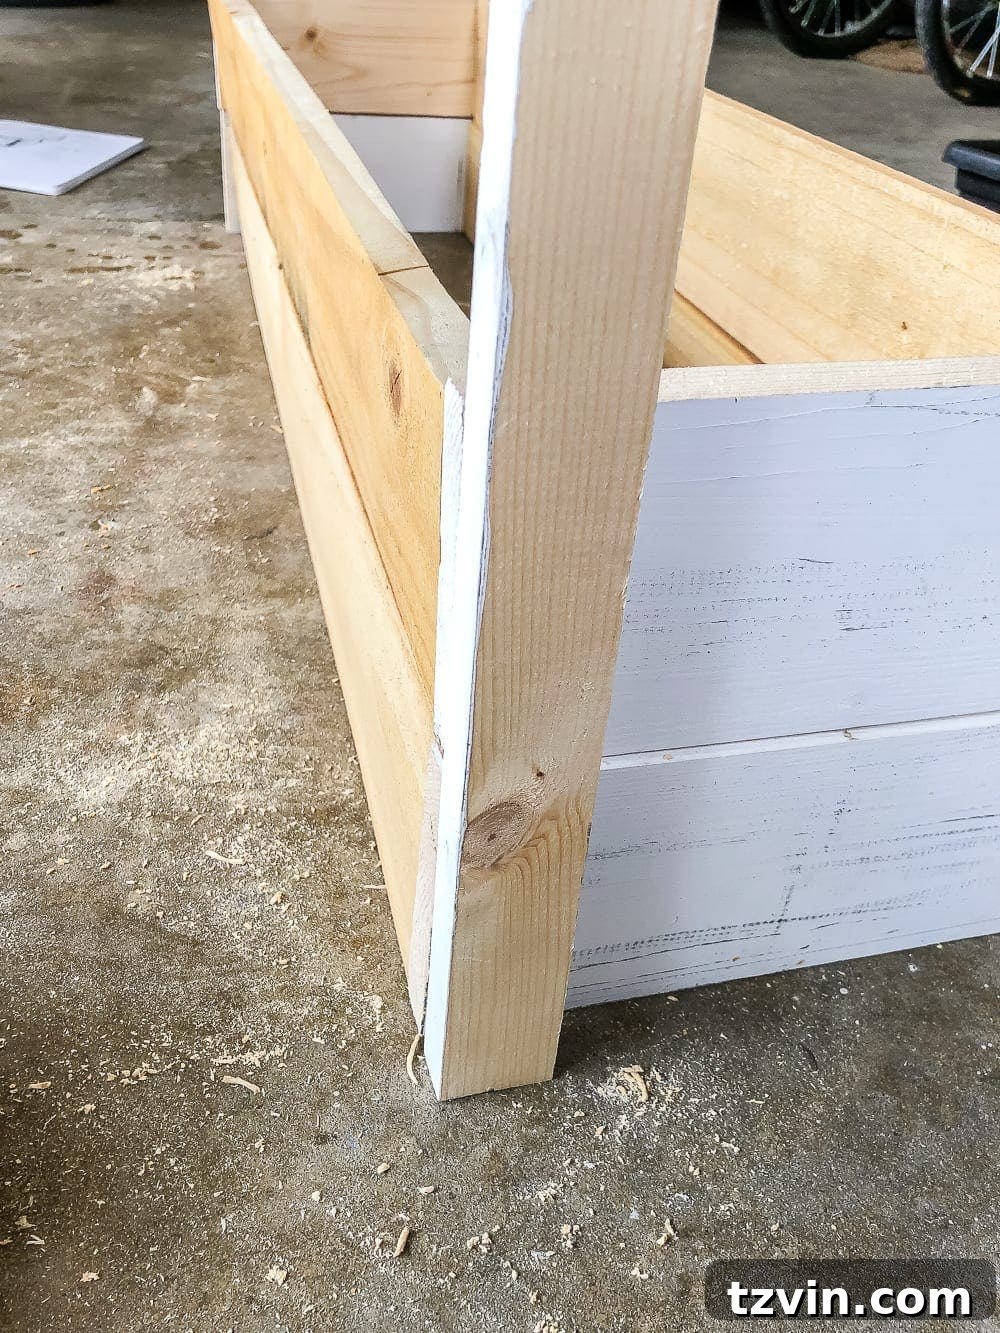
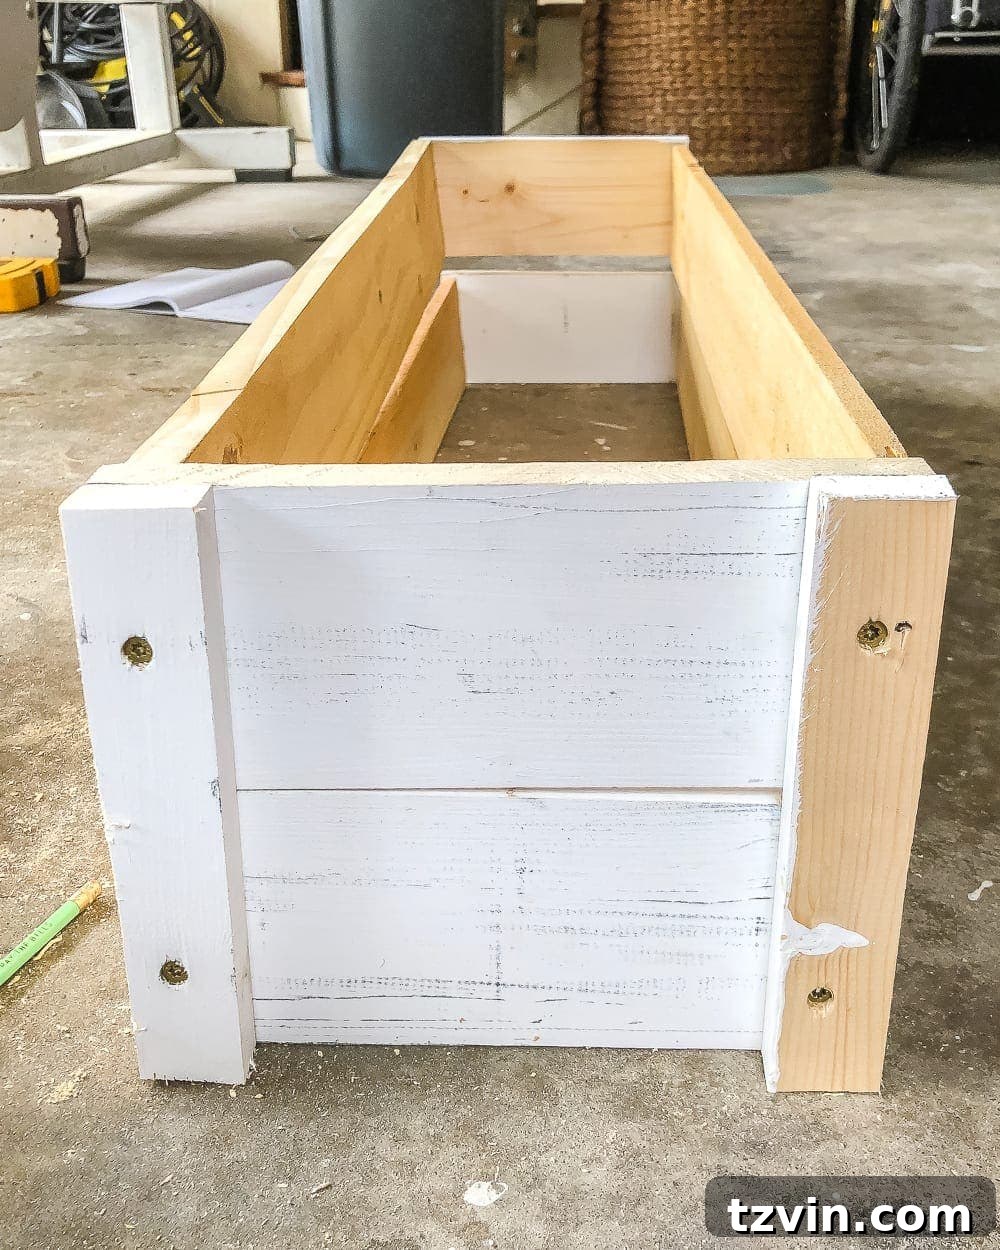
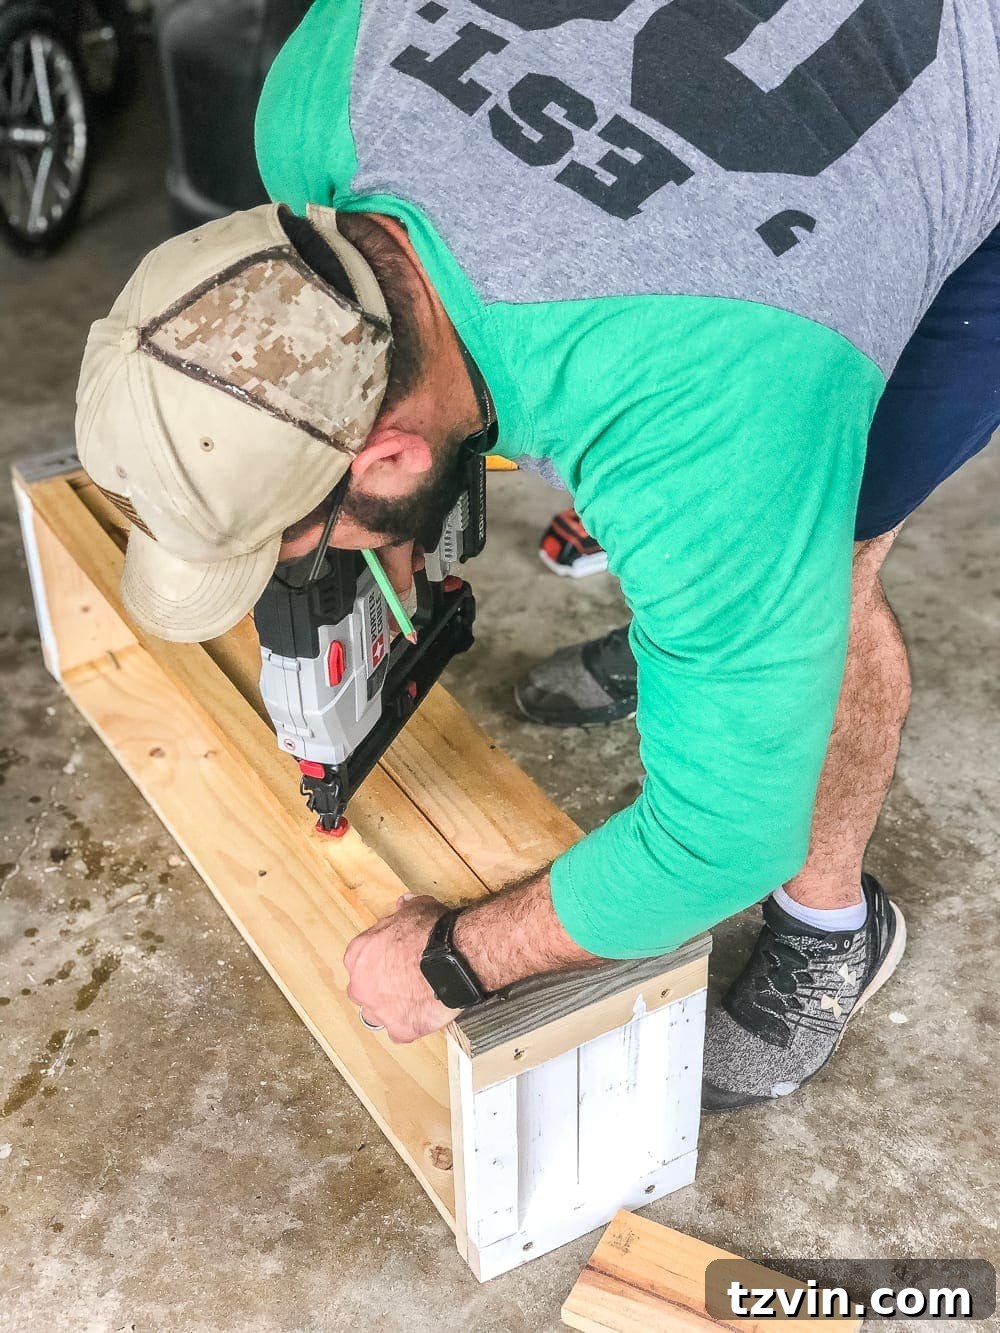
Cut your 1×2 boards to fit the top, bottom, and side edges of your box. These boards serve a dual purpose: they reinforce the structure, making it sturdier, and they provide a clean, finished look. Screw or nail these 1x2s into place, making sure they are flush with the edges. Important: leave the back side of the box (the side that will face the window) flush without any 1×2 pieces. This ensures it sits snugly against your house.
Step 8: Construct the Slatted Bottom for Drainage
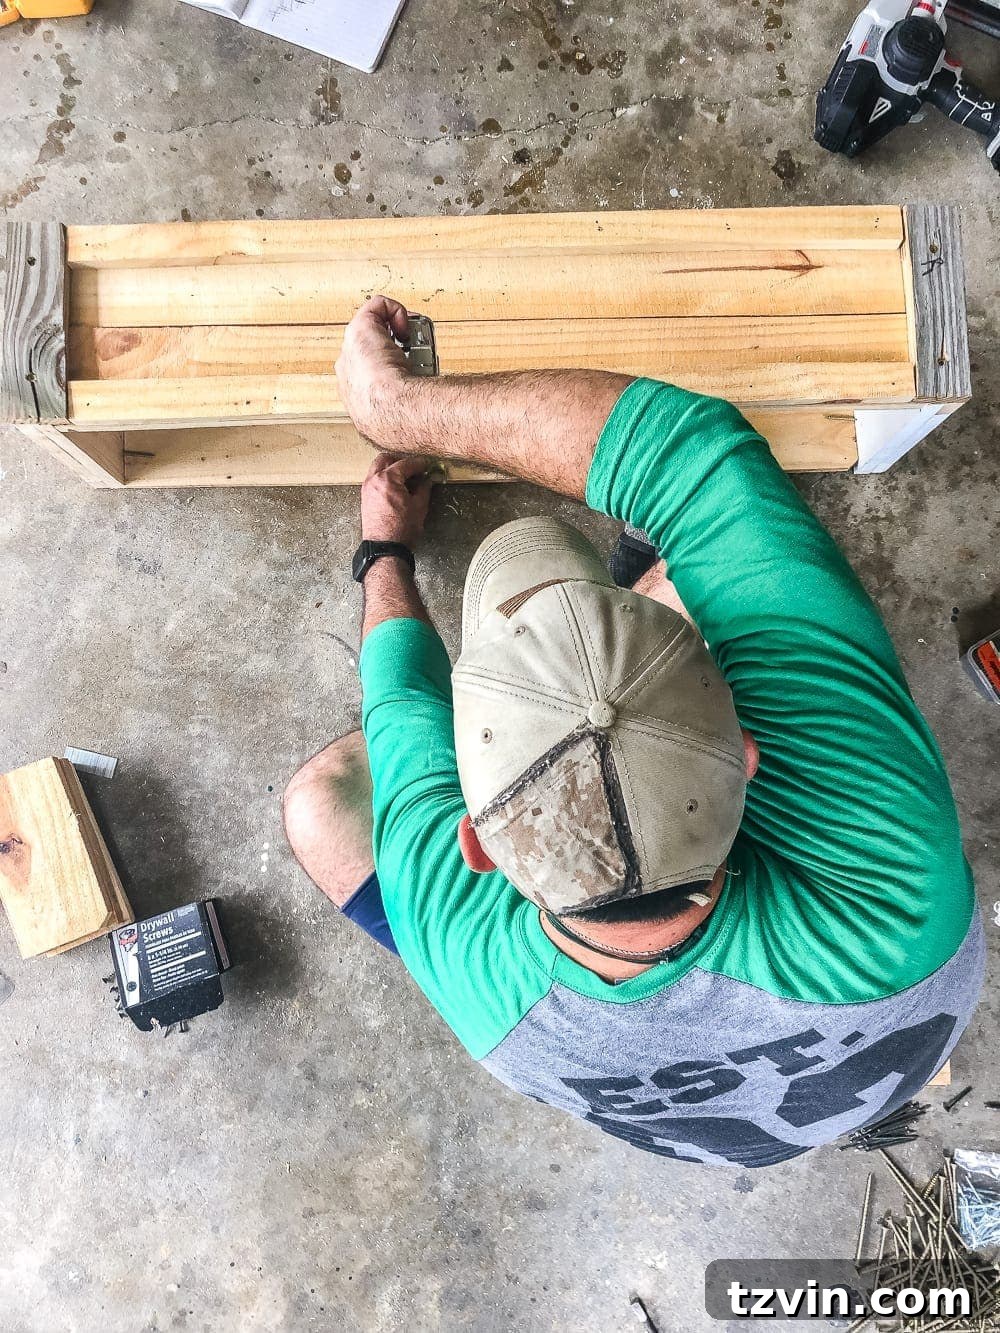
Measure and cut 3-4 wood pieces for the bottom of the box. These pieces should be screwed into place with significant gaps between them. This slatted design is crucial for several reasons: it allows for excellent water drainage from the liner, prevents the liner from sitting in standing water (which can lead to root rot), and promotes airflow. It also provides a sturdy base for the liner without creating a solid, water-trapping surface.
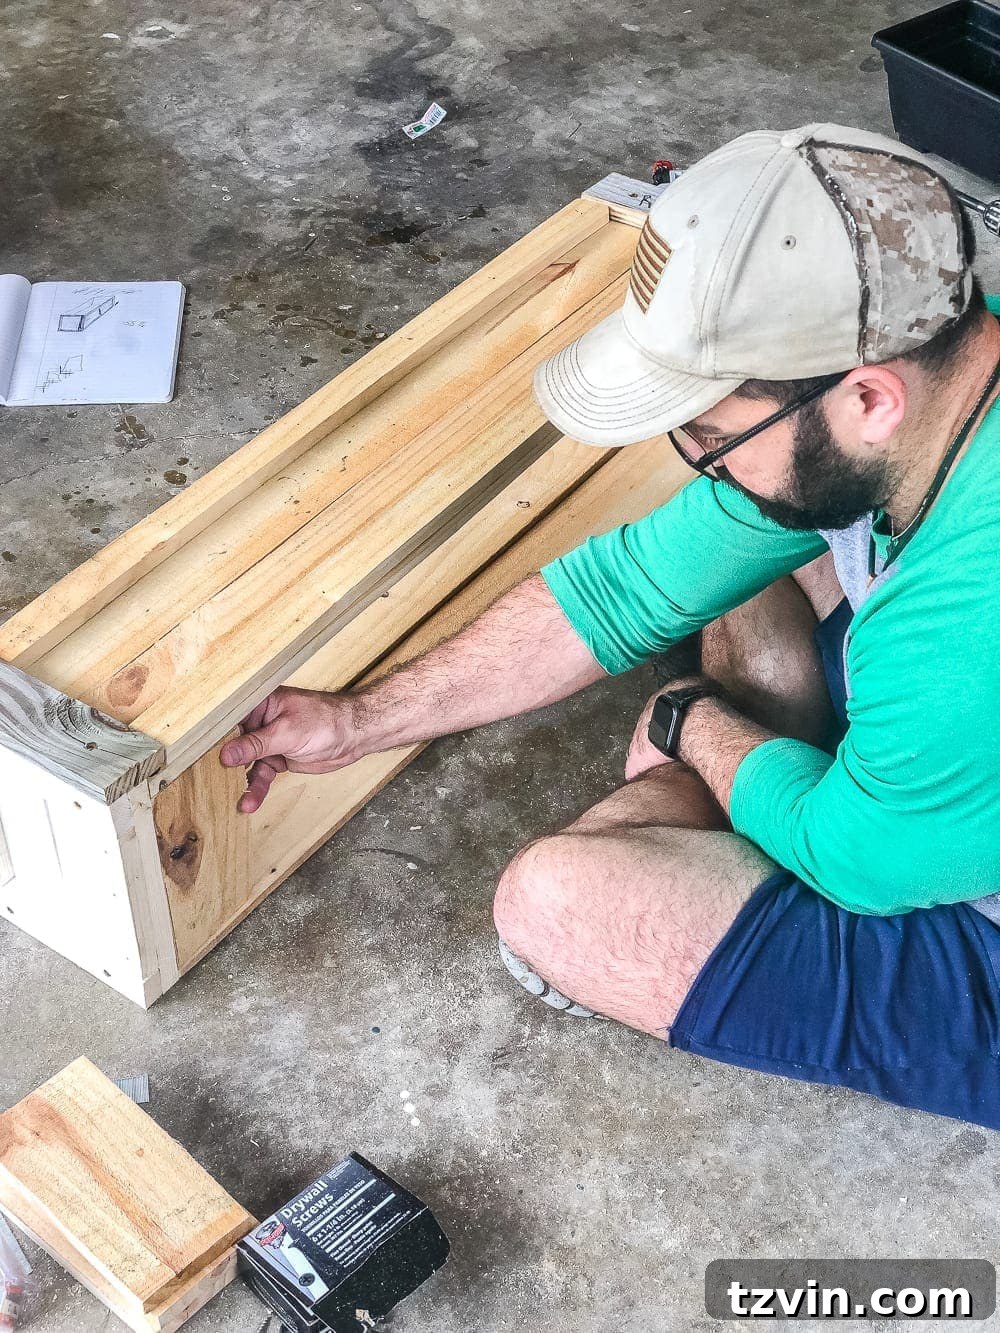
Step 9: Finish with Wood Filler and Sanding
To achieve a professional, smooth finish, fill any visible screw holes, nail indentations, or minor imperfections with wood filler. Apply the filler, let it dry completely according to product instructions, then sand the entire box smooth with medium-grit sandpaper. This step is vital for ensuring paint adhesion and a clean appearance.
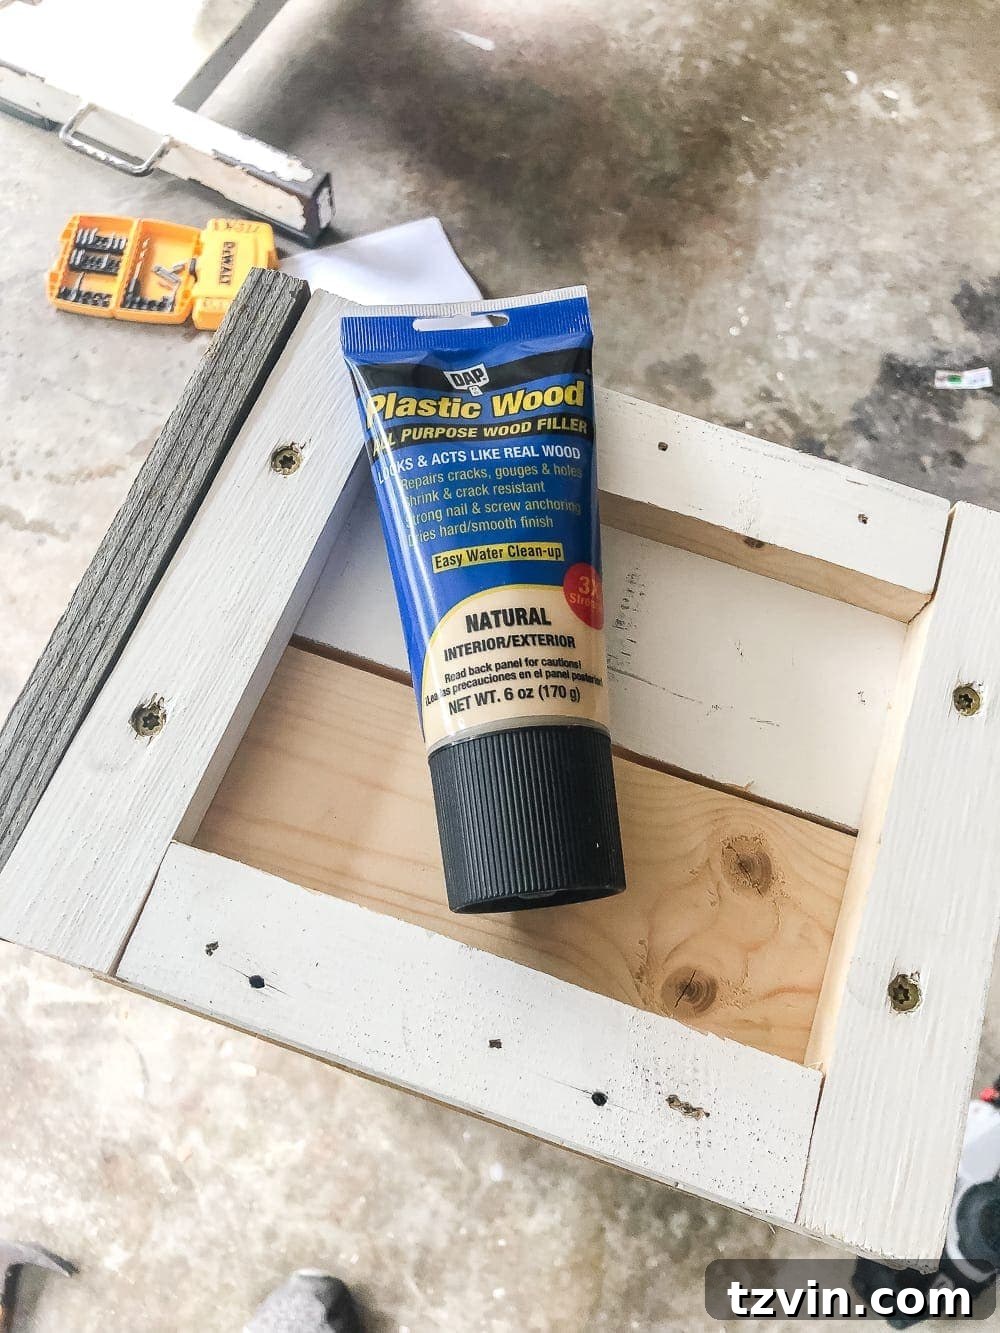
Step 10: Apply Exterior Primer
Prime the entire window box with an exterior-grade primer. Primer serves several critical functions: it seals the wood, provides a consistent base for your paint, and significantly improves the adhesion and durability of your topcoat, protecting the wood from moisture and extending the life of your paint finish.
Step 11: Paint with Exterior Paint
Once the primer is dry, apply at least two coats of your chosen exterior paint. Ensure each coat dries thoroughly before applying the next. Exterior paint is specifically formulated to withstand harsh weather conditions, UV rays, and temperature fluctuations, making it crucial for the longevity of your window box. You can use a brush for detailed work or a paint sprayer for a faster, more uniform finish.
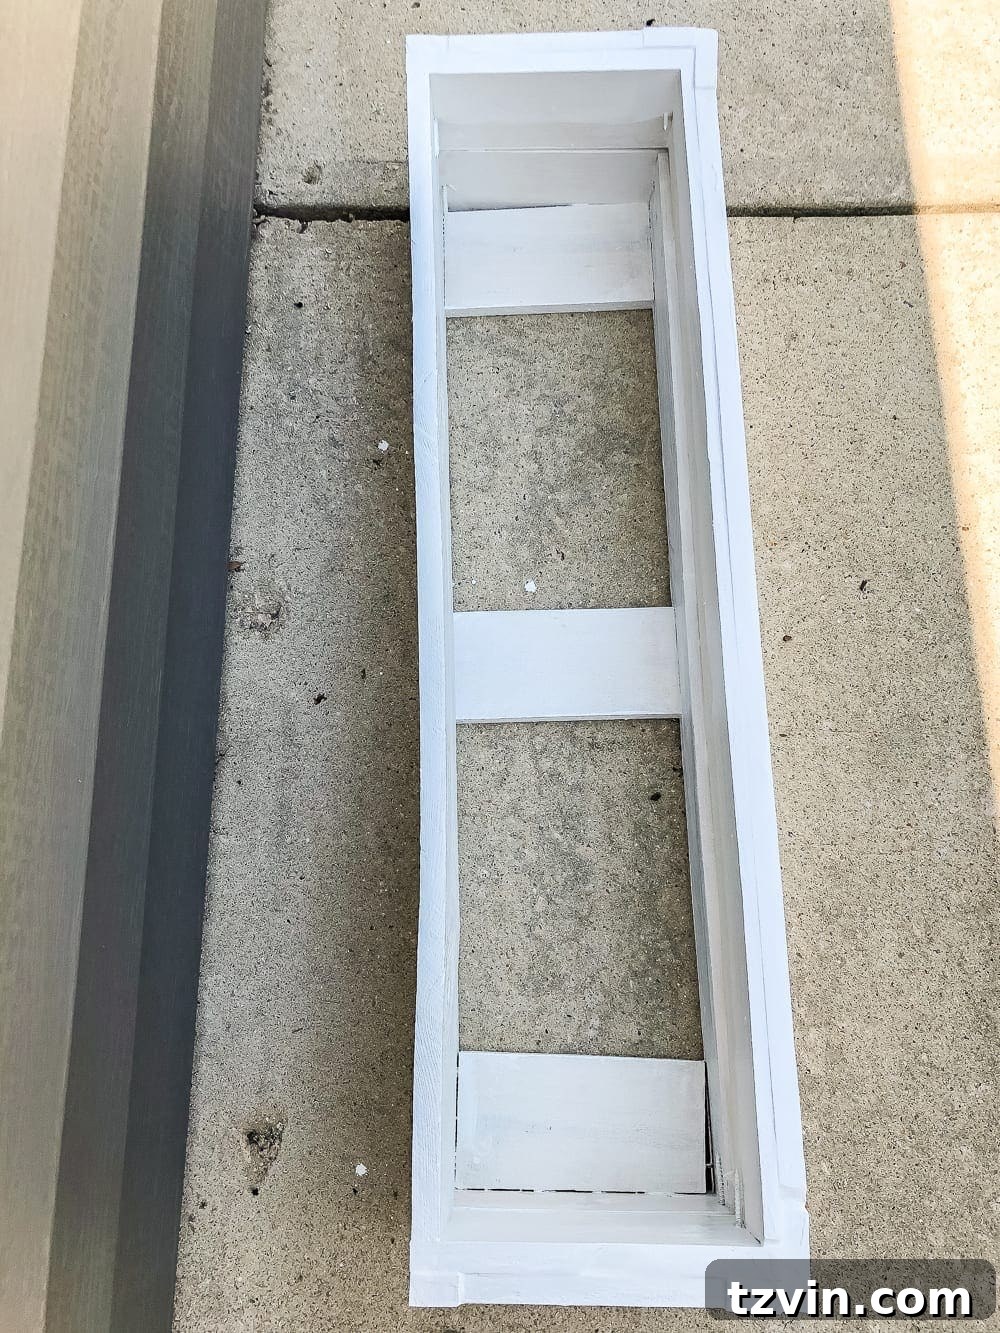
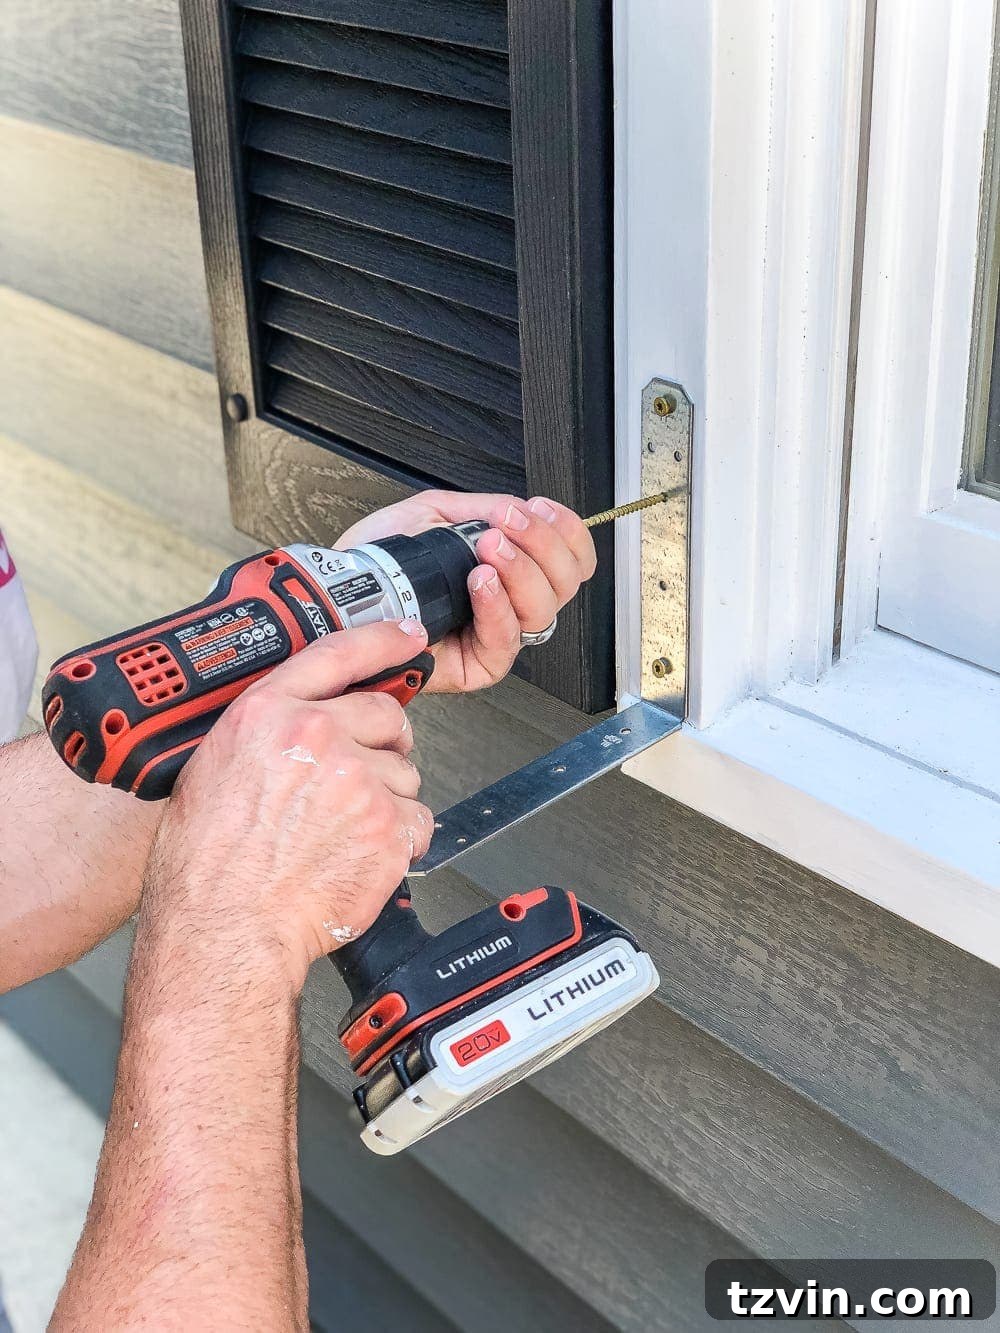
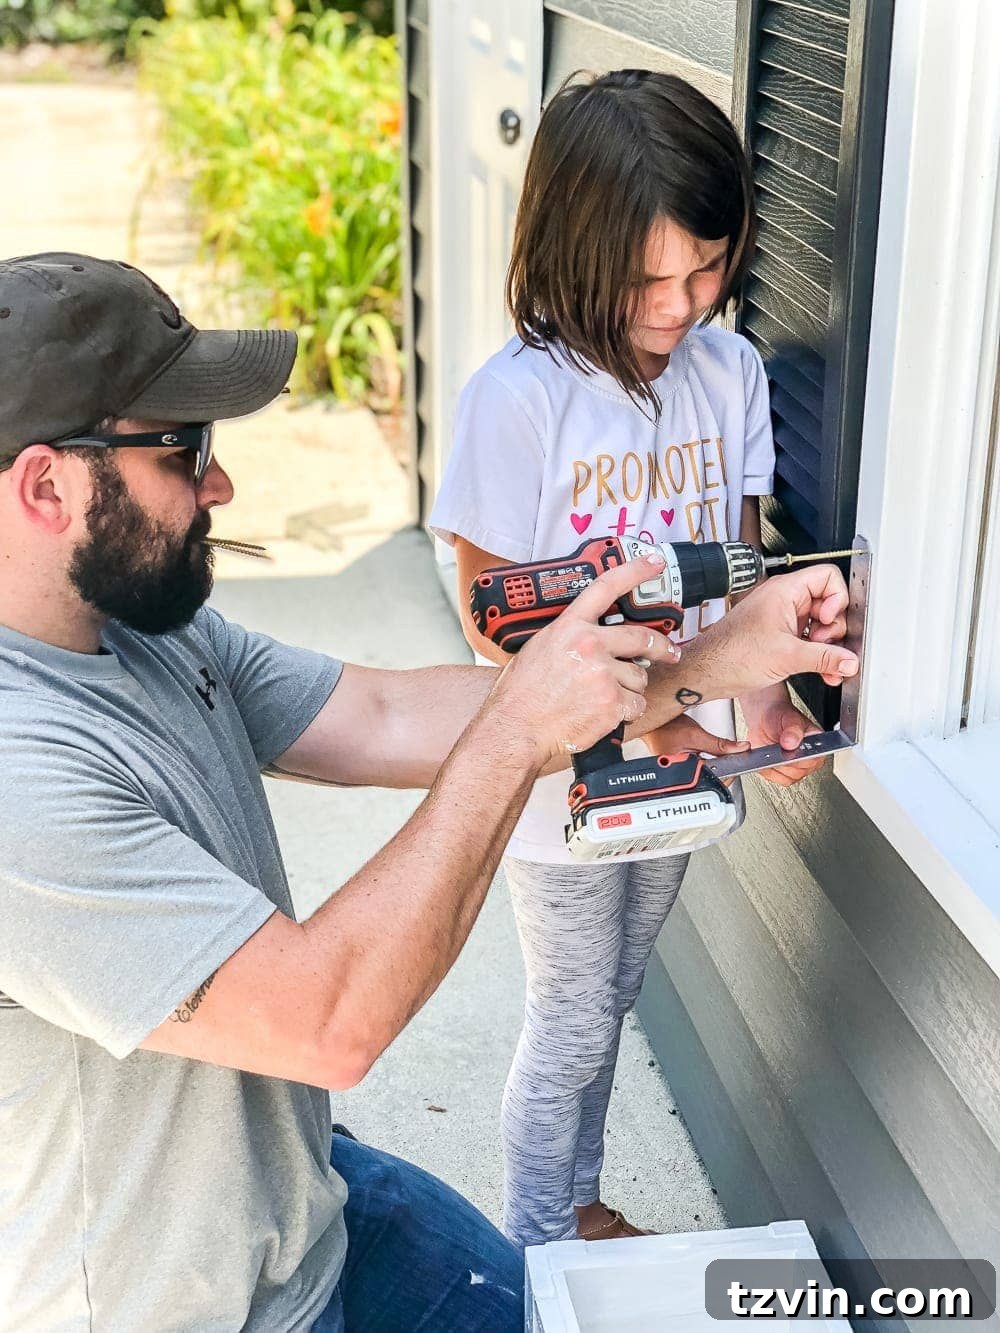
Step 12: Mount Galvanized L Brackets to Your Home
To securely attach the window box, first install galvanized L brackets to your house. Typically, these brackets are positioned just below the window sill. However, if your windows are too low (as ours were, almost reaching the ground), you might need to adjust their placement. Ensure the brackets are level and securely screwed into wall studs or appropriate exterior anchors for maximum stability. The “galvanized” aspect is important for rust resistance outdoors.
A little helper can make any DIY project more fun!
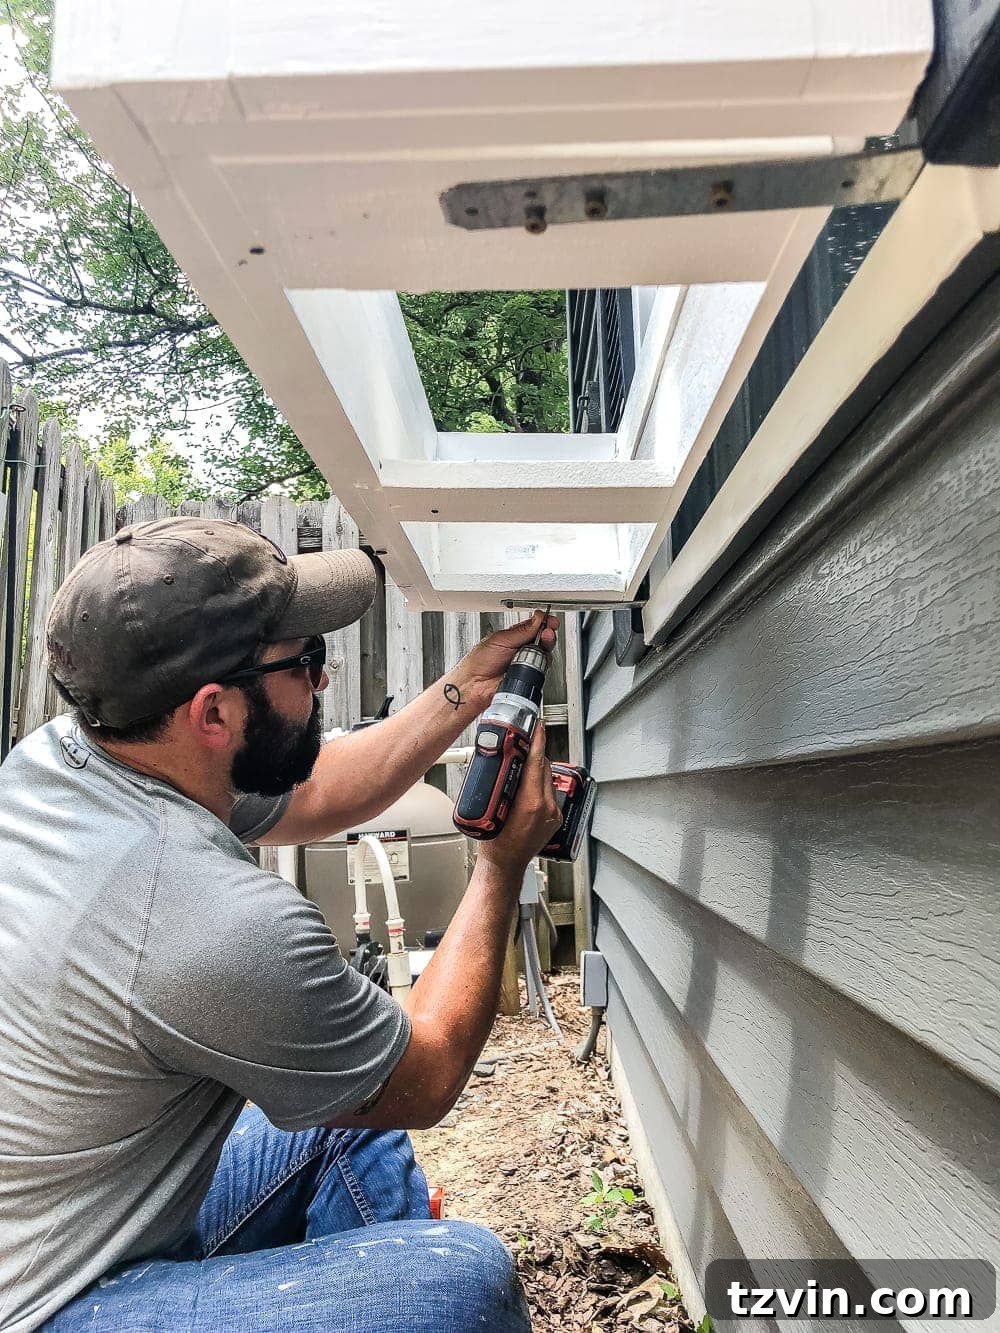
Step 13: Secure the Window Box to the Brackets
Carefully set the painted window box onto the installed L brackets. Once it’s perfectly aligned, screw the bottom of the window box directly into the L brackets. This creates a firm and stable attachment, preventing the box from shifting or falling.
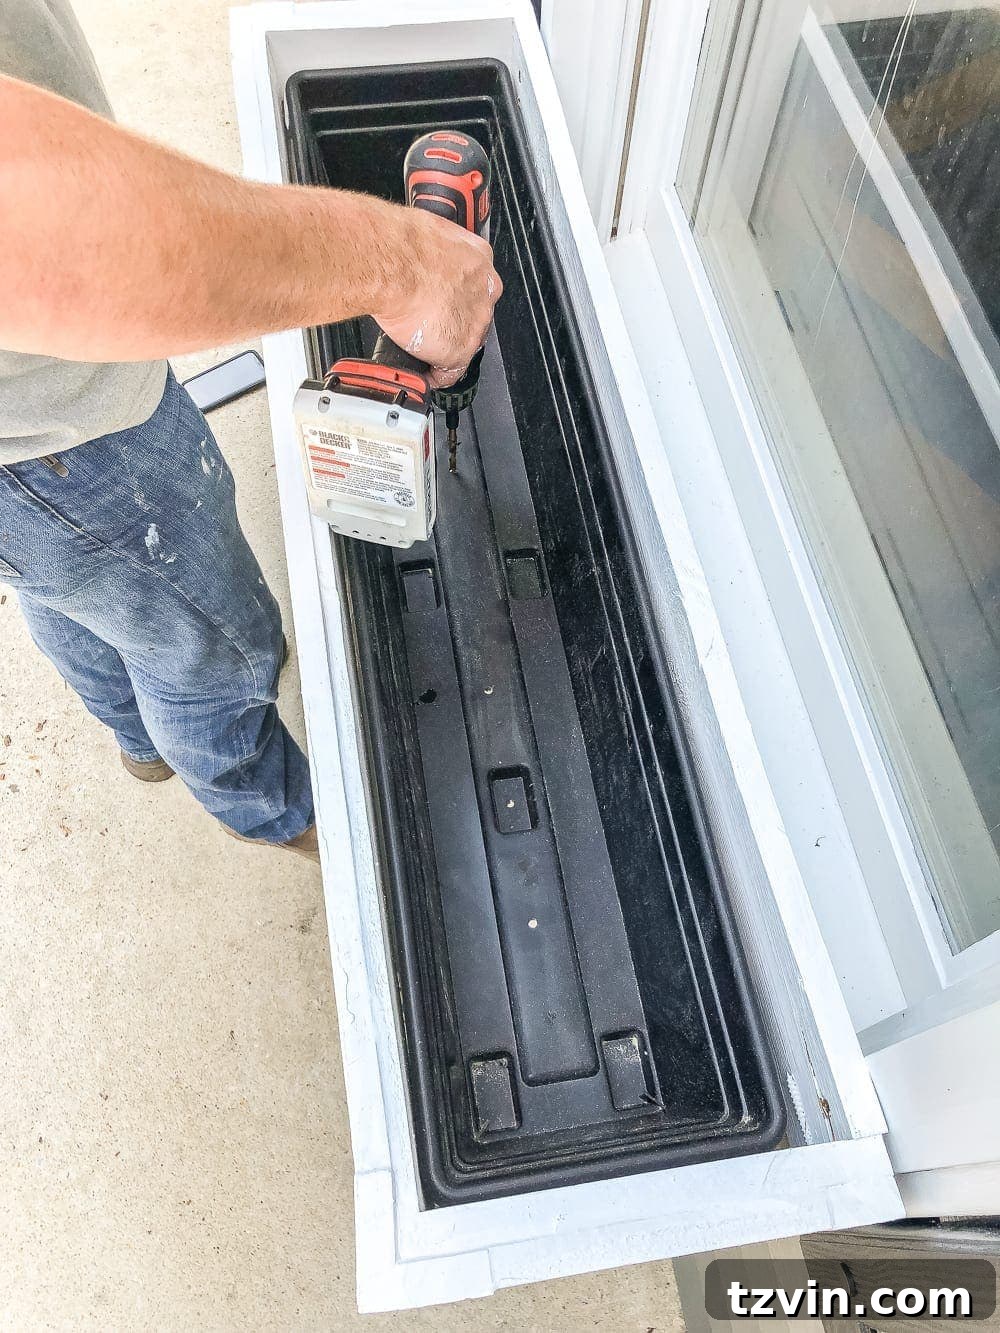
Step 14: Prepare the Liner for Planting
Place your window box liner inside the newly mounted wooden box. Before filling it with soil, it is absolutely crucial to drill several large holes in the bottom of the liner to ensure proper water drainage. Without these holes, your plants could suffer from root rot due to waterlogged soil.
Step 15: Plant Your Flowers and Enjoy!
Finally, fill your box liner with high-quality potting soil. Select flowers and plants that thrive in your climate and desired sunlight conditions. Arrange them artfully, considering height, color, and texture. Once planted, give them a good watering, and your beautiful, custom-built window box is complete!
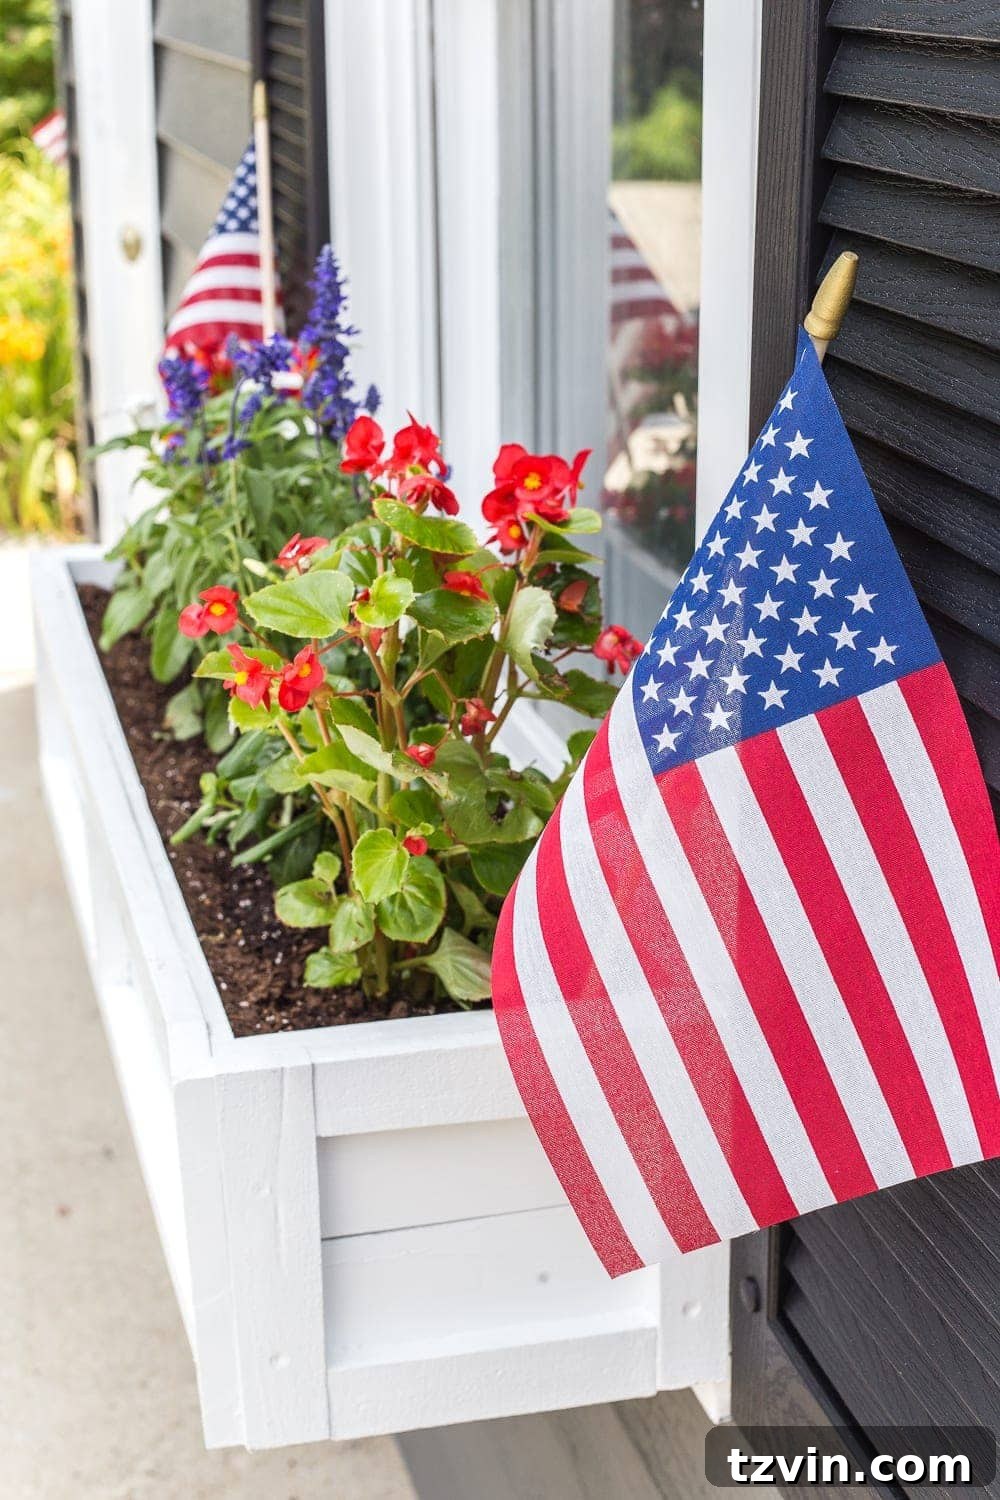
Feeling extra festive? Add small American flags for a patriotic touch, just like we did! We’re now perfectly set for our 4th of July pool party, with these vibrant window boxes adding to the celebratory atmosphere.
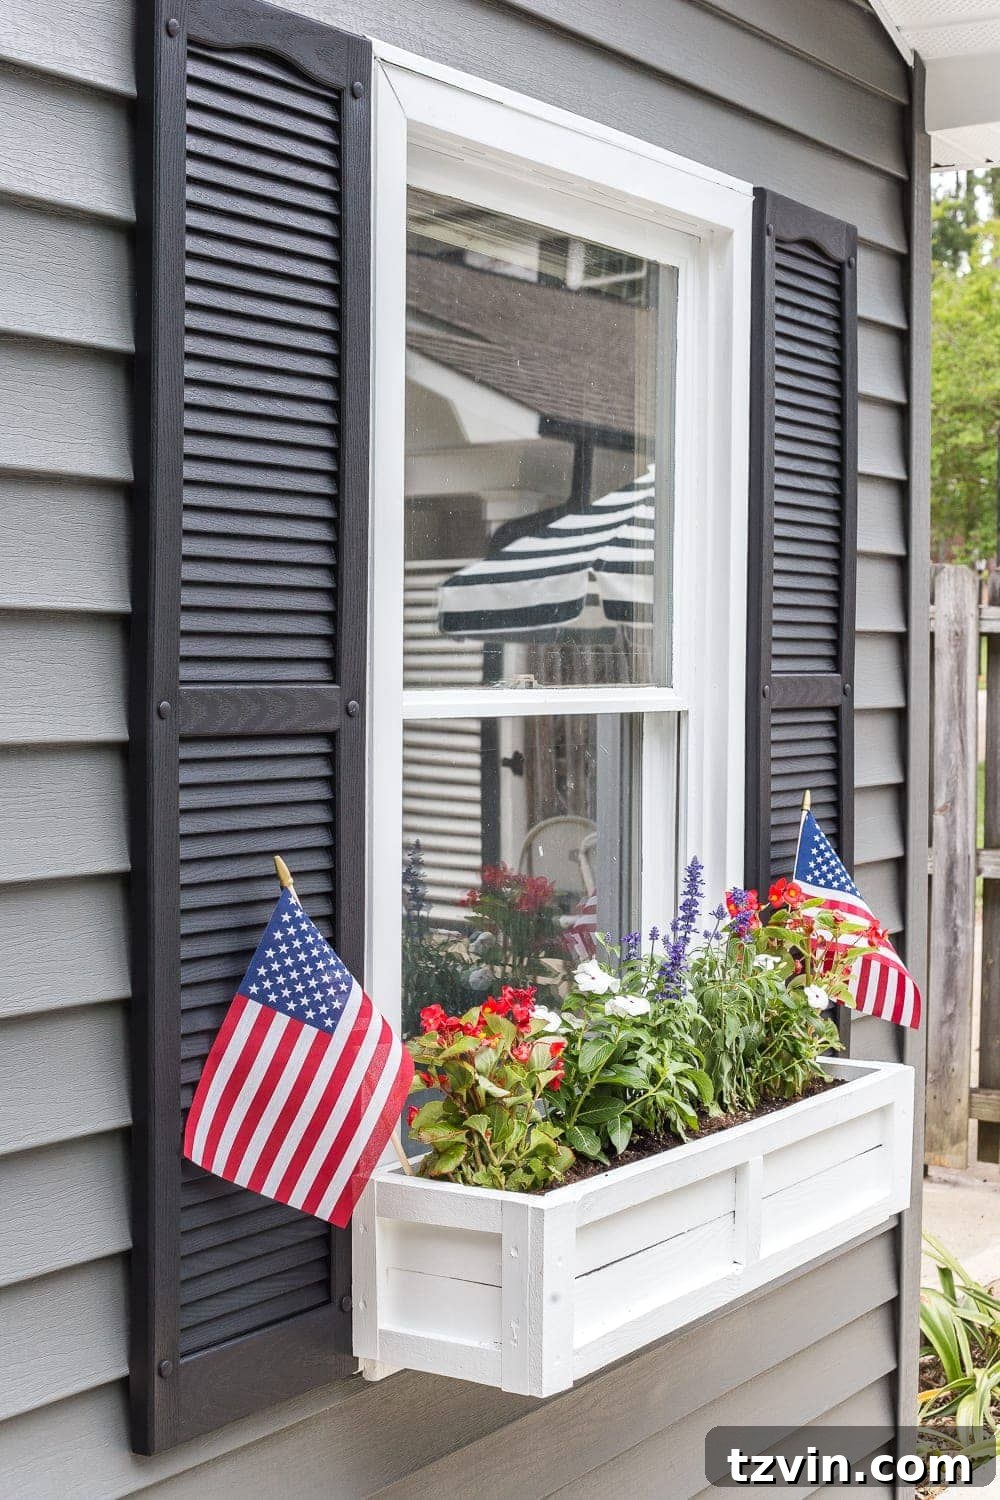
Beyond the Pool Shed: Customization and Future Ideas
Now that the pool shed’s window boxes are finished, we’re already dreaming of adding a few more to the front of our limewashed brick house. What do you think? These versatile planters could truly enhance any exterior. Consider painting yours in a bold color for a striking contrast, or a subtle tone to blend seamlessly with your home’s facade. You could also add stencils, carved details, or unique hardware for a personalized touch.
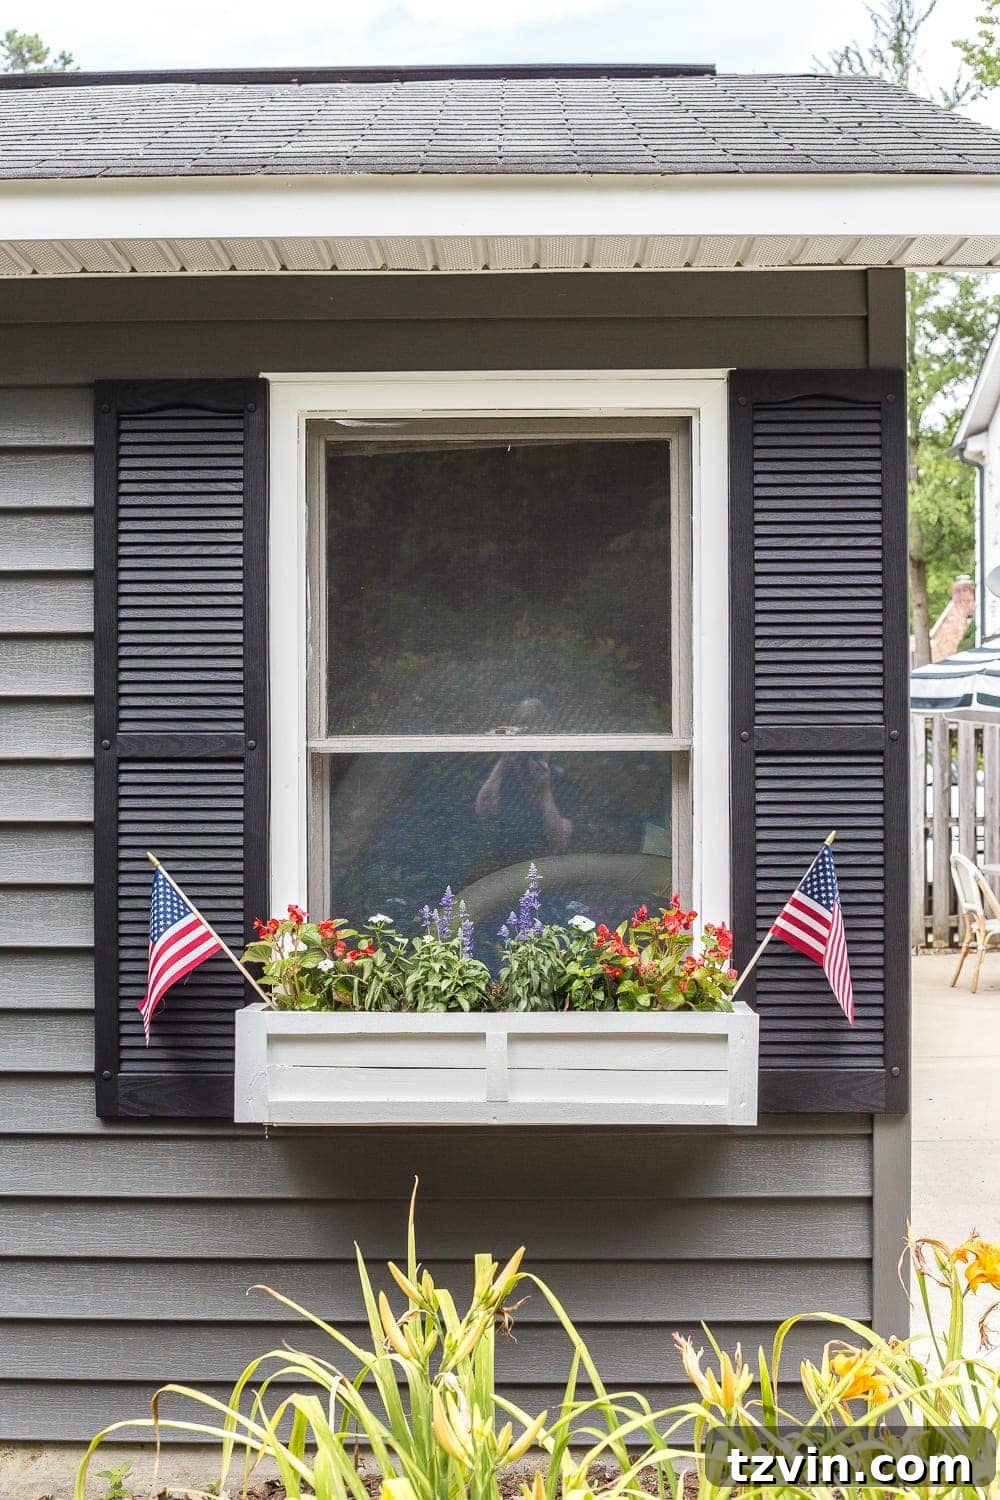
I’ll be sharing more details of this cute little pool shed makeover next week, but for now, I’m absolutely delighted with how much charm these almost-free window boxes have added to this corner of our backyard. They may not be “perfect” in the sense of being factory-made, but their rustic appeal and handmade character are precisely what makes them so special. More importantly, they saved us a grand total of $160 compared to purchasing store-bought options, and we gave new life to materials that were otherwise destined for the trash. That’s a win-win in our book!
Join the Upcycling Movement!
We believe that creativity and resourcefulness can transform any space. Have you embarked on any cool projects using scrap wood or other repurposed materials? We’d love to see or hear about them! If you’re a blogger, feel free to drop links to your own scrap wood projects in the comments below. We’re always on the lookout for innovative ways to use up leftovers and inspire our readers.
Happy crafting, and happy decorating!
If you want to save this post for later, you can pin it here: