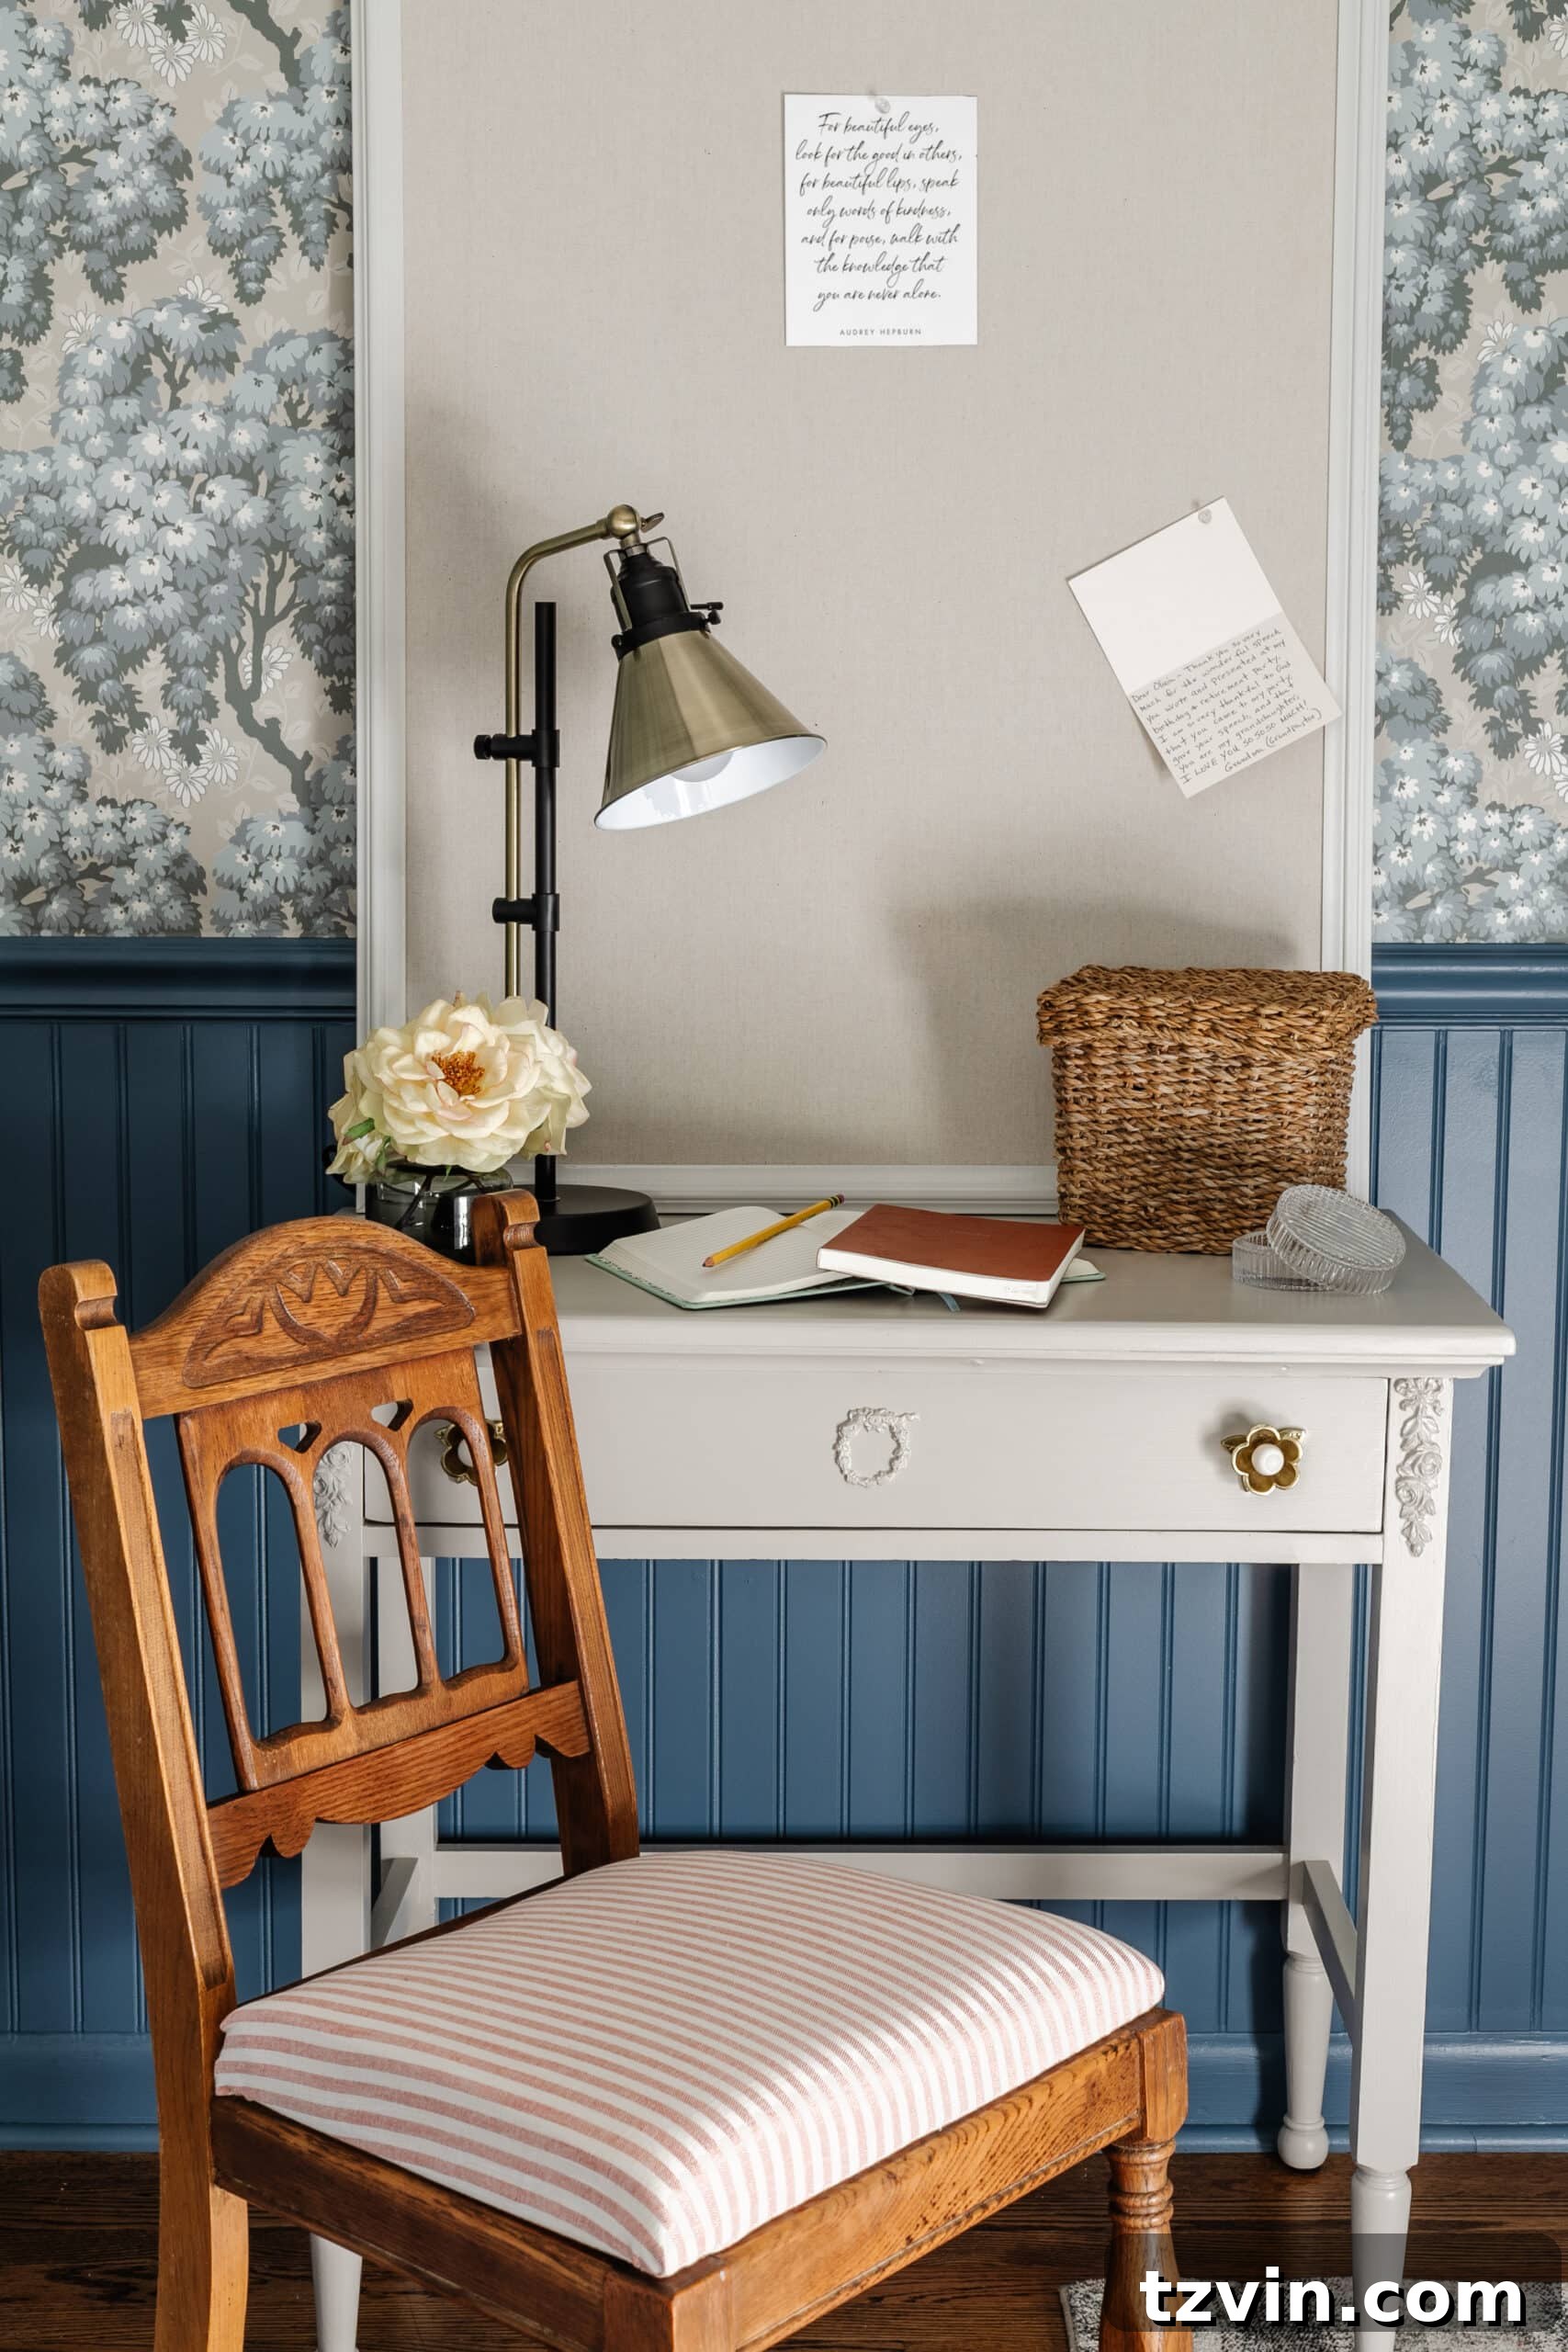
Transforming Your Space: How to Refinish Wood Furniture Without Stripping or Sanding in One Simple Step + A Vintage Bedroom Desk and Chair Makeover Guide.
We’ve been making exciting progress in Olivia’s “teen” bedroom makeover, and the latest addition, a thrifted bedroom desk and chair, has truly captured my heart! This project demonstrates how easily you can breathe new life into old pieces, making them look refreshed and vibrant without the tedious work of traditional refinishing methods.
Finding vintage furniture offers a unique charm that mass-produced pieces often lack. However, these treasures frequently come with years of wear and tear—scratches, blemishes, and a general dullness that can deter many DIY enthusiasts. My goal for this particular makeover was to restore the wood’s natural beauty and luster without resorting to the time-consuming and messy process of sanding and stripping. I wanted a method that was simple, effective, and provided immediate, satisfying results. This article will guide you through the one-step solution I discovered, perfect for anyone looking to refresh their wooden furniture with minimal effort.
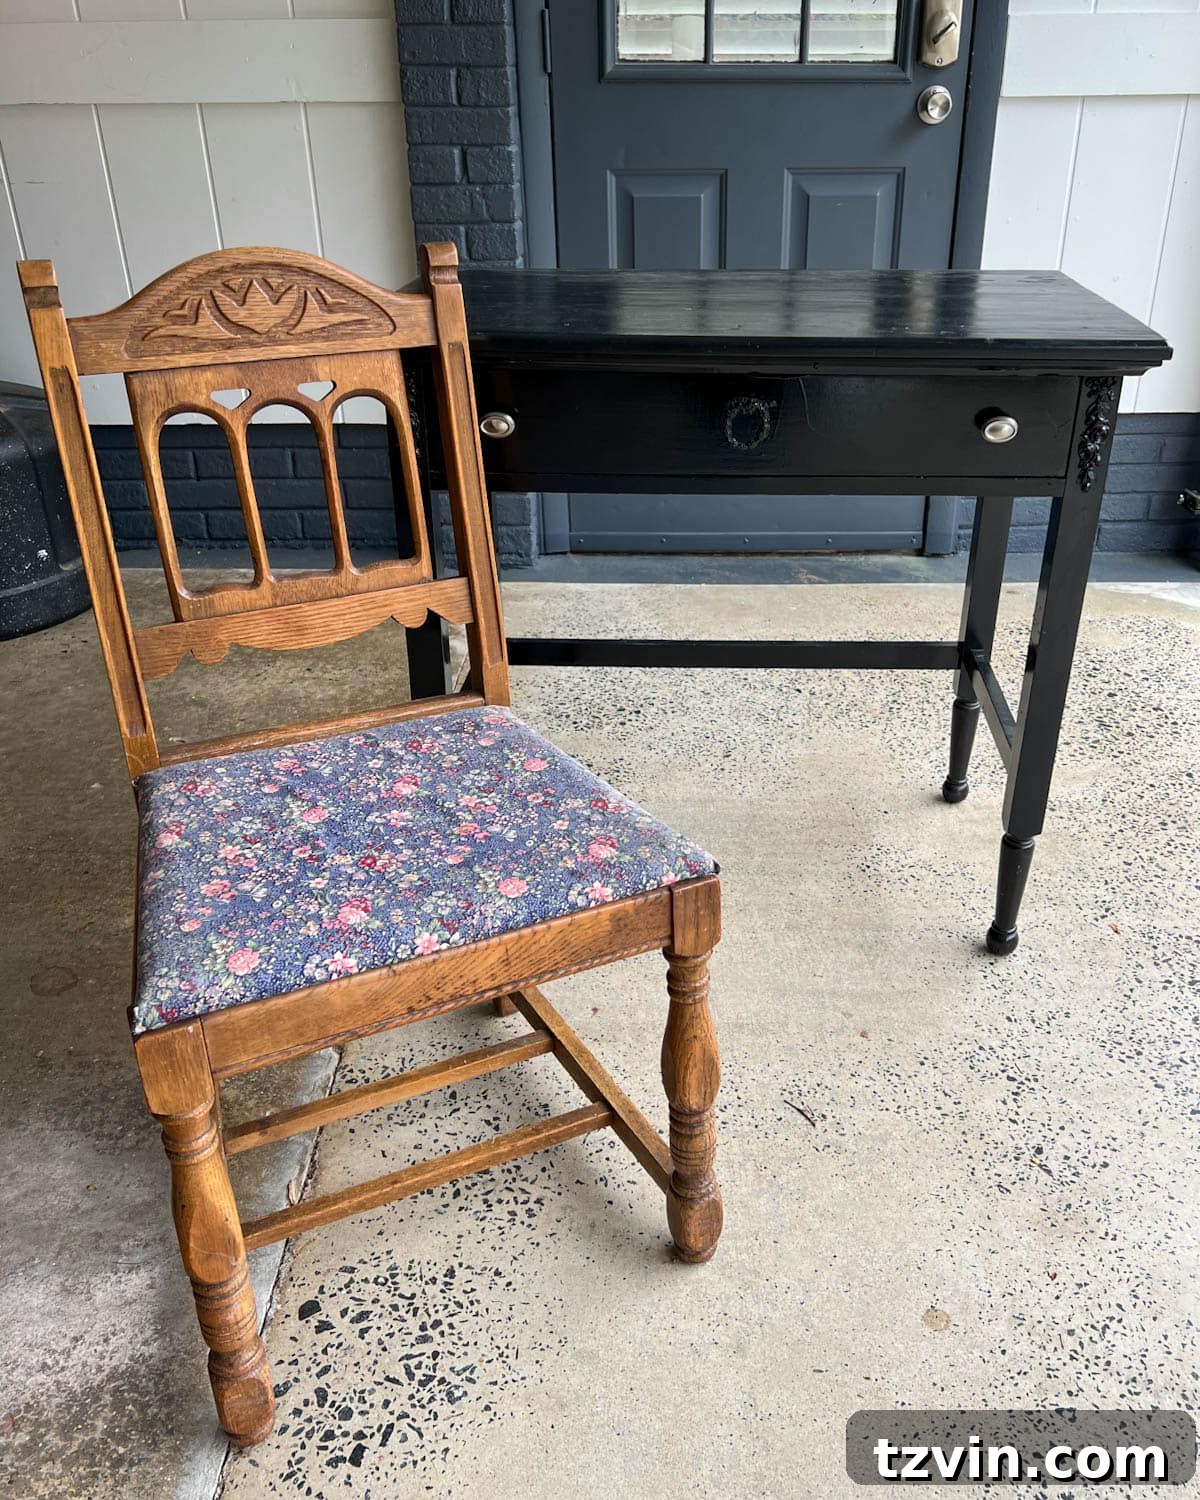
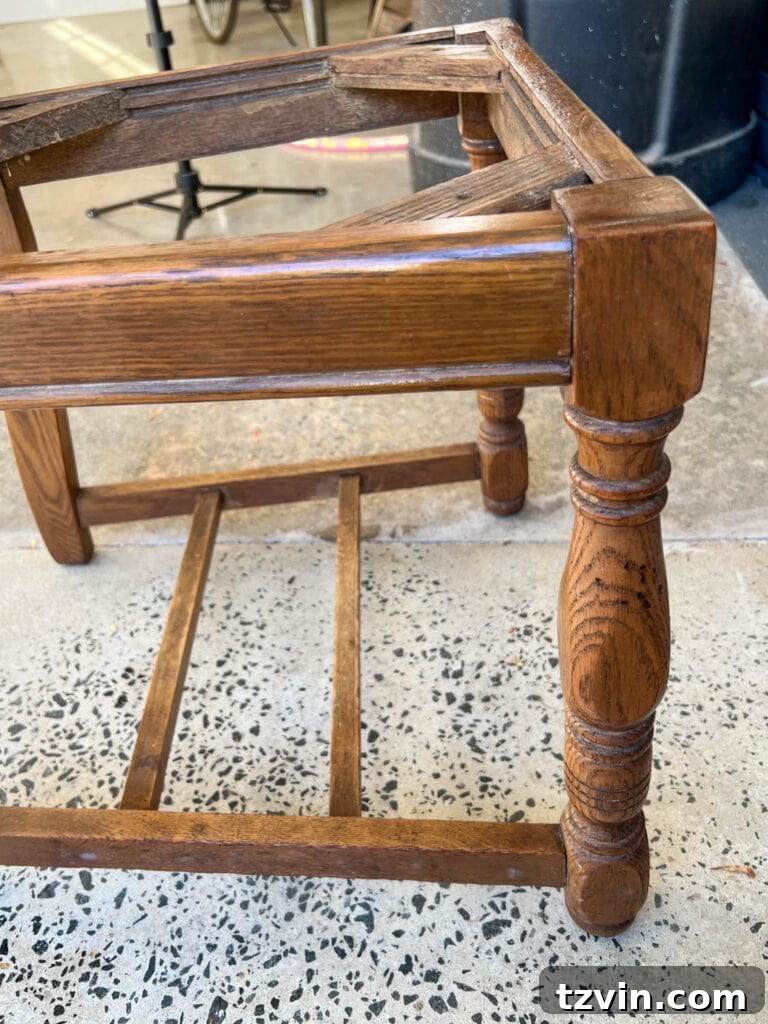
The journey began with two promising finds: a wooden chair from Habitat ReStore and a desk from Craigslist. The chair, though dry, scratched, and blemished, possessed an undeniable charm, especially with its adorable carved tulip detail at the top. It had character, but it needed a serious pick-me-up. The desk was the ideal size for Olivia’s room, serving as both a homework station and a vanity. While I appreciate the natural imperfections that come with vintage cottage-style furniture, I knew both pieces could benefit from a proper restoration to truly shine.
My aversion to extensive sanding and re-staining led me to explore alternative methods. I was looking for a way to make the dry wood look supple and deeply nourished, bringing back its original richness without the intensive labor. This new-to-me technique proved to be a game-changer, and I’m excited to share every detail so you can achieve similar stunning results with your own vintage finds.
Related: Master the Art of Thrifting: How to Find the Best Deals on Facebook Marketplace
Restoring vintage wood furniture doesn’t always require a complete overhaul. Sometimes, a gentle yet powerful approach can yield incredible results, transforming dull and tired pieces into cherished heirlooms. This method is particularly suitable for furniture that has surface scratches, minor blemishes, or simply needs a moisturizing boost to bring out its inherent beauty. If you’ve been hesitant to tackle furniture restoration due to the perceived difficulty, this guide is for you.
Related: Essential Tips: How to Clean Wood Furniture to Make It Look New
Vintage Bedroom Desk and Chair Makeover: A Comprehensive Guide
Embarking on a furniture makeover project can be incredibly rewarding. It allows you to personalize your space and rescue beautiful pieces from obscurity. For Olivia’s bedroom, I envisioned a cohesive and charming look that blended vintage character with practical functionality. This makeover included not only the wood restoration but also a creative upholstery hack and a fresh paint job for the desk, making it a complete transformation.
Supplies You’ll Need for Your Furniture Restoration Project
Gathering the right tools and materials is the first step to a successful DIY project. Here’s a list of everything I used for this vintage bedroom desk and chair makeover:
- Murphy Oil Soap: For deep cleaning and removing grime.
- Howard Restor-A-Finish: The star product for restoring wood without sanding.
- Clean, dry rags: Essential for applying and wiping off products.
- Upholstery Foam: I found an inexpensive $15 mattress topper that worked perfectly in a pinch.
- Kitchen Towel: My secret weapon for budget-friendly upholstery fabric.
- Staple Gun and Staples: For securing the upholstery fabric.
- Small piece of 1/4″ plywood: Needed to cut a new chair seat, as the original was beyond repair.
- STIX Waterborne Bonding Primer: Crucial for ensuring paint adhesion on the desk.
- Wood filler: For repairing any holes or cracks in the desk.
- Medium and fine grit sandpaper: Used specifically for spot-sanding the desk’s problem areas.
- Purdy 2″ angled brush: For precise and smooth paint application on the desk.
- Sherwin Williams Emerald Urethane Enamel in Anew Gray satin finish: My chosen durable paint for the desk.
- Decorative Flower Knobs: To add a charming finishing touch to the desk drawers.
Step-by-Step Restoration Process
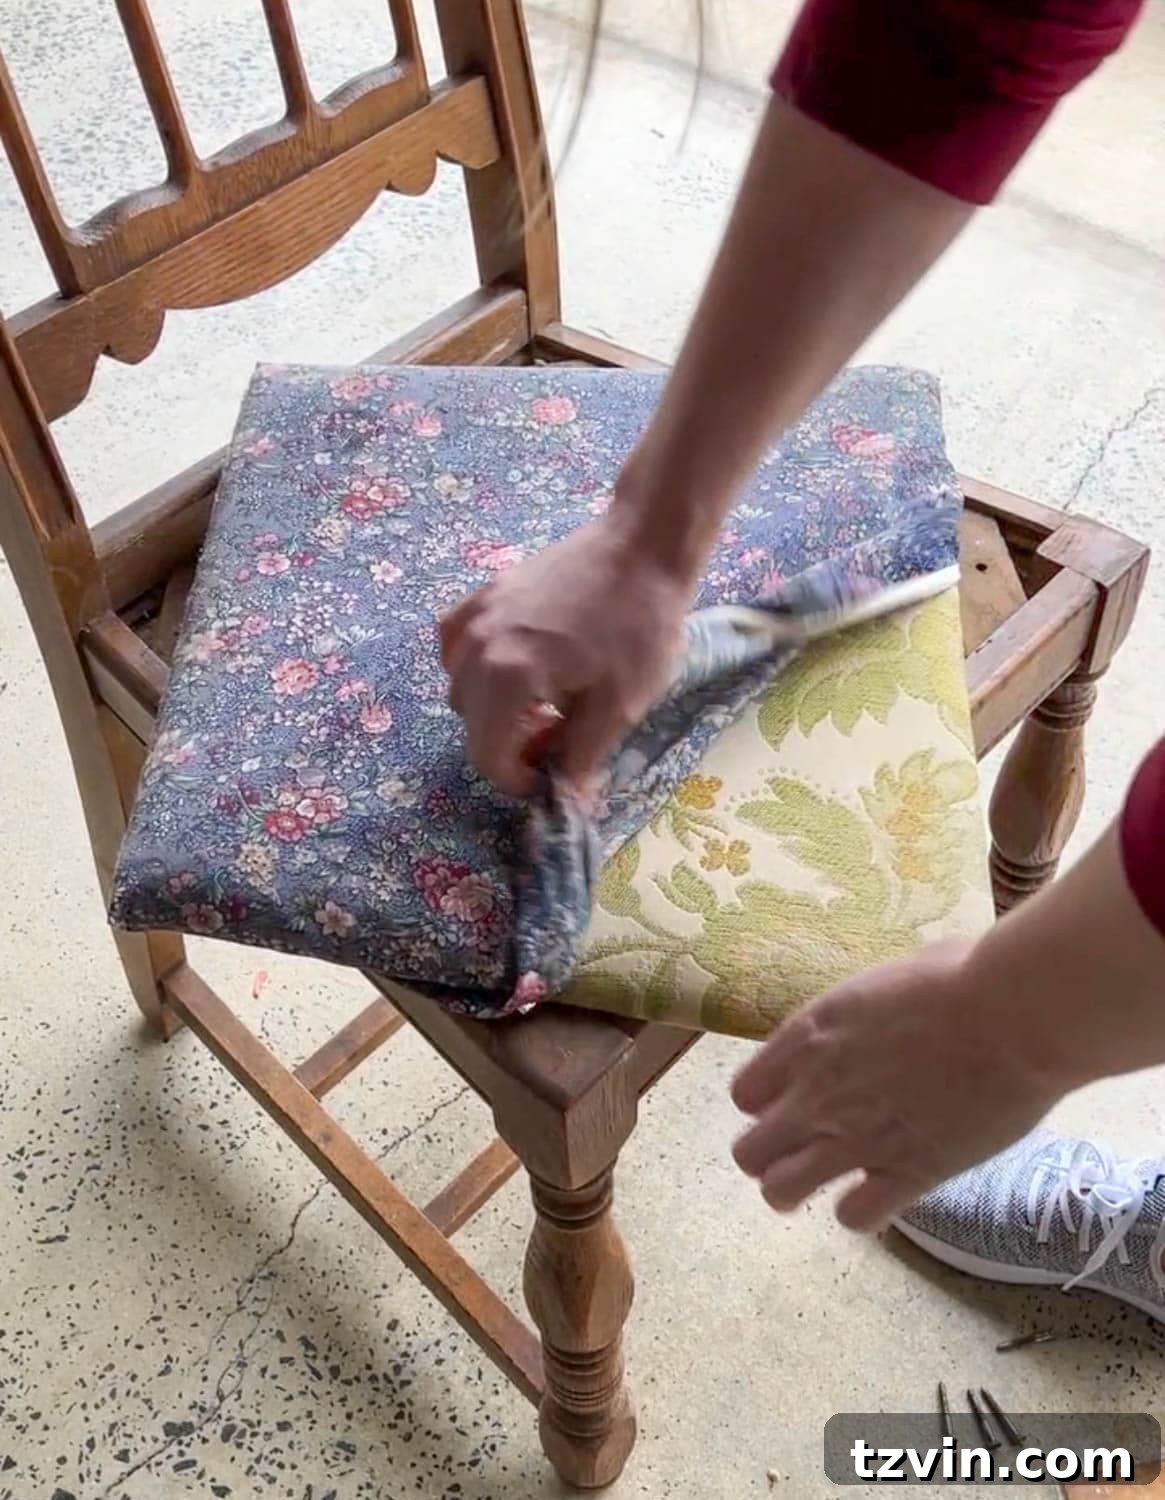
Before diving into the wood restoration, I first tackled the chair seat. I carefully removed the old seat pad, only to discover layers of old, gross fabric and batting underneath. It was clear the original seat structure was beyond saving, so I decided to replace it entirely after restoring the wooden frame. This is a common situation with vintage finds, so be prepared to adapt your plans as needed.
How to Effectively Clean Wood Furniture for Restoration
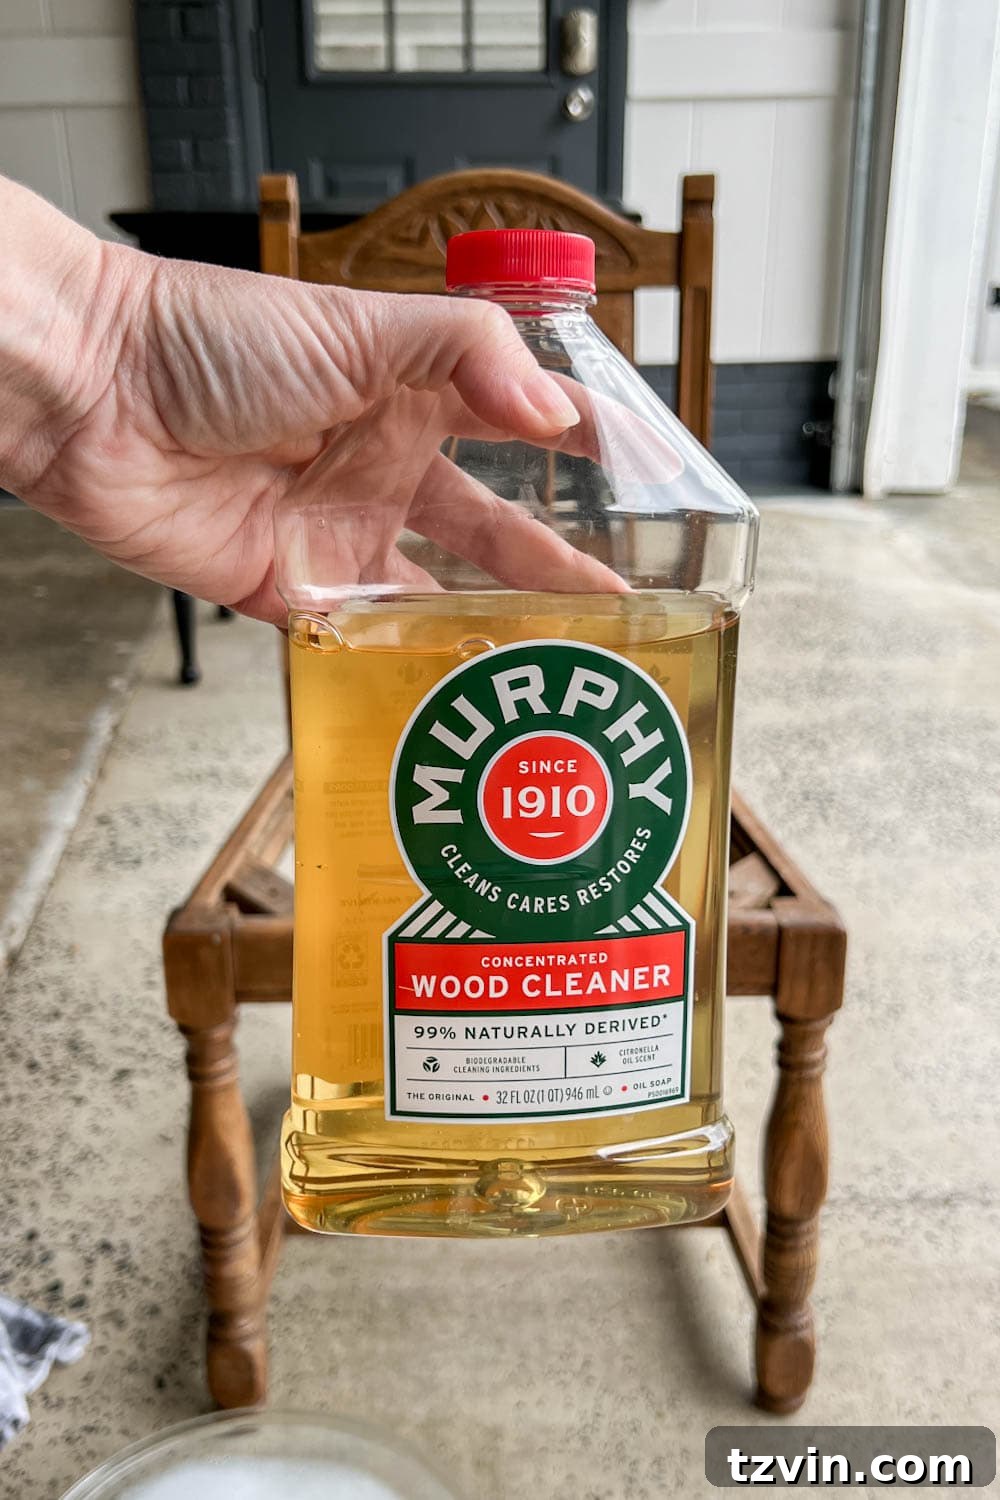
The first crucial step in any furniture restoration project, especially when dealing with vintage pieces, is a thorough cleaning. Over the years, wood furniture can accumulate layers of dirt, grime, and even lingering musty odors. My absolute favorite product for this initial deep clean is Murphy Oil Soap. It’s a classic for a reason!
Not only does Murphy Oil Soap effortlessly cut through years of buildup, but it also leaves behind a pleasant, clean scent—reminiscent of citronella—and helps neutralize any musty odors often found in older furnishings. To use it, I mix about 1/4 cup of the soap into a gallon of piping hot water. Using a clean rag, I gently wipe down the entire wood surface, making sure to get into any carved details or crevices. After a quick wipe, I immediately follow up with a dry rag to remove excess moisture and allow the piece to air dry completely. This cleaning step is vital as it prepares the wood to absorb the restorative treatment evenly and effectively.
The One-Step Miracle: How to Restore Wood Furniture Without Sanding
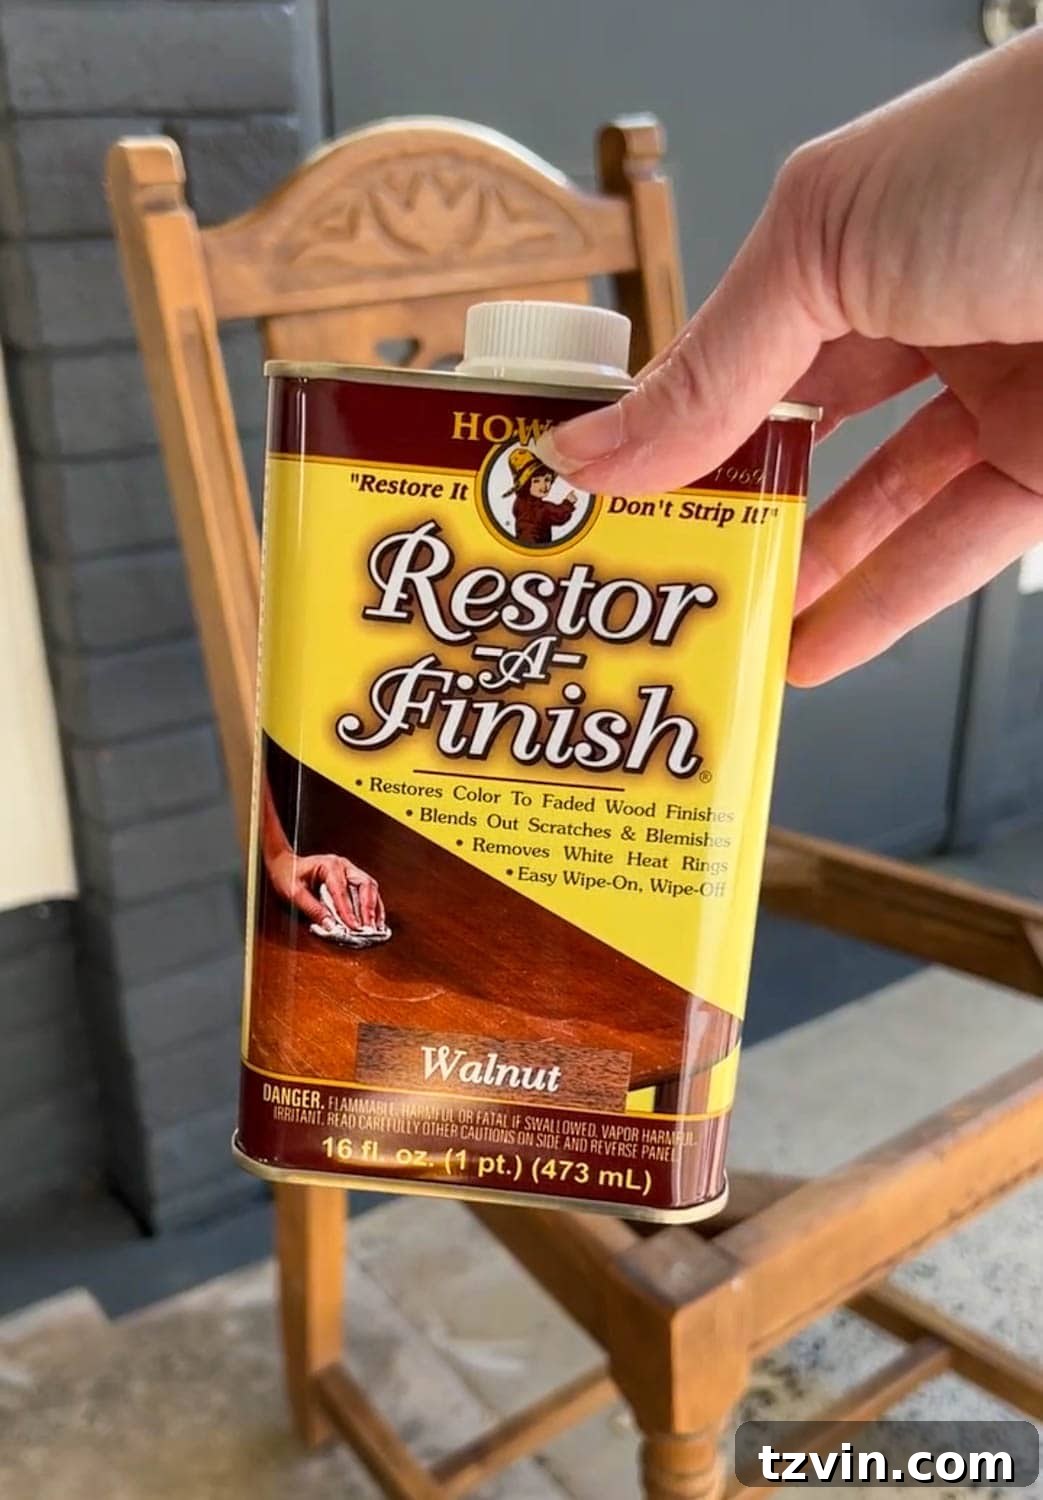
After a thorough cleaning, it was time for the magic to happen. While I’ve had success with Old English furniture polish in the past, I decided to try something new: Howard Restor-A-Finish. And let me tell you, it was instant love! This product truly works like a dream, delivering remarkable results with minimal effort.
The beauty of Restor-A-Finish lies in its ability to penetrate the wood, restoring its natural oils and color while effectively blending out scratches and blemishes. It doesn’t strip the existing finish, nor does it require any sanding, making it an ideal choice for quick and impactful makeovers. While the end result won’t be a brand-new factory finish (which would typically require full stripping, re-staining, and re-sealing), it comes incredibly close, and all within a matter of minutes. I was genuinely excited by how well it worked, and this is not a sponsored endorsement – just pure enthusiasm for a fantastic product!
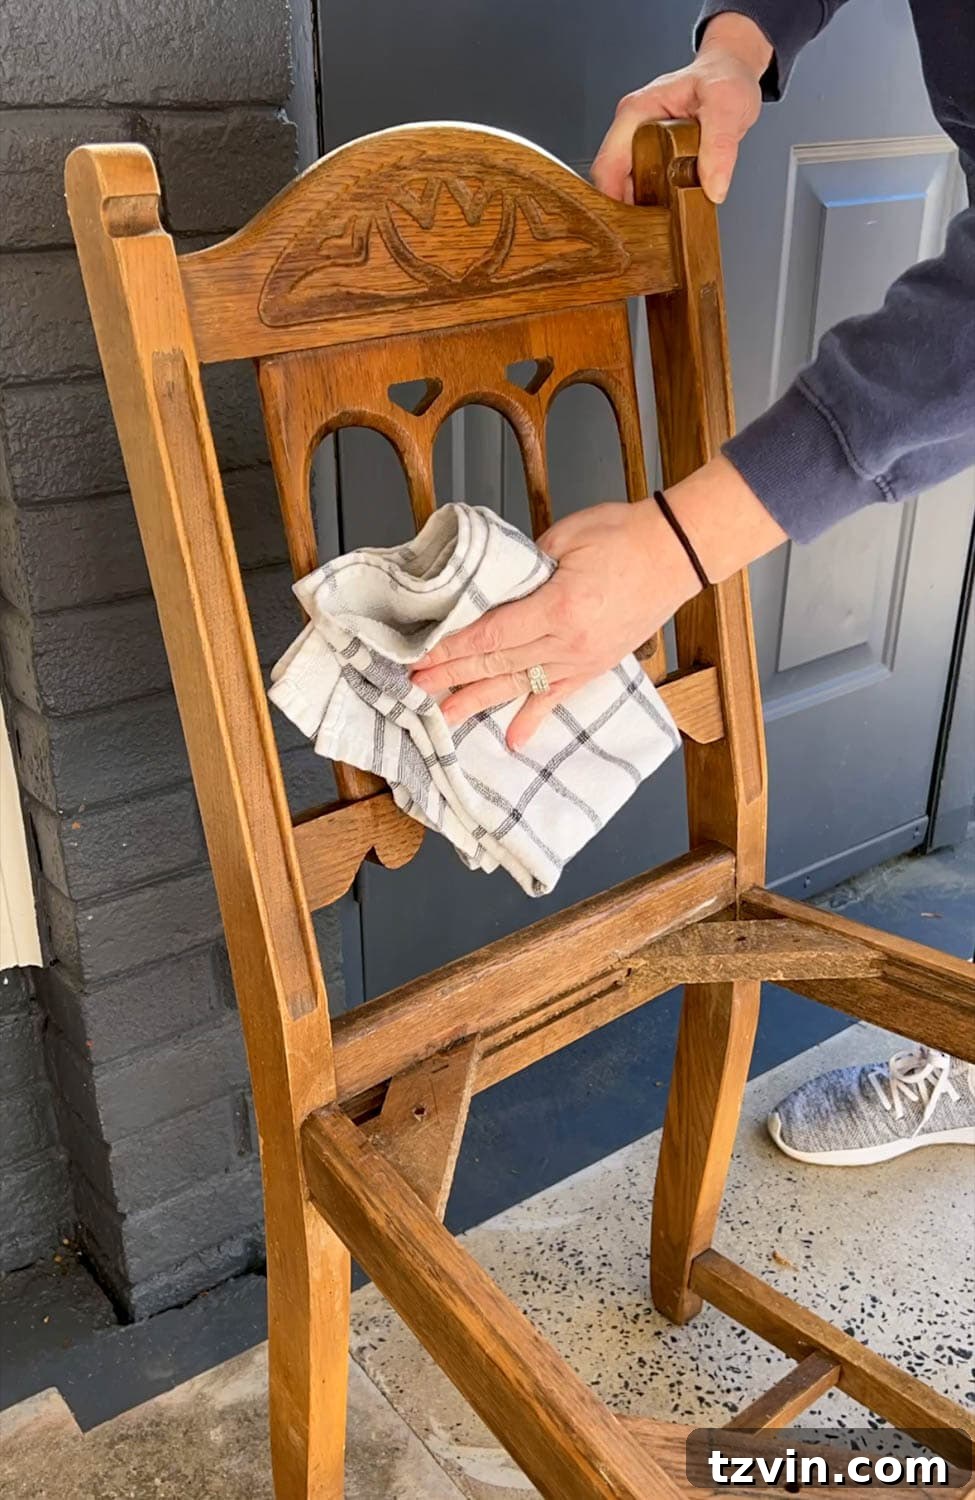
The application process is incredibly straightforward. I simply applied the Restor-A-Finish oil to a clean, dry rag and gently wiped it over the entire wood surface of the chair. You’ll notice the wood immediately begin to drink up the product, transforming its appearance before your eyes. After allowing it to soak into the wood for a few minutes, I then used a fresh, dry rag to wipe away any excess. This ensures an even finish and prevents any sticky residue.
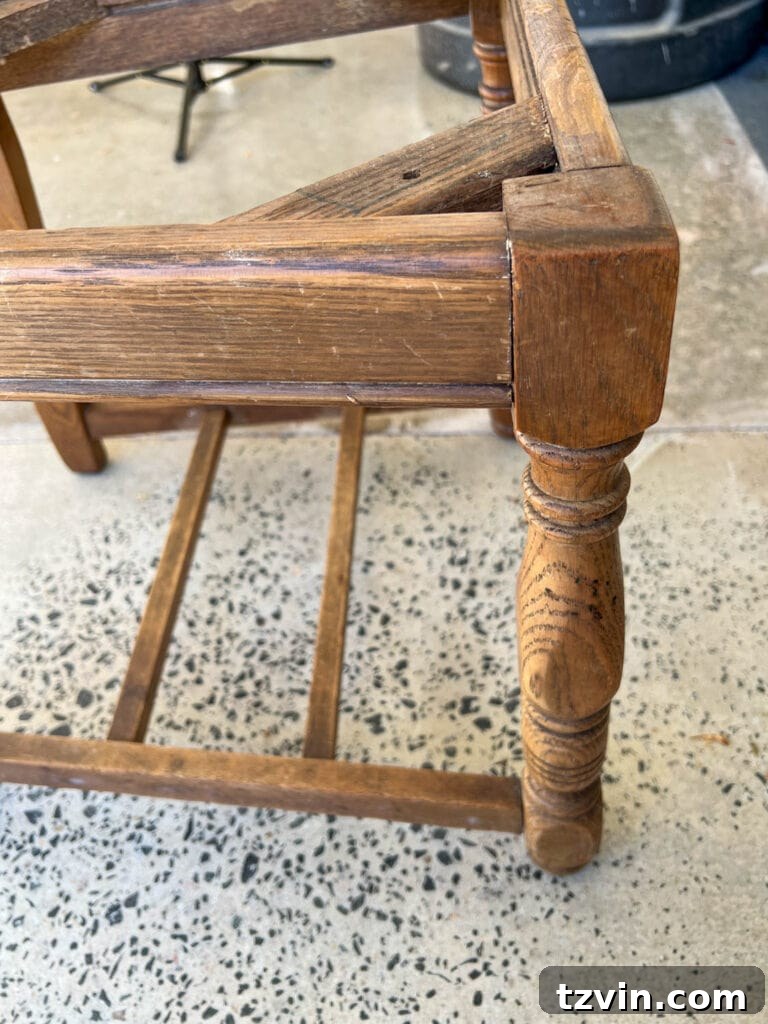
The difference was astounding! The wood instantly looked conditioned, revitalized, and had a beautiful, subtle sheen. Scuffs that were previously glaringly obvious were drastically less noticeable, and many of the lighter scratches completely disappeared. For deeper scratches or more stubborn blemishes, you can apply Restor-A-Finish with a fine steel wool pad. This provides a gentle abrasive action that helps the product penetrate deeper and address more significant imperfections, without damaging the wood’s integrity. It’s a truly versatile product for bringing old wood back to life.
Inexpensive and Creative Hack to Reupholster a Chair Seat Pad
With the chair frame beautifully restored, it was time to address the seat pad. Replacing the old, damaged pad with a fresh, new one was straightforward: I cut a piece of 1/4″ plywood to the exact dimensions of the old seat, then added a layer of foam (my mattress topper hack!) for comfort. The really fun part, however, was finding the perfect upholstery fabric on a budget.
I discovered an ingenious and incredibly cost-effective hack for upholstery: using a kitchen towel! Target has a wonderful selection of stylish and durable kitchen towels that are surprisingly perfect for small upholstery projects. I compared a few different patterns, including some from IKEA, holding them against Olivia’s rug to visualize the final look. Ultimately, the reddish pink striped towel won me over. It provided the perfect pop of color and pattern, adding a touch of cottage charm without breaking the bank. This method is fantastic for giving your furniture a custom, designer look for significantly less than traditional upholstery fabrics.
Related: For a more detailed guide on reupholstery, see How to Reupholster Dining Chair Seats here.

Giving the Bedroom Desk a Fresh Look with Repainting
While the chair received a restoration, the desk needed a full repaint. It came with a rather unfortunate, existing paint job—characterized by dried drips, visible brushstrokes, and numerous scratches marring its black finish. To ensure a flawless and durable new surface, a few key steps were necessary.
First, I addressed the imperfections. This involved carefully sanding down the worst spots to smooth out drips and rough patches. Any holes or cracks were filled with wood filler, creating an even surface. Once sanded and filled, the desk was thoroughly cleaned. The most critical step for durability was priming. I used STIX Waterborne Bonding Primer, a highly recommended product known for its exceptional adhesion properties. This primer creates an incredibly strong bond, providing the perfect foundation for the paint and ensuring it won’t chip or peel, especially since this desk would see daily use as a homework and vanity station.
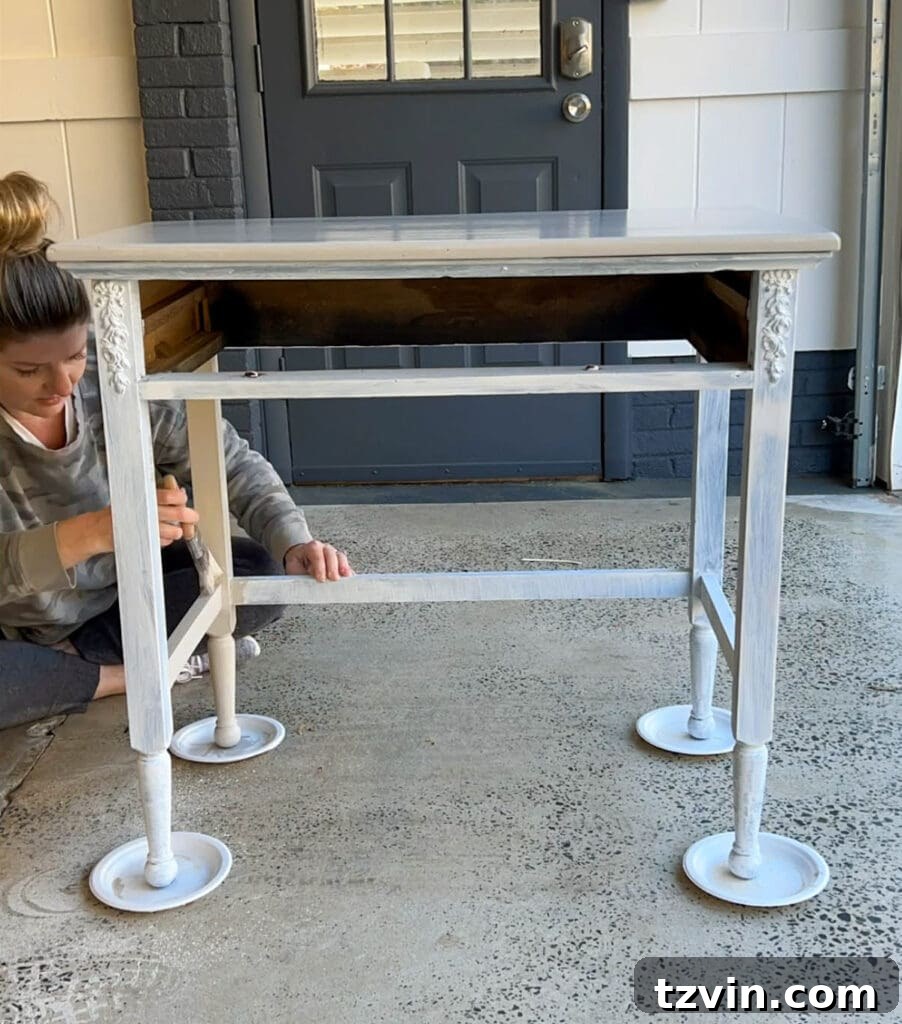
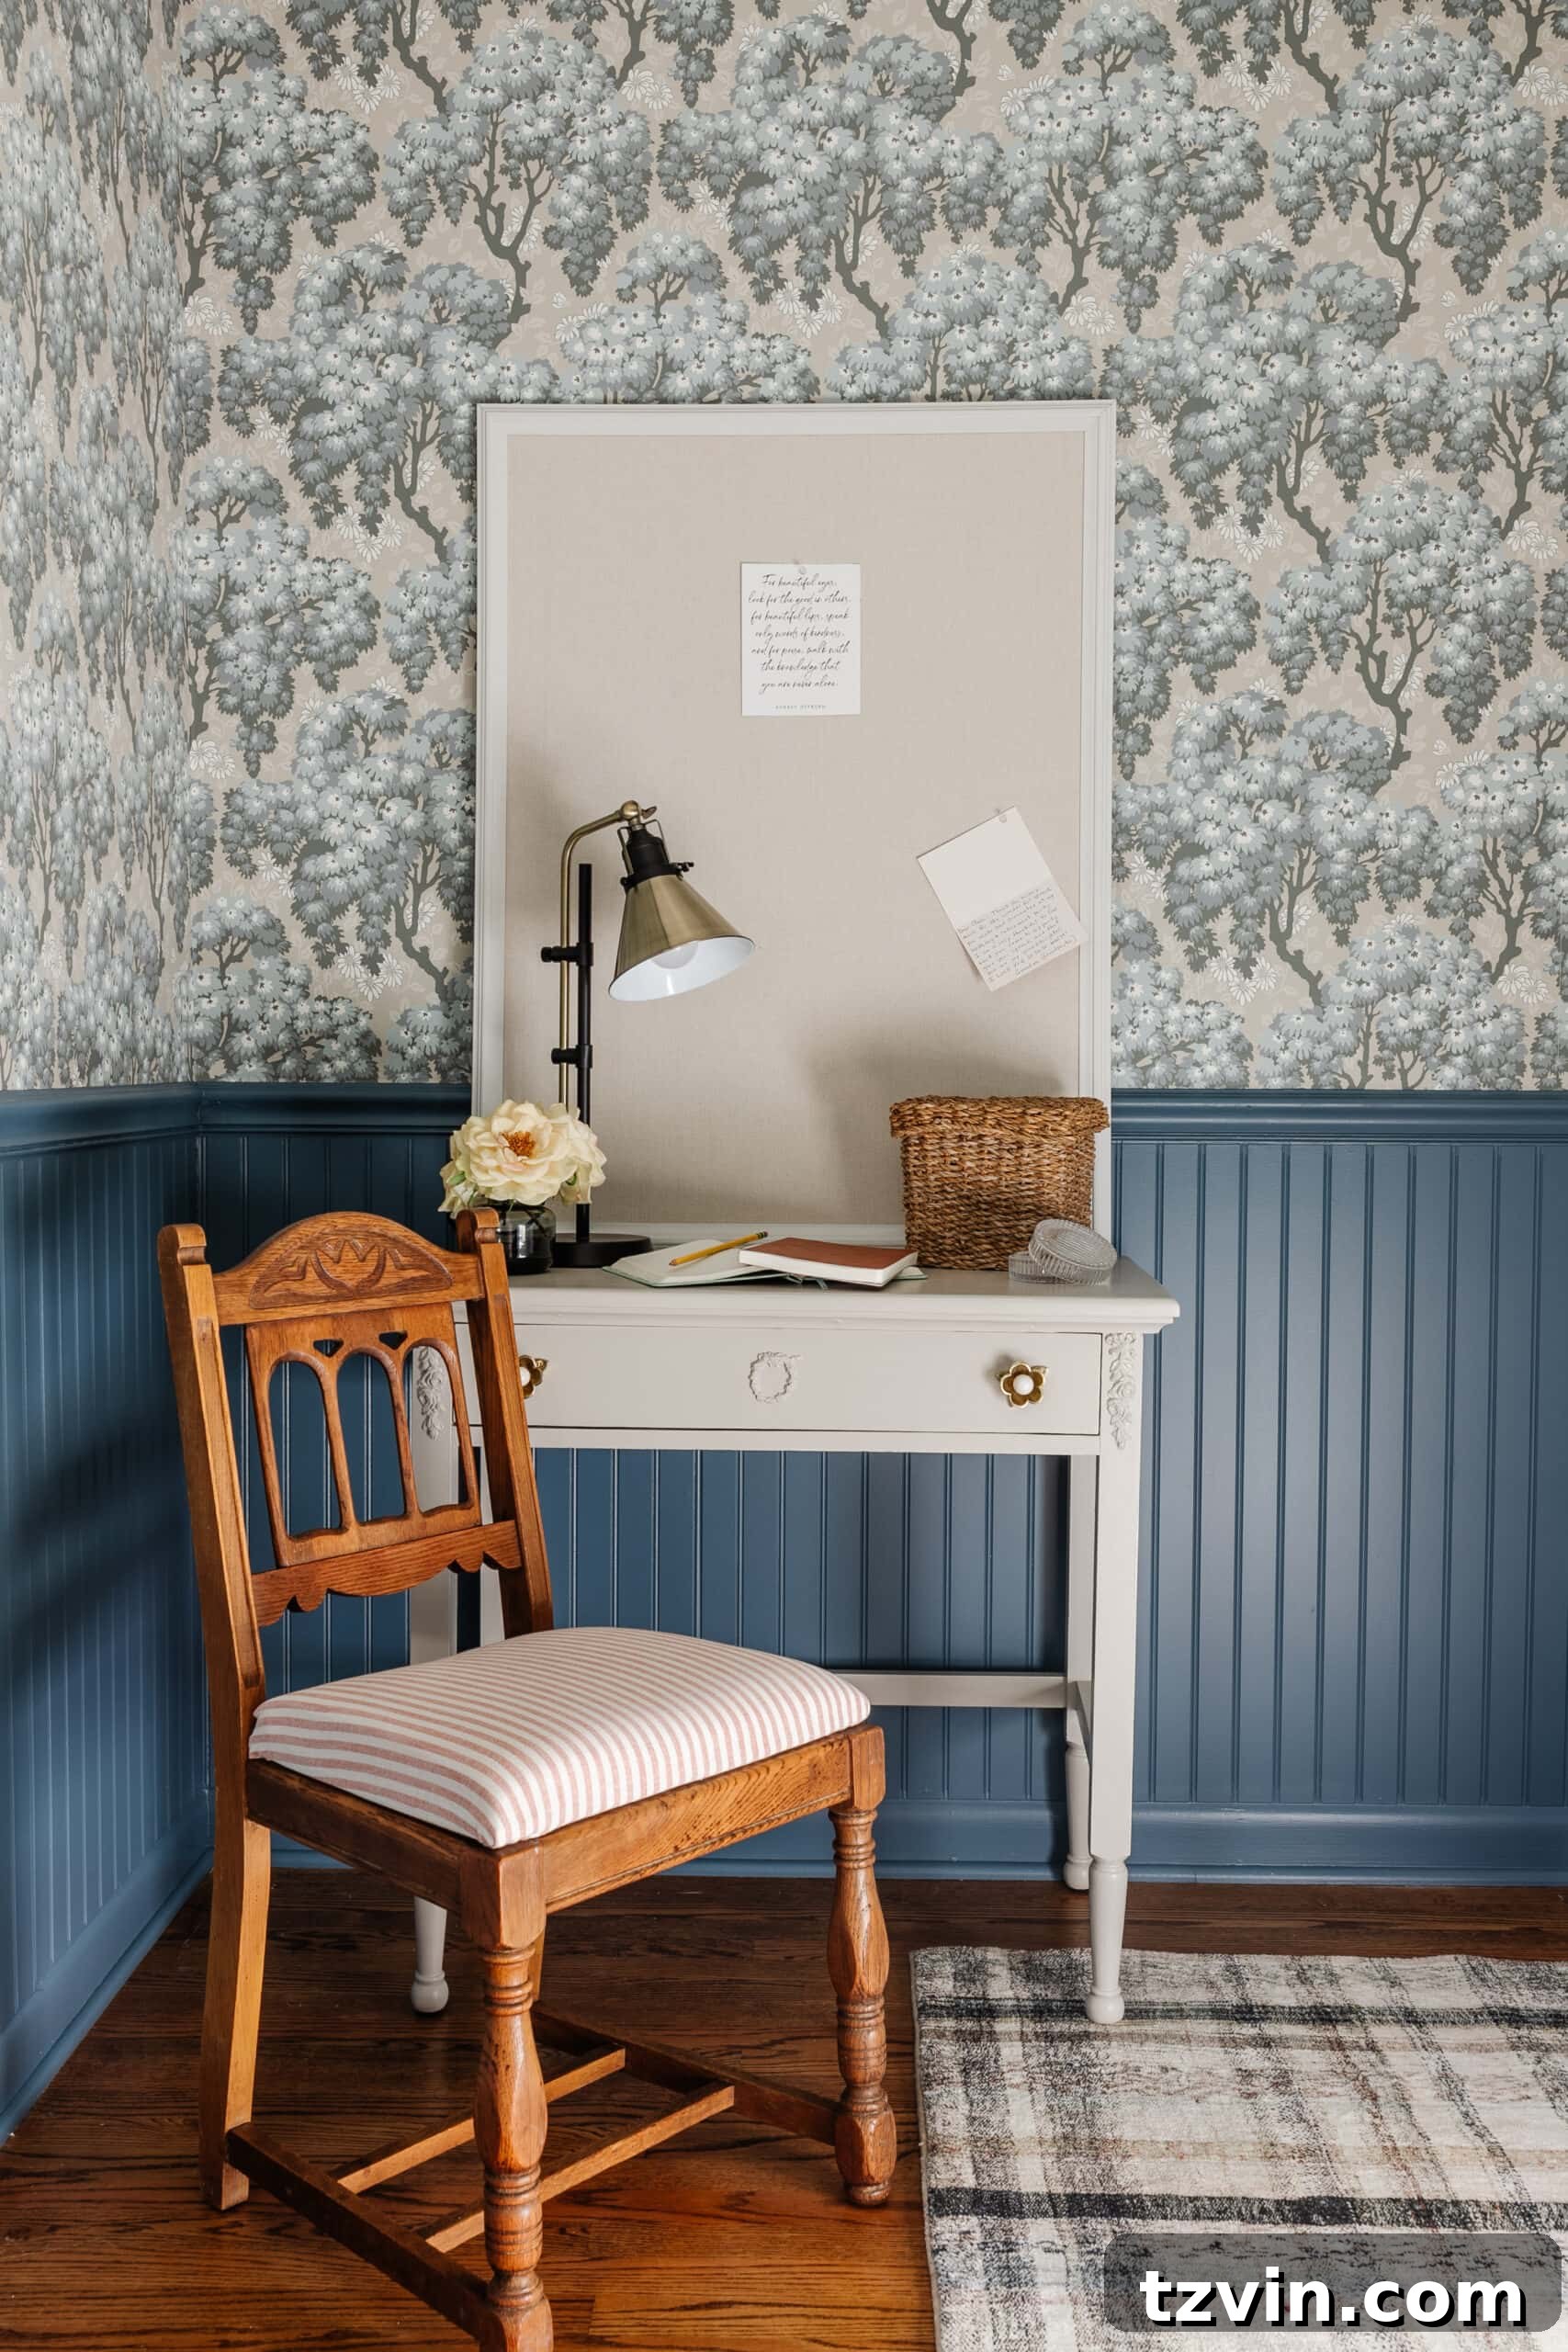
For the topcoat, I utilized Sherwin Williams Emerald Urethane Enamel in Anew Gray with a satin finish. I had some leftover from the entryway’s reeded bench makeover, making it a cost-effective choice. This particular paint is renowned for its durability and smooth finish, perfect for high-traffic furniture. The neutral Anew Gray provides a beautiful, calming contrast against the Sherwin Williams Smoky Blue beadboard in Olivia’s room, and harmonizes wonderfully with the Swedish wallpaper, creating a serene and cohesive aesthetic.
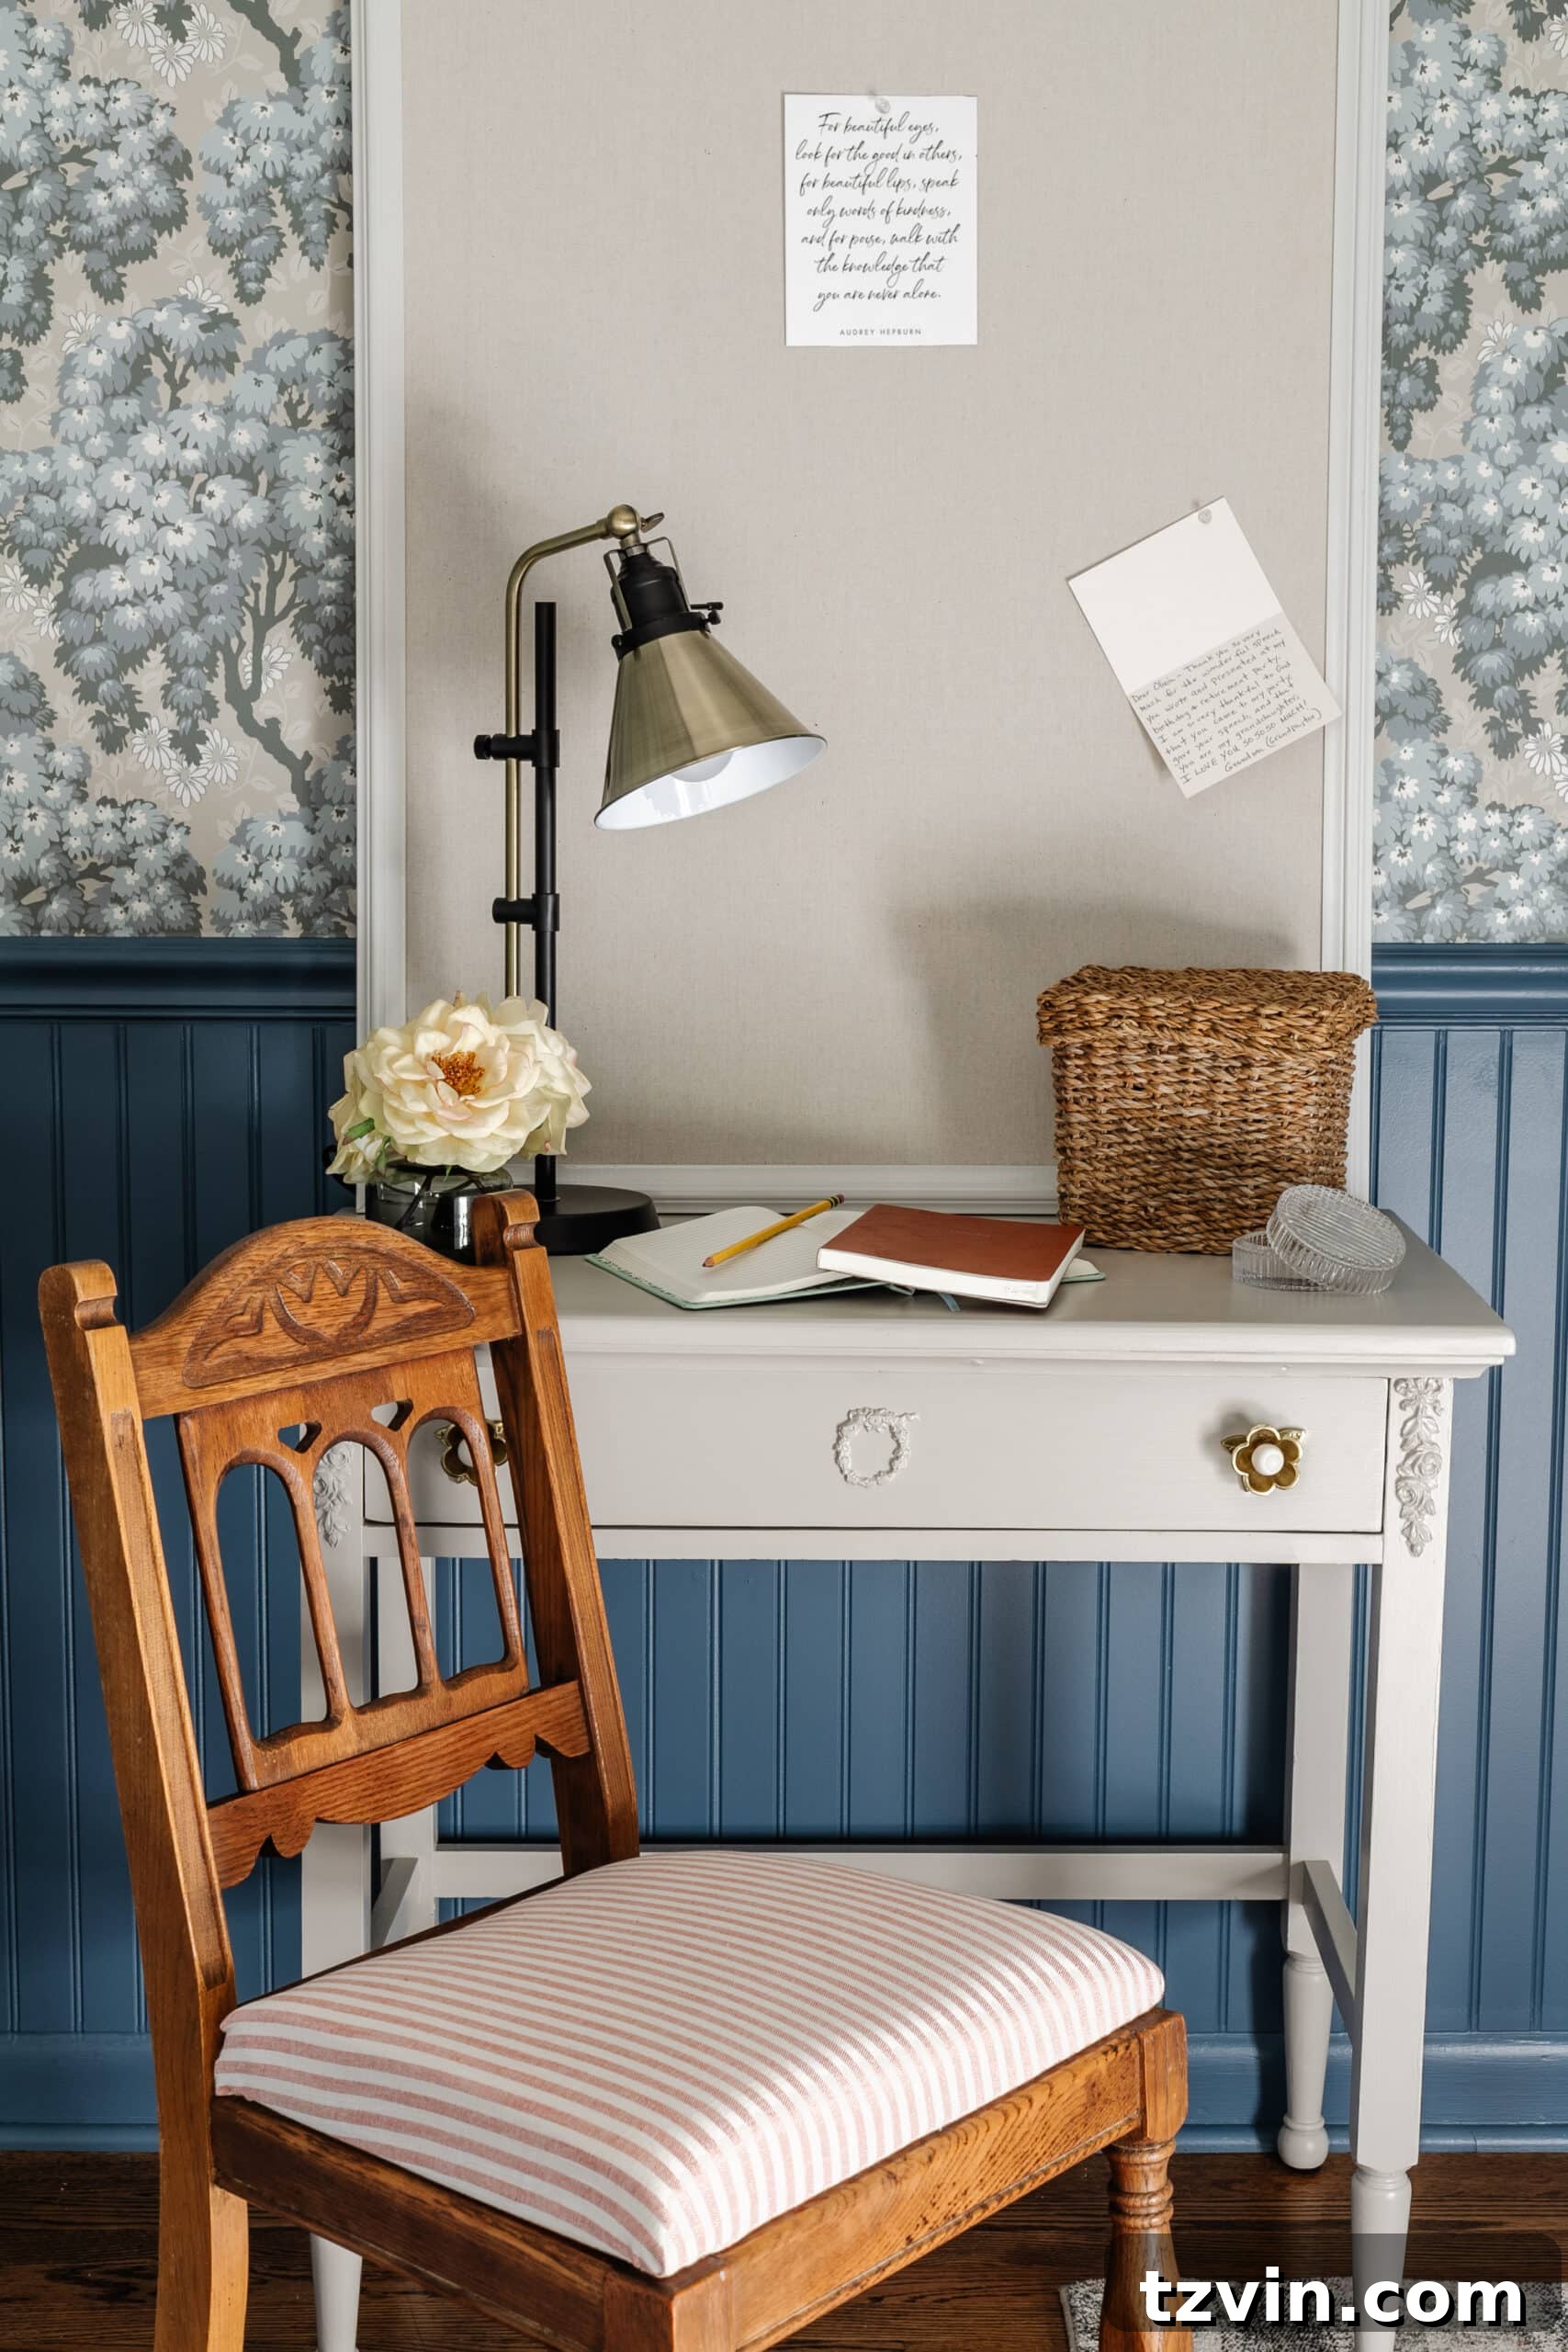
The Finished Bedroom Desk and Wood Chair: A Budget-Friendly Transformation
The satisfaction of seeing a vision come to life, especially when it’s achieved on a budget, is truly unparalleled. After all the hard work, the vintage bedroom desk and wood chair makeover is complete, and the results are absolutely charming! Combining the secondhand furniture finds, the inventive kitchen towel upholstery fabric, the adorable flower knobs, and the minimal furniture refinishing supplies, the entire setup cost an impressive $124. This proves that stunning home decor doesn’t require a hefty investment, just a little creativity and effort.
For now, Olivia’s old memo board is simply leaned against the wall. I’m quite attached to this gorgeous wallpaper and am reluctant to put any nails in it unless absolutely necessary. The overall look is exactly what I envisioned: a blend of cottage charm, vintage elegance, and functional design, all within a teen’s bedroom space. The restored wood glows, the updated upholstery adds a touch of personality, and the freshly painted desk provides a clean, inviting workspace.
Decor Sources for Olivia’s Cottage Bedroom
Creating a cohesive and inviting space involves thoughtful decor choices. Here are some of the elements that complete Olivia’s refreshed bedroom corner:
- Beadboard color: Sherwin Williams Smoky Blue, providing a serene backdrop.
- Area Rug: Adding texture and defining the space.
- Wallpaper: A vintage-inspired pattern that ties the room together.
- Linen memo board (similar): For notes and cherished photos.
- Desk Lamp: Essential for task lighting and adding ambiance.
- Lidded Basket: Perfect for stylish storage and keeping the desk clutter-free.
- Small Vase: For a touch of greenery or fresh flowers.
- Fluted Glass Trinket Dish: A delicate detail for small essentials.
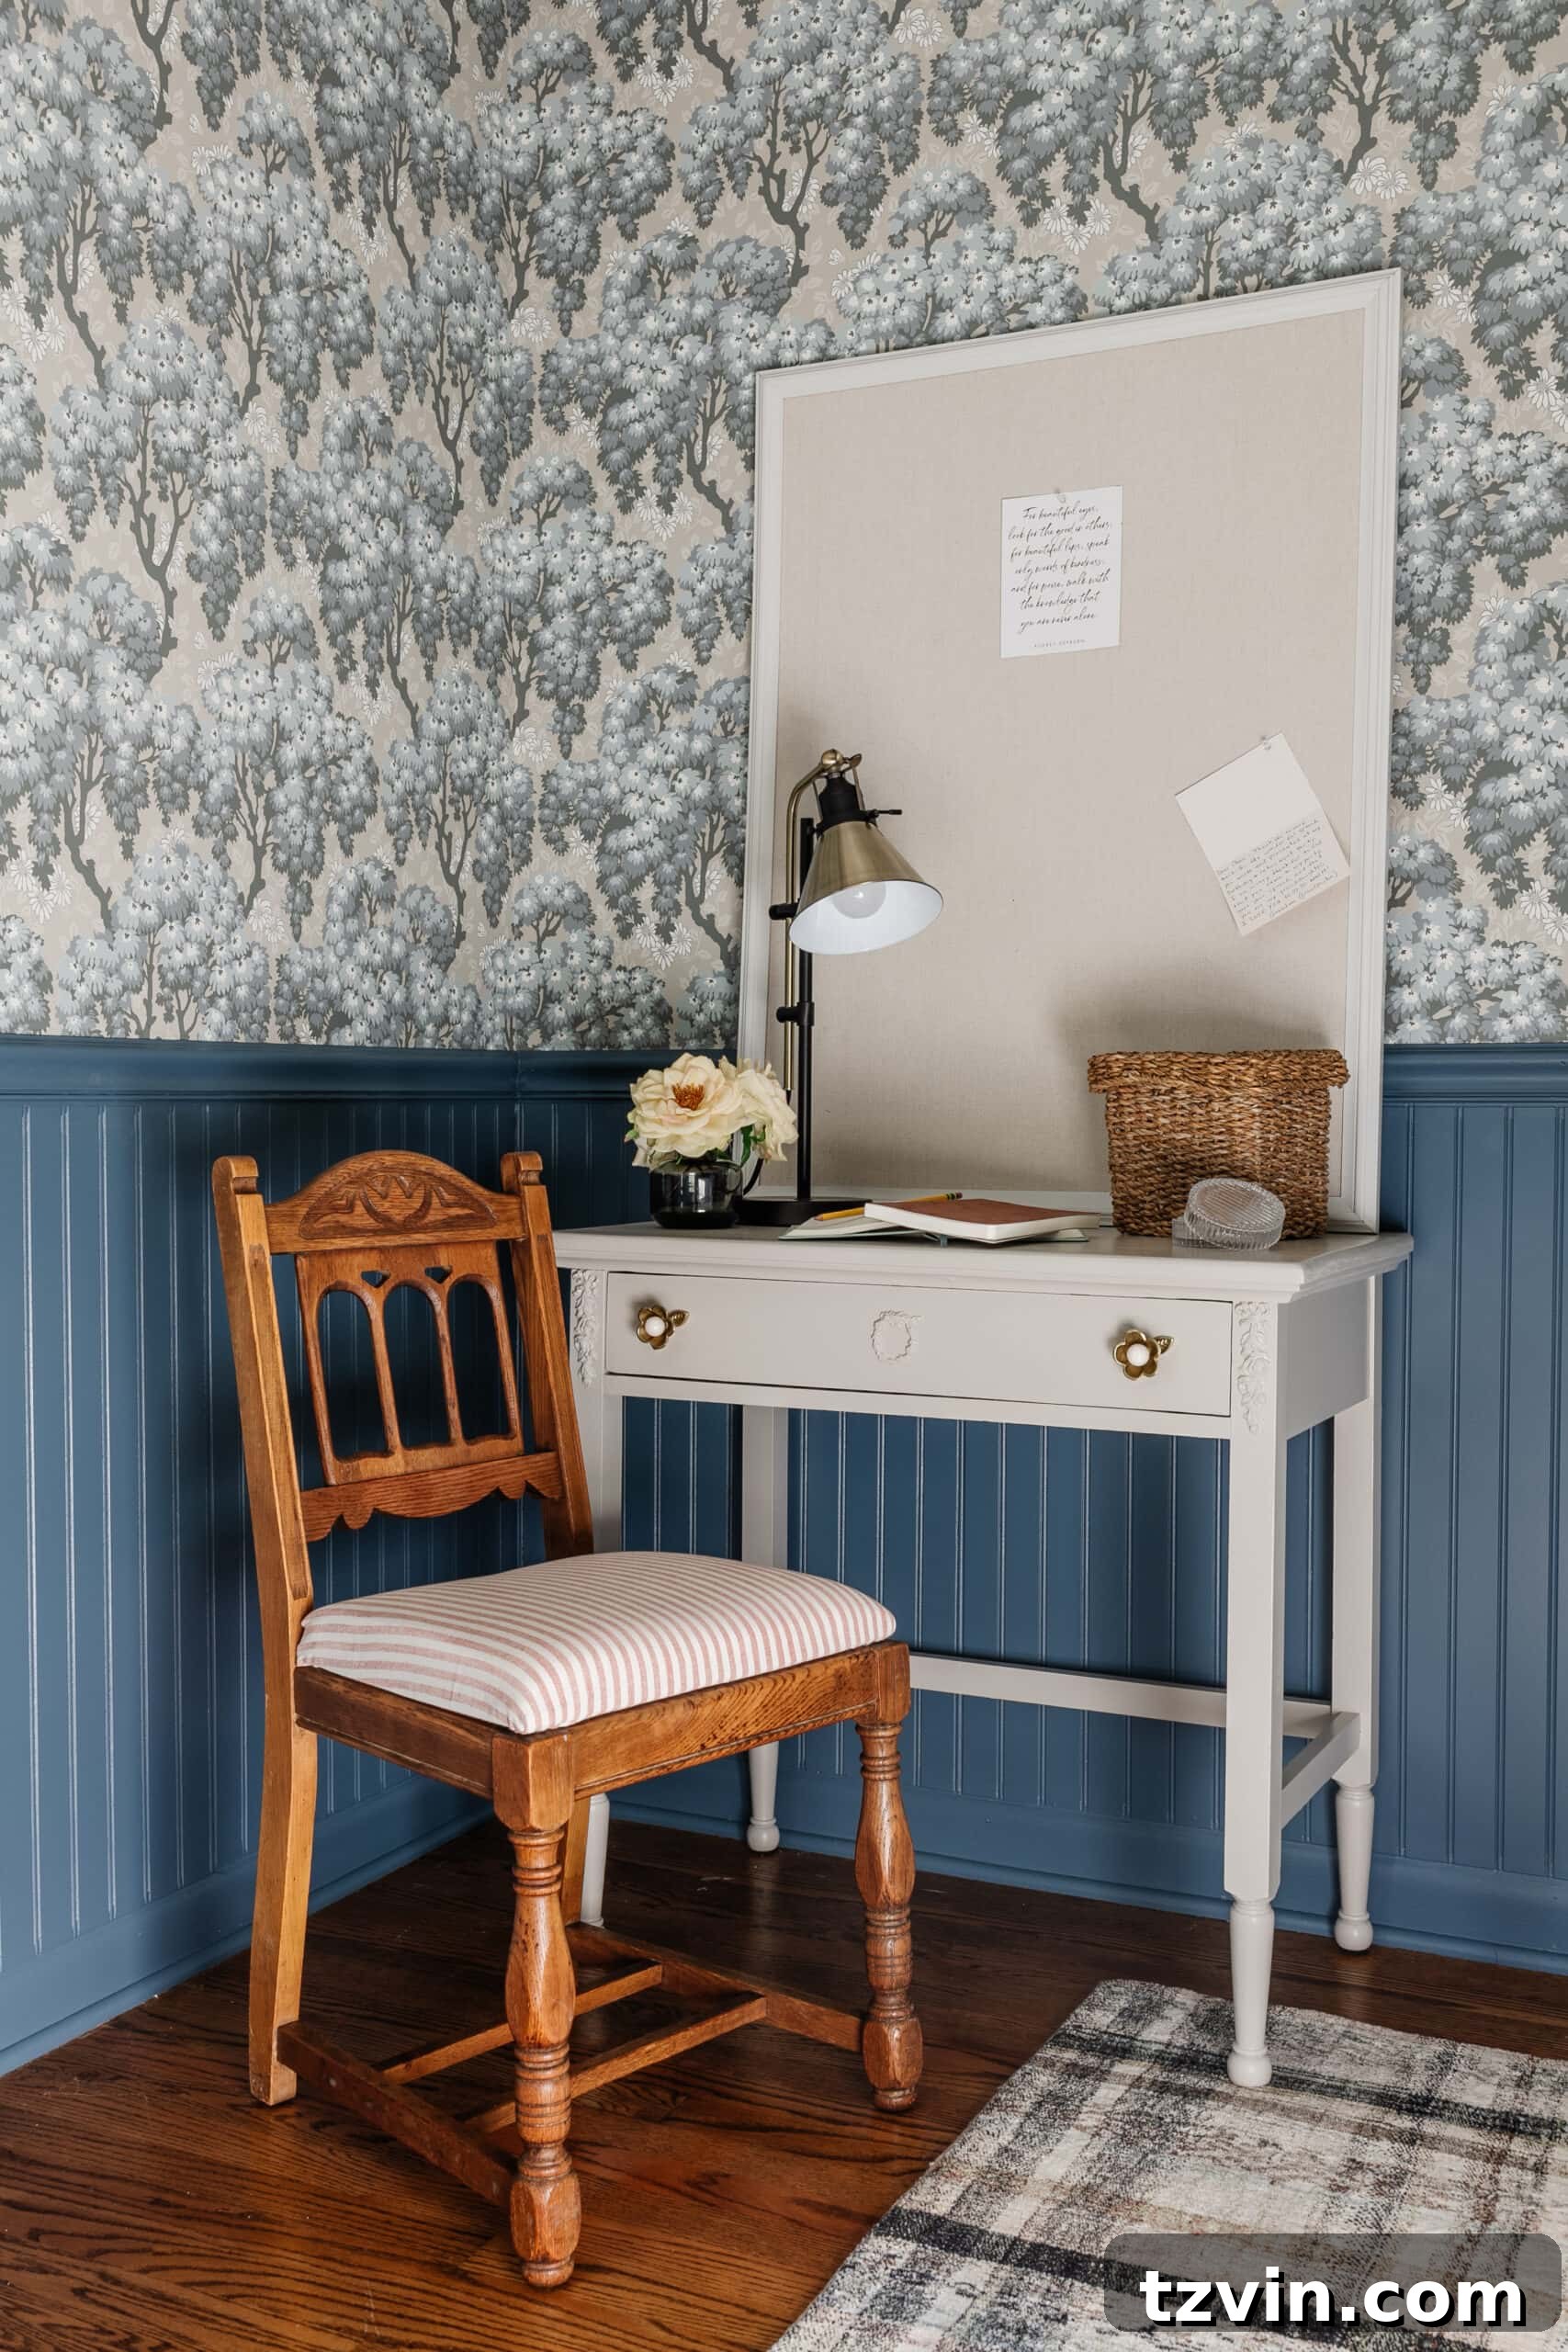
I’m still contemplating the optimal furniture layout for this space, and I’m considering placing this versatile desk and vanity area in front of a window to maximize natural light. The possibilities for arranging a teen’s room are endless, and I enjoy taking the time to find the perfect configuration. What do you think of this makeover so far? I hope this detailed guide inspires you to tackle your own furniture restoration projects, proving that transforming old pieces into cherished decor doesn’t have to be daunting or expensive.
More Inspiring Furniture Refinishing Ideas
If this project has sparked your interest in furniture restoration and DIY makeovers, here are some additional resources to fuel your creativity and help you on your next venture:
- Deep Cleaning Guide: How to Clean Wood Furniture to Make It Look New
- Outdoor Furniture Rescue: How to Restore Wood Outdoor Furniture
- Creative Details: How to Add Reeding to Furniture | Shoe Storage Bench Makeover
- Hardware Upgrades: Best Places to Buy Furniture Hardware and Kitchen Cabinet Pulls